Tiki Central / Other Crafts / Tiki torch lamp construction with Tikiskip!
Post #805388 by mike and marie on Tue, Sep 6, 2022 6:10 PM
|
MAM

mike and marie
Posted
posted
on
Tue, Sep 6, 2022 6:10 PM
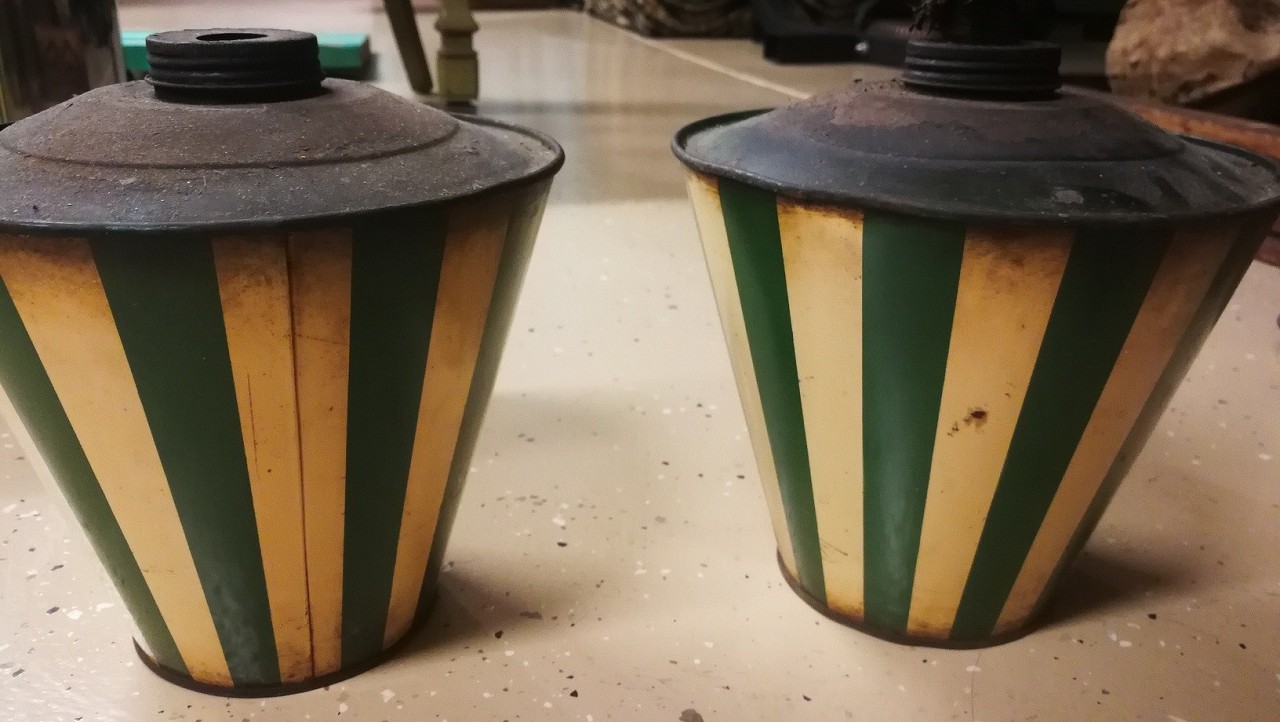
Want to detail the construction of our latest lamp -- a dual tiki torch floor lamp. It's our latest but in a sense it's also one of our earliest, because we've had the idea and the materials sitting around for a long time. The genesis of the idea came from these two vintage torch pots, which could be used as table torches or mounted to a post for outdoor use:
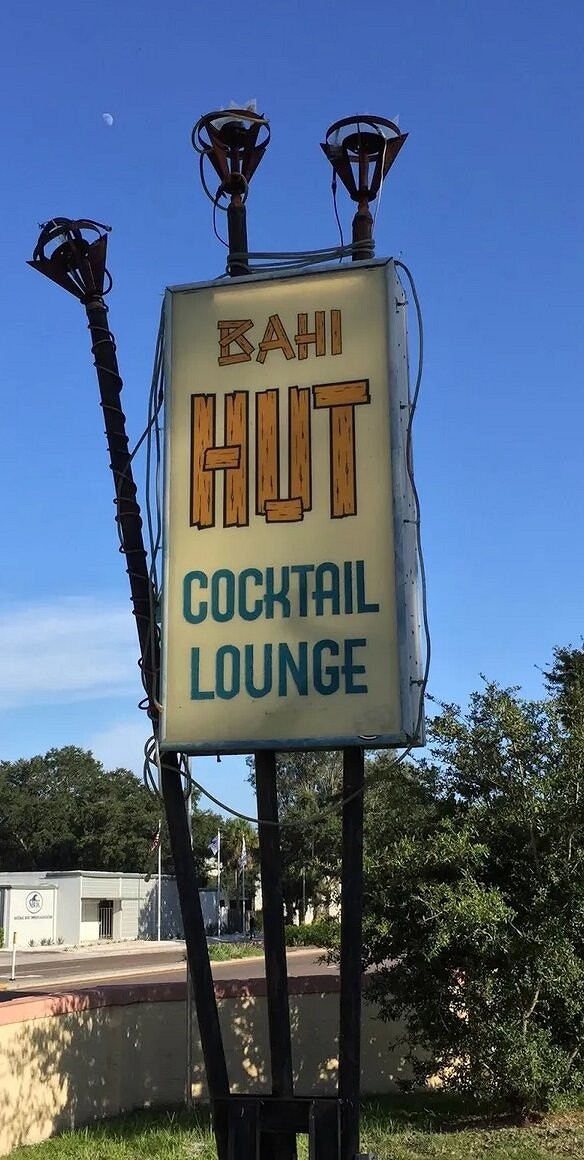
We found these years and years ago, at some estate sale certainly, and loved them for many reasons -- most especially because the pine green and cream stripes perfectly matched the tile flooring in the dance floor area of the Treasure Island Room, which is where we intended to use them. We thought they would make a very nice floor lamp for the room, with a few pipes jutting out from a base at a diagonal angle. The idea came from the signage outside of Sarasota's Bahi Hut:
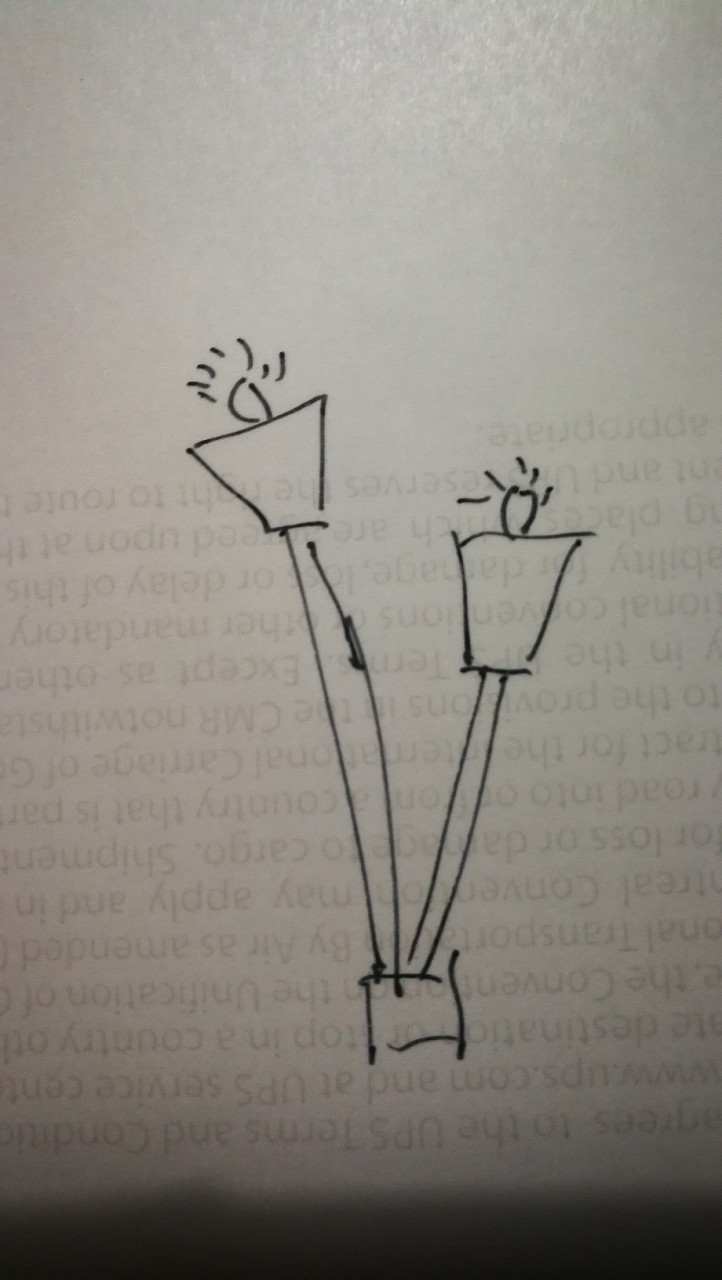
So the idea would be to make a finished product something like this:
But it was one of those things that just sat on a workshop shelf for years and years. We acquired some good black metal poles that would serve as the stakes, just never got around to it. Finally last week we took a journey to the land of the great Moai of the Kahiki, torch pots and stakes in tow, to see if lampmaster Tikiskip could help us get it together. First thing he did was take a dremel to the pipe to get them the right heights, about five and six feet respectively:
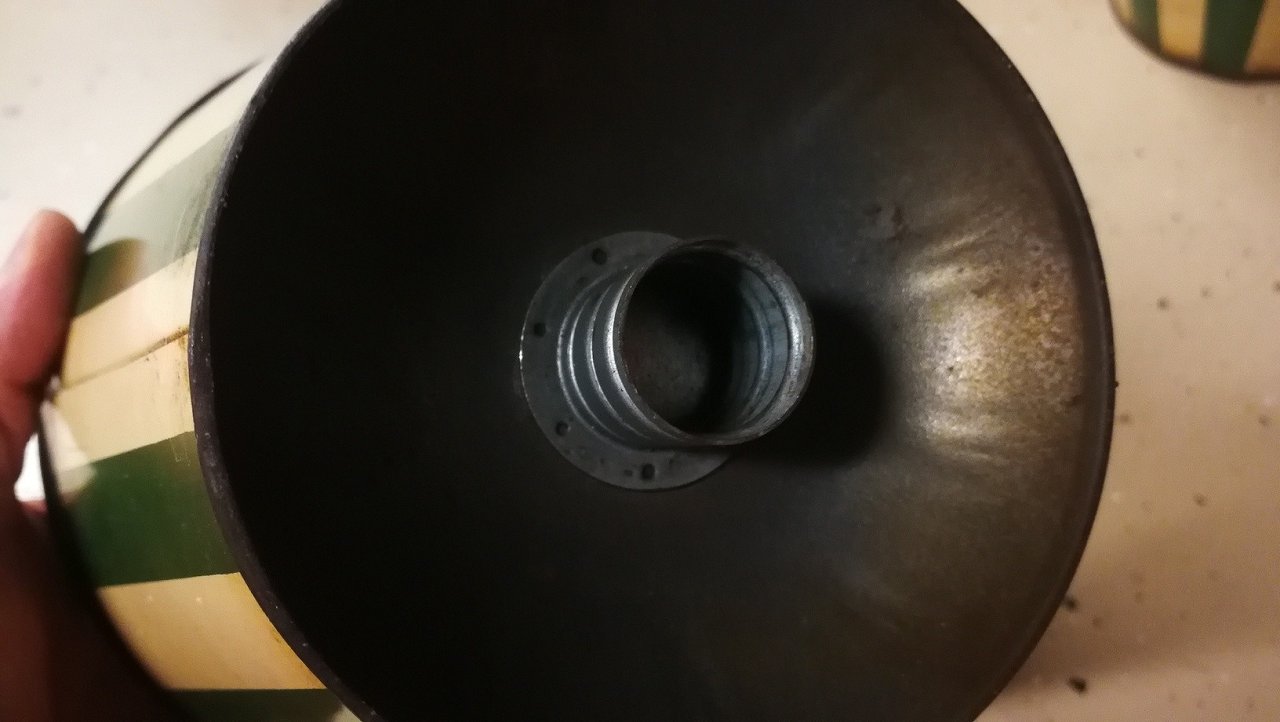
On the base of the pots, there's a cylinder for mounting to a post that fit our pipes snugly:
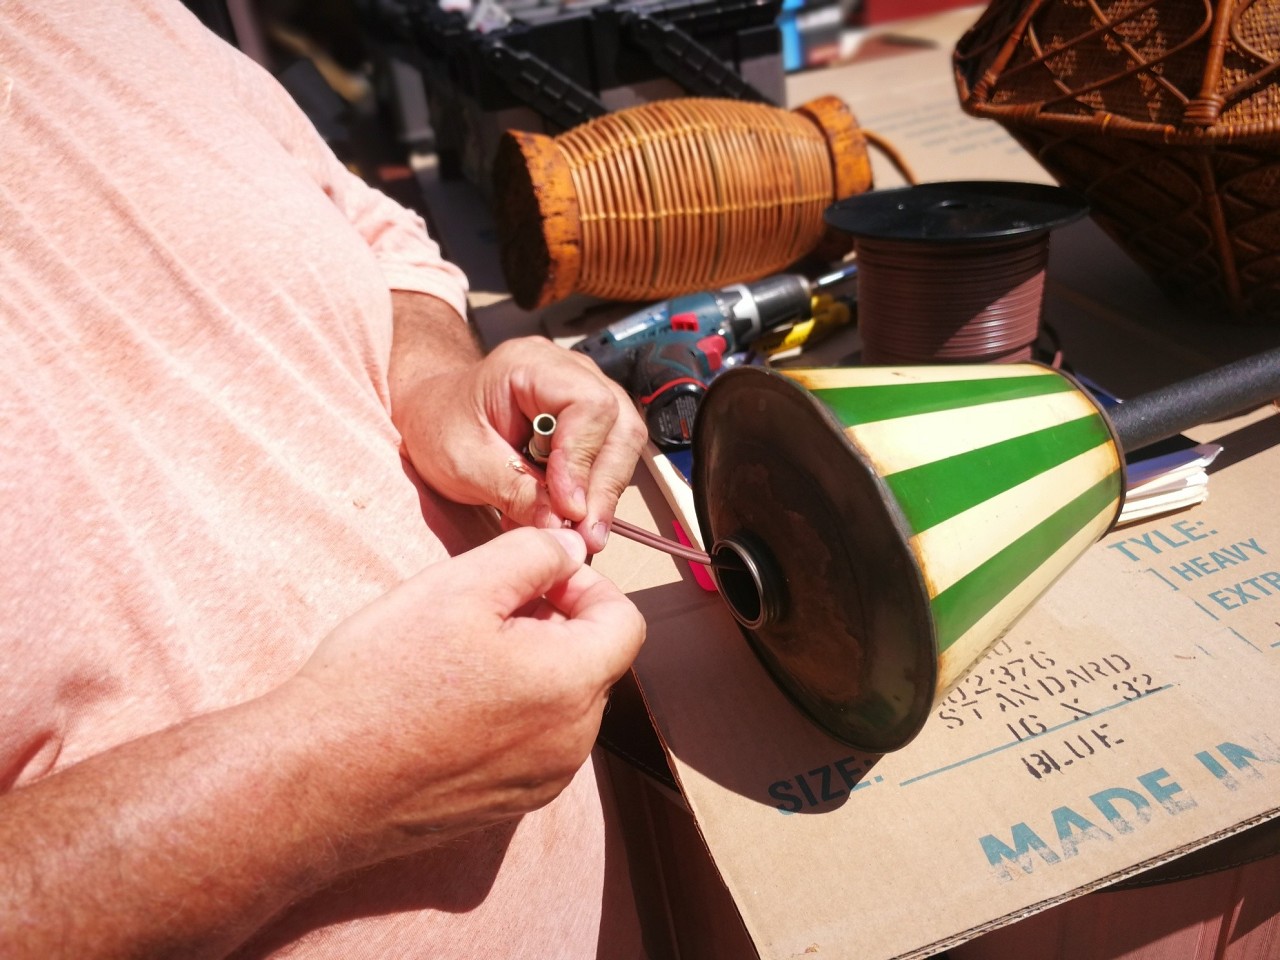
We had to drill a hole there so we could get wiring through, and Tikiskip took out the old wicks from the pots and then fed lamp wire through the whole thing:
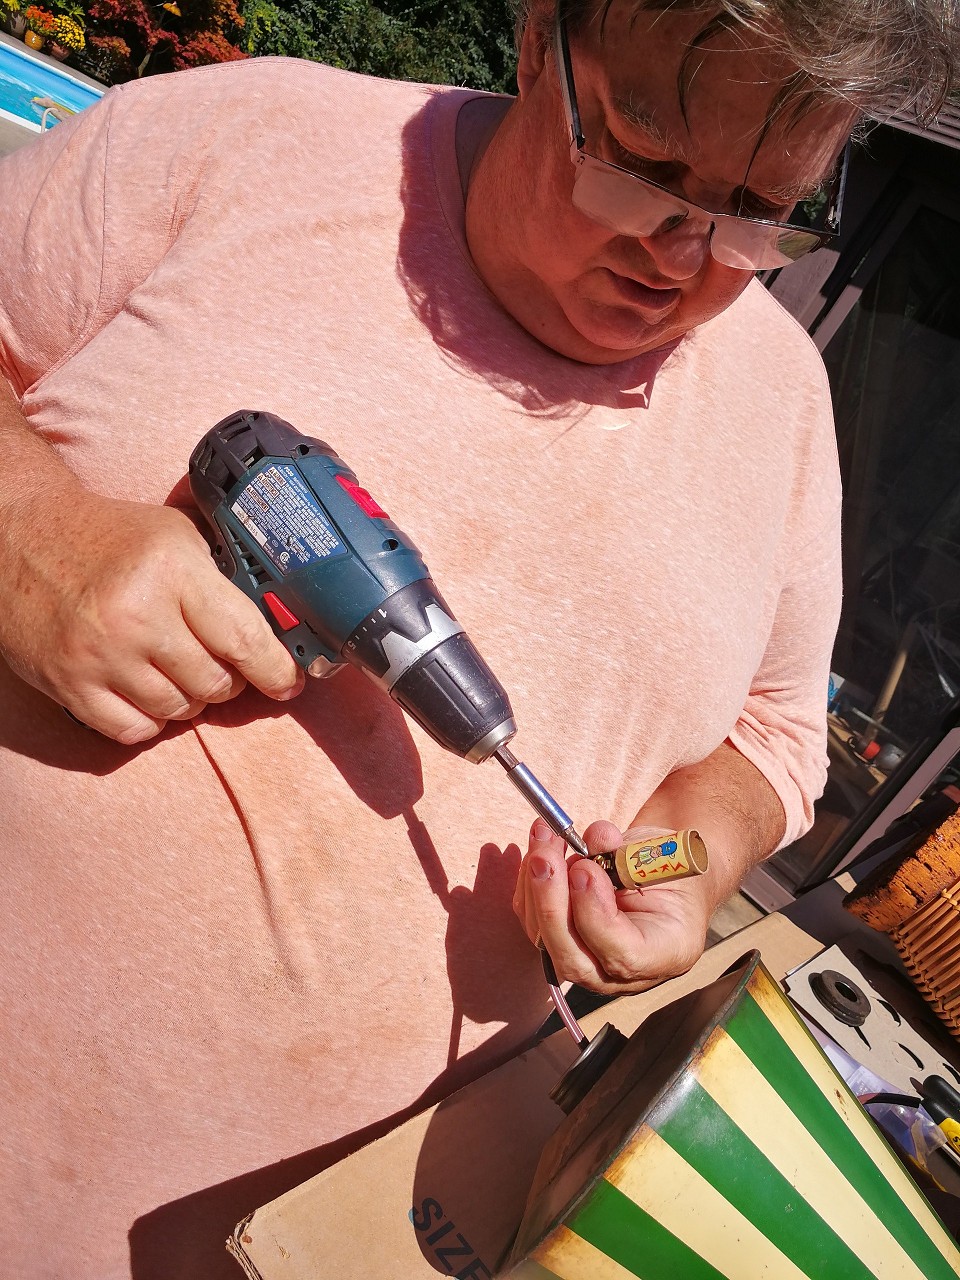
If you've ever seen a Tikiskip lamp up close, you know he's got very special bulb bases. These were no exception:
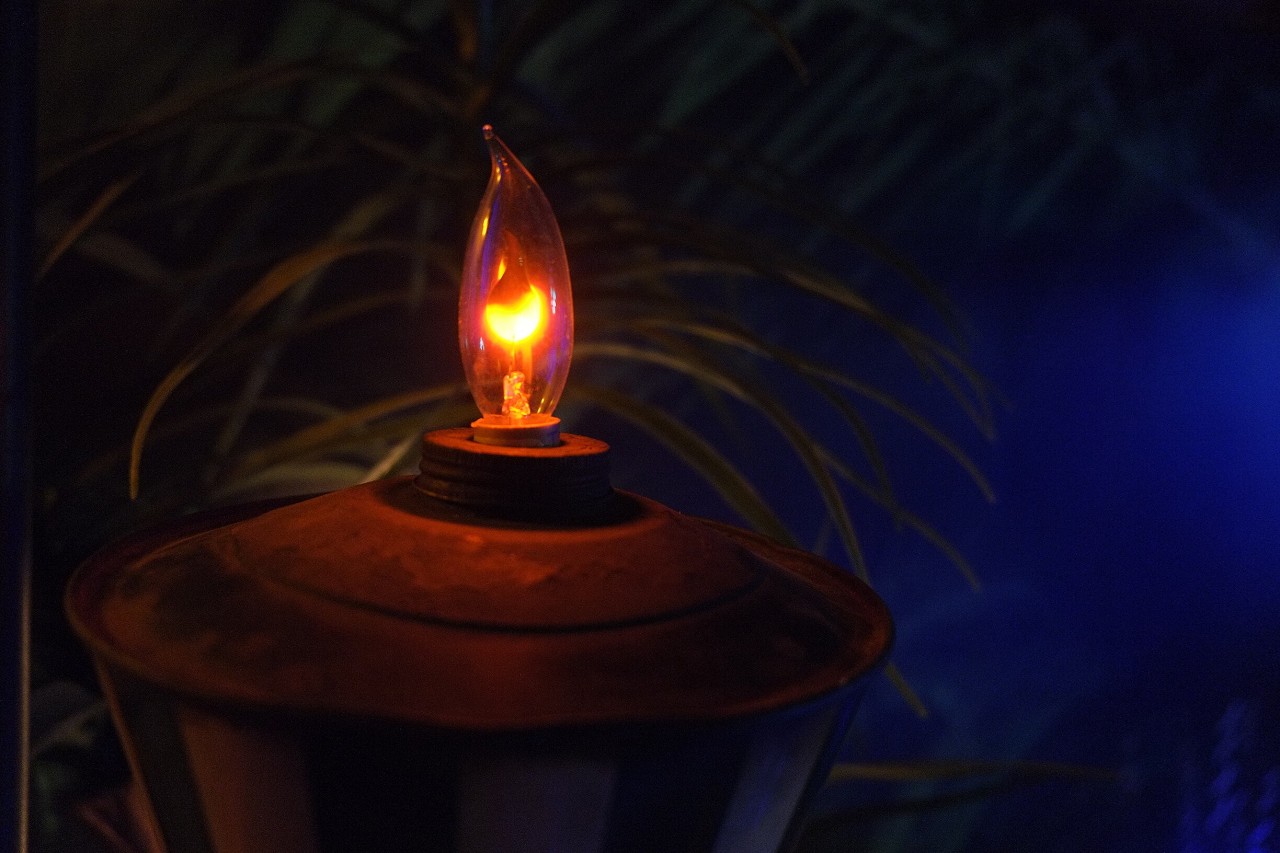
Then Tikiskip put some candelabra flicker bulbs in the top. They're all wired up and ready for the base:
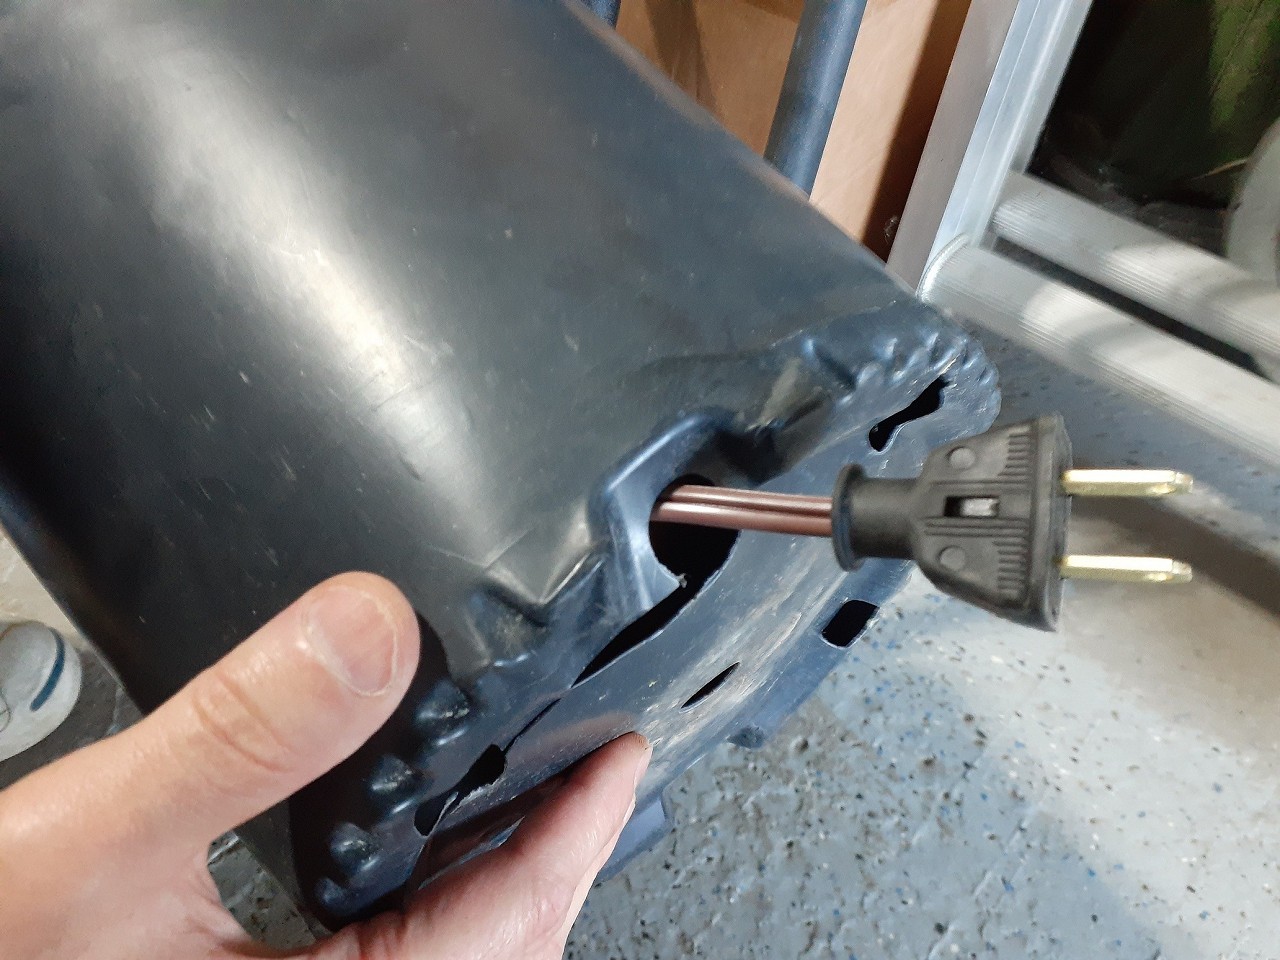
At the base the two sets of wires were soldered together. We needed a base, and Tikiskip had a simple 1 gallon planter, the black plastic kinds you get at the nursery when you buy a plant ... we just made a few slits on one of the bottom holes to get the plug through:
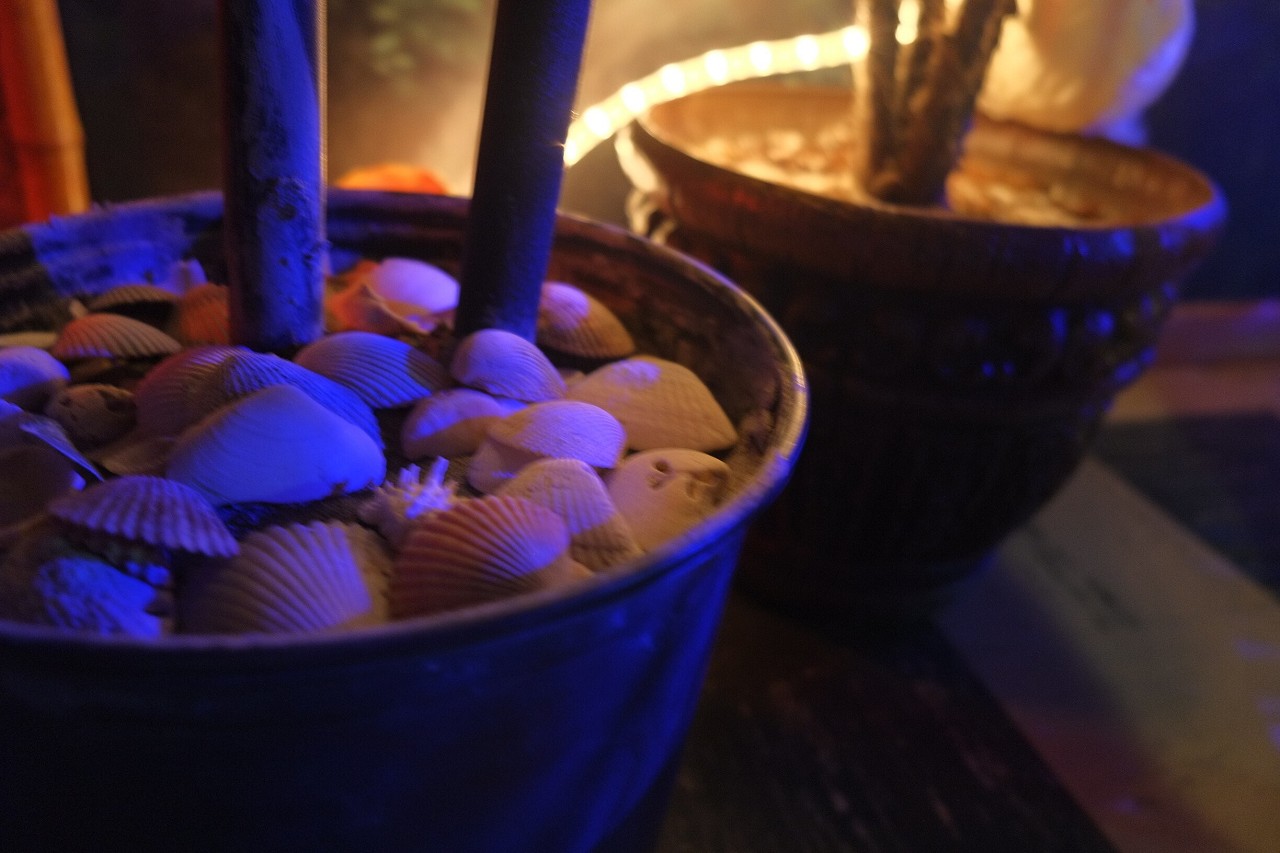
Then back at home we mixed up some Quickcrete concrete patch. Marie held the posts in the planter while I slapped in the concrete ... filling the pot but leaving about an inch from the top for other decor. The concrete actually dried pretty quickly. We could let go after five minutes ... we had a stepladder to lean the pipes against, and just to be safe let it sit there overnight. Then we went to the workshop and got out a handy dandy coffee can labeled "shells from Treasure Island" and put some on the top. The dried concrete actually looked like beach sand anyway, but the shells were an extra fun touch:
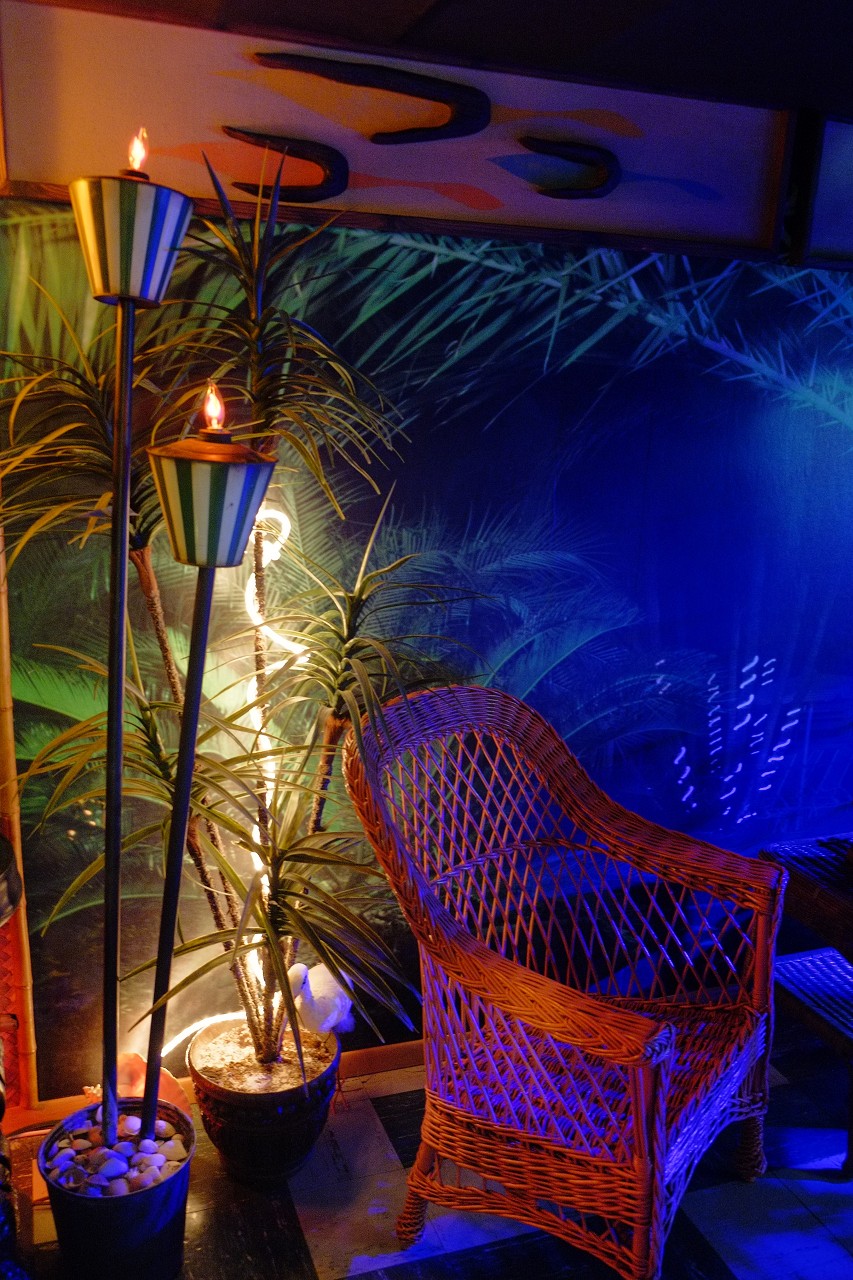
Then all we had to do was get it into place and plug it in ... and it really had that exciting backyard tiki torch glow:
[ Edited by mike and marie on 2022-09-06 18:10:59 ] [ Edited by mike and marie on 2022-09-06 18:12:09 ] [ Edited by mike and marie on 2022-09-06 18:13:30 ] [ Edited by mike and marie on 2022-09-06 18:15:04 ] |