Tiki Central / Tiki Carving
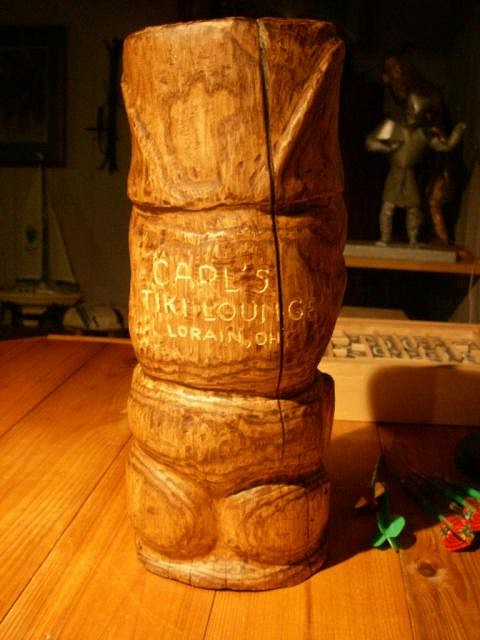
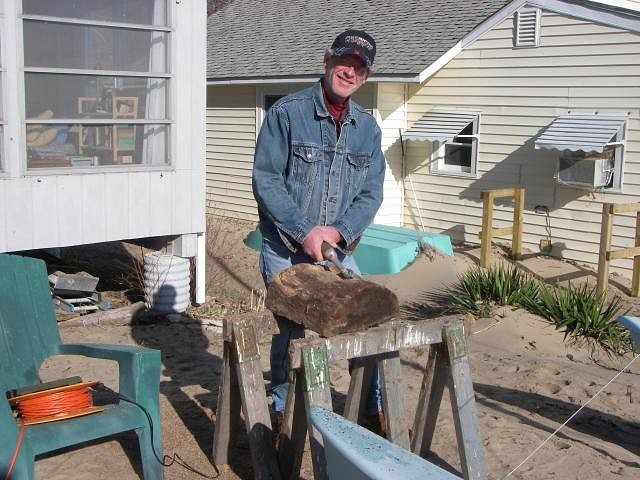
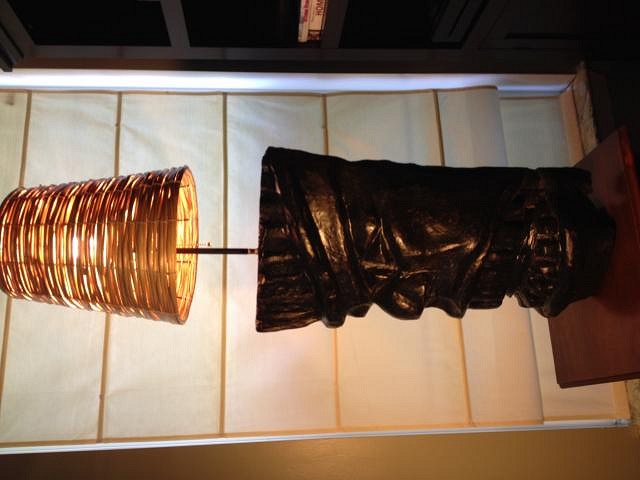
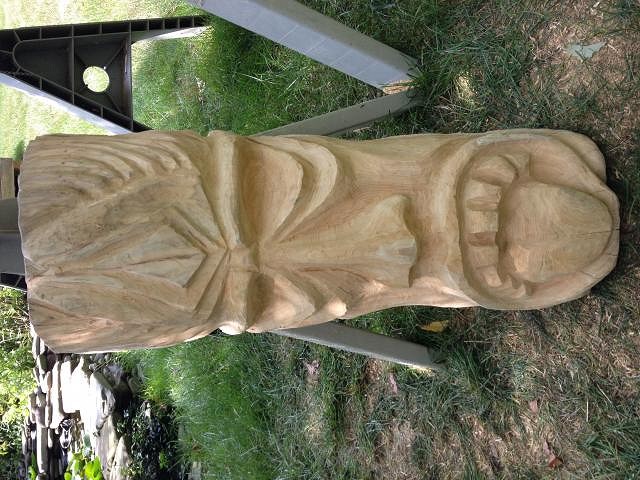
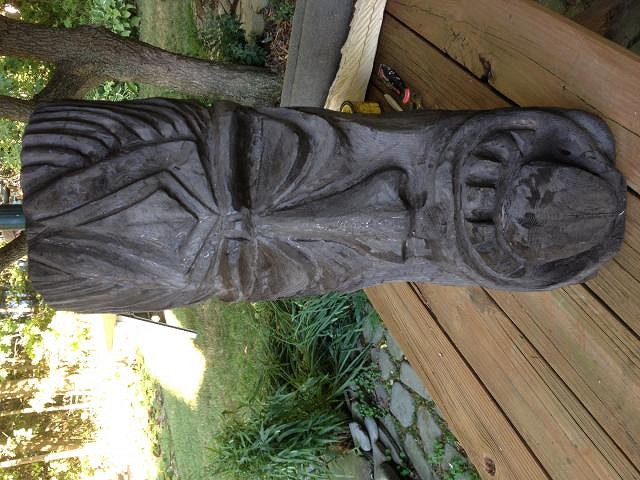
Fredz Hedz by Freddimon and Tikiware by Pelee Jan
|
TD
TIKI DAVID
Posted
posted
on
Thu, Sep 14, 2006 3:44 PM
FRED, couple things,first happy hour this friday.if you want,we can load those 2 palm logs in one of my trucks and i could bring them over on sat.and #2 you gotta see the 7ft. WITCO i scored on monday. you have got to see this,its awsome. let me know. TD |
|
T
tikigap
Posted
posted
on
Thu, Sep 14, 2006 6:03 PM
Tiki David! That's bad form! - getting us all hot and wet about a 7 foot Witco? Please post some pictures of it at least! Thanks TG drool drool |
|
F
Freddimon
Posted
posted
on
Fri, Sep 15, 2006 4:16 AM
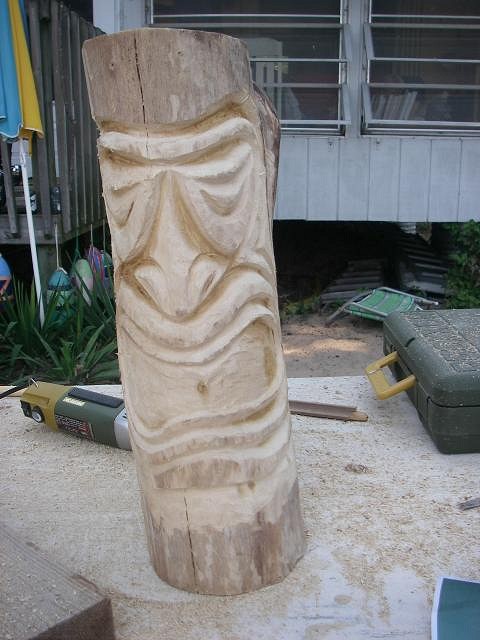
Yeah! I get to see the 7 ft. Witco live tonight! I'll help TD post some pix with his new camera if I can! Thanx Duddy, got the pattern idea from one of Benz's Tikis. Getting started this weekend on next one that is "bought" already. Using a mug from TBOT as a model. (See if you can figure out which one later). Benz, the wormy one was an easy carve, because I started with a 16 inch chain, then merlin 2 inch chain, 2 inch sanding discs on merlin, done. Used sanding sealer for the first time, too, then sparred it. |
|
F
Freddimon
Posted
posted
on
Sat, Sep 16, 2006 7:56 AM
Here's the link to TD's seven footer... Enjoy!! http://www.tikicentral.com/viewtopic.php?topic=20416&forum=5&start=last&54 |
|
F
Freddimon
Posted
posted
on
Sat, Sep 16, 2006 3:38 PM
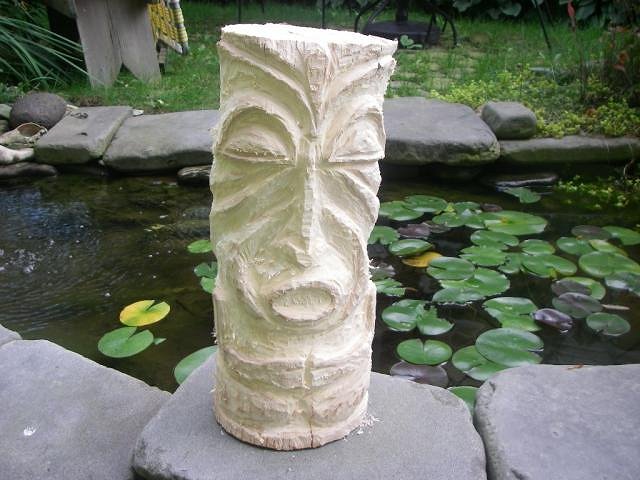
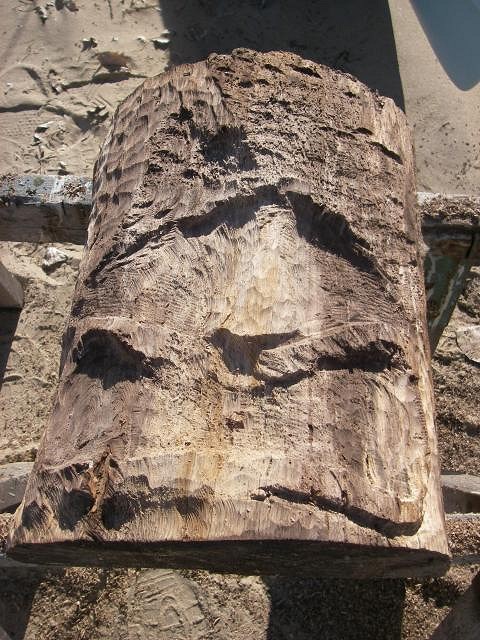
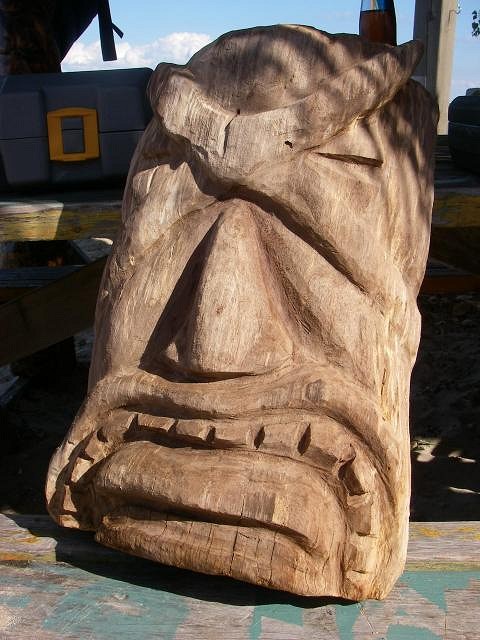
Here's a Merlin 2 inch chainsaw rough-out, about one foot tall, Tiki # 8...
|
|
F
Freddimon
Posted
posted
on
Sun, Sep 17, 2006 2:42 PM
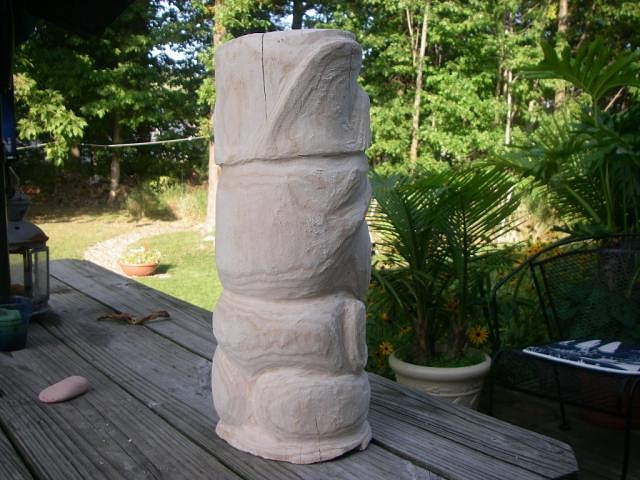
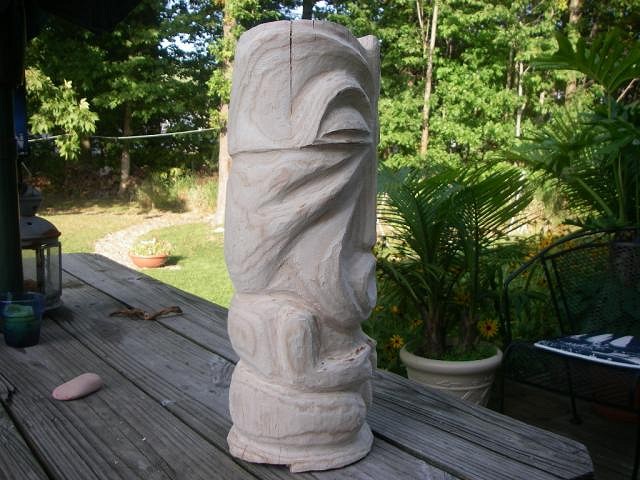
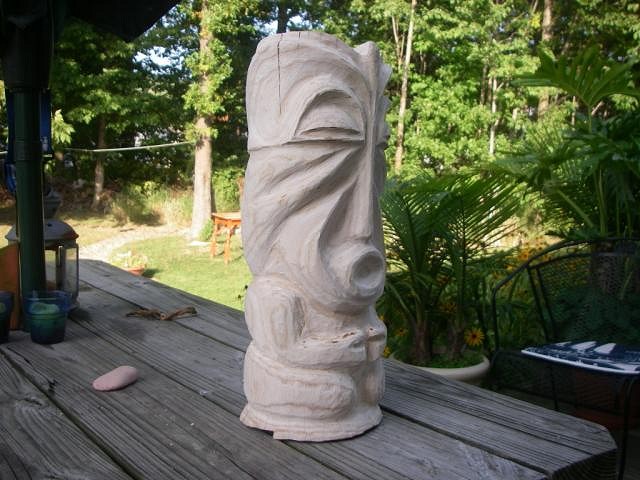
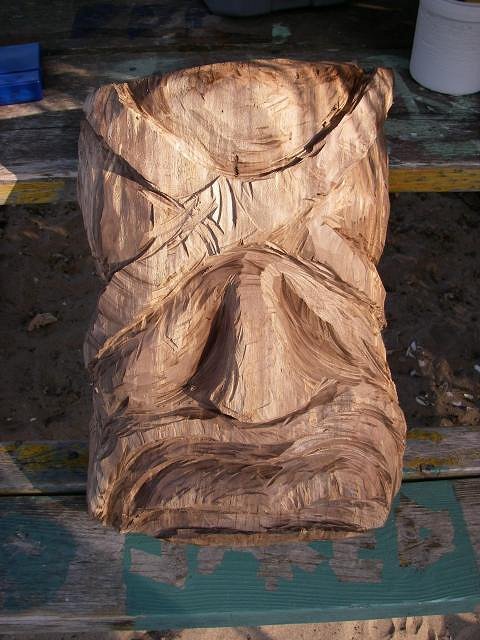
Here's more; 2 inch chainsaw for another hour, then 2 inch rough sander; and worked around the piece today... can you find its mate in TBT? |
|
TD
Tiki Duddy
Posted
posted
on
Sun, Sep 17, 2006 2:55 PM
that looks good man cant wait for more. |
|
F
Freddimon
Posted
posted
on
Sat, Nov 25, 2006 3:10 PM
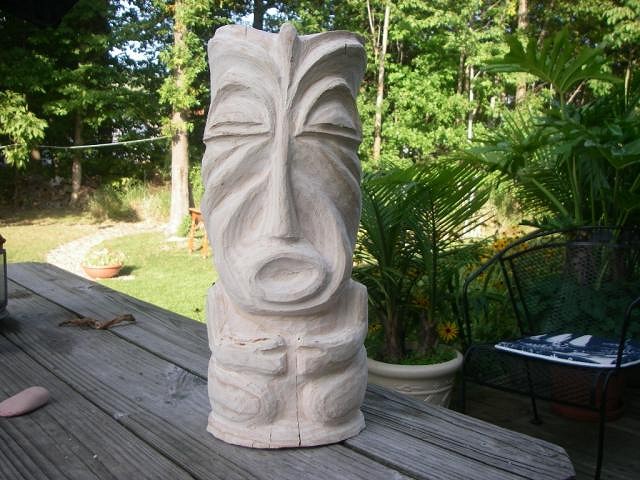
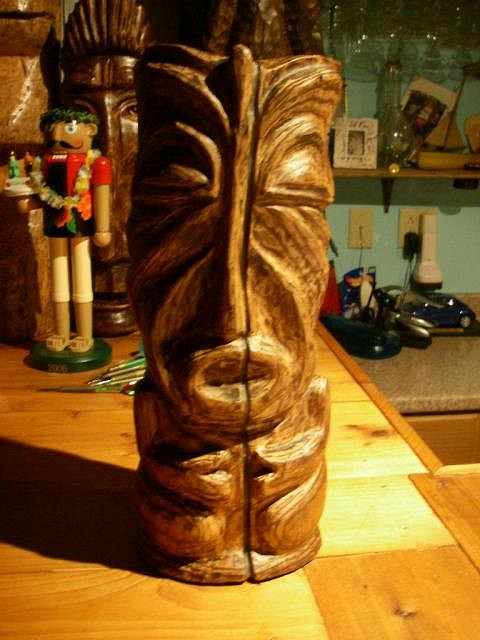
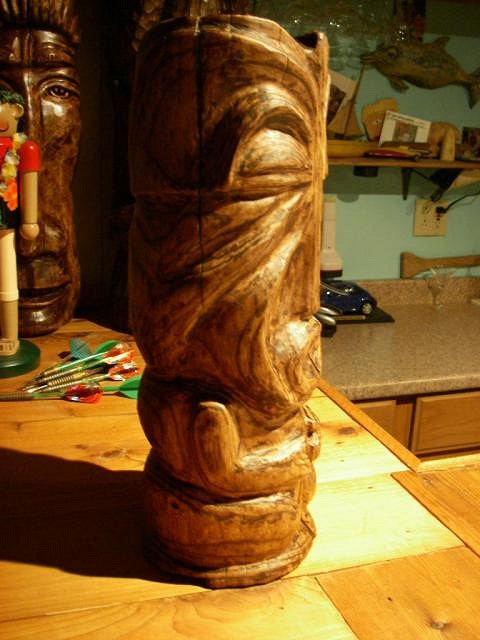
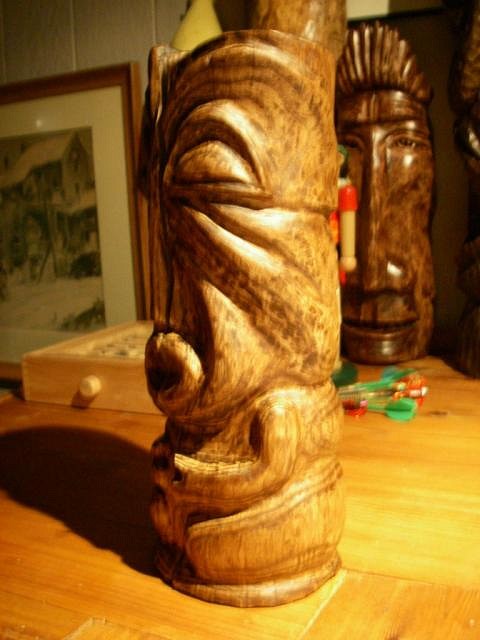
Well... it's been a few months since my last update, so I hope this is good enough. No. 8 is done... The weather here has been anti-Tiki every time I have time and could work outside... until the last few weeks. Actually warm here for Turkey Day! Bummer was that this pear wood one split down the middle after I was done carving it. I was so distrought... that I had to save him. I caulked the cracks with clear Alex, and it kind of looks like wax in there. I hope that the eventual owner won't be too disappointed, and think it looks cool... [ Edited by: Freddimon 2006-11-25 15:12 ] |
|
F
Freddimon
Posted
posted
on
Wed, Aug 8, 2007 6:38 PM
Well, it's been a really long time for a carving post for me, and regrets for sure! First it was too cold to do it, now it's too hot! Well here is... what I've done so far this year: |
|
B
Benzart
Posted
posted
on
Wed, Aug 8, 2007 8:47 PM
Getting some Nice stuff Freddimon. Keep up the good work. |
|
F
Freddimon
Posted
posted
on
Sat, Aug 11, 2007 4:01 PM
Thanx Benz! I'm very guilty of not following your or anyone's thread lately, but at least I'm carving.... |
|
F
Freddimon
Posted
posted
on
Wed, Aug 29, 2007 6:37 PM
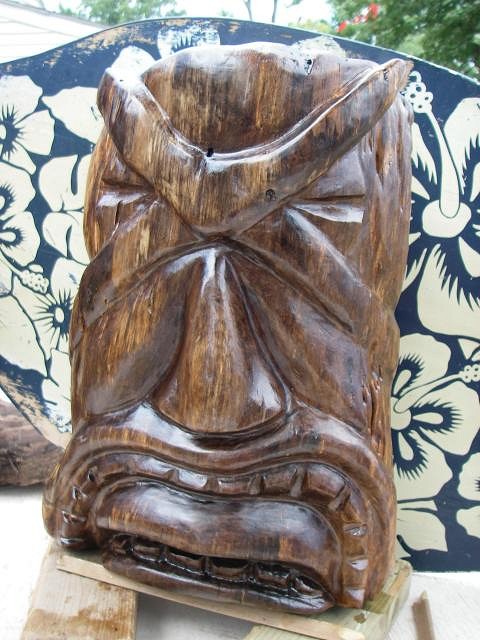
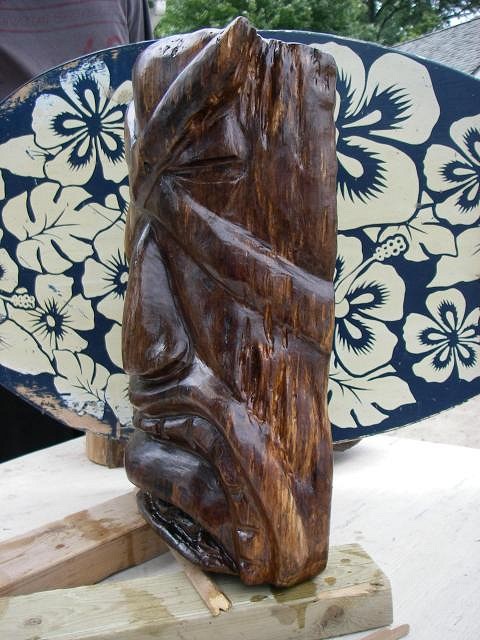
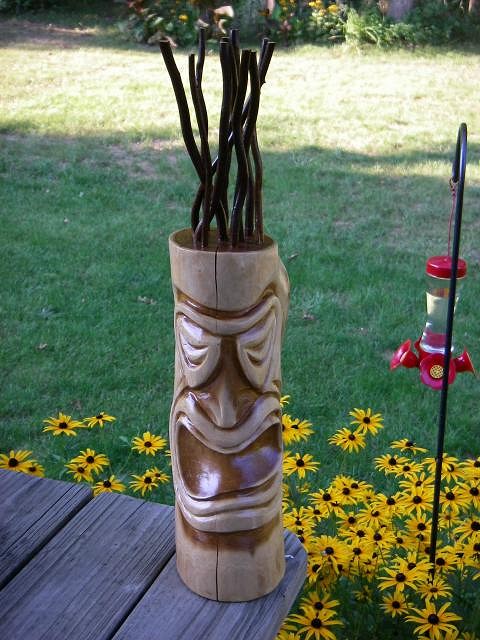
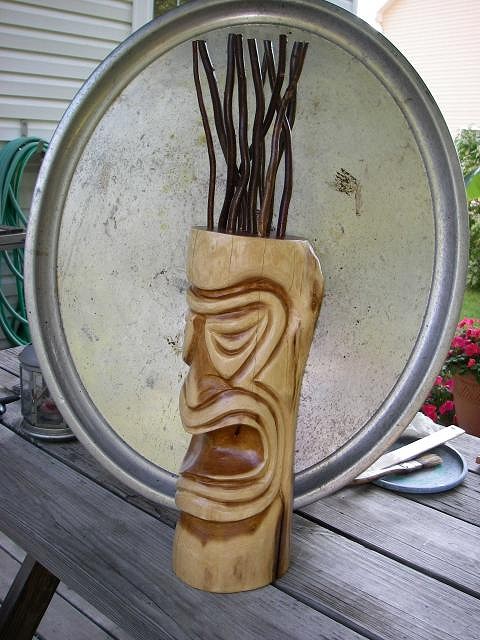
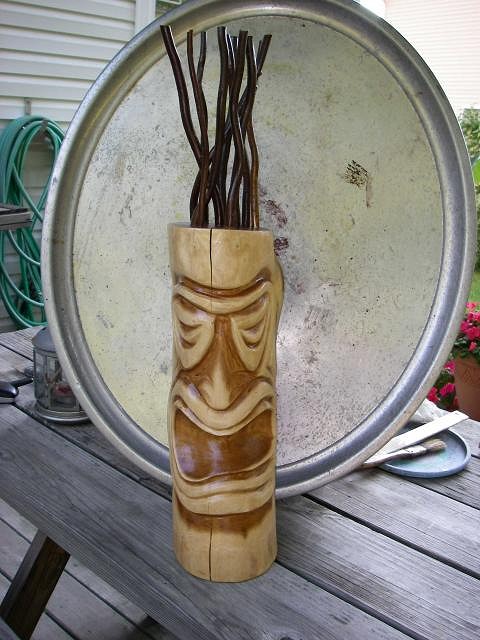
Here are some pix of finished Tiki #10 and newest Tiki #11. |
|
H
hewey
Posted
posted
on
Wed, Aug 29, 2007 9:31 PM
Not sure how I missed this thread, you;ve got some really nice tikis mate. Very nice style to em. These 2 are definitely my favourites though.
Sweet! |
|
B
benella
Posted
posted
on
Thu, Aug 30, 2007 12:09 AM
WOW very good work. Benjamin. |
|
F
Freddimon
Posted
posted
on
Mon, Sep 3, 2007 5:38 PM
Thanx Hewey! Funny, they are both versions of something I found in the "Book of Tiki". They kind of look like the Tiki in the BOT pic with the husky bearded Tiki artist, chain saw in hand, carving a really huge, fat log. Don't have the "book" here or I'd give you the guy's name... sorry! |
|
S
surfintiki
Posted
posted
on
Mon, Sep 3, 2007 7:01 PM
OOh yeah! That's great stuff. That's Leroy shmaltz design at the top there. Ya gotta add that to AA's old post, "Post your "Leroy" here"! http://www.tikicentral.com/viewtopic.php?mode=viewtopic&topic=11934&forum=7&start=75&hilite=leroy |
|
F
Freddimon
Posted
posted
on
Tue, Sep 4, 2007 5:47 PM
Surfintiki, they're up on the "Reloy" post! Thanx! |
|
F
Freddimon
Posted
posted
on
Tue, Oct 16, 2007 4:26 PM
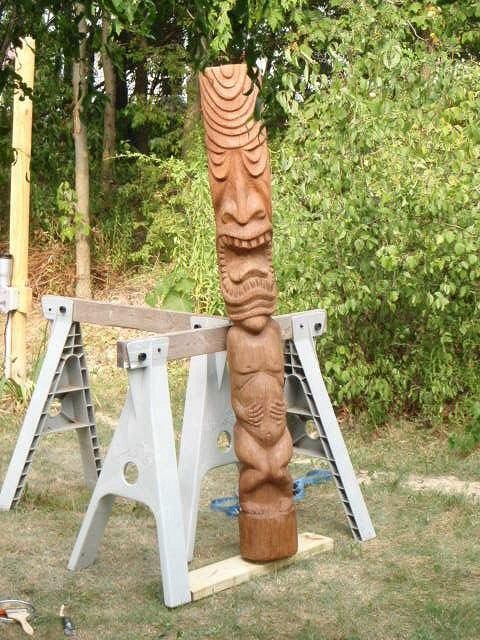
Here's an update of the latest (6 Ft.) Tiki. I bought a 14 tooth Lancelot to go in tandem with the 22 tooth and now I'm cuting through this palm like it was butter. I have to really watch that I don't go too far with this tool arrangement, it's so fast! OOPS.... Just realized the pix were out of focus so I'll take more tomorrow and post asap... [ Edited by: Freddimon 2007-10-16 16:27 ] |
|
F
Freddimon
Posted
posted
on
Wed, Oct 17, 2007 5:42 PM
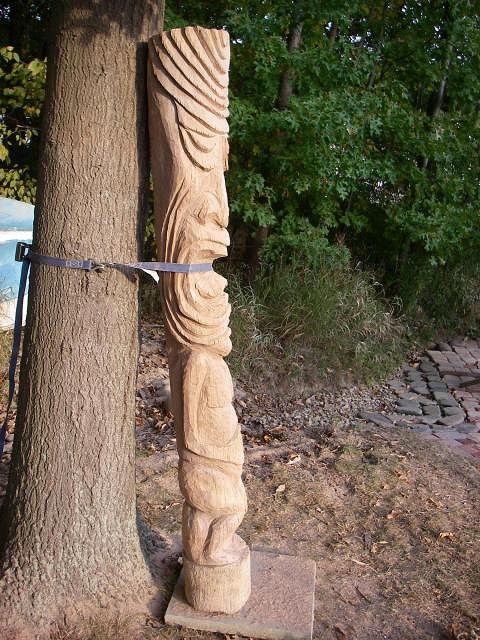
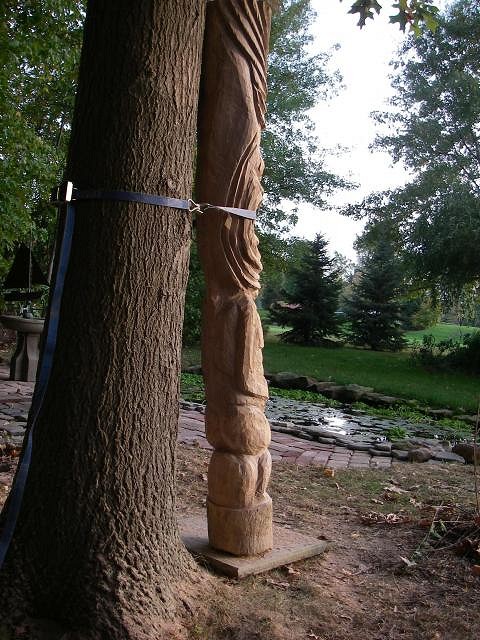
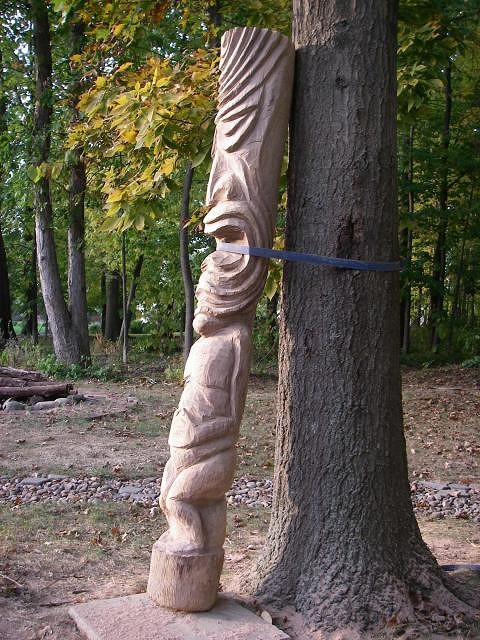
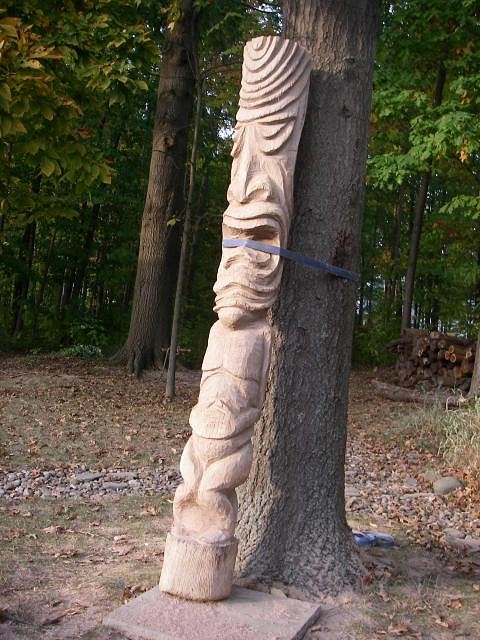
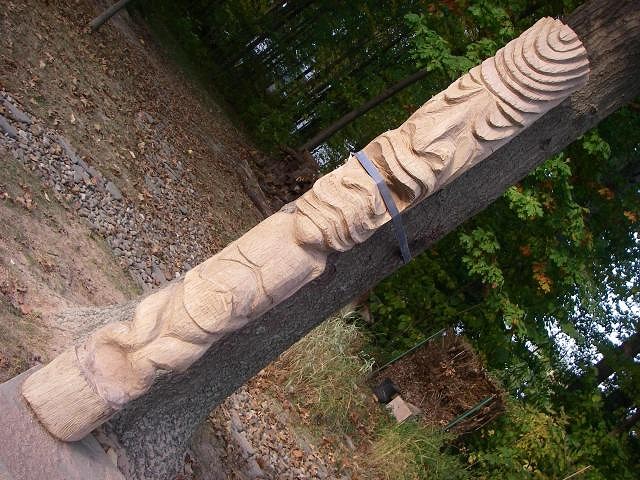
OK, Here's some pix..... How do I fix this monster to a base?
|
|
TD
TIKI DAVID
Posted
posted
on
Sat, Oct 20, 2007 3:17 PM
nice job fred, is that palm? |
|
F
Freddimon
Posted
posted
on
Sun, Oct 21, 2007 6:31 PM
Hi TD! Yes that's the log you brought back from FL and gave me!. Nice piece of lumber... Has a lot of seasoned quality to it... Really big and heavy... I need to figure out how to stand him up good so he doesn't kill someone! |
|
B
Benzart
Posted
posted
on
Sun, Oct 21, 2007 6:50 PM
definitely an Excellent tiki freddi! You gave him a Ton of sweet detail. You can drill holes up from the bottom, insert rebar or steel pipes or bars, and plant him into a cement slab, OR you coulddrill out a couple holes in his back large enough for a couple pieces of angle iron. Stick the angle iron out about 18 inches and stand him on a block against that tree and then drill corresponding holes in the tree. Then back him up to the tree so the angle irons slide into the holes, remove the block and he should be suspended off the ground held up by the tree. Of course you want the holes angled correctly and plumb so that he stands up straight. Also account for glue, cement, spikes, or some other memans to secure the angle irons. |
|
TD
TIKI DAVID
Posted
posted
on
Tue, Oct 23, 2007 6:37 AM
fred, no,no no, never set your tiki into cement.10 times more no's for palm wood. call, me bring it over .i'll show you what to do. david. hey! by the way, how's the chair? |
|
F
Freddimon
Posted
posted
on
Tue, Oct 23, 2007 4:54 PM
Thanx Benz! I was thinking of the cement version of mounting too. Sounds like TikiDavid doesn't like the idea, but this one is going to be kept indoors, so maybe it's OK to mount that way. How heavy a chunk of concrete to keep it steady / ratio? TD, what do you think? |
|
S
seeksurf
Posted
posted
on
Tue, Oct 23, 2007 5:04 PM
Wow how did i miss your post? You have some really nice carvings Yes he is looking top heavy |
|
F
Freddimon
Posted
posted
on
Wed, Jun 4, 2008 7:49 PM
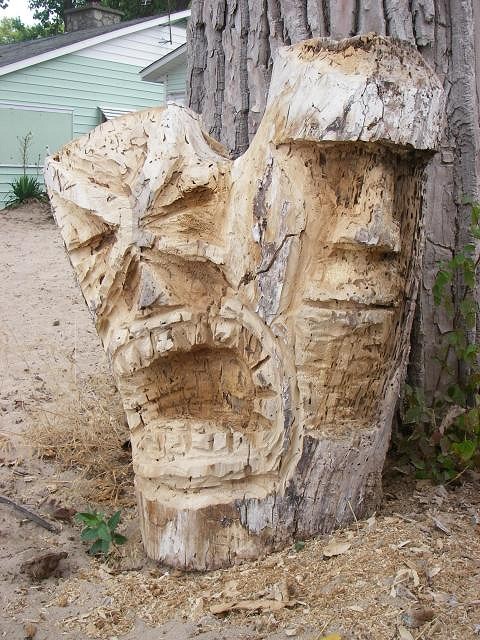
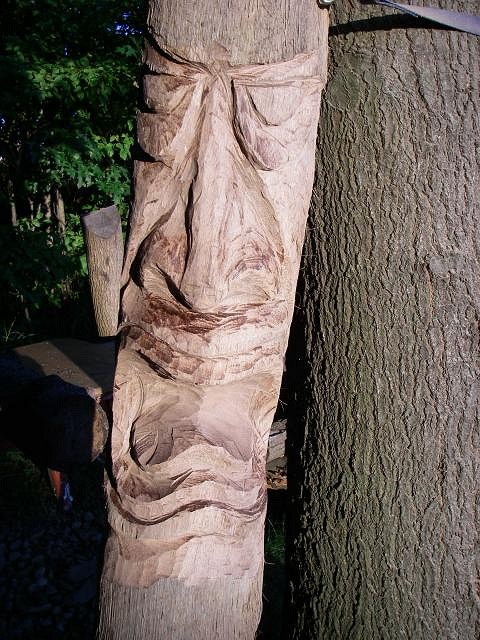
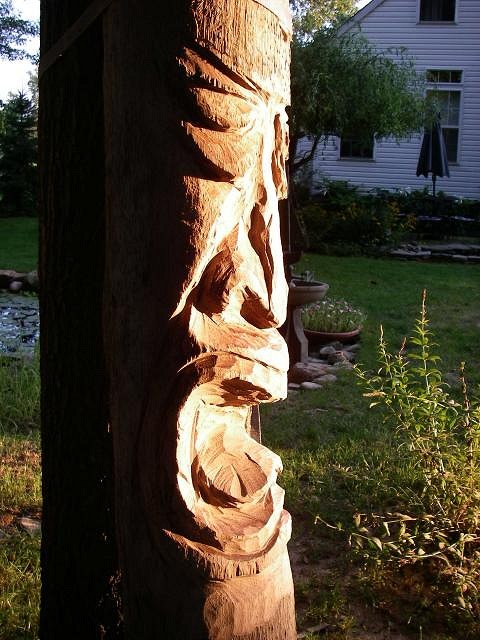
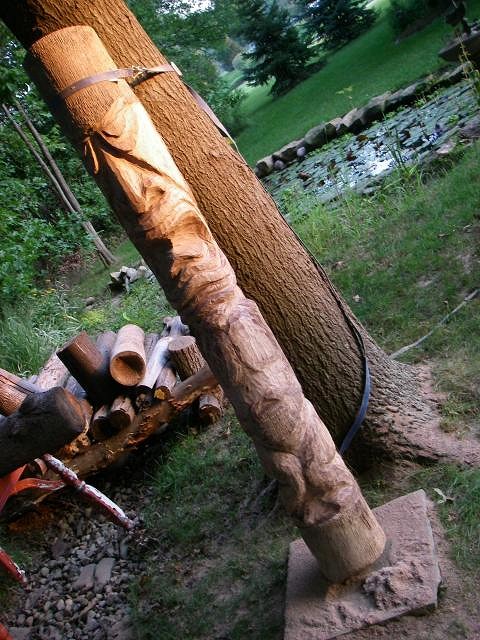
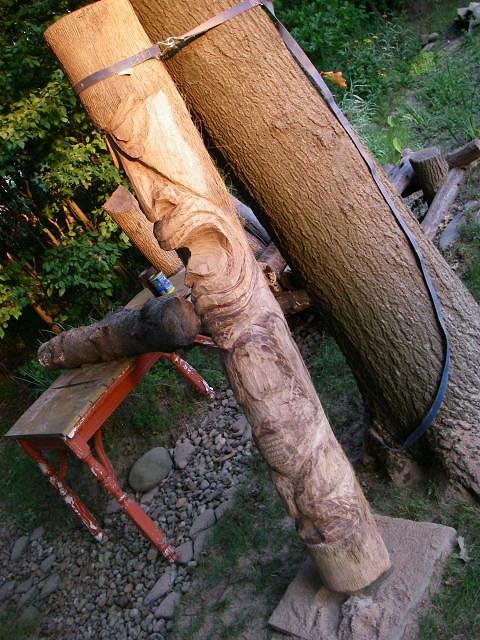
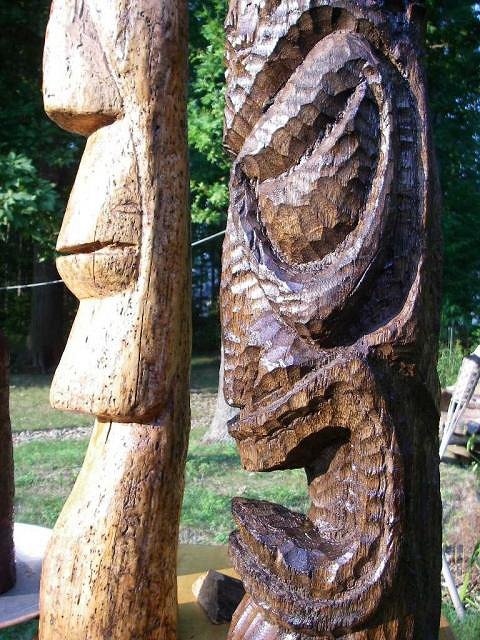
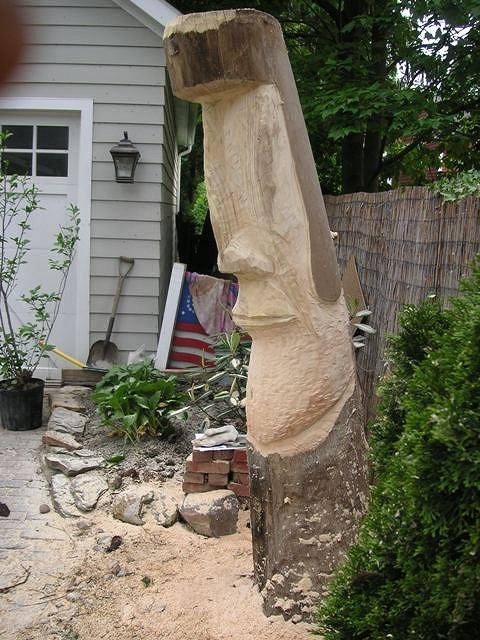
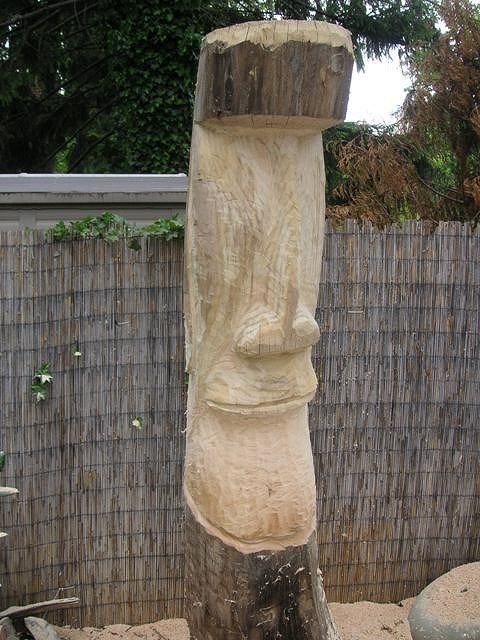
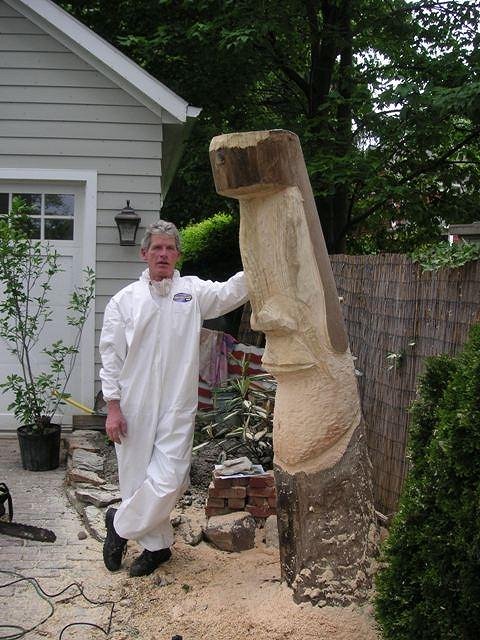
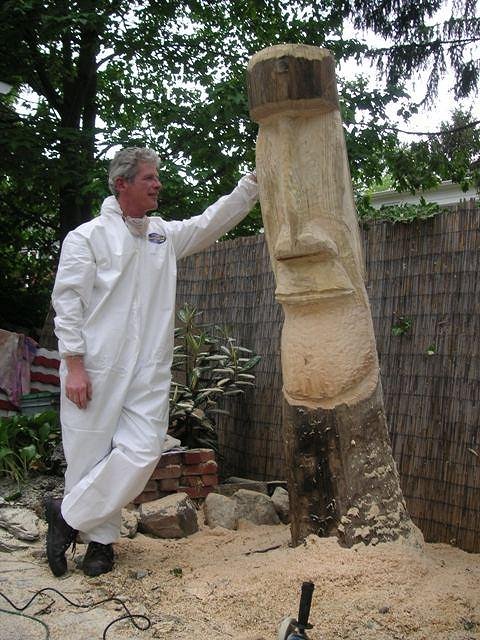
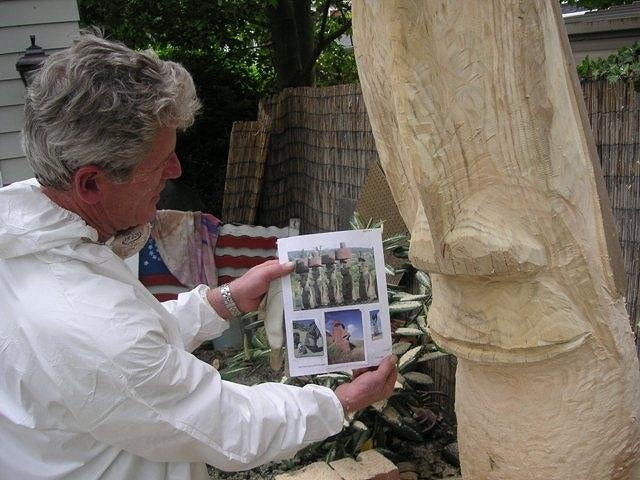
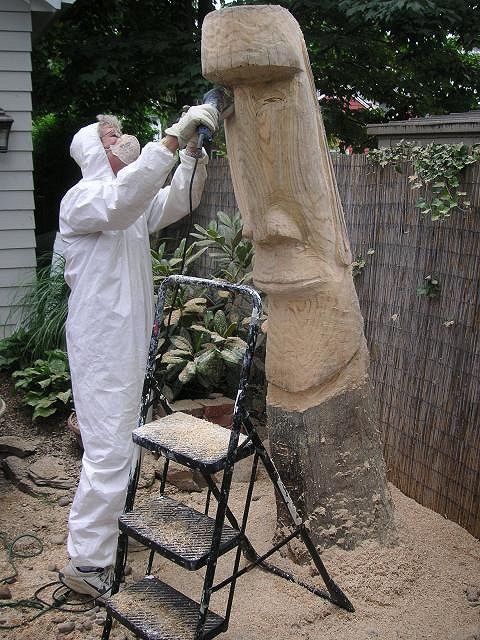
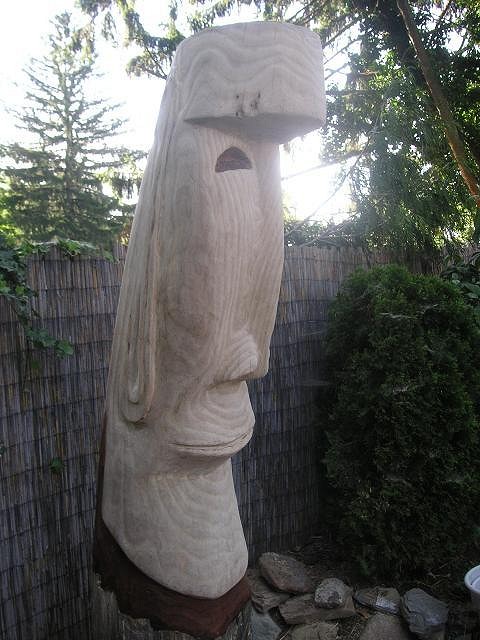
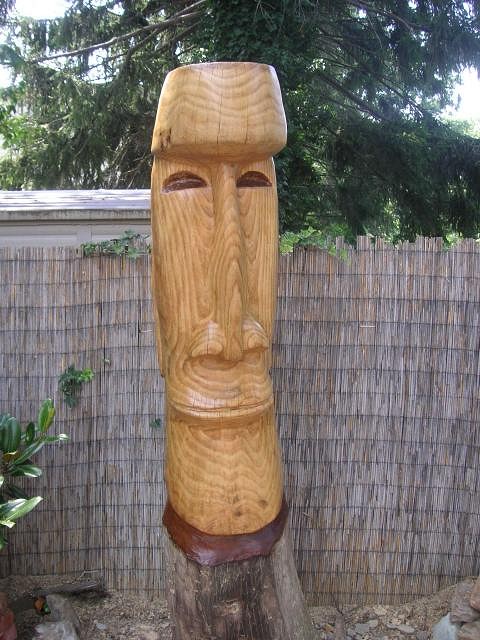
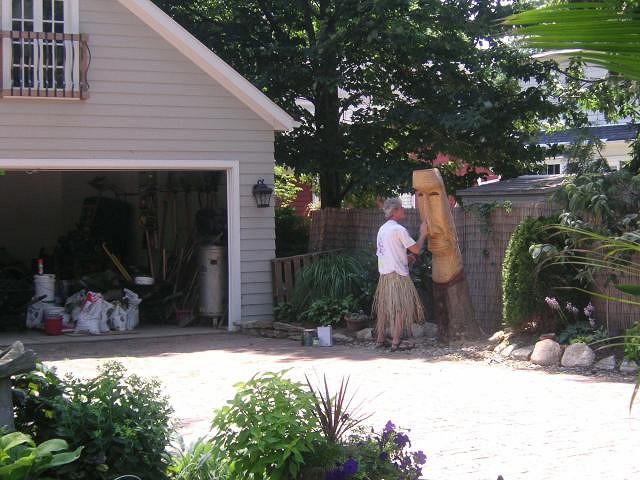
Wow, I've been away for a while, and I have a lot of Tiki viewing to do. I must catch up with all my fave idols on TC, and I mean the carvers, and the work they do!!! I'm about 6-2, so this is easily the biggest yet for me. This stump is of the same wood they use for baseball bats. It was so sinuey that I had to stop last year when it was freshly de-barked and let it age... hoping it would be cuttable with any type of chain saw. I was happy to find I was right about that one! Used a double Lancelot/grinder to do this so far. So here's what I'm working on now:
|
|
TD
TIKI DAVID
Posted
posted
on
Wed, Jul 2, 2008 3:09 PM
bump it |
|
S
seeksurf
Posted
posted
on
Wed, Jul 2, 2008 4:57 PM
Great Job on the big sucker! |
|
F
Freddimon
Posted
posted
on
Thu, Jul 3, 2008 3:18 PM
Thanx TikiDavid... I'm bumping things up big, Aye? Seeksurf, it's already taken 'cause it's in my sis' back yard... She really loves it too! More pix coming, it's almost done on the carving and sanding now... |
|
F
Freddimon
Posted
posted
on
Wed, Jul 9, 2008 7:06 AM
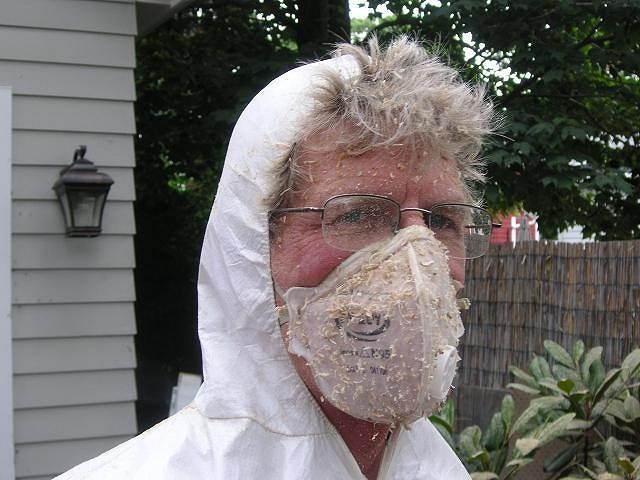
Sanding, more sanding and getting dusty! |
|
T
tikifreak1
Posted
posted
on
Wed, Jul 9, 2008 7:11 AM
That's what I'm talkin about Freddimon!! Lookin great. |
|
T
tikithomas08
Posted
posted
on
Wed, Jul 9, 2008 9:20 PM
standing ovation! that is one killlerrr moai dude! |
|
B
benella
Posted
posted
on
Thu, Jul 10, 2008 8:38 AM
Superb moai. I love the grain. Benjamin. |
|
F
Freddimon
Posted
posted
on
Mon, Jul 14, 2008 4:48 PM
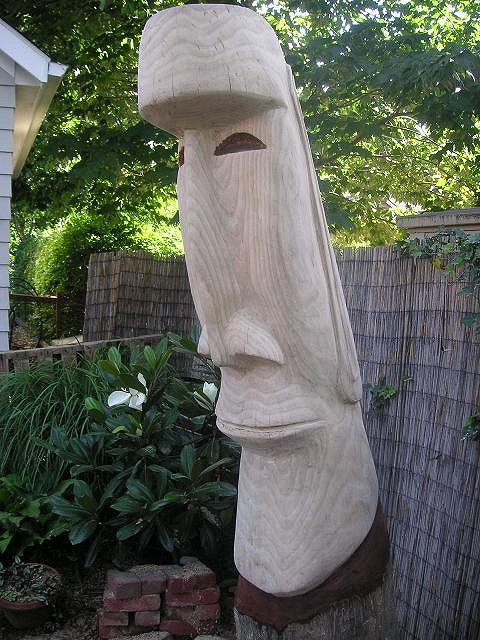
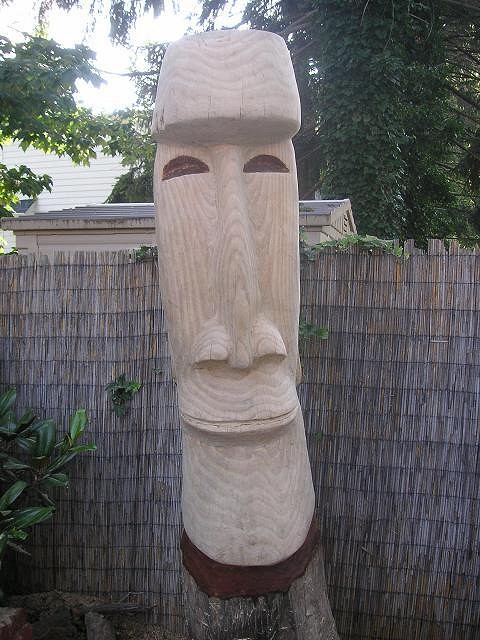
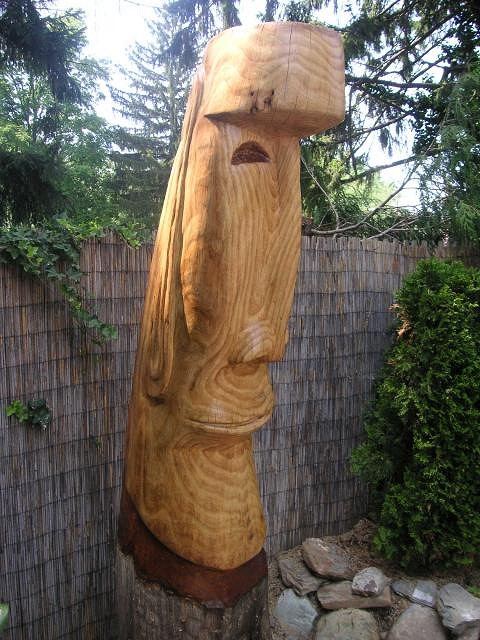
Thanx tikifreak! This is my greatest BIGGEST so far! Tikithomas thanx for the S.O.! I'm lucky to be still standing after this one myself! Benella, thanx, too. Check out the grain now... sanding done and a little eye stain now...
|
|
F
Freddimon
Posted
posted
on
Thu, Jul 17, 2008 6:08 PM
Here's the finished pix...
|
|
F
Freddimon
Posted
posted
on
Fri, Aug 22, 2008 2:35 PM
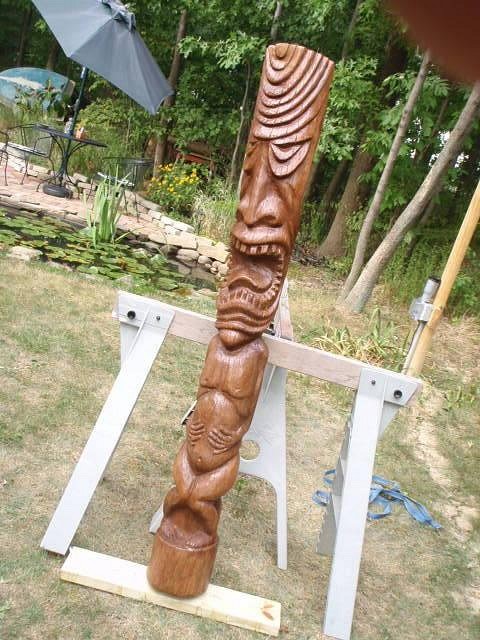
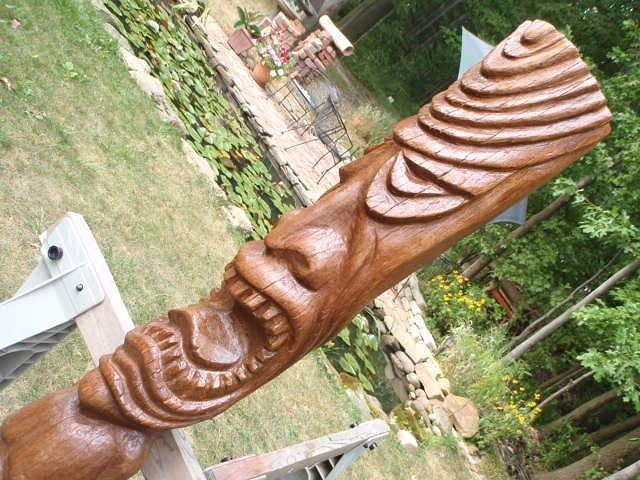
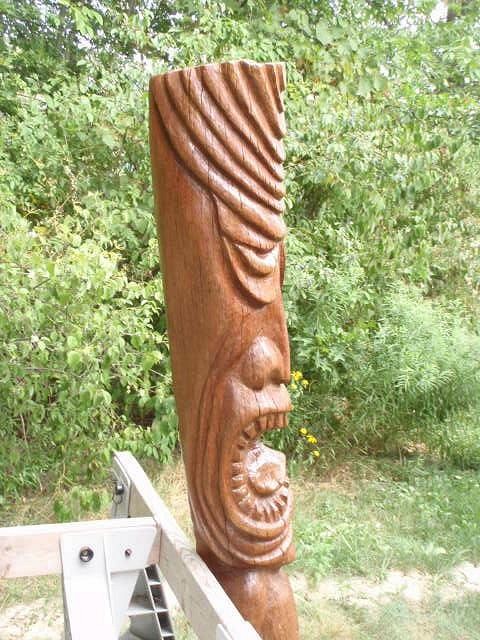
Finally... Here's # 11 from last summer... Finished almost... Stained and then varnished once... |
|
B
Benzart
Posted
posted
on
Sat, Aug 23, 2008 6:31 AM
Woah, Freddi! The MOAI finished up Great and the grain really Pops with the finish. Excellent piece there and THEN along comes # 11, More WOW's, Cool stuf! Find some MORE of those old Photos.:P |
|
F
Freddimon
Posted
posted
on
Fri, Aug 26, 2016 9:44 AM
[ Edited by: Freddimon 2016-08-26 09:45 ] [ Edited by: freddimon 2016-08-26 11:46 ] |
|
F
Freddimon
Posted
posted
on
Mon, Aug 29, 2016 2:39 PM
Visit http://www.fredmunkachy.com, Baynightscaping.com, clevelandrainbarrel.com [ Edited by: Freddimon 2016-08-29 14:41 ] |
|
F
Freddimon
Posted
posted
on
Mon, Aug 29, 2016 3:24 PM
|
|
F
Freddimon
Posted
posted
on
Mon, Aug 29, 2016 3:48 PM
|

