Tiki Central / Tiki Carving
RIOTURBAN-Tiki carving process
|
R
RIOTURBAN
Posted
posted
on
Sun, Oct 28, 2012 6:51 AM
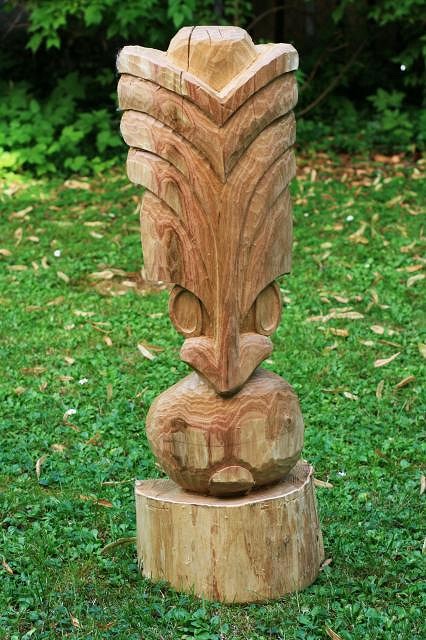
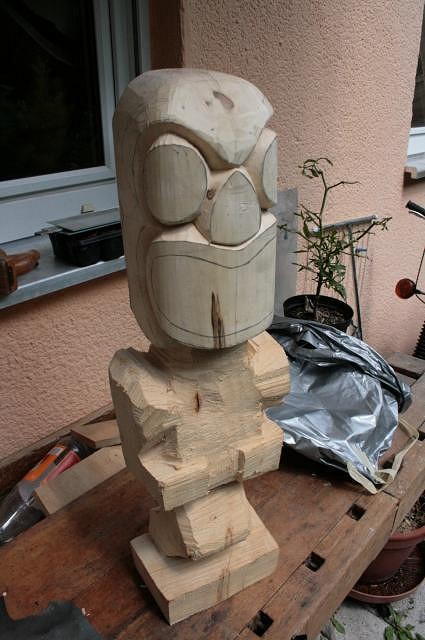
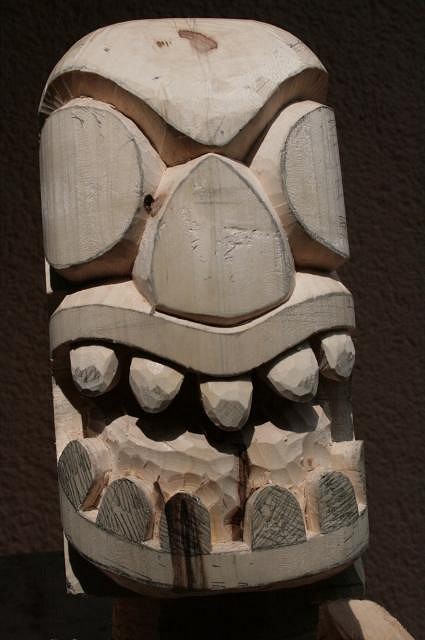
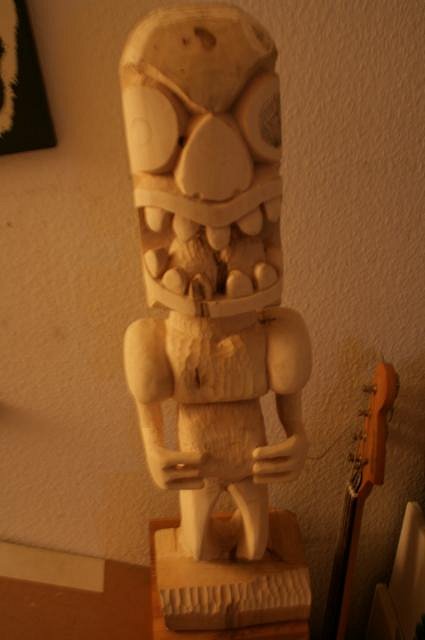
Hello Tikimaniacs, "THE WOODPECKER" the design rough shape
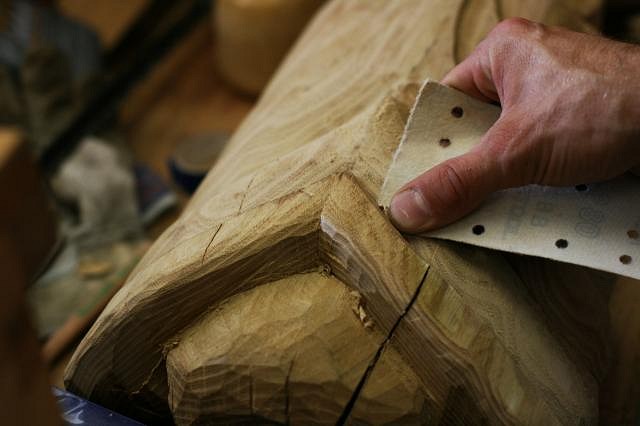
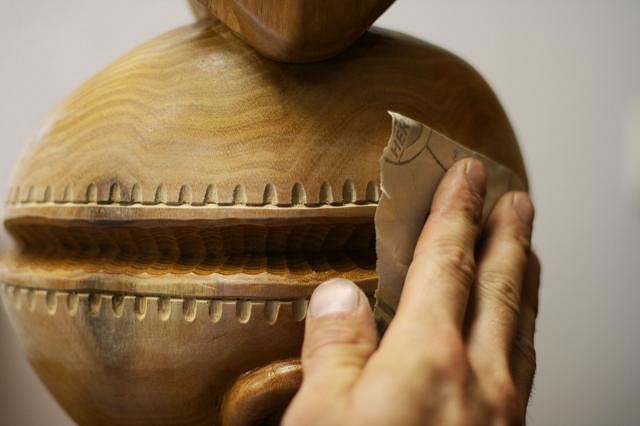
sanding the surface
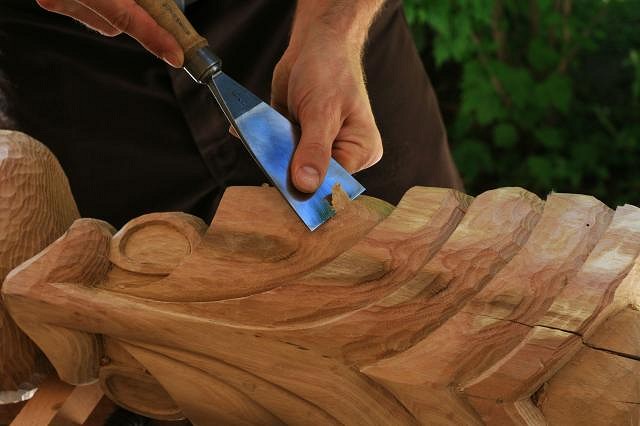
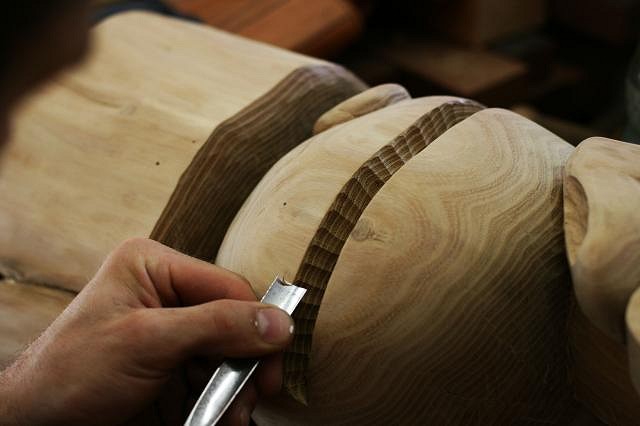
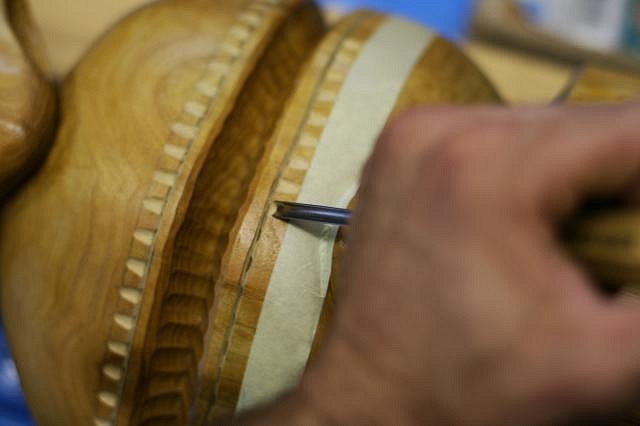
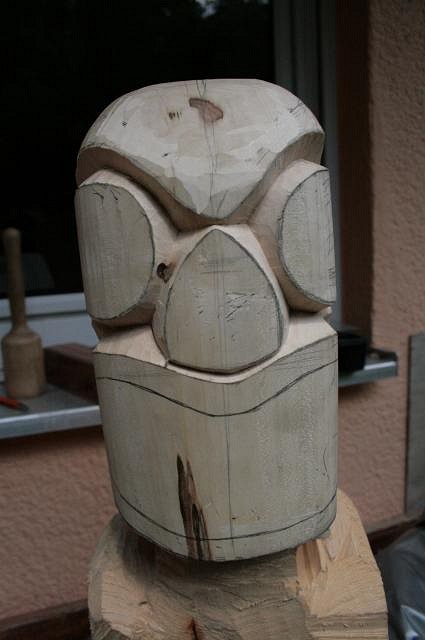
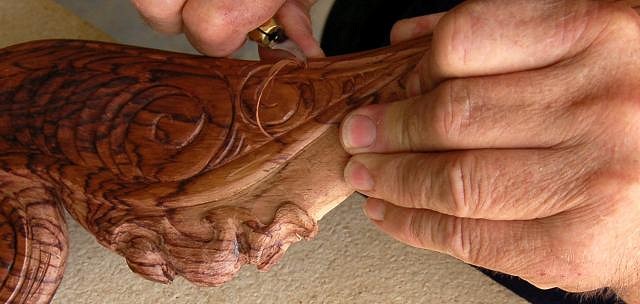
working on details chamfer the cutting edges to avoid splintering
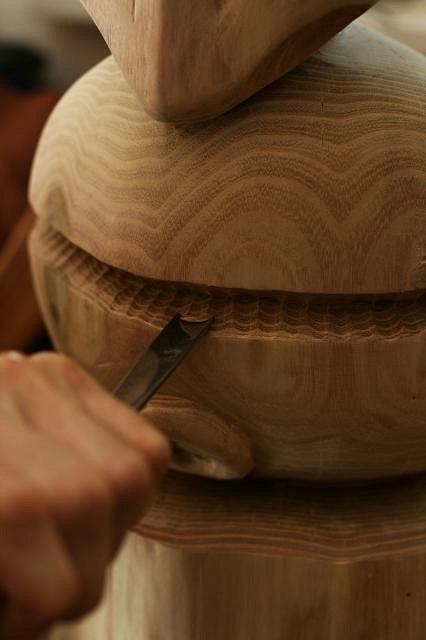
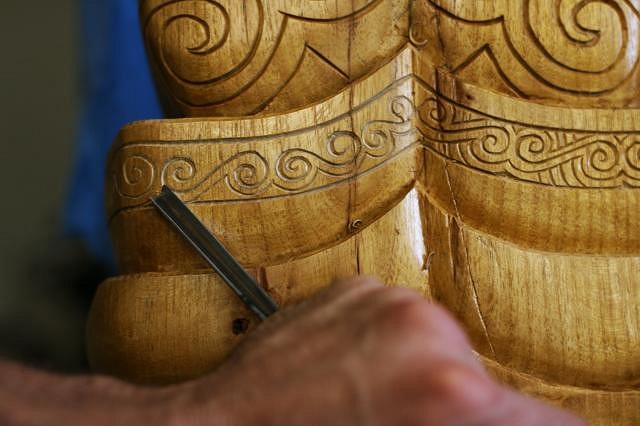
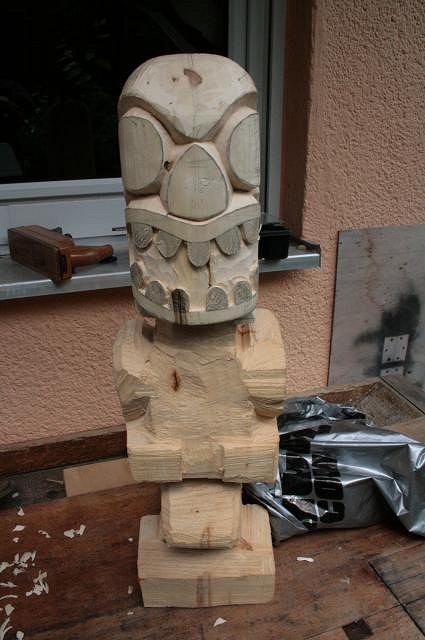
after cleaning the surface by sanding it i add a layer of shellac to avoid further contamination add more details
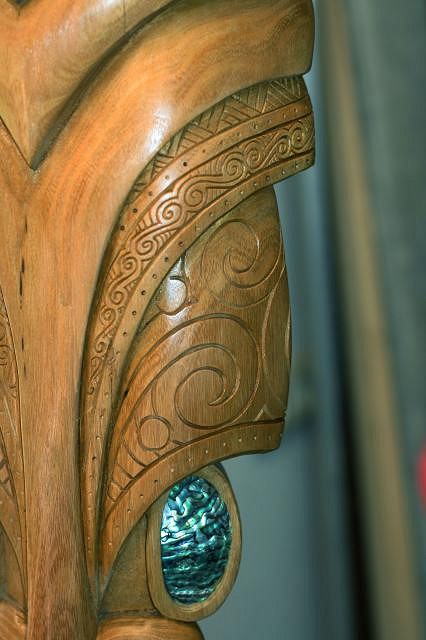
now i apply the decoration one of the last steps is to put in the eyes(i always put in the eyes after chiseling. the eyes make the tiki become alive and i dont want to chisel on a living tiki :) ) now i apply shellac and the tiki is finished! [ Edited by: RIOTURBAN 2012-10-28 06:54 ] [ Edited by: RIOTURBAN 2012-10-28 06:56 ] [ Edited by: RIOTURBAN 2012-10-28 08:16 ] |
|
M
McTiki
Posted
posted
on
Sun, Oct 28, 2012 7:00 AM
This is an incredible piece! Well done! Thank for sharing Mahalo McTiki |
|
H

hang10tiki
Posted
posted
on
Sun, Oct 28, 2012 8:45 AM
Awesome detail |
|
CC
Creative Chimp
Posted
posted
on
Sun, Oct 28, 2012 4:44 PM
Beautiful design. I liked your other step by step post carving too. You have a really cool style |
|
C
cy
Posted
posted
on
Sun, Oct 28, 2012 5:28 PM
Chamfer? Was ist los? Only fooling Rio, thanks for the lesson on attention to details! |
|
ATP

Atomic Tiki Punk
Posted
posted
on
Sun, Oct 28, 2012 5:45 PM
very nice! |
|
A
amate
Posted
posted
on
Mon, Oct 29, 2012 5:16 AM
Love your stuff! Fresh and very nicely done. |
|
C
congatiki
Posted
posted
on
Mon, Oct 29, 2012 7:25 AM
Beautiful work....fresh and exciting! Very cool. |
|
AM
Atomic Mess
Posted
posted
on
Thu, Nov 1, 2012 11:29 AM
thanks for the detailed steps. Are you using the masking tape as a guide or to protect the wood from your gouge? |
|
R
RIOTURBAN
Posted
posted
on
Sat, Nov 3, 2012 12:54 AM
Thank you all!i`m glad you like it! |
|
R
RIOTURBAN
Posted
posted
on
Sat, Nov 3, 2012 1:04 AM
one of my first ones |
|
M
MadDogMike
Posted
posted
on
Sat, Nov 3, 2012 6:52 AM
Very cool Rio. Interesting how you shellac it before you do the detail work then again when you are done. Smart! |
|
R
RIOTURBAN
Posted
posted
on
Sat, Nov 3, 2012 12:44 PM
thank you!saves me from a lot of sanding! |
|
P
pjc5150
Posted
posted
on
Sat, Nov 3, 2012 12:49 PM
wow... that last one you did is really good man... excellent detailing & finishing... |
|
AM
Atomic Mess
Posted
posted
on
Wed, Nov 7, 2012 11:32 AM
Nice work! Quite a contrast in style from the last one. |
|
B
Benzart
Posted
posted
on
Fri, Nov 16, 2012 7:35 PM
Lots of refreshing, Nice pieces here Rioturban, you seem to have some deep, respectable skillz there COOL! |
|
R
RIOTURBAN
Posted
posted
on
Fri, Jan 18, 2013 12:04 PM
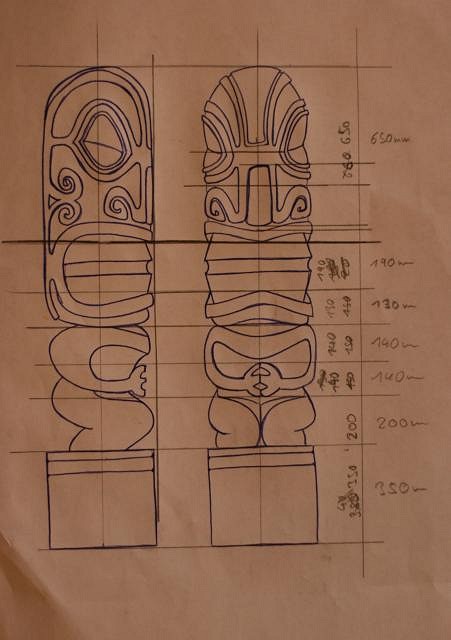
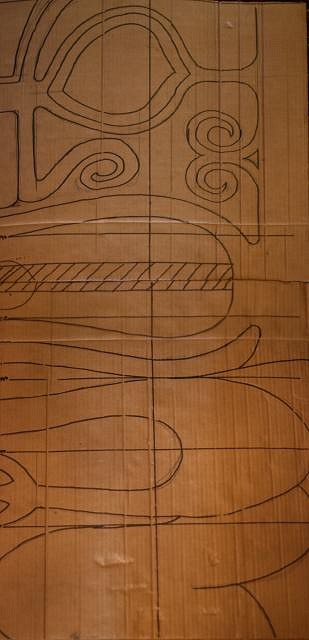
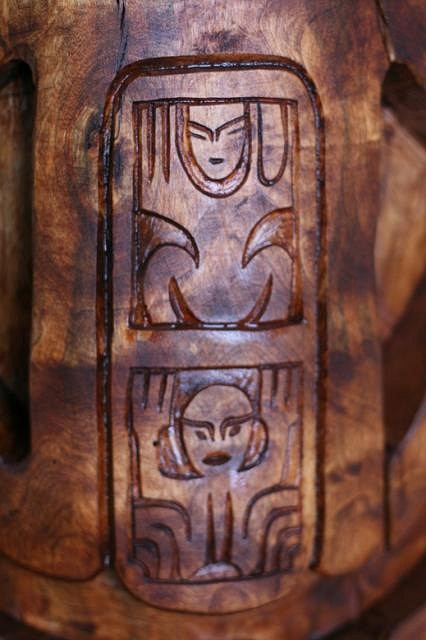
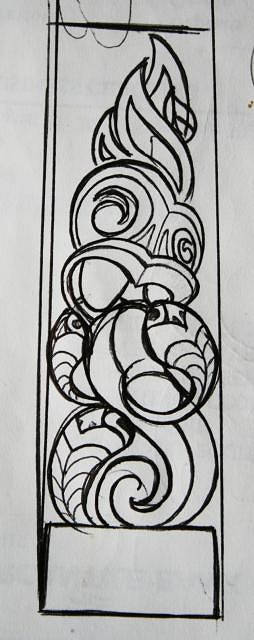
hi , the design now the stencil for the log
now i clean up all the edges and apply the ornaments [ Edited by: RIOTURBAN 2013-01-18 12:07 ] |
|
C
cy
Posted
posted
on
Fri, Jan 18, 2013 1:45 PM
It was worth the wait for an update RIOTURBAN - Great, precise work as always! What kind of wood are you using for this one? |
|
B
Benzart
Posted
posted
on
Sat, Jan 19, 2013 8:15 AM
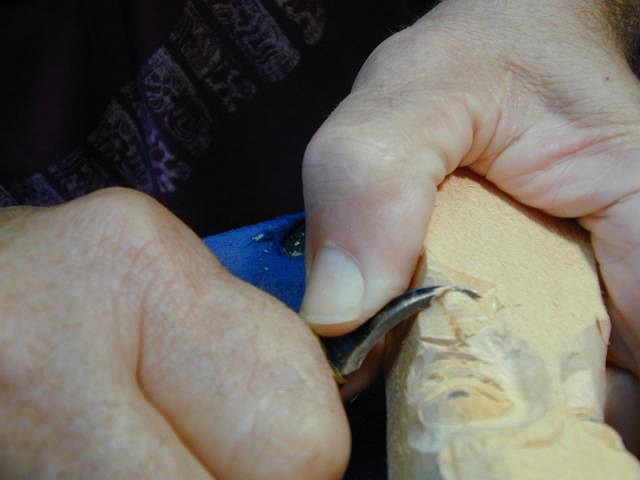
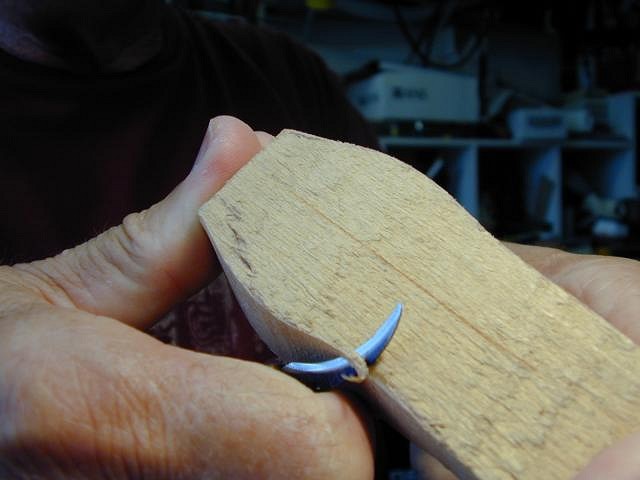
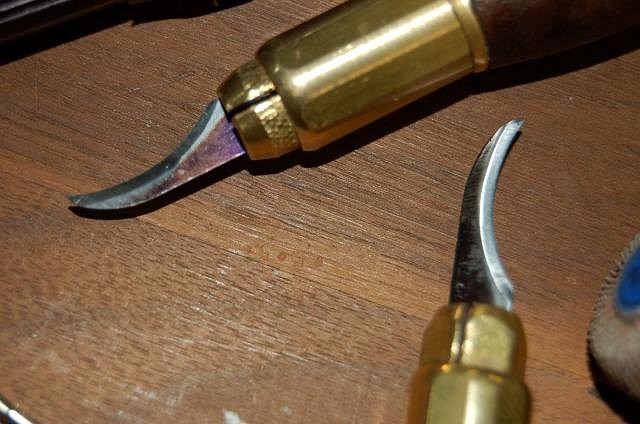
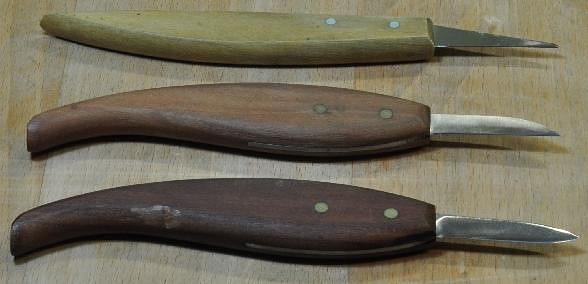
Excellent stuff. I think it's time you got familiar with the Hook Blade which I use almost exclusively. It has greater leverage than any other blade but should only be used with bandaids readily available as it Will bite you if not careful.
|
|
R
RIOTURBAN
Posted
posted
on
Sat, Jan 19, 2013 9:22 AM
thanx cy, its birch.nice to carve,its quite soft |
|
C
Cljha
Posted
posted
on
Sat, Jan 19, 2013 9:48 AM
Hi Rioturban, Seems like I miss this post...Congratulations on your work. |
|
R
RIOTURBAN
Posted
posted
on
Sat, Jan 19, 2013 10:45 AM
hi Cljha, [ Edited by: RIOTURBAN 2013-01-19 10:46 ] |
|
M
McTiki
Posted
posted
on
Sat, Jan 19, 2013 7:38 PM
Are your templates free hand drawings? Excellent either way! Very nice work! Mahalo! Hook blades are choice! McTiki |
|
R
RIOTURBAN
Posted
posted
on
Sun, Jan 20, 2013 1:46 AM
thank you McTiki, |
|
H

hang10tiki
Posted
posted
on
Sun, Jan 20, 2013 4:32 PM
Rio- great stuff (and a Benz tip also) way cool Ps- is that you on YouTube? Jon [ Edited by: Hang10tiki 2013-01-20 20:58 ] |
|
R
RIOTURBAN
Posted
posted
on
Mon, Jan 21, 2013 12:05 AM
Cheers Hang10! |
|
H

hang10tiki
Posted
posted
on
Mon, Jan 21, 2013 7:02 AM
Awesome, I couldn't find part 2 in the series... Only 1 and 3 |
|
C
Cljha
Posted
posted
on
Mon, Jan 21, 2013 7:05 AM
|
|
R
RIOTURBAN
Posted
posted
on
Thu, Jan 24, 2013 12:47 PM
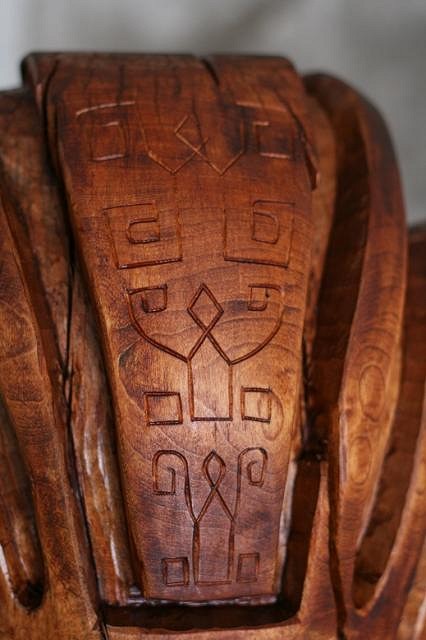
so my friends, here are new fotos! finished nose and the forehead a few layers of wood stain later,it i got the designs from a book of "Karl von den Steinen ".don`t know if they are used for the nose and forehead- i do. :) [ Edited by: RIOTURBAN 2013-01-24 15:49 ] |
|
H

hang10tiki
Posted
posted
on
Thu, Jan 24, 2013 6:25 PM
Me like |
|
R
RIOTURBAN
Posted
posted
on
Fri, Jan 25, 2013 3:00 AM
hi folks, |
|
A
AlohaStation
Posted
posted
on
Fri, Jan 25, 2013 6:52 AM
Excellent Video! |
|
C
cy
Posted
posted
on
Fri, Jan 25, 2013 8:29 AM
Another excellent video RIOTURBAN, you are a maestro with a chainsaw and a v carving tool! |
|
CJ

Captain Jack
Posted
posted
on
Fri, Jan 25, 2013 9:38 AM
Cool video and a great Marq! Good Job! |
|
AM
Atomic Mess
Posted
posted
on
Wed, Jan 30, 2013 1:00 PM
^^ agreed! Thanks for sharing your process, interesting to see you using the v-gouge, I've never used one, I want to try it now... |
|
R
RIOTURBAN
Posted
posted
on
Sun, Feb 10, 2013 4:37 PM
finished!
|
|
H

hang10tiki
Posted
posted
on
Sun, Feb 10, 2013 4:40 PM
Looks great my man |
|
WC
Will carve
Posted
posted
on
Mon, Feb 11, 2013 4:33 AM
That is real nice. |
|
A
amate
Posted
posted
on
Mon, Feb 11, 2013 6:51 AM
Very nice. If I recall, tha'ts no mini either. |
|
AM
Atomic Mess
Posted
posted
on
Tue, Feb 12, 2013 11:22 AM
wow! excellent work. |
|
G
Grimbo
Posted
posted
on
Thu, Feb 14, 2013 11:49 AM
Great Marq and I love the vidoes on youtube. Great to see the process, thanks for posting them up. Cheers |
|
H

hang10tiki
Posted
posted
on
Fri, Feb 15, 2013 5:49 PM
Skill |
|
R
RIOTURBAN
Posted
posted
on
Sat, Feb 16, 2013 5:55 AM
Thank you my tikifriends!
[ Edited by: rioturban 2013-02-16 15:56 ] |
|
C
cy
Posted
posted
on
Sat, Feb 16, 2013 9:30 AM
I can already see it finished RIOTURBAN, you won't screw it up! |
|
C
Cljha
Posted
posted
on
Sat, Feb 16, 2013 10:01 AM
Summer?!?! |
|
M
McTiki
Posted
posted
on
Sat, Feb 16, 2013 3:46 PM
Happy Happy! Much wonderful work here. McTiki |
|
L
laojia
Posted
posted
on
Mon, Feb 25, 2013 12:03 AM
Awesome Marq!!! Yeah!!! |
|
R
RIOTURBAN
Posted
posted
on
Tue, Feb 26, 2013 3:14 PM
Thank you very much to all of you!!! |

