|
M
Monkeyman
Posted
posted
on
Sun, Oct 14, 2012 12:11 PM
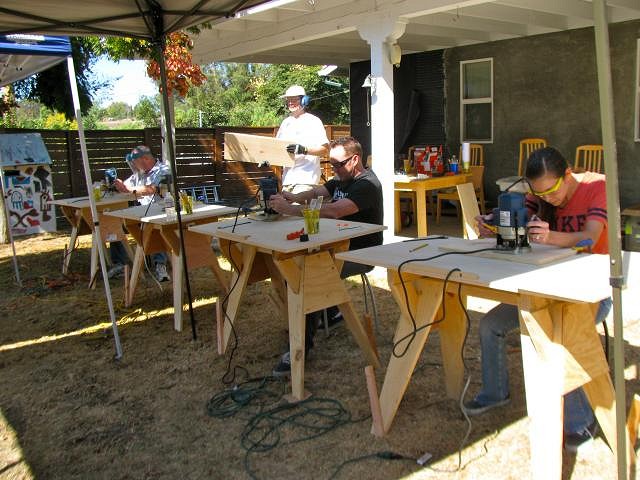
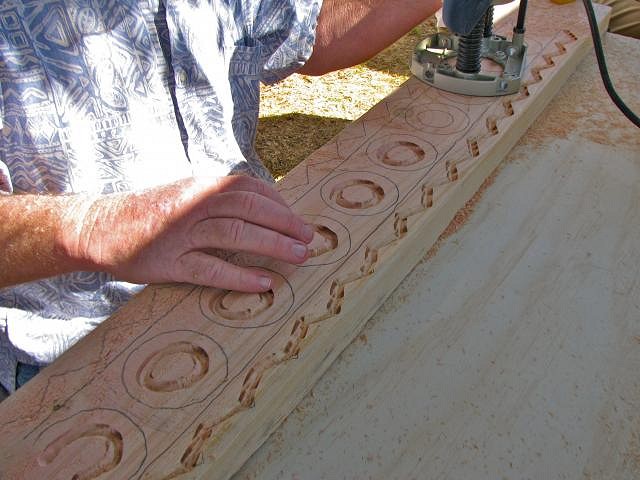
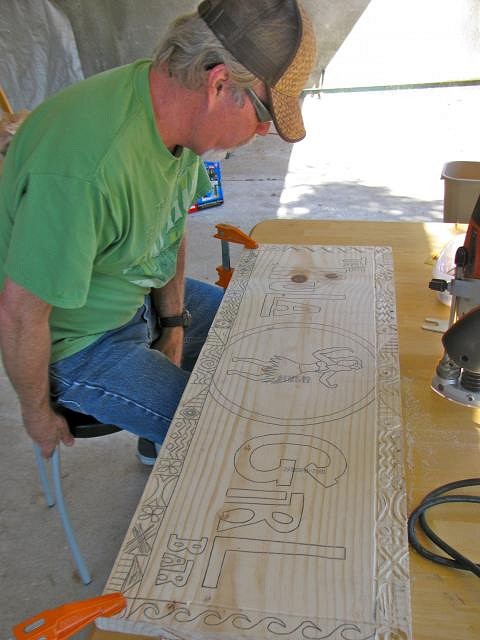
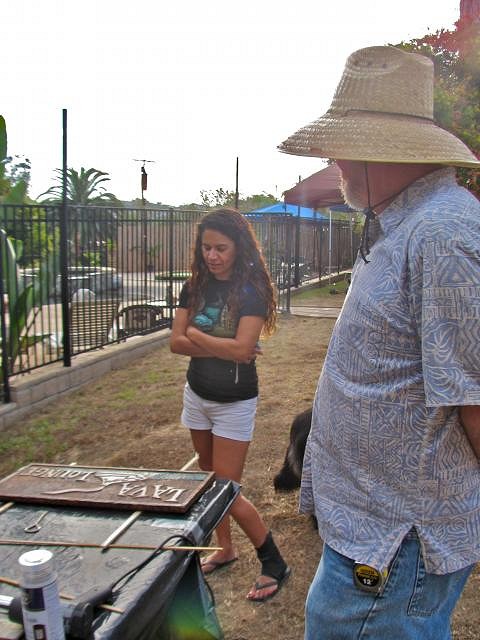
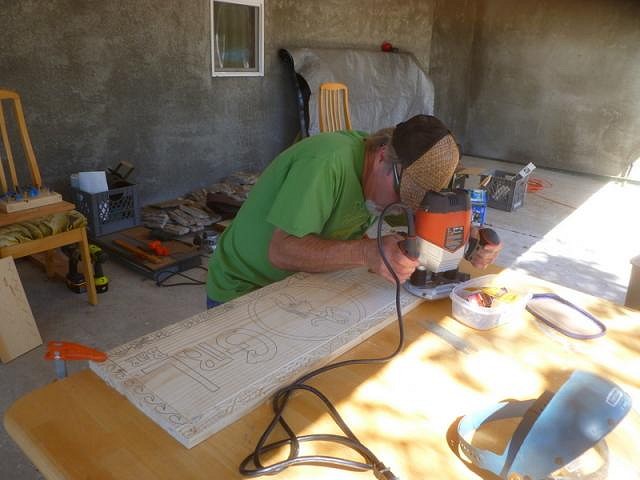
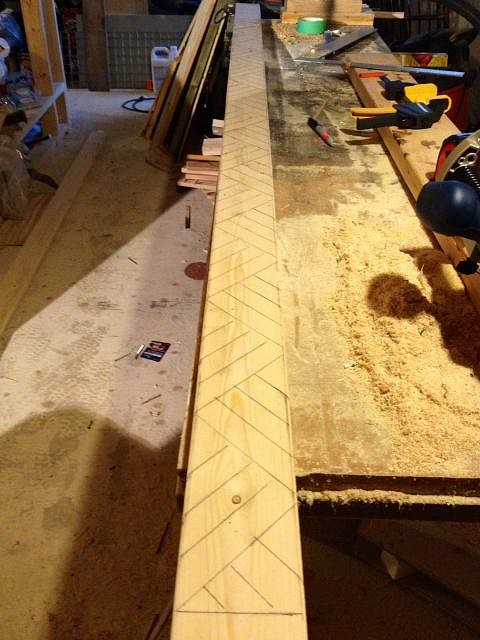
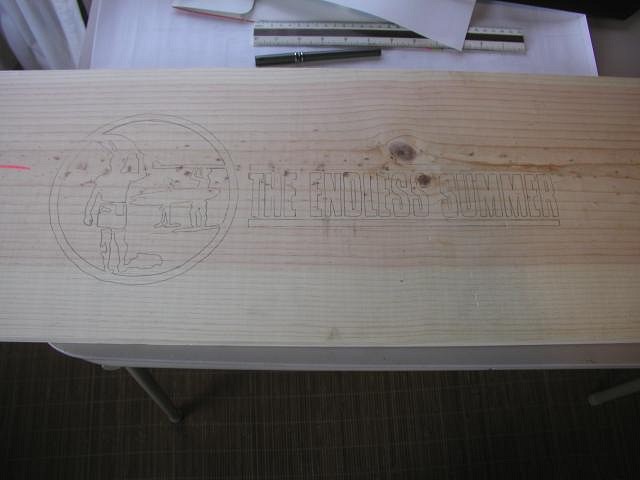
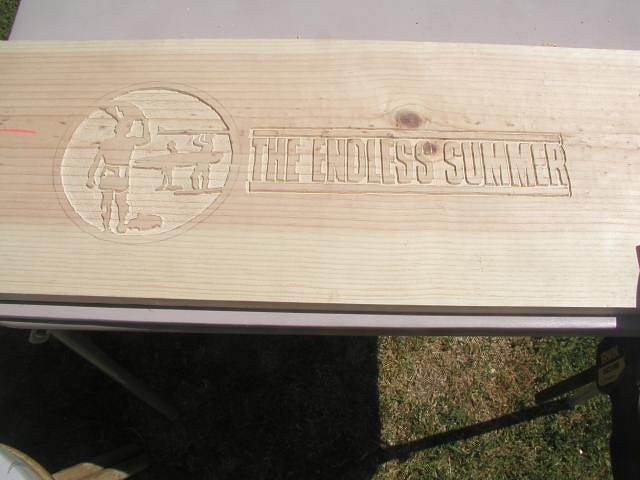
We staked the tables to the ground so that they wouldnt move and rock Marion's Shag inspired design.
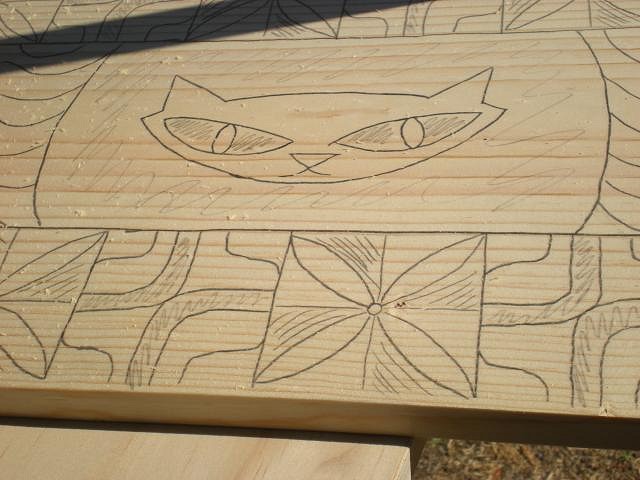
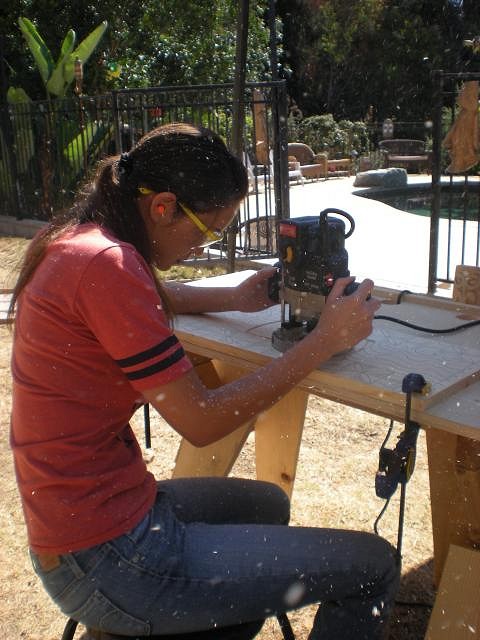
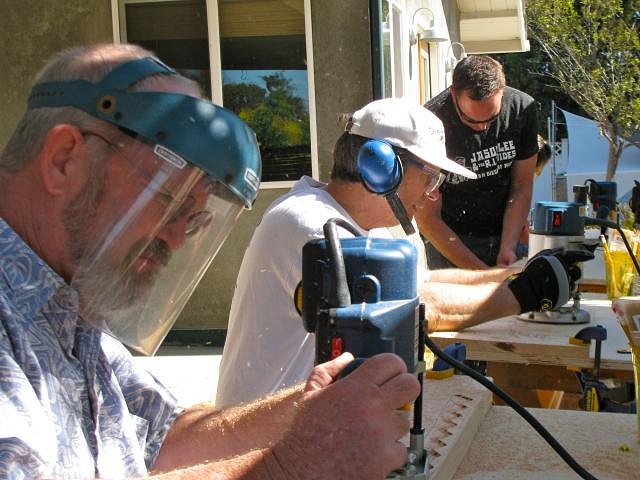
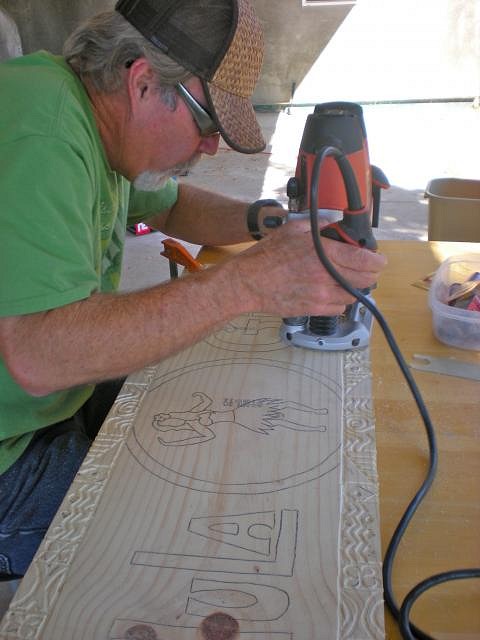
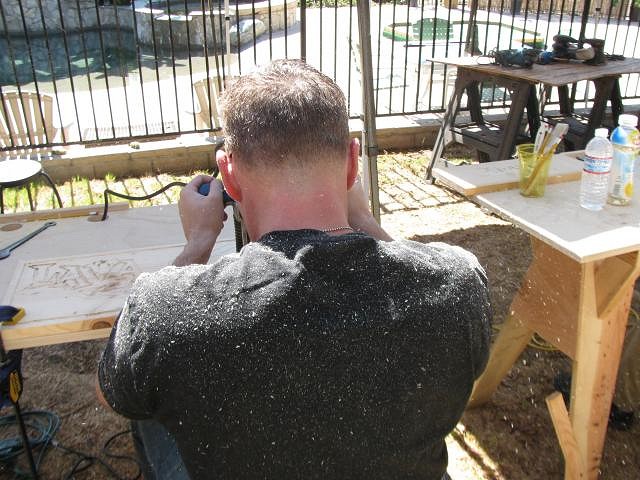
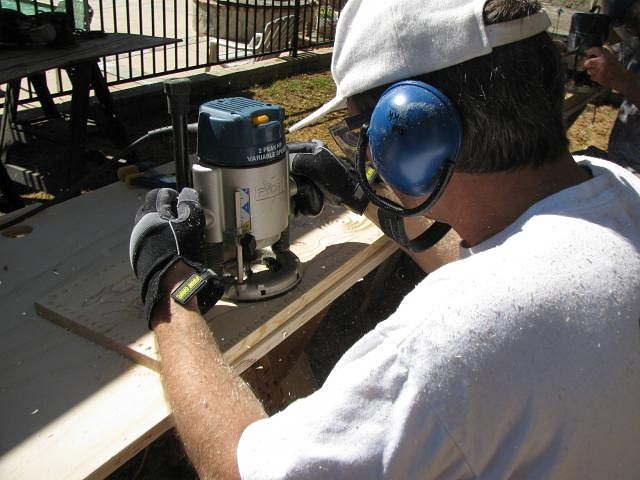
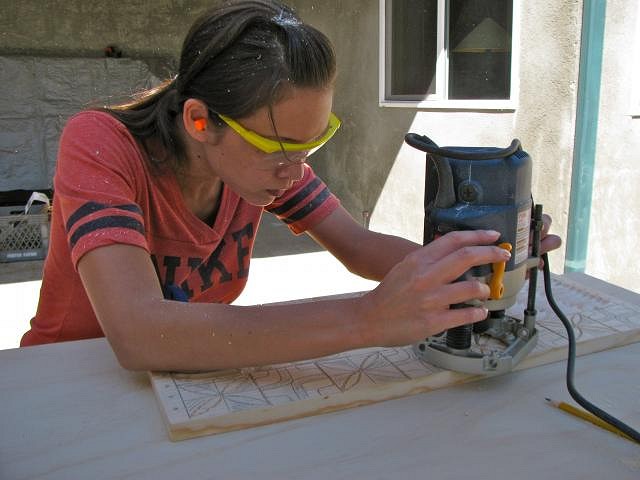
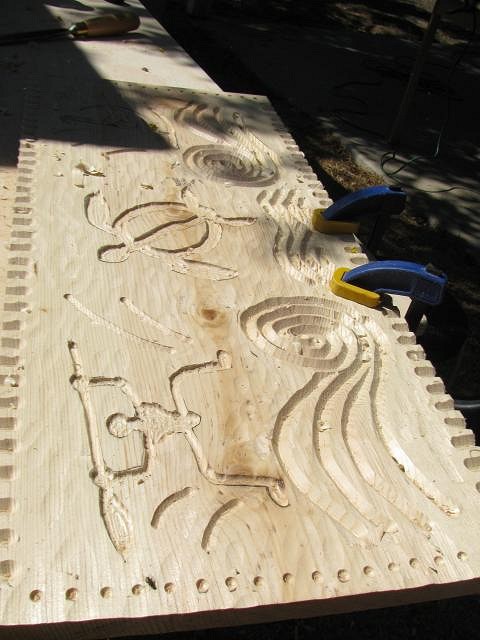
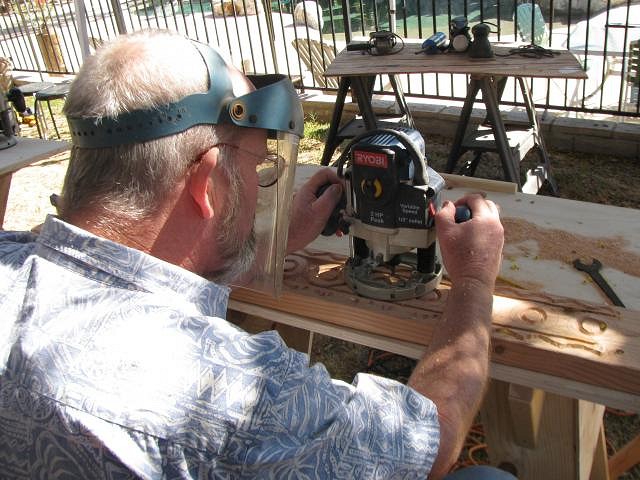
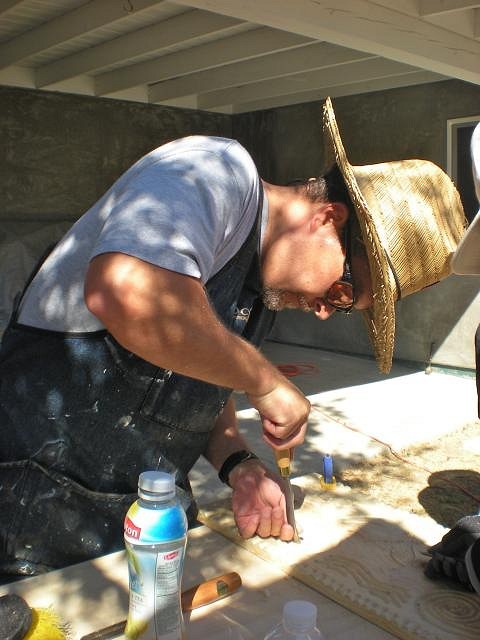
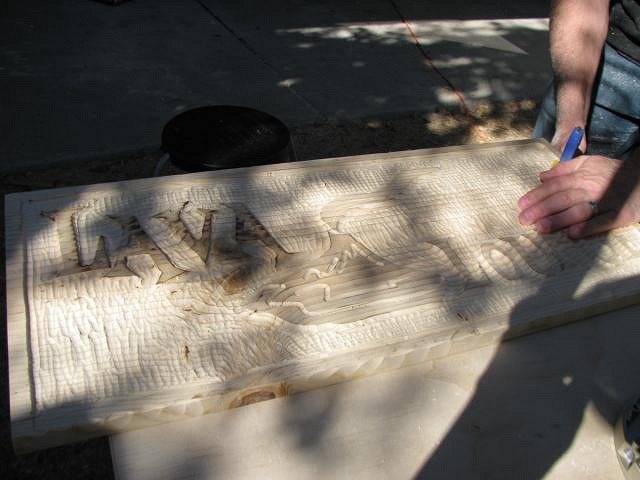
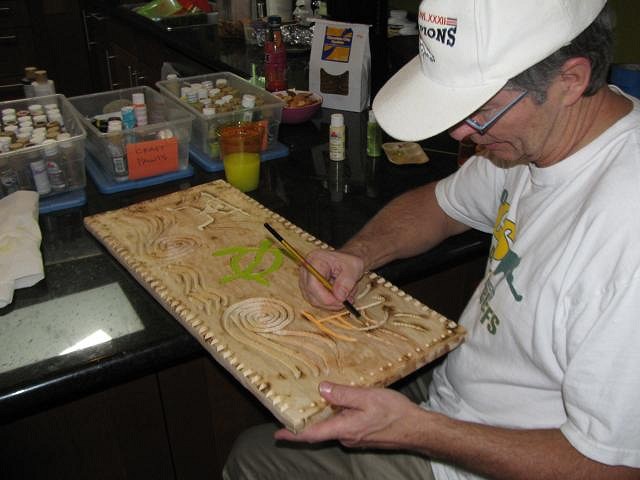
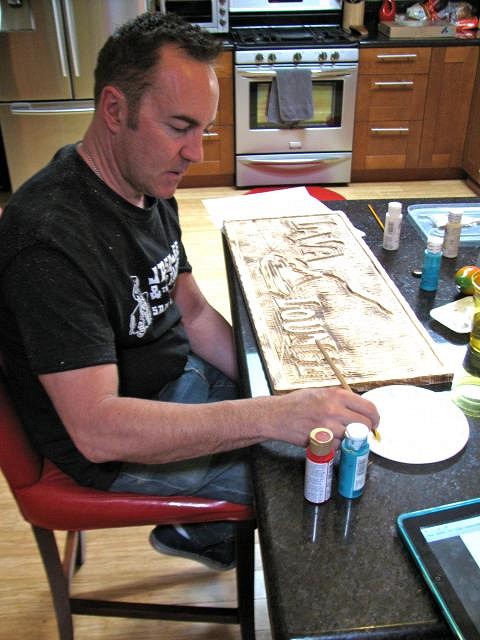
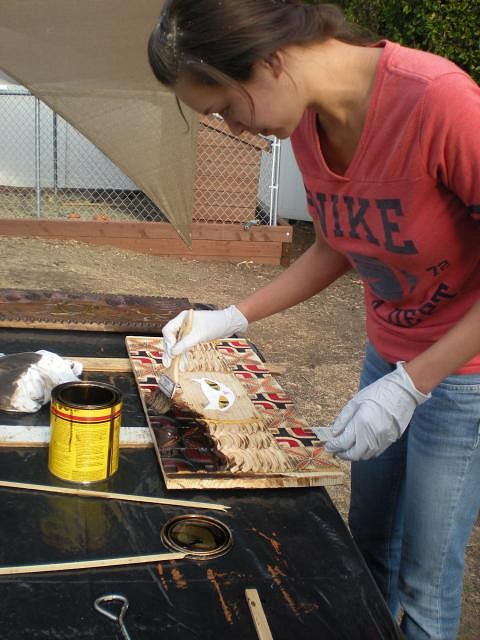
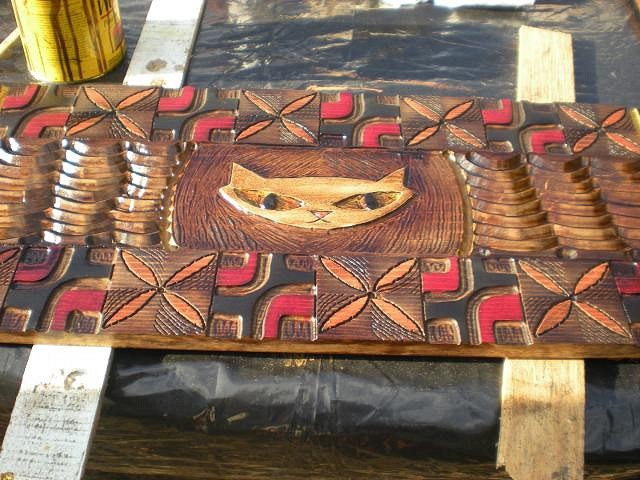
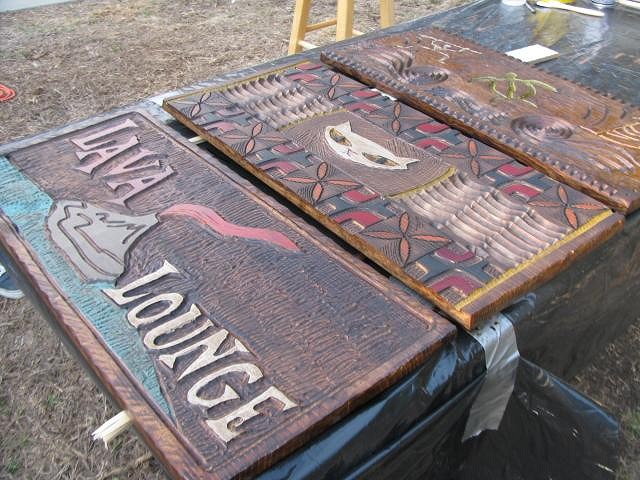
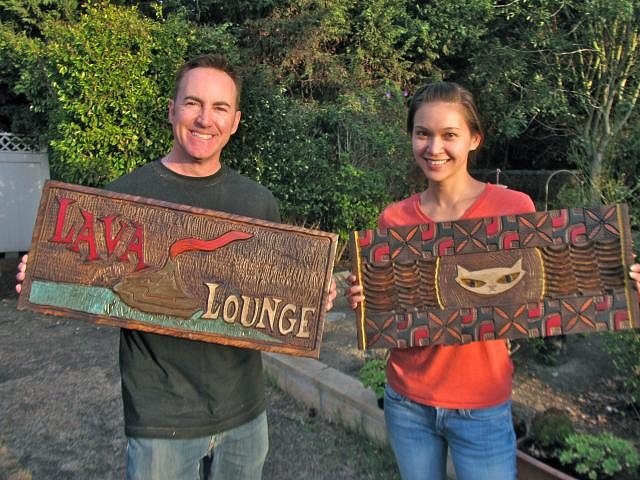
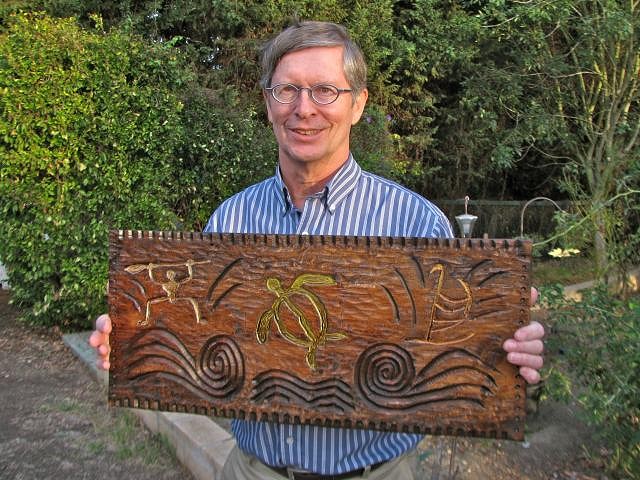
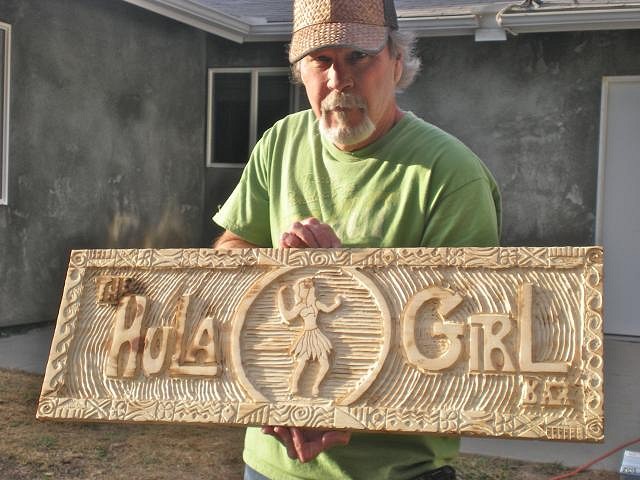
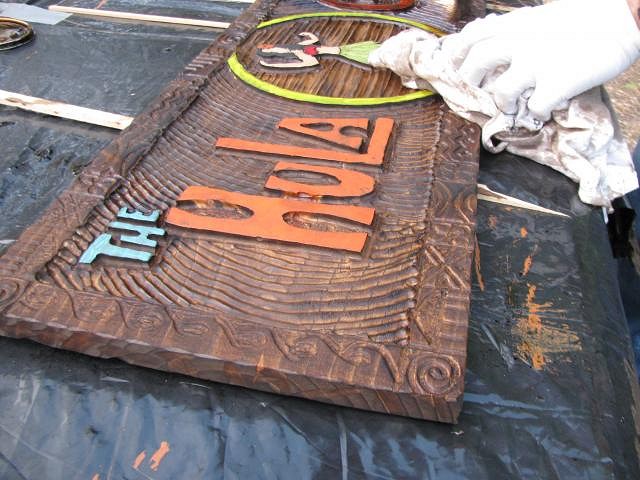
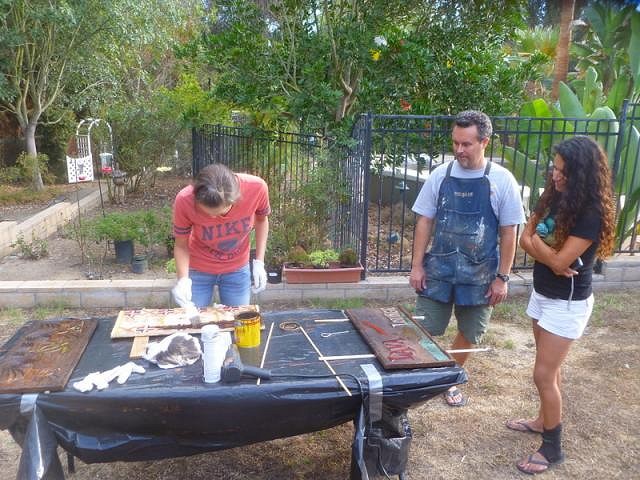
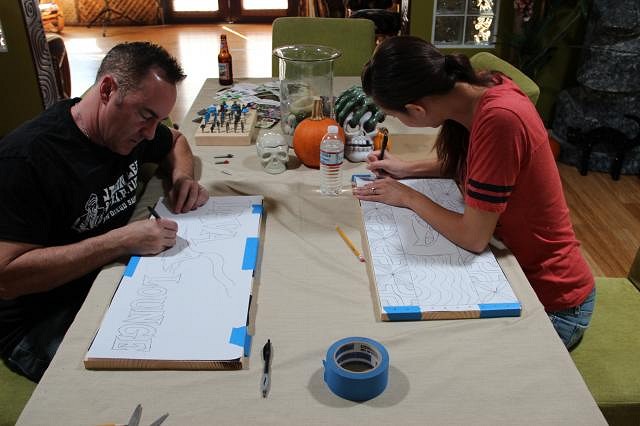
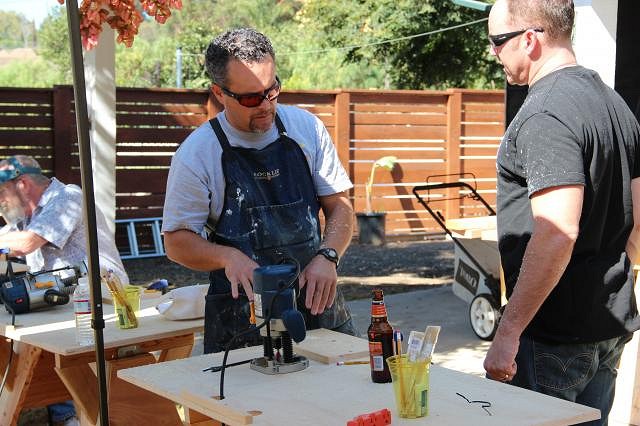
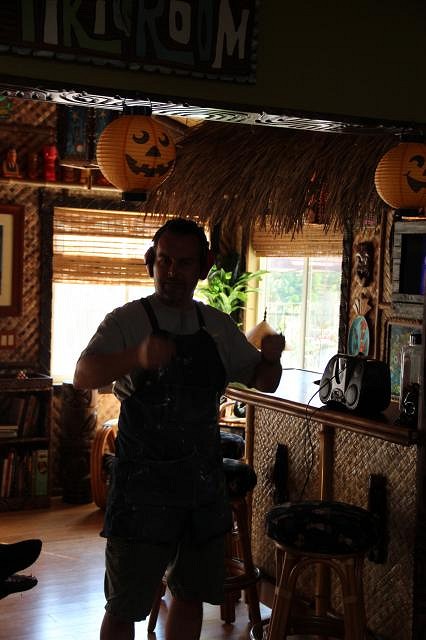
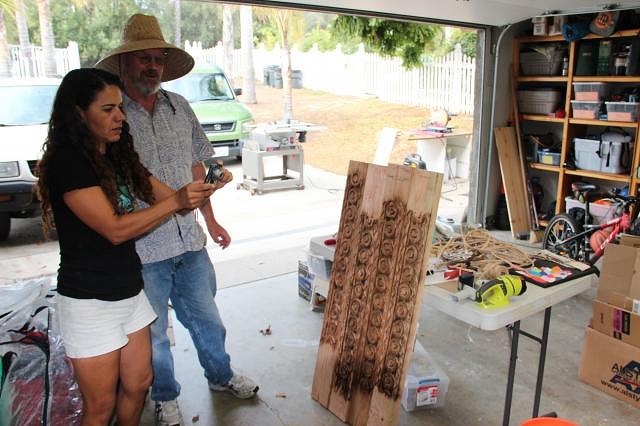
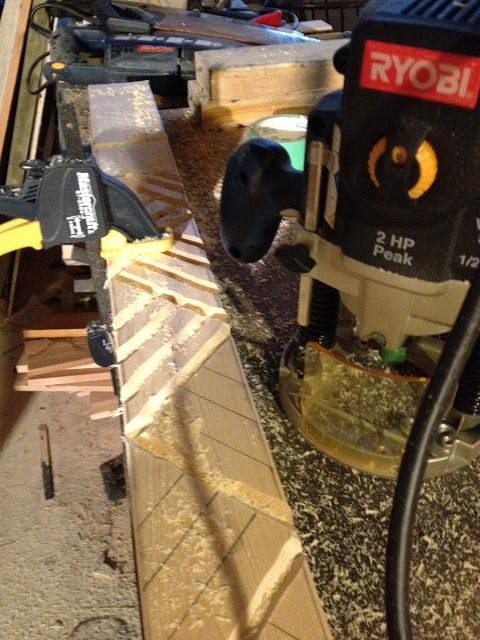
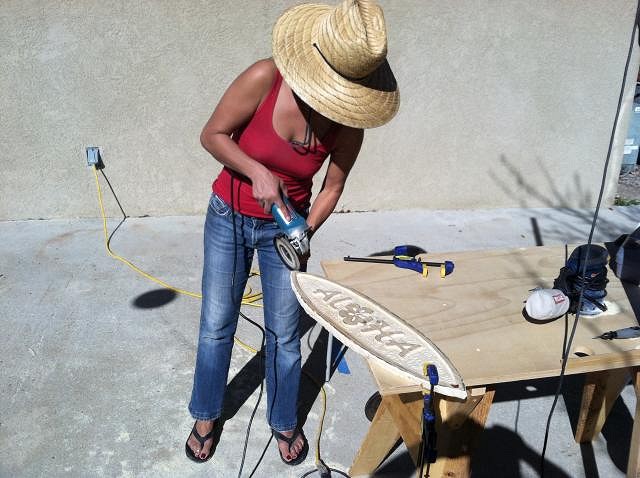
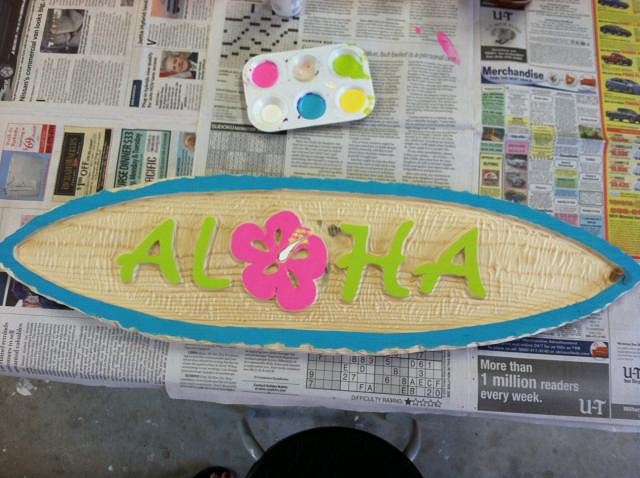
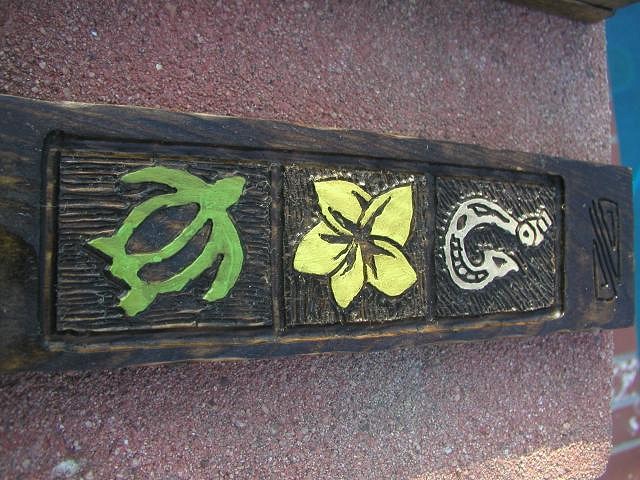
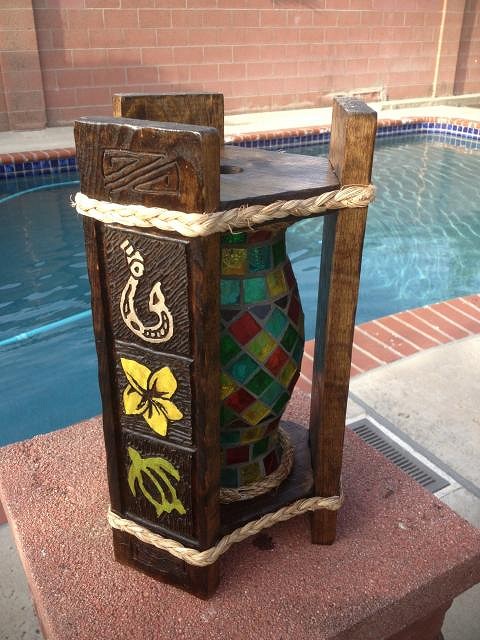
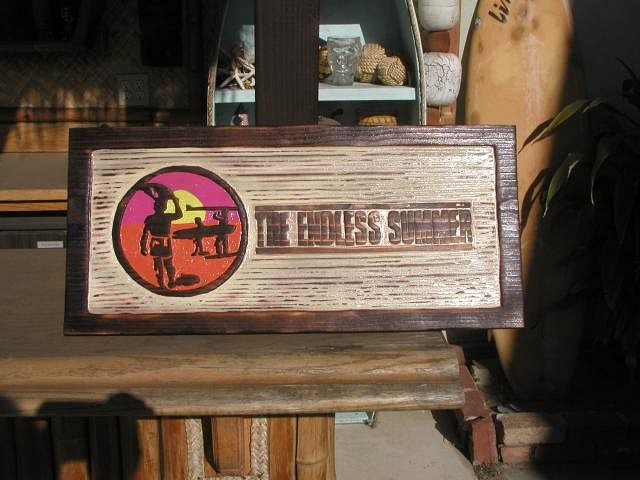
Its not a sweatshop. I swear. Moai Mike's trim work in full effect. Tiki Pops getting started. No one can escape the sawdust. MaukaHale Marion in a moment of focus. We broke for lunch mid day. Brats, Fantastic German Potato salad from Roxanne and Octoberfest beer. We were attacked by a teenage Werewolf shortly after lunch. Fortunately we had an guard dog who could lick the Werewolf into submission Mauka Hale's sign almost done with carving and router work. Moai Mike Me helping out with some of the chisel work Tiki Pops in progress Brads sign after router work is complete Maukahale painting his sign Brad adding paint Moai Mikes bundle of trim. Ahh... tiki goodness. Marion applying stain Marion's finished piece MaukaHale's finished work Roxanne and Moai Mike Supervising Painted and stained and waiting for clearcoat to dry. Brad and Marion with their finished pieces MaukaHale Tiki Pops just before paint and Stain Tiki Pops sign almost finished. |
|
ATP

Atomic Tiki Punk
Posted
posted
on
Sun, Oct 14, 2012 12:26 PM
Thanks for this post guys! great to see everyone being creative While everyone is doing good work I have to say I like Tiki Pops choice of colors. [ Edited by: Atomic Tiki Punk 2012-10-14 12:27 ] |
|
M
marion-n-brad
Posted
posted
on
Sun, Oct 14, 2012 8:48 PM
This was a great class, big thanks to Derek and Roxanne for putting it on! I consider myself the "least artistic man in the world" and with Derek's infinite patience and his constant pep-talks, and Roxanne's awesome lunch, i made my first piece of art ever! I'm pretty damn proud of myself! Marion and i had a great time and can't wait to get our router back out and make some more cool stuff. |
|
BB
Bora Boris
Posted
posted
on
Sun, Oct 14, 2012 8:51 PM
If and when there's another one, I'd like to come down. :) |
|
T
TikiPops
Posted
posted
on
Sun, Oct 14, 2012 9:06 PM
What great day this was. I'd like to thank Derek for his pointers on router technique & his attention to detail in putting on a great class. Roxanne's lunch was off the hook. The potato salad & banana bread was awesome. All of the fellow router newbies were great. It was nice to meet all of you, even if we worked more than visit. I'll gladly attend another class, of any type, put on by Derek. |
|
B
bigbrotiki
Posted
posted
on
Sun, Oct 14, 2012 10:19 PM
Whoaah, nice job everybody! |
|
M
MadDogMike
Posted
posted
on
Mon, Oct 15, 2012 5:56 AM
Beautiful work from everyone! Derek, the tables were ingenious! Where do you find clear pine like that? The "clear" pine at Lowe's has more knots than a macrame hammock! |
|
M
Monkeyman
Posted
posted
on
Mon, Oct 15, 2012 7:42 AM
The wood was from Lowes. I go through the entire stack if necessary to find the best pieces. |
|
MM
Moai Mike
Posted
posted
on
Tue, Oct 16, 2012 7:17 AM
Thanks to Derek and Roxanne for hosting the router class. It was a very fun and productive day! You both put a lot into it. Everybodys work turned out great and it was not hard to do, just a long time holding a router. Since mine is still a work in progress I will post photos of it when it is finished. Thanks again to Derek, Roxanne and all who participated. |
|
M
MaukaHale
Posted
posted
on
Tue, Oct 16, 2012 9:53 AM
A Big Mahalo to Monkeyman and Goddess-Sunb for a great day. Seldom do I meet people as kind and sharing as these two. My comment is the same: a lot learned but I wish there had been more time to be more social. The day went by too fast. I now have a lot ahead of me to continue with the router for the "Aloha Theater and Tiki Bar." Here are a few pictures that don't duplicate those already posted.
|
|
MM
Moai Mike
Posted
posted
on
Sun, Nov 11, 2012 9:14 AM
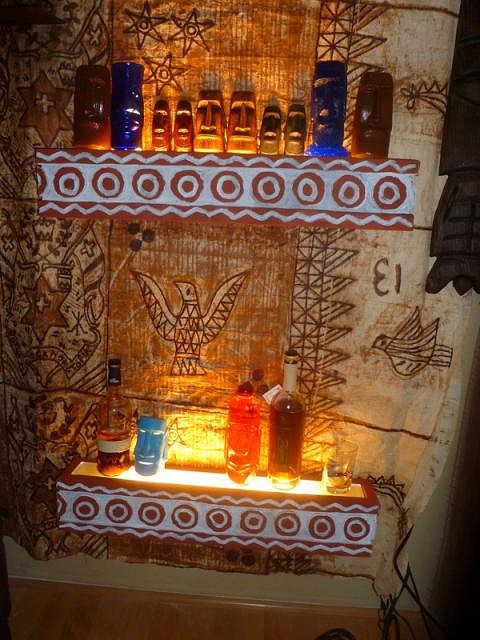
I have finally gotten my project to a point that I feel I can share it with all of you. My idea was to build light boxes that would serve as shelves upon which I could display some of my cocktail glasses, bottles, swizzle sticks and other things that would be illuminated by up lighting. I built the boxes with a shelf inside to hold a neon light fixture and drilled a hole and routed a channel in the back to run the wiring. I painted the boxes in the hopes of making them look like something from PNG. Maybe I should have thinned the paint more to make it look more like stain. Since they are attached to the wall behind the bar I am thinking of putting bamboo poles and fish netting over them so I don't knock everything off during a cocktail mixing frenzy.
|
|
M
MaukaHale
Posted
posted
on
Sun, Nov 11, 2012 1:08 PM
Moai Mike - Those came out really nice. I wondered what the finished product would look like. |
|
T
TikiPops
Posted
posted
on
Mon, Dec 10, 2012 9:29 PM
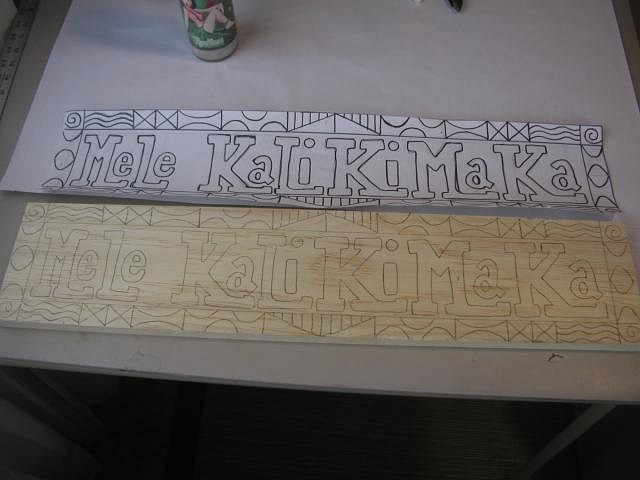
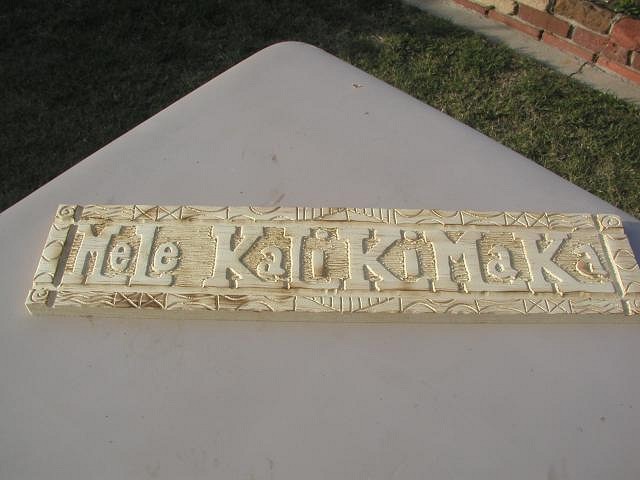
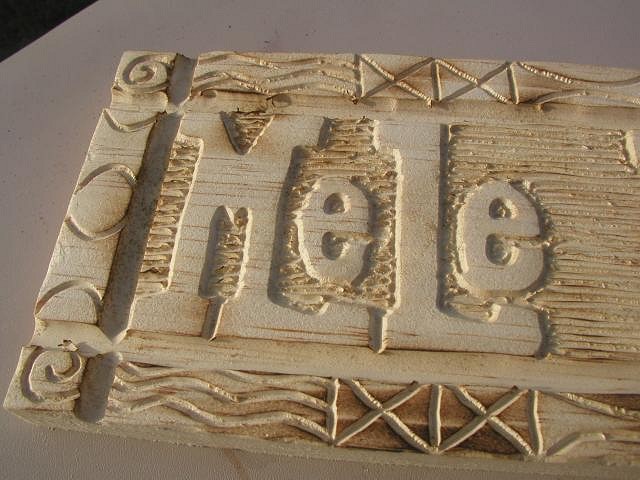
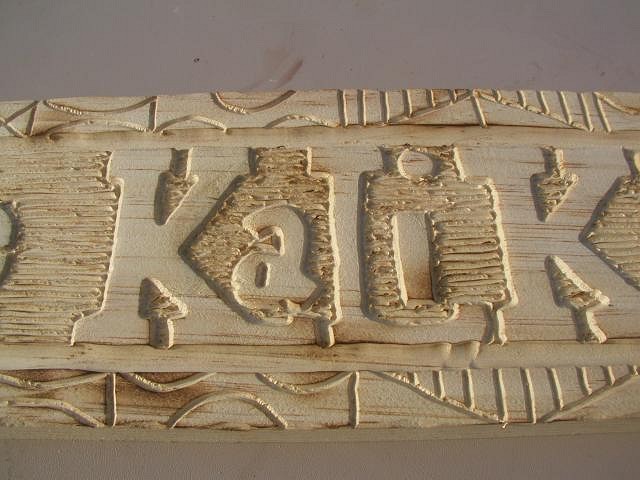
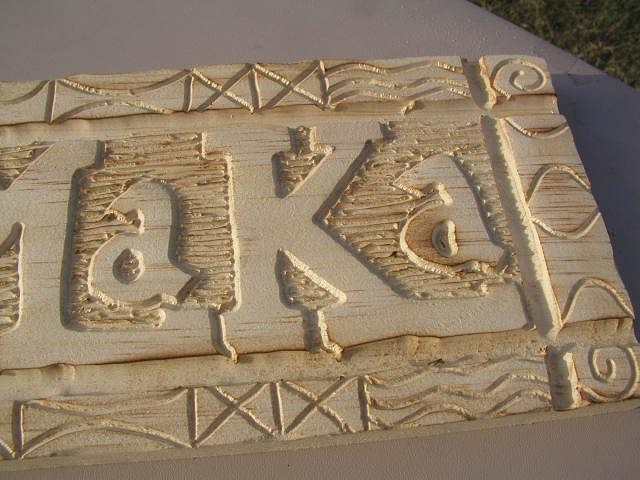
Here's my first project since attending Derek's awesome class. We needed a little Hawaiian Christmas so I drew up a Mele Kalikimaka sign. I hope to get it painted & stained this week. |
|
M
MaukaHale
Posted
posted
on
Tue, Dec 11, 2012 7:28 AM
I like how you made the consonants tall and the vowels short. That's a good looking sign. |
|
M
Monkeyman
Posted
posted
on
Tue, Dec 11, 2012 11:09 AM
Nicely done ! |
|
D

Dagg
Posted
posted
on
Sun, Dec 30, 2012 10:06 PM
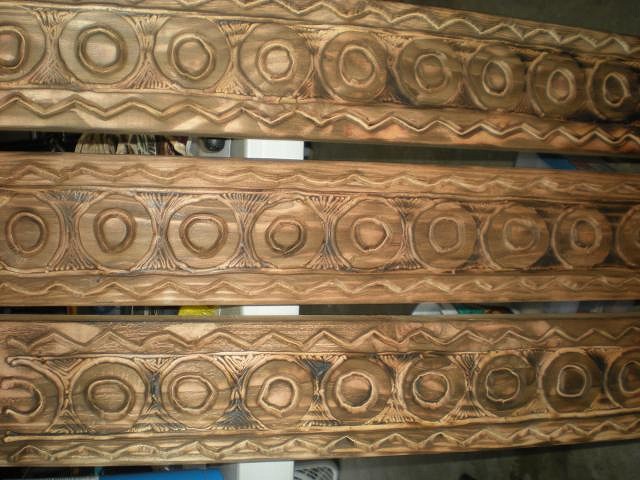
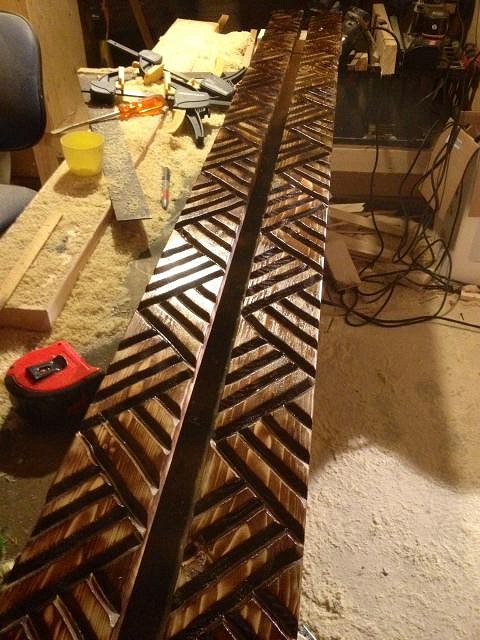
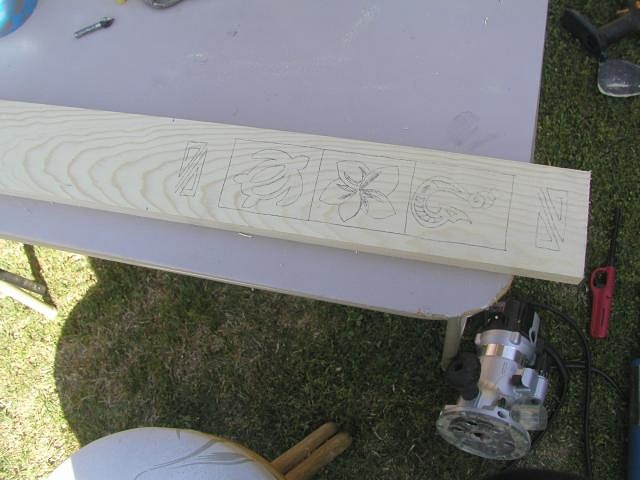
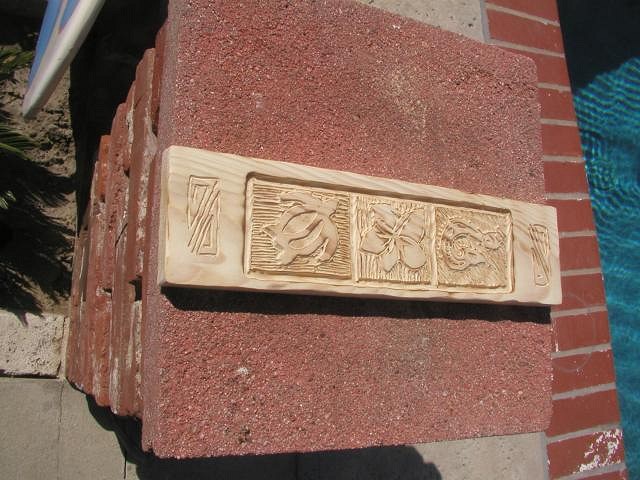
Hope its ok to post here, I used this thread and your (MM) recommendations on routers and bits for my first try at routering. I couldn't make this event obviously, so used the pics and info as sort of a long distance learning thing.. lol Here's my first attempt at some door trim. layout kinda straight... torched, brushed and clearcoat top piece if this is the wrong place to post these, let me know and ill delete the post. Thanks for the knowledge sharing Monkeyman (and others) Cheers |
|
H

hang10tiki
Posted
posted
on
Mon, Dec 31, 2012 6:12 PM
Dude Jon |
|
T
TikiAno
Posted
posted
on
Wed, Jan 16, 2013 2:44 PM
I'd love to come up for the next time you do a router class/ workshop. I'll keep an eye out, or send a message to me. Thanks! |
|
M
Monkeyman
Posted
posted
on
Wed, Jan 16, 2013 5:43 PM
probably in the late spring/early summer. |
|
T
TikiAno
Posted
posted
on
Thu, Jan 17, 2013 3:15 PM
Thanks, would love to come to the next time.... will keep an eye out. |
|
G
goddess-sunb
Posted
posted
on
Mon, Jan 21, 2013 6:38 PM
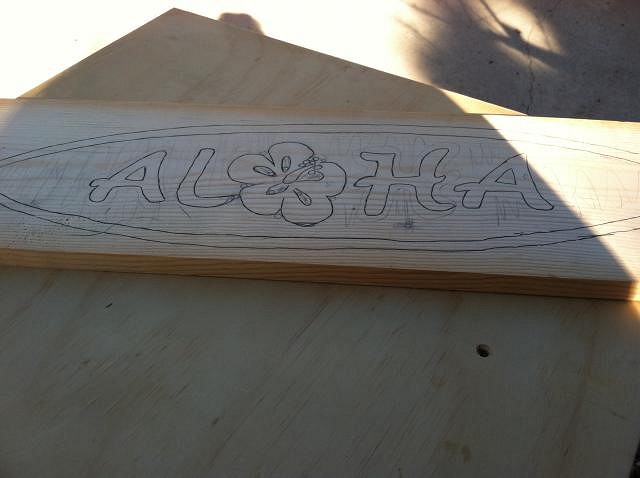
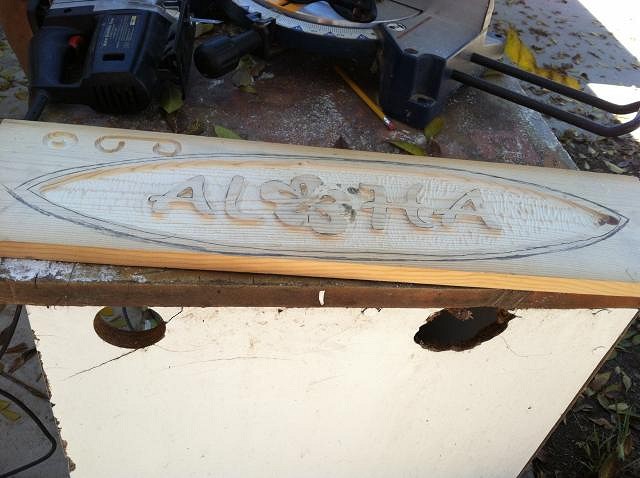
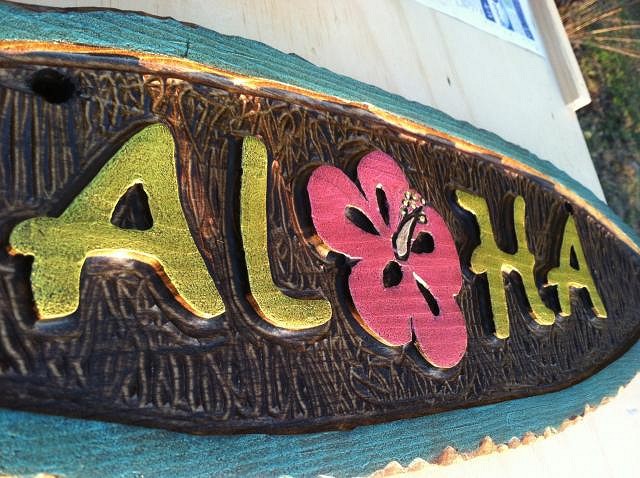
Did some router work this weekend - ALOHA!!
Roxanne |
|
M
MaukaHale
Posted
posted
on
Mon, Jan 21, 2013 7:56 PM
Roxanne, Nice job! What is the name of the clear material, that you and Monkeyman, spray over the stain? Its to seal it and give it a little bit of shine. |
|
H

hang10tiki
Posted
posted
on
Mon, Feb 25, 2013 6:29 AM
Good stuff... Jon |
|
T
TikiPops
Posted
posted
on
Sun, Mar 31, 2013 3:11 PM
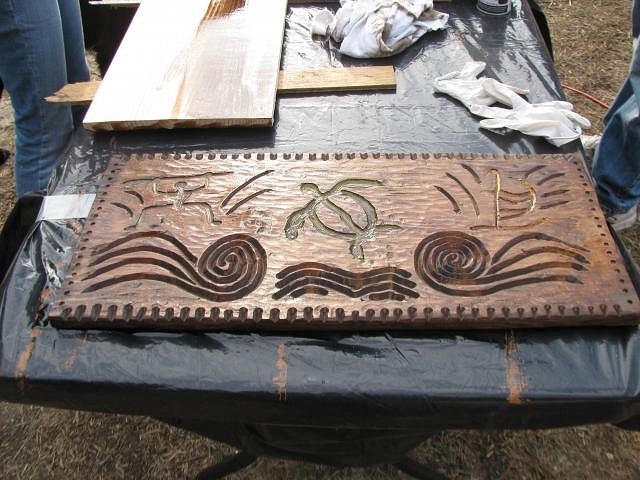
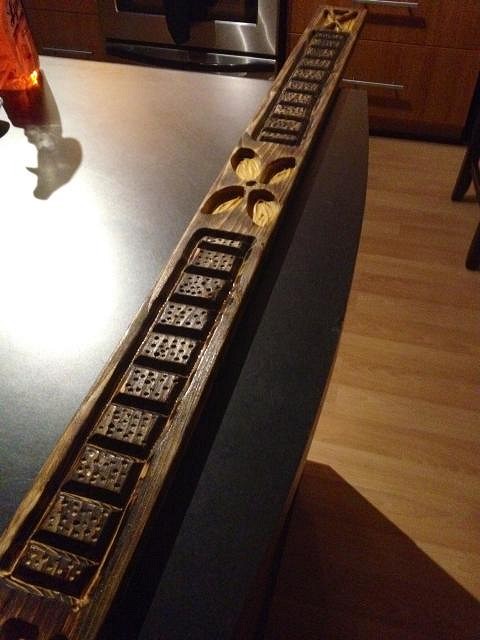
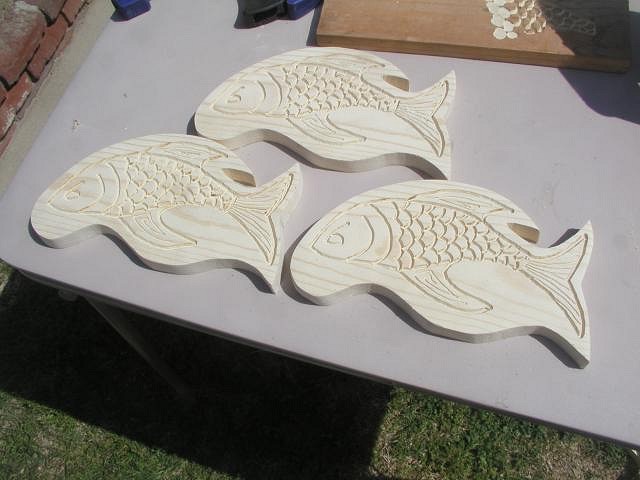
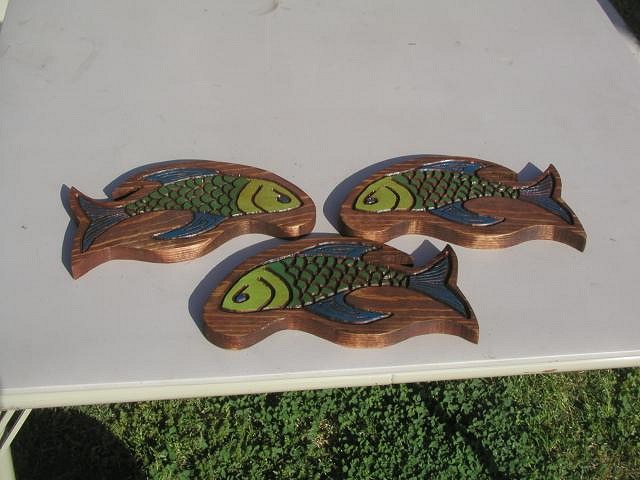
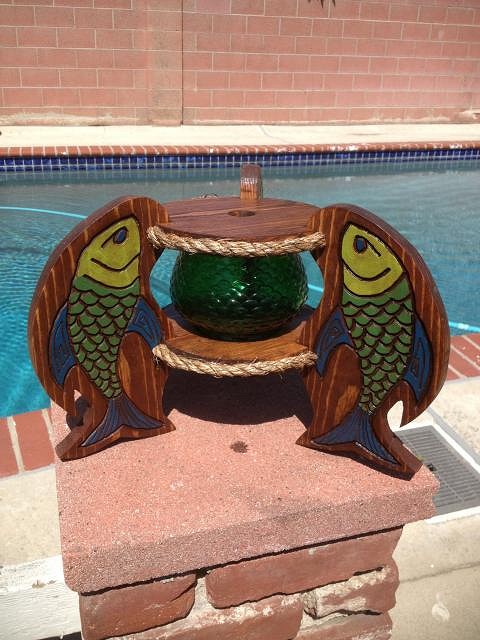
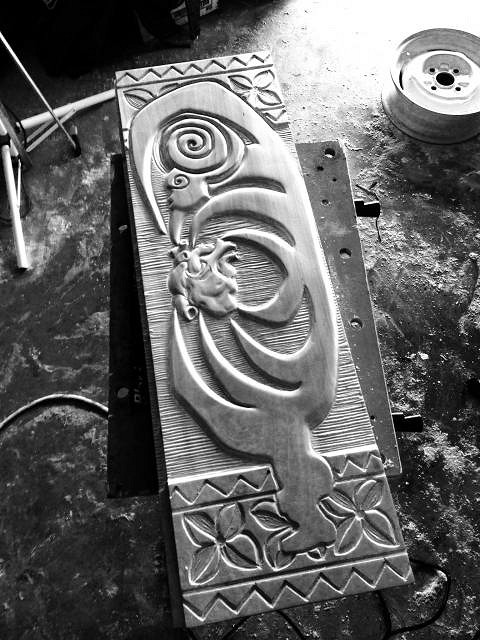
I haven't checked in here in a while. Roxanne, your sign is awesome. I like the flower. Dagg, Your moldings rock. I'd to see them installed. Here are a few things I've been working on recently.
After all this work I feeling good about how I am progressing with my work so thought I'd try something a little tougher. I am hooked, can't stop. [ Edited by: TikiPops 2013-03-31 15:14 ] |
|
BPB
Bay Park Buzzy
Posted
posted
on
Tue, Apr 16, 2013 3:48 PM
I never grabbed a 1/4 shank 60 degree bit, so a few days ago I went to Rockler to check them out. Being used to paying no more than $20 for a bit, I experienced sticker shock at the $59 price tag for the one they had in stock! I had one of their 20% off coupons in hand, but it was still too expensive to justify buying even after the discount. I noticed that the tag on it said that it was a "sign making" bit. A couple pegs up the rack, I spied a 3 bit "sign making kit." It had a 60, 90, and U bit in it for $69. I used the coupon and got $14 off. The kit 60 bit is a little smaller than the stand alone one is, but it's still fine for the stuff I'd be using it on. Just thought I'd let you guys know about this in case you're looking into getting the 60 bit. Might be better to get the kit if you do not have any bits yet. The profiles in that kit and maybe 2 other smaller U shaped bits are about all I've ever used on all my routered pieces so far. Buzzy Out! |
|
L

LoriLovesTiki
Posted
posted
on
Tue, Jan 21, 2014 3:44 PM
I just saw this thread and wen through the whole thing. Amazing work everyone! What a fun day. I'm so jealous..... I really need to try routing again. I find it so hard but maybe I need a new router. Mine is hard to control. It's a Craftsman and not a plunge style one. |
|
W
whoseyrtiki
Posted
posted
on
Mon, Feb 24, 2014 4:21 PM
"I became insane, with long intervals of horrible sanity." [ Edited by: whoseyrtiki 2014-02-24 16:49 ] |

