Tiki Central / Tiki Carving
Hang10Tiki stuff
Pages: 1 2 3 4 5 6 7 8 9 10 11 12 13 14 15 16 17 18 19 20 21 22 23 24 25 26 27 28 29 30 31 32 33 34 35 36 37 38 39 40 41 42 43 44 45 46 47 48 49 50 51 52 53 54 55 56 57 58 59 60 61 62 63 64 65 3,074 replies
|
D

danlovestikis
Posted
posted
on
Thu, Mar 6, 2025 12:08 AM
Wow, you must be hungry! It's really fun trying new products and finding ones you really like. Keep on having fun. |
|
H

hang10tiki
Posted
posted
on
Fri, Mar 7, 2025 6:39 PM
So true Well What time is it? Time to make a Benzart Moai? Ok |
|
D
danlovestikis
Posted
posted
on
Fri, Mar 7, 2025 8:19 PM
I am thrilled to have you finish his carvings. You are ready! |
|
H
hang10tiki
Posted
posted
on
Sat, Mar 8, 2025 11:32 AM
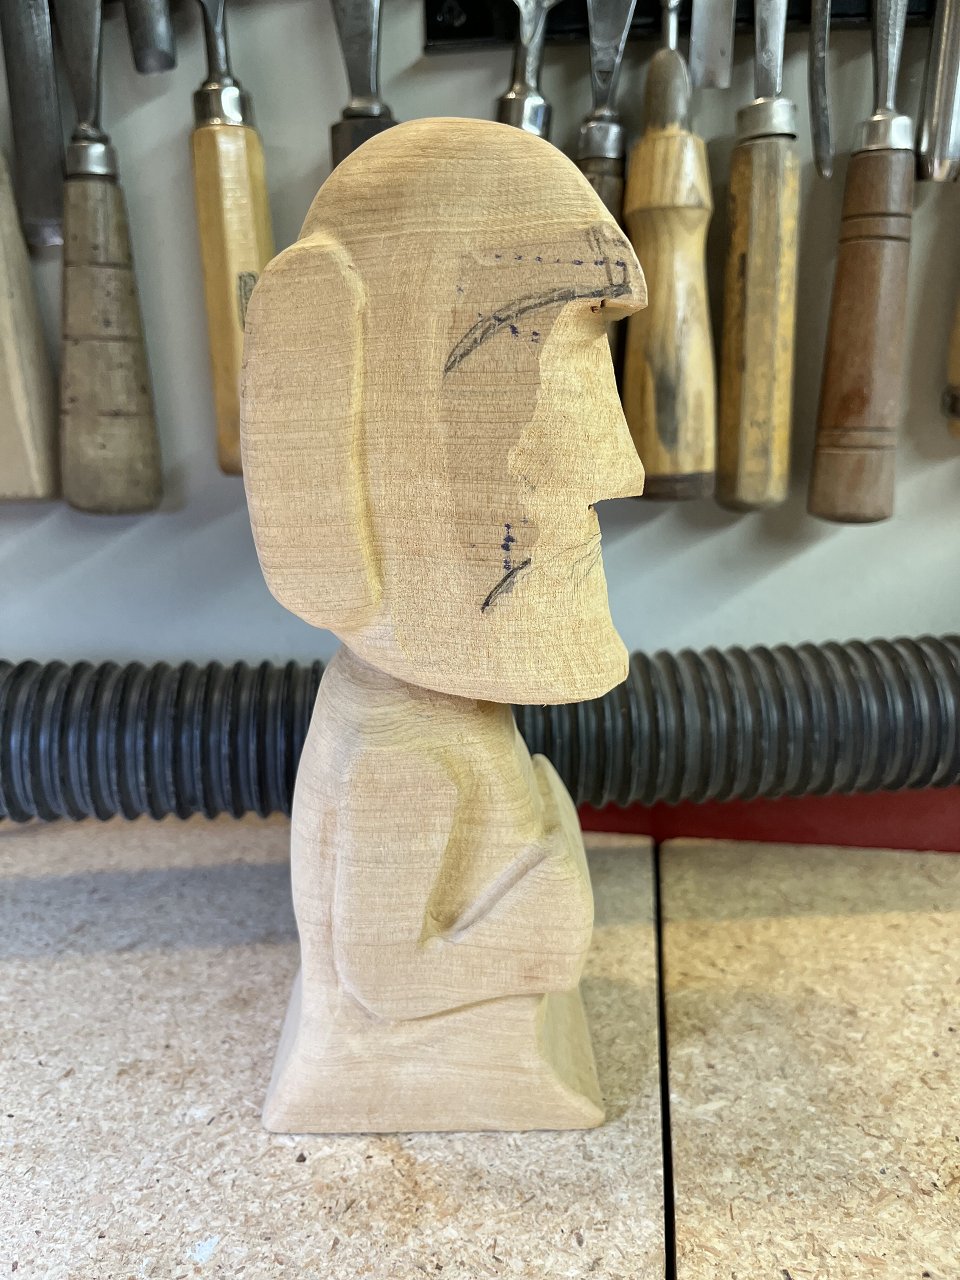
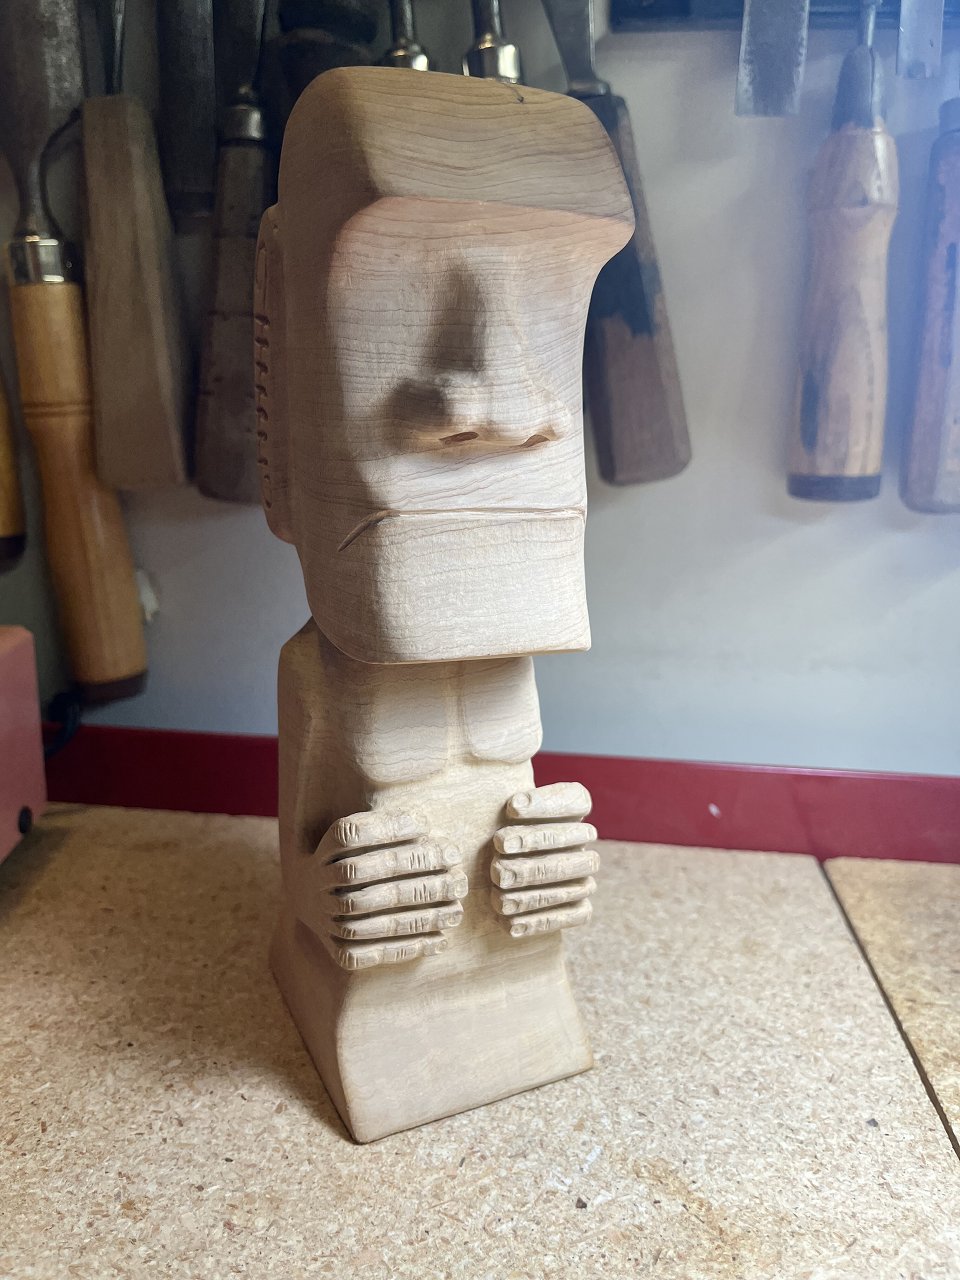
Not just yet Wendy Using his 4 partially started Moai carvings as inspiration Maybe someday I’ll try to finish his 4 🗿 🗿 🗿 🗿 So, here we go: Roughed out a little piece of alligator juniper on the band saw and got to work
Then the wife sent me this pic in a text, breakfast time
|
|
H
hang10tiki
Posted
posted
on
Sat, Mar 8, 2025 11:48 AM
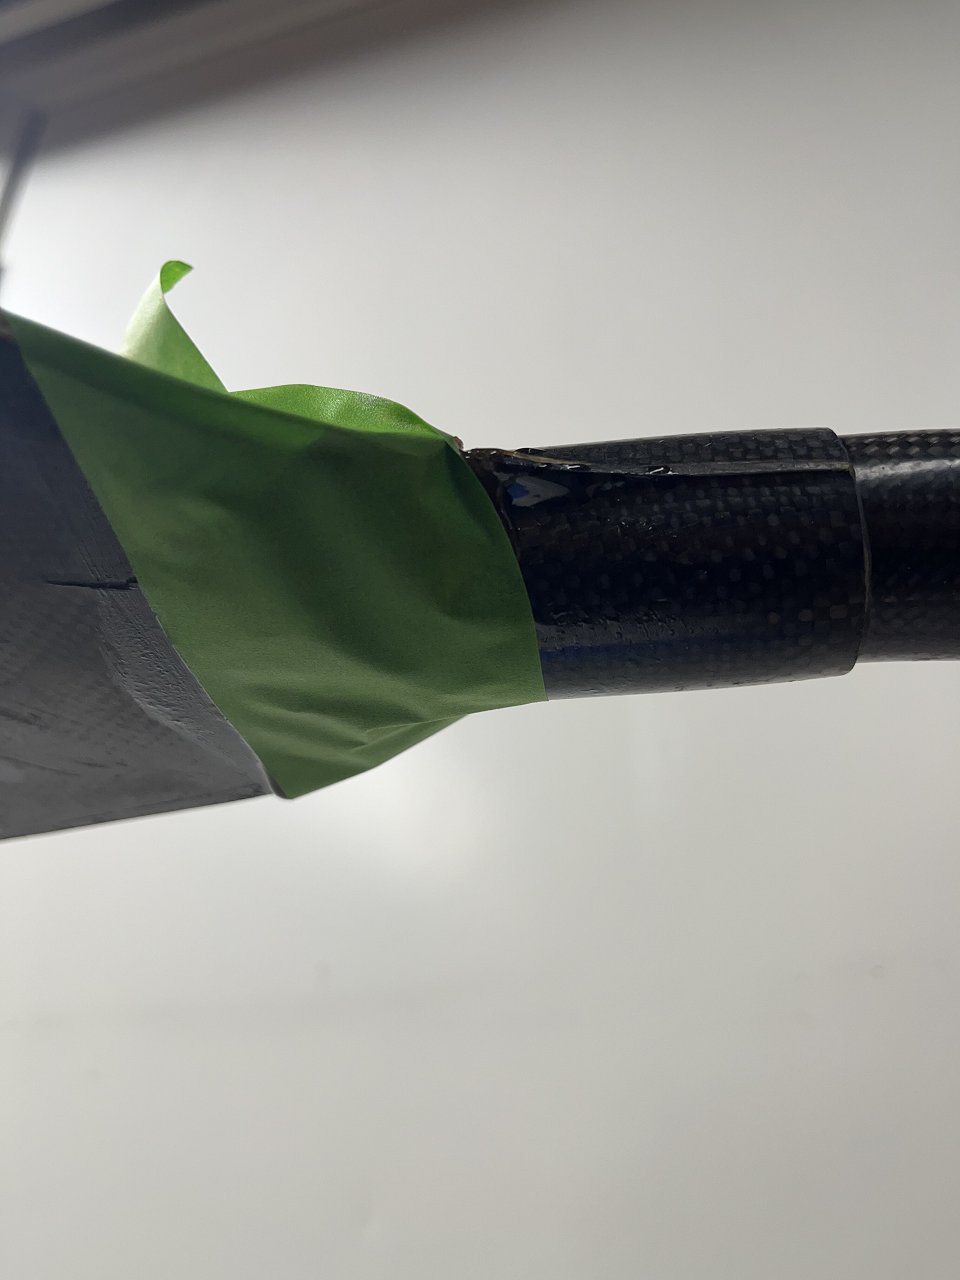
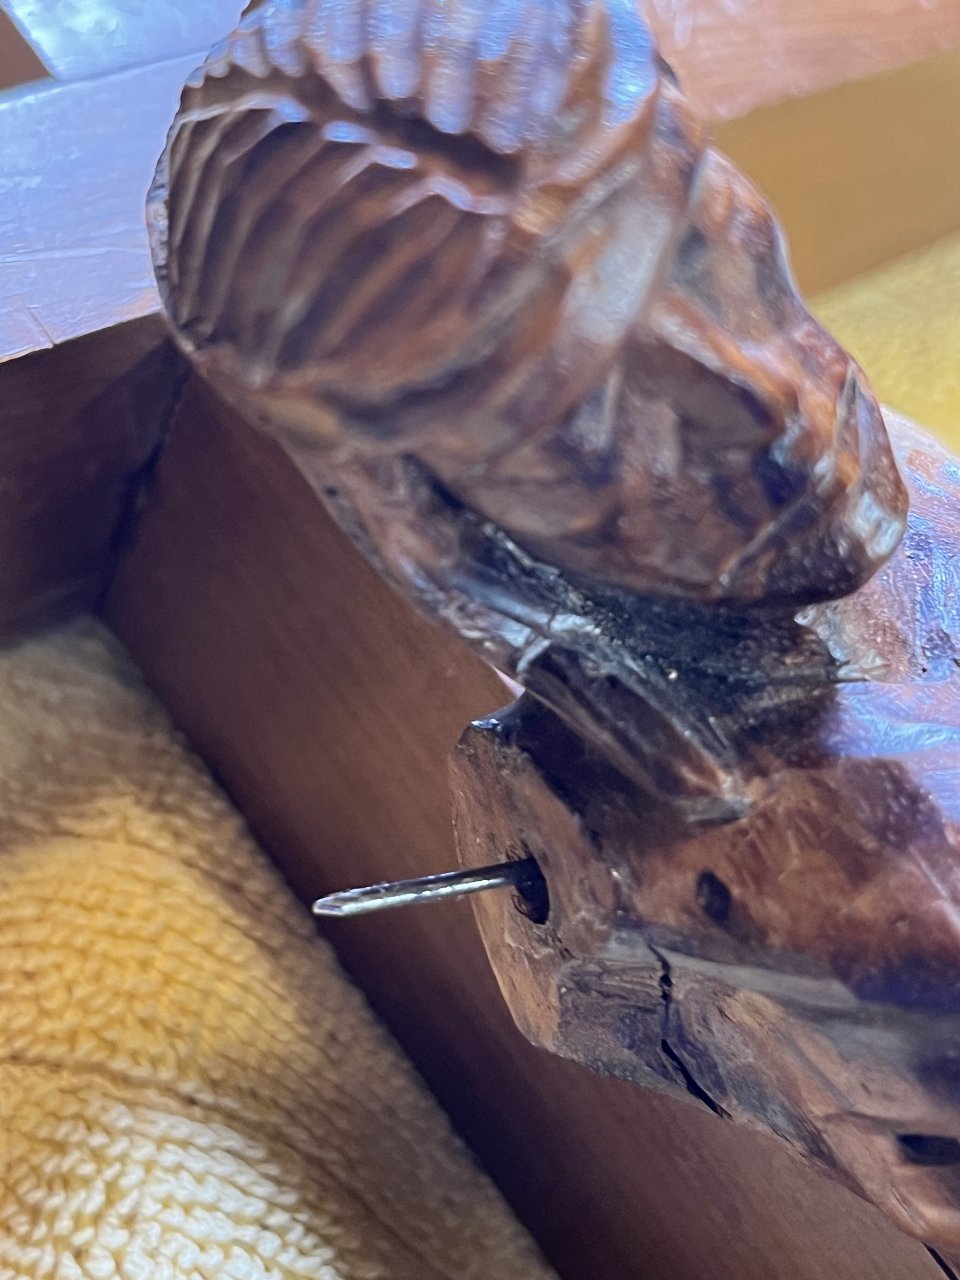
Also, I was recently asked to repair a broken Kayak paddle that was in 2 pieces, a great friend of ours lost this brother years ago in an accident and his paddle was recovered. I met him a few times and he was a great guy. It was an honor to be asked to repair it, not for use, just a display. I don’t know the 1st thing about how to fix it, but, let’s get started. So to connect the 2 pieces I inserted a round metal file I’ve had and used for sometime. You can see it here.
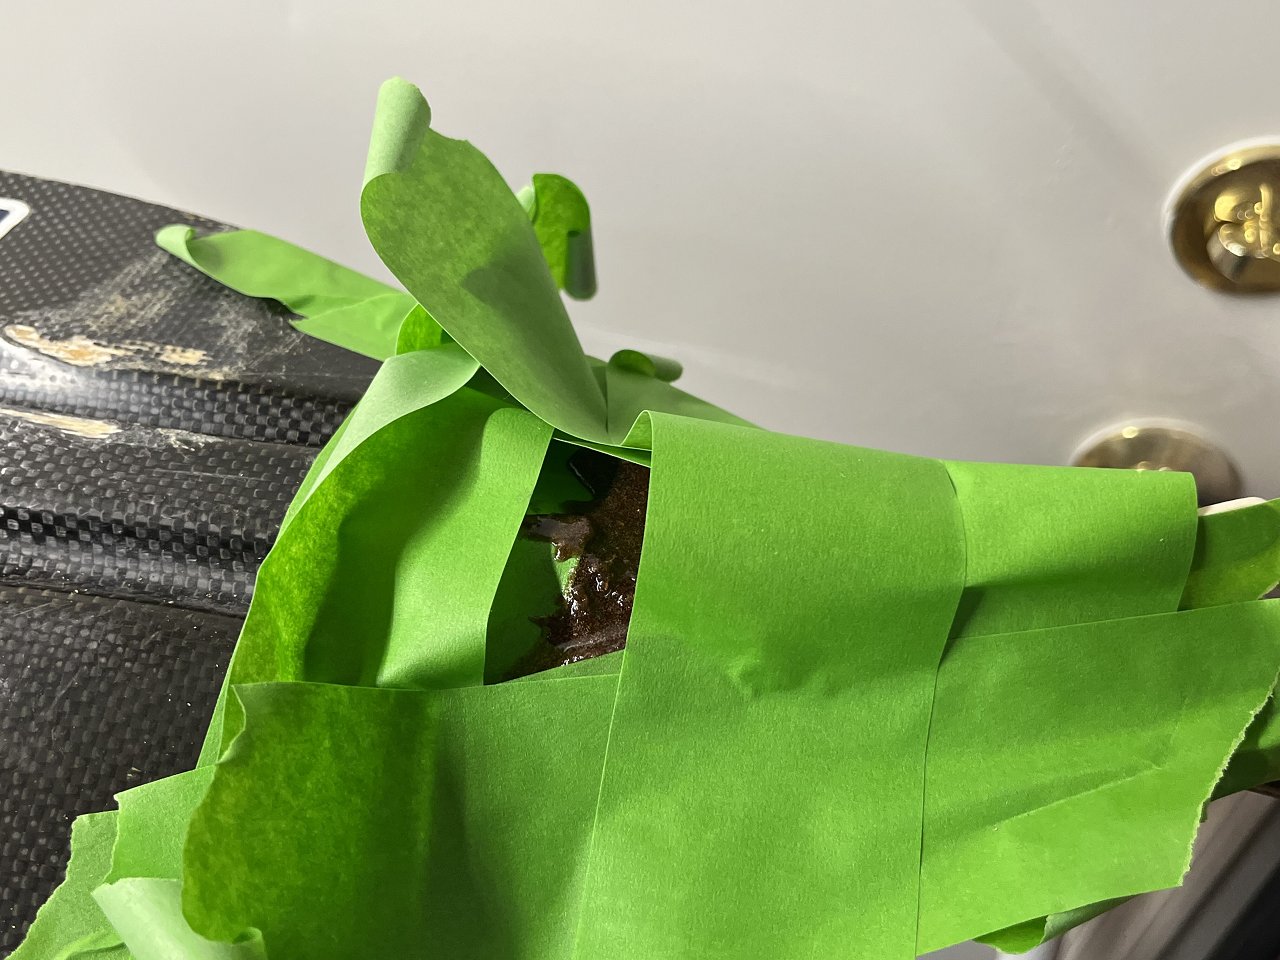
Next I will fill in the missing areas with epoxy. When I noticed that it was to thin and just dripped out the other side I used wood sanding dust from my shop vac to make the epoxy thicker. It helped, somewhat. I used painters tape on the underside to help hold the thicker mix in place. (I assume I’ll just sand off the tape later.) This may take several applications of the thick epoxy to fully fill in the missing areas.
[ Edited by hang10tiki on 2025-03-08 11:53:33 ] |
|
D
danlovestikis
Posted
posted
on
Sat, Mar 8, 2025 6:31 PM
Carving while looking at Benzart's work is a great idea. It already looks like his style. Frittata? Looks yummy. I really enjoy repair projects. It looks good so far. If you finish it off with Elmer's wood putty you can carve all the tiny knobs into it. I'll be interested in seeing how you do it. Fun photos, thank you. |
|
H
hang10tiki
Posted
posted
on
Sun, Mar 9, 2025 6:25 AM
Thanks Wendy He was an amazing carver! I asked the spousal unit what breakfast was: Six eggs, couple scoops of cottage cheese, shredded cheese, bacon bits, topped off with cheese and tomatoes, cooked at 400 for 20 min I poured the 2nd round of thick sawdust/epoxy mix last night. May need 1 or 2 more rounds to fill in all the missing areas. Back to my next Reacher book (6 in so far) and some coffee 😆 📕 ☕️ Yesterday at an antique store I saw a great Hawaii photo:
And A cool alien skull, maybe a future carving idea ?!?
|
|
H
hang10tiki
Posted
posted
on
Sun, Mar 9, 2025 7:49 AM
3rd pour:
My patented “wrist vac” 😆
|
|
D
danlovestikis
Posted
posted
on
Sun, Mar 9, 2025 9:35 AM
That photo is something special. I saved it because the detail of Diamond Head shows up so well. Good recipe, thank you. Arm Vac get that patented. Going well on the fix. 51 pages! I was born in 1951. |
|
H
hang10tiki
Posted
posted
on
Sun, Mar 9, 2025 7:51 PM
Hi W. Then 1951 was a good year. Tape off:
Ready for sanding!!! |
|
D
danlovestikis
Posted
posted
on
Mon, Mar 10, 2025 8:47 AM
Ah, thank you. Now I see the woven pattern is not little knobs. Sanding will reveal a lot. I'm looking forward to that step. |
|
H
hang10tiki
Posted
posted
on
Mon, Mar 10, 2025 5:20 PM
👍🏼 Took a 1 hr walk with my 20 lb vest on Reward time. Lol
|
|
H
hang10tiki
Posted
posted
on
Mon, Mar 10, 2025 6:45 PM
Sanded:
|
|
D
danlovestikis
Posted
posted
on
Mon, Mar 10, 2025 8:09 PM
Looks good. Did you uncover any areas that needed more epoxy? |
|
H
hang10tiki
Posted
posted
on
Tue, Mar 11, 2025 4:50 AM
Nope Carbon fiber fabric on one side:
|
|
H
hang10tiki
Posted
posted
on
Wed, Mar 12, 2025 11:43 AM
So working with this carbon fiber material is a little tougher than I thought. Because it is woven right to left and up and down, when you cut it it shreds and moves a lot. Tough to keep in place. Also it’s not like I’m just covering a paddle grip, it tapers up so it’s tough to cut to shape! May take several layers, we will see. A little more on the MOAI:
breakfast time after a 1 hr walk
|
|
H
hang10tiki
Posted
posted
on
Thu, Mar 13, 2025 7:03 AM
1 layer of Carbon fiber on both sides as a base Tough to make it smooth where the 2 edges meet and it’s V shaped, so I decided to do a long 2 inch piece next to completely wrap the base of the paddle:
[ Edited by hang10tiki on 2025-03-13 07:05:34 ] |
|
D
danlovestikis
Posted
posted
on
Thu, Mar 13, 2025 9:21 AM
That's the Manely kind of sandwich Dan loves. Tiki looking so Ben! I would never have thought of that wrap, good job. |
|
H
hang10tiki
Posted
posted
on
Fri, Mar 14, 2025 10:20 AM
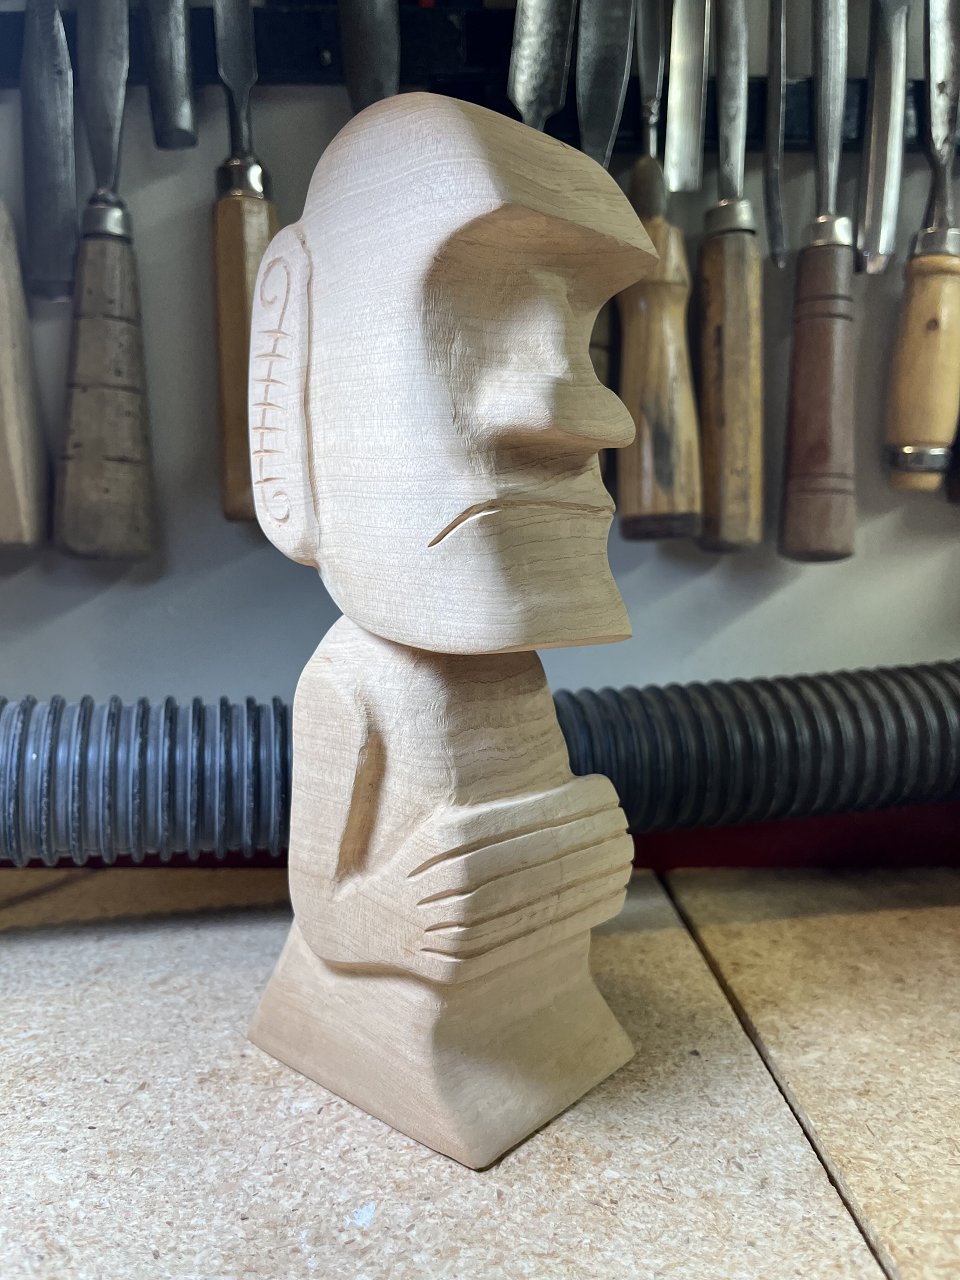
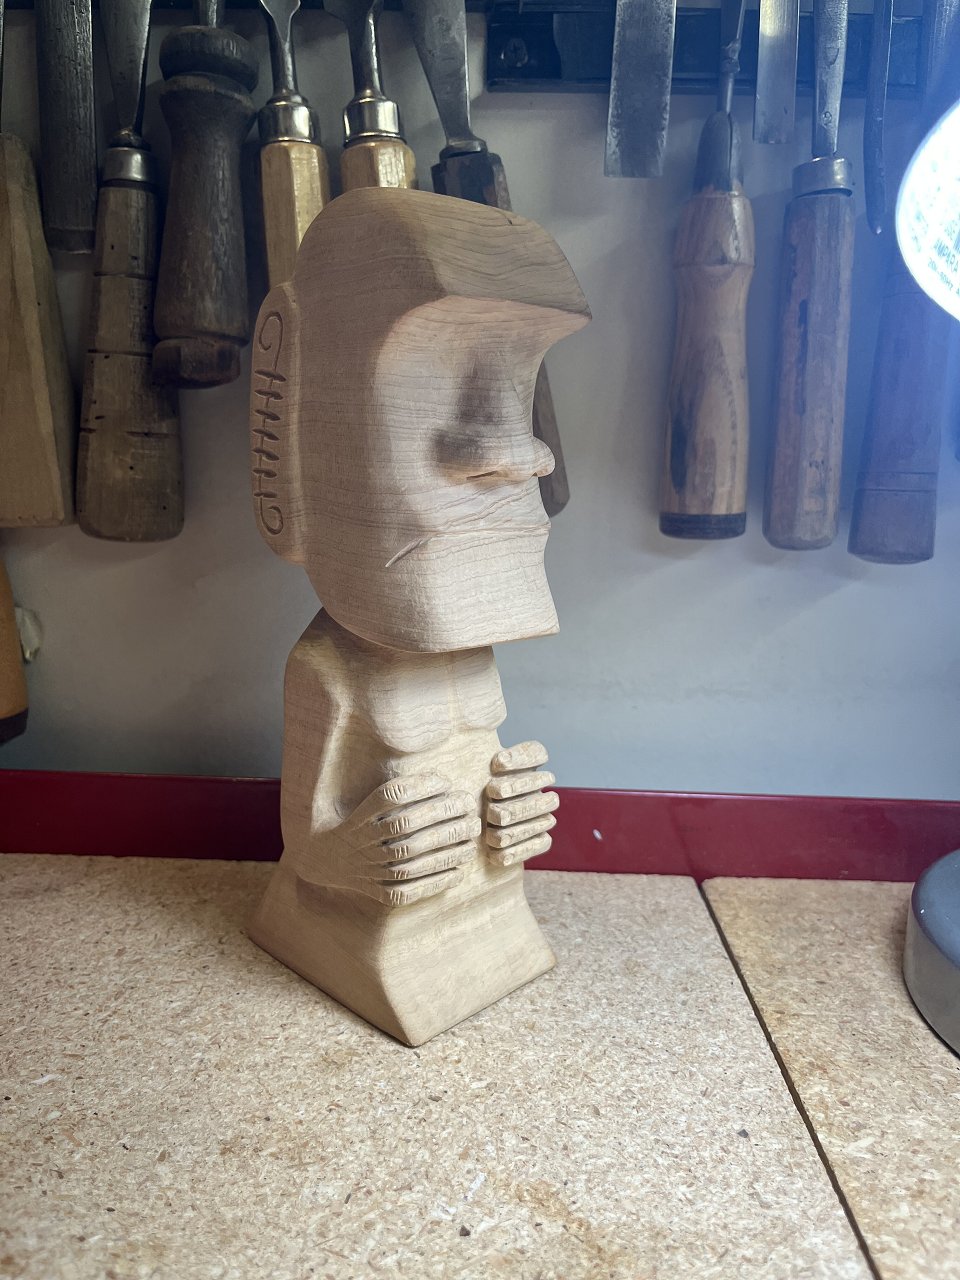
Thanks Wendy Getting there. Not great. But what can ya do I’m guessing it would be much easier to completely cover something then try to patch it 🤷🏼♂️
More on the MOAI
|
|
D
danlovestikis
Posted
posted
on
Fri, Mar 14, 2025 1:58 PM
Wow that tiki is looking great! I love the design in the ears. Well done! Covering would remove the lettering, so you made the right choice. |
|
H
hang10tiki
Posted
posted
on
Fri, Mar 14, 2025 5:31 PM
|
|
H
hang10tiki
Posted
posted
on
Fri, Mar 14, 2025 5:35 PM
Thanks Wendy Well. Done. I wish it would have come out better, Hope he likes it.
|
|
H
hang10tiki
Posted
posted
on
Sat, Mar 15, 2025 8:17 AM
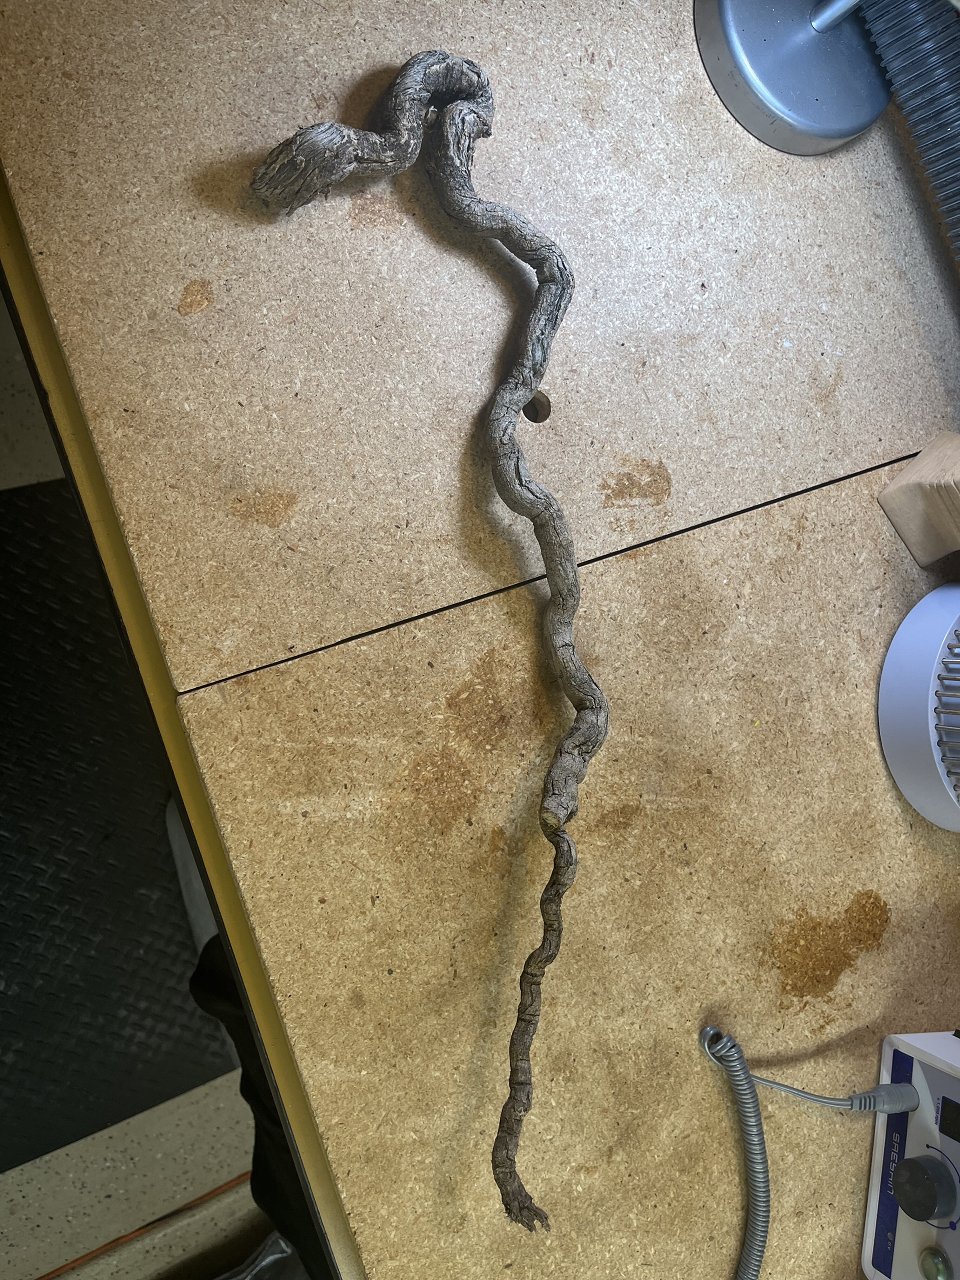
Found this on a golf ball hunt last night: Anyone else see what I see?
How about now?
Or now?
[ Edited by hang10tiki on 2025-03-15 08:18:34 ] |
|
D
danlovestikis
Posted
posted
on
Sat, Mar 15, 2025 11:55 AM
This gave me chills down my spine and I'm not even afraid of snakes. I like it a lot. |
|
H
hang10tiki
Posted
posted
on
Sun, Mar 16, 2025 9:37 AM
Wendy- 🐍 I Dropped the paddle off. He liked it 👍🏼 Scale time:
Finger time:
|
|
D
danlovestikis
Posted
posted
on
Sun, Mar 16, 2025 8:08 PM
All good progress on fun projects. Oh and SewTiki was really cute in her photos. |
|
H
hang10tiki
Posted
posted
on
Mon, Mar 17, 2025 2:30 PM
😆 Well, I was asked to repair something, no pressure, just Jesus
Time to let it dry So MOAI fingers
|
|
D
danlovestikis
Posted
posted
on
Mon, Mar 17, 2025 7:45 PM
Bless you my son for you have repaired well. Fingers really elevated the look. I like them. |
|
WC

Will carve
Posted
posted
on
Tue, Mar 18, 2025 5:16 AM
Great projects you got go'n on. You know where you are go'n if you don't get that cross right ? Is that a Benz Moai ? you gonn'a get the moko right ? |
|
H
hang10tiki
Posted
posted
on
Tue, Mar 18, 2025 11:27 AM
Wendy: 😆🙏🏽 Will: I’ll try my best sir Well my good friend Joe put his brothers paddle up next to the flag I made him! 🇺🇸
[ Edited by hang10tiki on 2025-03-18 11:29:01 ] |
|
H
hang10tiki
Posted
posted
on
Tue, Mar 18, 2025 11:31 AM
All dry
It was missing the “INRI” inscription on top, I guess I will have to make one! |
|
H
hang10tiki
Posted
posted
on
Tue, Mar 18, 2025 7:21 PM
Done
|
|
D
danlovestikis
Posted
posted
on
Tue, Mar 18, 2025 8:23 PM
They made a very nice memory wall. You have memories made too. Repairing things for friends is really a fun addition to an art hobby. Everything you do is done well. |
|
H
hang10tiki
Posted
posted
on
Thu, Mar 20, 2025 8:41 AM
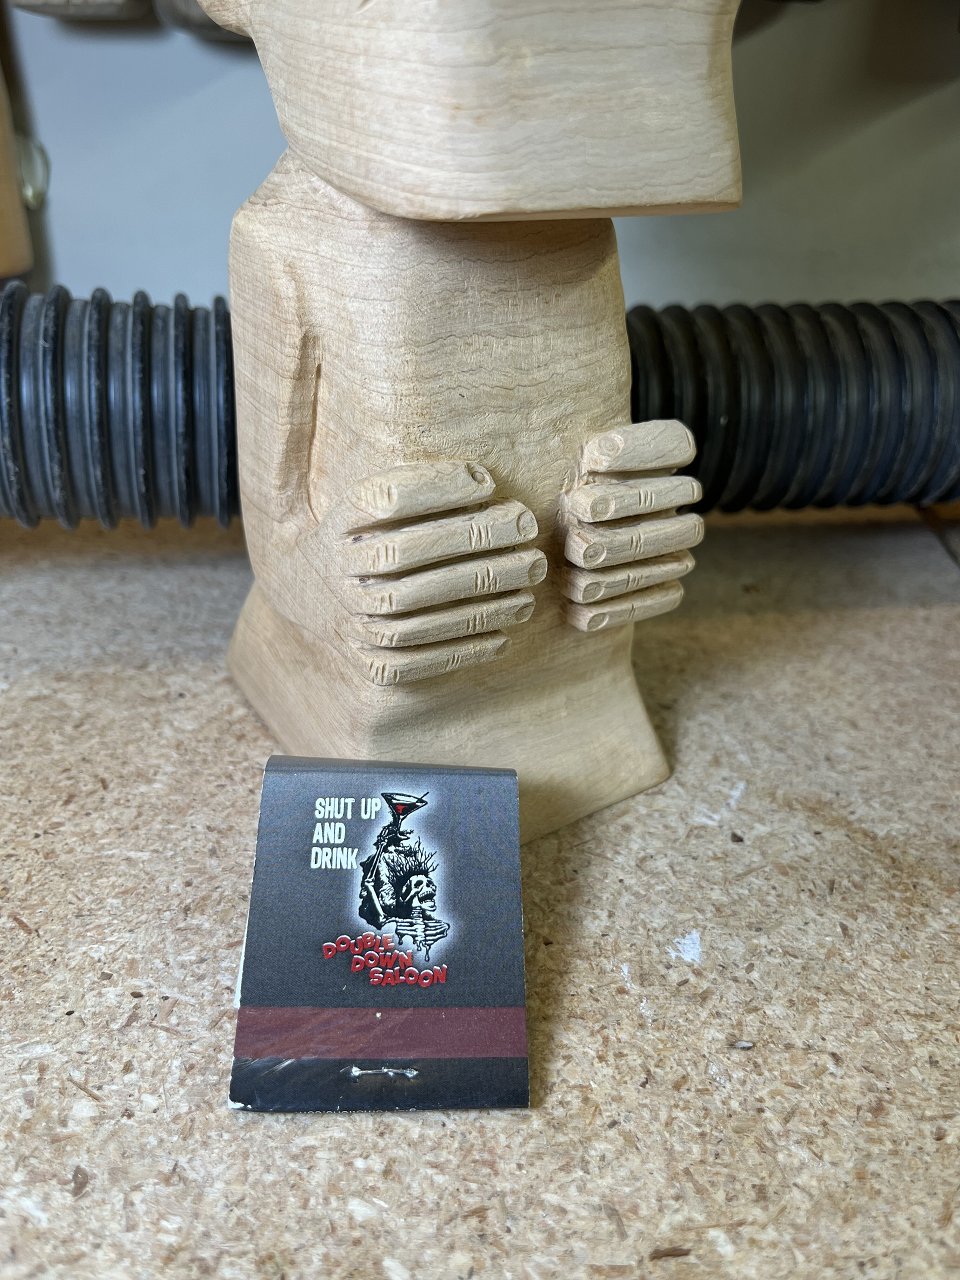
👍🏼🙏🏽
|
|
D
danlovestikis
Posted
posted
on
Thu, Mar 20, 2025 9:33 AM
I said to Dan, "look at the hands now." He said, "Gee that's good!" I agree. Fun matchbook. |
|
H
hang10tiki
Posted
posted
on
Thu, Mar 20, 2025 1:51 PM
Thanks, Wendy, say hello to Dan-O have you made him any cookies lately? |
|
D
danlovestikis
Posted
posted
on
Thu, Mar 20, 2025 8:12 PM
I will pass on your greeting. I bought him his favorite girl scout cookies. We did make a huge batch of the dough, put it into rolls and froze it. It only takes overnight to thaw so little planning when we need some. This was raison walnut oatmeal cookies. The best treat bread comes from Costco. Cranberry walnut bread. Toasted and buttered, it's such a treat. |
|
H
hang10tiki
Posted
posted
on
Thu, Mar 20, 2025 8:34 PM
So hungry now 🤤 |
|
H
hang10tiki
Posted
posted
on
Sat, Mar 22, 2025 11:12 AM
Well, I had to sand the scales off of the snake, once I got to where it started bending and curving, I could not get the wood-burning tool in at the right angle. It’s to small, guess I needed to find a bigger branch. Oh well. Maybe I will just sand it smooth and paint it. 🤷🏼♂️ [ Edited by hang10tiki on 2025-03-22 11:13:35 ] |
|
D
danlovestikis
Posted
posted
on
Sat, Mar 22, 2025 7:25 PM
So sad. Paint it for sure. The way the branch is twisted is perfect. |
|
H
hang10tiki
Posted
posted
on
Sun, Mar 23, 2025 7:44 AM
👍🏼 Well, last night I found the last missing Blantons cork for the set I put together for Chris, the elusive B
More work this am: sanding, nose, sanding, and yes more on the hands
|
|
D
danlovestikis
Posted
posted
on
Sun, Mar 23, 2025 8:39 AM
He's lookin mighty fine. |
|
H
hang10tiki
Posted
posted
on
Sun, Mar 23, 2025 4:28 PM
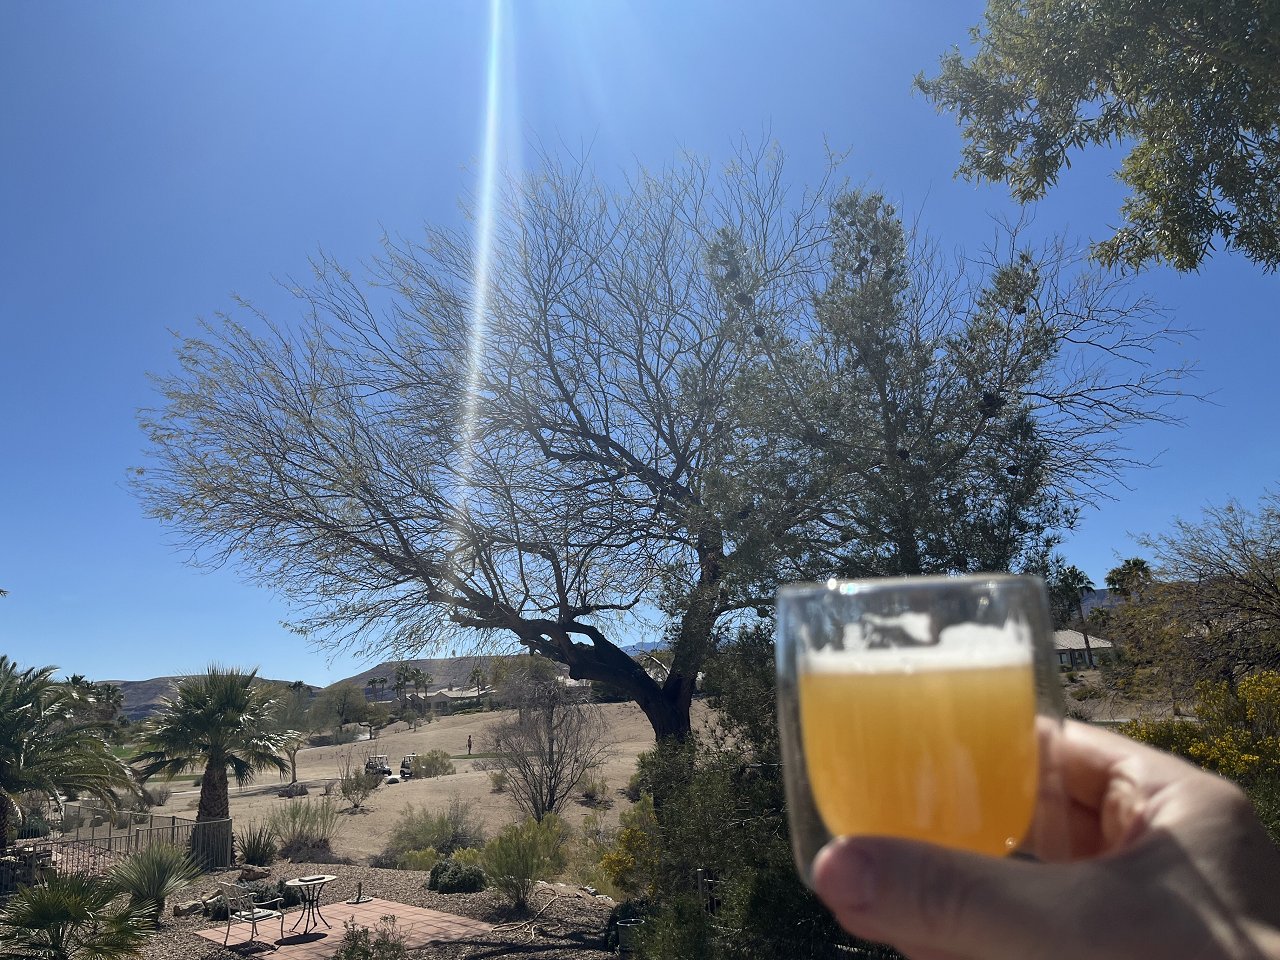
TY Wendy Beer n seafood
|
|
H
hang10tiki
Posted
posted
on
Thu, Apr 3, 2025 9:31 AM
Chest day:
|
|
D
danlovestikis
Posted
posted
on
Fri, Apr 4, 2025 7:05 PM
Doggie Pinups!
Nice Chest.
Cute menehune caught by the tiki guy.
I'm still eating my sardines in the jar with olive oil. A great treat.
We went thrifting at Goodwill and found a tiki mug and then in the parking lot a golf ball. I thought of you |
|
H
hang10tiki
Posted
posted
on
Sat, Apr 5, 2025 10:08 AM
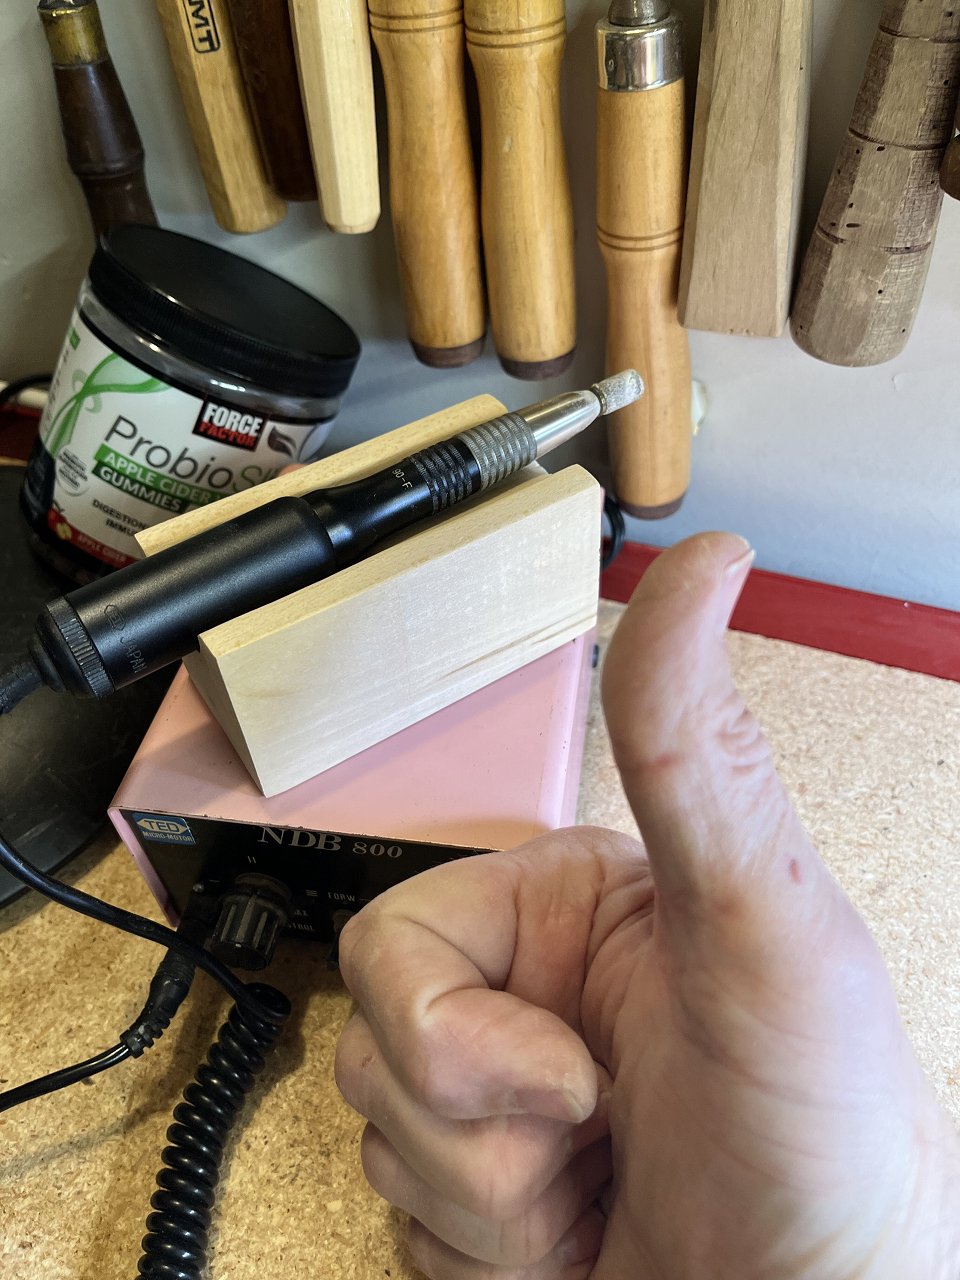
Wendy: 👍🏼 👍🏼 Found this: NDB 800 Manicure Pedicure Nail File Grinder Beauty Salon Spa Tool Controller 🤷🏼♂️
Perfect for sanding But it was missing the handpiece cradle So I made 1
😆
[ Edited by hang10tiki on 2025-04-05 15:53:44 ] |
|
H
hang10tiki
Posted
posted
on
Sat, Apr 5, 2025 10:10 AM
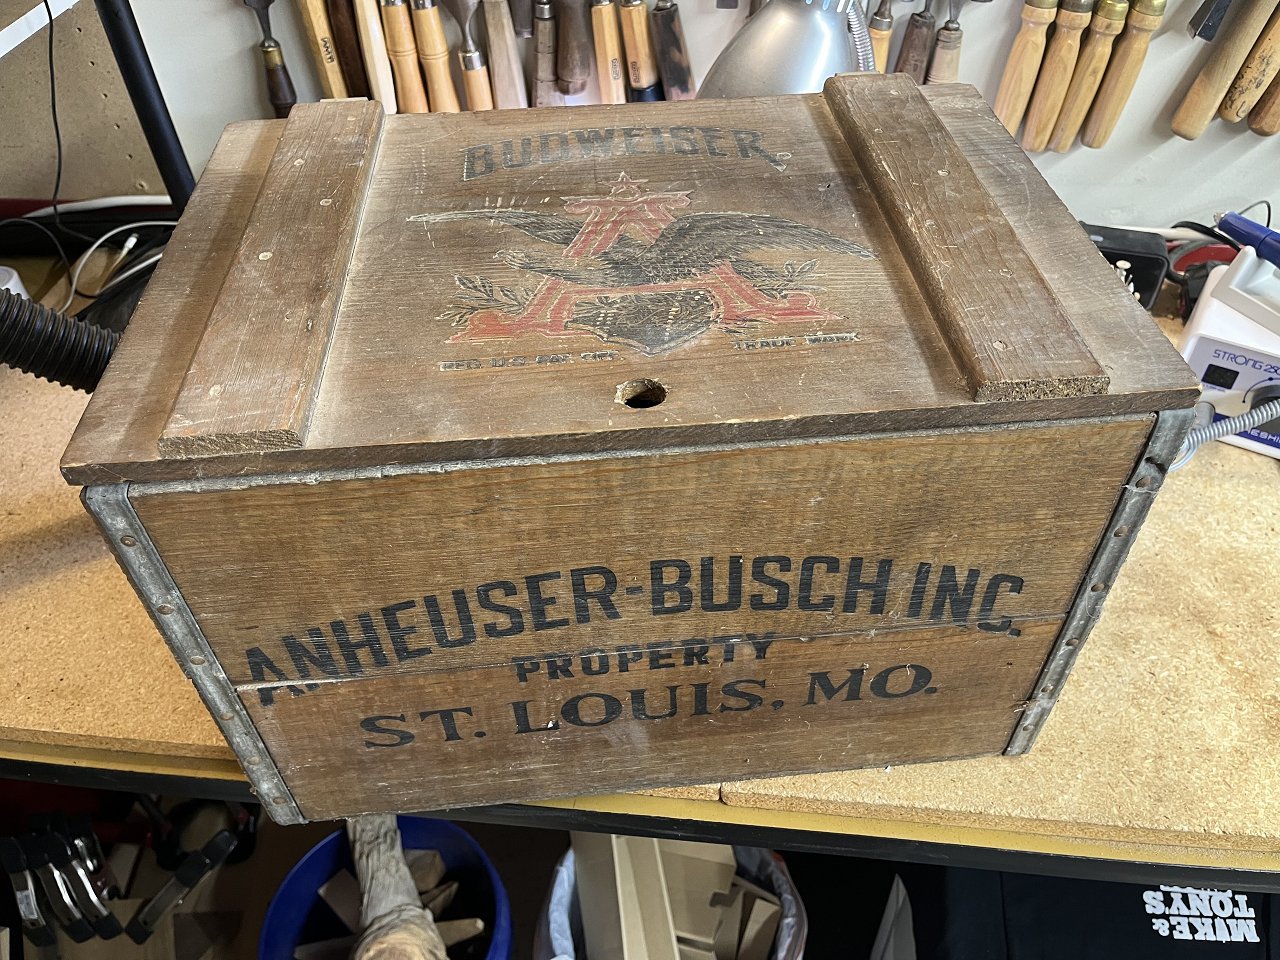
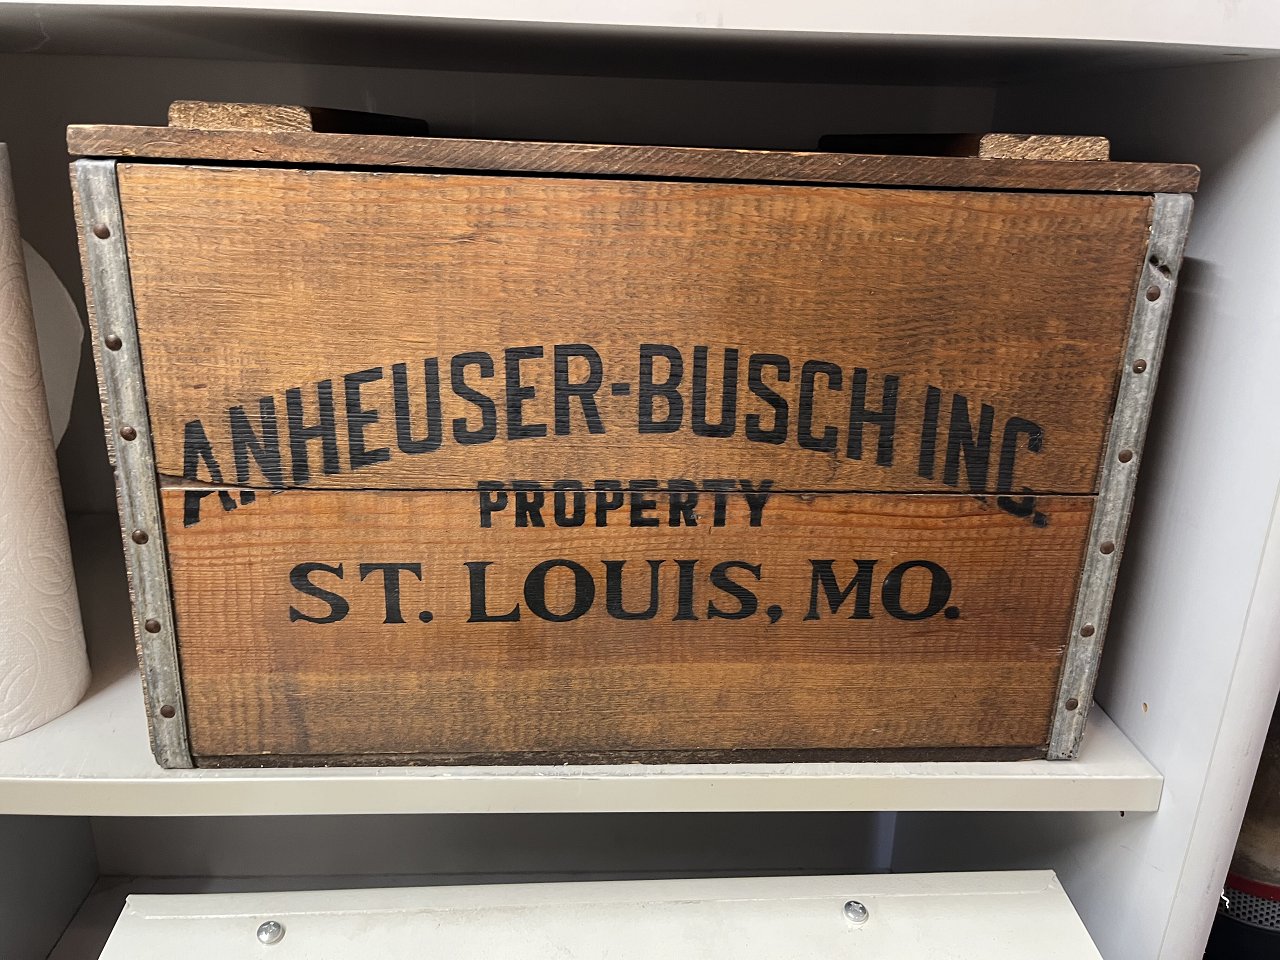
Also found this:
Cleaned up great:
[ Edited by hang10tiki on 2025-04-05 10:10:55 ] |
|
H
hang10tiki
Posted
posted
on
Sat, Apr 5, 2025 12:51 PM
|


 😆
😆


Pages: 1 2 3 4 5 6 7 8 9 10 11 12 13 14 15 16 17 18 19 20 21 22 23 24 25 26 27 28 29 30 31 32 33 34 35 36 37 38 39 40 41 42 43 44 45 46 47 48 49 50 51 52 53 54 55 56 57 58 59 60 61 62 63 64 65 3074 replies