Tiki Central / Home Tiki Bars / Post pictures of your Home tiki bar/space/yard!
Post #270302 by twitch on Sun, Dec 3, 2006 8:20 PM
|
T

twitch
Posted
posted
on
Sun, Dec 3, 2006 8:20 PM
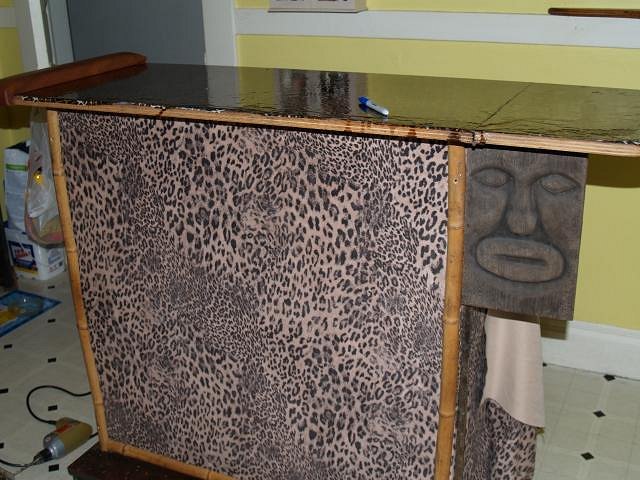
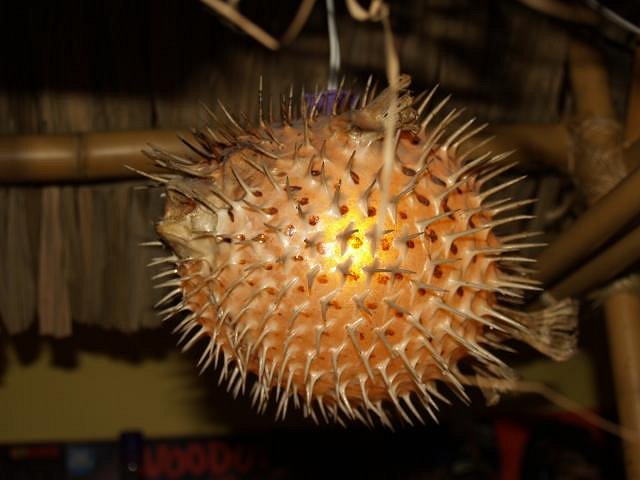
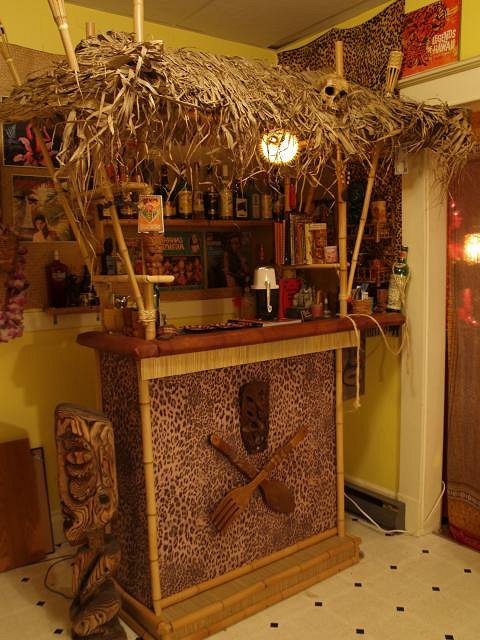
Damn, those lamps are awesome... Okay... well, I'm just about gone for a few months. Adequate Home Tiki Bar for the Urban Apartment! (Actually, the bar I have I found abandoned in a parking lot of a post office, soaked in rain and crawling with mold and mildew, cobwebs and dust. After waiting a week and still no-one hauled it away, I got ahold of a car and bounced it back to my apartment, where the stripping, peeling, refurbishing and repainting began. For the bar-top I threw away any notion of intelligence; I merely stripped off the brown formica, pasted some leopard-print wrapping-paper in its place, and gave it five coats of poly-finish. For the front I put some animal-print suede around the three sides and split up some bamboo for the corners, etc. and covered the foot-rest area with some cut-up $-store bamboo placemats. (By the way - if you're in the Vancouver area and have some bamboo needs, check in at http://www.coolitebamboo.com/ - huge selection of bamboo items, as well as all sizes of poles in the back of the shop. They also have a nice little pre-made tiki-bar for sale)
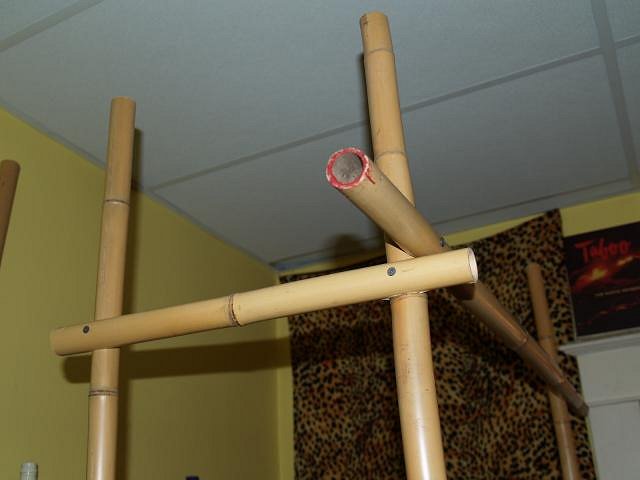
Then, after buying a lot of drill-attachments and bits that aren't the right size because you're too lazy to write down any measurements, start setting in some bamboo poles;
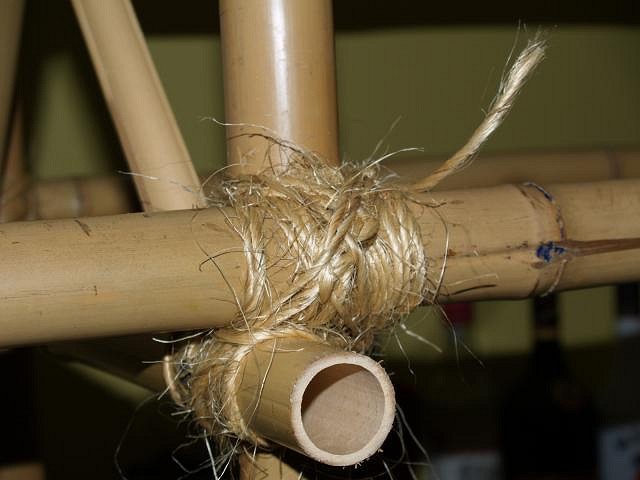
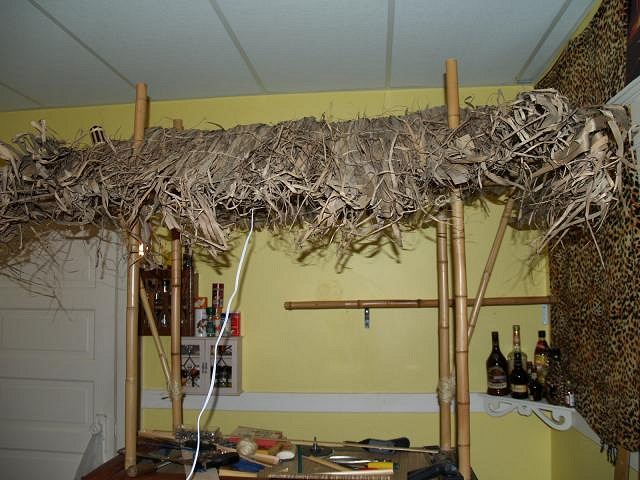
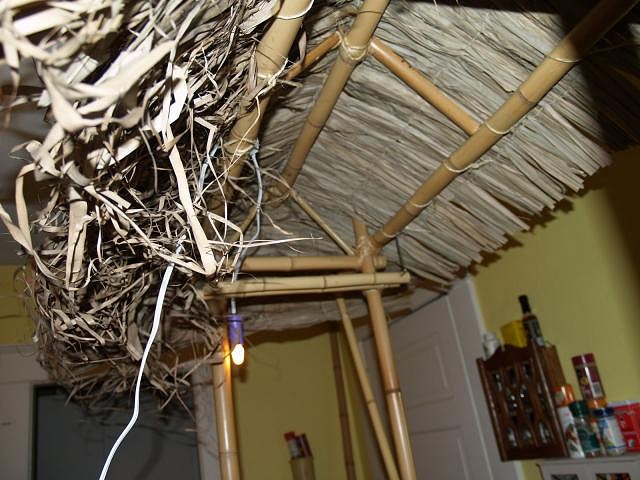
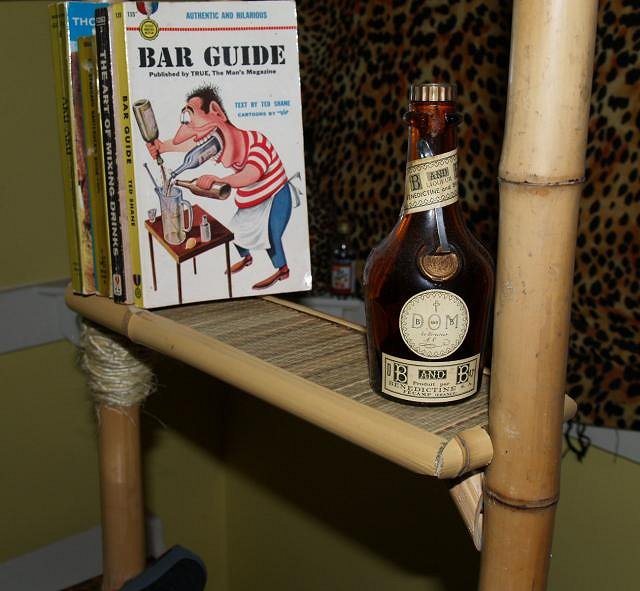
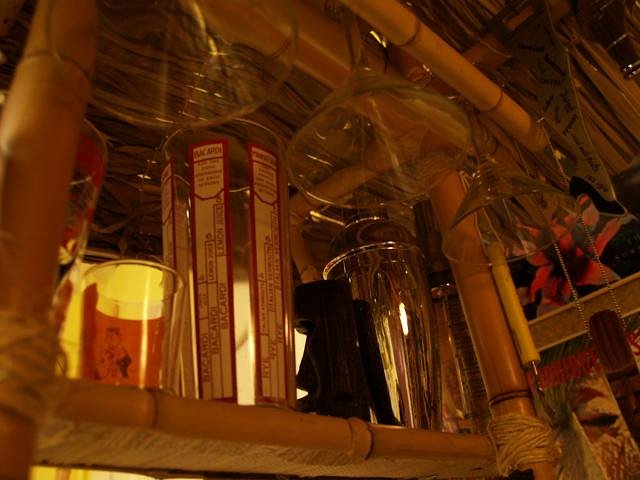
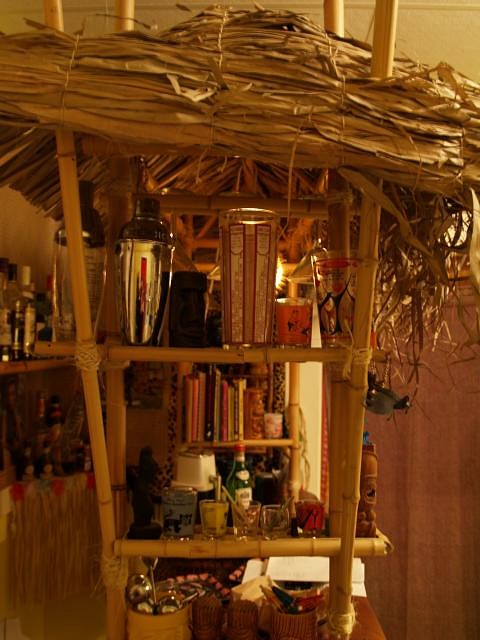
After studying ancient texts, carefully wind twine around joints in a technically-flawless pattern (not like this); Next step: mai tai, of course. After the second mai tai, move along into building a canopy or roof, adding stemware-racks and torches set off at an angle, even if you can't light them as they are four inches from the ceiling and neighbors might complain when their possessions are incinerated; Mojito!!! Resume work after the third delicious concoction, and do not try to swat flies with running drill. Underside... Add shelves between poles with cheap wood found in alley (boil first!), covered in placemat and rimmed with excess 'boo; Decorate with appropriate accoutrement;
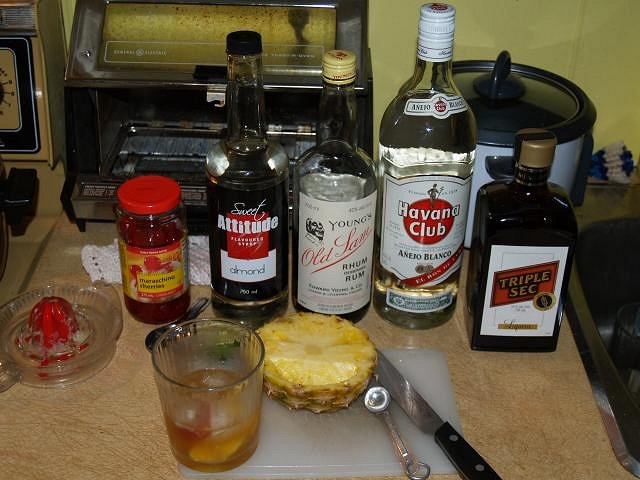
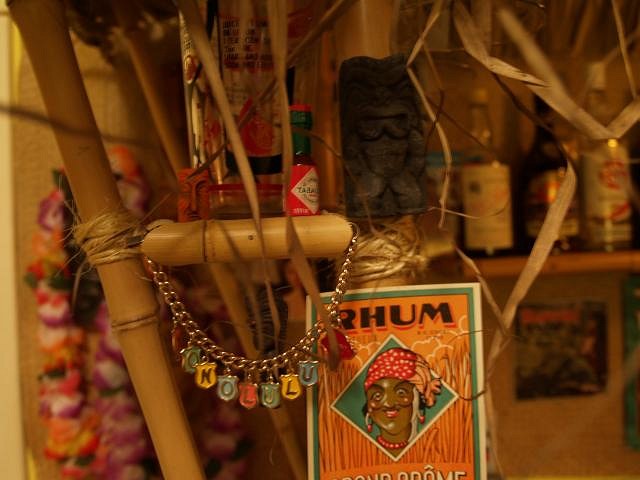
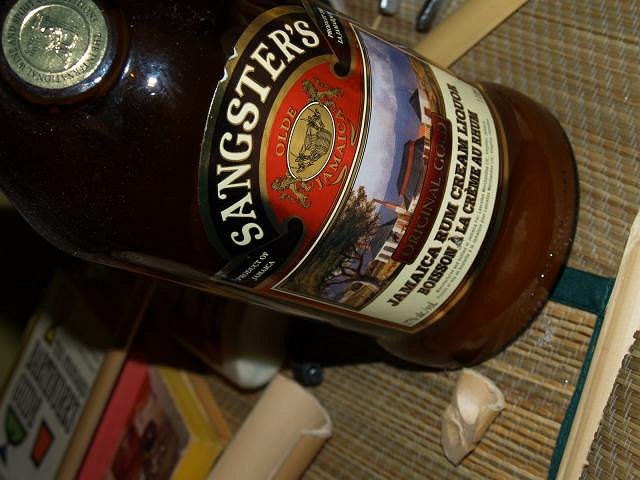
and a little aperitif... ...and you've got yourself a cozy little shack in which to fend off the brutality and boredom of the outside world! (Note about human skull: my landlord IS still alive, you can check)
Alright, I'm off to don all-black clothing and listen to industrial-goth for several months. |