Tiki Central / Tiki Carving / Bone Carving Q+A
Post #289422 by GMAN on Sat, Mar 3, 2007 1:35 PM
|
G

GMAN
Posted
posted
on
Sat, Mar 3, 2007 1:35 PM
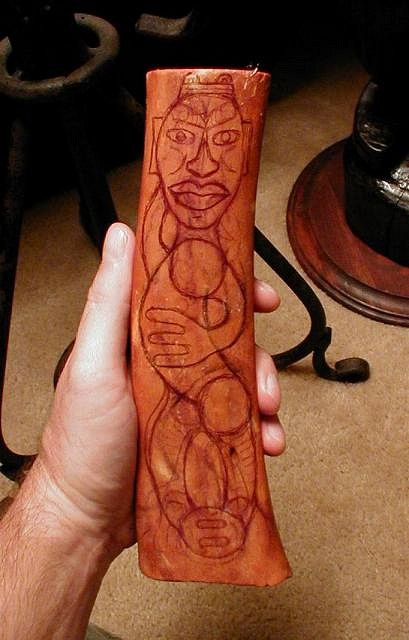
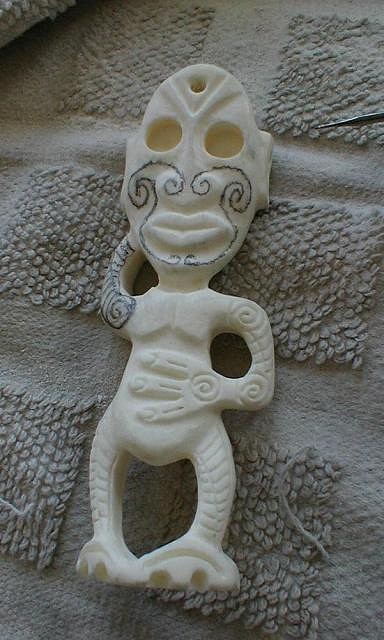
Duddy, Perry asked me to put together a few pics and ideas here to get you going. Here's a try at a medium sized bone "how to" lesson with pics of pieces I made previously. I hope this helps. Here you go... Get a piece of bone from a pet store or a butcher. Most of mine comes from a butcher and I clean it up myself using a wire brush, boiling water, 20 volume peroxide, and elbow grease. Peparing bone could be a whole thread in itself. So, let's start. Now that you have your bone, think about the shape, side angles, and any flaws on the bone. Now work a piece out on paper, or on the bone as I do. If you made your drawing on paper, transfer it to the bone now. It will look something like this...
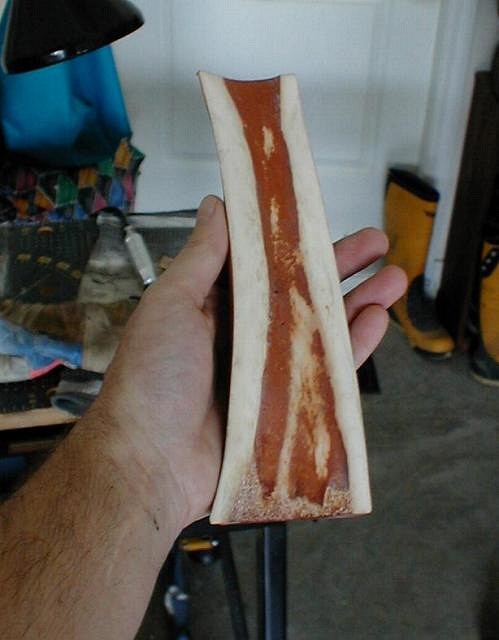
Ok, now you need to split the bone with a saw, leaving 1/2 to 1/3 of it left for your carving. I use a machining clamp and a jigsaw for this, but a band saw would be the tool of choice. Do it like this...
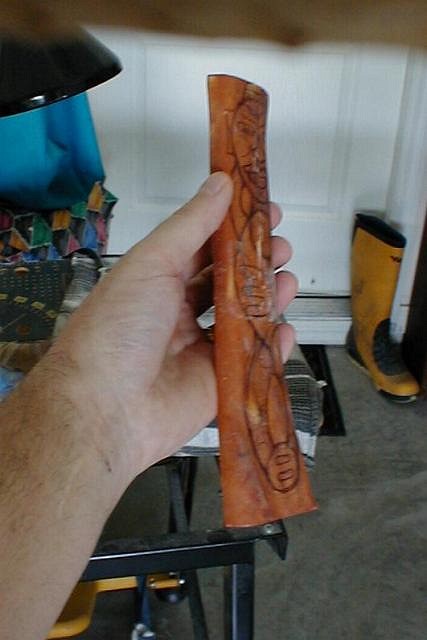
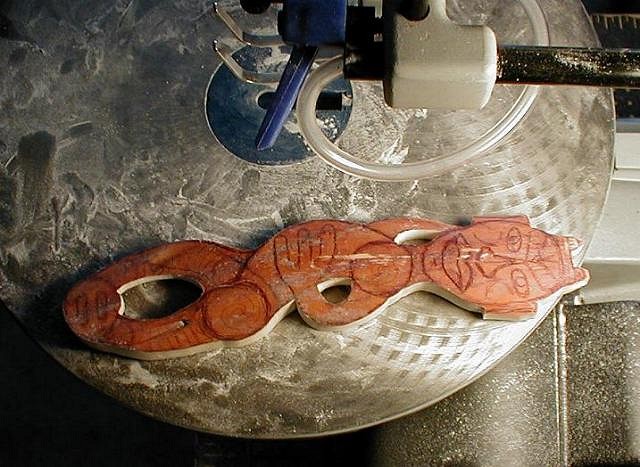
Ok, now we are on our way. Next, you need to rough out the shape according to your drawing. I use a scroll saw to do this....
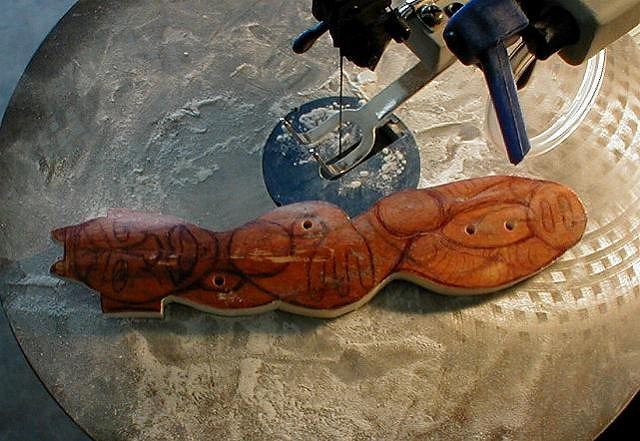
As you can see in the pic above, I have also used a drill press to make small holes in the areas where I need to do open work. Once I rough out the main shape, I use the scroll saw to remove the material inside the open work areas.....
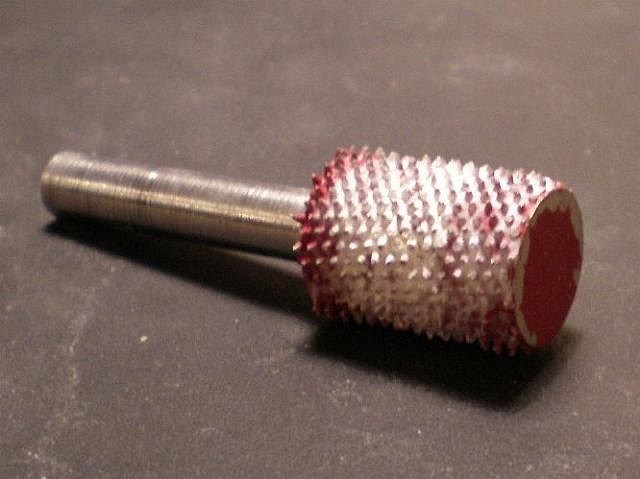
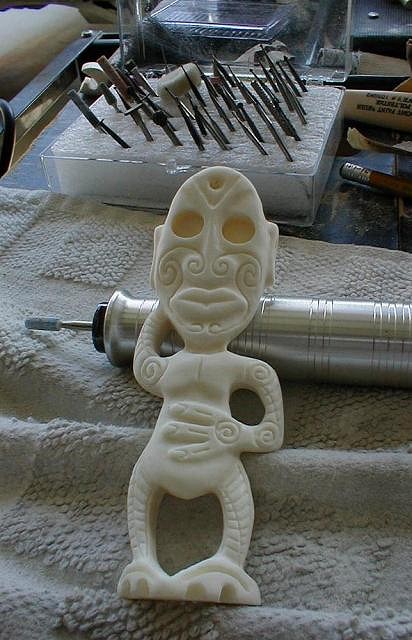
Once you have the bulk of the material removed we can start doing the relief carving. For this I use a Foredom flex shaft unit and a rotating handpiece. If you have a Dremel, this is where you would use it. First I use a Typhoon bit to work on the back edges where the bone is angled and may be very thick. Watch yourself here, these suckers will really bite ya. This removes lots of materal FAST. I do not recommend using this bur for anything on the front side of the piece!
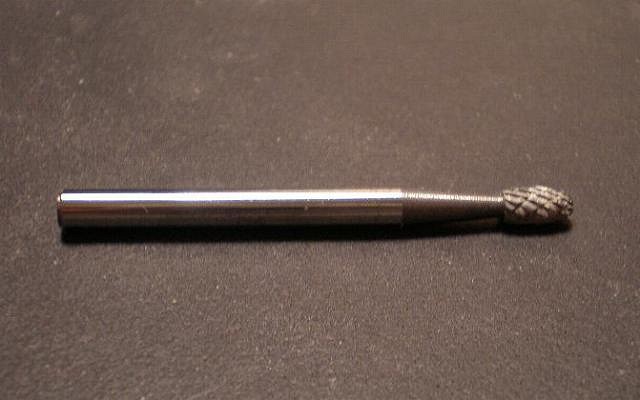
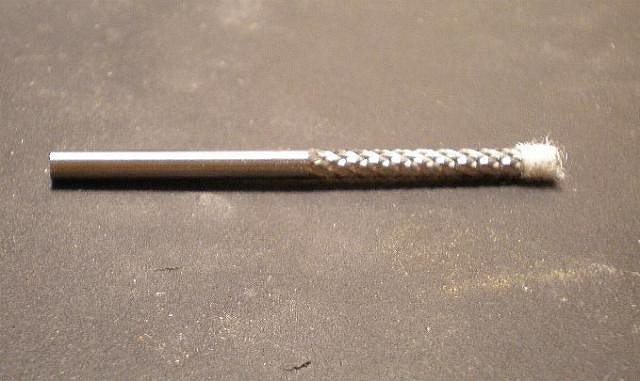
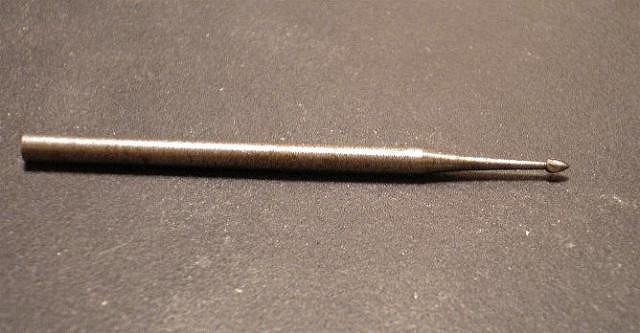
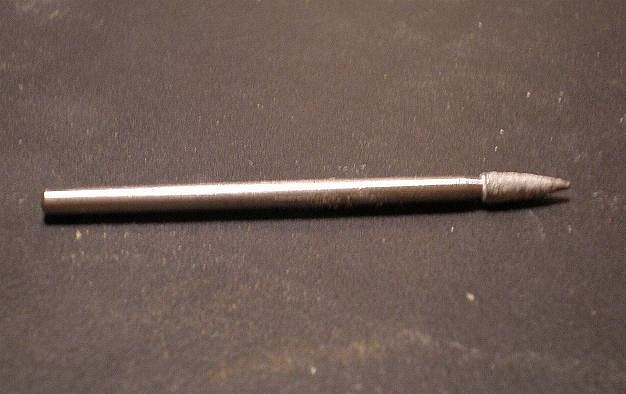
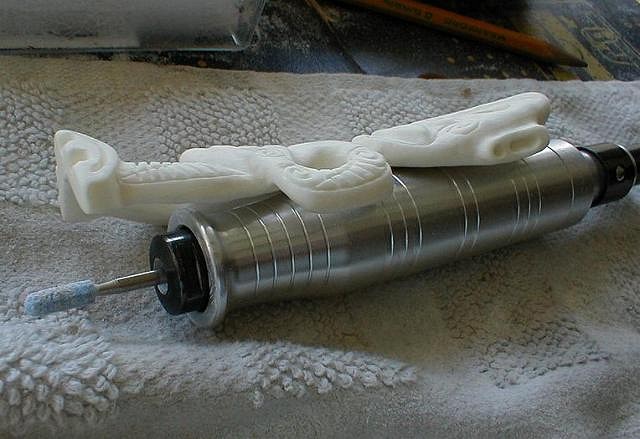
Now I start using different cutters and remove material giving the piece it's basic front relief/side profile. For areas such as legs and arms where large areas need to be reduced, I use the long cutter pictured below. While using this, I lay it flat and draw it toward me (kinda like using a pen knife). I have wrapped cloth around the tip so it doesn't bite me. I use a smaller "pineapple" cutter to work the edges around the faces, arms etc, where I need to use the tip and be precise.
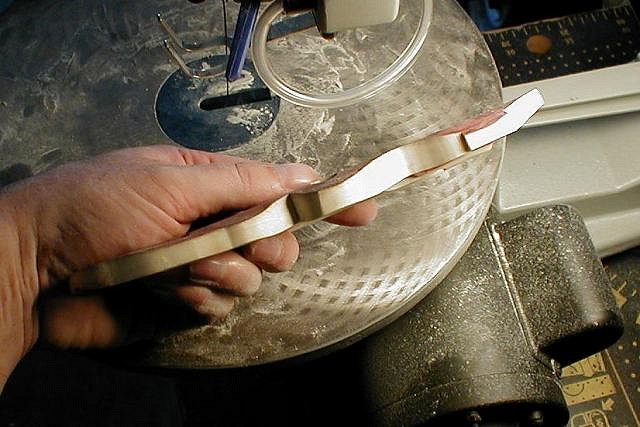
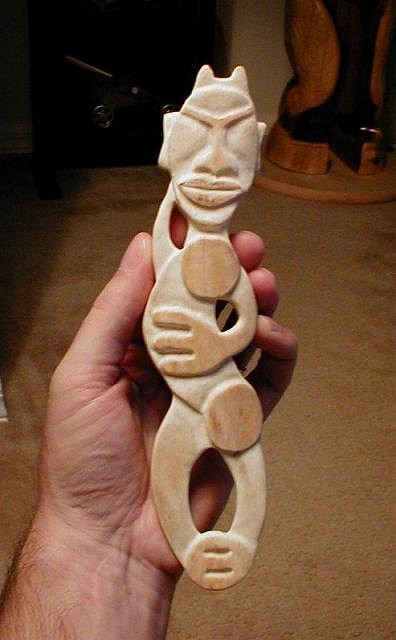
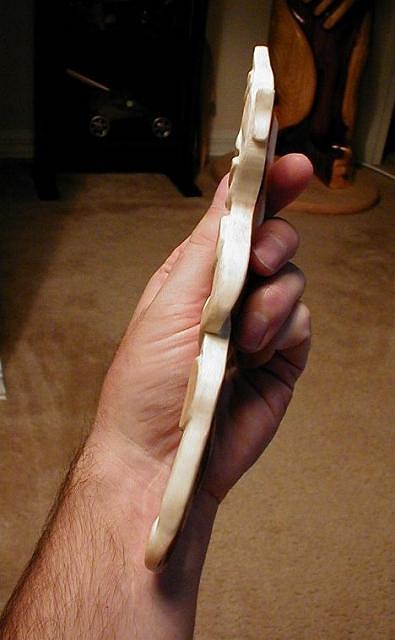
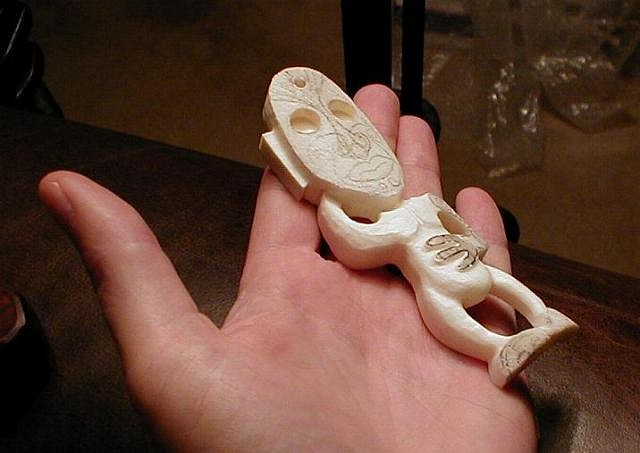
Now I need to switch projects, as my pics ran out :) So here we are at a similar stage in another piece....
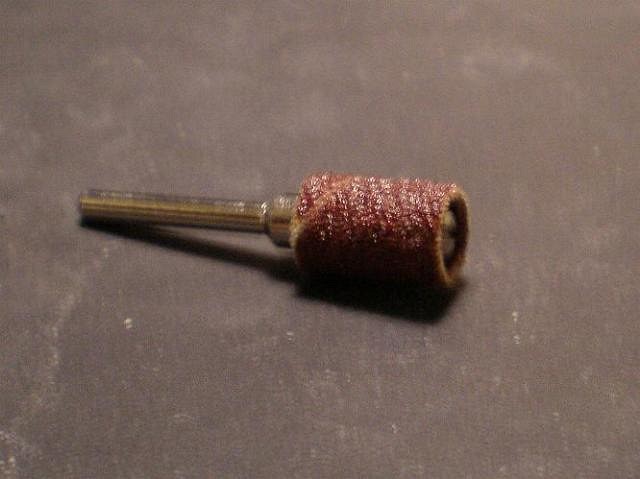
Once we get most of the relief carving done on him, I give him a quick hit with a rough sanding drum and a medium sanding stone.
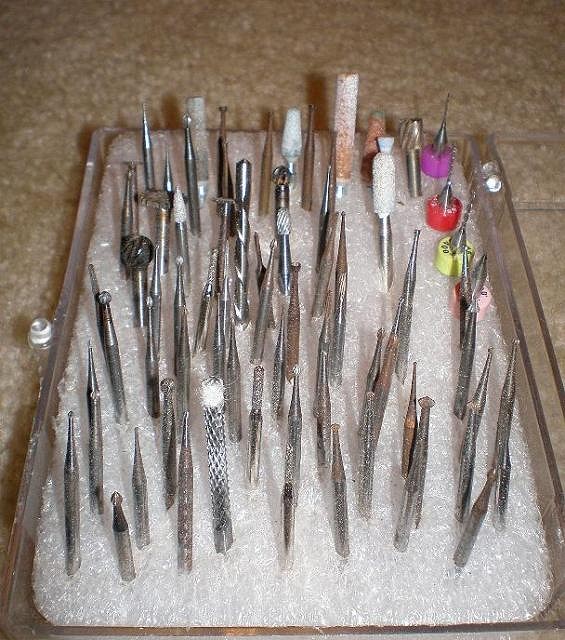
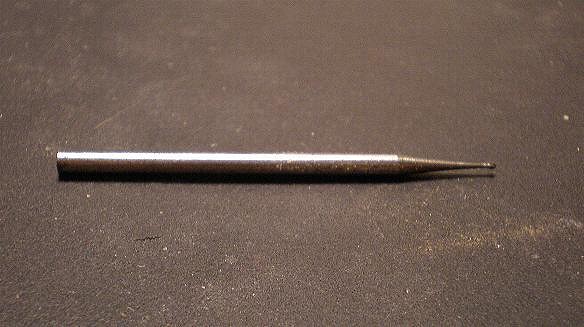
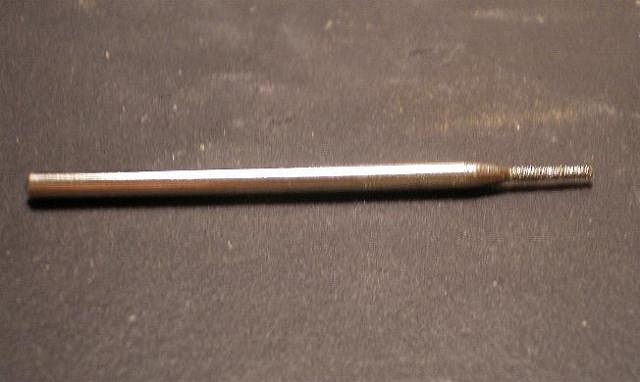
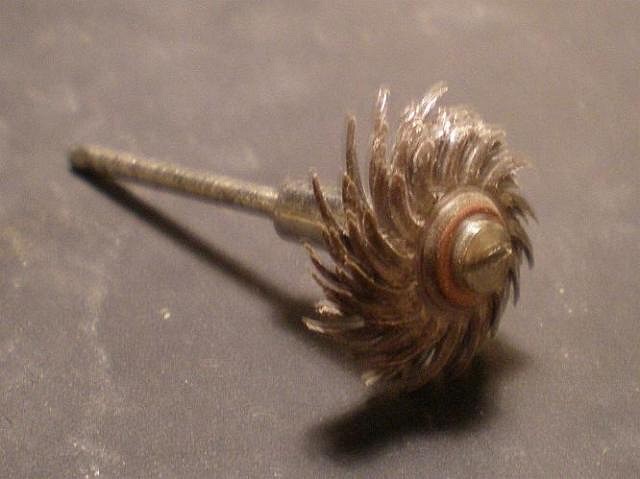
Now we are ready to use a bunch of smaller toolz. I generally use several sizes of bud burs, ball burs, diamond burs, and other cutters. Here you should have a mix of styles and sizes because it will be trial and error to find what works best for you. Here is some of what I use.....
a small bud.... a smaller bud.... Diamind burs in several shapes/sizes are good for cleaning up saw cuts and for working in tight areas....
For nice even detail lines, I like to use bud burs and lay them on their side. By doing this the tool with track straight and not leave a funcky, wiggly, uneven trail like a ball bur.
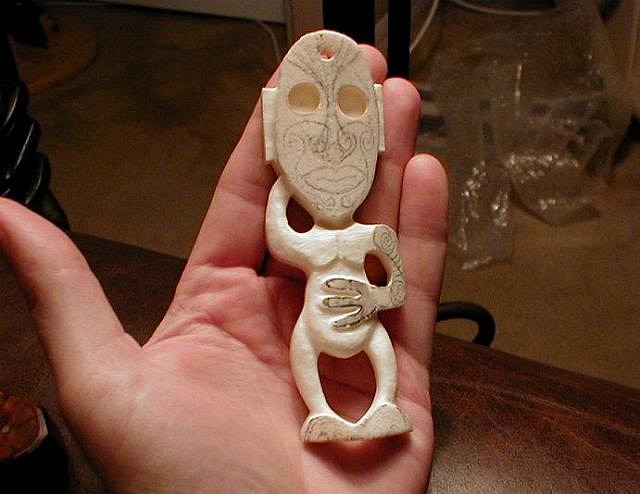
Once you get all the details in and all the cleanup diamond work completed, it's time to sand. I hand sand using 100, 150, and 220. Then I switch to my rotary handpiece and use impregnated plastic and rubber attachments. These are great for getting down into detailed areas and removing sharp edges.
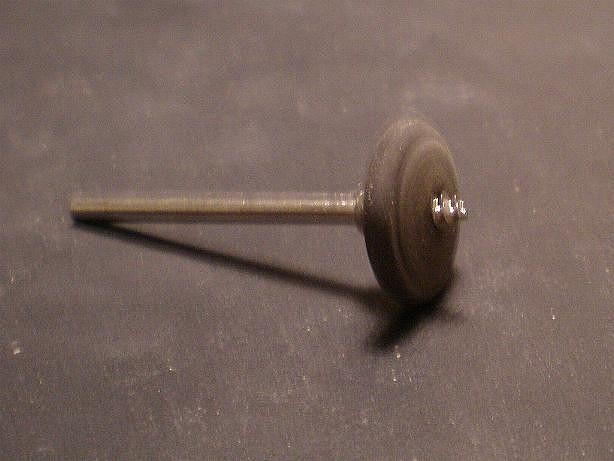
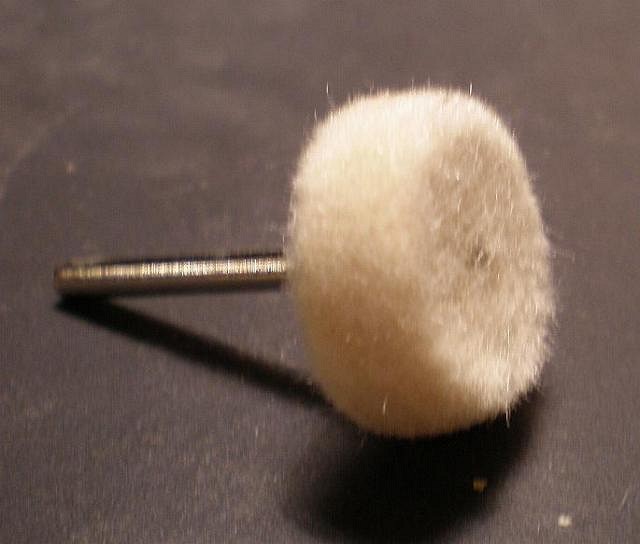
After these, I often sand with 300 on up to 1,000, but very quickly. Next, I use a polishing buff for a quick hit. You can use some super fine polishing compound/powder if you wanna get it any smoother.
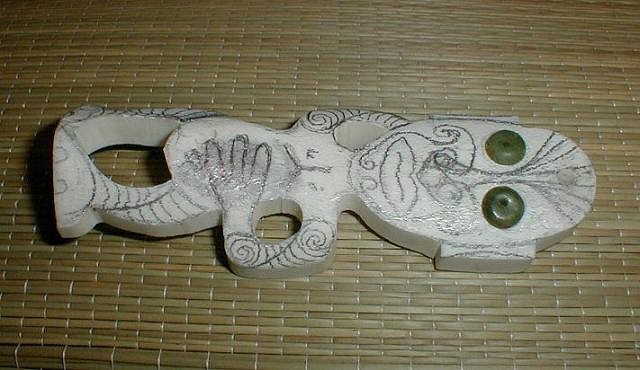
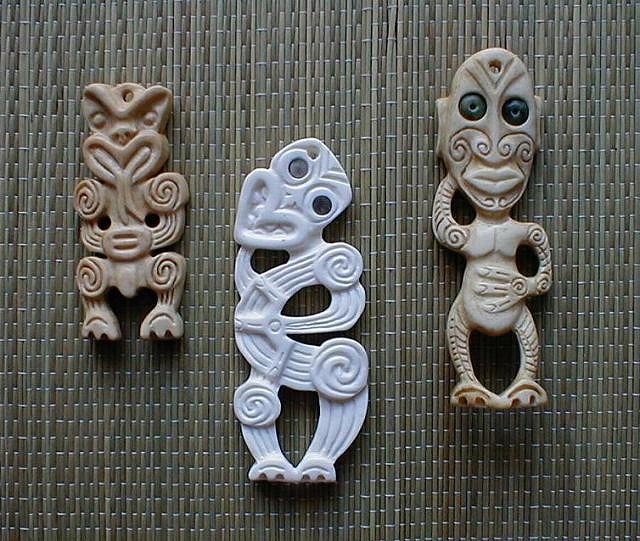
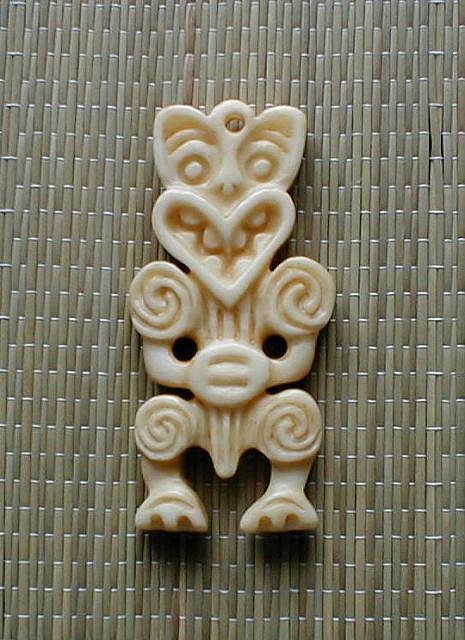
All that is left now is to add some age/color to it if you want to. I like to use a lipton tea bag and some cold water to make a pigmented bath for the bone. The amount of color picked up by the bone depends on the strength of the solution, the degree of polish you put on the bone, and how long you leave it to soak. 12 hours should be sufficient for a real rich color. More highly polished bones will not take color as well. If you have a high polished piece and the tea isn't giving you the color you want, add a little cold coffee. Be sure to check it often as the coffee adds color quick. After coloring, you can give it another hit with the polishing buff to lighten up the high areas which will age it a little more.
well, there you go. I hope this helps. -Gman |