Welcome to the Tiki Central 2.0 Beta. Read the announcement
Celebrating classic and modern Polynesian Pop

Tiki Central / Other Crafts / Plaster Mold Making & Some Ceramics

Post #376566 by Bowana on Sun, Apr 27, 2008 8:14 AM

You are viewing a single post. Click here to view the post in context.
B

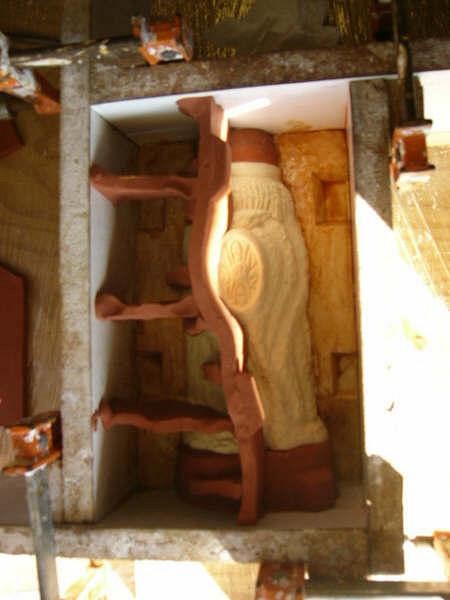
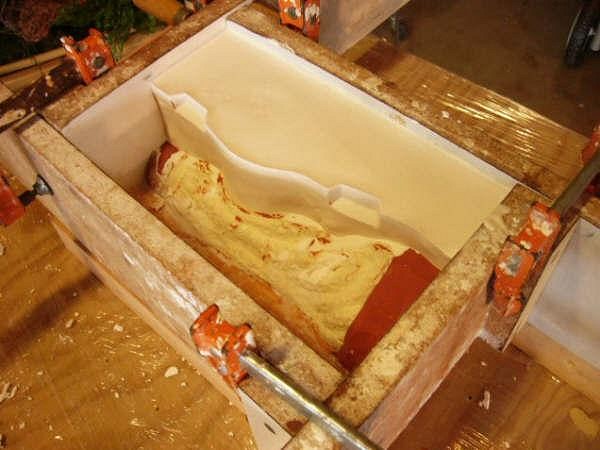
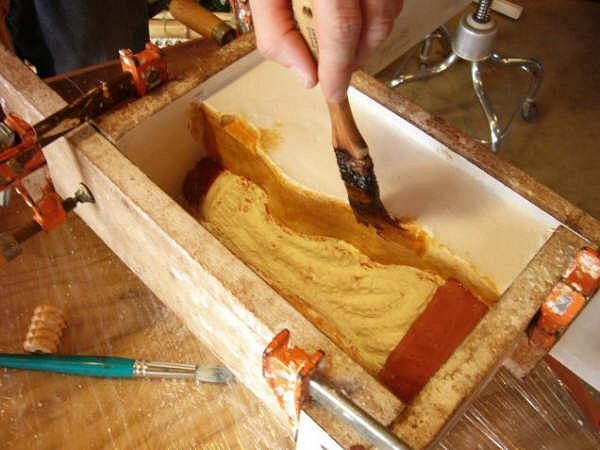
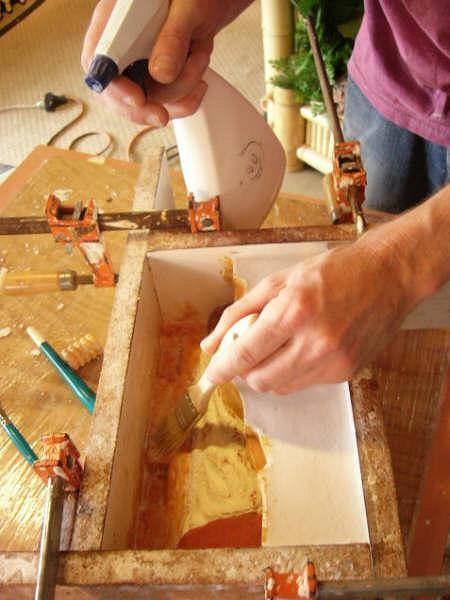
First of all, I just want to say that this is my 500th post on TC! Yay! :)

MadDogMike, and anyone else in the SD area: check out Free Form Ceramics in National City for your ceramics needs http://www.freeformclay.com/ They've got clay, plaster, tools, kilns, glazes, and a plethora of other supplies for the ceramicist.


This mug of Babalu's had some complicated design elements to it that required an extra mold piece to be made. Ideally it's best to have as few mold parts as possible, but sometimes having to make more is unavoidable. This picture shows an oil clay separation wall built along the high points of the mug to divide it in half. Notice the 3 buttresses running tangent to the wall. These help strengthen the wall so that when plaster is poured into it, it won't get blown out.


We didn't get a shot of the plaster being poured, but it's done using the same technique as explained on Babs' earlier post. Here's the finished pour with the wall removed. You can see impressions that will form keys on the 3rd piece when it is poured.


Here orange shellac is being applied to the areas that the next mold part will be poured against. Shellac seals the plaster so that the soap that is to be applied next will not soak into the set plaster and cause the pieces to get stuck together. This step is not absolutely critical. Some moldmakers don't do it, but it doesn't hurt. If you've got shellac on hand, use it!


After the shellac is fully dry (15-30 minutes) brush mold soap onto the plaster surface. Mold soap is a liquid soap used specifically for this purpose. I cut mine with some water and put it in a spray bottle. Spray it on, and spread it around with a paint brush, swirl it and make it froth and bubble. This ensures that it has covered all areas. Let it dry for 20 min or so. You'll know it's ready when the froth has disappeared. Now plaster for the next piece can be poured.

We're almost done now! There's still a few little tricks left that we'll cover when we continue, but for now these are the basics of mold making of this type.

Robin, Clarita, Frosty, Pat, Harro, Paipo, MadDog, LLT, we are expecting to see some cool ceramics from you all in the future! :)

Bowana