Tiki Central / Home Tiki Bars / The Zombie Hideaway
Post #430106 by TabooDan on Thu, Jan 22, 2009 8:41 PM
|
T

TabooDan
Posted
posted
on
Thu, Jan 22, 2009 8:41 PM
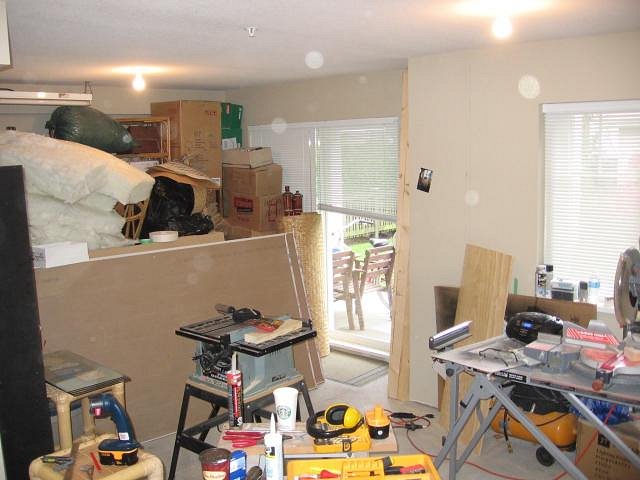
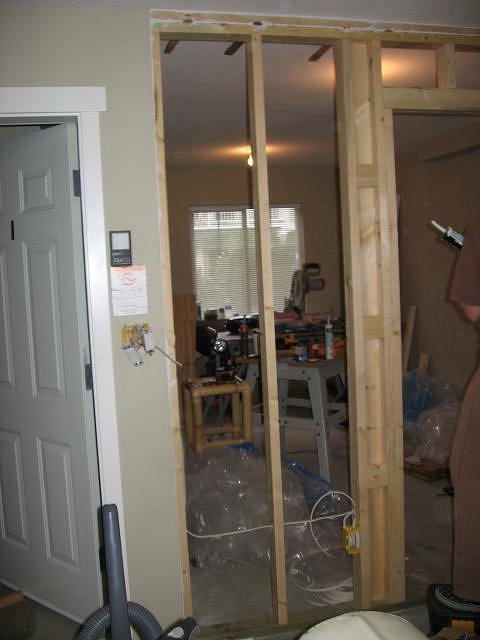
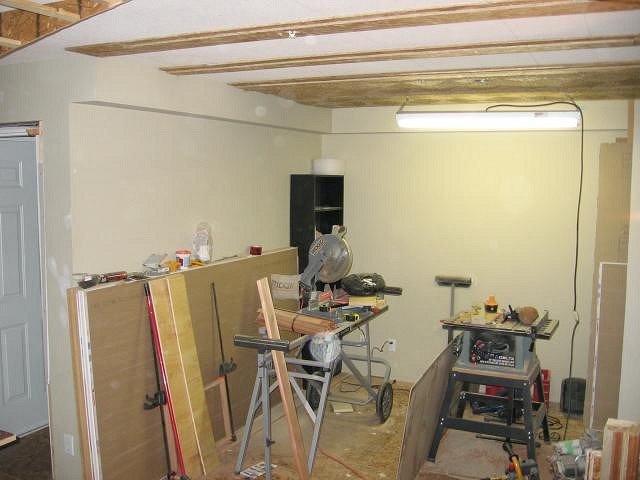
Okay, finally got some more time to get some pictures on here. This is what I was starting with:
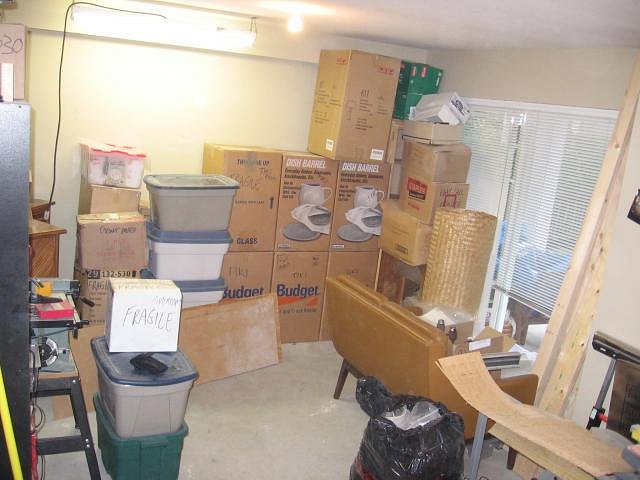
A space filled with all the crap!! Everything was in the space so first I gotta get it out of there! This is a picture of the South wall. Picture of the West wall which has the patio door and window:
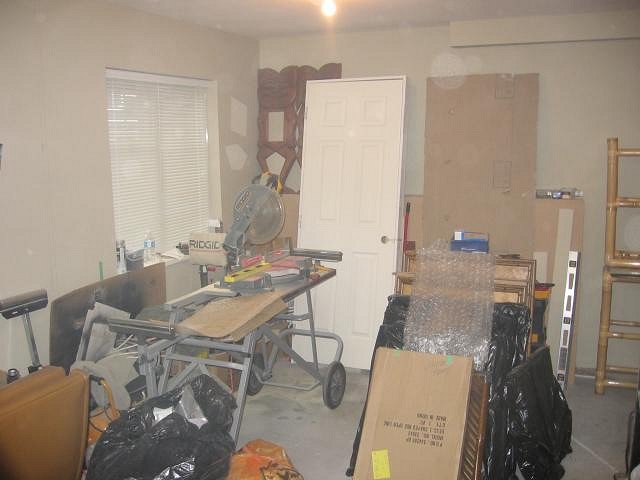
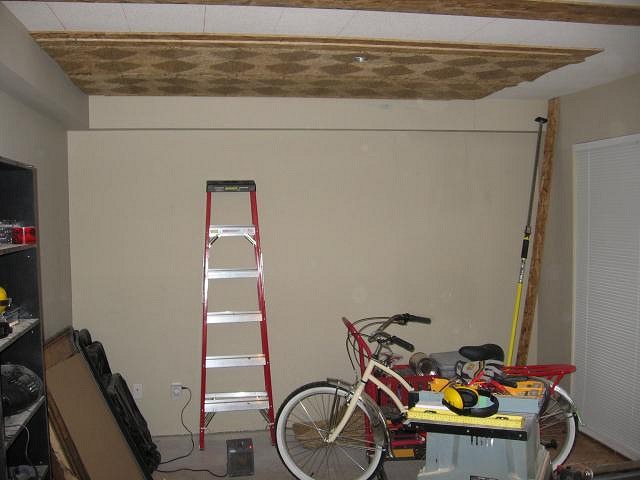
Always a bit tricky and not alot of fun to have no room for your materials and tools and still have to work and build in the space!! The photos/room look pretty tight but it's because I can't photo the whole room because as I am taking these I am leaning on and stepping all over all this stuff!! Some of the crap gone now. Looking South/West again:
Looking at North/West Wall:
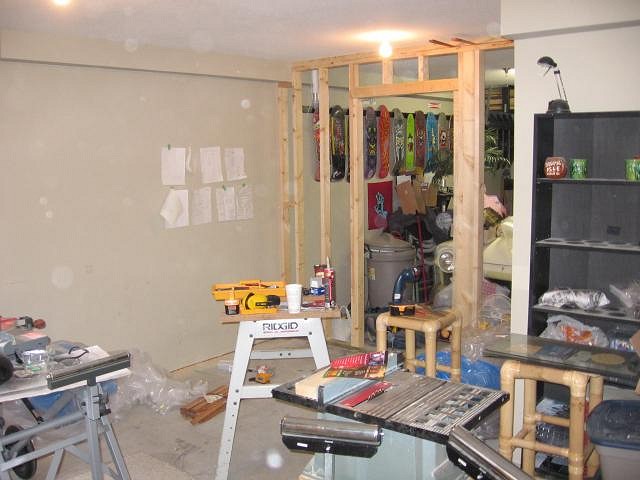
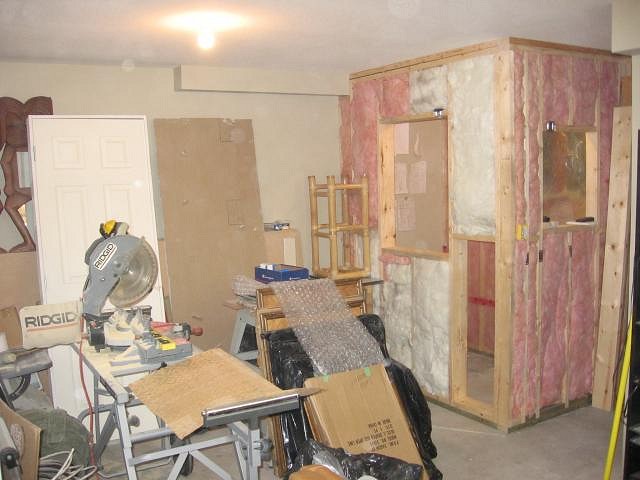
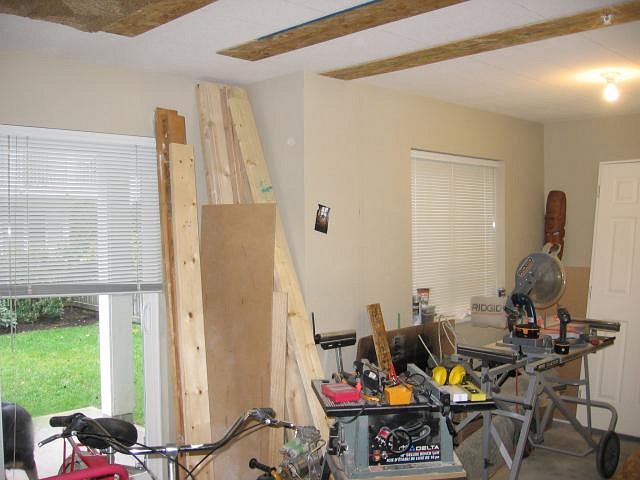
Looking North/East to the new garage side wall. The opening is for the new closet door on the garage side:
This is the framing stage where I will build two recesses into the new wall so I can recess some velvet paintings into it. My little tribute to the Waldorf Hotel!! You can even make out the stuffed garage and our hidden car! Looking from the garage into the new room:
Next is the new completed Lounge side (North/East) of the closet wall. This wall is 2x6 so I can have a deeper recess in the wall. I wanted to give it some depth by the time it is all finished. Ran new wiring so each recess will have it's own light source and installed switched outlets to turn on the plugs. On the right, opposite the small recess, is where the new entrance way into the Lounge will be:
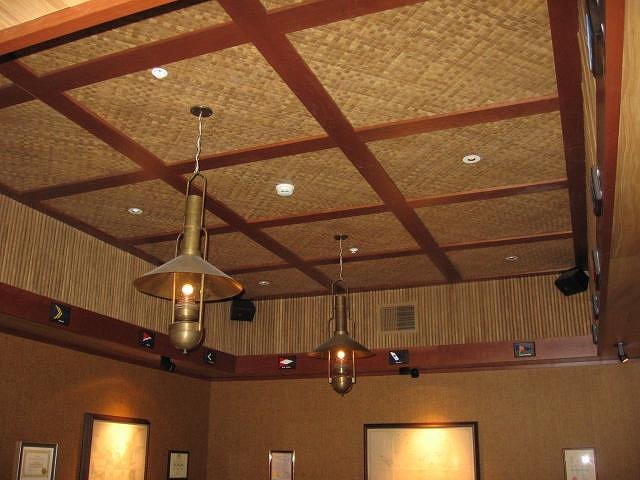
On the ceiling, the plan was to have two styles. I wanted an A-frame style on the Lounge side of the room which would have the Bar, Table, Bench, etc. Basically on the North side of the room which also has the recessed velvets. The larger side of the room, with the patio door, I wanted to do something similar to what I saw at Trader Vic's in the Captain's Room in Bellevue. Well actually, I had the idea for a while of incorporating square matting and dark wood beams but hadn't made up my mind of the materials and the design. Here is a picture I took at Trader Vic's:
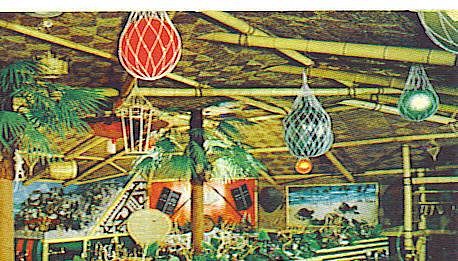
I liked this look but wanted less wood involved in breaking up the larger matting I wanted. I decided to run the wood the width of the room and have the matting between the wood. Basically, 5.50" of dark stained wood, about 24" of matting, 5.50" Wood, etc. This will then run the whole room until it meets with the A-Frame end. I also like the way this type of grass matting looked on the ceiling as I had seen at other older Restaurants and also the Mauna Loa Lounge that was once located
I started by adding strips of particle board to the ceiling where I wanted the dark wood to go and the matting to be fastened to. I wanted the dark wood to be lower than the matting and to hide the edges of the matting so another strip of particle board was added to give it the thickness:
The matting comes in pieces of about 12'x10' which can make it hard to deal with. At first I was just going to staple it all up to the ceiling and then put the dark wood where I wanted over top.
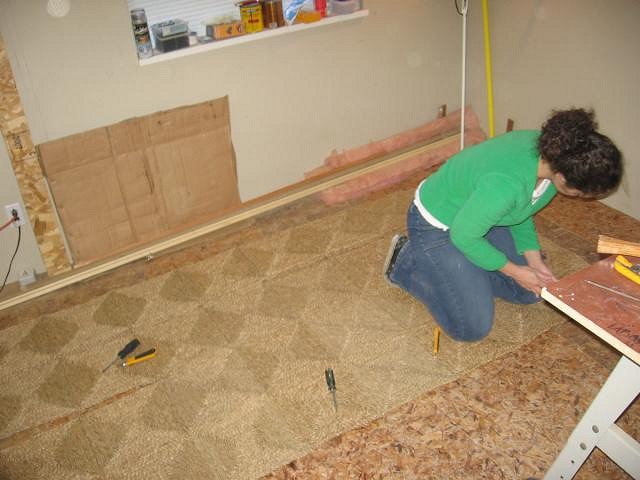
This is my bashful fiance who helped me separate the matting and tie it all back together which was quite the process:
You can also see the new floor we did which was done at the same time. Because this room will be right on the concrete floor, I wanted to have a half decent sub floor. I choose the Durolock tile panels which are basically particle board with a plastic cube pattern on the bottom of it. You can see in the next photo (on the right) the last particle strip on the ceiling. This is where the A-Frame ceiling will start. Also, on the left is the space on the ceiling I have left above the patio door for another grand scheme and tribute to the Waldorf:
Well, that's it for now. |