Tiki Central / Home Tiki Bars / The Zombie Hideaway
Post #431551 by TabooDan on Thu, Jan 29, 2009 9:57 PM
|
T

TabooDan
Posted
posted
on
Thu, Jan 29, 2009 9:57 PM
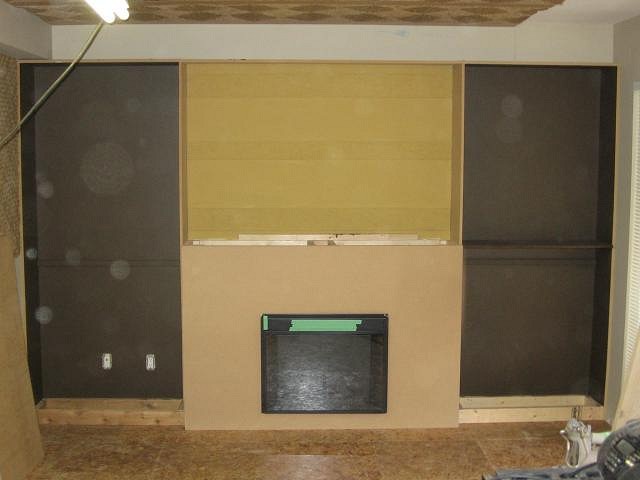
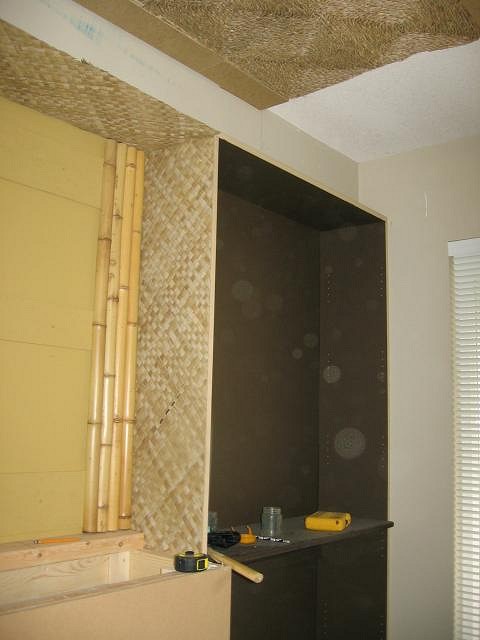
Thanks Robb for checking it out!! I didn't realize my last post I rambled all about the hunt for the paneling and then didn't even show it!! Sorry about that! I will have one for yah at the end of this post. Here is a picture of the two shelf unit's and the fireplace frame done and painted up:
You can see on the top left a drop down in the ceiling. This runs above the shelves and fireplace as well, along the whole back wall. The top of my cabinet mounts to the bottom of it and sticks past it about 5" or so. Makes for a little shelf right now but one day I was thinking about doing thatch all along there on an angle so it's like a roof. That I am putting on the back burner for now as I gotta make up my mind. The center is painted dark yellow (I will call it that!) as a back drop for the bamboo. I can't have any colors coming through from the wall as this is one of the focal points of the room and will be right at eye level. The back wall of the cabinets is a color I had mixed to match the dark stain on the wood I am using. All the shelves will be pine wood and stained dark so wanted it to kind of blend in. At first I was going to put matting on the back but I kind of wanted the mugs, which is mainly what the shelves are for, to have a different background. I may use matting, mirrors, or tongue and groove wood panels. At the same time, I am doing the matting on the walls:
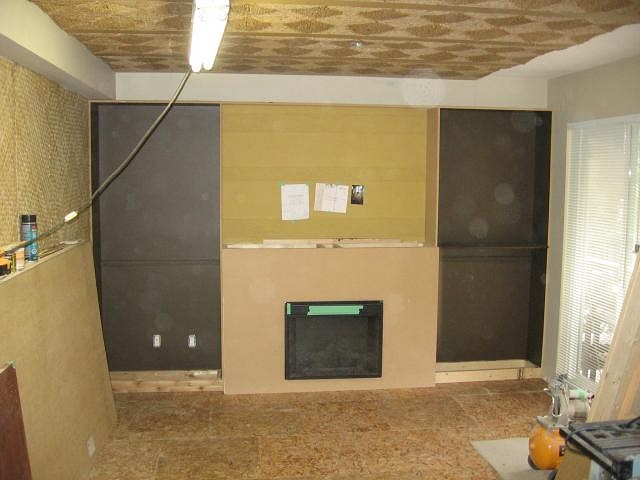
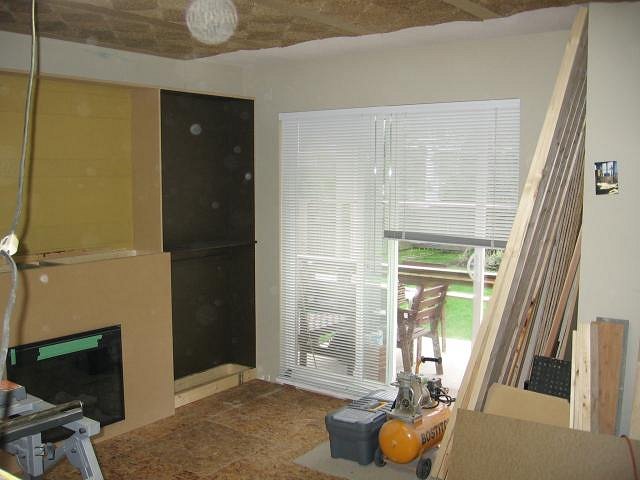
This next shot shows the patio door again in relation to the fireplace and shelves:
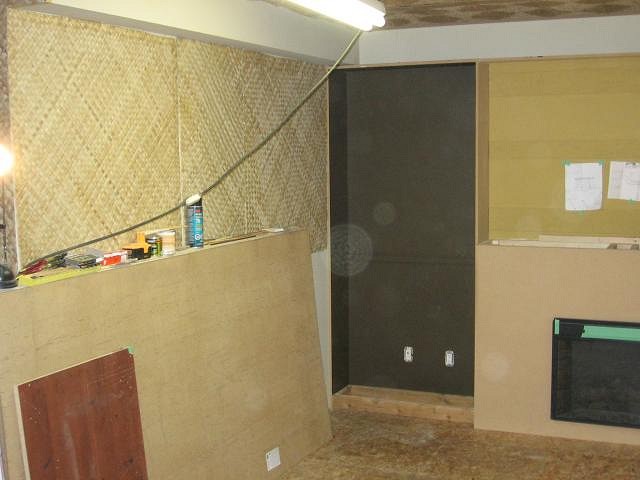
See all the Tiki Orb's flying around the room?? The ghostly glass float? All the trapped souls from all the relics. Another reason it's called the Zombie Hideaway!! In this shot you can see the matting added on the outside of the shelf walls:
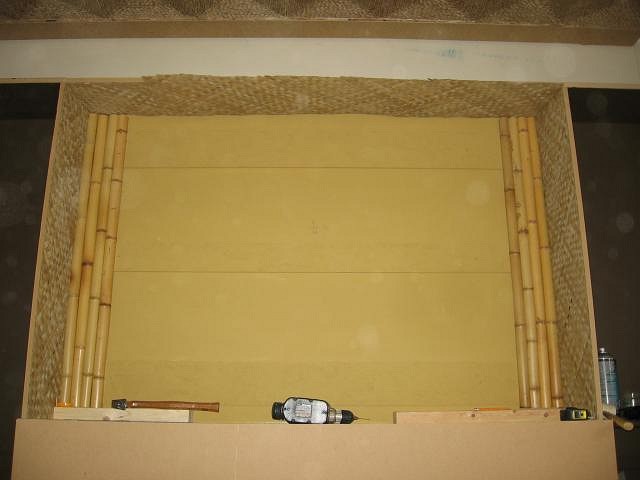
This was glued with a GOOD spray adhesive (By 3M) and also stapled along the edges and some of the center. Trick to stapling in the center (where it might not get covered) is to pull back a top strip of the matting, staple through the bottom cross piece and then pull back the top surface which will then cover the staple. Sounds easy but it took me a little bit to think about it. Works good and you don't see the staple at all. In the above photo, you can also make out all the hand drilled holes in the inside of the shelf walls. This is where the pegs go for the adjustable shelving. Quite the process to do all these but there is a trick. Next photo shows the start of the bamboo:
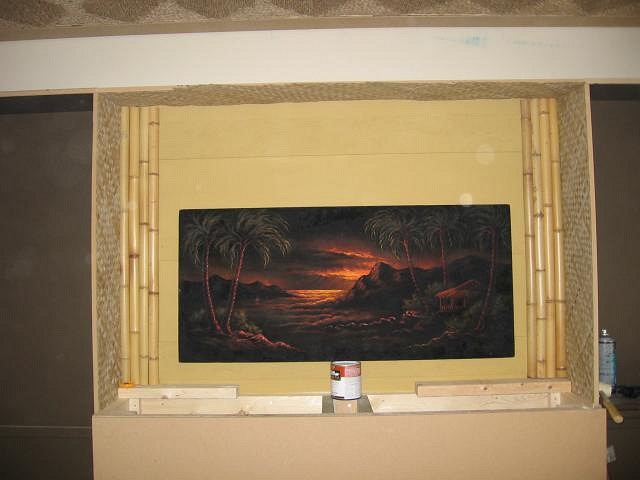
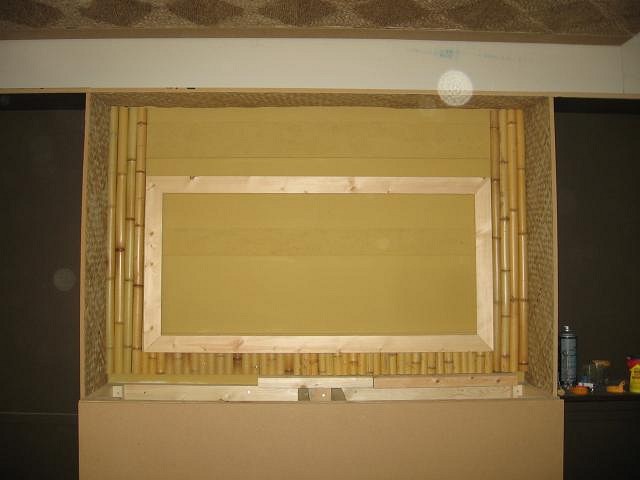
Center section above fireplace:
This section is going to have a custom frame for a large vintage velvet painting I have. I want this area completely surrounded by bamboo. I started at each end and then worked my way to the center. I added particle board strips to the back wall where my bamboo will be nailed before I painted. A shot of the velvet painting being held up just trying to figure on the placement and what I have to do for a frame and where I need bamboo:
This next picture shows the area without the front panel and fireplace and also the bottom strip of bamboo finished:
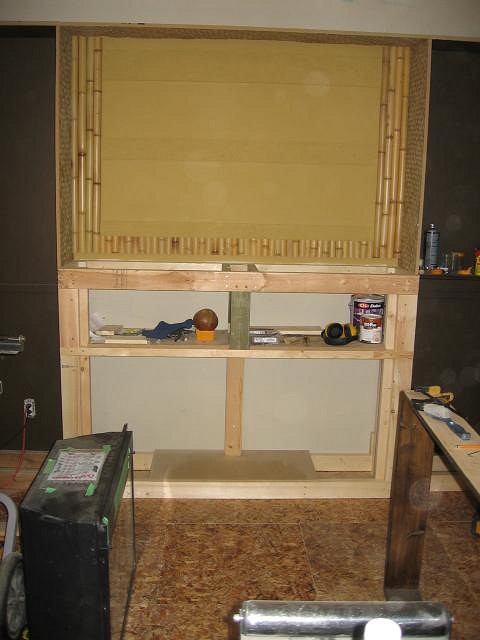
Quite a few cuts for all that bamboo!! The mantel will just slide right underneath the bamboo when it is ready to go. This one is of the unfinished frame:
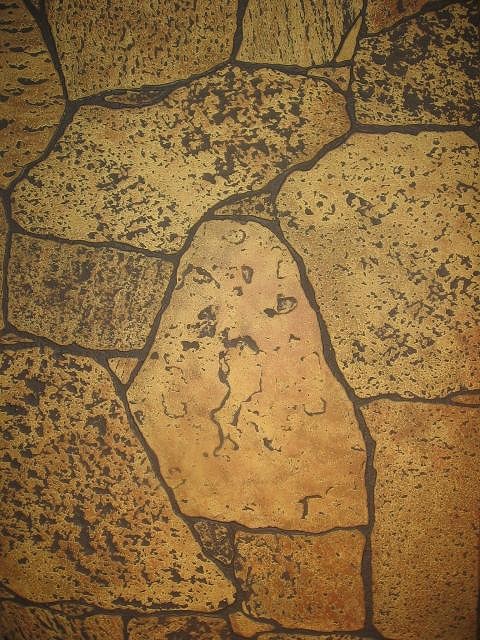
Made of pine and will be stained dark like all the woodwork. I use Minwax stain that is available pretty much anywhere. I have found this product to be very good to deal with and consistent. Oh, and finally, a shot of the cool rock paneling I found:
I'll post some pictures soon of this when it is mounted on the fireplace. Mahalo, TabooDan |