Tiki Central / Home Tiki Bars / The Zombie Hideaway
Post #432967 by TabooDan on Fri, Feb 6, 2009 7:03 PM
|
T

TabooDan
Posted
posted
on
Fri, Feb 6, 2009 7:03 PM
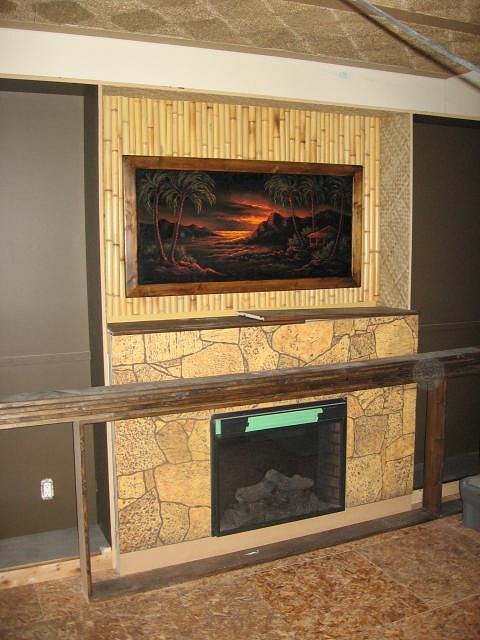
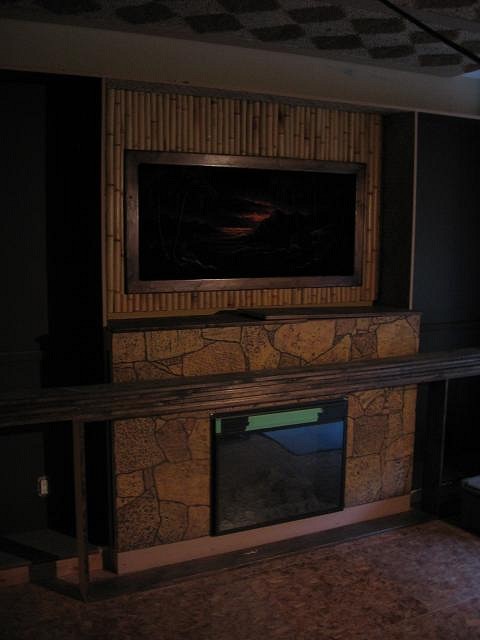
Here's another shot of the fireplace:
In this next one, you can see how the velvet colors really glow when there is just little amount of light on it:
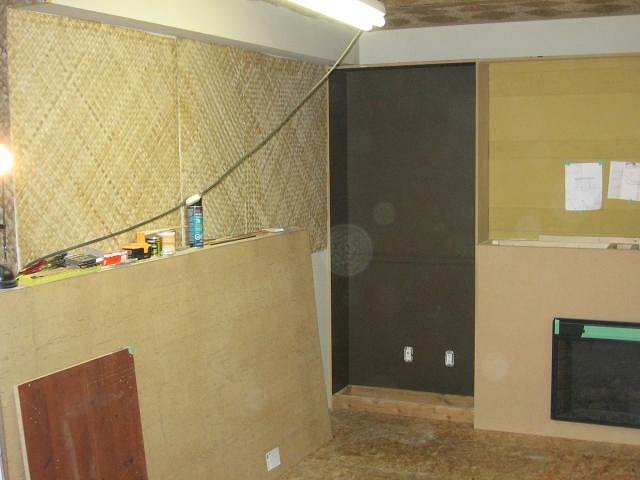
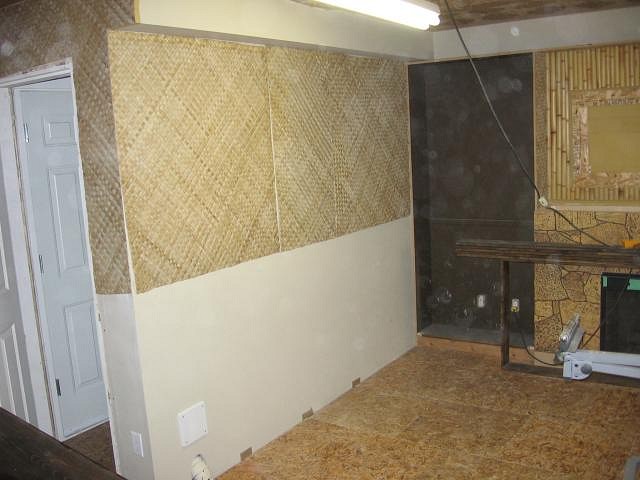
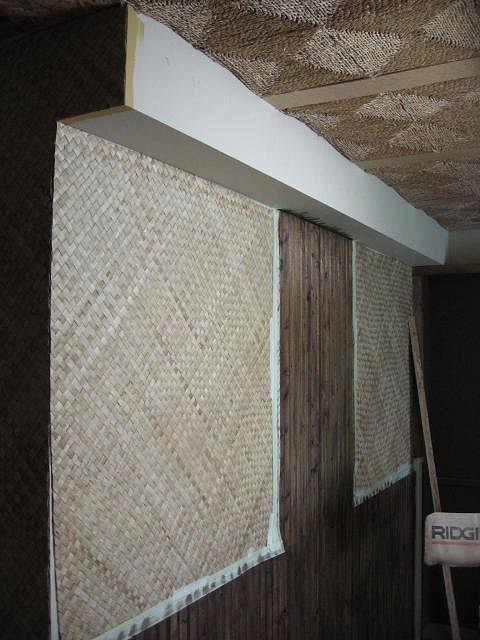
This shot is a little closer to the level of light that will be in this area. I am having a small amount of light above the painting and also a nautical lamp or two around it but that will be about it. After the wall either side of the patio door got it's rock paneling, I focused on the East side of the room which is left to the fireplace. Early shot of the matting just going up:
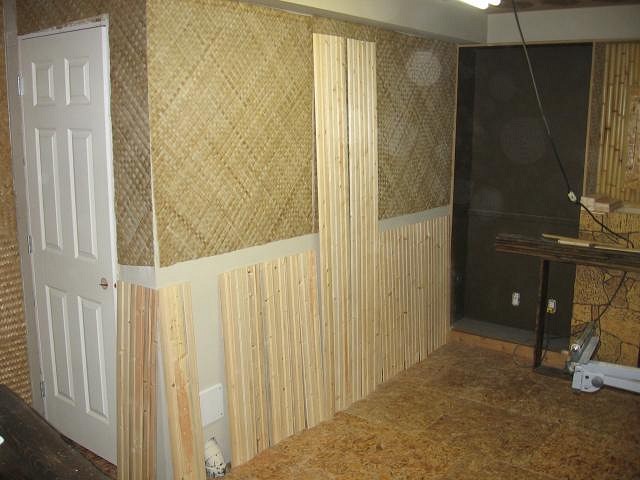
After adding the matting to the top half of the walls, I considered the rest of the room. I felt like I wanted to change it up a bit. The rest of the room will have matting on the top half and bamboo on the bottom with a dark wood section between. I was considering bamboo under the matting here but wanted to give this side of the room a little more of a nautical feel and also a look that you might see in an older room or restaurant. Also, I was having bamboo on the lower half of the other walls so I wanted to change this wall up a bit. At about this time, there were quite a few of posts of pictures of the Mai Kai in Florida here on TC. I looked at my own pictures of the Mai Kai and saw lots of woodwork in a few of the rooms. Beams, moldings and paneling was used quite a bit. Here is this great shot of the Mai Kai from a 1975 calender I have:
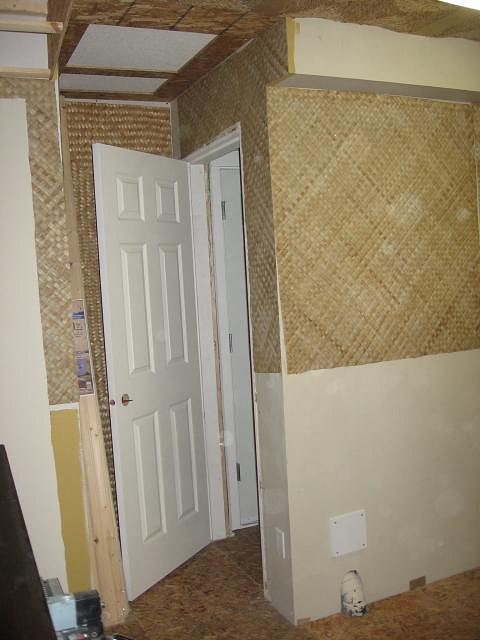
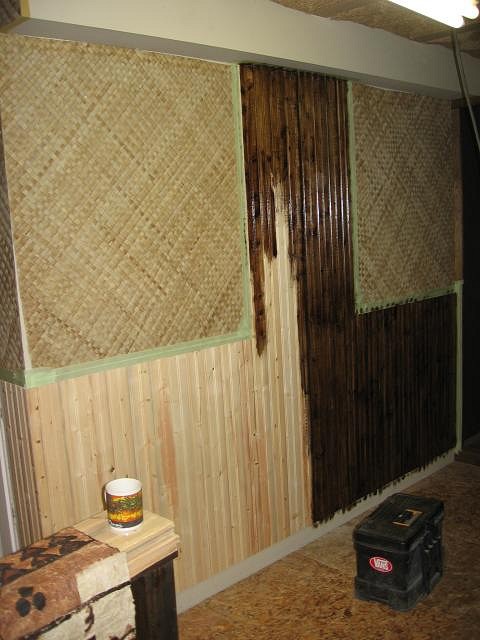
I love this shot as it really could be any nautical themed restaurant in the world. But it wasn't. It was the Mai Kai! After considering it a bit more, I now planned on having Tongue and Groove Pine Wood panels as opposed to bamboo on this section of the room. You can see some paneling behind the above pictured statue on the wall. I was thinking just the lower half was going to be T&G (tongue and groove) pine stained dark. Matting added on the wall and around the doorway:
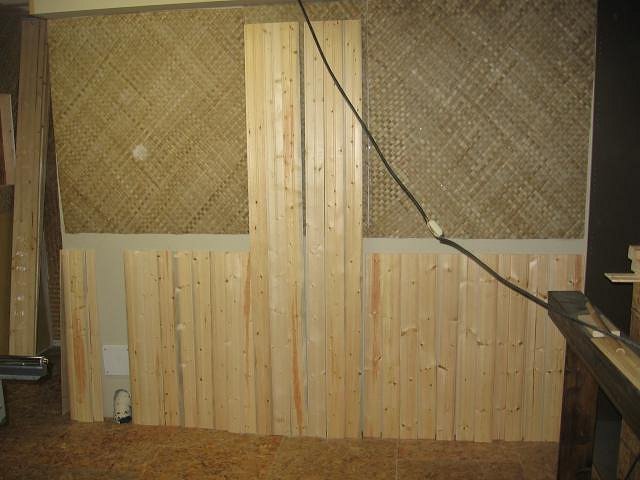
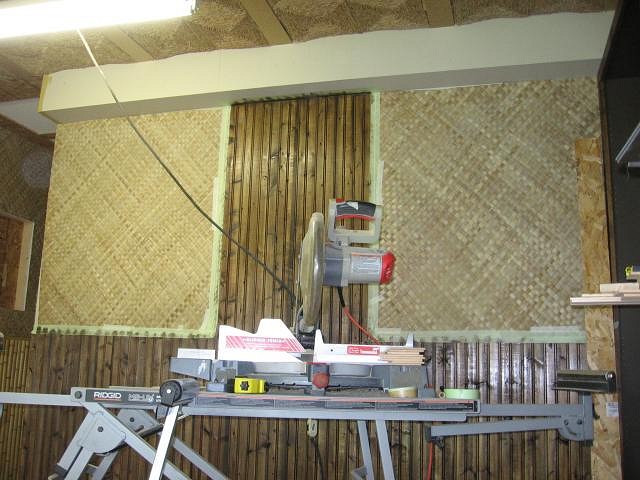
Here's a shot of the whole section:
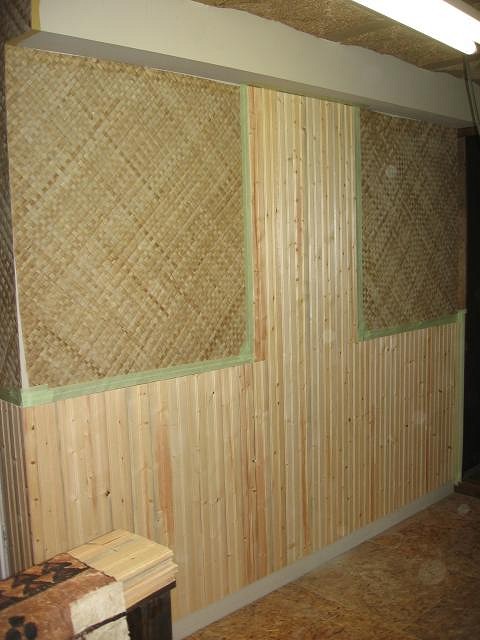
Bamboo was going to go between the matting joints to hide the seams. After lining a few pieces of T&G on the lower section of the wall, I decided to change it up again and actually break up the matting a bit. In the center section, I would pull off the matting and have the T&G go right up to the top. Like this:
Here is a shot straight on:
You can still see the matting behind the pine right now. After looking at it and thinking for a while I decided it would be best to have the pine come right up. It should look pretty good right up to the top and break up the matting nicely. Here it is with the T&G mounted to the wall:
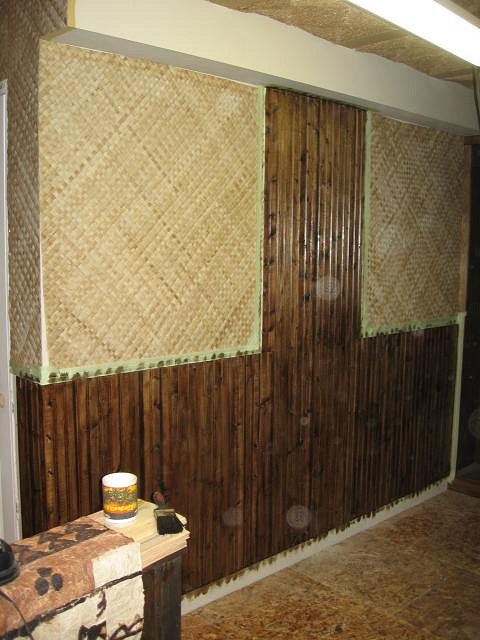
I used a little PL700 (adhesive for paneling) to give it a bit of stick and then finishing gun. Worked perfect. After masking of some of the matting, I began staining:
Here it is freshly stained:
Crappy color in this picture but it does show the top valance that I had to figure out:
Here is a shot straight on after the stain dried a bit:
No varnish on any of the wood yet. All woodwork will get about three coats on it which will give it a nice finish, seal it all up and make it all a little more durable. More to come!! |