Tiki Central / Home Tiki Bars / The Zombie Hideaway
Post #450866 by TabooDan on Thu, Apr 30, 2009 5:52 PM
|
T

TabooDan
Posted
posted
on
Thu, Apr 30, 2009 5:52 PM
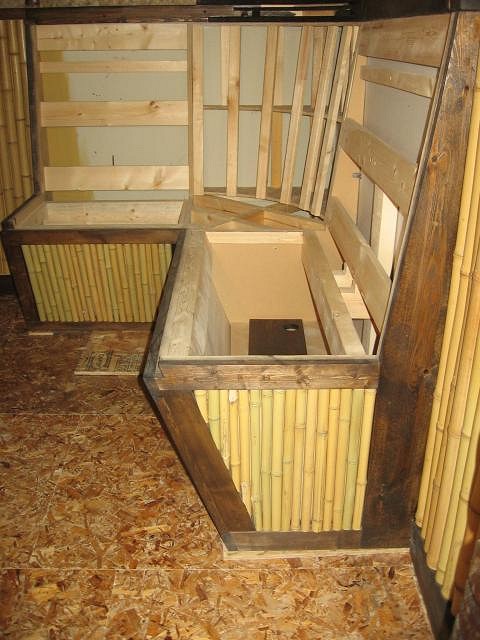
Thanks Mr. Pupu! Here's are a couple crappy shots of the bench once all the bamboo was mounted:
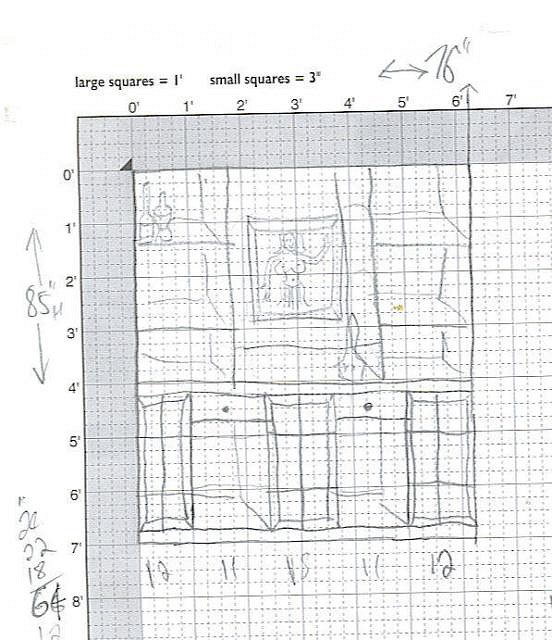
At the same time I'm doing the roof and the woodworking for the bench, I figured I would start building the shelf unit that will go behind the bar. I wanted something that had to be custom to fit my space. The room isn't too large so the depth would be important. The bar would be going in front of this unit so I had to keep that in mind. The key also is that I don't want a window in this room!! The Zombie Hideaway needs to be just that, a Hideaway! Any true Tiki Bar can't have windows. Well, dark as can be anyway. I guess some places it works, like with some of the newer Bars. But, if you have an authentic old one, no windows! Here's a rough drawing(actually, a work of art on it's own!!)of what I had planned:
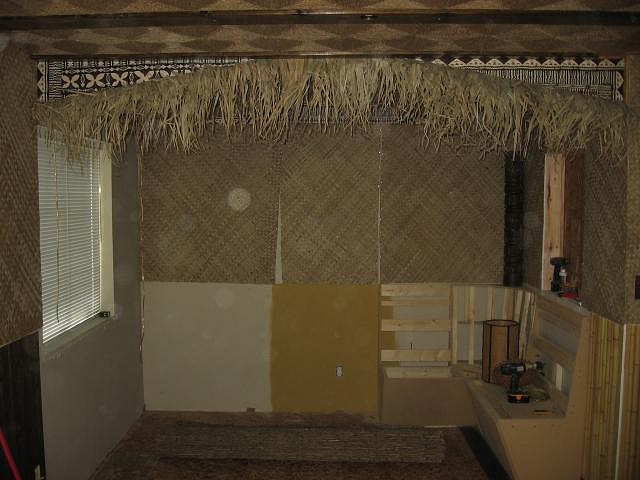
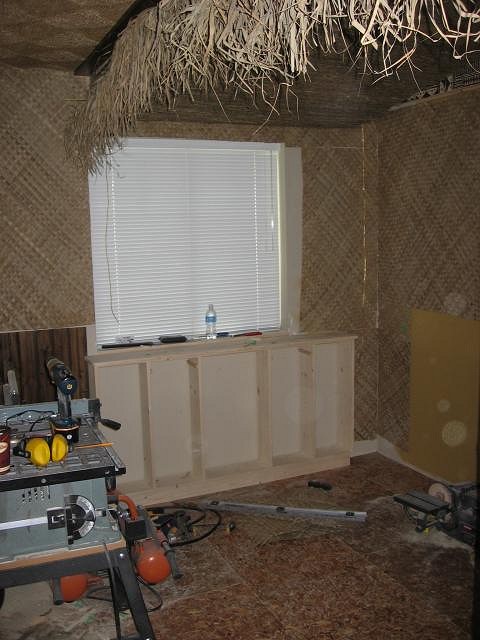
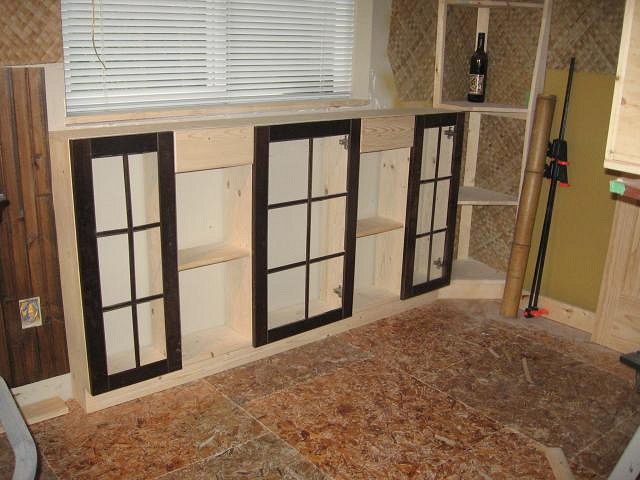
I wanted to have cabinet space on the lower half with glass doors and extra storage. This was one of the few places I can actually get to have doors with some of the collection behind glass. Other areas of the room I will not be able to do it because of the over all look I want. The top half, left and right side, was being specifically made to house glassware and bottles on shelves. The center area was being built to display something specific in my collection. The goal here was to have a velvet painting in the center of the cabinet with a few small stylistic cut shelves either side. I have a rare velvet painting done by Frank Schirman. As you probably already know, he also made quite a few beautiful black coral pieces. I thought it would be interesting to have his velvet as the center piece and have a few of his coral pieces either side of it. Well, that's what I want to do anyway!! Okay, here's a shot of the area again with the window on the left wall opposite the bench area:
Rough lower cabinet assembled:
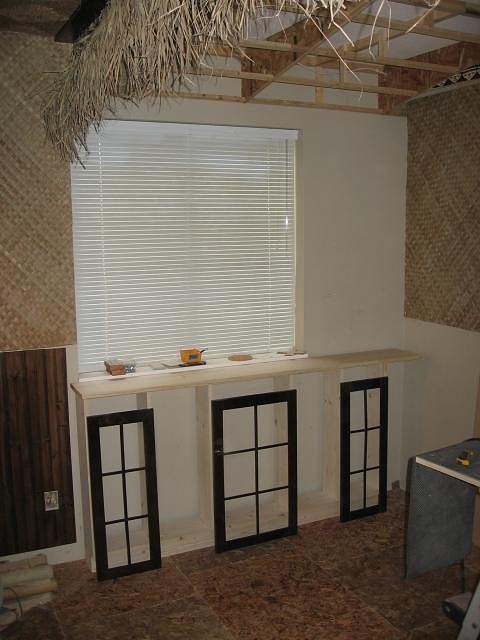
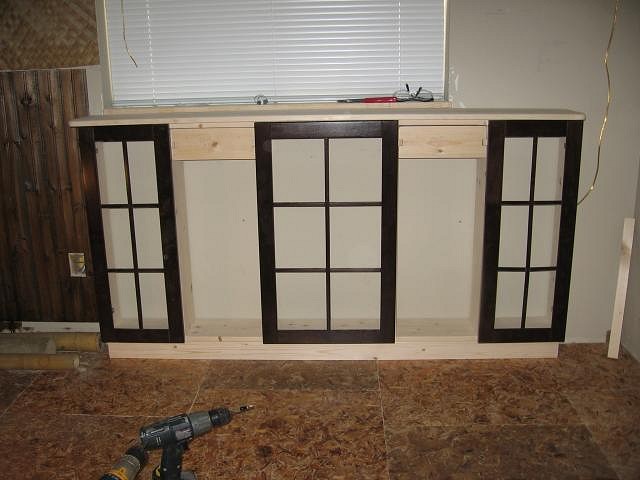
In this shot you can see the tongue and grove pieces on the wall. At first these were only about 14" or so down the wall until I changed that and mounted more so they ran right to the cabinet. Shot of the lower section built with cabinet doors checking sizing and rough counter sitting on top:
Room shot again:
Here you can see matting added to the wall area that may be seen and the counter top piece cut and shaped:
Cabinet door's mounted to base and two drawers made and in place:
Close shot to show detail of left drawer:
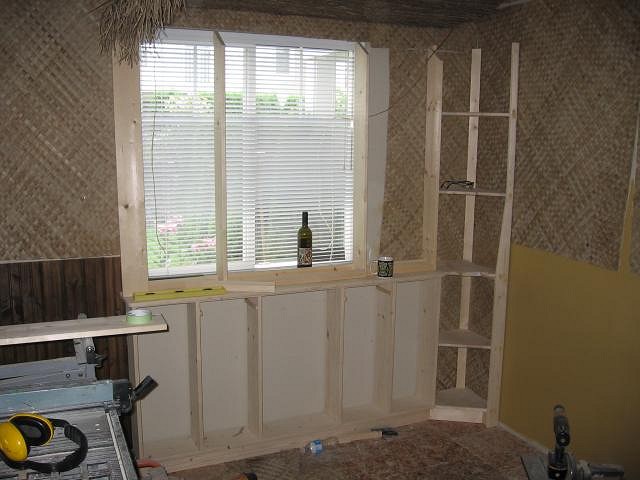
I like doing these kind of hidden tray's that fit into drawers! Kind of a neat detail. Perfect for stir stix, napkins or matchbooks! Top piece slides back and forth to reveal what's below. You can also do them as a tray that fits the whole drawer that way you have a hidden compartment. Gotta stash your stash somewhere!! You can also see the holes drilled for the adjustable shelving that will go inside. Here is a photo of the top section starting to get cut and sized up:
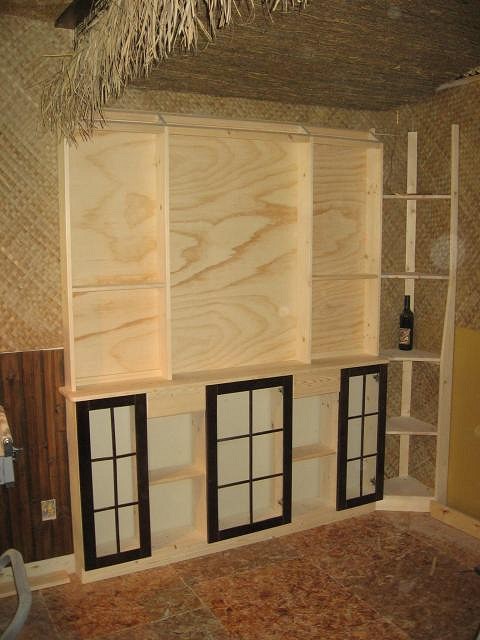
You can also see the corner shelf unit I started playing around with. Not sure how I wanted this to look but did want some small shelves for the corner possibly to display oddly shaped items like some bowls and the like. Photo of upper left and right sections assembled:
Shot's of lower section with doors, drawer faces and center mounted shelves:
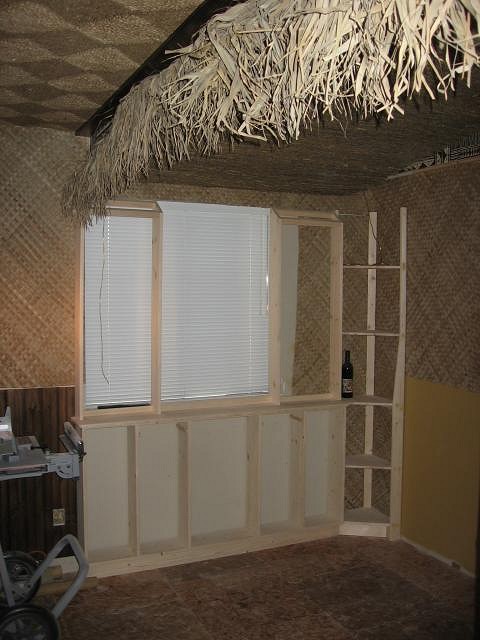
Hey look......No window!!:
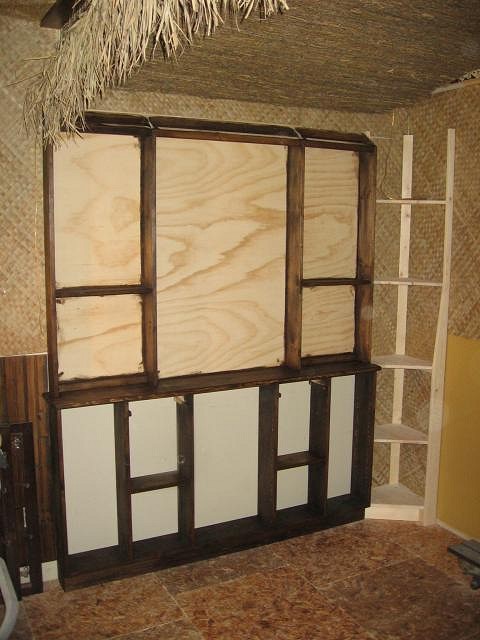
Once that window was covered up, the whole room took on another feel!! You can see the Heather mounted on the roof a bit better in these as well. Once the cabinet is all sanded up, nice and smooth, it's time to stain:
Still gotta add the lower section backing and the upper details. Man these posts take a while!! Gotta run now but more to come!! [ Edited by: TabooDan 2009-05-01 06:14 ] |