Tiki Central / California Events / Sacramento Capital Tiki Bar/Living Space Tour October 7th, 8th & 9th, 2011-Registration Full
Post #567492 by danlovestikis on Fri, Dec 3, 2010 7:31 PM
|
D

danlovestikis
Posted
posted
on
Fri, Dec 3, 2010 7:31 PM
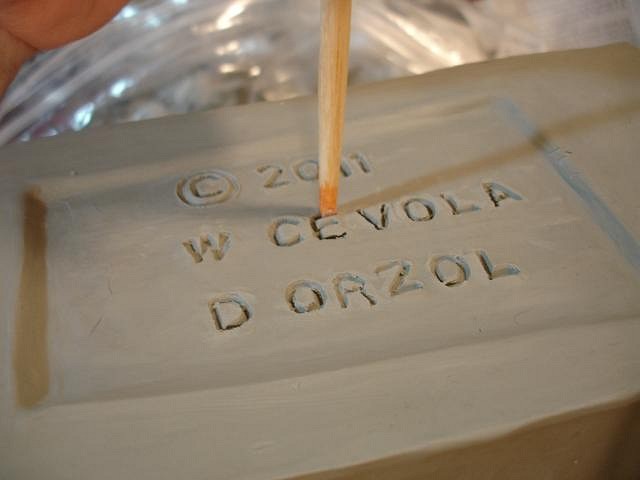
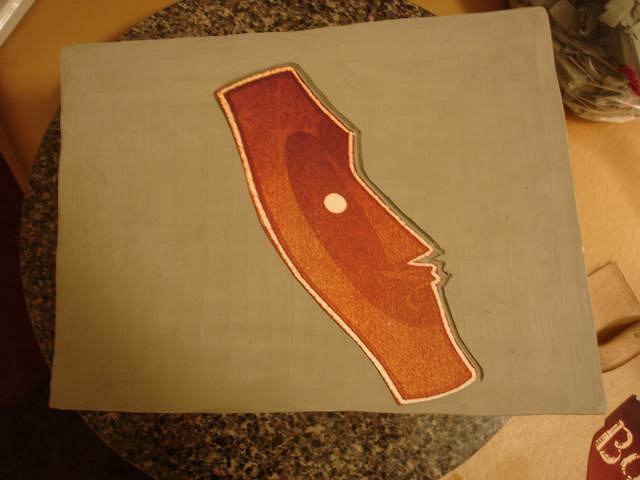
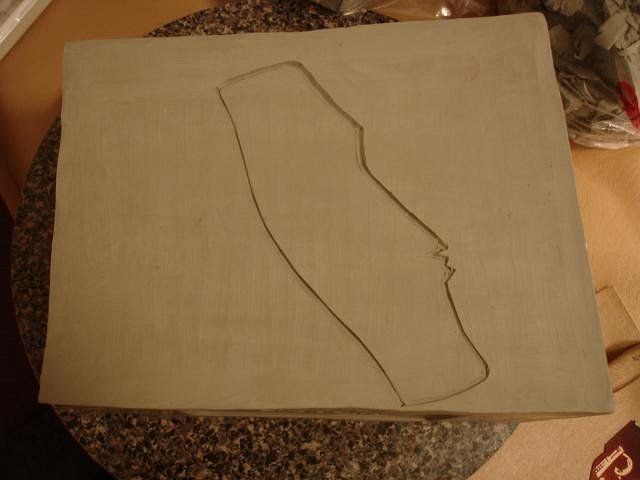
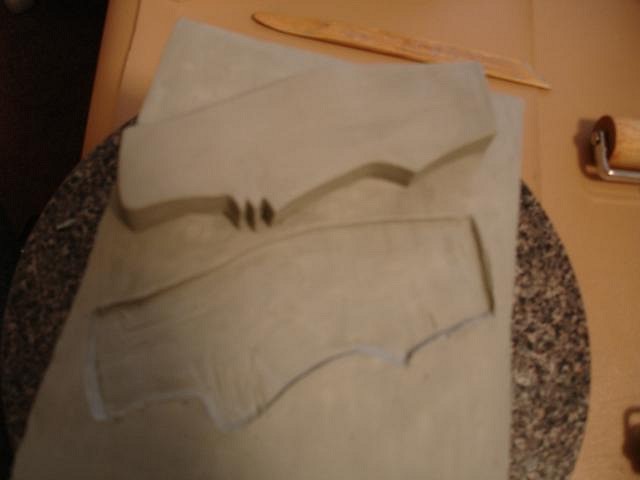
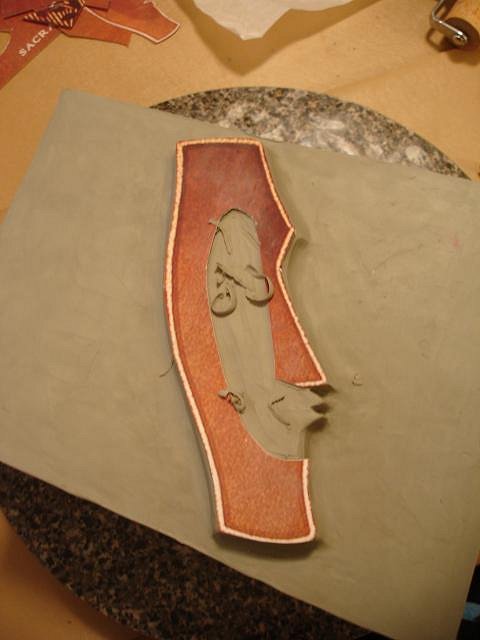
Thank you Ka'lenatiki, I hope this works out. This years design will be a decanter. I'll be doing the mold this time so there's more to learn. Also this will require under glazing so that's new too. So here are more of the step by step photos. I like to carve a chop stick into a little block shape I can push into clay to do my lettering. I printed the photo to the size that I needed for the decanter. I cut it out and pressed a tool into the clay to make an outline.
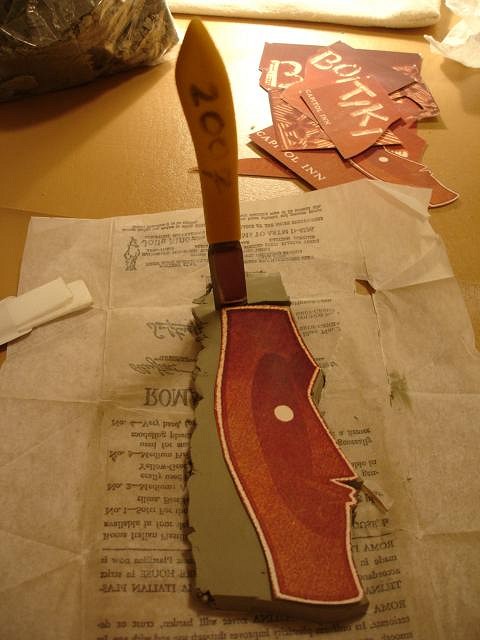
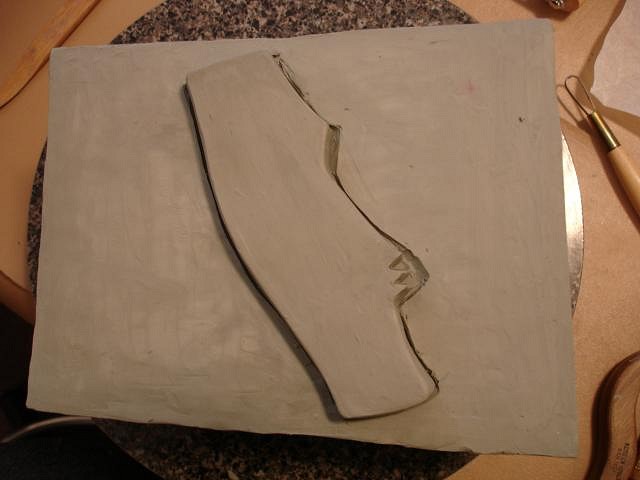
I heated number 4 Romo clay so I could form a slab. This is super hard clay when not heated. Then I used a sticker remover to cut out the Tiki Bob. This is a tool I use often, it's my favorite for working clay. I removed clay from the drawn area so I could set the hard clay Bob into the depression.
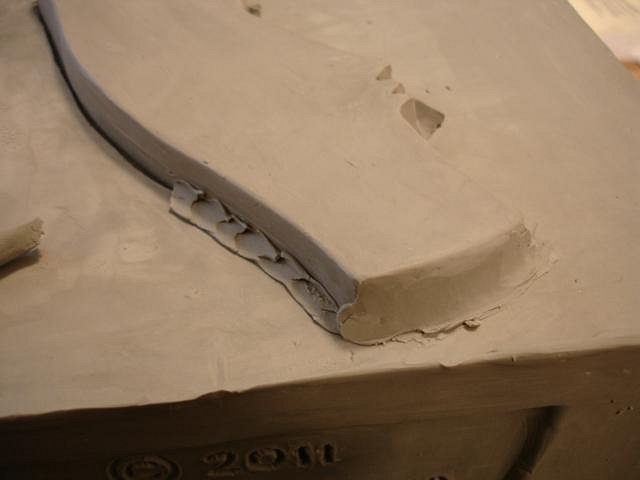
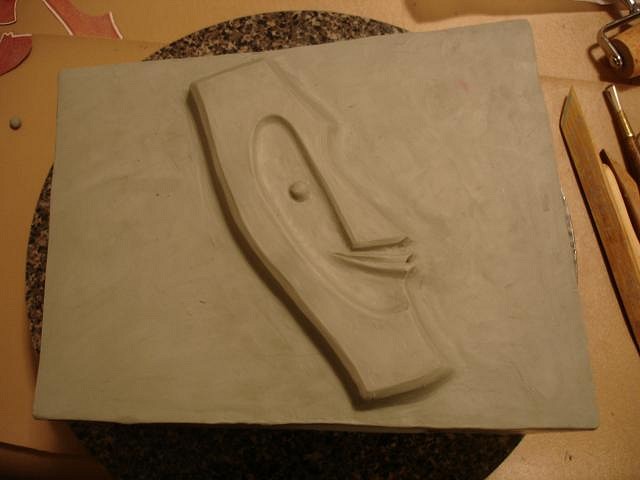
Now I sealed it into this spot with more hard clay.
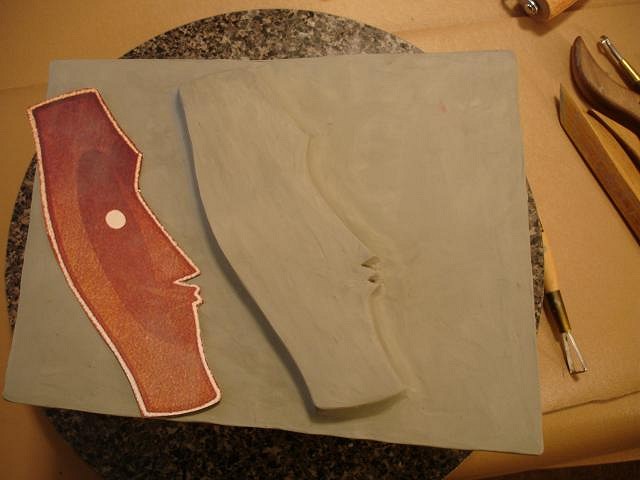
Now I cut out the face shape so I could use it as a template for the removal of more clay from Bob's face. Bob's done for now. Next up will be the abstract background that will be repeated on all sides of the decanter. [ Edited by: danlovestikis 2010-12-06 08:29 ] |