Tiki Central / Other Crafts / Maui Tiki Ceramics - by TikiRob
Post #578596 by swizzle on Thu, Mar 3, 2011 12:22 AM
|
S

swizzle
Posted
posted
on
Thu, Mar 3, 2011 12:22 AM
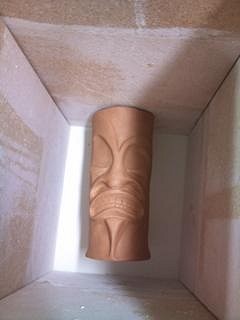
Hi guys, We all seem to have a slightly different method going on here to achieve the same affect. Rob, your bottom part of the mold is something I might try next time, mine is not going to be like that at the moment, however the cone of clay is something that will be part of my mold but it will be a separate piece on top. Not sure if that makes sense but everyone will see the photos as I go. Your mold is a three piece with the third piece being on the bottom where as mine will have the third piece on the top. I'm actually curious to see how my mold will work out and whether or not i'm going to do it a different way if I make another. I'm going to get my teacher to check out these threads next week to see her opinion. Now MDM, I dont know how to do a sketch to show what i've done but what my teacher has shown me is sort-of a combination of both your drawings. From what i've picked up here on TC the second diagram is what I expected to be doing. But it is effectively a cross between the two.
MDM said, "Finally, the mold is flipped over, the clay is removed, and the rest is poured. This time there is no coating used so that the 3rd pour becomes part of the first pour". Exactly. The final pour will be the cone on top which my teacher calls a "spare". As I mentioned in my post, to me it seems like a slightly simpler way to get the same result, with the difference being you are probably not using as much clay to pack it up as you are only using the two small columns and enough clay to seal the gaps where the box sides meet, and then you just have to do another small plaster pour to plug the holes. I'll take another picture next week which will probably make it far more easier to make sense of than me trying to explain it. It's good we can all learn from one another and possibly find a method we haven't tried before that might make things easier, but ultimately I suppose it comes down to doing what works for the individual as long as you get the desired result. P.S. Sorry for hi-jacking your thread.:) [ Edited by: swizzle 2011-03-03 00:26 ] |

