Tiki Central / Tiki Drinks and Food / Backyard Imu
Post #616905 by MadDogMike on Sat, Dec 10, 2011 11:51 AM
|
M

MadDogMike
Posted
posted
on
Sat, Dec 10, 2011 11:51 AM
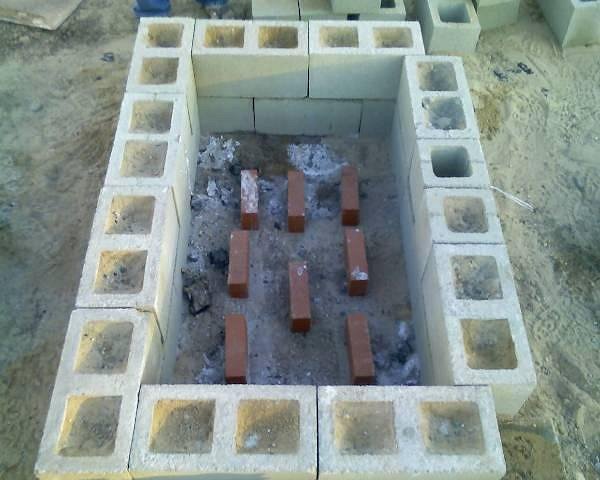
Van, you're welcome anytime! We're having one this Saturday - climb aboard the friendly skies and come on down! Well, we got the first of 2 pigs done last night. I'm recording this here for anyone who wants to try this method (also to have it written down for me next time, my brain isn't what it used to be :D ) The hardest part of re-creating this would be the 1/8 steel plate we used for the top. I just happened to have a piece laying around that was 30x48 inches, so we made the box to fit using 23 concrete blocks stacked 2 high. We poured the bricks full of sand and wet them down, seemed like it would help hold the heat in but I don't know if it was neccesary. There are 8 red clay bricks in the bottom of the oven to hold the roasting pan off the ground. Be sure built your oven over bare dirt or sand, not asphalt or grass. You could built it over concrete but it might stain the concrete.
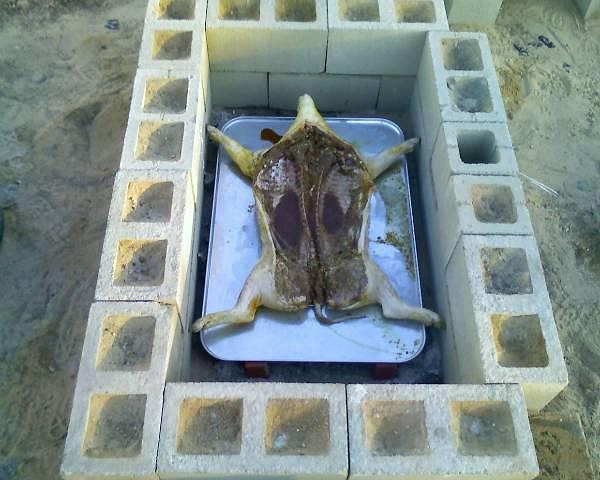
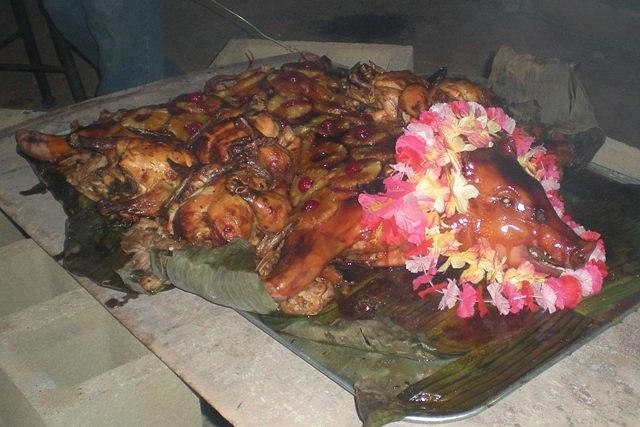
You can see on the right hand side there are 2 half bricks - one was not filled with sand and had a wire handle wrapped around it. The ideas was to use it as a peep hole but we didn't need it. We bought a 50 lb pig already dressed. We butterflied him using a cleaver and a hammer to split the spine, but not the skin underneath - he laid out nice and flat when we were done. We seasoned him with garlic cloves pushed into slits cut into the muscle, lots of dry rub, pineapple juice injection, and a little Liquid Smoke. The "roaster pan" was a new 2x3 foot galvanized driveway oil drip pan we picked up at an automotive store. (Note; TikiZen mentioned below that a galvanized tray may give off toxic fumes. The temp in the pit is 250 degrees max, that should be well below zinc's vapor point - but I am not expert, if you want to duplicate this you'll need to assess the risk for yourself) You cannot see it here, but we put an apple-sized ball of foil into the mouth to hold the mouth open and later be replaced with an apple.
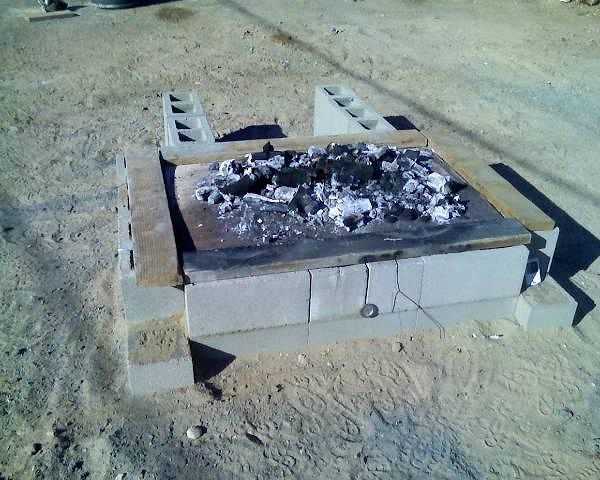
We started with the rib side up, the back (skin) side would be last so it would get browned and so we could glaze it. We put a digital thermometer on a cable in the thickest part of the shoulder and put the steel lid over the top, we put some wire handles on the ends of the lid so we could lift it off later. On our trial run last week, we got some sand in our brisket, mostly because we drug the lid off. Using the wire handles to lift the lid helped. This time we had put foil over the pig to help shield it from any debris, but the foil was reflecting too much heat and the pig was not cooking so we removed it. We poured a bunch of lump charcoal to top of the lid and lit it up. The steel lid warped some from the heat, the 2x6 boards around the lid helped fill the gaps between the warped lid and the bricks. We just had to be careful that the coals didn't get too close to the wood.
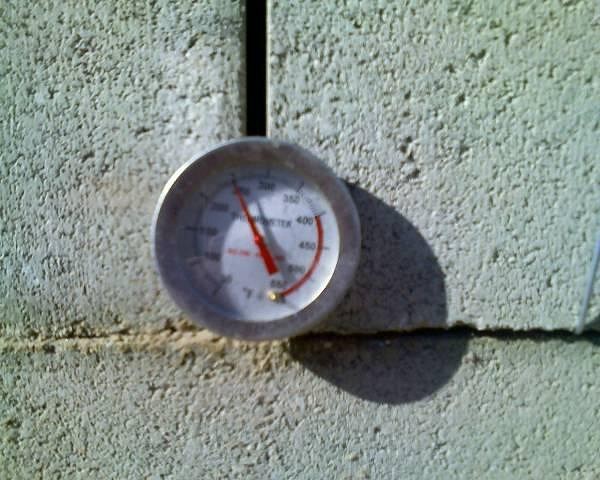
You can also see that we stacked another 4 bricks next to the oven so we would have a place to set the hot lid and coals when we moved the lid to open the oven. We kept adding more charcoal as needed to keep the oven temp at about 250 degrees. We stirred the fire occasionally and removed some of the ash (ash is a good insulator). We also ended up putting a fan blowing on the coals to bring the temp up a little.
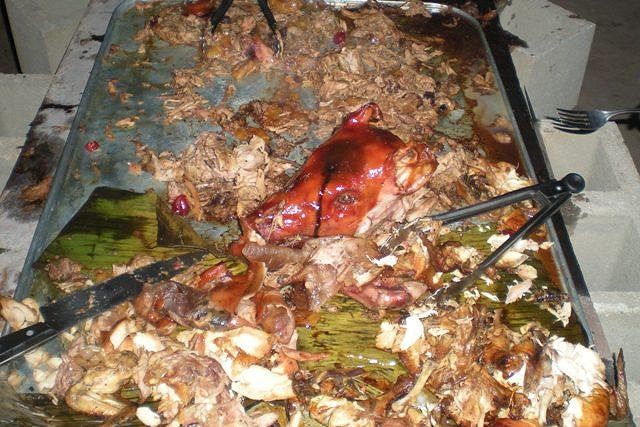
After about 3 1/2 hours of cooking time the internal meat temp was 140 degrees, we moved the lid over, flipped the pig, and put the lid back. We continued to stoke the fire to keep it to a constant 250 degrees. After about 2 more hours, we opened the lid, injected under the skin with some Teriyaki glaze, brushed the pig liberally with the glaze, and layed down a bunch of pineapple slices and cherries. We put the lid back on for another 30 minutes to brown the glaze a little and the pulled it out, meat temp was about 170 degrees. It was cooked perfectly- the meat was falling apart and good flavored, the skin was brown and crisp, everyone really enjoyed it as you can see in this "after" pic :lol: When we were ready to serve, we removed the pig, dumped the hot coals from on top into the pit, replaced the steel plate top, and put the pig and the tray on top of the steel plate. It keep the meat steaming hot in 50 degree weather for more than 2 hours. Be good to yourself and to the ones you love [ Edited by: MadDogMike 2011-12-17 22:15 ] |