Tiki Central / Other Crafts / Making Pendants on your computer
Post #643939 by Gene S Morgan on Fri, Jul 13, 2012 6:45 PM
|
GSM

Gene S Morgan
Posted
posted
on
Fri, Jul 13, 2012 6:45 PM
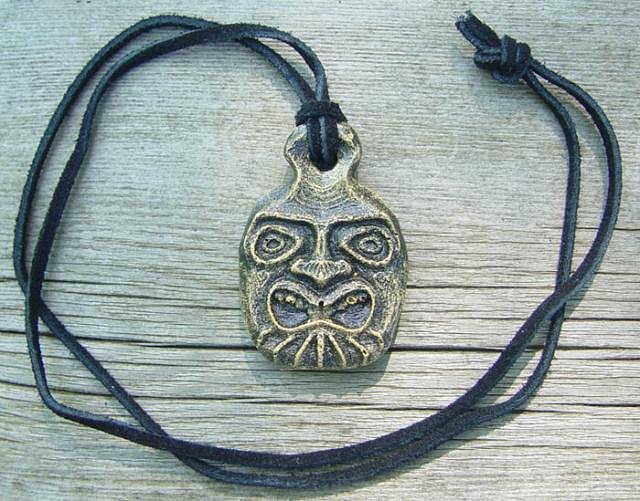
OK, here it is. A dark base paint is applied. Then we dry brush a lighter color on to bring out the detail and texture. A light clear satin coat is sprayed on. A leather chord and it is ready to wear. If you look close you can see what bubbles do. In a couple of places (like the teeth) there are tiny round holes in the surface. Not many, but they tend to be in areas where the detail is thin or recessed. I have convinced myself that this adds to the rustic funkiness of the pendant. Every one is a little different due to this.
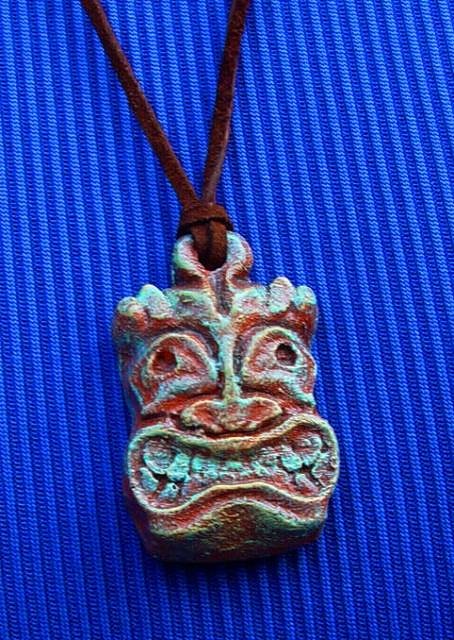
That is pretty much the whole story. This is the second pendant I made. I think it looks more tiki. We experiment with different color combos.
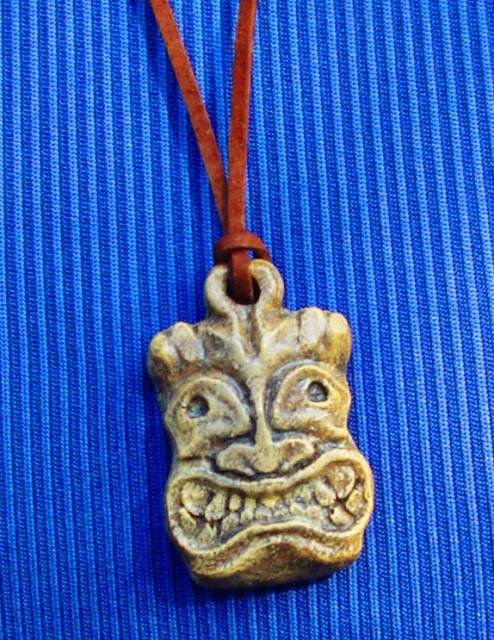
I was going for an ivory or bone look for this one.
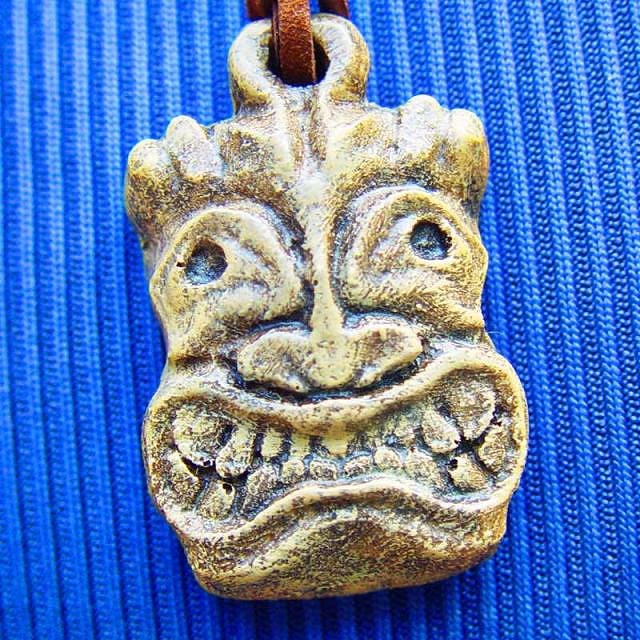
I kinda go the opposite direction from most folks in painting. Instead of antiquing I like to dry brush. Close up, it looks a little sloppy, but I think it brings the texture out more and I love the texture. Well that's all I got. I gotta say I have been thinking of doing this tutorial for awhile now but last year when I first posted here on Tiki Central it was in a thread about computer graphics and there seemed to be a bit of a backlash at the thought of using a computers in designing tiki. I check in here a lot but don't post. I want to thank Whystler for starting his thread. It pretty much inspired me to post this tutorial. Hope it was helpful and thanks to all who dropped in and commented and gave me encouragement.
|