Welcome to the Tiki Central 2.0 Beta. Read the announcement
Celebrating classic and modern Polynesian Pop

Tiki Central / Other Crafts / Sea Creature of the South Pacific Art Swap ~ Done!

Post #661798 by TikiAno on Mon, Dec 17, 2012 6:22 PM

You are viewing a single post. Click here to view the post in context.
T

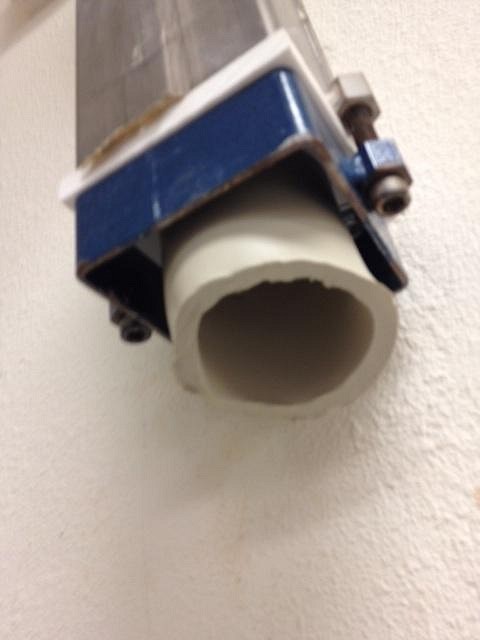
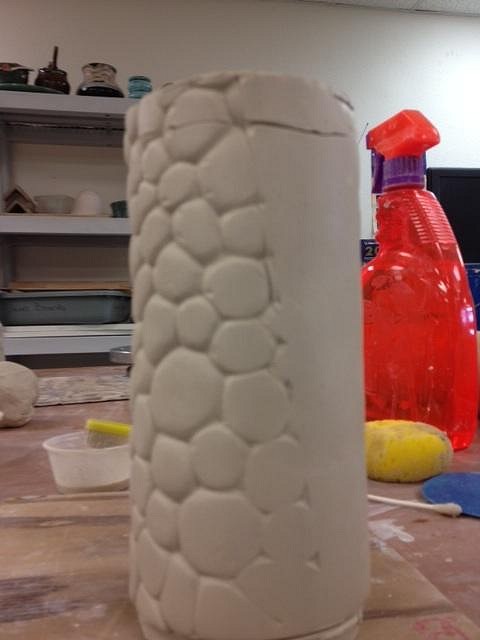
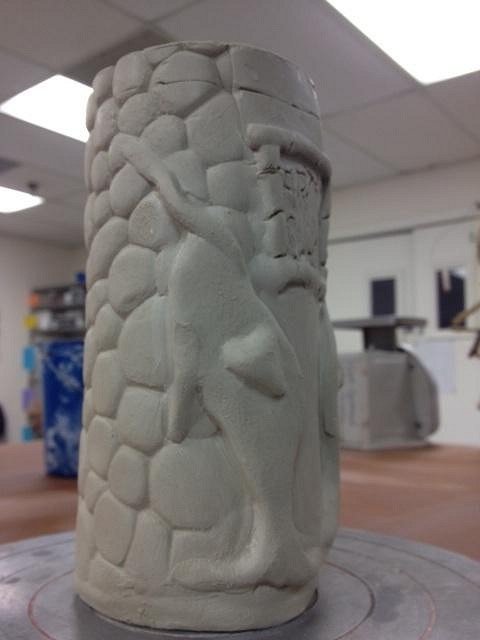
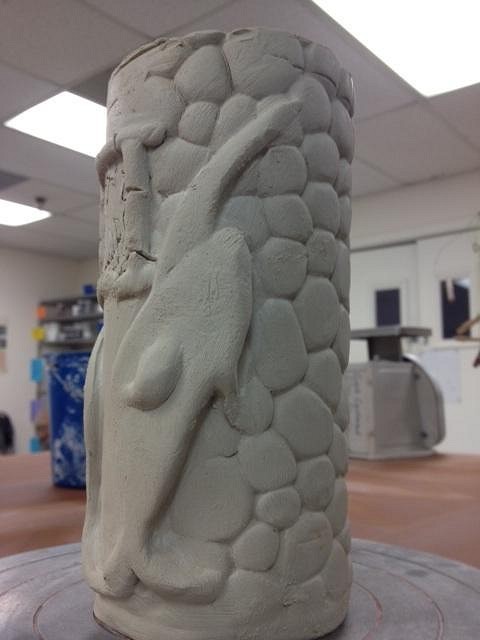
Well, worked a few hours today off of my original sketch (no, not the one I posted earlier) to start workin' on the entry for the Art Swap. Excited that I got to use my new extruder die for ease-of-mug-construction-operation. Here's a bit of a step by step:

-Step 1: Extrude a cylinder (okay, I did extrude a bunch today):

  • Step 2: Keeping the cylinder straight for a large mug is interesting, especially since I've yet to extrude something of this width and length. Took a few tries, but ended up w/ a few good ones.

    -Step 3: To keep up w/ my original idea, I borrowed a groovy stone stamp to roll my form around to give some texture (I was going for a midcentury modern living room feel one on side of the mug. This is what the stamp sheet looked like:

    -Step 4: My first attempt of rolling a cylinder around the form worked great (the second not so good, so I used the first try to begin work on the mug). Here's the look of the back of the mug. I left some room for the front of the mug w/o the stamp, where I was going to add more details.


    -Step 5: My (no longer a) surprise was to have a (Northern) South Pacific Narwhal on the inside of the mug, breaching the bottom. Since I extruded a cylinder I had to build this into the base of the bottom prior to attaching the base. Does that make sense? Here's the tip of the head prior to attaching it to the mug base. I punched a hole to let some air in for better attachingness. No double entendres were intended when writing this step by step. Thank you.

    -Step 6: Attach to base, then base to bottom of mug (no photos).
    -Step 7 Work on the exterior. First I worked on the bamboo-looking frame to "label" the mug. I will re-etch the letters as the clay firms up. Then I started adding the Narwhals, one on each side underneath the frame. In this pic the frame is up and I roughed in the sea creatures before fully scoring and slipping them onto the mug.


    -Step 8: Attach left sea creature slash narwhal, then the right one.

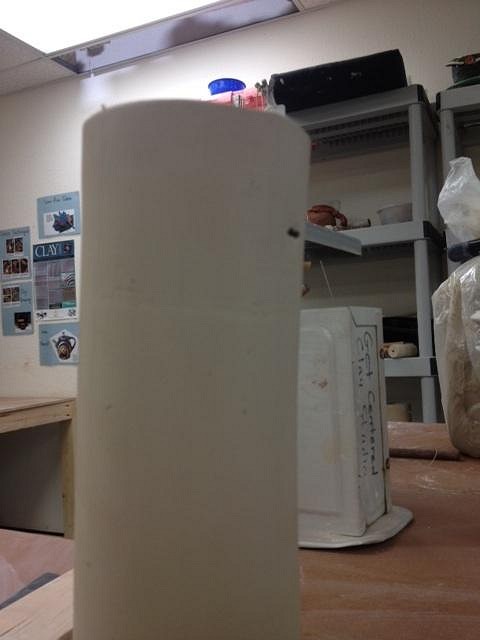
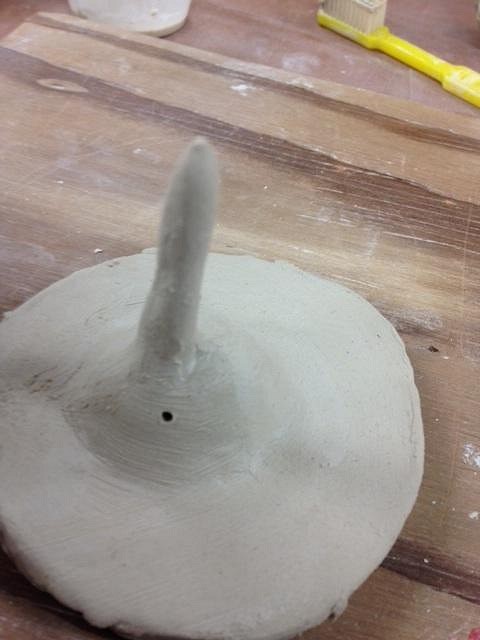
I will trim a bit of excess off the top of the mug. (I started to, thus the cut lines visible in some of the pictures. I have to wait for it to firm up a bit, then wait for it to slowly dry out, as well as work on glaze options. The interior of the mug will be blue (since the sea creature will be underwater, with a different glaze on the interior Narwhal head and horn).

Look forward to seeing everyone else's progress! Sorry for the long post.