Tiki Central / Home Tiki Bars / The Forbidden Maya Tai, San Diego
Post #700228 by TikiAno on Fri, Nov 22, 2013 9:53 AM
|
T

TikiAno
Posted
posted
on
Fri, Nov 22, 2013 9:53 AM
I've been working on my home bar for a little bit. Maya, my wife, is not the biggest tiki fan (I know, I know), and she wasn't a fan of adding a bar to the tiki corner in the living room. I decided to clean out the garage to build a bar there. At first she was excited- that there'd be room to park her car in the garage, then grumbled when she heard the news. We discussed, then in discussing the bar name she was somehow placated (through her own idea): including her in the bar name. So, introducing "The Maya Tai Grotto." (or, possibly, "The Forbidden Maya Tai." (would love any thoughts on the name, I'm torn. Maya said no to "The Forbidden Maya Tai Grotto"). Some of the photos are not necessarily in order, but I tried to post them in an order so the build would make sense.
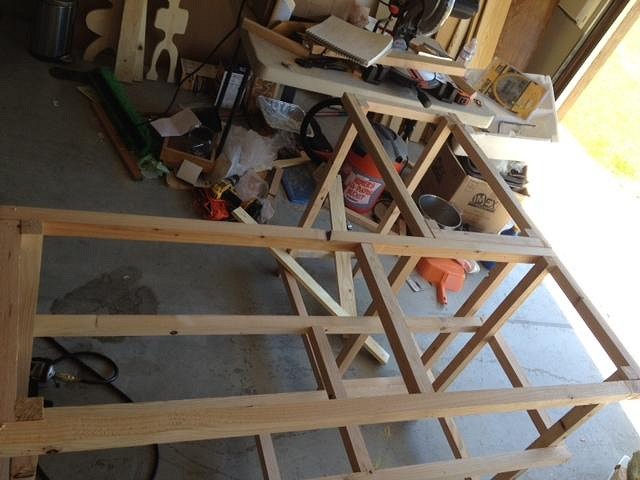
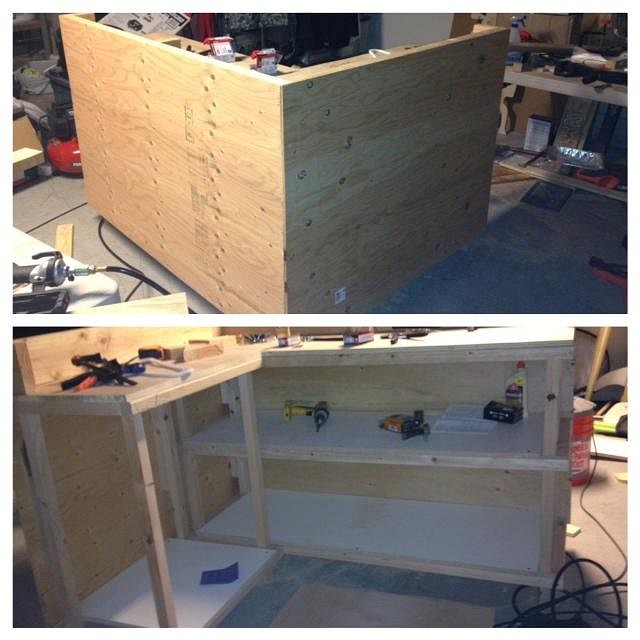
It's a 1.5 car garage that was filled with boxes, tools, surfboards, and more. I decided to divide it in half, so we can still use the garage for storage. I've yet to build the dividers (these will most likely be temporary hanging ones that will clamp to the wooden beams). It's been an interesting process, and I've been inspired by all of the bars I've seen on this thread. I've tried to work with some existing parts of the garage, modify some things, and build whatever I can myself. Before (bar side): Framed out the bar using 2x2s, didn't see the need for 2x4s, and the price was right. The bar is 5' wide, with a 4' (total) return, enough for seating for 5. Skinned it and put shelving inside. Originally I was going to install a sink on the left hand/ return side (w/o running water). I was planning on running a PVC tube to a 5 gallon bucket underneath. Grand plans, and an easy build, but wanted to keep more counterspace. The space for the "sink" (dump bucket) is still there. I'll eventually add some drawers to this side.
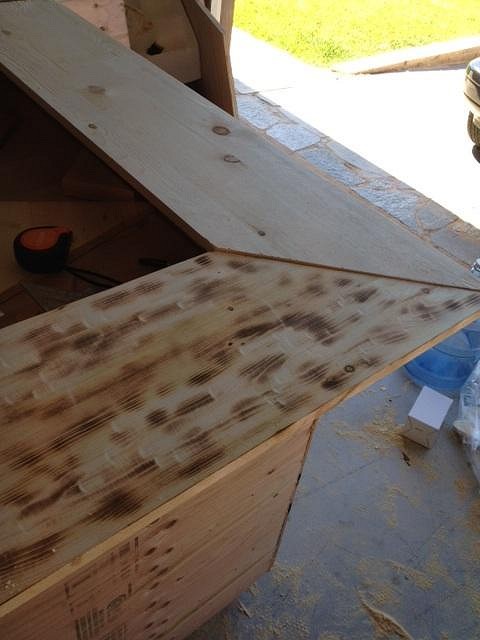
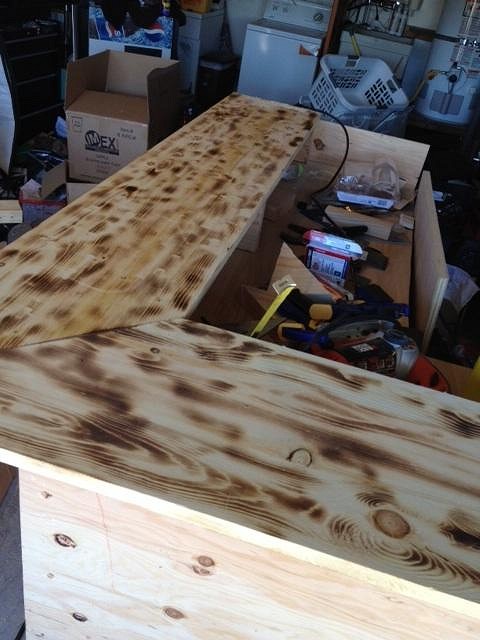
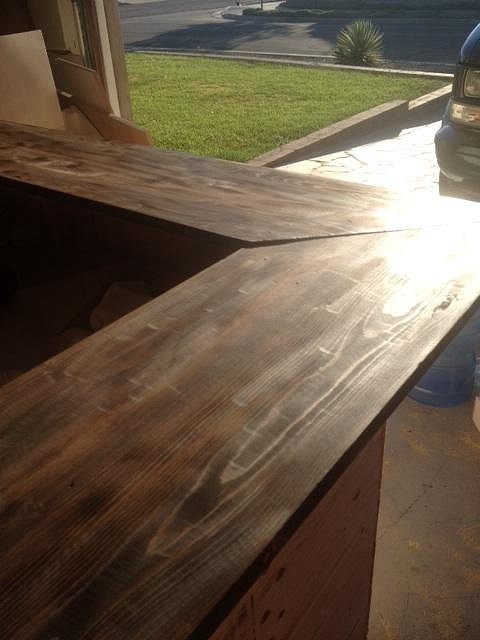
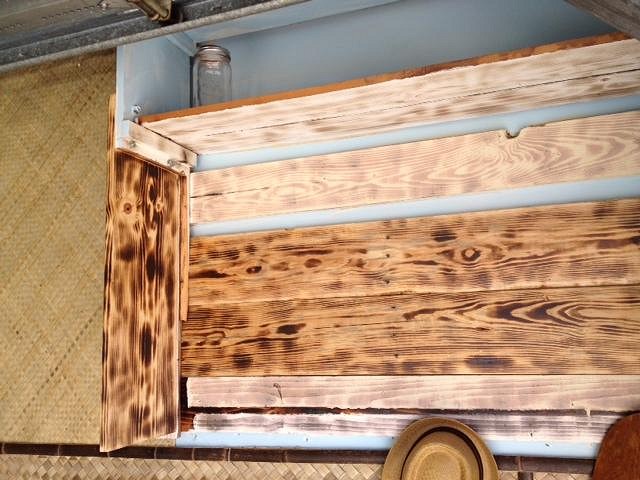
I then added risers and a bar counter (no photos of it before). I then started burning the top counter: Then brushed it, and stained it:
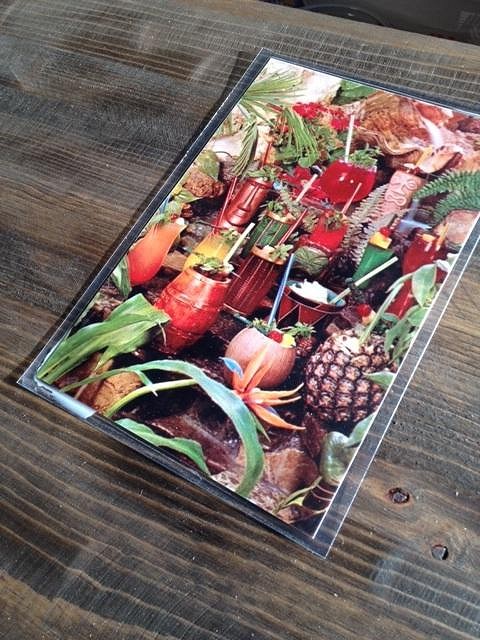
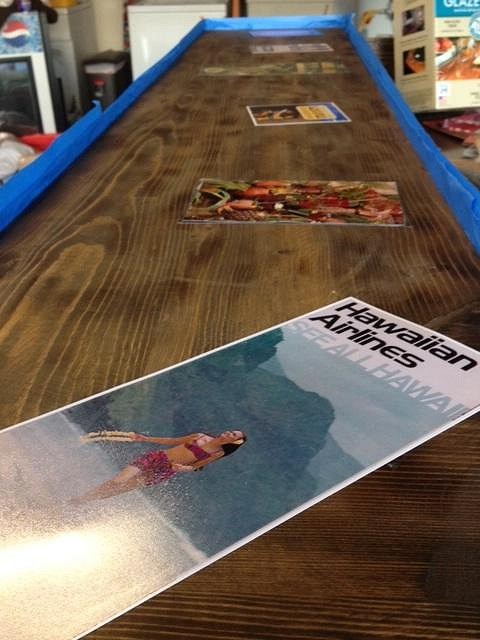
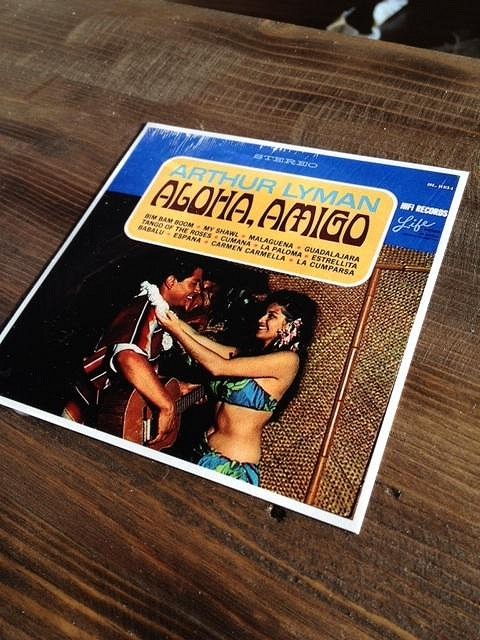
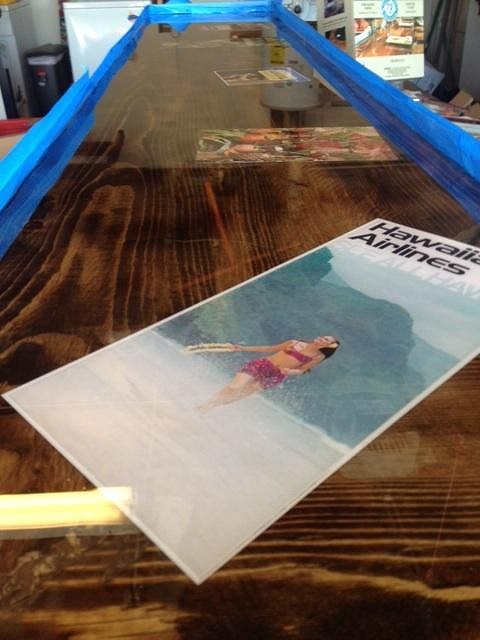
I did a polyurethane coat to the lower bar (semi-gloss), but wanted to embed photos in the bar top- as many have done here. I used a mix of old brochures, ads, and other images. I bought a whole lot of resin bar top mix, and tested it to see how it worked. This was essential- I ended up using a lot more catalyst/ starter to have it go off faster.
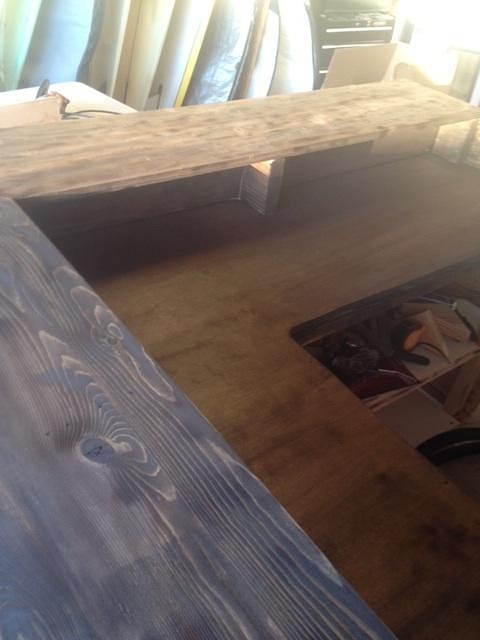
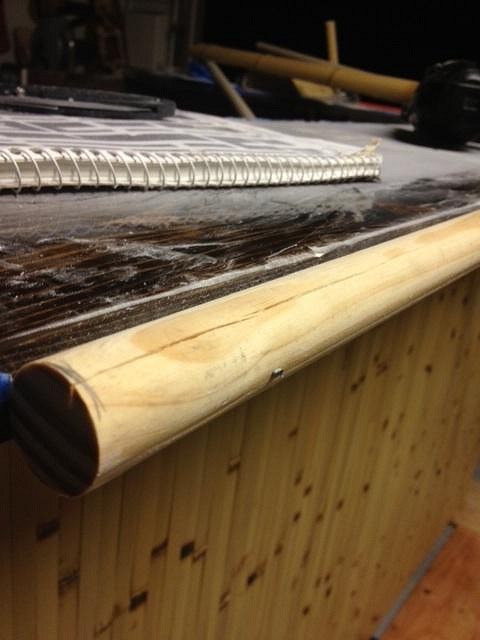
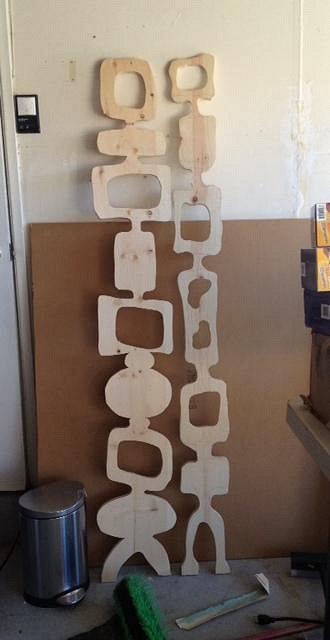
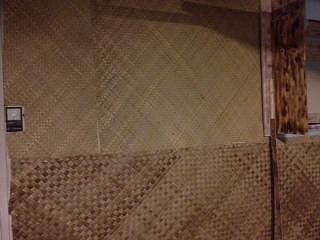
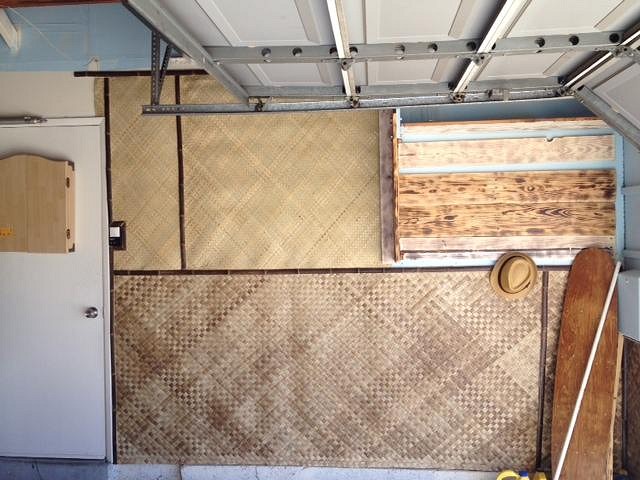
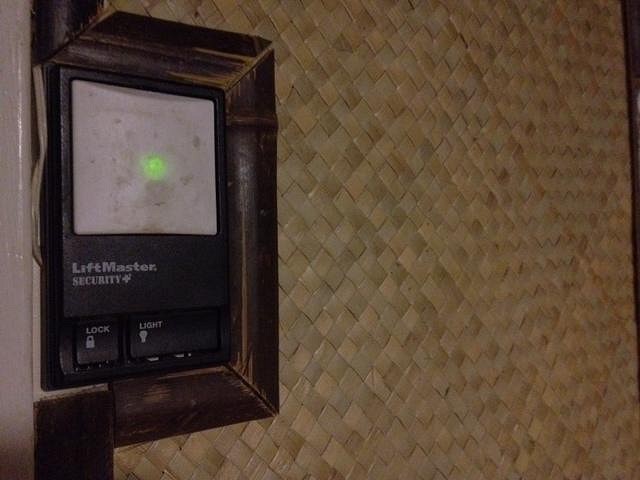
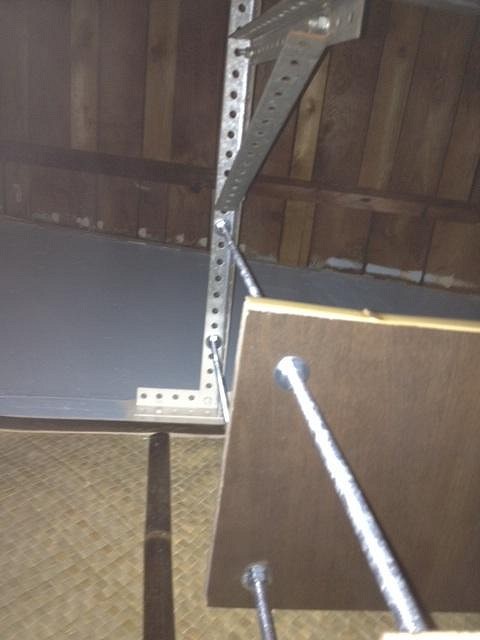
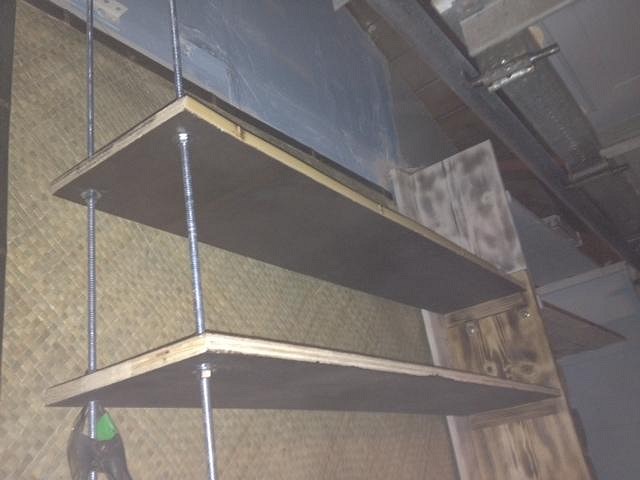
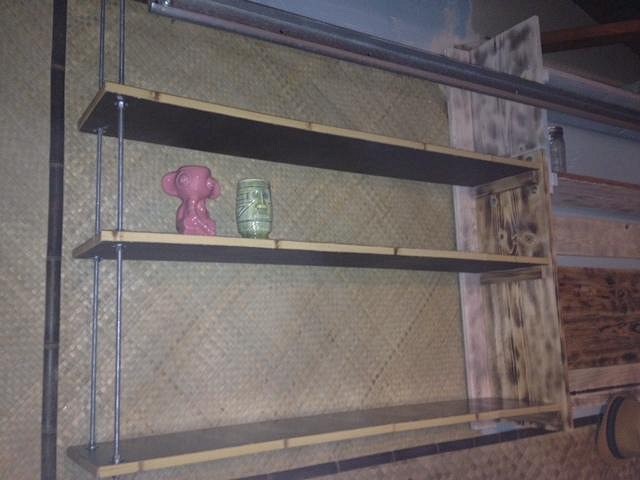
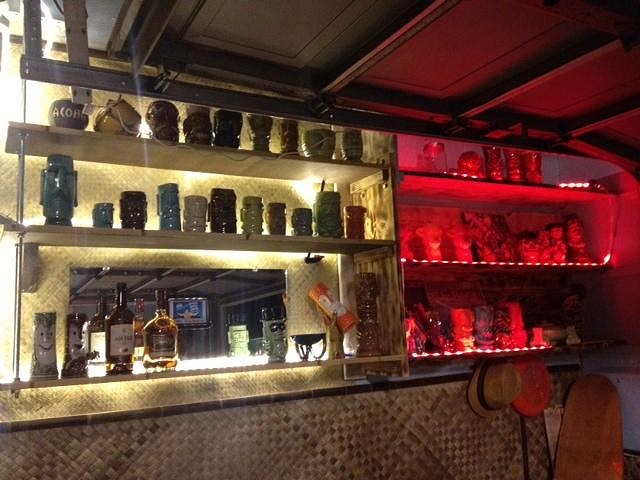
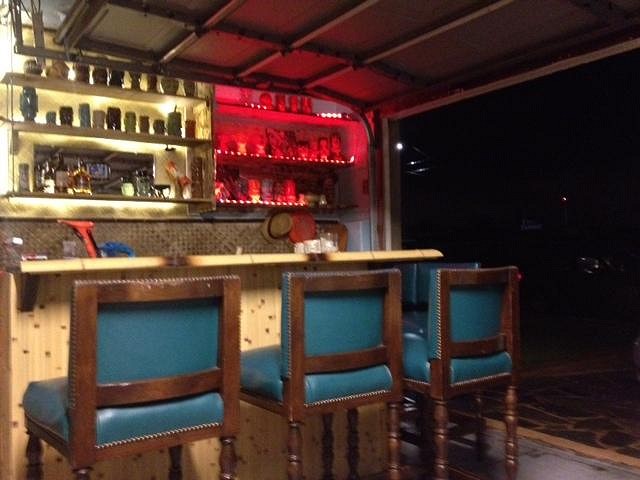
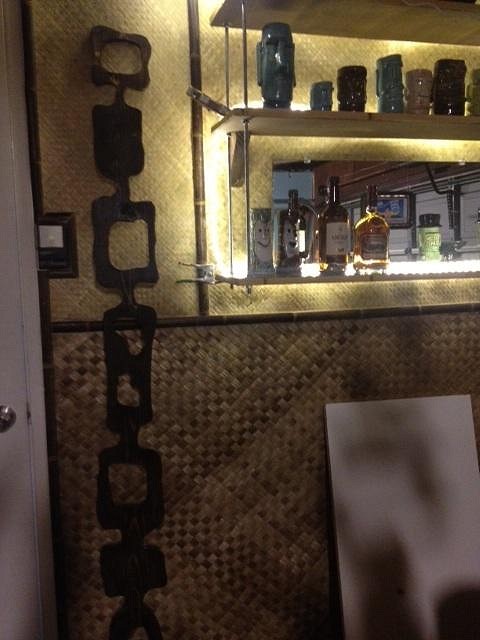
Poured the resin. In retrospect, I shouldn't have used any tape- which got embedded into the resin. Grrrr. Looked good, though. I wanted to cover up the "bad" edge, so wanted to add some half round bamboo to hide it. I shot a dowel into the bar top, then (later) shot the bamboo into that. I used bamboo panelling for the front facade. I liked using this since I could use the excess pieces to mask the wood on the front of shelves. Thinking about wall art, I started jig sawing some cut outs, inspired by a wall divider I saw in Palm Springs last year. I later saw than Dawn Frasier had cut out a similar piece that's hanging on her wall. Needed to work on the wall behind the bar, which was going to have shelving for mugs, booze, and more. While I didn't want to have a rattan heavy bar, I decided to use it for texture. I painted some exposed areas blue- I was following Bamboo Ben's advice: no white walls. Then: There was some pre-existing shelving in the garage- I had cut some of it away when we first moved into this house to put up larger metal shelving (more storage), but had pulled those out to put in the bar. I decided to keep what was there, and use that as a base for other shelves. I had gotten a bunch of pallet wood from my office park, and started burning it. I also found out that instead of sanding the white paint off of the original garage shelving (that had been there for 20+ years) I could burn it. Warning: using a torch on old (most likely lead) paint is a bad idea. I did this late one night w/o a respirator and felt like crap. Instead of brackets, I went for a "floating" shelf for some additional shelves. I used a long 3/8 threaded rod and bolted it to the steel holding up the garage door frame (slightly risky but figured it would be okay- I could hang on it and it wouldn't budge). Then added shelves. The other side is held up by some 1x2s I shot into the pre-existing shelf. I used some burned pallet wood as a background for the pre-existing shelf. I had to add shelves which I had cut out a few years ago.
That got me up until yesterday. I was building a test bar stool while keeping my eyes on craigslist. New lumber is expensive, and not the best for the environment. I found bar stools I liked on craigslist and picked them up last night. They're old wood, blue vinyl, and only needed a little bit of work. When I got home I added a few more shelves, some test lighting (one string light and one LED tape color changing set from Costco, not so cheap but oh so cool), and loaded up some of the mugs.
I then pushed the chairs in for the photo:
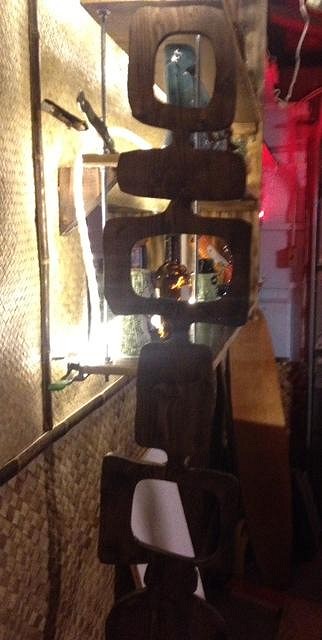
(The garage door was open). Now I have to keep going, finalize the lighting, hang some more art, and add rattan to the door going into the house (and over the dartboard). I have a glass door fridge that I bought a long time ago for my business and never used, that will get rattan-wrapped and will go behind the bar. The carved wood pieces are finished, and will find a home somewhere:
I also need to build some dividers so people can enjoy the bar w/o looking at tools and laundry. Surfboards will remain open, just for easier access to them. Thanks for looking.... and your feedback Will post some photos of the opposite wall as I can further along. Building in a garage has been interesting. I originally wanted to build a fake wall with a door so I could raise the garage door and enter directly (not through the house). Still might happen. [ Edited by: TikiAno 2013-11-29 22:59 ] [ Edited by: TikiAno 2014-01-08 09:01 ] |