Tiki Central / Other Crafts / Hypertufa Moai Easter Island Head Sculpture
Post #730269 by Wavy_Davy on Sat, Oct 25, 2014 9:45 AM
|
W

Wavy_Davy
Posted
posted
on
Sat, Oct 25, 2014 9:45 AM
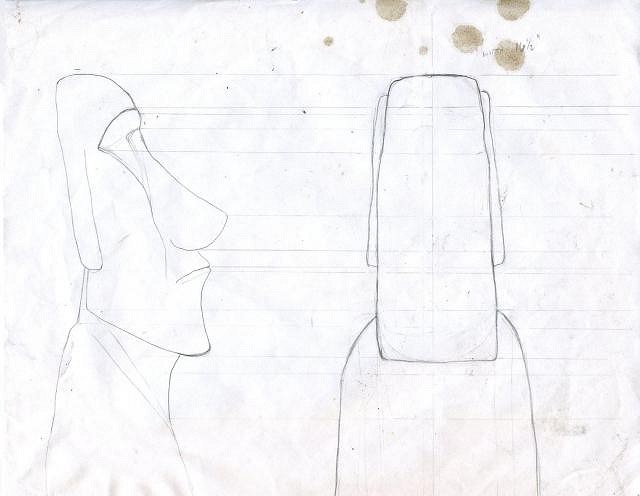
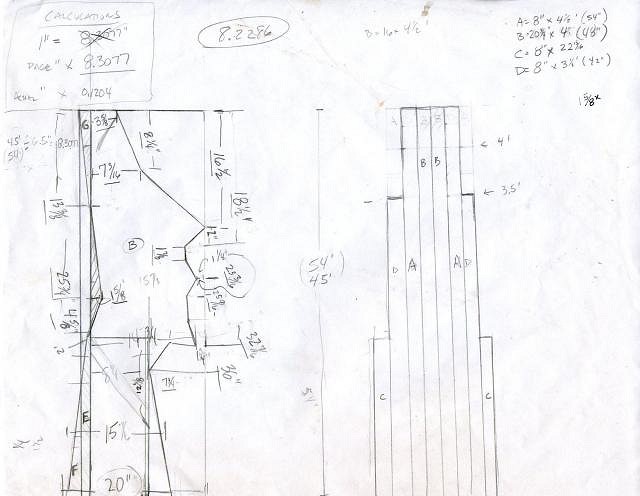
Aloha Tiki Central folks! I have followed this page for many years and have admired by many of the fine artistic works shown here. I also picked up lots of great tips as well. I live North of Boston and love all things Tiki. I am a part-time artist and dabble in painting, caricature, and sculpture, and I just like making cool things. From my honeymoon in Hawaii, to trips to this Caribbean and from my love of Disney Imagineering (especially the Polynesian Resort, Adventureland, and the Adventurers' Club I am frequently inspired to make my own art. This is my first post here on Tiki Central. I would like to share my Easter Island Head build with you. I built a large backyard tiki bar out by the pool years ago and, of course, every tiki bar needs an Easter Island head...right? Step 1. Design - It all starts with a drawing or two.
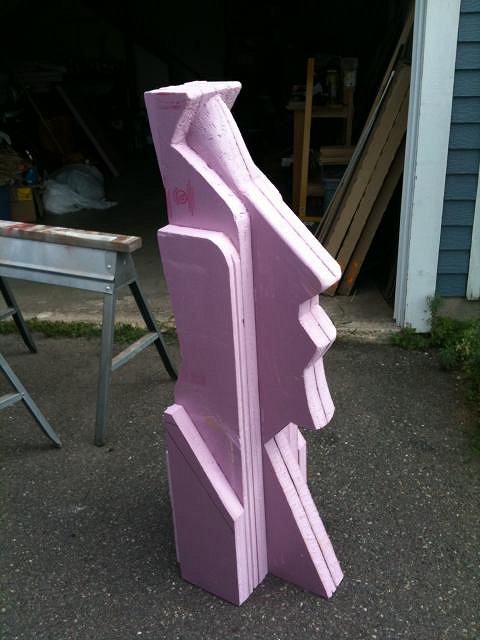
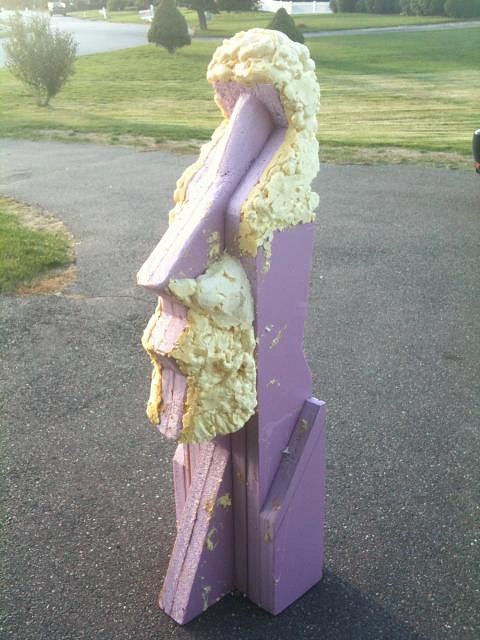
I had to figure out how to cut the foam insulation boards. This is a 5 foot sculpture. Step 2. Foam core armature made from pink insulation board and Great Stuff.
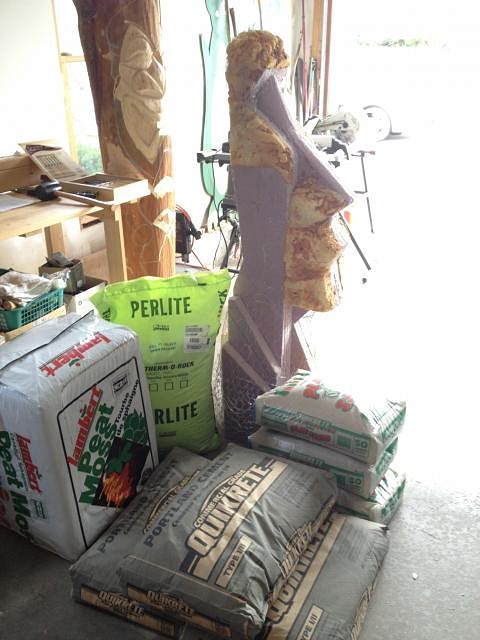
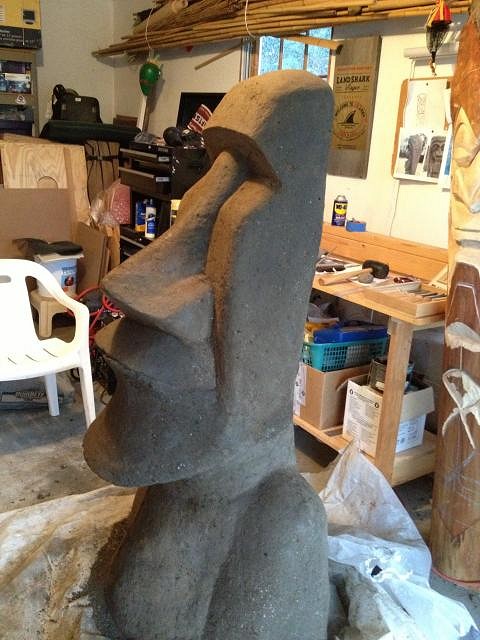
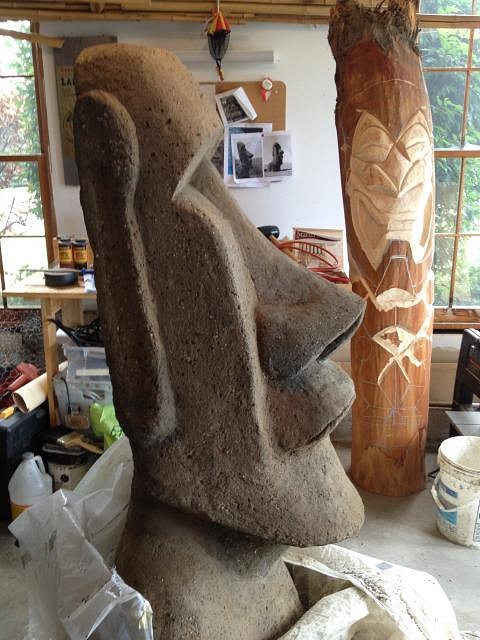
Step 3. Covering in chicken wire and then sculpting with hypertufa. I used a mix of portland cement, peat moss, perlite and little sand mixed with water to a mud pie consistency. I agonized about using vermiculite or perlite. I wanted some color variation but also wanted it to look like stone. I liked the results with the perlite.
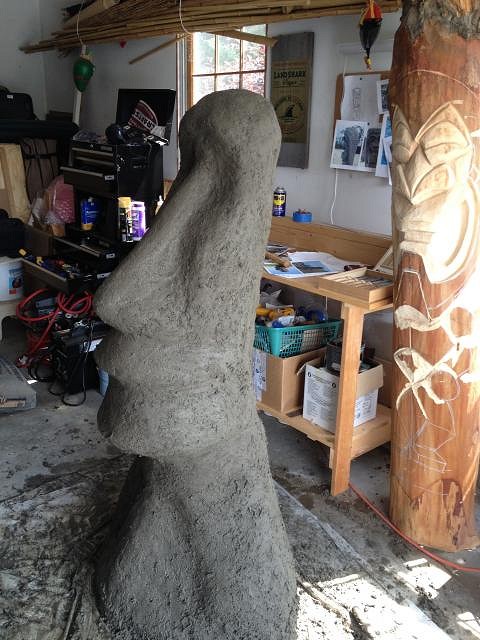
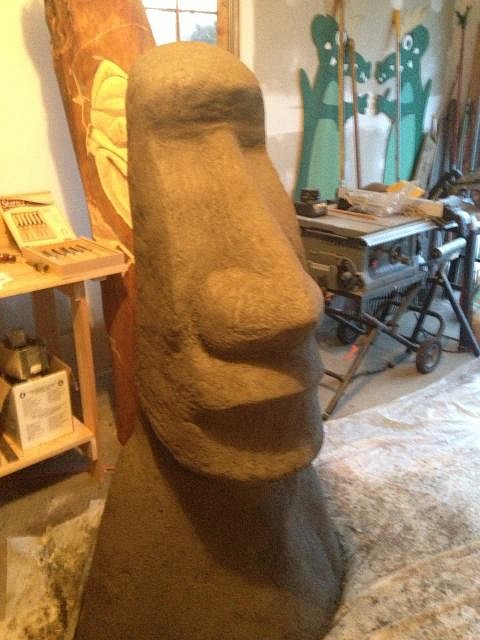
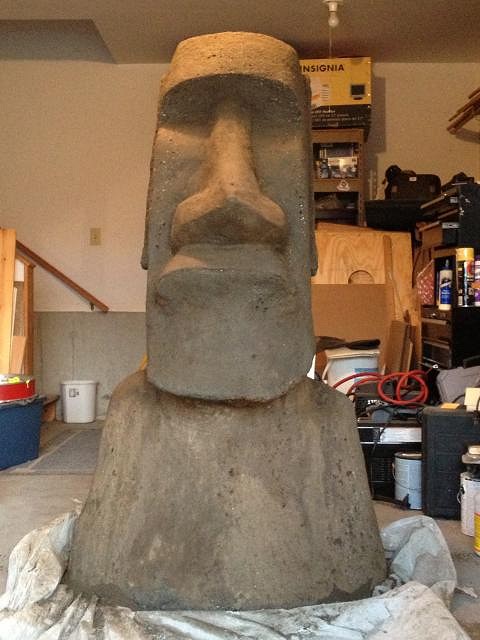
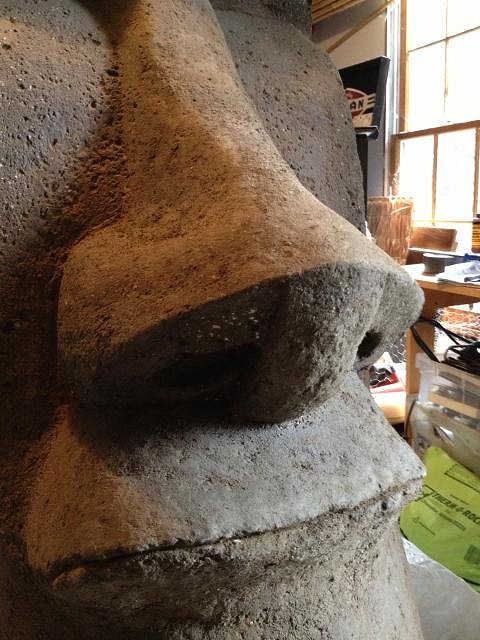
Time to get messy. This build took a total of 4 weekends. I slapped on the hypertufa mixture on a Saturday and refined the carving the following Sunday or Monday evening. I kept him wrapped in plastic between sessions. BTW, it was over 90 degrees during the entire project. Day 1. First coat of hypertufa. Day 2. Second application of hypertufa. Building up the shapes. Day 3. Refining the brow and nose. Day 4. Work on the chin and mouth area/ Day 5. Build up of shoulders and chin. During the build he becomes affectionately named "Moe". His full name is Morris Ignatius Head or Moe I. Head. Day 6. Moe's Rhinoplasty. The final sculpture! The move!
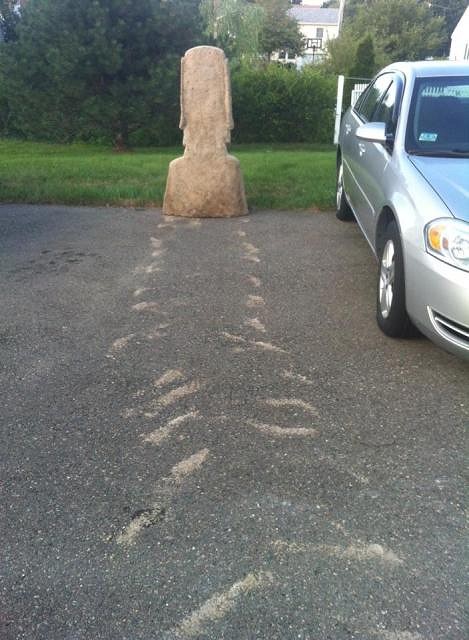
He walks! In my research I learned that the recent theory is that the Rapa Nui "walked" the Moai by pivoting them along the front arc of the bottom of the statue. By tipping him forward and rotating him along the front edge i was surprised to find that I could move him quite easily.
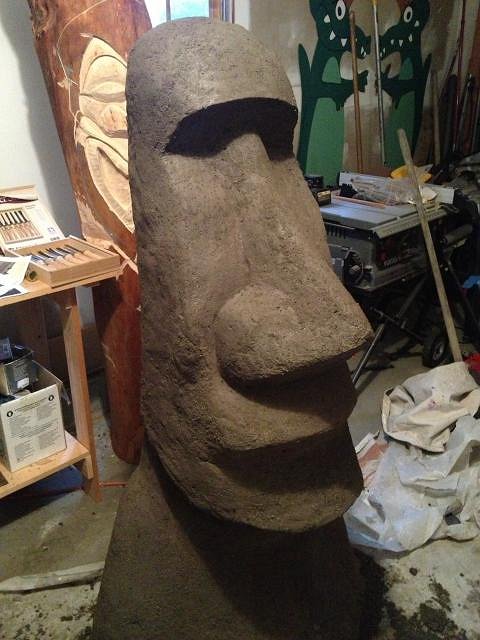
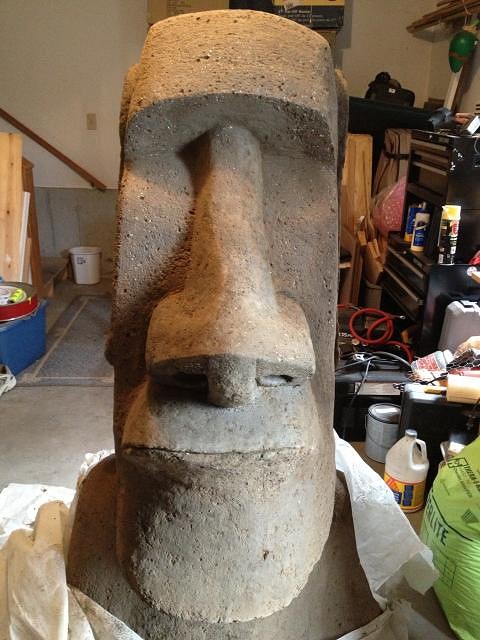
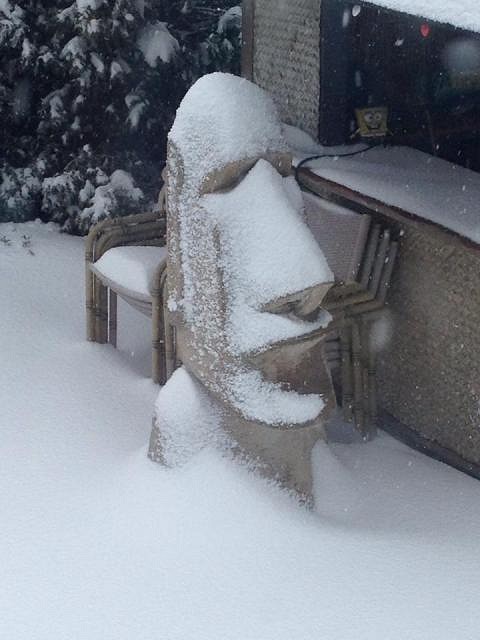
He spent the winter by the tiki bar and I recently moved him to a prominent spot by the pool. I found that that as the hypertufa cured and dried out it got very pale. I put a few color washes of concrete color (both terra cotta and black) to give him a nice, dark stone color.
This was a really fun and rewarding project and loved working with the hypertufa.
Thanks for looking. Dave [ Edited by: Wavy_Davy 2014-10-25 09:47 ] [ Edited by: Wavy_Davy 2014-10-25 09:48 ] |