Tiki Central / Home Tiki Bars / The Cannibal Cove, Wolverhampton, UK
Post #761520 by AdOrAdam on Sun, Mar 27, 2016 9:19 AM
|
A

AdOrAdam
Posted
posted
on
Sun, Mar 27, 2016 9:19 AM
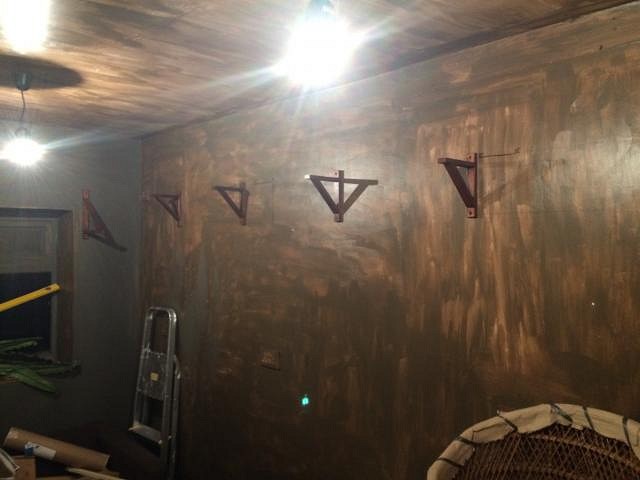
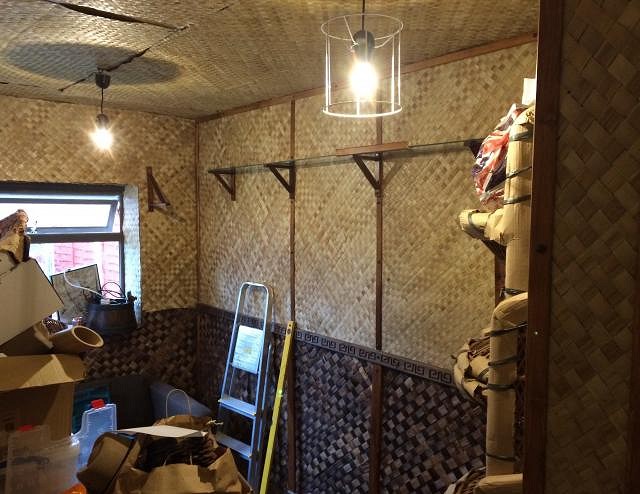
Latest stage: build The first thing I did was paint everything dark brown with cheap paint. I did this for 2 reasons:
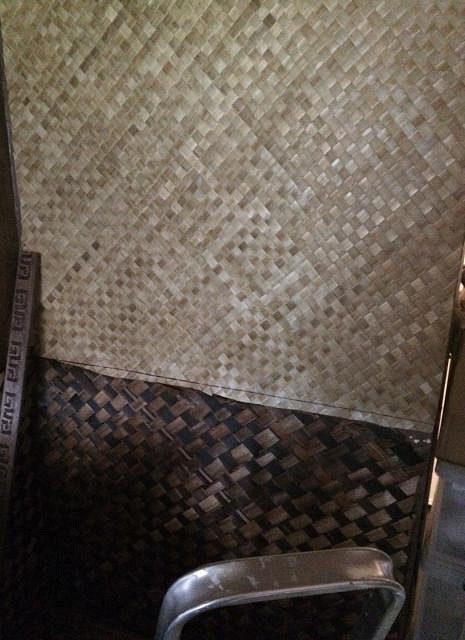
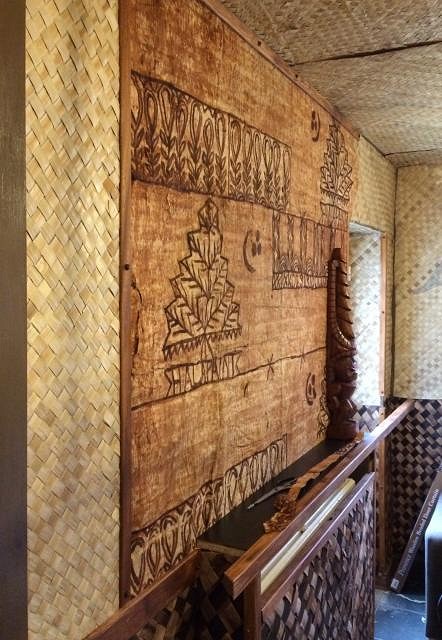
I just went for all over dark (if a little patchy). I did coat some areas a few times that would be uncovered. I masked the white UPVC window frame up - it got painted the same colour. I brought some white blackout material for the external door curtain & painted that too. I tacked some wooden shelf supports to the wall with small nails & stained them while drips wouldn't matter. I predrilled holes in the wall for the shelves & the radiator cover too - I was pretty sure drilling thought rattan wouldn't be a problem but at least then it was another job out of the way. With the exception of the drilling, this was nice easy work I could do at times when Rosie was having a nap or in bed for the night without disturbing her. Jo occasionally stuck her head round the door & made comments about it looking dark. I've got to say, I really intended to post progress photos of the build but we really got stuck in & rushed through it at a lightening speed. I did contribute some tapa cloth tips to another thread. Jo really came to my aid spending the majority of a weekend helping me stick matting on the walls, cut & attach trim. Jo's brother Steven (known as Uncle Debben) helped with lots of bits including sticking the rattan to the ceiling & attaching higher up trim. There's not too many rules to sticking matting to the walls but I think I can summarise what I learnt in a few tips:
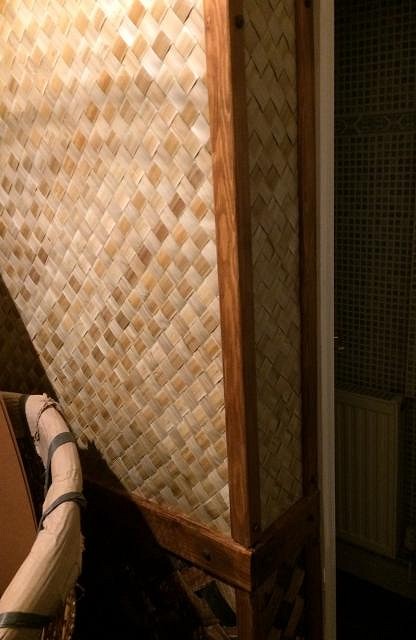
Here's a few photos I took during the process:
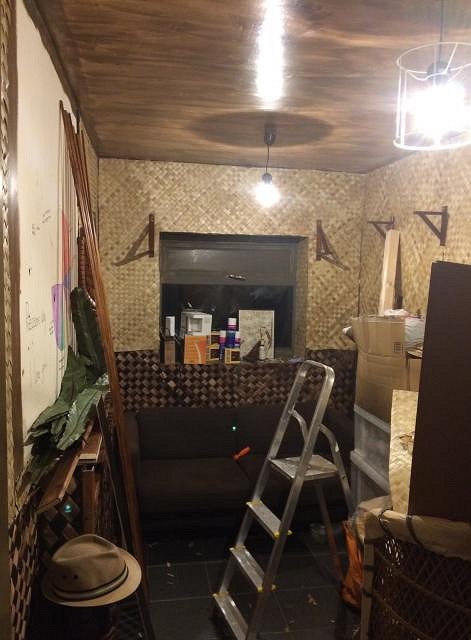
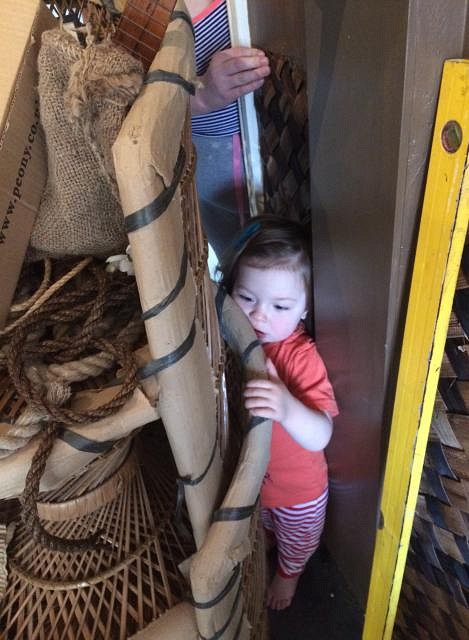
Here is where I posted the method I used to stick up the tapa cloth. Rosie (now a fair bit bigger than the previous photo & walking around everywhere) was always keen to help / interfere & was barricaded out:
Eventually we brought some cheap plastic tools & she came on in - unsurprisingly she banged the walls a lot & tried to pull on the matting. I took the view that it was going to happen so it was better she was used to it being there - it held up well & she paid it little attention after a day or so. NB: I wrote all these posts a while ago but never got round to making them. The room is now empty apart from its eventual furniture, full rattaned & trimmed. The next stage is probably the most exciting, it's deciding what goes where & the lighting. At the moment the room looks like most tiki rooms do underneath all the decoration. Having spent a fair amount of money & time recently, I'm going to take a little bit longer with this & will report back when I have more pictures. I'd love to hear people's thoughts on the inspirations, pictures I've posted & space that we have. Cheers! |