Tiki Central / Home Tiki Bars / Lagoon of Mystery
Post #776235 by Prikli Pear on Wed, May 24, 2017 2:29 PM
|
PP

Prikli Pear
Posted
posted
on
Wed, May 24, 2017 2:29 PM
Initially, I thought the back bar would take up the entire space between the garage door and the French doors on the back patio, about 12'. The Wife nixed that idea, and she was probably right. That would've created some logistical problems. Instead, I had an 8'x20" piece of plywood was just about the perfect size for a more compact back bar. Instead of centering it directly under the porthole bathroom window, I'd offset it to the left. One reason is to ensure free flow of traffic through the French doors to the right.
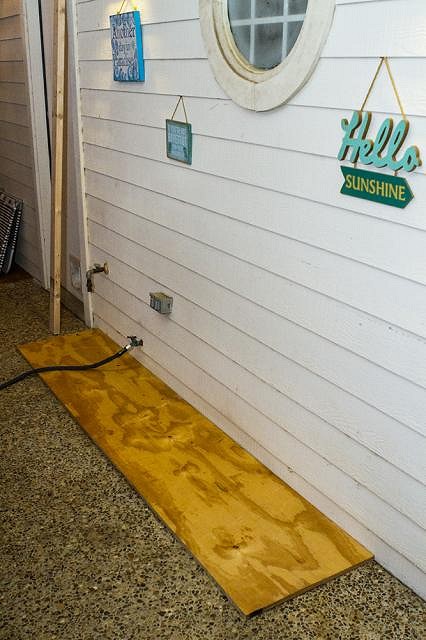
A bigger reason, as you can see below, is that there is an electrical outlet, water spigot and obsolete propane outlet on the left side that needed covering. I measured the legs and frame so that the top of the back bar would be equal in height to the under bar area of the extant tiki bar.
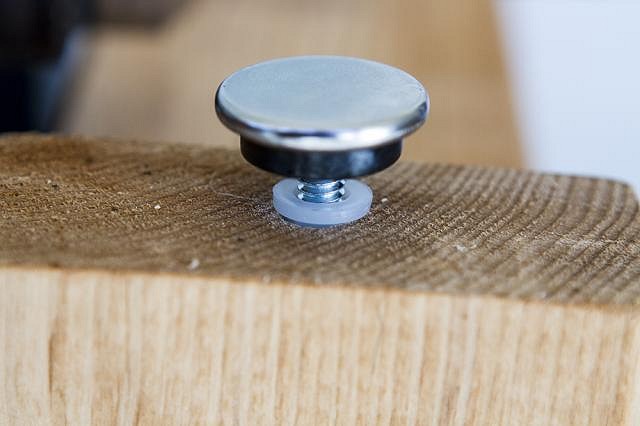
Flipping the frame upright showed me that the pebble-finish patio wasn't anywhere close to being level, so I had to add leg levelers. I didn't really want the wood in contact with the concrete, so this worked out well. The next step was to coat everything with Flood CWF-UV. It won't ever be directly exposed to rain or sun, but I want to be able to hose down the patio if necessary and humidity can be pretty high for extended periods. The additional protection seemed prudent.
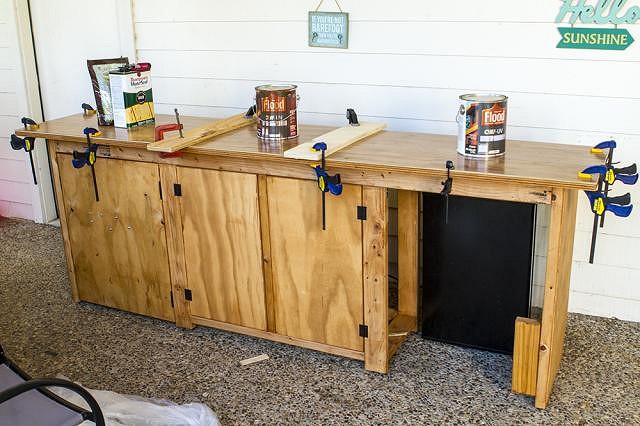
For the tiki bar top, I used thin, laminate flooring tile pulled up from my office as part of another project. Continuing that for the back bar was the obvious course of action. I managed to pull up a whole piece of flooring about 9'x4' and used a jig saw to cut out the bar top. To secure it to the plywood top of the back bar (which I'd attached to the frame with outdoor wood screws) I slathered Titebond III along the edges and corners (because that's all I had left of that glue) and filled in the gaps with Titebond II.
Then I clamped and weighted the laminate down for 24-plus hours to let the glue set.
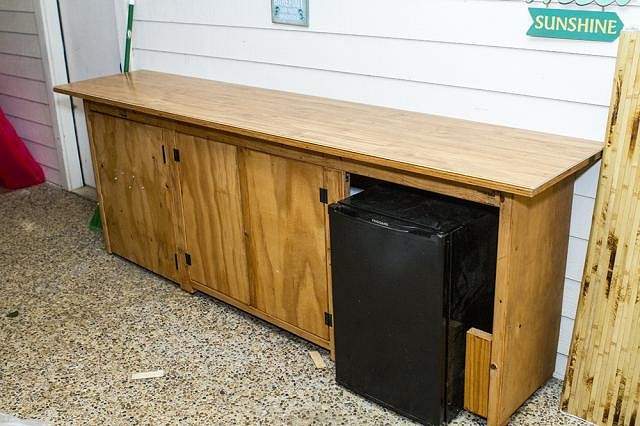
And this is what it looks like with all the junk removed. It doesn't look all that great, I'll admit, but at least it's finally starting to look like a bar.
For anyone interested in the boring details, I have more build-along photos and commentary here and here. |