Tiki Central / Home Tiki Bars / Lagoon of Mystery
Post #780451 by Prikli Pear on Tue, Oct 10, 2017 7:58 AM
|
PP

Prikli Pear
Posted
posted
on
Tue, Oct 10, 2017 7:58 AM
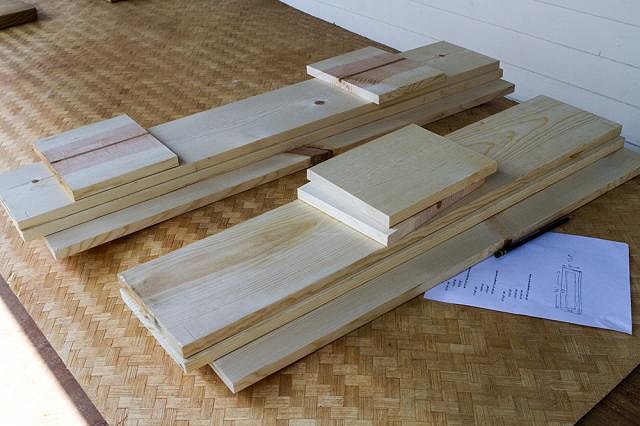
Thanks, Tikitube. I've burned through several jigsaw blades trying to cut that fibercement for a different project. That stuff's unforgiving, but super-durable. This summer I came to the realization that I did not have adequate drinkware storage for tiki mugs or stemware in my bar area. Being open air, anything on the bar tended to get dusty very quickly. So I decided on constructing two display cabinets on either side of the center porthole, beneath the sconce lights. After sketching out a rough design, I got the lumber and made the cuts. Each cabinet would be 10" tall, 8" deep. Because of differences in available space, one would be 36" long and the other 42".
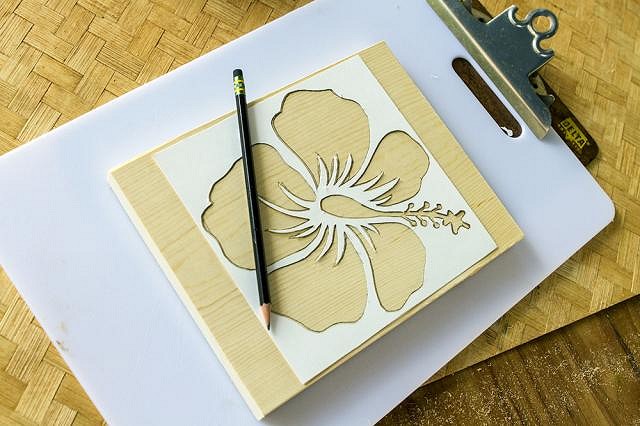
This being a tiki bar, a plain side panel on the cabinets wouldn't do. I decided I would go with a hibiscus flower on the ends, that being the classic tropical blossom representative of Hawaii, Polynesia and the Caribbean as well. I looked at a bunch of designs online and cherry-picked elements I liked, tweaking them to get an image that satisfied me. I printed it out and transferred it to a piece of poster board, which I cut out with an X-acto knife to make a template pattern.
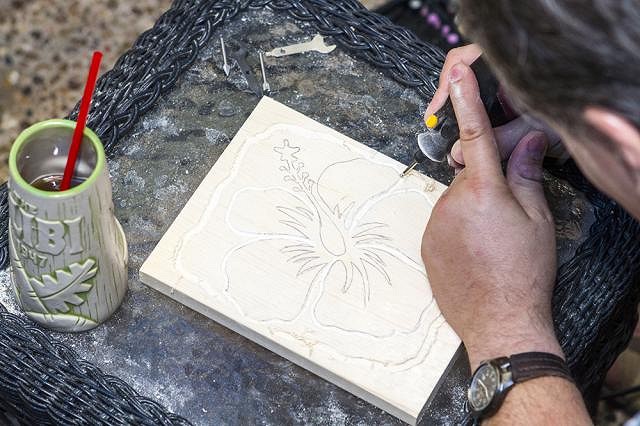
Once the pattern was marked down, I attacked it with a Dremel to carve out the outlines and fine, inner details. I used my trim router to carve out the remaining wood. The first one took me almost an entire evening to do, learning as I was. The next evening I knocked two of them out in the same amount of time. I tried to keep the design simple, but I learned that simple to the eye and simple to the router are two very, very different things.
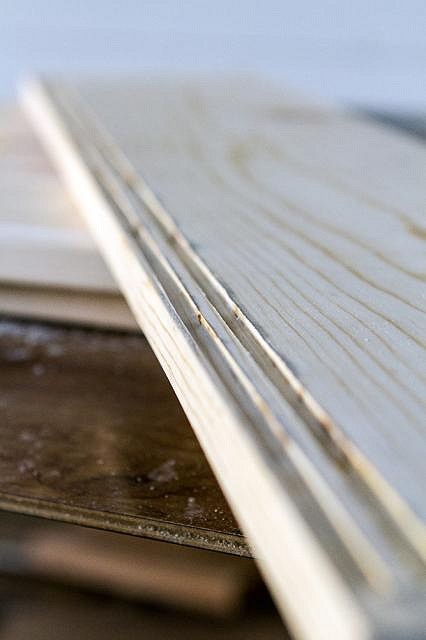
Once I finished all the end pieces, it was time to get serious about the cabinet doors. Early on, because these were to be display cases, I decided to have sliding doors. I've seen such before, but it's amazing just how little information was available on the DIY sites that populate the interwebz. The cabinets would have two plexiglass doors that slide in parallel. The most solid sheet of plexiglass readily available measured .22" in thickness, so I went with a quarter-inch router bit, set at 1/8" depth for the bottom and sides of the cabinets, and a quarter inch deep for the top. It was very stressful making sure the routered grooves aligned. I was using a guide, but that's never 100 percent guaranteed to work right.
To make everything work, I needed the two plexiglass doors to slide in parallel. Which meant I had to router two grooves that ran in parallel, very, very close to one another. This was very stress-inducing. Even with a guide, the routher bit would catch on the wood occasionally and jerk, potentially ruining everything. I kept a very tight grip and worked it slowly. The finished tandem slots weren't perfect, but they were close enough.
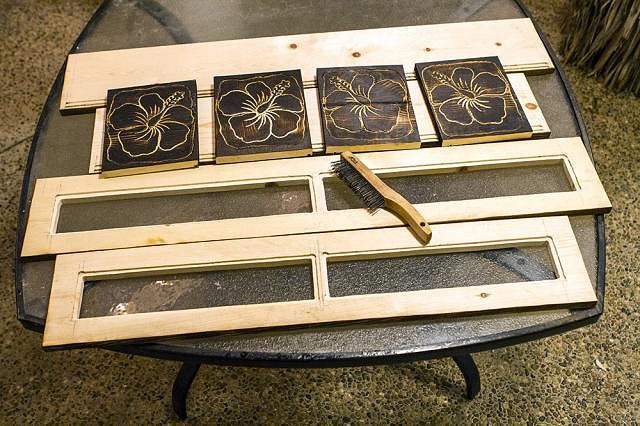
I used a jigsaw and router to cut skylights into the cabinet tops. I took my butane torch and scorched the hibiscus carvings and the front edge of the boards. Once everything was suitably carbonized, I took a wire brush and scrubbed off the char and soot, leaving an interestingly textured surface evocative of the old Witco designs. The next step was to glue (Titebond II) all the pieces together. For each joint I drilled a pilot hole and sank in a wood screw to hold it together. Once the glue set, the cabinets would be pretty darn solid. Then I stained everything with my go-to Minwax "Special Walnut" stain. When that was dry, I put on a coat of water-based spar urethane, because that's what I had on hand. I will go back over it in the future with oil-based spar urethane, because that has an amber tone to it whereas the water-based is clear. Used oil-based on my routered baseboards and want my woodwork to match. Fortunately, you can topcoat water-based spar with oil-based, but not vice-versa.
|