Tiki Central / Home Tiki Bars / Lagoon of Mystery
Post #780458 by Prikli Pear on Tue, Oct 10, 2017 8:24 AM
|
PP

Prikli Pear
Posted
posted
on
Tue, Oct 10, 2017 8:24 AM
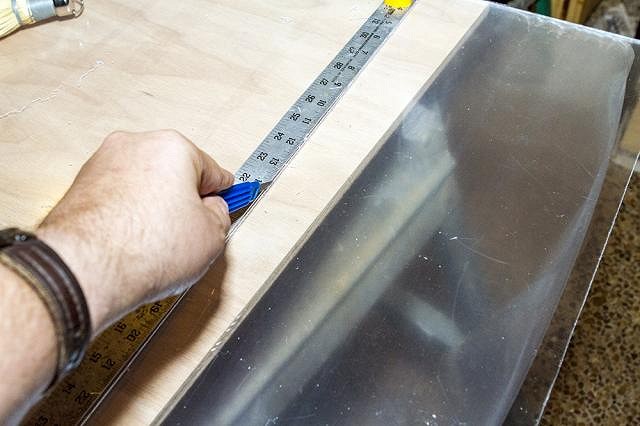
At this point I entered uncharted territory. I've never worked with plexiglass before. I was nervous and cautious--not least because the sheet of plexiglass I'd gotten for this cost more than all the other materials combined. I carefully measured the cut, then double- and triple-checked it. I clamped down a steel yard stick as a guide, then ran the plexiglass cutting tool along the intended cut.
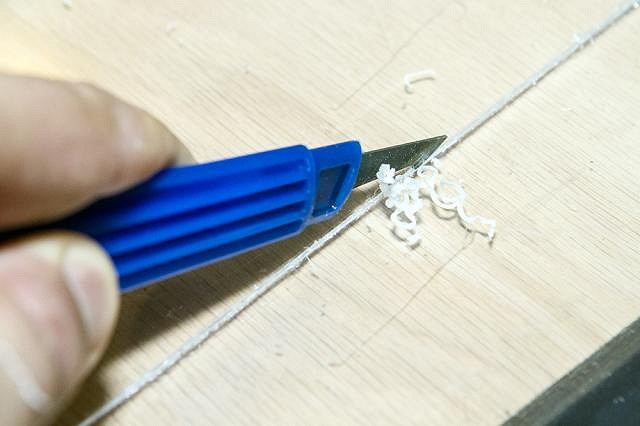
Plexiglass is weird in that it's very strong--much stronger than glass--but also very soft. The cutter was similar to an X-acto knife, except it has a barb to dig into the plexiglass. To make a cut, I drew it across many, many times. With each pass it bit a little deeper, gouging up coiled shavings.
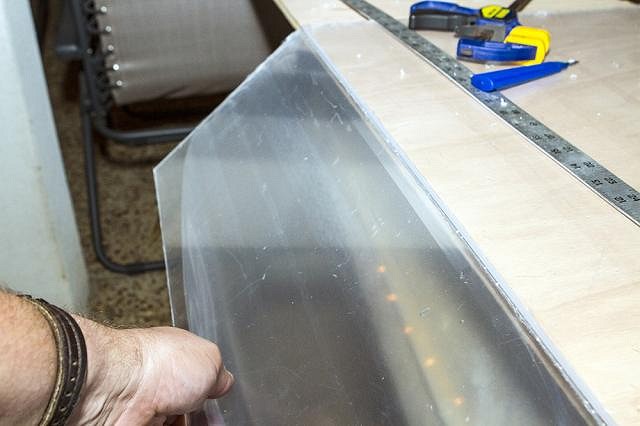
Once I'd cut about halfway through, I simply snapped the piece off. I was surprised at how clean the breaks were. I had a couple of small pieces turn out a little jagged, but that was a result of my getting impatient and trying to break the piece off before I'd cut a deep enough groove first.
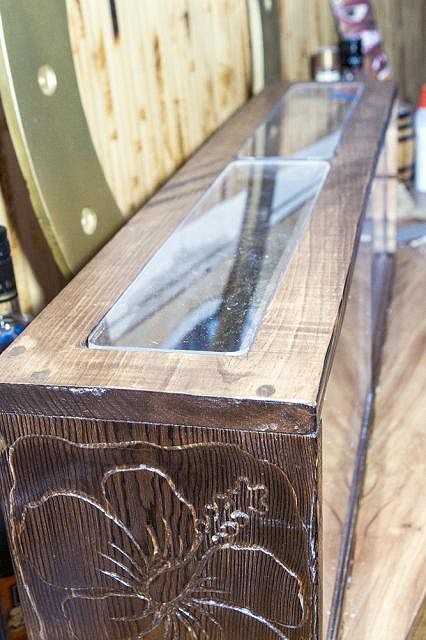
Since the display cabinets are to be mounted beneath the sconce lights, I wanted to utilize that available light source. I used a jig saw and router to cut skylight windows in the tops of both cabinets. Then I cut plexiglass windows to fill those holes. Now, when the lights are on, they illuminate the contents of the cabinets from above, and the light spills out the front. I've seen a lot of people add LED light strips to their shelves to illuminate their tiki mugs. This saves me a little of that trouble.
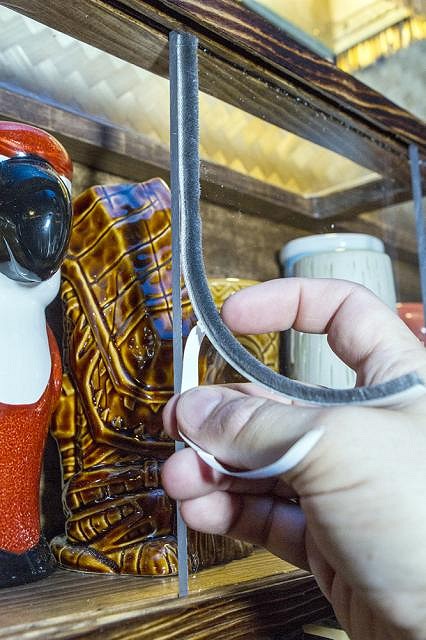
Once cut to size, I inserted the sliding plexiglass doors. The top grooves are deeper than the bottom, so that I can push the plexiglass all the way up into the top groove and have enough clearance to slip the bottom into the lower groove. But having those nice clear doors does me no good if the interior fills up with mud daubers, spiders and the like, so I had to seal that gap between the doors somehow. The solution? Self-adhesive pile weatherstripping. I cut to size and placed one strip on each section of door, facing toward the opposite door. It's not an airtight seal, but it should keep most dust and critters out.
|

