Tiki Central / Home Tiki Bars / Lagoon of Mystery
Post #780849 by Prikli Pear on Tue, Oct 24, 2017 2:32 PM
|
PP

Prikli Pear
Posted
posted
on
Tue, Oct 24, 2017 2:32 PM
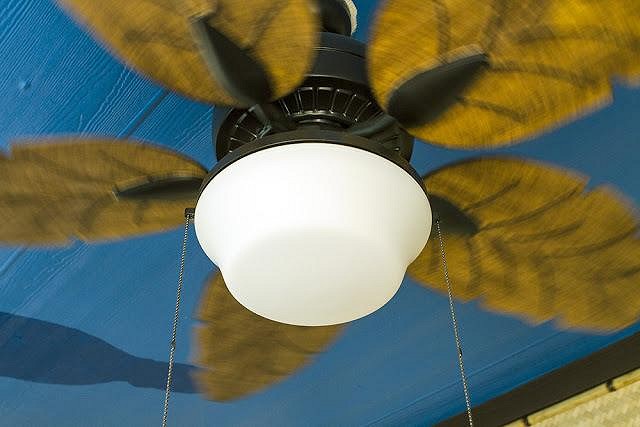
One area the Lagoon of Mystery is sadly lacking is appropriate tiki lighting. The two new ceiling fans were very tiki-friendly, but unfortunately their lamps were not.
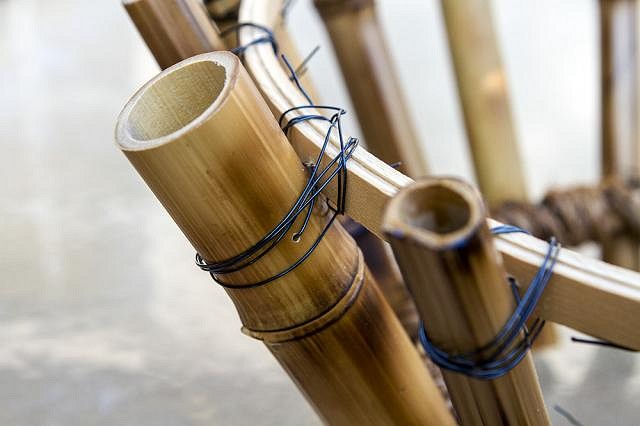
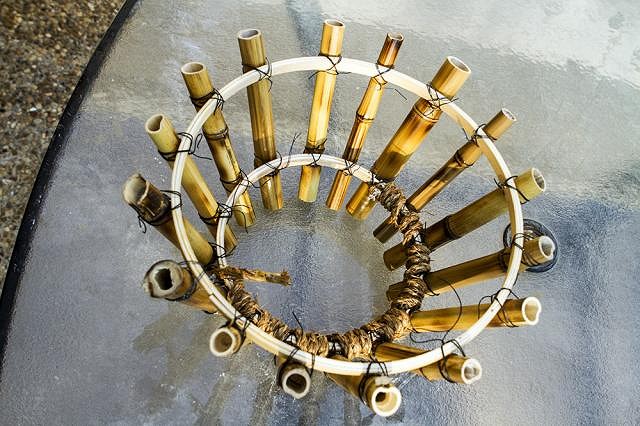
Because the glass light cover has a weird slide-and twist attachment process, straight-out replacing it was problematic. So I decided I'd read everything Tiki Skip has ever posted on lamp-making and try to make a light cover that wasn't terribly embarrassing. I used two crochet hoops, one 12" diameter and one 8" diameter, and glued their concentric loops together. I cut a bunch of scorched bamboo into 10" lengths, then drilled holes in either side of the bamboo along with a hole in the hoop. Then I used craft wire to tie them together. I probably went overboard on the wire.
Once all the bamboo was tied on, it looked like an open basket.
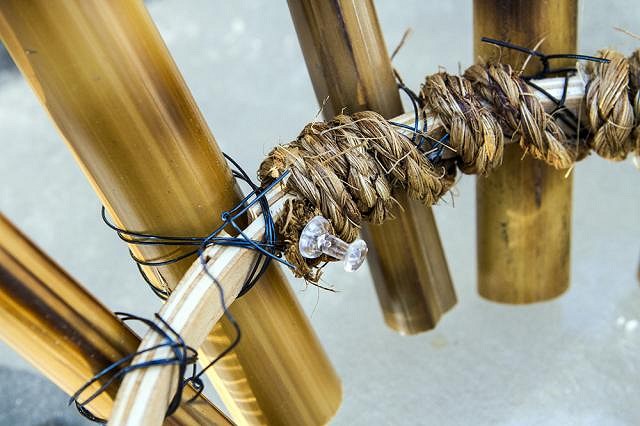
I wrapped 5/8" Manila rope around the hoops. In retrospect, using 1/4" rope would've been better, but I could not find any at the time. I glued it using Goop, which is weather resistant and flexible, pinning in place with a tack until set.
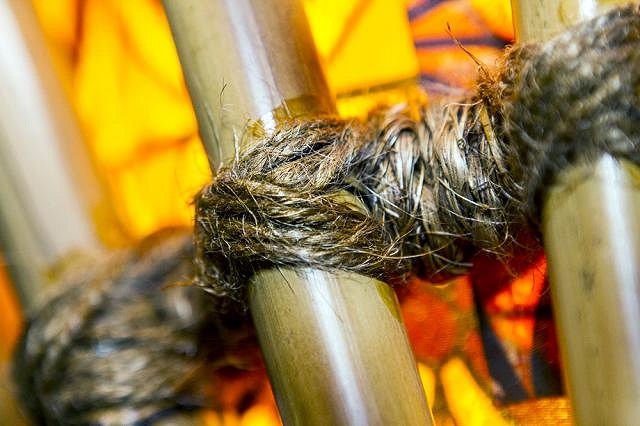
At this point, I made my biggest screw-up. Not thinking, I tied the Manila rope in a cros-cross patter over the wire on the bamboo. This looked quite impressive, but was exceedingly bulky. When I tried to fit it on the fan, it wouldn't work. Not even close. So I had to untie all of that rope. Lesson learned. Instead, I got some cheap jute twine, which isn't as durable or pretty, but was small and manageable. Tying the bamboo with it worked well. It was much lighter than the Manila rope and not in a good way. I fixed this by reaching into Skip's bag of tricks and applying a coat of amber shellac. Voila! Now the jute and Manila match!
For the shade, I wanted a tapa pattern but didn't want to ruin any authentic tapa cloth. I ordered some cotton-print fabric online in a primarily orange-and-white pattern. I applied a coat of amber shellac which gave it the appearance of aged patina and helped even the colors out. This also made the fabric stiff and easier to work with for my purposes. My initial cut measurements were way off (big surprise) so I ended up slicing the shade into three sections and attaching them individually. I replaced the stock bulbs in the lamp with amber "Edison" style LEDs, and the setup puts out a nice, warm, golden glow.
I screwed in four eye loops on the top and used more of the wire to secure the cover in place. Although the cover is solid and not about to fall, it isn't stable. It shifts out of position when either of the chains are pulled. I'll eventually figure out something else that works better. I made a ton of mistakes on this one, so hopefully I learned enough so that the next one goes much more quickly. There's additional commentary and photos on my blog. |

