Tiki Central / Home Tiki Bars / Lagoon of Mystery
Post #781727 by Prikli Pear on Tue, Nov 21, 2017 8:16 AM
|
PP

Prikli Pear
Posted
posted
on
Tue, Nov 21, 2017 8:16 AM
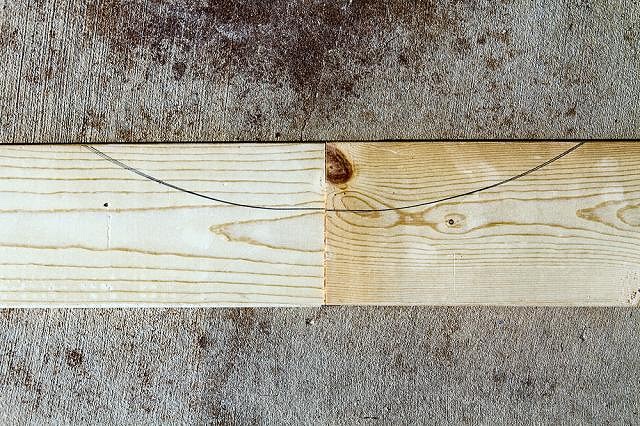
With all that applying sealer and sanding, I had lots of downtime waiting for the coats to dry. So I started working on the center trim pieces, that separate the bamboo tambour wainscotting on the lower portion of the wall from the bamboo weave panels on the top portion. I pressed my complaining kids into service to hold the 1"x6" ponderosa pine boards in place as I centered the big wooden donut and marked the cuts I needed to make so everything would fit together.
Hey! Would you look at that! They match up nicely!
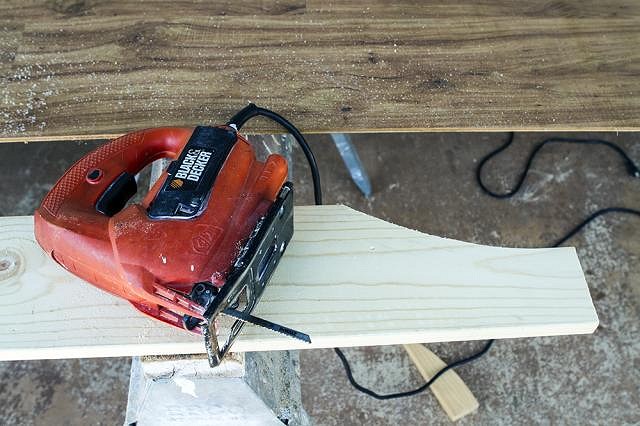
And I cut the crescent shape without any big screwups! Actually, a short time after this, I did screw up with the router and ruin these nice end cuts. Fortunately, I had enough excess board length that I was able to lop off the ruined section and re-cut the crescent. I took no photos of that incompetence.
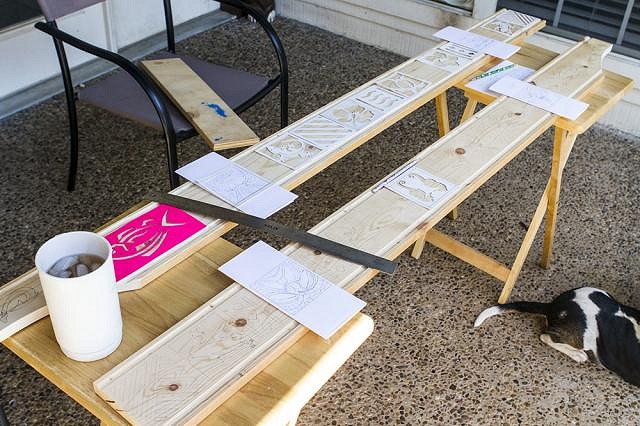
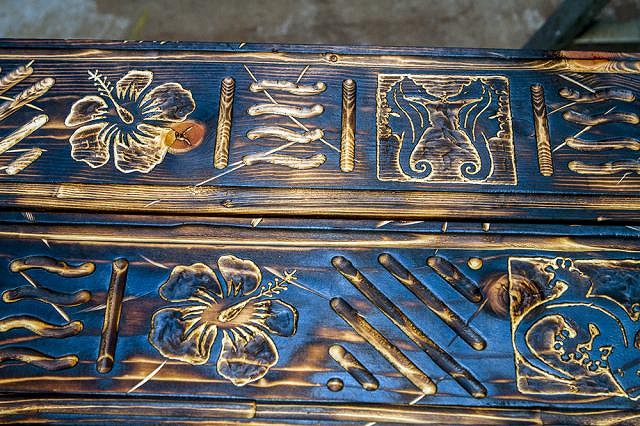
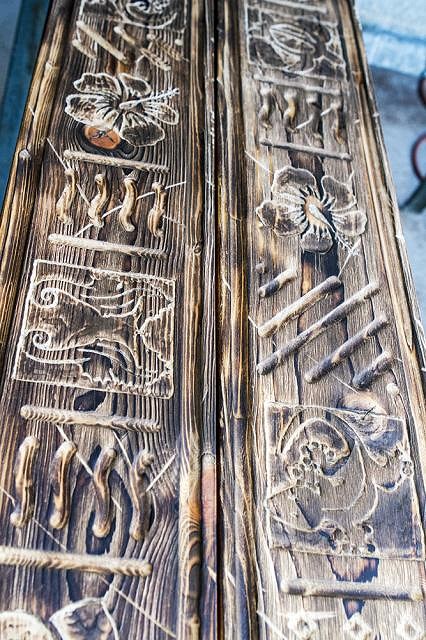
Now, the fun begins. For my floor trim, I routered out simple, alternating triangle patterns. Nothing terribly complicated, and they turned out well. For the middle trim, though, because they'd be much more visible, I got the notion that I needed to mix things up with different designs. What can I say? I have more enthusiasm than sense. I worked up a variety of interchangeable designs and cut them out in cardstock stencils so I could reuse them. Then I spaced them out on the wood and traced the patterns. If you're thinking this was an insane amount of work, you'd be right.
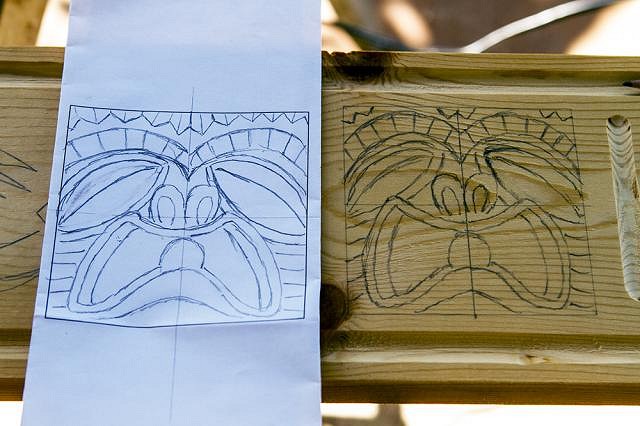
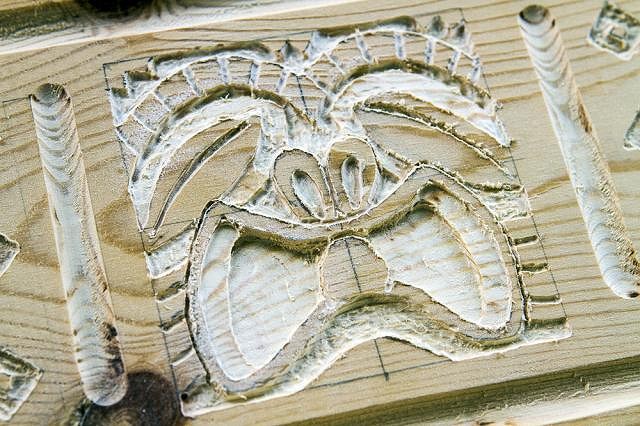
But even that wasn't enough for me--I got the notion that I needed tiki faces in the trim as well. So I sketched out some on paper. These were too detailed to craft a stencil for (red flag right there, which I ignored) so I used my original drawing as a guide and added the pattern to the wood freehand.
This was too darn detailed for even a small trim router, so I had to break out the Dremel. That takes a lot longer, not even counting the time wasted changing out the different bits. I made plenty of screwups, but in the end I got the hang of it. Sort of.
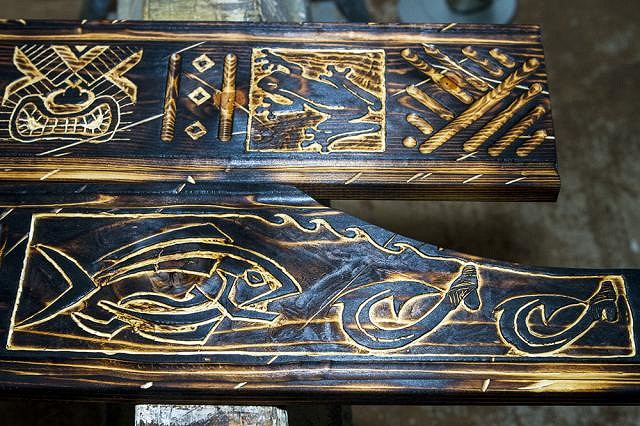
Once I got all the ornamentation carved out, I hit the trim pieces with an angle grinder to nick and scuff them up to create the impression of wear and tear. Then I applied the butane torch to scorch it up.
More scorched trim.
Then I followed up with an aggressive application of the wire brush to remove the carbonized soot and leave the raised grain texture. Anyone else notice a pervasive burnt marshmallow odor when doing this? I'm assuming the sugars in the wood caramelize under the flame. It's a curious side effect. Once the wire brush was finished, I hit the trim with Minwax Special Walnut stain and several coats of spar urethane. Those steps were boring and no different from the way I'd done things earlier, so I didn't bother with photos.
|