Tiki Central / Home Tiki Bars / Lagoon of Mystery
Post #781728 by Prikli Pear on Tue, Nov 21, 2017 8:57 AM
|
PP

Prikli Pear
Posted
posted
on
Tue, Nov 21, 2017 8:57 AM
I eventually reached a point where I thought the big wooden donut had been sanded and sealed to the point where it was ready for painting. I thought wrong. Big sections of wood grain still showed through. What's worse, even without the wood grain, it looked like a piece of plywood painted to look like metal. To say I was not happy was an understatement. This was exactly what I'd feared would happen. So I started sanding. Sanding off the paint, the sanding sealer, the wood grain. I started with a power sander, and when that started damaging the wood, I hit the big, ugly wooden donut with elbow grease.
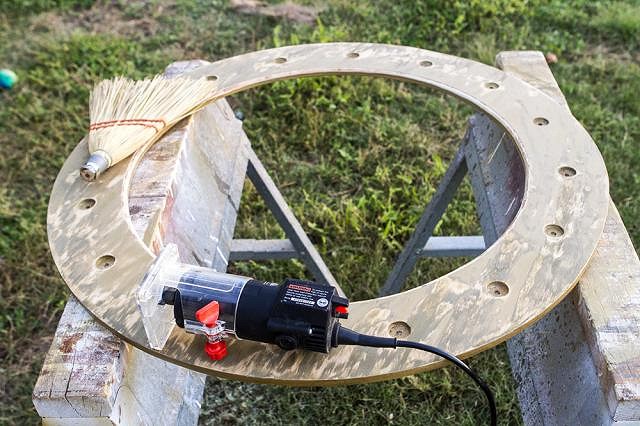
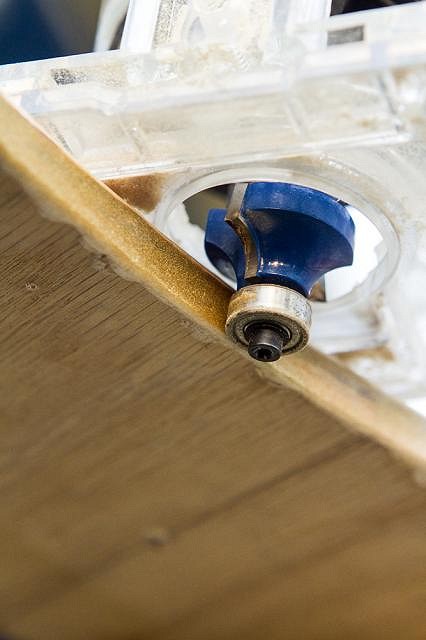
None of that addressed the squared, plywood look of the donut, tho. It was The Wife who suggested I bevel the edges to remove those sharp angles. Well, okay then. This was something I could do, and I even had the proper router bits for the job.
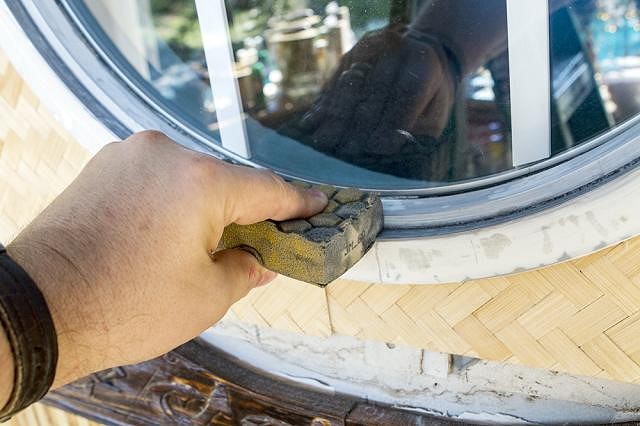
The metal window frame was also giving me problems at this time. The metal had been coated with this textured paint/resin compound that did a great job of collecting dust, and an even better job of not being removed. I couldn't just paint it metallic brass, because that'd look like I was just trying to cover the crap up in a half-assed manner. I used paint scrapers. I used utility knives. I used razor blades. Nothing really worked effectively. The curved surface of this frame and intersecting angles made it a challenge. Finally, a wet sanding sponge turned out to be the most effective tool. After a few hours, I finally had smooth metal.
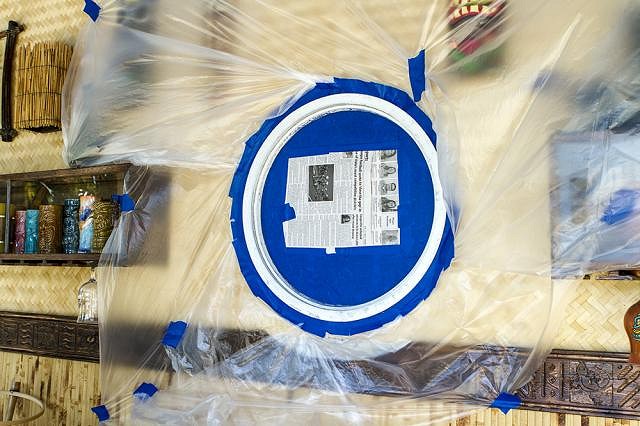
I used painter's tape and newspaper to mask off the glass, and taped plastic sheeting everywhere else to catch overspray. About this time a cold front decided to blow through. Temperatures didn't drop much, but it got crazy windy. The plastic sheeting ripped away from the wall several times before I got it secure. I knew it wouldn't last the night, so I was determined to paint the metal that evening. I ended up watching the palm trees around our pool. Whenever they stopped whipping around, I knew there was a lull in the wind that would give me 10-15 seconds of spray time. So that's how I did it, grabbing those windows of opportunity every 5-10 minutes.
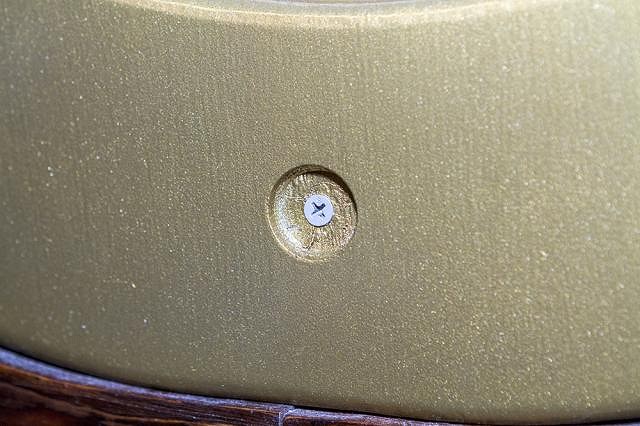
To cut a really, really, really long story short, I spent about two weeks reworking the big, ugly wooden donut. Instead of sanding sealer, this time I went with water-based spar urethane. It didn't build up as quickly as oil-based urethane, but 1) it dried more quickly and 2) was more paint-friendly. It built up better than the sanding sealer, so yay. So, when it came time to paint, I was understandably nervous. The good news: No wood grain was showing! The bad news: Brush strokes in the urethane were showing! Well, crap. Sometimes you just have to admit defeat and move on. The brush strokes weren't really visible from more than a few feet away, so most wouldn't ever notice (although I certainly do). The holes cut for the rivets worked perfectly for counter-sunk screws to attach it to the wall. I just held the porthole in place, drilled the pilot hole into the backing fiber cement siding, then drilled in the screw. Unfortunately, the paint and urethane had built up in the rivet holes, so that the wooden mushroom buttons wouldn't fit. I had to re-drill those. Then I tapped the rivets into place using a wooden mallet and a piece of belt leather covering the painted rivet, so as to not mar the metallic finish.
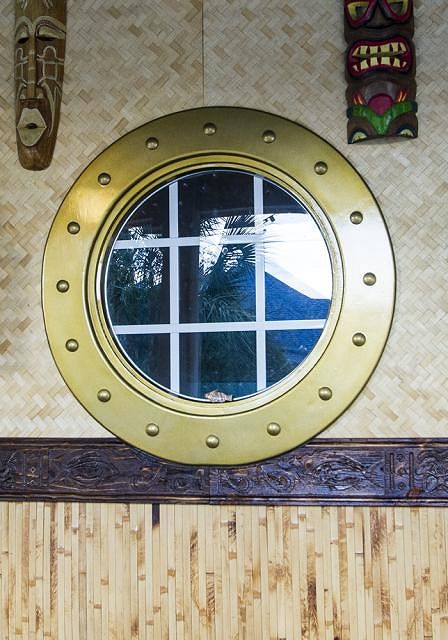
Here's a shot to compare with the starting image two posts up. The bevel and the fake rivets make a huge difference on the final aesthetic.
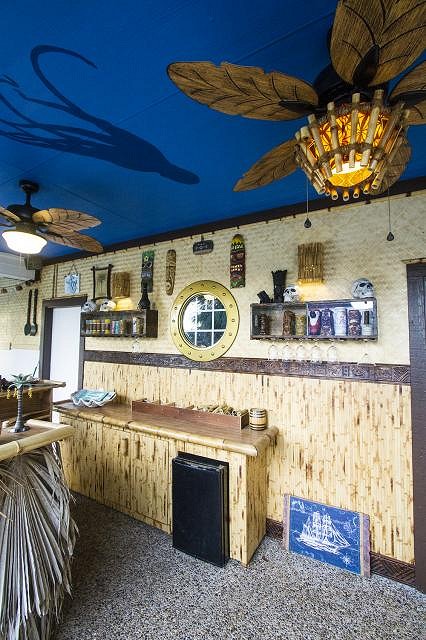
And here it is in the larger context. With the center trim and everything else in place. Hard to believe I've been working on this so long. Progress has been incremental, but keep at it long enough and it adds up.
As always, I have more images and step-by-step details on my blog. |

