Tiki Central / Home Tiki Bars / My Tiki Bar & Home Theater build
Post #782837 by progrocktv on Tue, Jan 2, 2018 12:21 PM
|
P

progrocktv
Posted
posted
on
Tue, Jan 2, 2018 12:21 PM
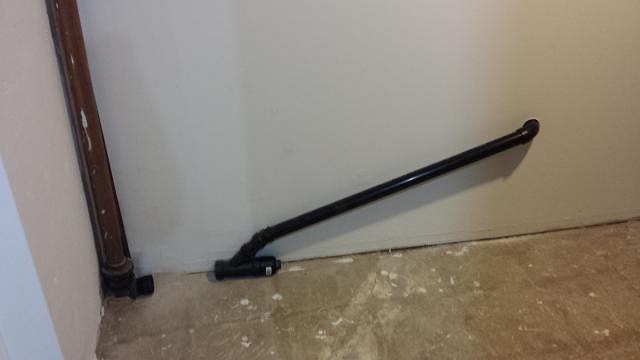
Okay, another (not so long this time between posts) update. As usual I had an annual New Years get together so I also decided to try to make it a deadline and see how much I could get done beforehand with the main goal being the back bar done, the laminate floor laid and the bar placed. The plumbing would not be ready yet (which will be explained below) First off was cutting a hole in the wall to determine how I could hook up the plumbing to the clearout opening to the kitchen sink pipe which is on the opposite side of the back bar wall. I decided to cut a rectangle hole in the drywall on the bar side from stud to stud (since you won't see it because it will be under the sink, but when I'm finished I might patch it up anyways. I did this to I can eventually secure the pipes for the under sink shutoff valves to the studs which I'll do later on. But I got the "P-Trap" installed and the hole marked.
After cutting the hole, on the opposite side I played around with the pipes to get the right configuration (and thanks to the store's return policy, bought a TON of angled fittings to see what works best)
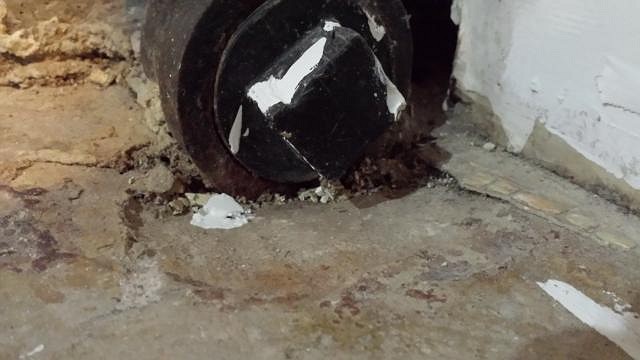
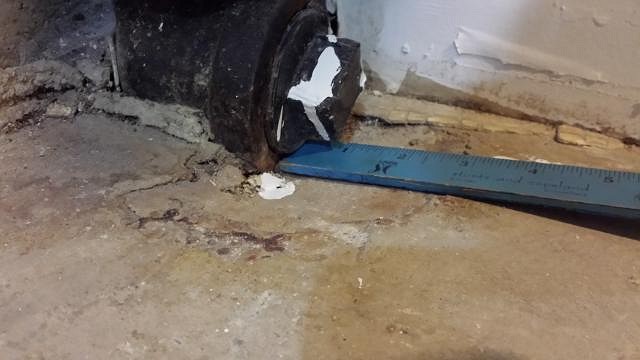
I also added another clearout opening to the end of the wye connector so I don't have to take everything apart of I ever need to snake it. Next was to connect the wye connector to the existing clearout valve but encountered a problem. The pipe was set too low when the foundation of the house was poured, so even though it is accessible, there is a concrete slope to access it and won't be able to fit a straight pipe directly in.
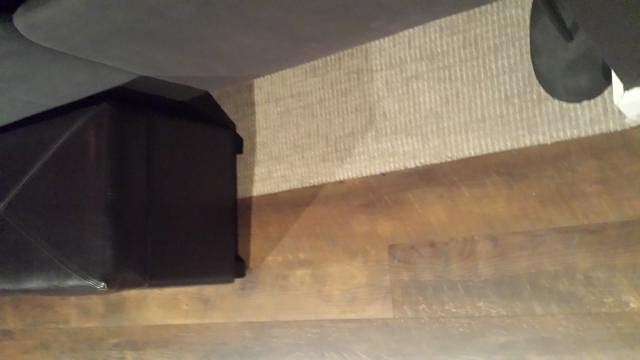
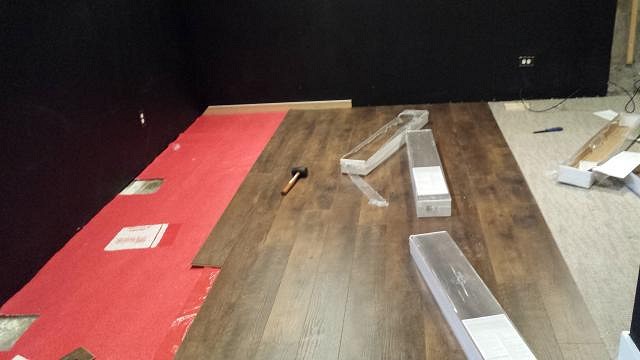
All of this can be fixed though, but with LOTS of chipping and chiseling, however I should be able to get enough out to fit the pipe, but not in time for New Years (not really a problem) So now it's on to the flooring! A few things I learned when installing laminate flooring. First order of business was figuring out how the floor would transition to the carpeting (which is in the home theater area) The groove part of the flooring was the perfect thing to hold the carpet in place and turned out nicely.
However there was an unevenly cut area due to the fact the carpet cutting tool was barely cutting a thing, and I had to re-align my straight edge after seeing what didn't cut. With all that installation begun which had it's own set of frustrations. The problem is the tongue-and-groove edges are on the length edge, but width edge as well and is set up as a "bend and lock system" so you pace to set it in the groove diagonally and then flatten it in to place. problem is once you have the length in place you can't pop it on to the width because you have to angle it in the side. However a rubber mallet and a flooring block banged everything in place.
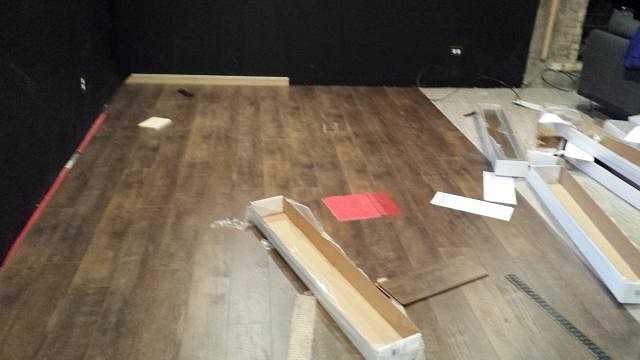
The whole process (including measuring and cutting) only took a little over 2 hours to complete, which honestly was pretty fun once I got going. (this is where the LEGO building experience kicked in)
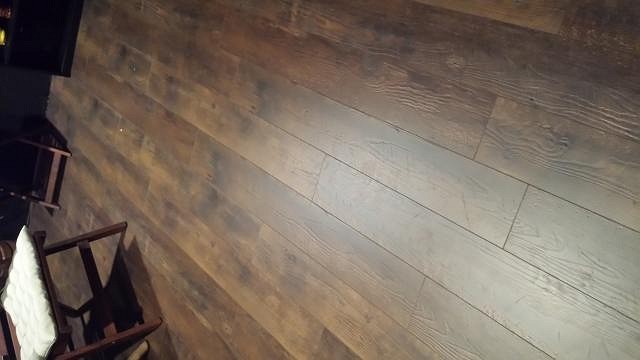
I still have some finishing trimming to do (and cut a couple angle pieces to off set the "un-squareness" of the room but it was done enough for the next night's New Years.
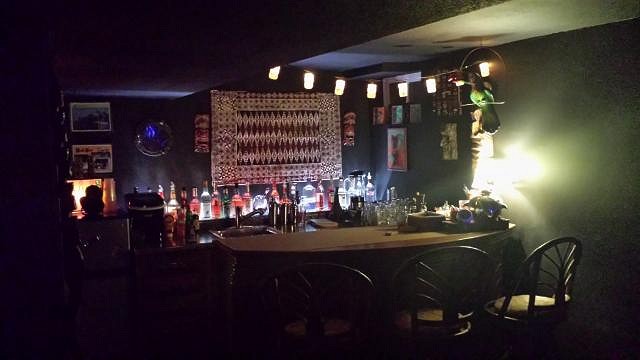
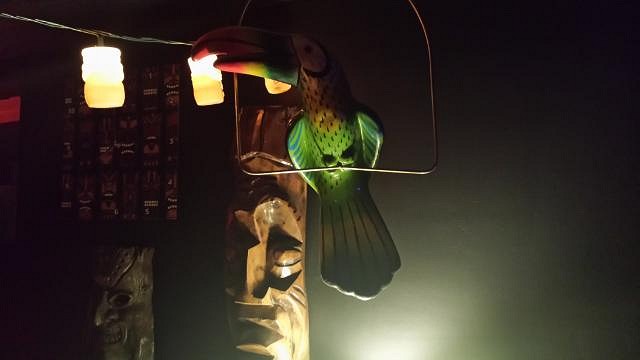
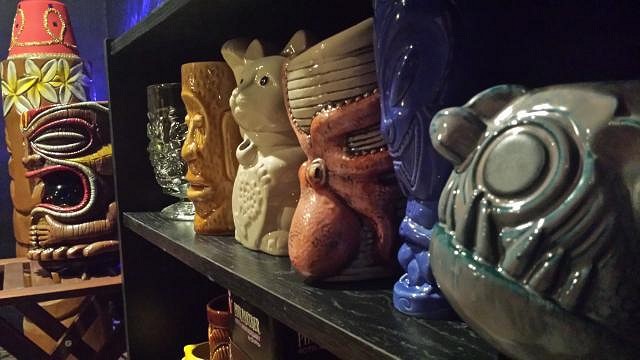
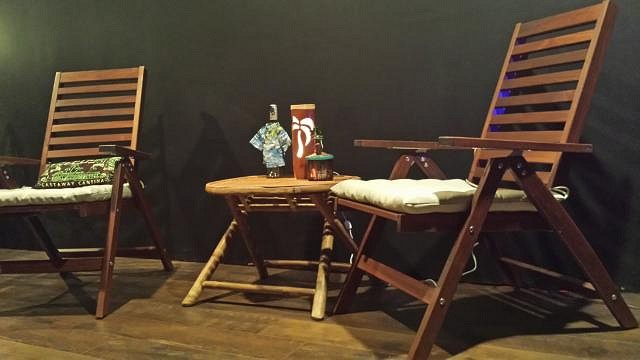
Now the fun part, moving the bar in place and decorating! After getting the bar moved, the fridge & ice maker hooked up, bottles unpacked and most of the decorations up (which will be changed throughout the final process) I was ready enough and pretty thrilled with the results.
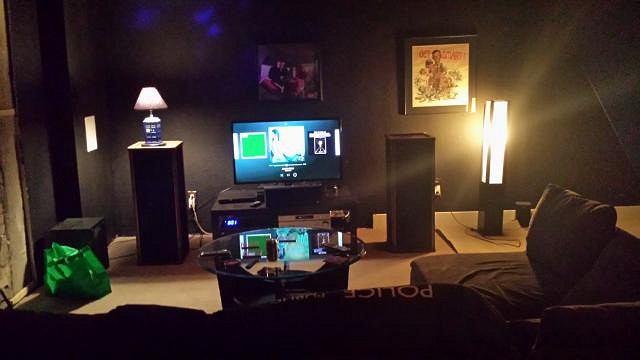
The opposite of the bar looking in to the home theater.
Everyone had a blast on new years (including my head the morning after) and the floor was a hit :) Next up is hooking up the final part to the plumbing, bambo-ing the heck out of everything, painting a mural on one of the walls (which my girlfriend has volunteered to do) a bit more lighting and finally the fireplace (boy, do I have plans for that :) Happy 2018 everyone! |