Tiki Central / Home Tiki Bars / Lagoon of Mystery
Post #787312 by Prikli Pear on Wed, May 30, 2018 10:22 PM
|
PP

Prikli Pear
Posted
posted
on
Wed, May 30, 2018 10:22 PM
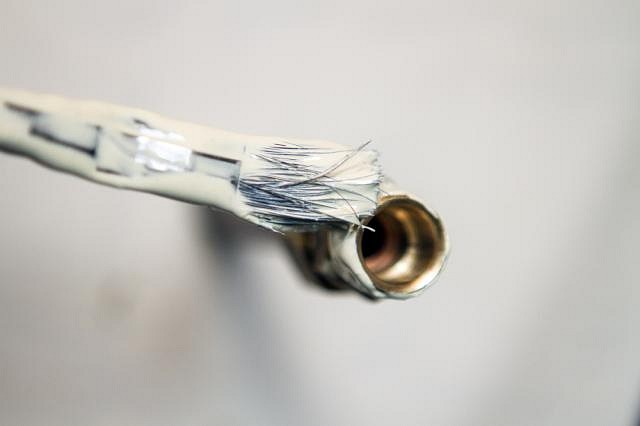
The previous owners of our house had done two things in the garage that made the sink a straightforward addition. First, they'd installed a work sink in the garage on the opposite side of the patio wall. Secondly, they'd had a refrigerator in there with a copper ice maker line that tied into the sink's cold water valve. I drilled through the fibercement siding and ran the copper tubing through.
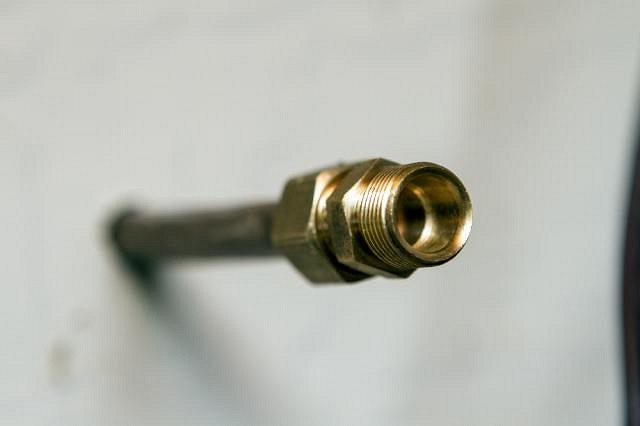
I added a pressure coupling to connect the back bar faucet's water line.
As a teenager, I worked summers installing underground sprinkler systems. I grew to appreciate pipe join compound's ability to seal threaded joints and prevent leaks. I used a good amount on this project.
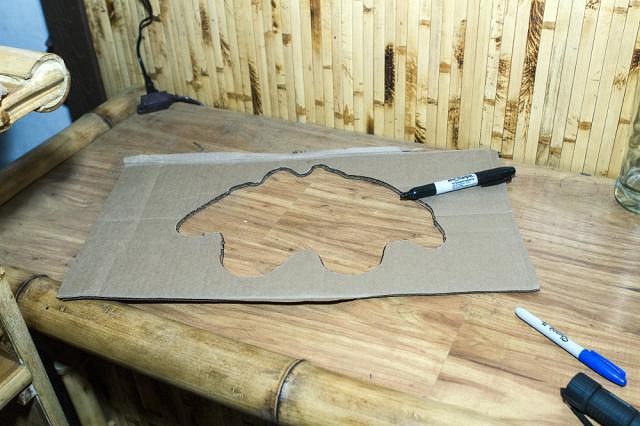
I cut out a contour template of the underside of the shell using scrap cardboard. This was imperfect at best, but I couldn't figure out a better way to do this. I laid the template on the bar top, making sure to allow for the shell overhand, then used a Sharpie to trace the pattern onto the bar top.
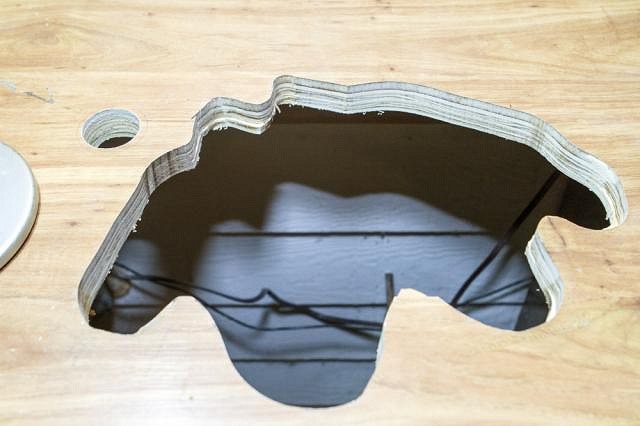
I used a drill to make pilot holes, then a jig saw to cut out the pattern. The jig saw was imprecise, in part because I'd forgotten how damn thick I'd made the bar top. I also drilled out a hole for the faucet as well.
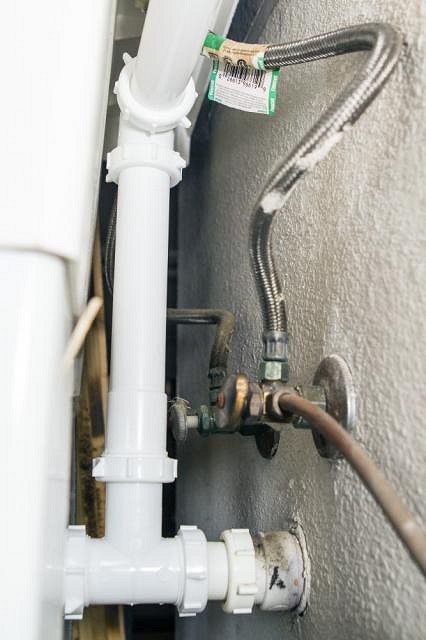
I spliced in a T joint into the garage sink's drain. Again, this made things much simpler than having to run a whole new drain line.
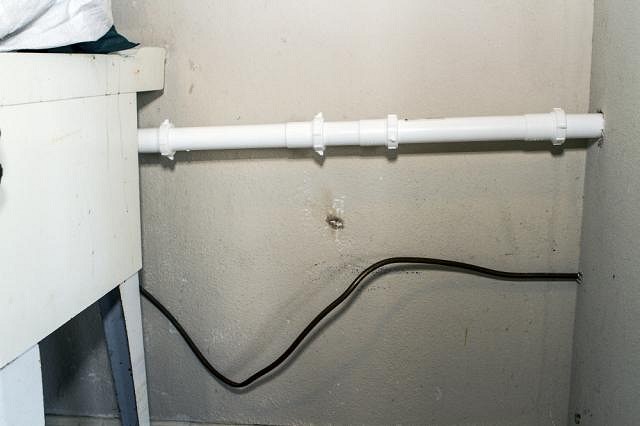
For some reason, all the plumbing pipes, etc. at Lowe's and Home Depot were a very thin, specialized PVC, as opposed to standard PVC. I'm not sure what was up with that, but the two didn't seem compatible. Which was frustrating, because I needed to run about 4 feet of drain line from the shell sink to the garage drain line. One piece of standard PVC could be cut to the perfect length. As it was, they only sold 12" extension pieces. I had to buy four and cut to fit, which was more costly and looks completely crappy. It gets the job done, but man, it's just ugly as sin.
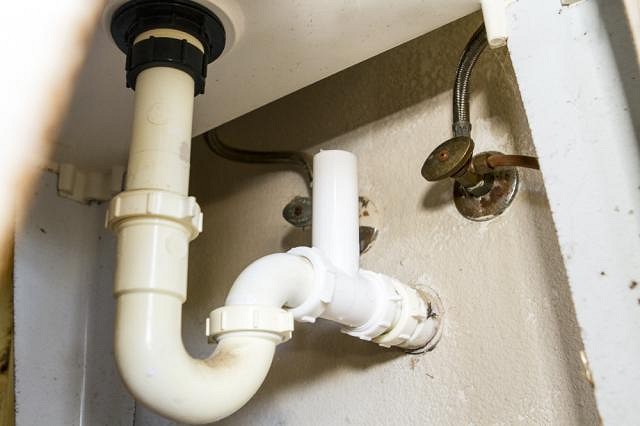
This is how everything ties in together behind the sink--the drain line and the copper ice maker line repurposeed to supply water to the back bar.
When I connected the cold water to the faucet, water flowed perfectly. Unfortunately, because of the faucet design, water also spewed out the hot water inlet. I'd decided to not connect the hot water for a number of reasons, but now I had to cap the hot water inlet to stop that backflow leak. I used a brass coupling, brass cap and significant amounts of pipe join compound. Leak stopped.
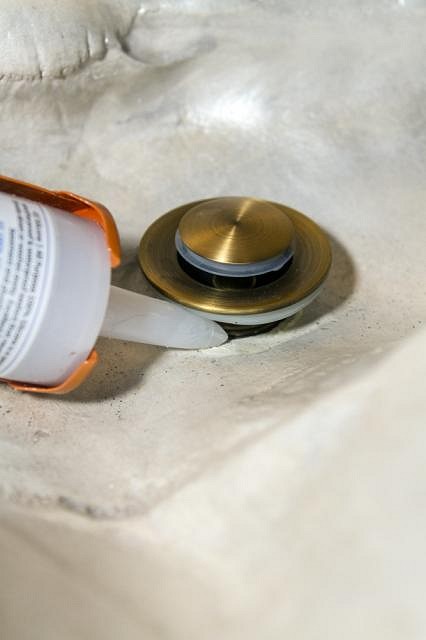
Even with my grinding work, I couldn't get a flush seal with the drain insert. Water leaked through. So I resorted to silicone sealant. I pumped enough in to completely fill the drain cavity. I tightened the drain insert into place, then smoothed flush all the silicone extruded to make a watertight seal.
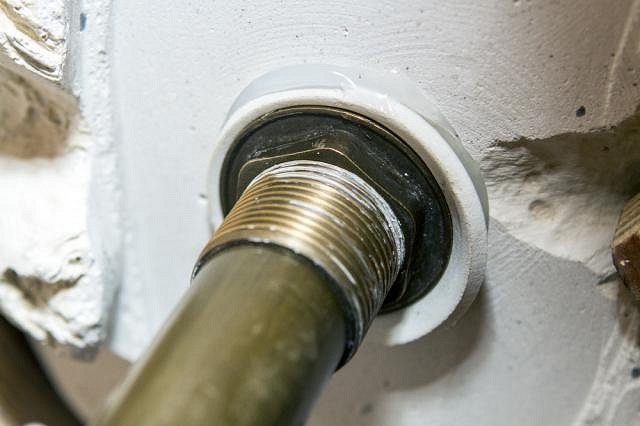
The underside of the drain. I didn't bother smoothing down the silicone on this side. Once it cured, I had no more problems with leaks of any sort.
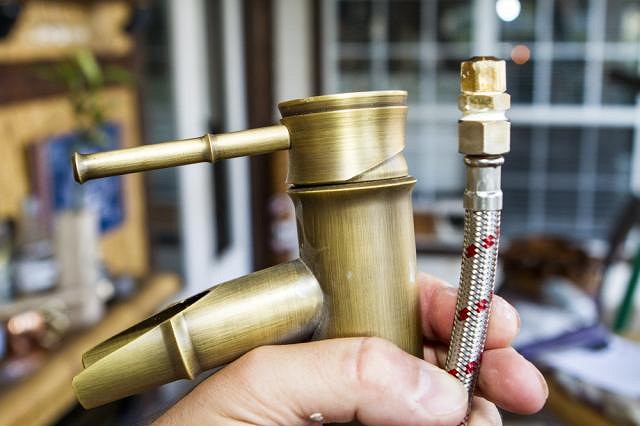
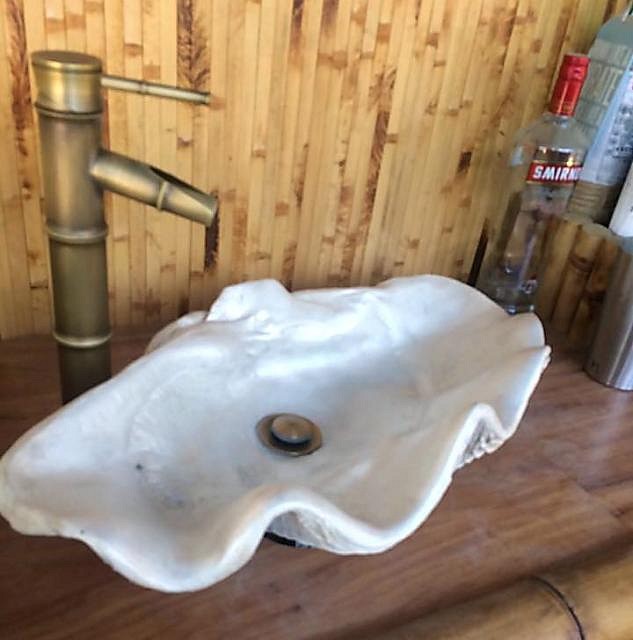
The operational sink. The faucet is an antique brass finish, styled to look like bamboo. I found it online, and it fits the aesthetic nicely. Having enjoyed a working wet bar for several weeks now, I really have to recommend it if you can swing it for your personal home bar. The convenience of simply being able to rinse out glasses and barware on the spot is very nice. Sure, the kitchen isn't that far away, but on the whole, it's surprising how much I like not having to run to the kitchen for such mundane tasks. Heck, I rinse out jiggers not because I need to, but because I can!
As always, there are more images and more detailed writeup available on my blog for those of you who are gluttons for punishment. |