Tiki Central / Home Tiki Bars / Lagoon of Mystery
Post #790290 by Prikli Pear on Wed, Oct 3, 2018 9:07 PM
|
PP

Prikli Pear
Posted
posted
on
Wed, Oct 3, 2018 9:07 PM
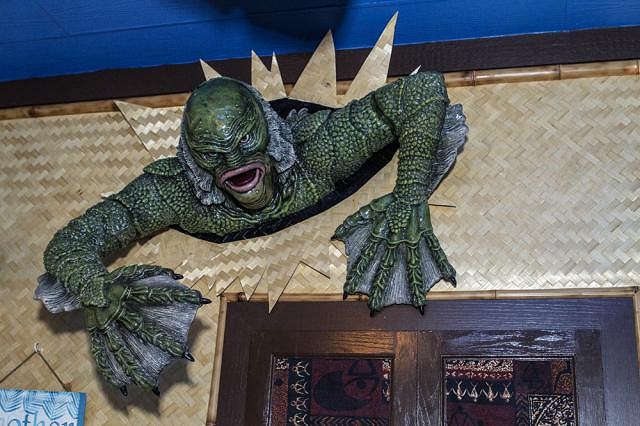
Who's ready for an update? I am! The Wife gifted me with this beauty for my birthday, which spurred me into completing the next section of the Lagoon:
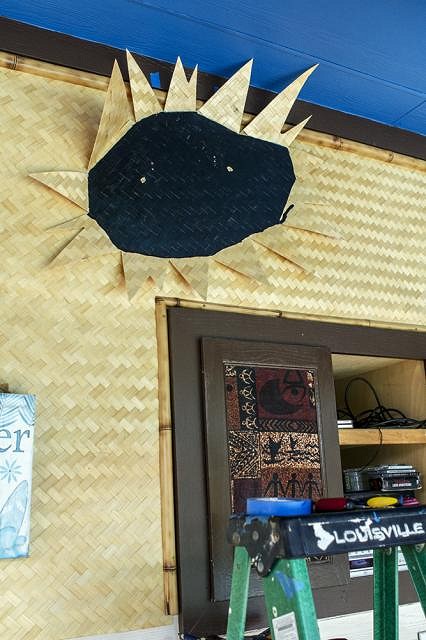
I wanted to have a bursting-through-the-wall effect, so after putting up the bamboo weave panel, I cut some leftover scrap to suit. I painted the center black and stapled to the furring strip beneath the panel. I then drilled in two hooks to anchor the Gill-Man to the wall.
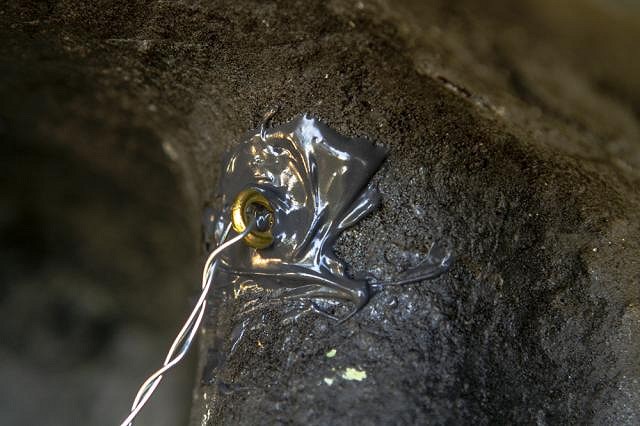
The Gill-Man is molded polystyrene. It's pretty dense, but there's no natural way to mount it hanging. I set two eye screws into the hollow back side, securing them with epoxy. Then I ran galvanized wire between the two screws.
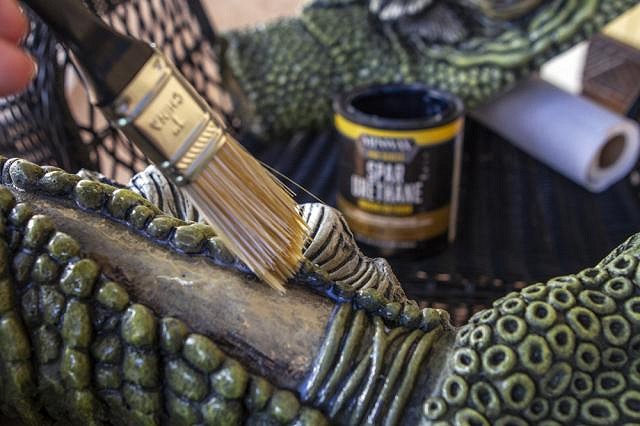
Because the Lagoon of Mystery is an outdoor bar, even though it's sheltered, I've learned from experience reflected UV is still a concern, and it would chew up the polystyrene. Also, I wasn't sure what the wild humidity swings would do to the Gill-Man, so I applied several coats of water-based spar urethane. Why water? 1) because it is thinner and easier to apply to the detailed surface (seriously, look at that detail!) and 2) it dries clear, whereas oil-based urethane has an ambering effect. So now he's protected from the elements as best I can manage.
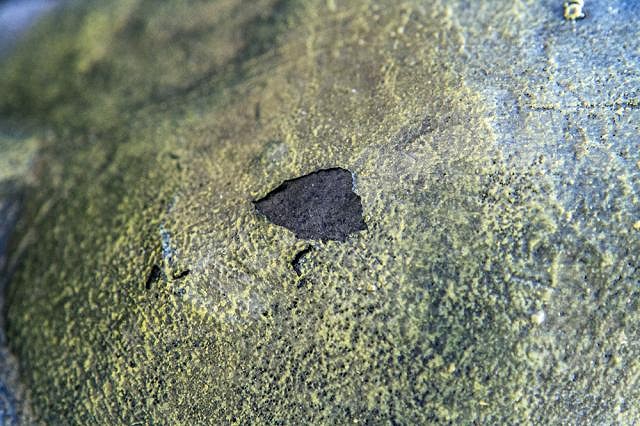
Unfortunately, he came with a section of paint peeling away from the crown of his head. Rather than send him back and eat the shipping cost, I thought I could repair it on my own.
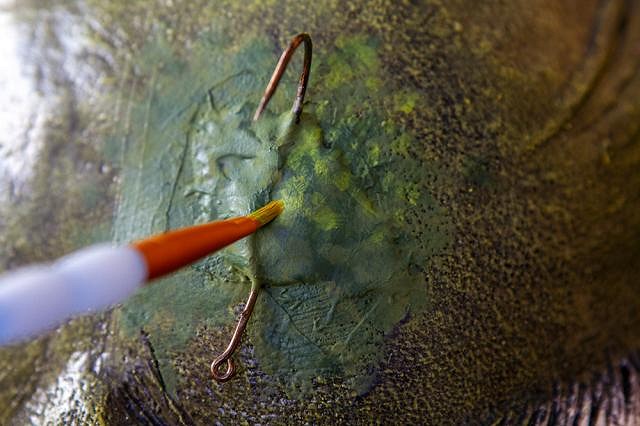
I cut away the damaged paint with a razor, then epoxied a fish hook over the vacant space. Using several different shades of acrylic paint, I replicated as best I could the mottled skin texture. It's not a perfect job, but the colors blend better than they appear in this photo. When he's mounted on the wall with mixed lighting, the repair is nigh invisible.
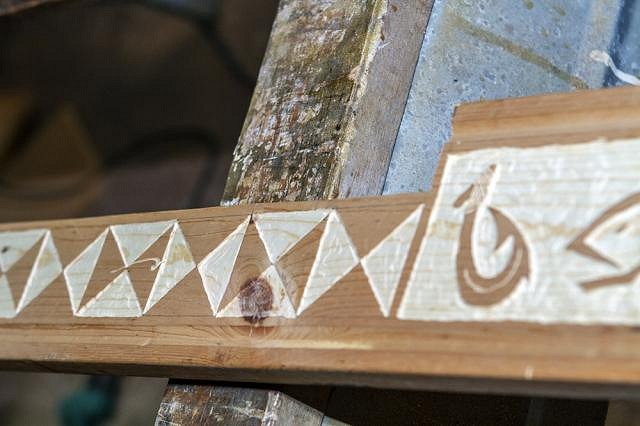
Mounting the Gill-Man spurred me to complete this section of the wall. I'd started on this trim piece last year, but set it aside for other projects. A section needed a cut-out to fit around the built-in stereo cabinet. The jig saw cut I made wasn't perfect, so I smoothed it out with a belt sander.
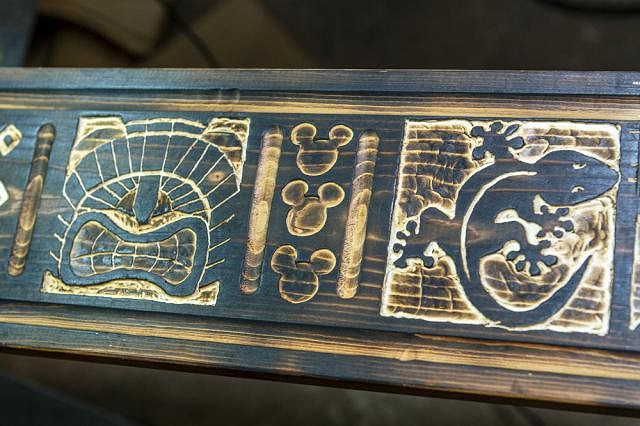
Then I torched, wire brushed, stained and sealed the trim with spar urethane--the oil based type this time.
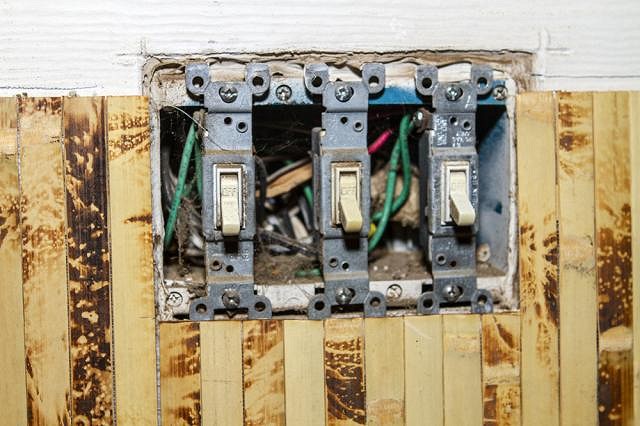
After mounting the vertical tambour panel, I used a Dremel cutting disc to open up a space for the light switches in the wall.
And this is how it looks with everything in place. I've since replaced the white switch plates with dark brown ones.
|