Tiki Central / Other Crafts / Trader Sam's Enchanted Tiki Bar In-A-Box
Post #801434 by TheLuckyParrot on Fri, Mar 20, 2020 10:19 AM
|
T

TheLuckyParrot
Posted
posted
on
Fri, Mar 20, 2020 10:19 AM
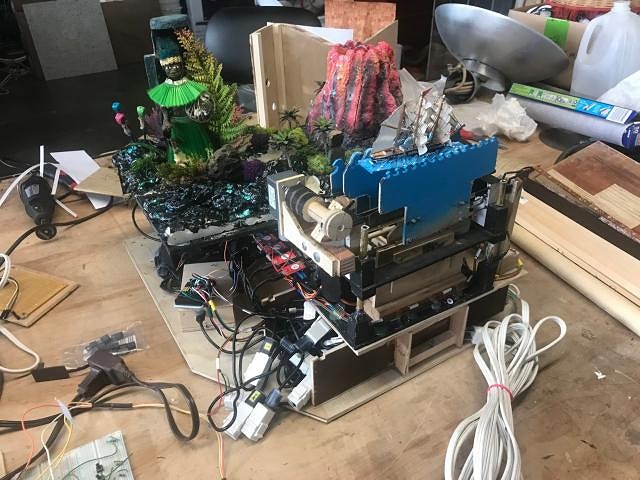
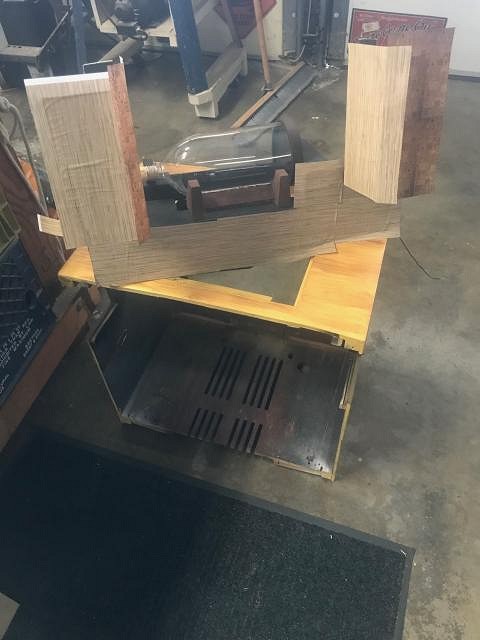
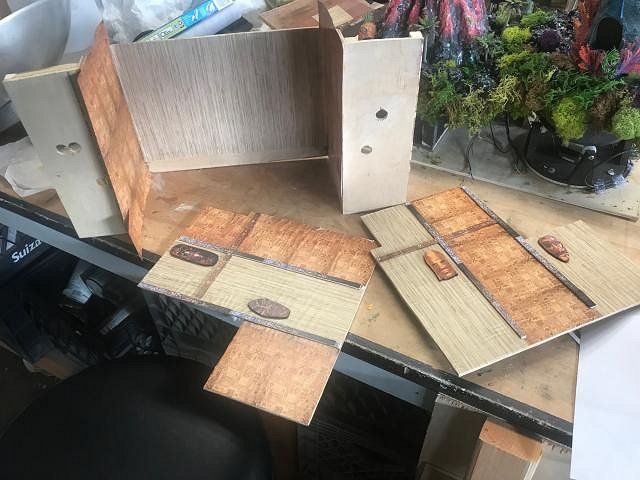
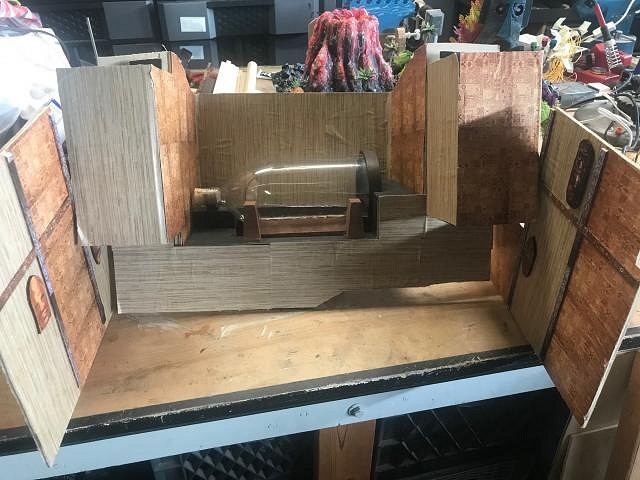
STAGE ASSEMBLY, PART 12 Good news! The dry fit has been finalized. Everything packaged up great and is fitting perfectly within the cabinet. There is one final proof of that, however, and that is when it goes back together for the final time. It better fit back together just as clean or imma gonna be mad at myself. That means that I get to take it all apart one last time. The stage is back out from the cabinet where I can gain access to the electronics, where I can add the final components and clean up the last portions, tie everything down and do one last full systems check before final assembly. My guess is that final assembly will occur in April. That will be cool. So, yeah, here is me making what appears to be "un-progress", going backwards and having the stage platform all by it's lonesome on the work bench: On the electronics side, apart from the cleanup and testing of which I spoke earlier, I have to construct the light gantry that will fit up above and install all the lighting, tie the lighting to new micro-controllers, and program those up. I have done those things and the planned effects on other projects, so there is no mystery there. It's more tedium than adventure. I just have to execute. Being on weekend home shit-in mode will help me focus on that execution. The adventurous side, though, will be the WiFi. Other than a Wifi router still in the box that I will dedicate to my Tiki bar projects, I don't even own the project electronics to do this much less experiment, learn and master the technology. That's now just around the corner and I am kind of geeking out with anticipation. I also have to build out all the audio capabilities. The plan is to construct and install the audio system and have it fully tested and proven, even though I won't have all the audio tracks for a while. But working on audio in this order means that I need to approach the challenge in a way that allows me to add the tracks easily after things are assembled. That is a huge long-term benefit anyway. And, finally, I have to figure out what I want to do with the access panel at the top of the cabinet. What purpose will that serve? What do I put in there? How am I going to connect it? Right now I am thinking only of a master on/off power switch and the right/left audio volume controls. And maybe a small LED panel which displays status or error messages. And now back to fabrication. I am currently making progress on dressing the stage. The first part was building the panels for the 3 sides of the stage, and then dressing them with wallpaper and trim. Simple photos of patterns and materials printed out on a color printed and glued to the wood panels is doing the trick. Don't fret if the individual panel pieces don't make much sense: Also we don't need to worry too much about the bubbling of the paper as it was glued to the wood panels. My guess is all that will disappear in the end. And to give you an idea as to where I am going with this, here are those panels trimmed and laid out on the workbench in their approximate positions: What I have to do next is cover all that wallpaper with all the ETB-style tchotchke and more trim, and even shelves to hold tchotchke. I already possess A LOT. It should make for a fun day or two. Only later will I know if I have enough. If I don't, I can only hope that I can fabricate the difference or hope even harder that there are online delivery services that answer my call for more miniature items. With luck, my next post should impress! |