Beyond Tiki, Bilge, and Test / Bilge
HELP!! First-time picture-hanger!
Pages: 1 17 replies
|
WD
White Devil
Posted
posted
on
Mon, Aug 26, 2013 12:25 PM
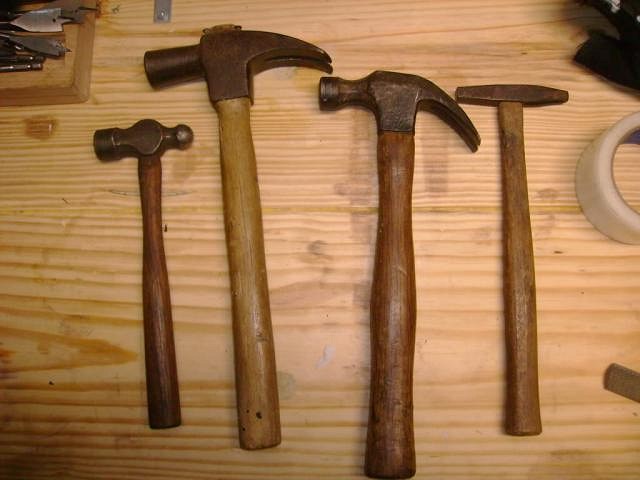
After years of watching TC projects unfold, I decided to take the brave step of hanging a framed tiki print I found on the internet. My wife isn't too keen on my doing this, so positive results are very important. Any helpful hints from more experience "ohana" would be much appreciated. Following the example of the tiki revival pioneers here, I acquired a small quantity of vintage tools, which hopefully will lend more verisimilitude to the project, and perhaps a deeper vintage patina. My first goal was to gather a small, selective group of vintage hammers from local yard sales & thrift stores. It's a good thing they didn't know what they had, or else I'd have had to pay closer to their actual value. Which hammer type yields the best results?
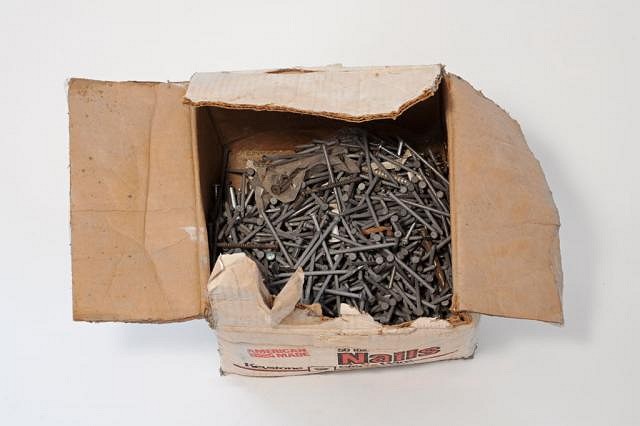
Next, I found an old box of Mid-century Modern nails, and man did that take some doing! Although the box clearly was opened incorrectly, I felt it important to retain the original packaging. I hand-scratched and water-dipped a few of them that weren't already rusting. Hopefully in a few months when this project really takes on steam, they'll have the right color...
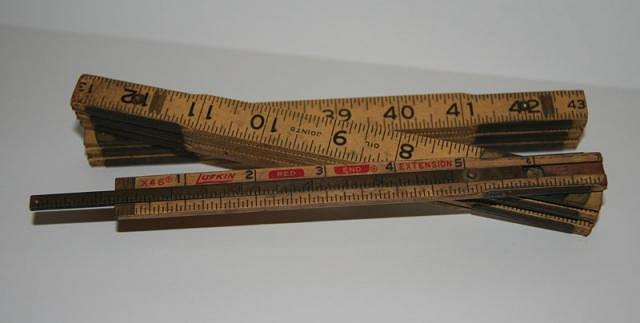
Finally, the cherry on the whipped cream: a genuine, vintage folding rule (as the old-timers used to call them)! It's widely acknowledged that modern, plastic measuring tapes simply do not calculate yardage as well as the older stuff, so I was very happy to snag this jewel on Etsy.
So now the real work begins. I've read up on the older techniques of using folding rules, but before I put pencil to wall, I wanted to solicit any insider knowledge that you guys may have from your collective experience. Do I use the traditional "x" to mark the spot, or the more modern, concise dot? How would the legends of the 1950's have proceeded from here? I'll be sure to post highly-detailed photos as the various hammer blows proceed. :) Tiki Misanthropologist [ Edited by: White Devil 2013-08-27 05:44 ] |
|
K
komohana
Posted
posted
on
Mon, Aug 26, 2013 9:48 PM
Hey hold the phone!!! Those are galvanised nails, you're NEVER gonna get Oh boy, this is gonna take some time... Look, the hammer on the left is for metal work and, jeez... did you buy the You did OK with the other two 'cause they are in fact nail hammers, hard to say You did real good with the rule, so obviously you're "starting" to learn. Lastly, don't mess around with X's, they're only for pirates and people with anger Well, hope that helps and don't forget to let us know how you get on, pictures help! p.s. When you go to bang in your first nail - DON'T - hit your fingers, it hurts, trust me!! |
|
WD
White Devil
Posted
posted
on
Tue, Aug 27, 2013 5:49 AM
FUCK!! Fuckedy-fuck-o'shanter!! Now I've got to find a plus-mark leveler online. I'm sure the old-school naval ship-builders used them, so I'll keep it old-school and do it the way they did it. 'Cuz I'm all about pre-1960, y'know? Totally over-the-top old school vintage. That's what I love about the computer. |
|
BB
Bruddah Bear
Posted
posted
on
Tue, Aug 27, 2013 1:44 PM
Ok, what you need is a 22-24oz "Checker Faced Framing Hammer" and a Sixty-Penny (denoted as 60d) nail. You don't need to worry about locating a wall stud, a beefy nail like that will hold it securely to the wall, and it will easily go through anything from drywall, wood paneling, lath and plaster, to stucco, though you may need to drill a pilot hole for concrete or cinder block. Just have your wife hold the "Art" to the wall where you wish it to be displayed, place the nail against the art, angling the nail slightly downward, and drive it in, easy peasy, Doc & Sneezy. The really nice thing about the checker face on the hammer is how it will enhance the art by leaving a pretty pattern when it drives the nail home. Amateurs... Sheesh! |
|
WD
White Devil
Posted
posted
on
Tue, Aug 27, 2013 1:59 PM
Bruddah, But once I get to the nailing-in process, which direction should the hammer imprint be running? If the nail is angled downward, what angle should the hammer be striking the nail at? And what will keep the art from sliding off a downward-angled nail? And would a 20 oz. hammer suffice? This has to be done the right way. [ Edited by: White Devil 2013-08-27 14:02 ] |
|
TT
theredneck tiki
Posted
posted
on
Tue, Aug 27, 2013 4:07 PM
Forget the hammer and nails, use this. I don't know if they work but I do like the name. |
|
K
komohana
Posted
posted
on
Tue, Aug 27, 2013 5:39 PM
Ohhh, for Petes' sake redneck, he's not talkin' about DIGITAL Tiki art!!! Well I hope not anyway, or he can take his girly 20oz tack hammer and FUCK OFF!!! Shiiitt, let's all just calm down and keep it real, ok? |
|
H

Hakalugi
Posted
posted
on
Tue, Aug 27, 2013 10:02 PM
:lol: |
|
WD
White Devil
Posted
posted
on
Wed, Aug 28, 2013 5:27 AM
I'm pretty sure those are only sold in California. :) |
|
WD
White Devil
Posted
posted
on
Wed, Aug 28, 2013 7:49 AM
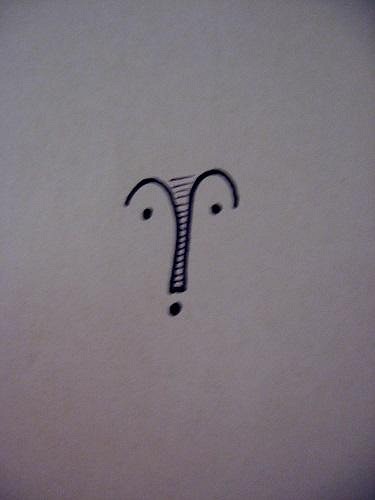
OK, so now that I've got the hole-leveling thing down, I have to decide which style of hole to drill for the nail.
The Bob hole? The multiple hole marks might be confusing...
The Shag hole?
The Crazy Al hole?
The Kukulele hole?
The Tiki Tony hole? Or is it the Enchanted Tiki hole? I can never tell them apart. Which hole design is more tiki? |
|
WD
White Devil
Posted
posted
on
Wed, Aug 28, 2013 8:51 AM
For reasons of accuracy, I had to go with the mymotiki style...
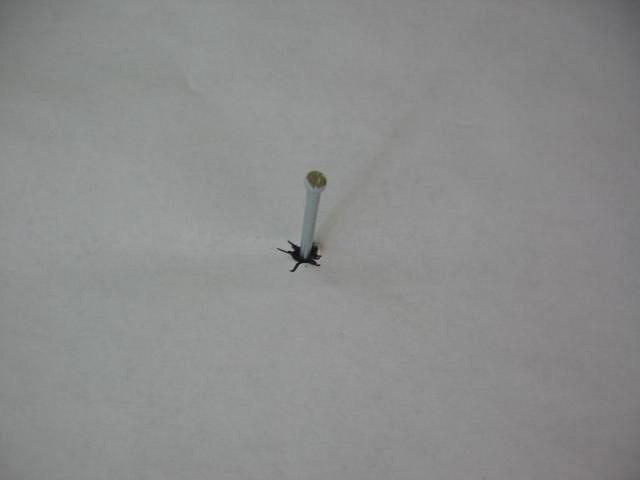
...and drilled the pilot hole fairly successfully. After watching it for a couple hours, I decided to forge ahead with one of my hammers.
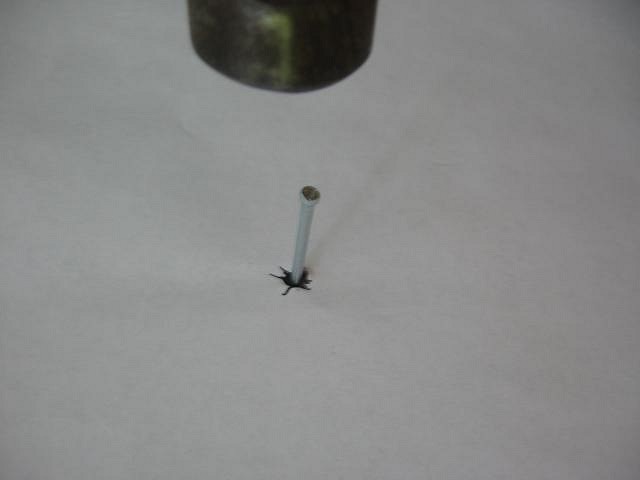
After the initial hammer strike, I hit it once more then took measurements to make sure the angle was still right, and took a much-needed break with a drink.
Following my breather, I took another swing at the nail, but by this time it seemed as though the angle was slightly off.
I re-measured, then stopped to refresh myself once more. Tiki is a lot of fun, but also a lot of work!
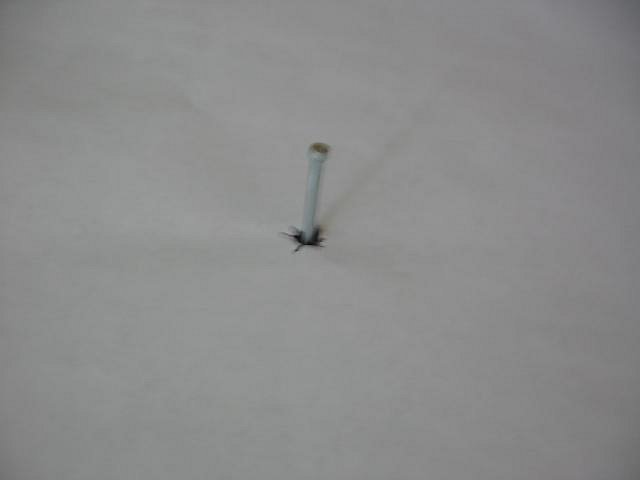
I switched my posture and position to try to restore the accuracy of the nail's angle. After about a half-hour's practice swings, I went ahead and hit the nail a fourth time.
By this time, it was getting to be late evening, and I had to wrap this thing up for the night. But not before one last refresher.
The last lick of the nailing-in phase, and boy am I knackered! I hated to destroy the wall design, but then it's not going to be very visible after I burn & lacquer it, anyway.
I hope that's enough nailage to properly suspend the hanging from: I've never used the claw end of the hammer before, and I'd rather not have to acquire one more skill set this far into the project. Does anyone have experience with burning & lacquering gypsum wallboard? I don't know the year or make of my wallboard, but I suppose I could research it if necessary. :) |
|
T
tikiskip
Posted
posted
on
Wed, Aug 28, 2013 8:43 PM
|
|
TD
TIKI DAVID
Posted
posted
on
Thu, Aug 29, 2013 3:20 AM
"Bilge; For drunken, waaaay off-topic, time killer or non-informative posts. And Lamprey discussion." Pun intended. |
|
WD
White Devil
Posted
posted
on
Thu, Aug 29, 2013 5:50 AM
No, no, no. You guys are supposed to chime in and tell me what a great job I'm doing, and "keep it up", and all that. Then copy & paste my photos in your reply so that readers see the same pics thirty times over. Do it right, now. :) |
|
TD
TIKI DAVID
Posted
posted
on
Thu, Aug 29, 2013 9:53 AM
What do you think this is? That other plce? |
|
WD
White Devil
Posted
posted
on
Thu, Aug 29, 2013 10:49 AM
So here's a photocopy of the tiki print I bought on the internet.
It's by the great Tiki Collagist Horst van Schtuppenstein. It took him, according to his website, eighteen months to complete the work. It was only $350, and he explains that he prices his pieces so low because of his love for tiki culture, not money. And I believe him. :) |
|
WD
White Devil
Posted
posted
on
Thu, Aug 29, 2013 11:32 AM
Here's the "Vintage Tiki" version of Horst's print that you can occasionally find on eBay for slightly more than I paid.
I think he captured the complete essence & grace of the original Tiki Ideal. :) |
|
K
komohana
Posted
posted
on
Thu, Aug 29, 2013 8:07 PM
|
Pages: 1 17 replies

