Pages: 1 30 replies
|
M

muskrat
Posted
posted
on
Sun, Mar 2, 2014 7:58 PM
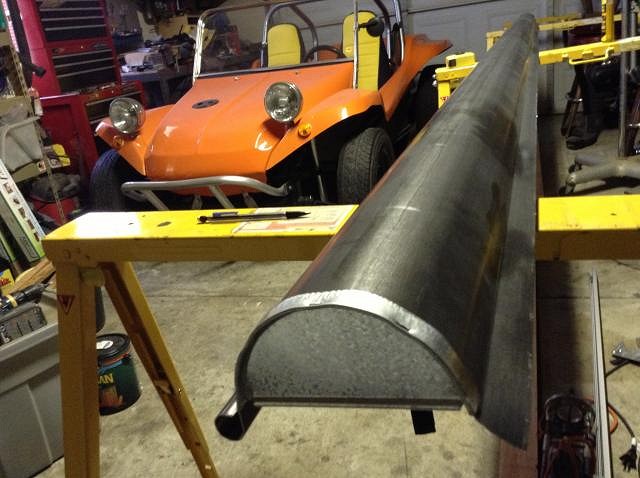
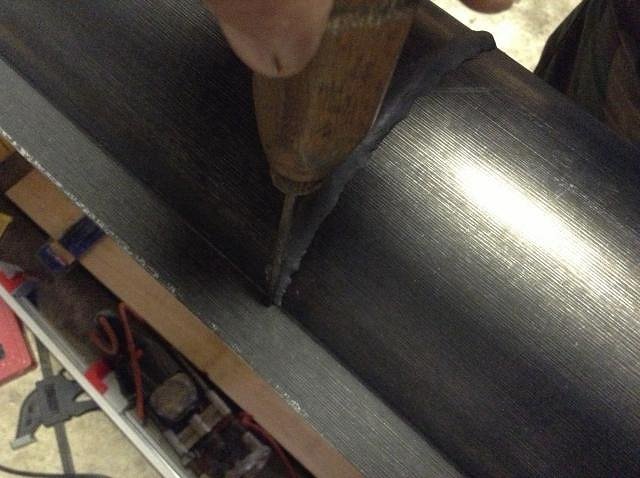
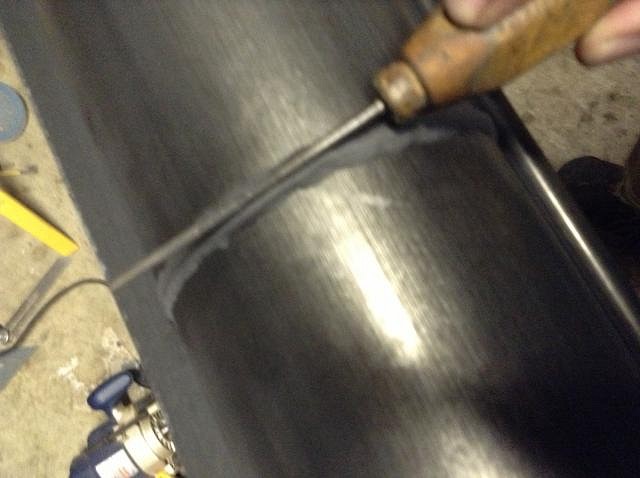
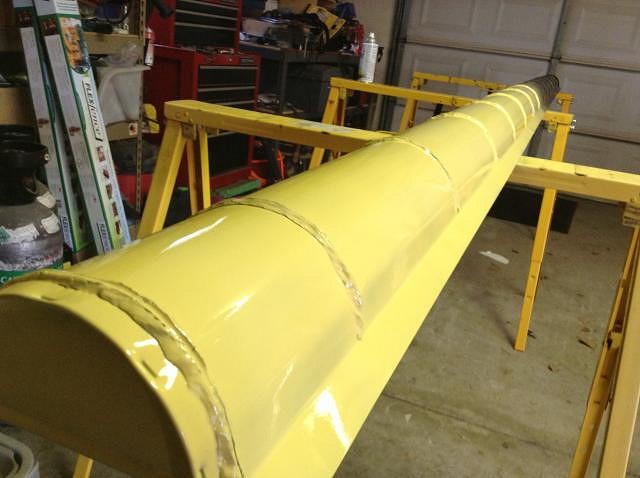
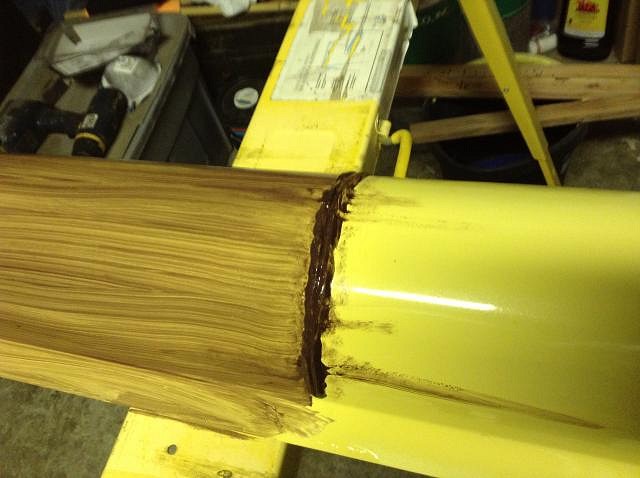
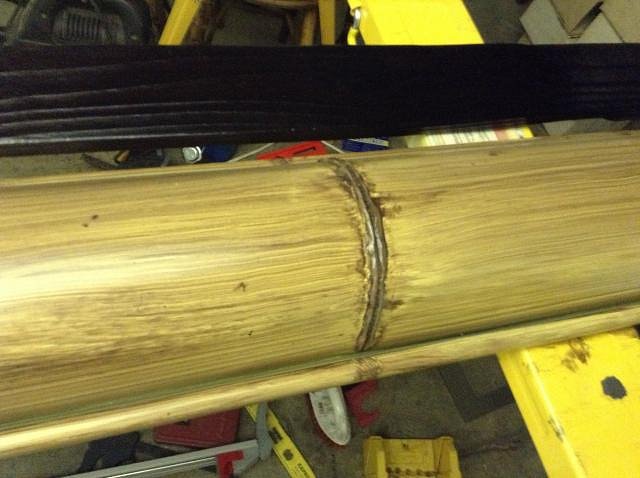
howdy. i started with a 5" half round sheet metal gutter.
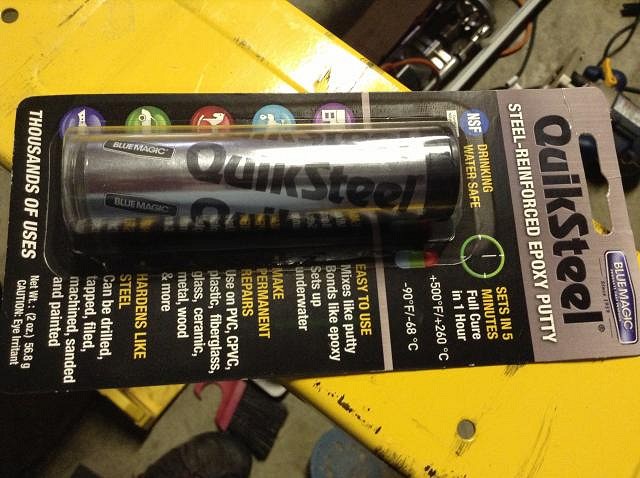
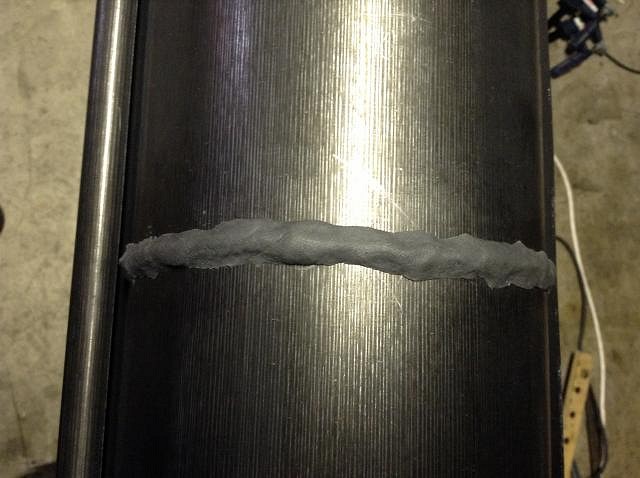
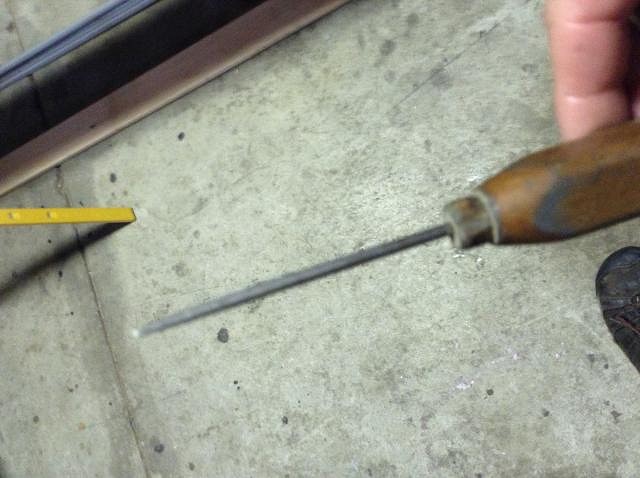
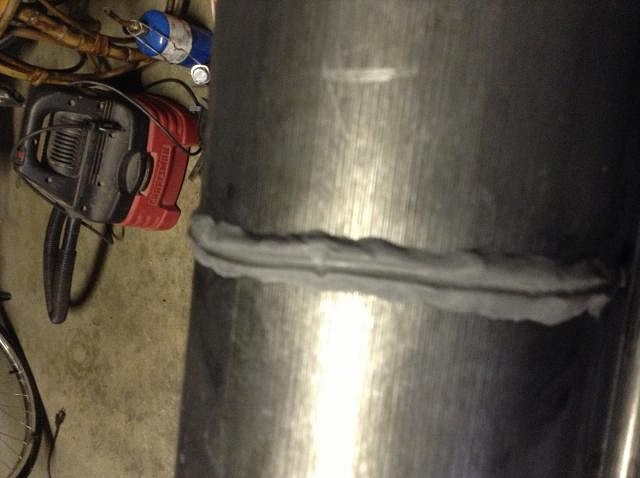
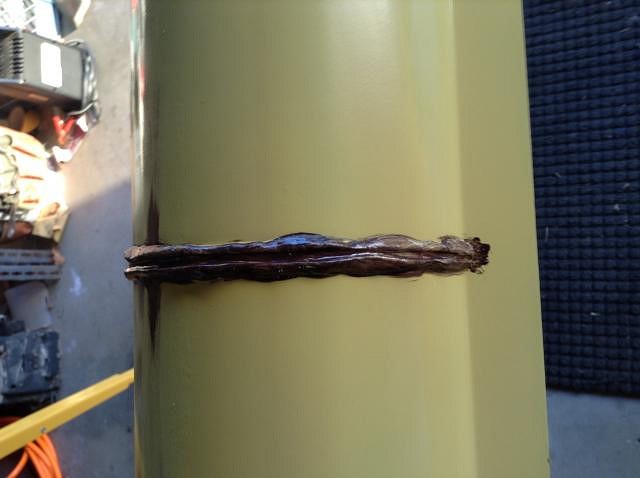
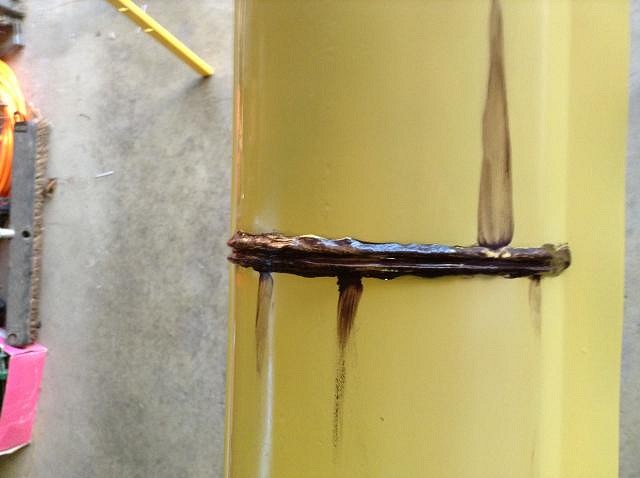
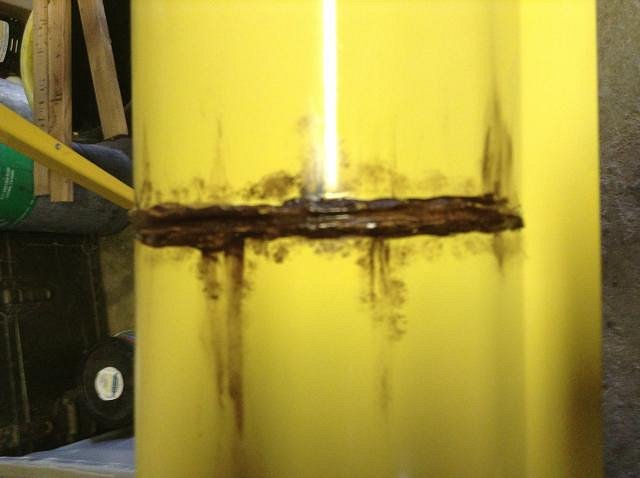
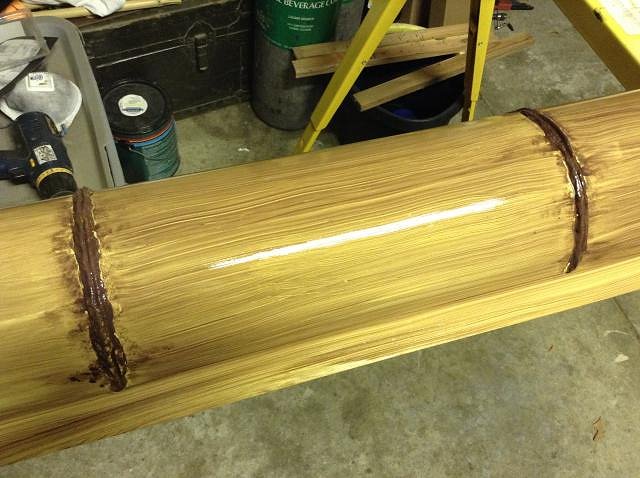
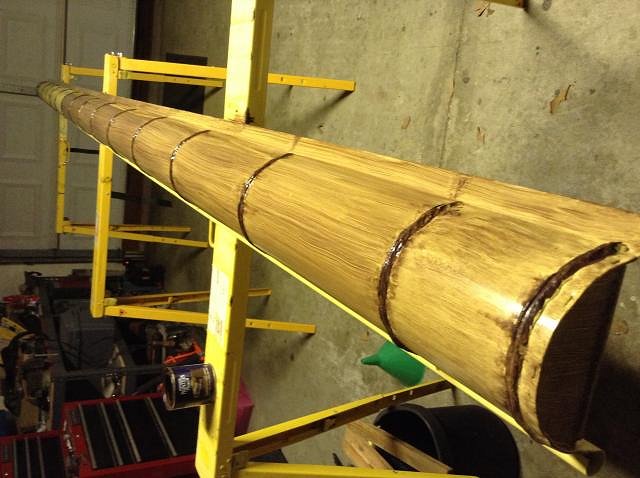
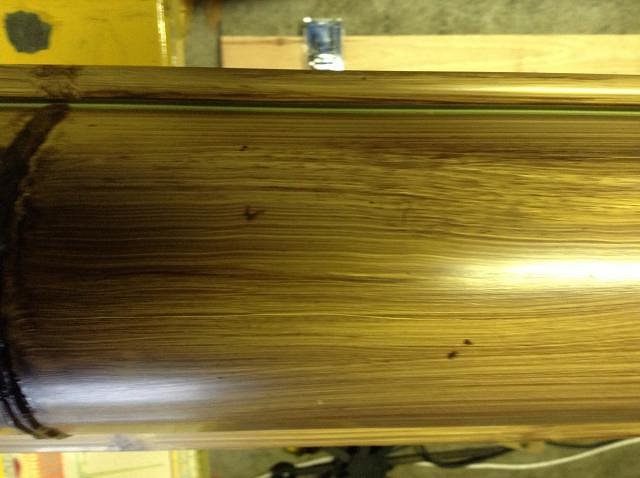
i cleaned it with some acetone then took some metal epoxy putty after pressing the putty down i took a scrawl, dipped it in water and rolled it down the middle of the putty. this leaves a groove and completes the shape of the node. do that a buncha times and you end up with this. next comes the base coat. next is where the real experimentation begins. once you get them painted, experiment with taking a small brush or your fingertip and pull some of the paint away from the node. add a little stippling and you're ready to make it look like bamboo. i had a mix of 50/50 rustoleum espresso with bear faux glaze from another project, so that's what i used for the next step. once you get it looking the way you like, move on to the next segment. repeat til the gutter is done. once you're happy with the way that looks, get a tooth brush and get some of the dark paint on it and flick some spots around randomly. you can also add more stippling and random bits here and there. once i was finished i decided the nodes were too dark so i stippled them with a lighter brown. once you're happy with it, give it a clear coat and you're ready to go. i'll post a picture of it once i get it put up. update: here it is installed, just needs a rain chain.
enjoy [ Edited by: muskrat 2014-03-02 20:06 ] [ Edited by: muskrat 2014-03-07 16:18 ] |
|
V

VampiressRN
Posted
posted
on
Sun, Mar 2, 2014 8:26 PM
Those are great "how to" pictures. Nice job indeed...looking forward to your other crafty illusions. |
|
D

danlovestikis
Posted
posted
on
Sun, Mar 2, 2014 8:29 PM
Now that was something I've never seen before. Wonderful photos. Can't wait to see your backyard. Send me the Kiki's font that you showed me on your phone. Come back soon, Wendy |
|
E

ErichTroudt
Posted
posted
on
Sun, Mar 2, 2014 8:32 PM
Very Clever..... looks great |
|
T

TikiTacky
Posted
posted
on
Sun, Mar 2, 2014 9:00 PM
Yer a wizard, Harry! |
|
T

tikilongbeach
Posted
posted
on
Sun, Mar 2, 2014 9:20 PM
I love the orange dune buggy! The gutter is cool too. |
|
M

MadDogMike
Posted
posted
on
Sun, Mar 2, 2014 9:24 PM
Great idea, great execution, great step-by-step |
|
M
muskrat
Posted
posted
on
Sun, Mar 2, 2014 9:46 PM
thanks y'all. |
|
4

4WDtiki
Posted
posted
on
Mon, Mar 3, 2014 9:19 AM
That looks fantastic! |
|
M
muskrat
Posted
posted
on
Tue, Mar 4, 2014 1:41 PM
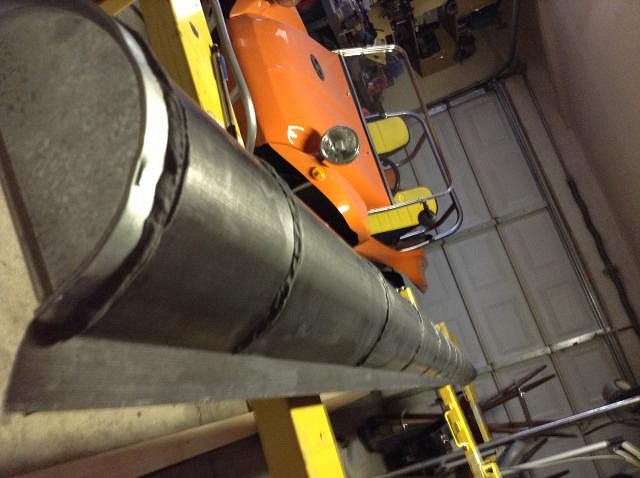
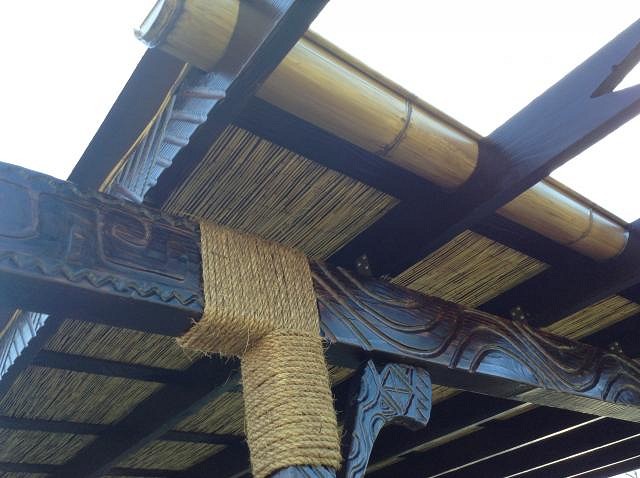
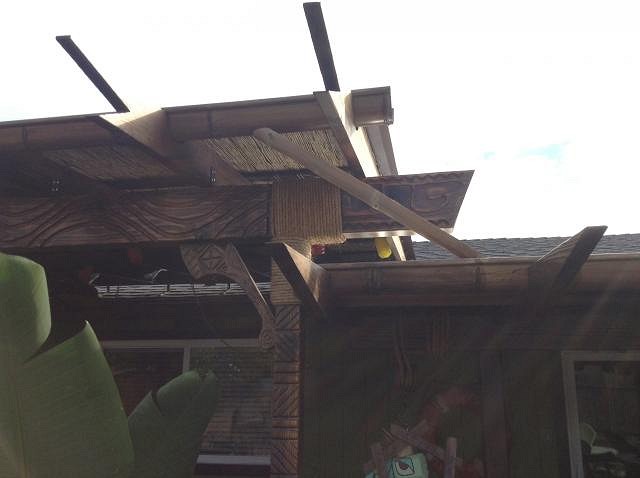
vamp: i dont think i'll be ready for this years tiki crawll but the next for sure. wendy: glad i could show ya something new. erich: thanks a bunch. ticitacky: abracadabra tikilongbeach: we love our little speed buggy. maddgomike: thanks for the props. 4wdtiki: that means a lot coming from a craftsman such as yourself. so as promised, here's a coupla shots of the gutter put up.
the big ugly brackets will be covered in rope. |
|
C

Clarita
Posted
posted
on
Tue, Mar 4, 2014 2:41 PM
Great job! |
|
M
muskrat
Posted
posted
on
Fri, Mar 7, 2014 4:29 PM
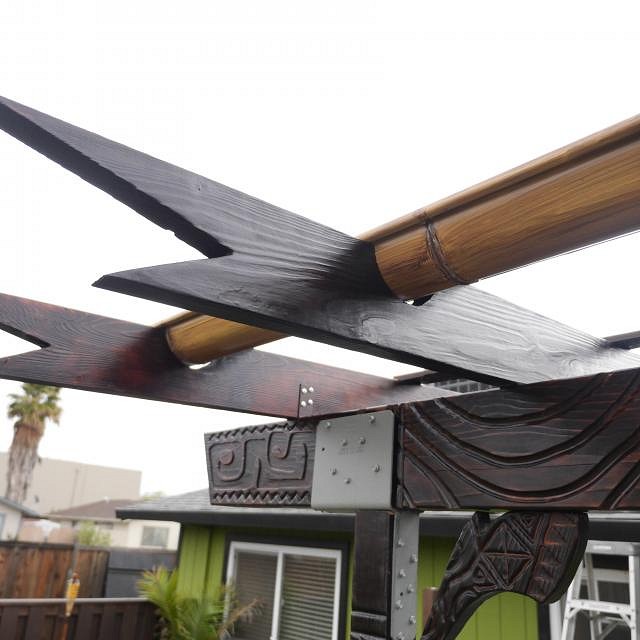
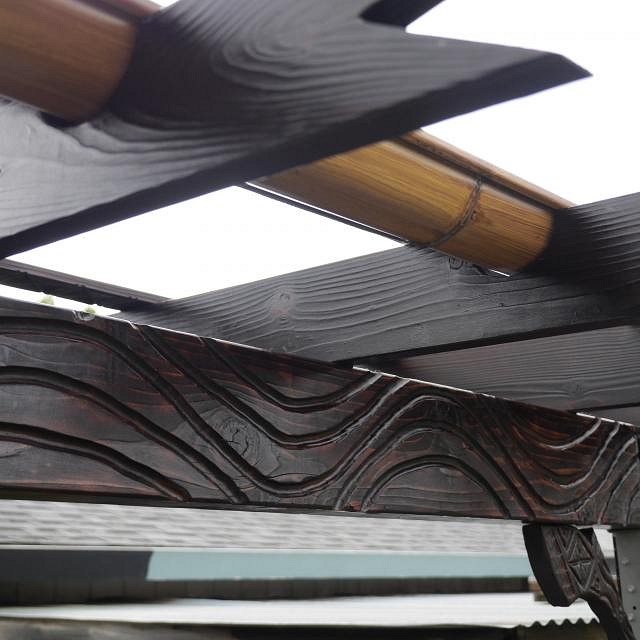
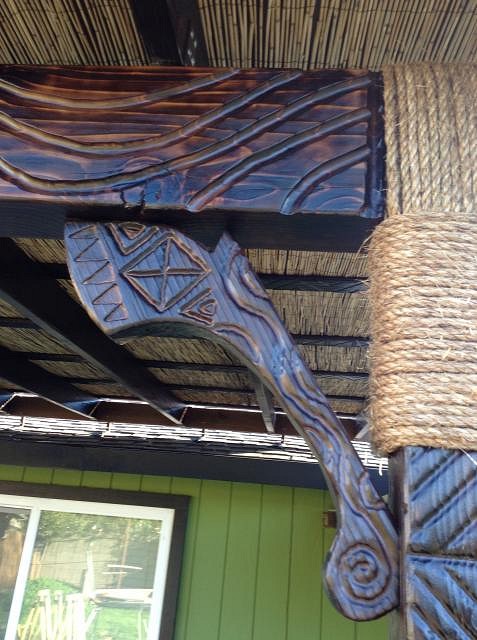
here it is with the roof in place.
thanks for lookin. |
|
D
danlovestikis
Posted
posted
on
Fri, Mar 7, 2014 4:33 PM
You could have a whole new profession. Wonderful work, Wendy |
|
E
ErichTroudt
Posted
posted
on
Fri, Mar 7, 2014 4:35 PM
very cool... great job routing the wood. Very clever making the support arms to look like war clubs... |
|
D
danlovestikis
Posted
posted
on
Fri, Mar 7, 2014 4:37 PM
ErichTroudt good catch, I missed that. Excellent! |
|
M
muskrat
Posted
posted
on
Fri, Mar 7, 2014 4:40 PM
thanks, and glad somebody noticed my clubs.
[ Edited by: muskrat 2014-03-07 16:46 ] |
|
4
4WDtiki
Posted
posted
on
Fri, Mar 7, 2014 6:58 PM
Damn, that all looks SO good! Love the dark stain on the beams and the reed between them, the routered patterns, the clubs! |
|
K

KAHAKA
Posted
posted
on
Fri, Mar 7, 2014 7:58 PM
Phenomenal work! Dig the ingenuity and old school vibe. My favorite. Looking forward to more pictures. |
|
M
muskrat
Posted
posted
on
Sat, Mar 8, 2014 12:41 AM
4wdtiki- no stain, thats all burnt and clear coated. kahaka- thanks. next up is wiring so i can start hangin lights. hopefully one of yours will grace the lounge. gotta start a tiki bar build thread. |
|
H

Hakalugi
Posted
posted
on
Sat, Mar 8, 2014 12:55 AM
Yes, please! Great stuff here!! |
|
M
MadDogMike
Posted
posted
on
Sat, Mar 8, 2014 7:46 AM
I like it... I like it a lot! |
|
SF

Slacks Ferret
Posted
posted
on
Sat, Mar 8, 2014 7:51 AM
Beauty, eh? |
|
L

LoriLovesTiki
Posted
posted
on
Wed, Mar 12, 2014 6:52 PM
Yes, please start a tiki bar thread! I'd love to see the whole space. Love the gutters! So amazingly creative. What a great idea and they turned out really nice. I used to think I was somewhat creative. Then I came on this site. I am not. But I can learn from all of you who are! |
|
M

MissClaireTiki
Posted
posted
on
Thu, Mar 13, 2014 10:35 AM
Love this! You did an amazing job the detail is what makes it look so great, if you start an at home bar post please share the link on here I'd be very interested in seeing it. |
|
M
muskrat
Posted
posted
on
Fri, Jul 11, 2014 11:59 PM
well i finally got around to starting a build thread. |
|
J

jimsflies
Posted
posted
on
Thu, Jul 17, 2014 1:19 PM
Thanks for linking to this...missed it before. Great job! The faux paint looks very convincing. |
|
M
muskrat
Posted
posted
on
Fri, Nov 7, 2014 11:20 PM
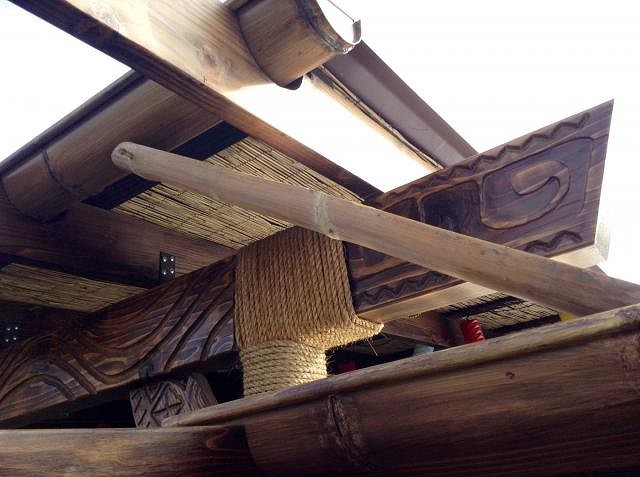
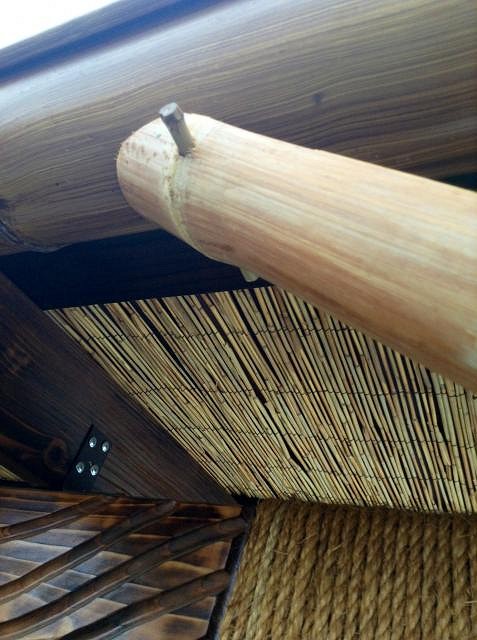
A quick update. I added a rain chain to one of the gutters and a bamboo diverter to connect the two gutters. Inspired by the Swiss family Robinson.
Even the hardware is made of bamboo.
|
|
D
danlovestikis
Posted
posted
on
Mon, Nov 10, 2014 1:24 PM
Wow wow wow. Is is looing like the Mai Kai. Wendy |
|
M
MadDogMike
Posted
posted
on
Mon, Nov 10, 2014 1:35 PM
I live in the desert, we don't even have gutters - I had to look up rain chain to see what it was :lol: Very cool Muskrat! |
|
S

SandraFremgen
Posted
posted
on
Mon, Nov 10, 2014 11:18 PM
Wow... thank you for sharing step by step pictures.. It's so neat to see your project come to life. :) Good job!! Sandra |
|
P

Polynesiac
Posted
posted
on
Tue, Dec 9, 2014 9:47 PM
I'm bumping this up because I am SO impressed with your creativity and with how your tiki space is turning out!!! That faux bamboo rain gutter is phenomenal! Thank you for the step by step, as this is something I was hoping to get to soon and you really demystified it all for me. your attention to detail is top notch! Nice job!! |
Pages: 1 30 replies