Tiki Central / Home Tiki Bars
Club Nouméa
|
CN

Club Nouméa
Posted
posted
on
Thu, Nov 22, 2012 10:39 PM
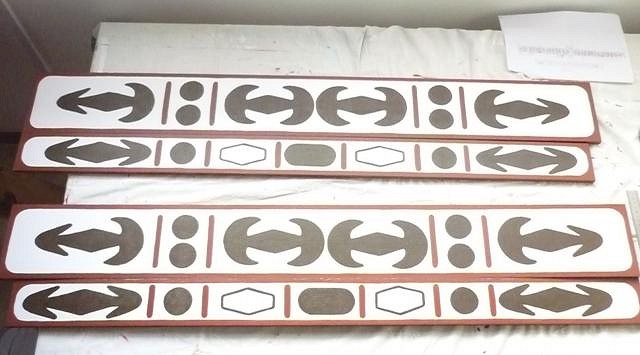
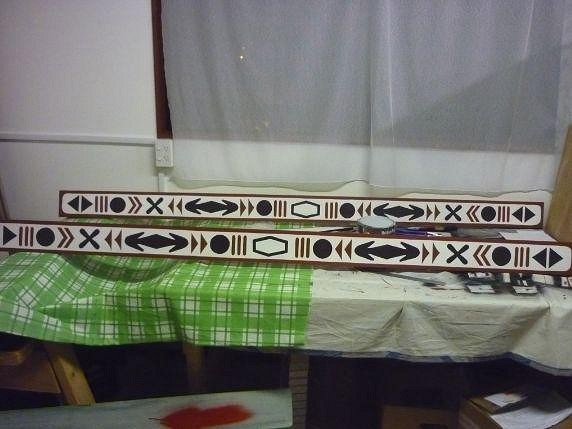
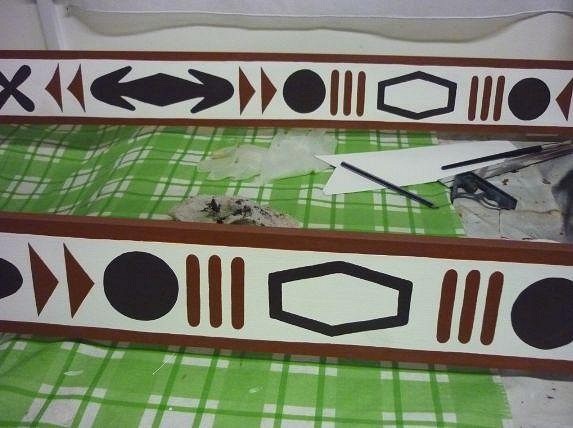
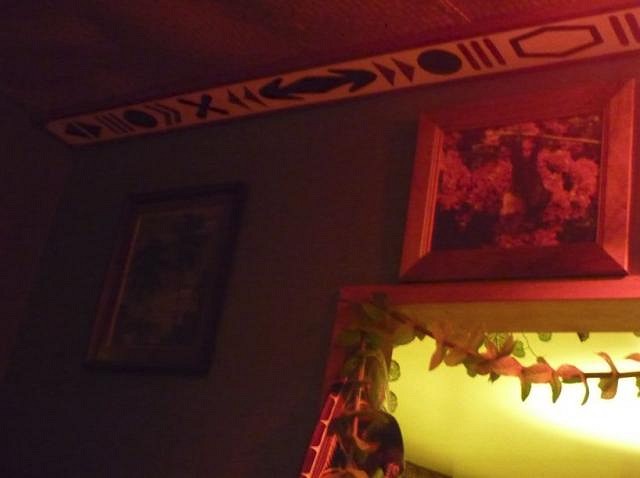
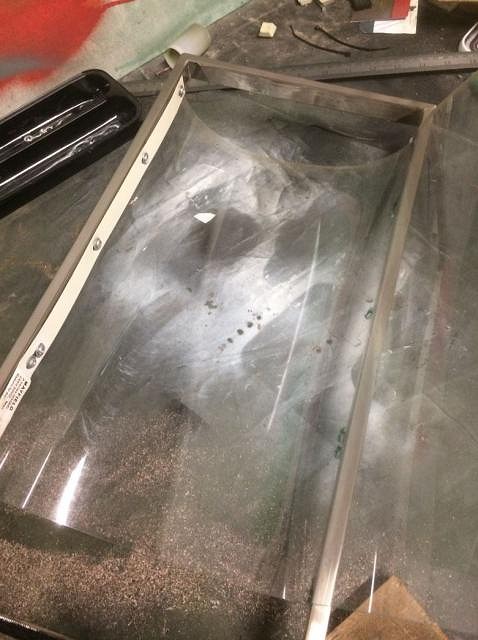
Here are the photos showing the closing stages of the kitchen tikification. Vaguely PNG-style panels for the big ugly white beam above the kitchen sink:
I have no routing skills, but I can paint, so these are acrylic patterns painted on plywood, tacked onto the beam:
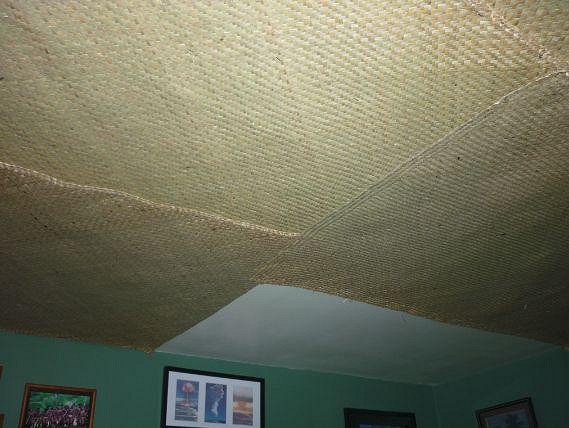
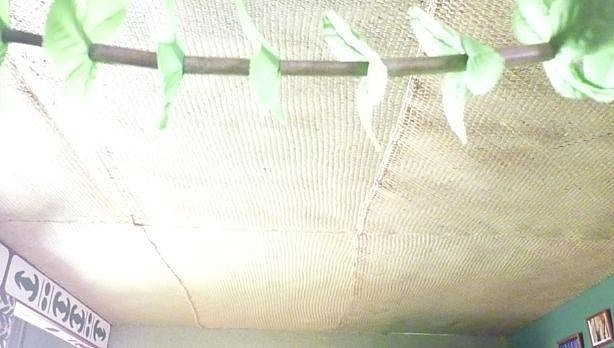
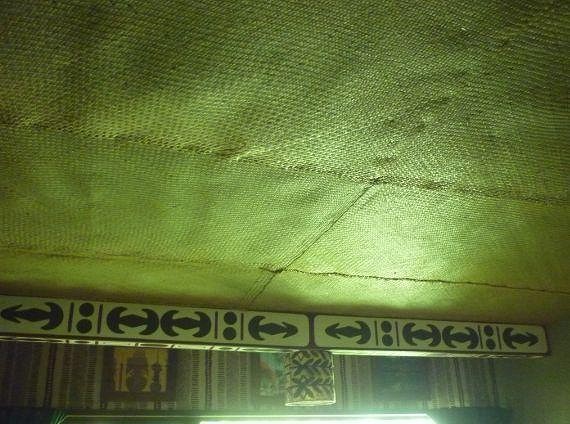
The kitchen's white ceiling was also banished:
And I have also painted up some boards to cover up the joins between the various flax mats:
I'm currently waiting for a second pair of hands to drop by so these can be nailed up. |
|
CN
Club Nouméa
Posted
posted
on
Fri, May 31, 2013 2:46 AM
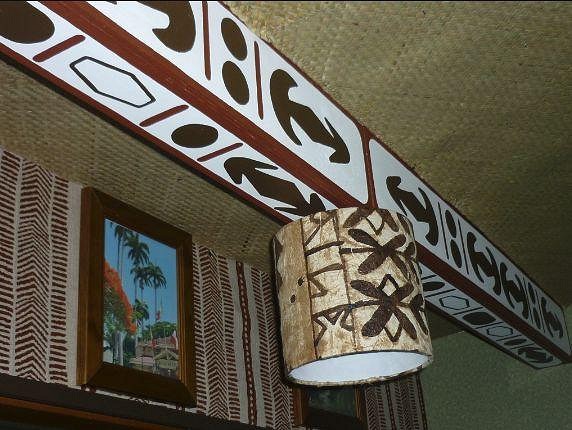
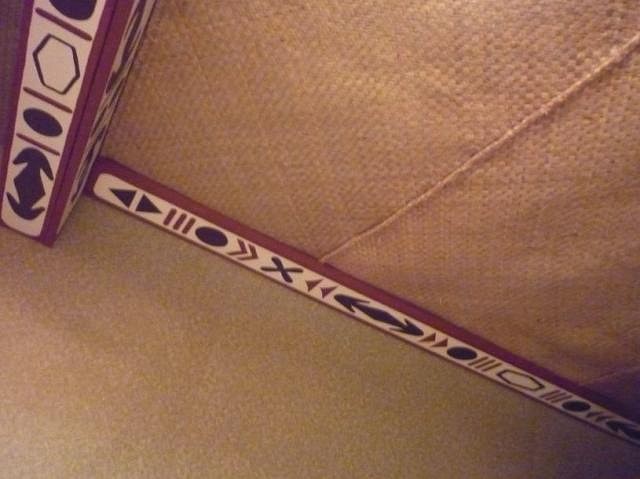
Here are the latest stages in the home tikification process... I eventually got those panels up on the ceiling:
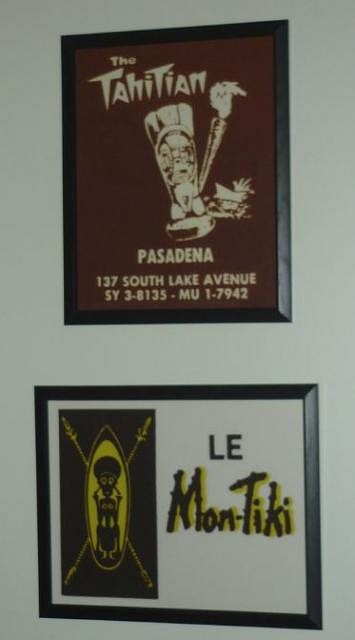
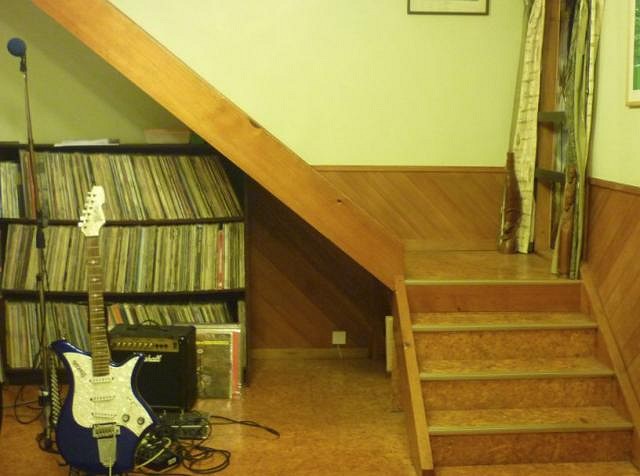
A little bit of Californian and Québécois tiki iconography for the hallway:
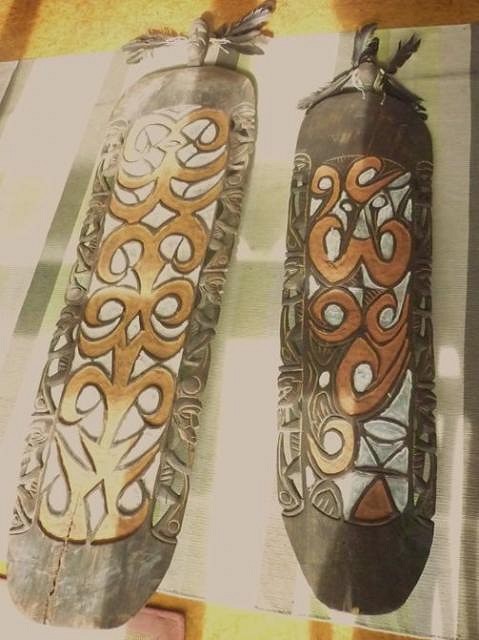
I found those on a recent trip to Auckland, on the same day as I found these:
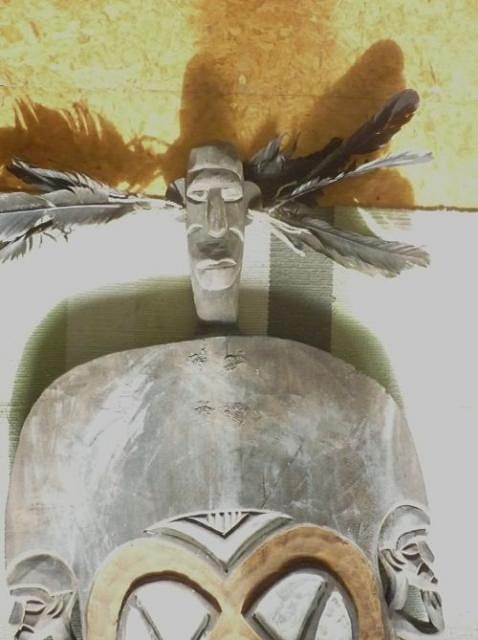
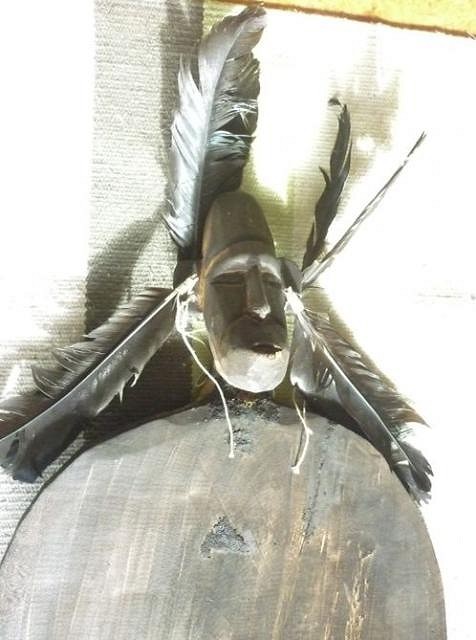
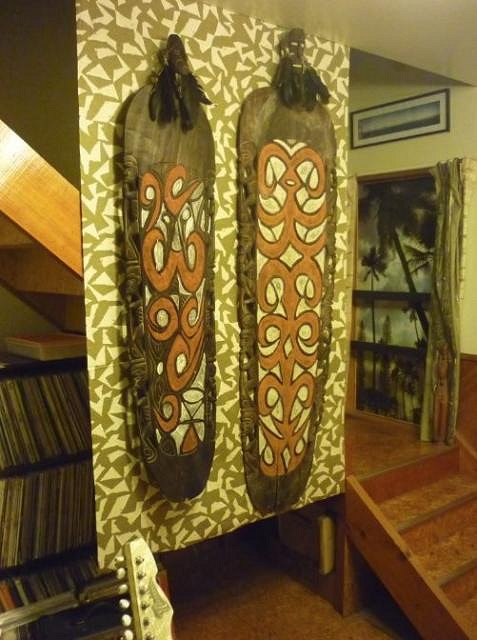
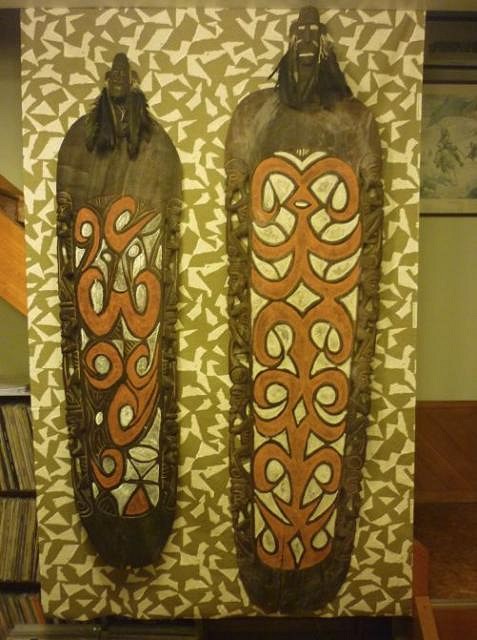
Two West Papuan shields. The one on the left is 5 ft, 9 inches tall, while the other one is 4 ft, 9 inches tall. Close-ups of the heads:
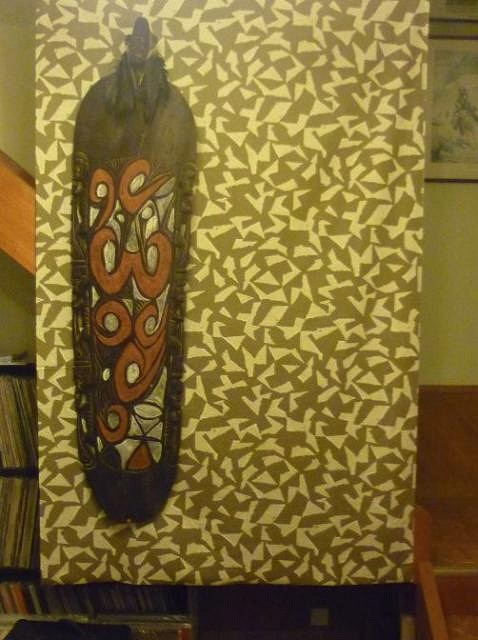
I scratched my head for a few days wondering where to put them. As they are shields, they both have handles on the back, so they can't be flush-mounted on a wall. So they would have to be hung. Then I had an idea:
A vast improvement!
[ Edited by: Club Nouméa 2013-05-31 02:49 ] |
|
K

komohana
Posted
posted
on
Fri, May 31, 2013 6:22 AM
those are spectacular!! way cool idea to create a balustrade, |
|
L

littlegiles
Posted
posted
on
Fri, May 31, 2013 8:19 AM
Great to see you back and working on your home. Love what you did with the shields, very creative idea.
|
|
CN
Club Nouméa
Posted
posted
on
Sun, Jun 2, 2013 7:10 PM
Thanks for the positive feedback - and it only took one sheet of fabric, 3 nails, 3 drawing pins, two bits of string and two bits of fishing wire. |
|
CN
Club Nouméa
Posted
posted
on
Tue, May 8, 2018 9:38 PM
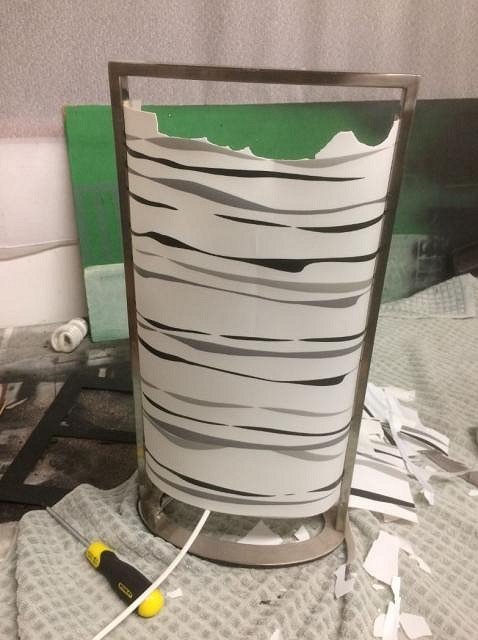
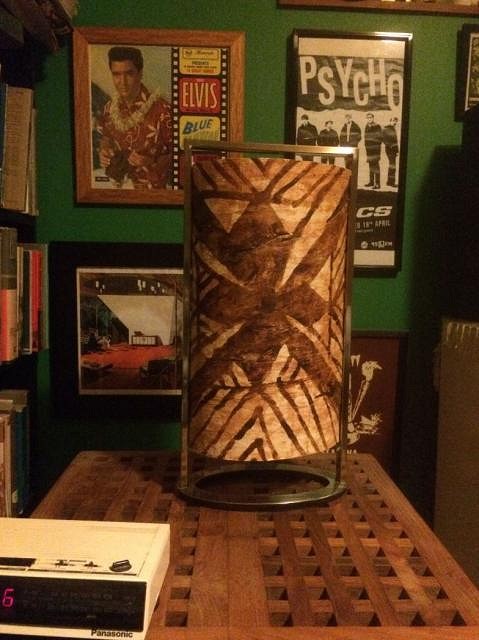
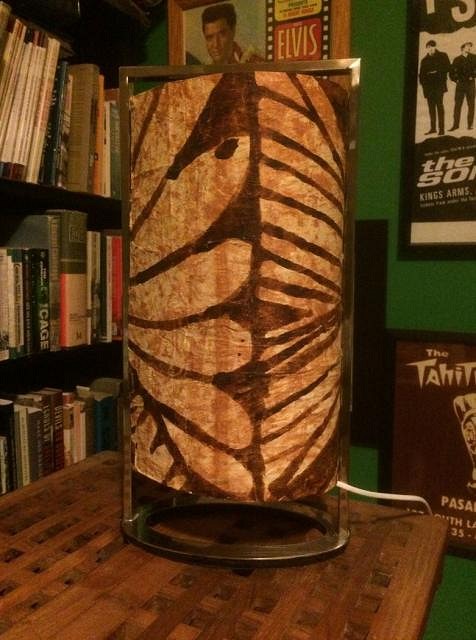
I reconditioned an old broken lamp recently and turned it into a tapa lamp. The old lamp had a plastic shade that had turned all brittle with age...
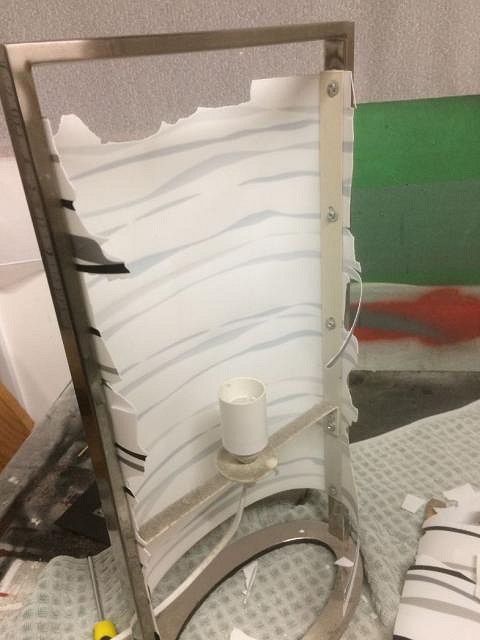
The first step was to break off half of the flaky, crumbly plastic so I could dismantle the lamp holder and the 2 screwed retaining strips.
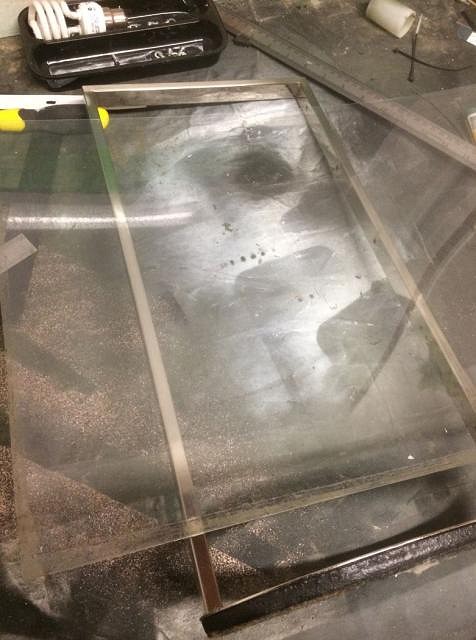
The replacement shade was a sheet of 1 mm perspex. This is what was used in two tapa lampshades I had purchased from a furniture store some years ago. It serves as the internal backing for the tapa.
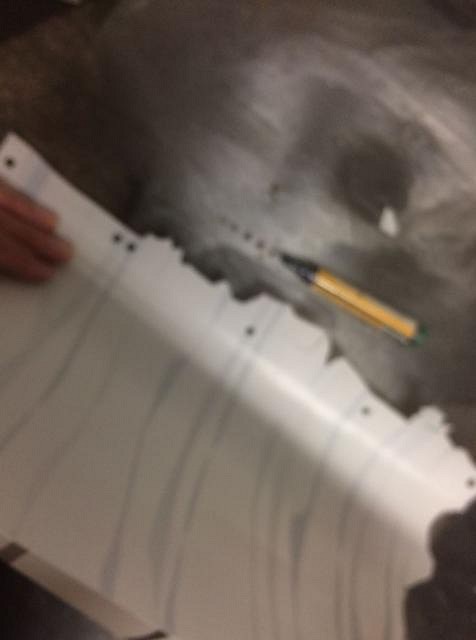
I carefully preserved one half of the old lamp shade so that I could use it as a template for marking the screw holes in the perspex - no rulers required!
A test run to see that I had the holes positioned correctly. it is best to do this before gluing the tapa onto the perspex.
I don't own a professional flat press, but the Oxford English Dictionary did the job of keeping the tapa and the perspex flat while the glue dried out. Ordinary PVA (woodworker's) glue will do the job - it dries transparent and it does not eat into the perspex.
The finished lamp (side 1).
The finished lamp (side 2).
[ Edited by: Club Nouméa 2018-05-08 21:39 ] |
|
M

MaukaHale
Posted
posted
on
Thu, May 10, 2018 4:42 PM
Great restoration work. Thanks for showing how you did it. |
|
H

HopeChest
Posted
posted
on
Thu, May 10, 2018 5:02 PM
That is really, really cool. Love it. |
|
L
littlegiles
Posted
posted
on
Fri, May 11, 2018 6:33 AM
Really liking what you did with that lamp. Great job. |