Tiki Central / Home Tiki Bars
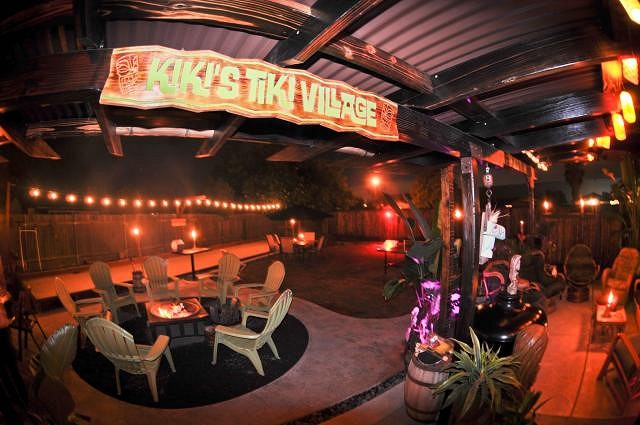
Kiki's Tiki Village
|
L

Longboard
Posted
posted
on
Mon, Jul 28, 2014 1:30 PM
Muskrat, Than I would just stick with the DG. It always holds it shape and plays nice. -Longboard |
|
M

muskrat
Posted
posted
on
Mon, Jul 28, 2014 10:43 PM
on to the barrels.
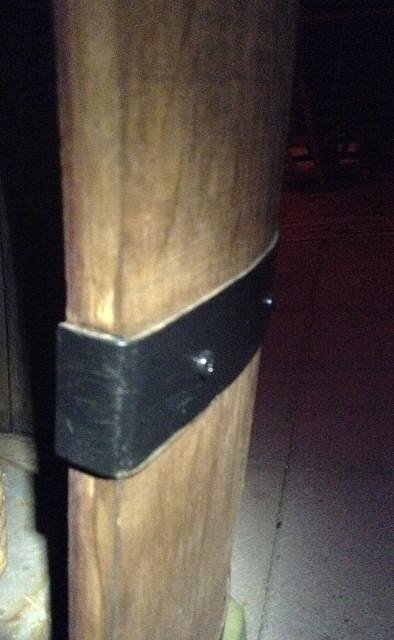
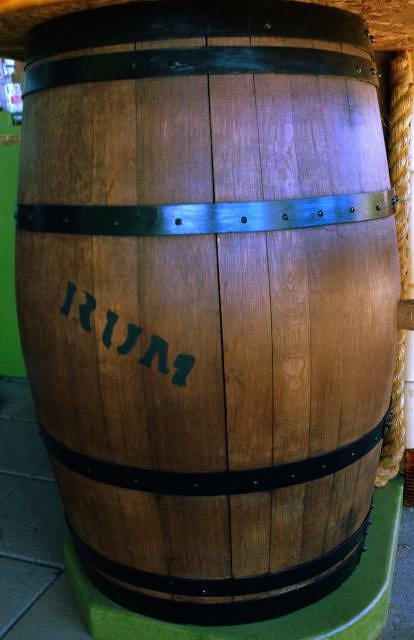
once that was all done mrs. muskrat stained the barrels and painted the hoops black. she also painted on the "rum" lettering in an old font we found.
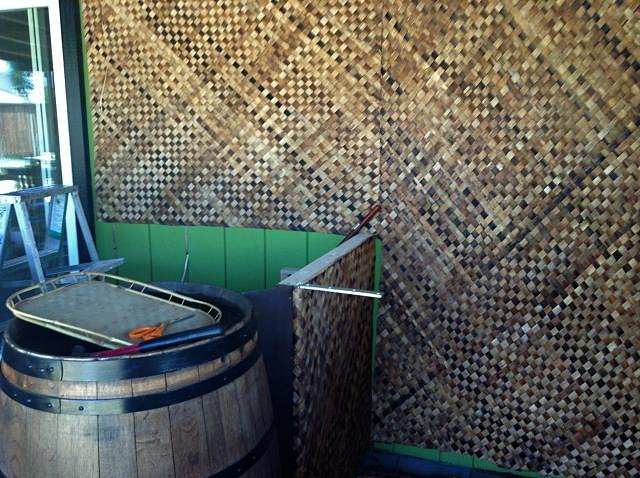
with that done it was time to start putting it together.
next up, framing the bar. |
|
D

Dr.TikiMojo
Posted
posted
on
Sun, Aug 10, 2014 11:38 AM
HOLY BAMBOO BATMAN! Keith I am humbled. Beautiful place and story behind it. Great meeting you and looking forward to a lot of time hanging out as Ohana - between Tiki, Steampunk, Doxies, Bocce, (we got into Bocce because of Tiki friends in Oakland - there are courts at our dog park in Elk Grove), just to name a few. So now you know my TC handle, Dave & Eva |
|
M
muskrat
Posted
posted
on
Tue, Aug 12, 2014 1:44 PM
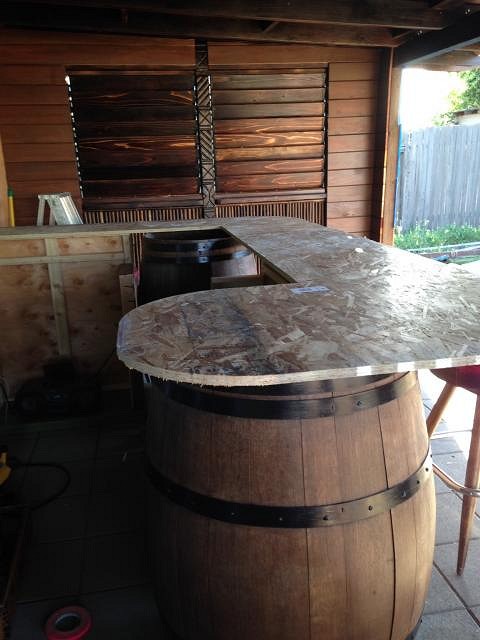
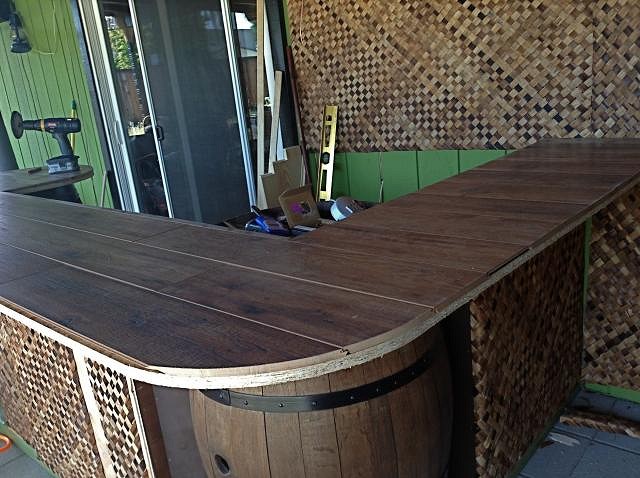
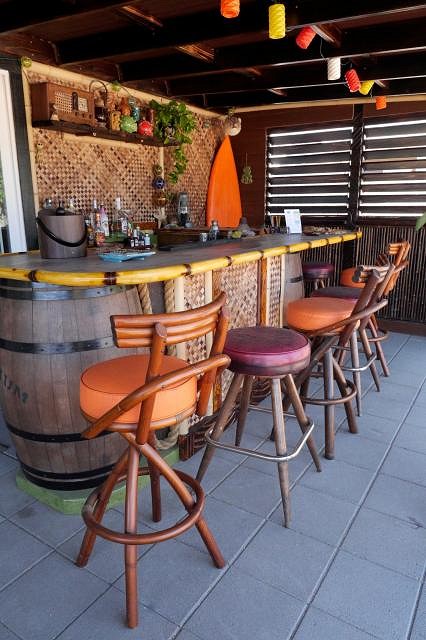
why thank you Dr.. now back to the business at hand. i got the basic structure for the bar built and put some baca mat on it then it was time for the bar top.
after test fitting to make sure it was right i cut and installed some engineered flooring material as a temporary top.
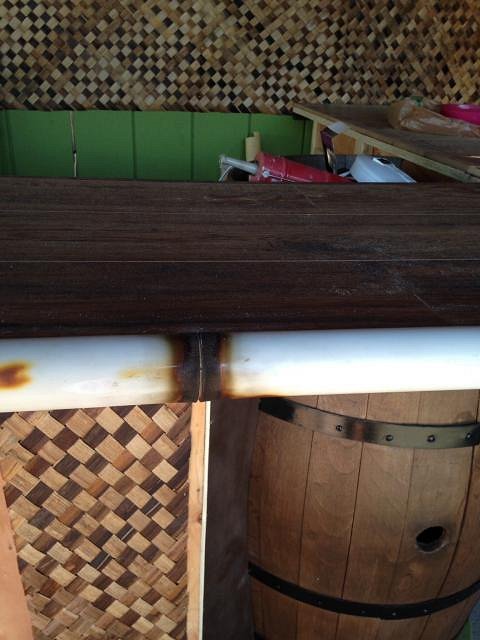
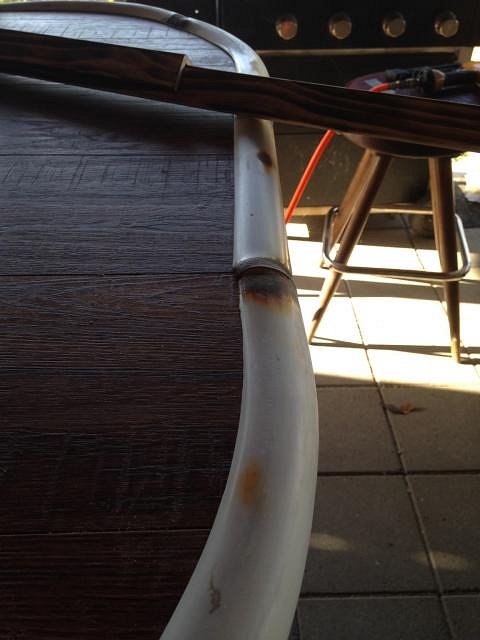
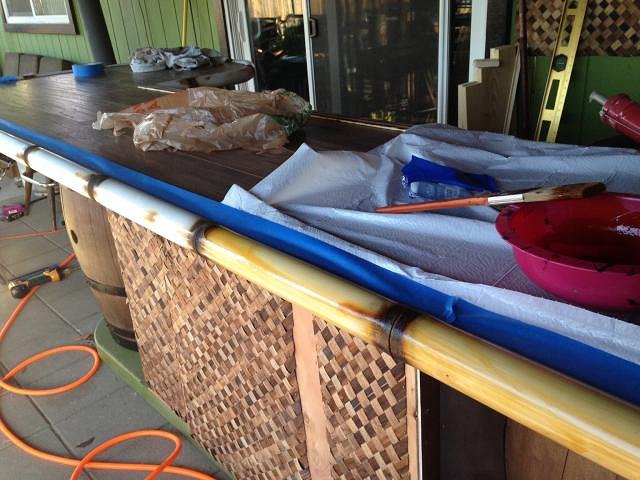
after that was done we tried a couple different ideas for how to finish out the edge. DON'T TRY THIS AT HOME i had to get a channel cut out of these bent pieces and i couldn't run them through the table saw due to there shape. i tried an angle grinder, a dremmel, a hacksaw blade, drilling multiple holes to perforate the pvc but nothing was working.
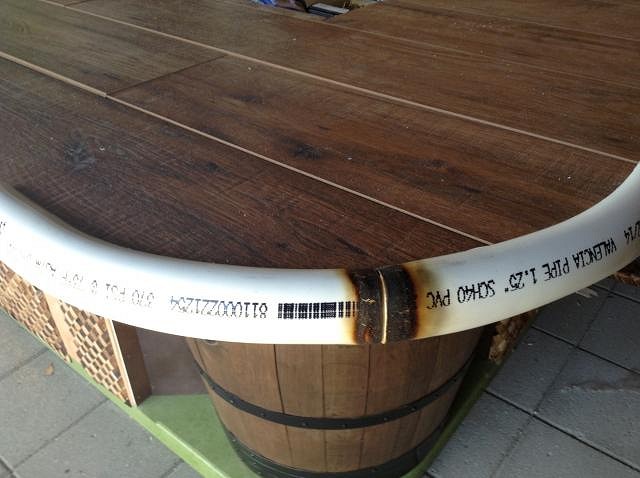
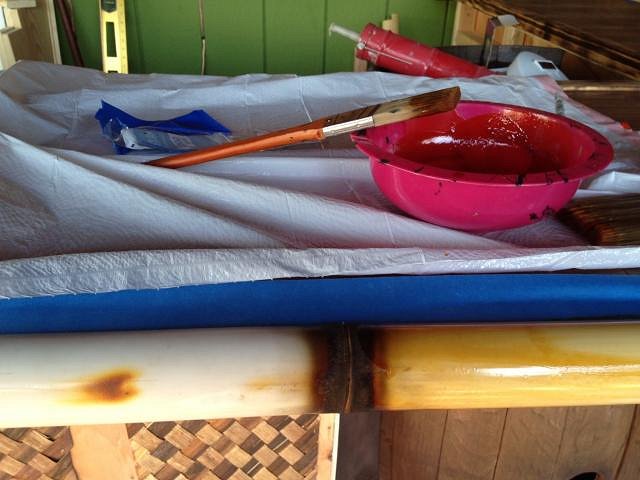
next up was cleaning the pvc and getting rid of all the markings. i was smart enough to cut the channels where the markings we're but got thrown off when using the jig. i kept placing the markings where i couldn't see them, but that's where they show up. once that was done they were replaced and nailed in place. i nailed my first 2 pieces to close to the edge and cracked them. i was going to replace them but decided to repair them with wood putty as they would give some interesting characteristics like real bamboo.
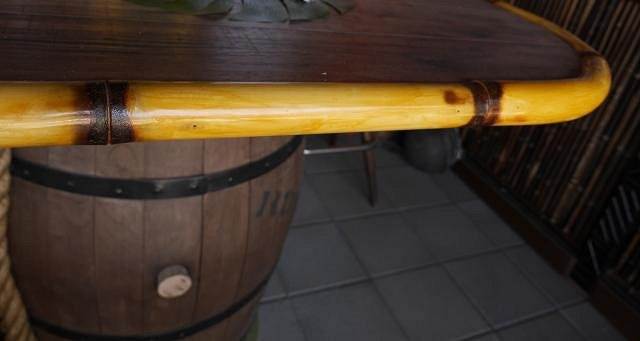
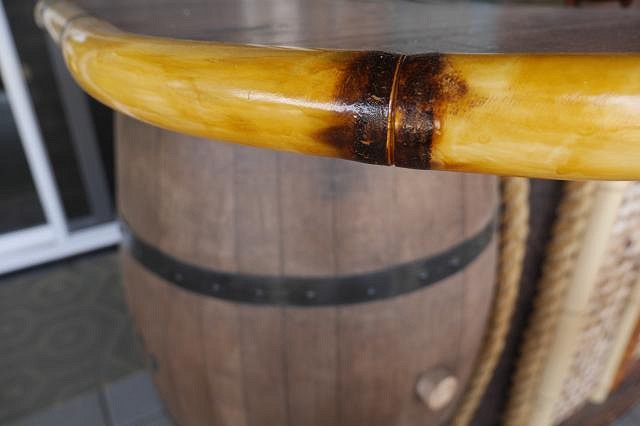
once there were two coats of shellac on there, most people couldn't tell it wasn't bamboo, even after telling them it was pvc.
next up trimming the bar and the bar-back. |
|
G

Ghostsoldier
Posted
posted
on
Tue, Aug 12, 2014 1:57 PM
Holy Smokes, that's awesome, muskrat...setting the (tiki) bar ever higher for us noobs! Rob [ Edited by: Ghostsoldier 2014-08-12 13:59 ] |
|
D

dtel
Posted
posted
on
Tue, Aug 12, 2014 3:04 PM
Very nice work, I love the wood blind/shutters and the roof. I was wondering about bending some pipe like that but didn't know if it would work, yours looks great. |
|
V

VampiressRN
Posted
posted
on
Tue, Aug 12, 2014 11:10 PM
NICE!!!! |
|
D
Dr.TikiMojo
Posted
posted
on
Thu, Aug 14, 2014 2:31 PM
Love the PVC Bamboo and storm shutters! |
|
M
muskrat
Posted
posted
on
Thu, Aug 14, 2014 4:49 PM
thanks, and yes it does. |
|
M
muskrat
Posted
posted
on
Thu, Aug 14, 2014 4:50 PM
thanks detl. |
|
M
muskrat
Posted
posted
on
Thu, Aug 14, 2014 5:46 PM
alrighty, i'm gonna jump around a-bit.
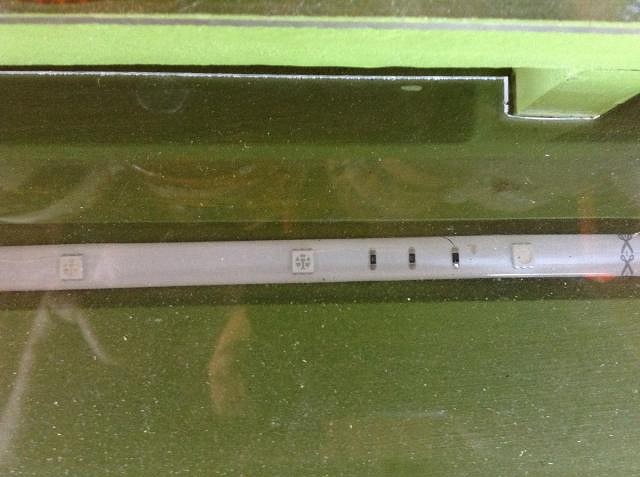
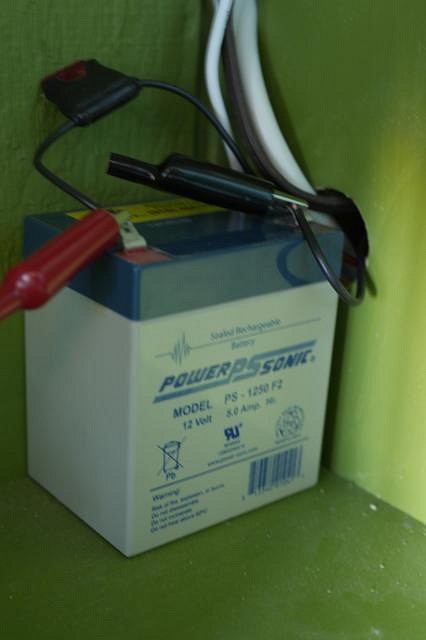
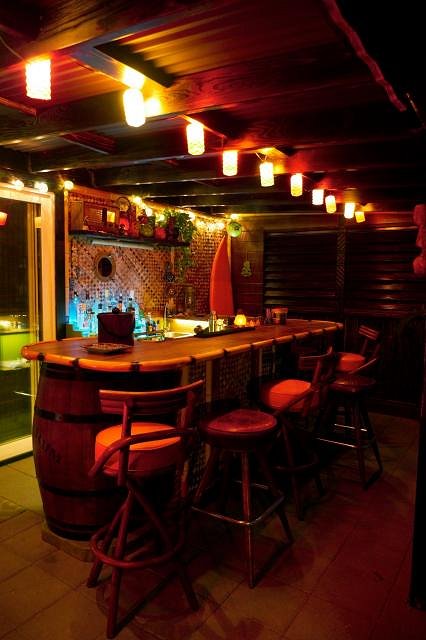
i routered a channel in each of the top shelves to put in LED color changing light strips. once installed i put a plexiglass cover on each shelf.
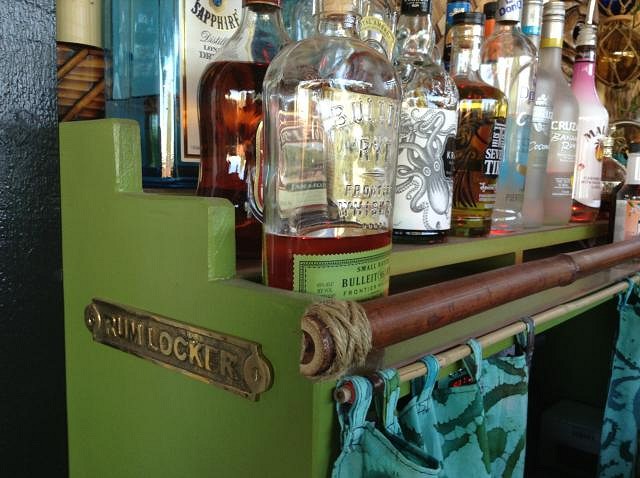
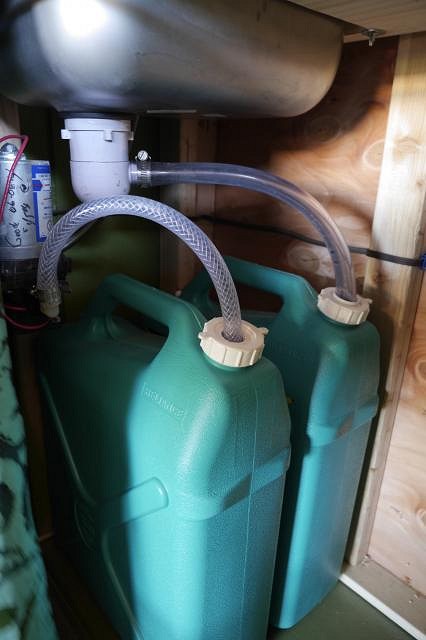
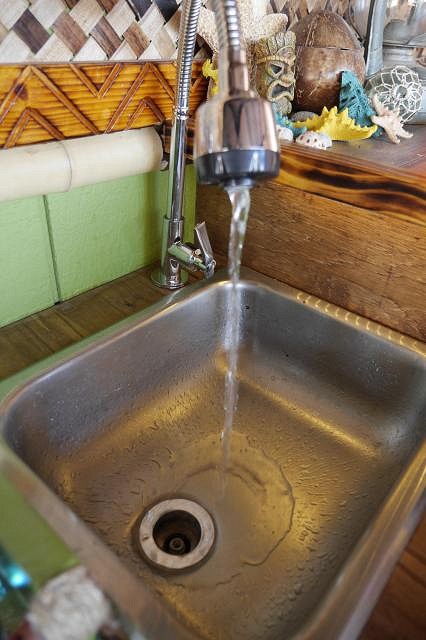
i finished it off with a piece of 1/2 round bamboo, some curtains and a "rum locker" plaque. one thing we wanted was a sink but there was no way to get plumbing where the bar was without some seriously expensive work happening so i rigged up a system that works pretty darn fine.
i doubt you could go through the tanks in on evening but i suggest filling your fresh tank with 1 gallons less than your grey water tank can hold for any extra fluid getting poured down the drain. next up, putting it all together. [ Edited by: muskrat 2014-08-14 17:48 ] |
|
D
Dr.TikiMojo
Posted
posted
on
Sun, Aug 17, 2014 2:55 PM
WOW! I was fortunate enough to get to visit in person yesterday and it's even more impressive in real life....I sat there looking at the PVC Bamboo and it looks great....then there's the outdoor lounge area or Lanai, beautifully furnished by the late Steve Soto's bamboo living room set and other items....just fantastic. Cheers to the Muskrat Ohana! |
|
V
VampiressRN
Posted
posted
on
Sun, Aug 17, 2014 6:24 PM
What a great idea and build on the RV sink. You are doing a great job!!! |
|
J

jimsflies
Posted
posted
on
Tue, Aug 19, 2014 5:40 AM
I'm interested in any techniques you used to bend the pvc. I have a similar bend on my bar top and tried to trim it doing the same thing, but the pvc was deforming (bulging/pinching) and didn't look very good. |
|
D

danlovestikis
Posted
posted
on
Sat, Aug 30, 2014 7:59 AM
Wow you are so creative and inventive. We are looking forward to seeing it all on the crawl. Wendy and Dan |
|
K

Keaka-tiki
Posted
posted
on
Sat, Nov 1, 2014 5:21 AM
The natives are getting restless! How goes the build? |
|
D
danlovestikis
Posted
posted
on
Sat, Nov 1, 2014 9:02 AM
I think WOW is just the best word to use here. Wendy |
|
L
Longboard
Posted
posted
on
Mon, Nov 3, 2014 7:51 AM
I'm stealing two of your ideas. Bad ass job! Really enjoy the progress. -Longboard |
|
D
danlovestikis
Posted
posted
on
Sat, Nov 8, 2014 8:23 PM
I was just on "other crafts" looking at your bamboo rain gutters. Professional quality work all around. Wendy |
|
M
muskrat
Posted
posted
on
Fri, Nov 28, 2014 9:55 PM
Sorry for neglecting this post. My computers been down for longer than I can remember.
Thanks for looking, More to come tomorrow. |
|
BK

Big Kahuna
Posted
posted
on
Sat, Dec 6, 2014 6:35 AM
You had me at "Bocce Court"! Nice vibe. |
|
G

GreenJeep2005
Posted
posted
on
Tue, Dec 9, 2014 3:47 AM
All I can say is "WOW"!!! A whole lotta hard work, and it really paid off! |
|
K
Keaka-tiki
Posted
posted
on
Tue, Dec 9, 2014 5:03 AM
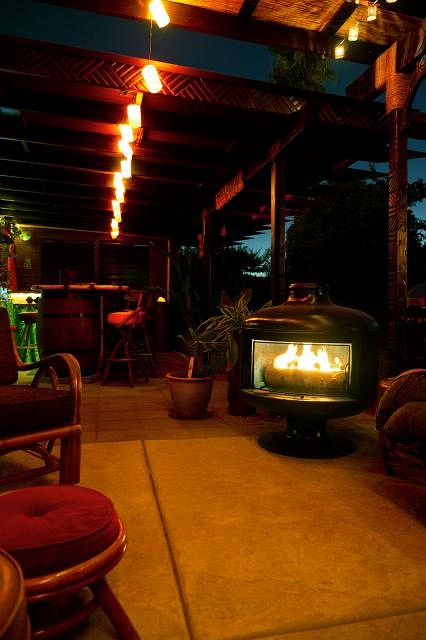
Oof! That fireplace is awesome! Seriously muskrat this is better than I ever expected! |
|
SF

Slacks Ferret
Posted
posted
on
Wed, Dec 10, 2014 8:04 AM
Looks great. Thanks for the photos. |
|
L

LoriLovesTiki
Posted
posted
on
Tue, Dec 16, 2014 7:42 PM
What a great bar and backyard!!! Fantastic craftsmanship. That bamboo trim on the bar is amazing! |
|
BU

blacksheep uncle
Posted
posted
on
Wed, Jan 17, 2018 12:50 PM
Sorry for bringing this back from the dead...but WOW!!!, this is great and really similar to what I'm hoping to do with my patio, (but mine will be on a much less grand scale). It has provided a ton of inspiration. |
|
P

Polly_Nesia
Posted
posted
on
Thu, Jan 18, 2018 3:28 PM
First time viewing and wow turned out great. Love the vibe. |
|
H

Hamo
Posted
posted
on
Thu, Jan 18, 2018 6:35 PM
This is why I prefer TC to other places; people’s great ideas and hard work can be (re)discovered and enjoyed. That sink is a great idea. I’ve imaginerd that’s the best way to get water in a place without plumbing, so it’s nice to see it in action. |
|
E

eroc
Posted
posted
on
Fri, Jul 6, 2018 10:57 AM
Curious. I'm about to start something very similar and was wondering how the wood/gloss urethane has held up over the last couple years. |