Tiki Central / Home Tiki Bars
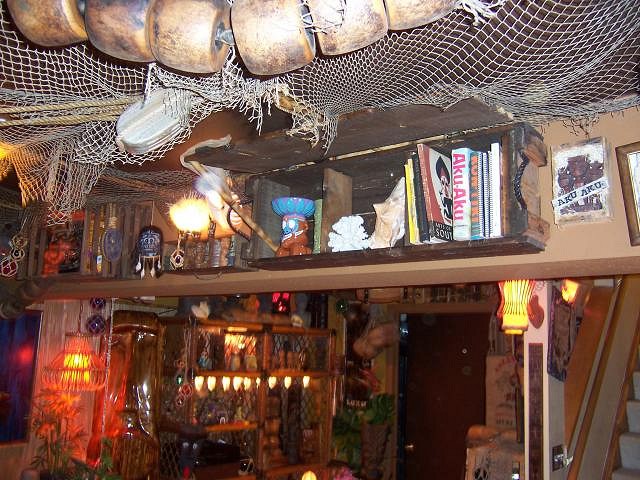
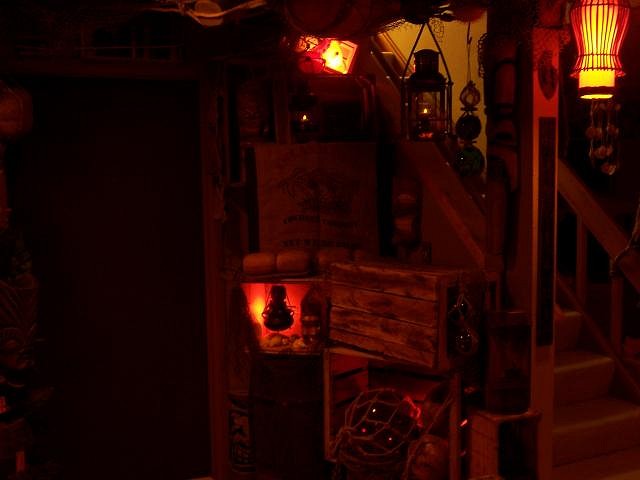
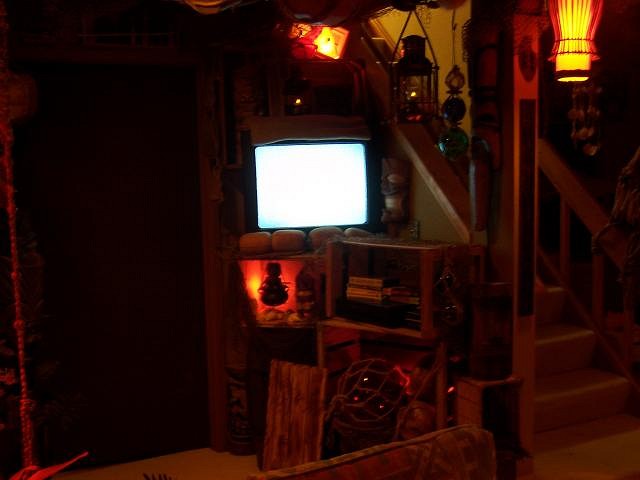
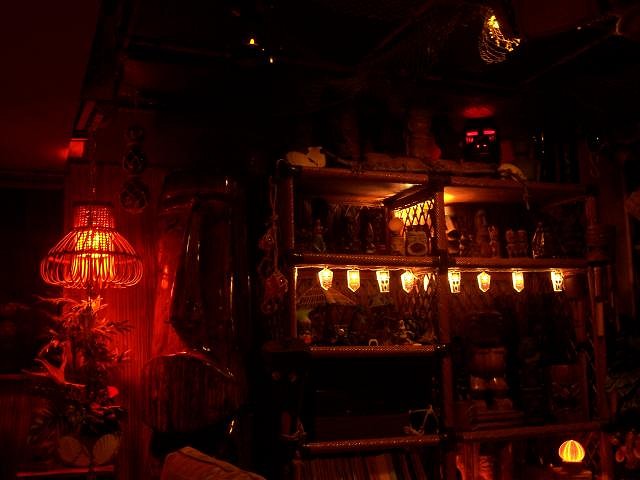
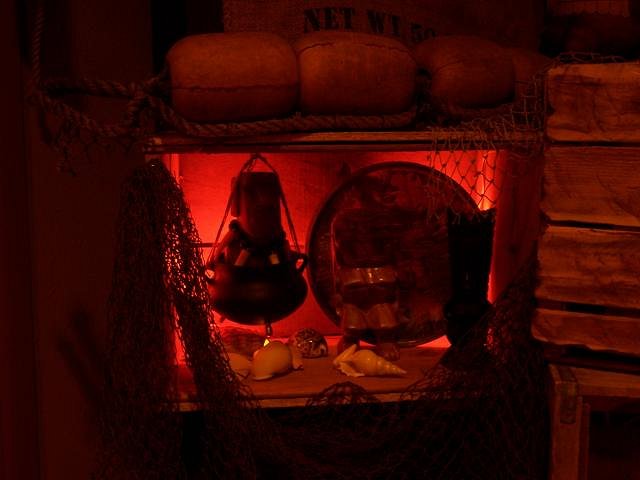
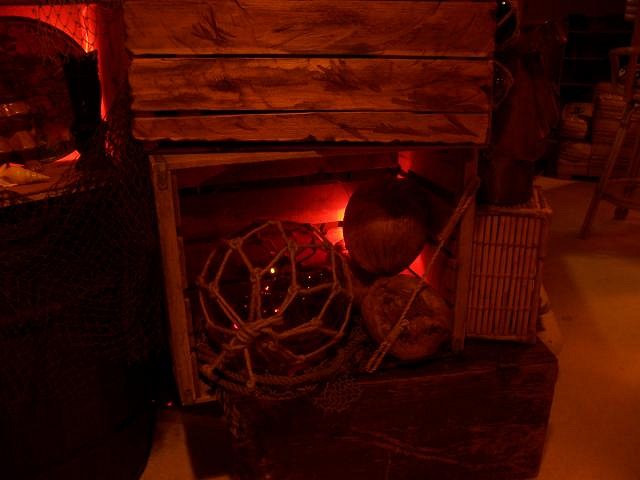
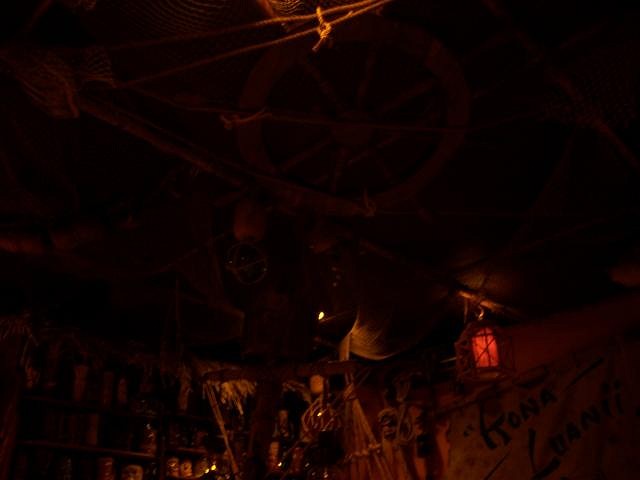
The Kona Luanii, Denver, CO
|
TL
T1K1 LEE
Posted
posted
on
Wed, May 16, 2007 9:34 PM
Hey hey' Tiki Lee |
|
M
Minerva
Posted
posted
on
Thu, May 17, 2007 2:40 PM
That's amazing work there. It's positively inspirational. My husband keeps making comments about my bric-a-brac in the curios looking like a tropical shipwreck .... I'll have to show your wonderful work to my husband when he gets home because it's giving me ideas! |
|
Z

ZuluMagoo
Posted
posted
on
Fri, May 18, 2007 9:47 AM
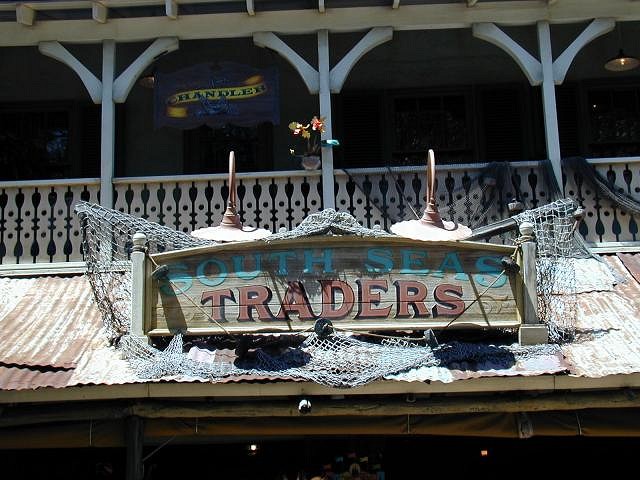
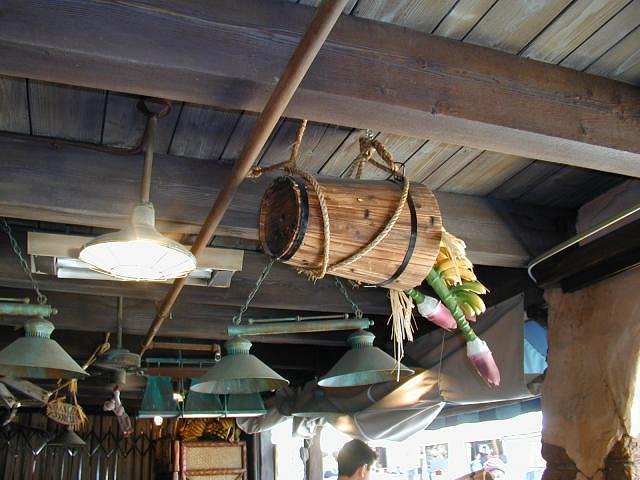
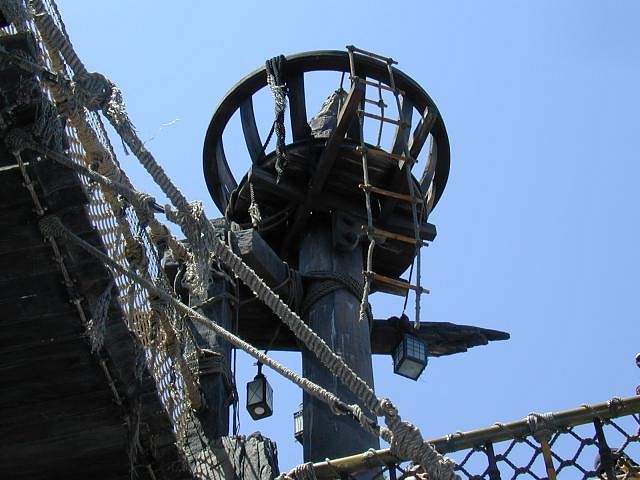
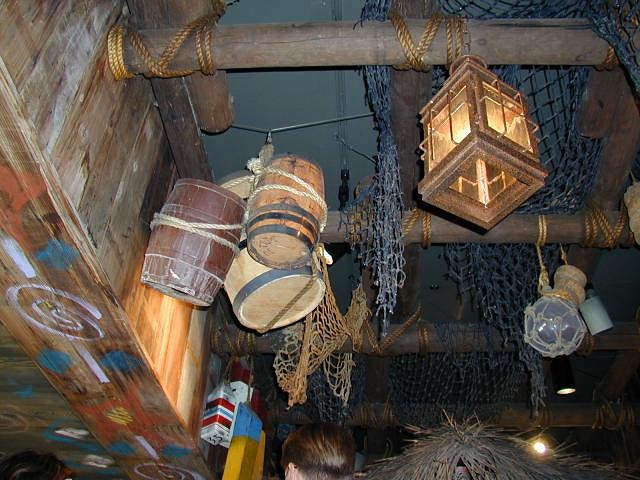
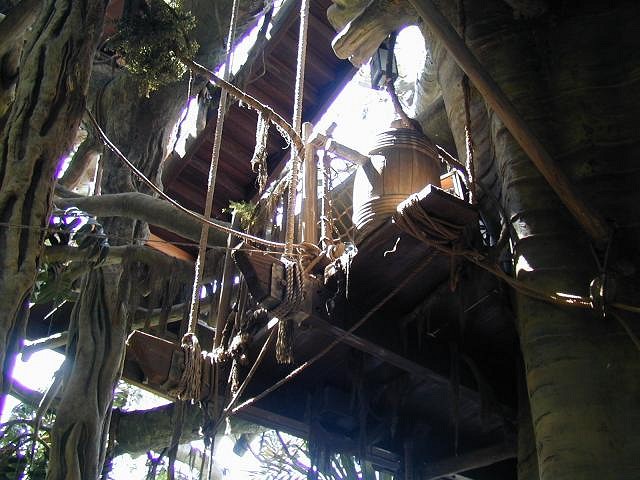
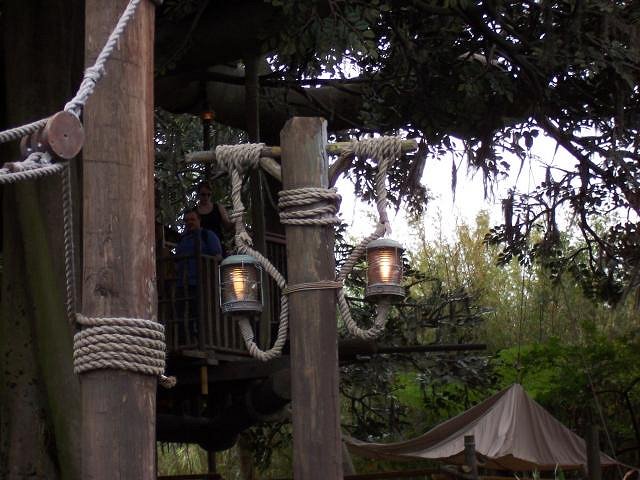
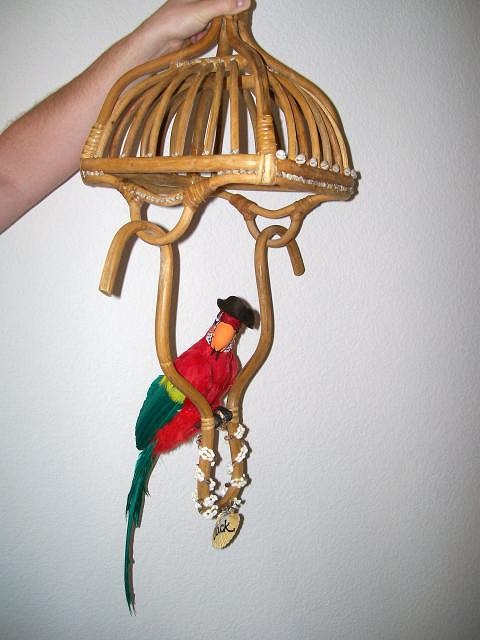
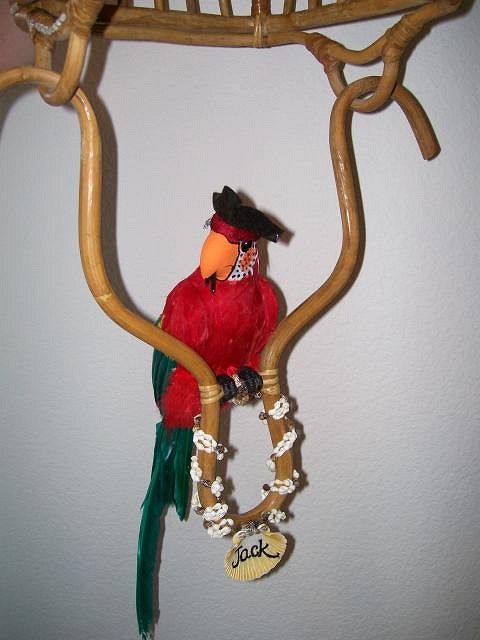
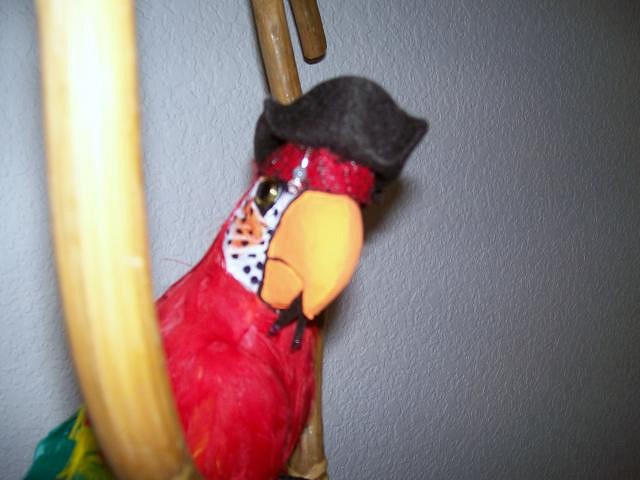
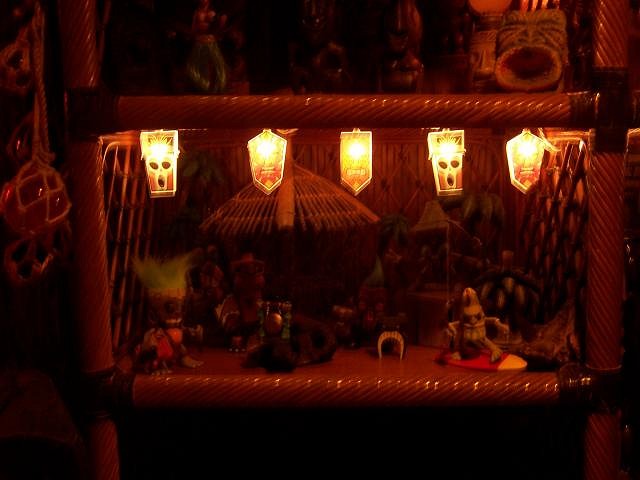
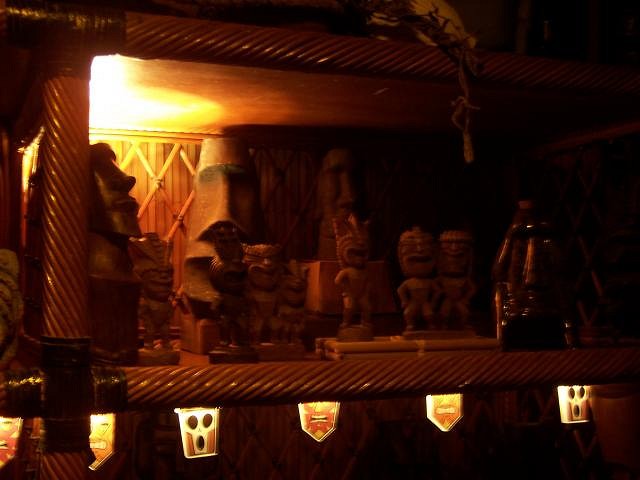
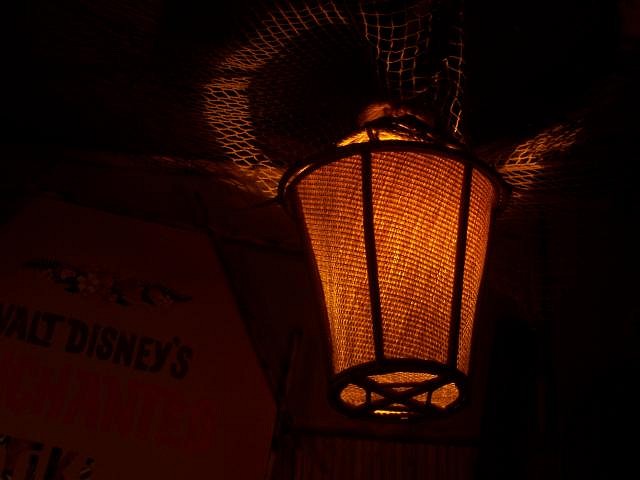
It's been a while since I posted any progress pics. I have done a lot more with the space since I last posted. However, I thought I'd post some pics I have taken over the years (specifically from Disneyland and Walt Disney World) that have provided the inspiration and a portion of the overall theme I am creating at the Kona Luanii.
|
|
T
tikienvy
Posted
posted
on
Mon, May 21, 2007 4:19 PM
You are quite an inspiration! I don't have space for a tiki bar in my home but am a huge tiki and disney fan, particularly of the tiki room and pirates. Your birds inspired me to make one of my own. It's kind of a tiki room meets pirates. Thanks again for the inspiration, your bar is looking amazing and look forward to your next update with pictures! Mahalo |
|
Z

ZuluMagoo
Posted
posted
on
Sun, Jun 3, 2007 10:38 PM
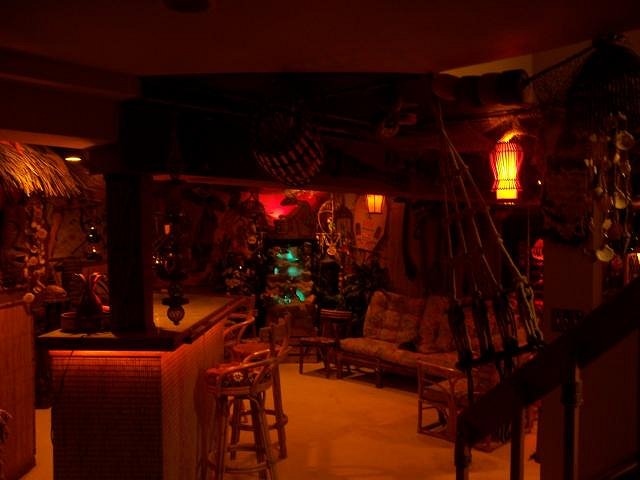
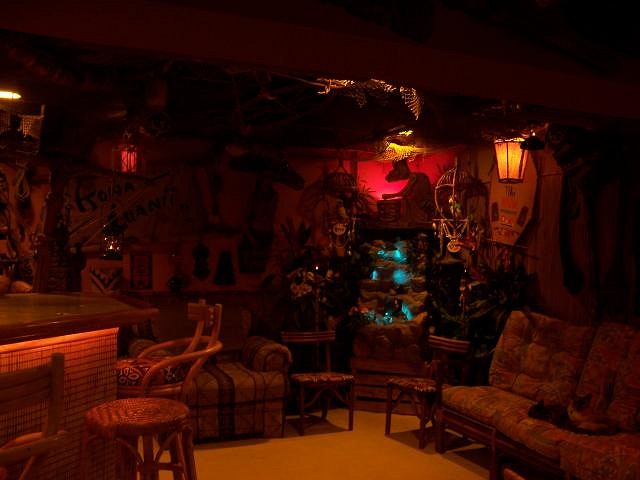
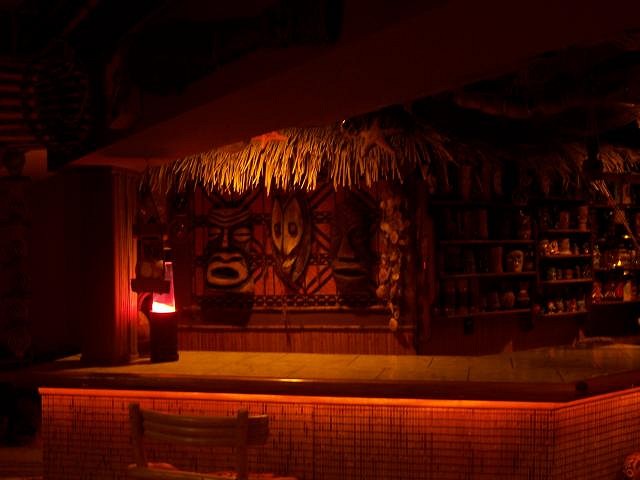
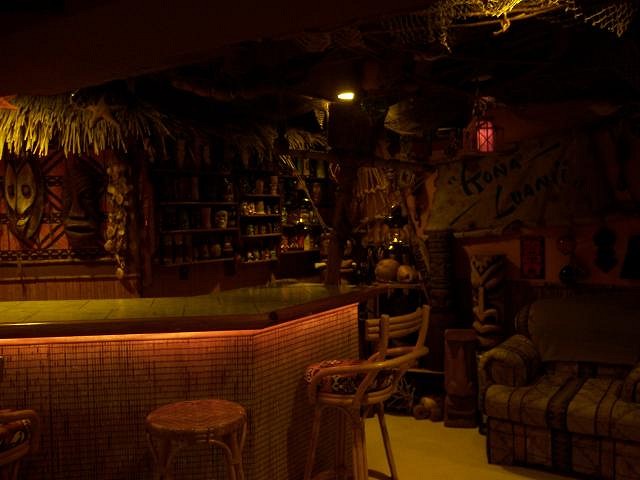
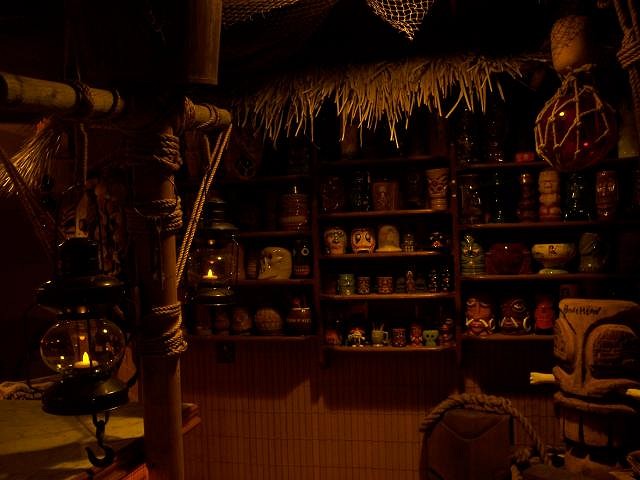
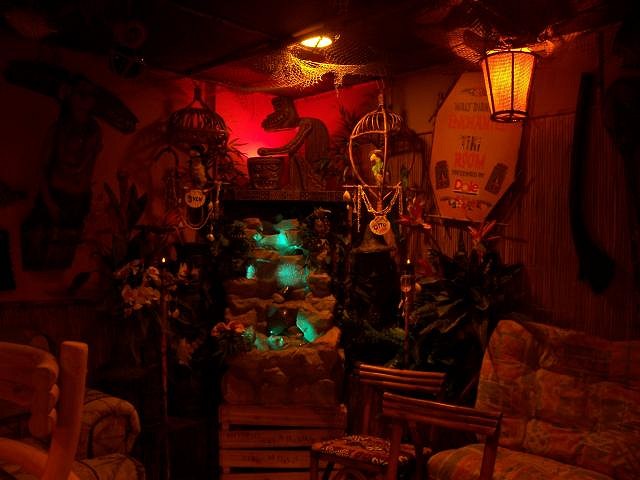
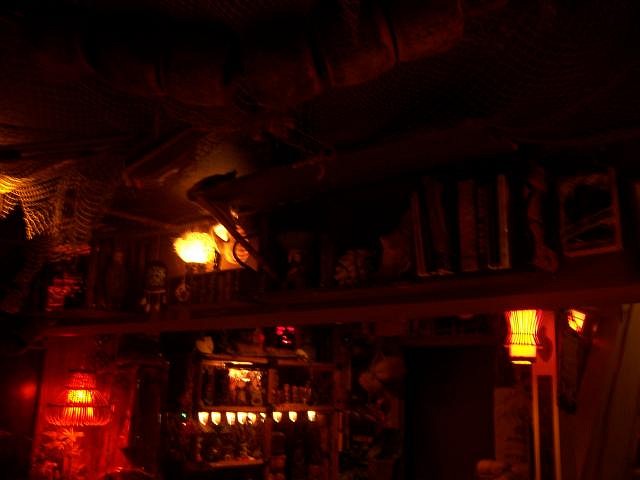
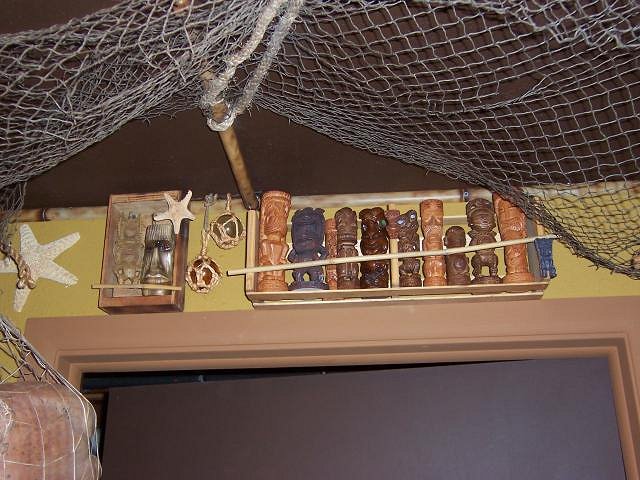
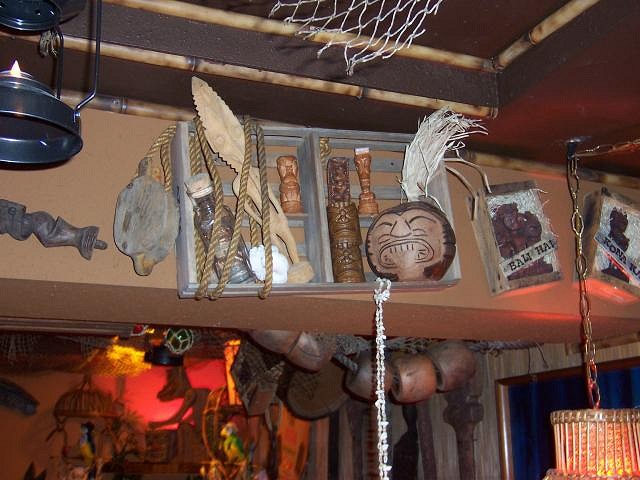
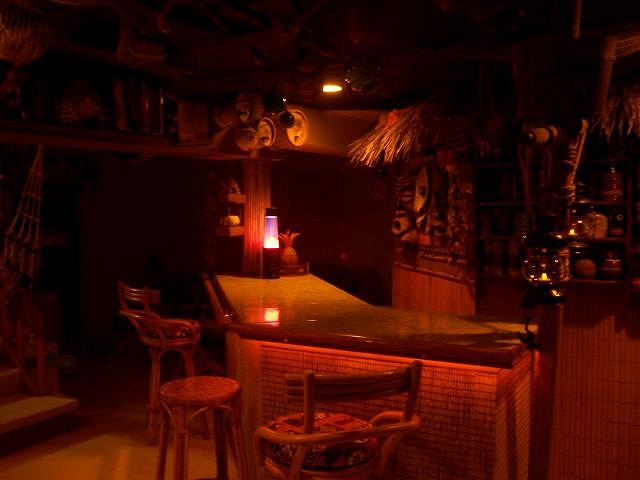
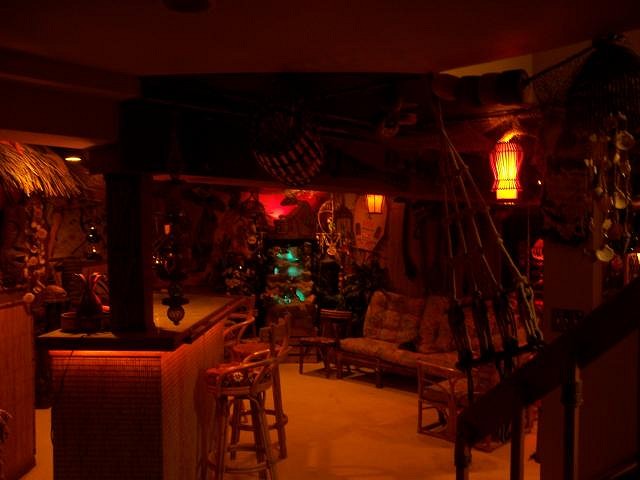
After almost a year's worth of work (started 4th of July 2006), the Kona Luanii is finished (almost). I still have to redo the surface of the bar top and recover the cusions on the loveseat, but other than that, complete. I cannot take full credit for this endeavor. My mom is an absolute HGTV addict and when I stared working on this project she jumped at the chance to help out. Thanks mom!!! Without further ado, the Kona Luanii......
[ Edited by: ZuluMagoo 2007-06-03 23:08 ] |
|
Z

ZuluMagoo
Posted
posted
on
Sun, Jun 3, 2007 10:44 PM
|
|
Z

ZuluMagoo
Posted
posted
on
Sun, Jun 3, 2007 10:48 PM
|
|
Z

ZuluMagoo
Posted
posted
on
Sun, Jun 3, 2007 10:51 PM
WHEW!!!! The pictures start to blend together after a while, sorry, I may have posted a few too many. Otherwise, any tikiphiles passing thru Denver are welcome to stop in for a visit. We would be glad to have you! Zulu |
|
P
Paipo
Posted
posted
on
Sun, Jun 3, 2007 11:20 PM
No way! I really enjoyed scrolling down and finding more and more corners of your bar to peer into. Just awe-inspiring.... |
|
TGT

The Granite Tiki
Posted
posted
on
Sun, Jun 3, 2007 11:25 PM
Congratulations on a stunning home bar!!!! Great work! |
|
P
Polynesiac
Posted
posted
on
Mon, Jun 4, 2007 12:12 AM
beautiful home bar - you should feel very proud of work, it looks great! I love the nautical spin you put on it. You can never post too many pictures, the more the merrier!!!! |
|
B
Benehune
Posted
posted
on
Tue, Jun 5, 2007 8:51 AM
Wow! Zulu, you should be very proud. That is a fantastic tiki/beachcomber room. I am inspired. I would love to visit: I will bring the rum. |
|
MB
Mr&Mrs BPHoptiki
Posted
posted
on
Tue, Jun 5, 2007 10:33 AM
Great home Tiki bar/room, Zulu. Thanks for sharing all the pics. Mrs Hoptiki |
|
N
nicolemdalton
Posted
posted
on
Tue, Jun 5, 2007 11:25 AM
Definitely one of the coolest basement bars I've seen in a long time. Many many kudos on this one! Really enjoyed all the progress pics and being able to see your creation process. Love all the detail! I wish I had a nice big space like that to play with, but for now I'll keep collecting items & ideas. Love the picture with the kid holding up the rope, haha. Those kids must really get a kick out of having their own tiki-ship in their basement! I know I would!! haha. |
|
Z

ZuluMagoo
Posted
posted
on
Tue, Jun 5, 2007 12:43 PM
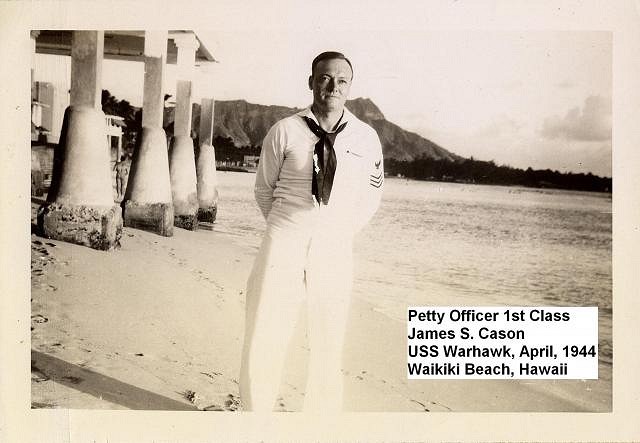
Thanks for the kind responses, my kids think it's a big tiki playhouse. I have this picture hanging in a special place in my bar, but wanted to show it here in detail. This is my grandfather standing on Waikiki Beach during shore leave while his ship was at Pearl Harbor. He was stationed aboard the USS Warhawk during WWII. The Warhawk was a supply ship that traveled the Pacific delivering troops and supplies to various ports in the Pacific theatre. He got to see first hand several exotic ports in the south seas, and like thousands of sailors returning from the Pacific theatre after the war, provided the spark here on the mainland that we know as Polynesian Pop Culture.
|
|
H
Helz
Posted
posted
on
Tue, Jun 5, 2007 1:55 PM
Zulu, Truly amazing work my friend. It's been fun watching the progress pics, but to see it in it's full splendor is something else. It is truly a high altitude oasis! I could spend hours pouring over the details that are in that room.... Fine work!
|
|
M
Matterhorn1959
Posted
posted
on
Tue, Jun 5, 2007 7:10 PM
Great work and I can't wait to see it in person. The details are great and the homages to the various tiki sites are fantastic. Can't wait to see the Disneyland fountain! |
|
TS
Tom Slick
Posted
posted
on
Tue, Jun 5, 2007 11:54 PM
Wow! Incredible job! |
|
M
Minerva
Posted
posted
on
Wed, Jun 6, 2007 11:55 AM
Wow. Just wow. I love what you've done with it. And that's so cool to display the photo of your grandfather. It's inspiring me to get off my duff and make some copies of my father's photos from New Guinea to display (he was another WWII Navy vet). |
|
Z

ZuluMagoo
Posted
posted
on
Mon, Jun 11, 2007 12:50 PM
I took some of the progress pictures and the final pictures, made a short film and set it to music. Brings it to life a little more. You can see the film here on YouTube. Zulu |
|
TM
Tipsy McStagger
Posted
posted
on
Mon, Jun 11, 2007 2:45 PM
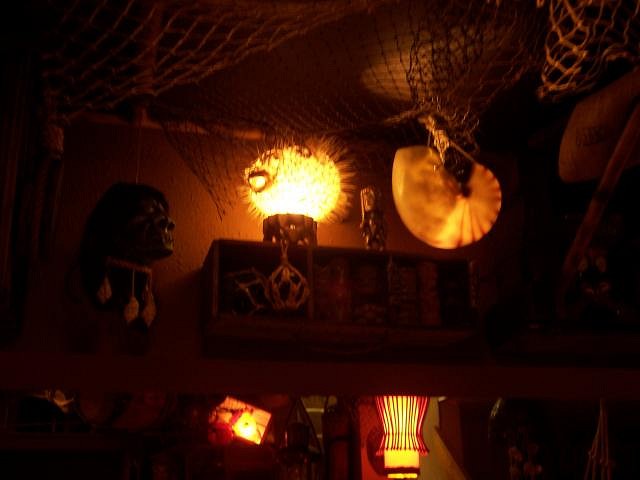
very very cool!! outstanding job....of course it's always nice to see my luau lantern peering out from the shelf in you bar!! |
|
TM
Tipsy McStagger
Posted
posted
on
Mon, Jun 11, 2007 2:49 PM
..has anyone else ever noticed how worn down diamond head is now when you see it in modern photos as opposed to older photos like these??? The elements have been workin it over real good over time smoothing out the rough edges.....or do we blame that on global warming as well??? |
|
Z

ZuluMagoo
Posted
posted
on
Mon, Jun 11, 2007 2:51 PM
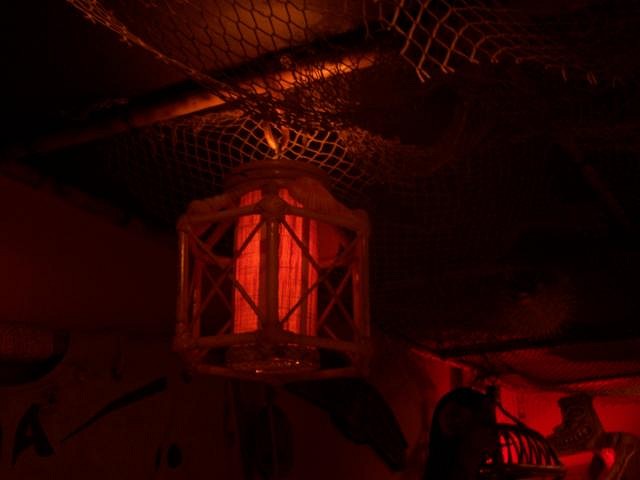
Tips - I bought that lantern from you many years ago. It was outdoors for years with a can of sterno for burning, now has now moved indoors into a more friendly environment with a red light for show. Zulu |
|
P
Paka'a
Posted
posted
on
Sat, Jul 21, 2007 9:14 PM
I am highly impressed, you have truly raised the bar. Well done.. |
|
E
elevatorman
Posted
posted
on
Sat, Jul 28, 2007 1:14 AM
Very nice job! I would love to come by and see it sometime. Just signed up and was looking for anything in Denver, and your basement looks like the best place there is. |
|
H
hewey
Posted
posted
on
Sat, Jul 28, 2007 7:10 PM
Wow man, those finished pics are impressive! The bar's a total credit to you and your talents :D |
|
Z

ZuluMagoo
Posted
posted
on
Sun, Jul 29, 2007 10:22 PM
Thank you all for the nice comments. Phase II (the other half of the finished basement and finished bedroom) to begin at a later date. Currently the area is used as a kids play area. Elevatorman, it is always good to find other local tikiphiles. I hope you can join us at one of our gatherings, they always turn out to be a lot of fun. Check out the Events forum, we have a Denver thread with all of the local happenings. Also, PM me your email address and I will add you to the Denver Exotica email list. I send out occasional emails about local events, etc. |
|
B
burleyque
Posted
posted
on
Fri, Sep 14, 2007 10:26 AM
Holy Moly! I'm so impressed! And inspired!!! |
|
T
Tiki-Atari
Posted
posted
on
Fri, Sep 14, 2007 12:39 PM
Kudos to you! Definitively spectacular. Some of those techniques will be used when I get to the next step of my home bar in a few weeks. (Particularly the blowtorch. Inspired!). The water feature is particularly gorgeous. |
|
V
VampiressRN
Posted
posted
on
Fri, Sep 14, 2007 5:50 PM
Very inspiring indeed. Such great attention to detail. Have ya been drinking in there. :lol: |
|
H
Helz
Posted
posted
on
Fri, Sep 14, 2007 9:37 PM
As a matter of fact, I have. All I can say is the pictures do not do it justice. The place is truly fantastic! |
|
C
closettiki
Posted
posted
on
Fri, Sep 14, 2007 11:06 PM
WOW...im impressed...for a home bar ...i could call that home....kudos and seal claps.....WOW |
|
I
irishf
Posted
posted
on
Fri, Dec 14, 2007 9:19 PM
Thanks so much for the inspiration. My husband and I are completely remodeling a California style split level ranch in Athens, GA with a retro and tiki bar theme. Your photos give me hope and ideas for the possible. Right now our entire home is a construction zone, we are doing it ourselves. Using the battery operated candles is pure genius. I love the sail you made. |
|
J
JohnnyVegas
Posted
posted
on
Sun, Dec 16, 2007 4:08 AM
Thanks for putting up all the photos. I am currently finishing my basement with the target of a tiki bar as a broad theme, but a little lighter look. That said you have done an awesome job and given me a great bunch of ideas that I will try to include. Regards, JohnnyVegas |
|
CV
Carmine Verandah
Posted
posted
on
Tue, Dec 18, 2007 9:19 PM
Having enjoyed the finished premises personally, it was quite thrilling to see the "before" and "during" photos. Bravo, Senior Zulu! And I must say, those Christmas touches at the cocktail party -- the Santa hat on the blowfish, the little wreath around the shrunken head, etc. -- really gave the place that festive holiday spirit! |
|
MR
Matt Reese
Posted
posted
on
Sun, Jun 15, 2008 1:33 PM
Decided to give this thing a bump. This has gotta be one of the greatest tiki environments ever! People are constantly looking for examples as they start their own places. And since we know using the search feature can take a lot of time here is one for all the people building their places this summer. |
|
UB
Unga Bunga
Posted
posted
on
Sun, Jun 15, 2008 2:00 PM
Zulu! By the way, I still enjoy your Tiki guide of So. Cal.. |
|
Z

ZuluMagoo
Posted
posted
on
Wed, Apr 29, 2009 8:59 PM
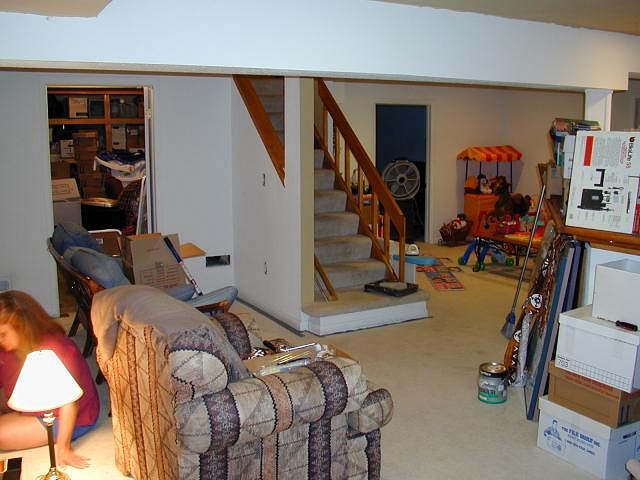
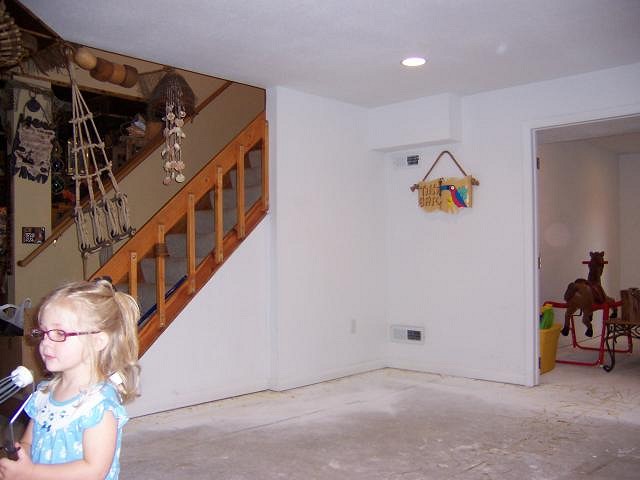
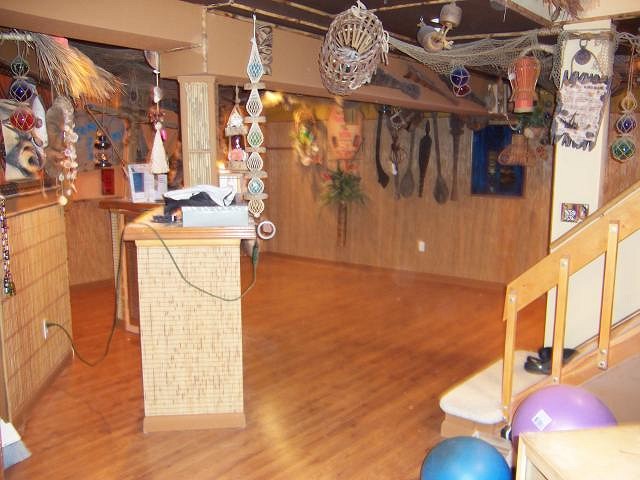
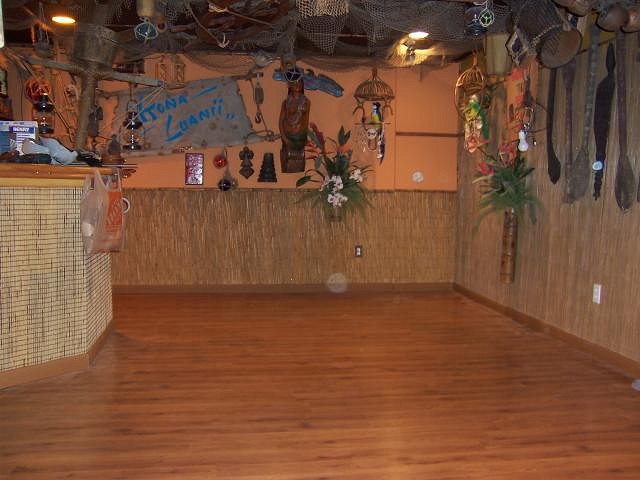
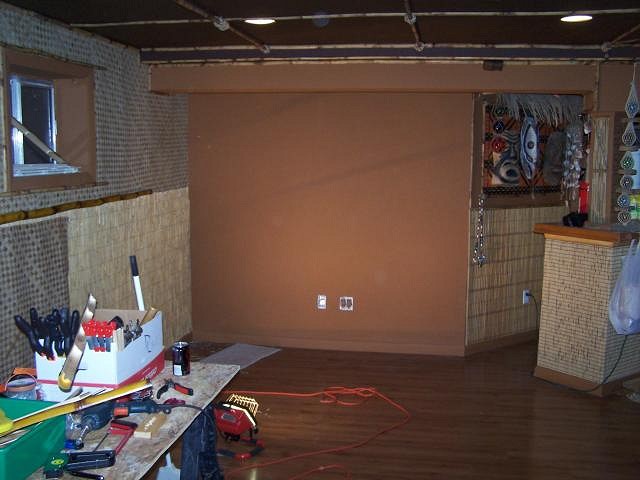
It's been a few years now and the Kona Luanii has hosted some great parties and get togethers. Time for the next phase! The other half of my basement (Phase II)has been offf limits since I started back in 2006. We kept the kids big toys on that side and left it as a play area for them. I have been waiting for them to outgrow this stuff to expand the Kona Launii and the time has finally arrived. After getting rid of stuff at garage sales and Goodwill, Phase II is empty and ready for tikification.
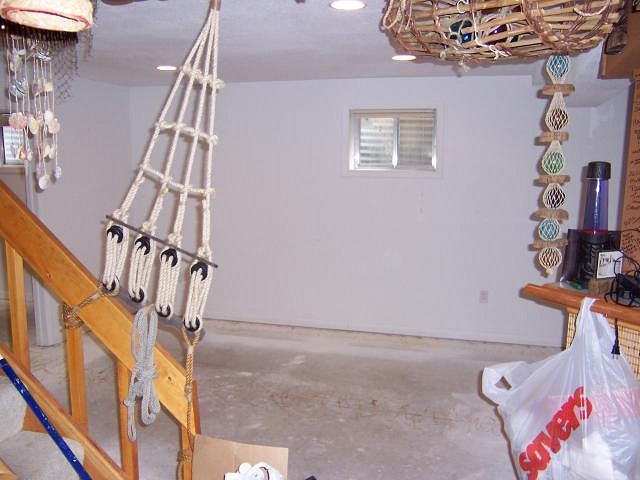
The big decision this time around involved the existing white carpet. I hate it down there in the basement, so I took it out and started from scratch.
Looking from the other end of the room, can you spot the dividing line between Phase I and II?
The other half of Phase II ready to go.
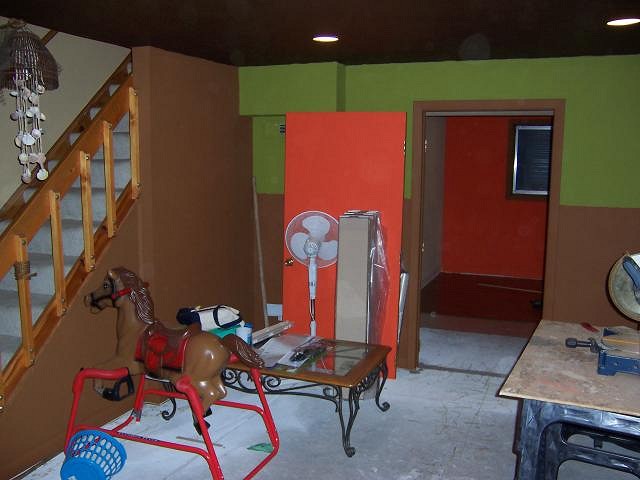
So the painting begins (with a little help from the kids). So much easier to do the celing when it's empty
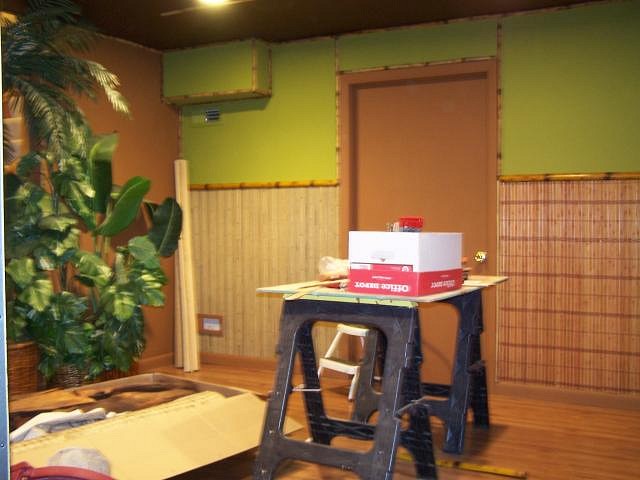
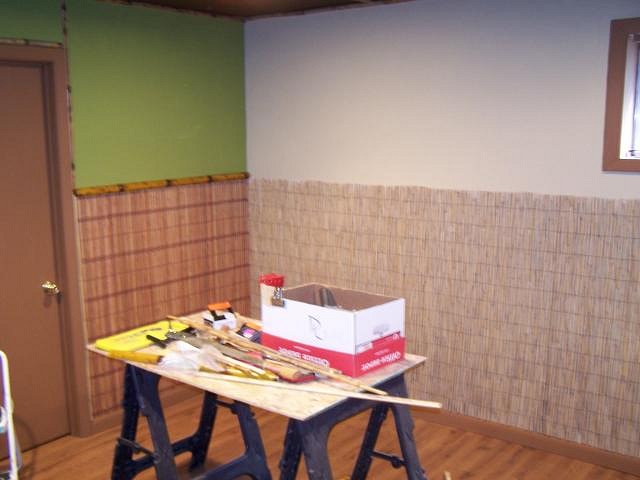
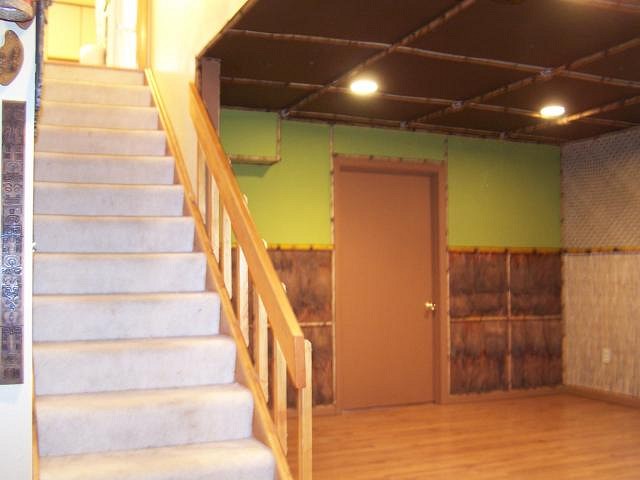
Using more orange, brown and lovely avacado green! After the painting was done, I started laying the laminate flooring in the back room (Phase III - to be discussed later)working my way out.
Flooring complete in Phase II.
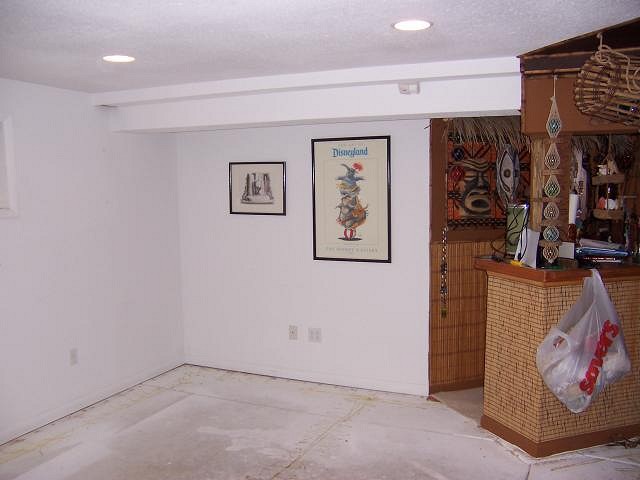
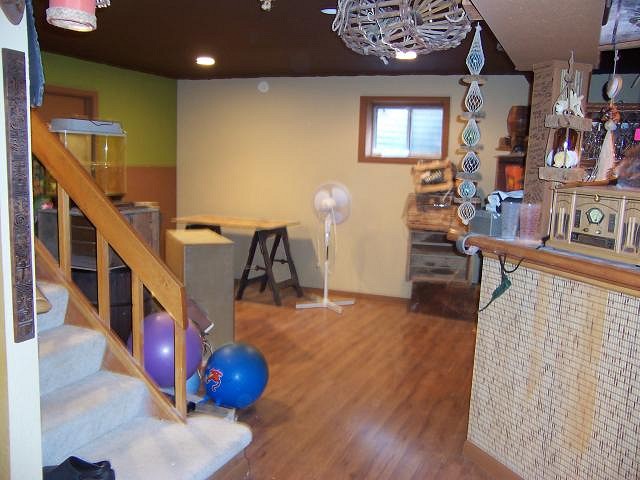
My biggest decision still revolved around the white carpet that was left in the Phase I portion. I ultimately deceided to go for it, rip it all out to make the entire basement look top notch. But, of course that meant dismantling my existing tiki room. It was a tough decision, but I did it. This was the completed room with the white carpet.
Same room just completed and redone with the new flooring.
Now that the flooring is finished, I can bring the stuff back in and redo the decor.
Phase II is now ready for wall treatments, celing treatments, etc. I have some great ideas of things to come for this side of bar.......... |
|
B
burleyque
Posted
posted
on
Tue, May 12, 2009 10:15 PM
It'll be easier to clean up the sticky tiki drinks too! |
|
Z

ZuluMagoo
Posted
posted
on
Wed, Jun 3, 2009 5:54 PM
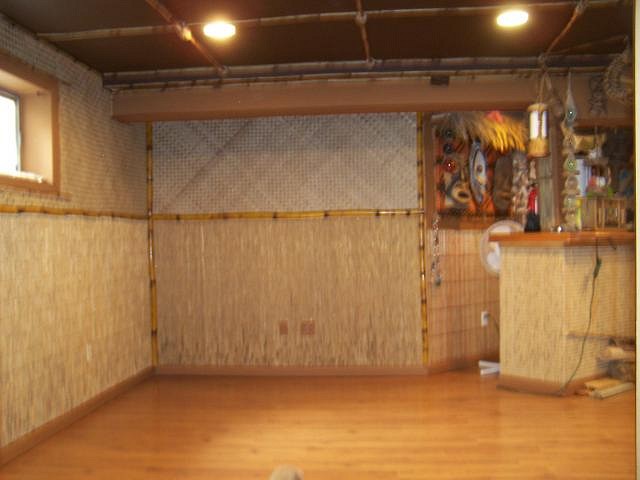
Have started trimming out with wall treatments and bamboo trim...
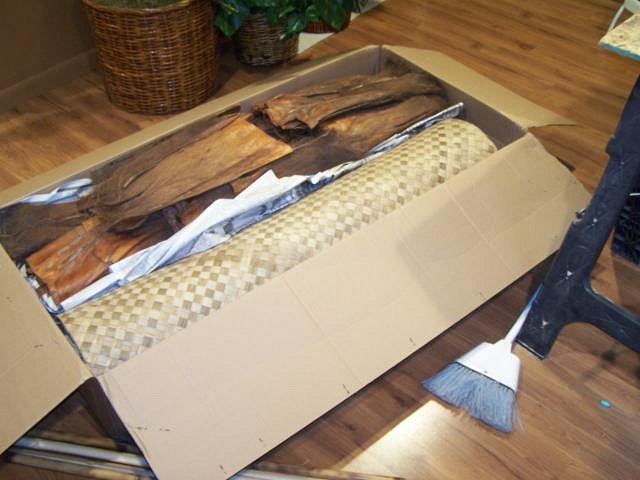
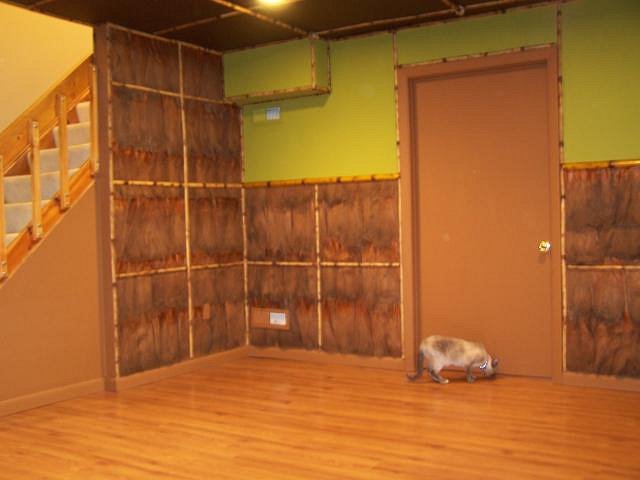
And a box of goodies showed up today from Benson's Import in Huntington Beach, CA (luahala matting, palm thatch and coconut palm fiber shingles). Shipping was kind of expensive, but what can you do when there is no local supplier?
|
|
P
Paipo
Posted
posted
on
Wed, Jun 3, 2009 6:18 PM
Still one of my favourite ever home projects - I can't wait to see your complete vision unveiled! That bamboo looks great with the avocado...I have pretty much the same colour on the walls in my workshop and my bedroom. Not sure I'd get away with bamboo in the bedroom (though I do have a tiki lamp and a topless wahine velvet on my side) but I can now see how cool it would be in my shed. |
|
BBS
Beach Bum Scott
Posted
posted
on
Tue, Jun 9, 2009 1:41 PM
Looking good there Zulu!!! I feel ya on that shipping it's the reason I went with the reed fencing for the walls... Oh, I just noticed that Savers bag no wonder I never find anything there!!! [ Edited by: Beach Bum Scott 2009-06-09 13:43 ] |
|
Z

ZuluMagoo
Posted
posted
on
Tue, Jun 9, 2009 8:27 PM
A good local source for bamboo (well sort of local) is McGuckins Hardware up in Boulder. That's where I got all my bamboo. But I had to do all the torching and splitting myself. |
|
MR
Matt Reese
Posted
posted
on
Mon, Jun 22, 2009 8:26 PM
Man, you guys come up with some of the most creative ideas. Keep them updates rolling in! Every time I see the stuff you do I get all motivated to build more stuff at my place. One word... fantastic. |
|
TK
Tiki Kupcake
Posted
posted
on
Mon, Jun 22, 2009 9:09 PM
Looking good! |
|
Z

ZuluMagoo
Posted
posted
on
Tue, Jun 23, 2009 6:25 PM
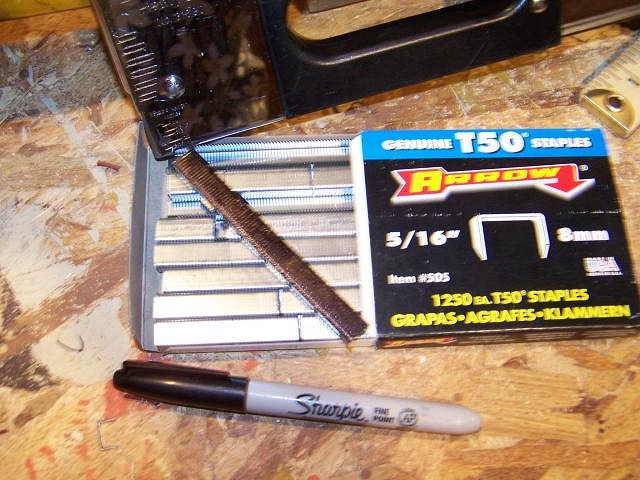
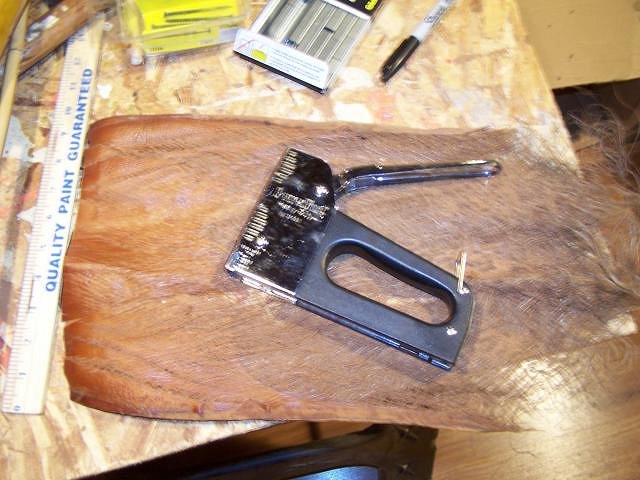
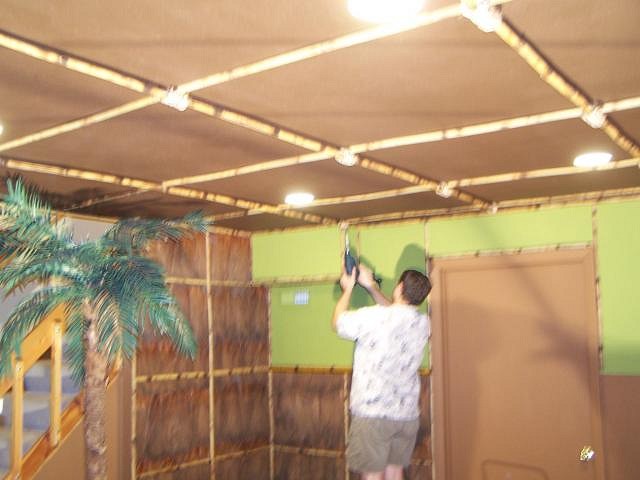
One of the items I got from Bensons was coconut palm fibers. I wanted to try them on the wall like shingles. So I got out the staple gun (hint, color the top of the staples before loading into your gun so they don't show up on the fiber, I used a Sharpie).
Here are the fibers. They are pretty big, very lightweight and very easy to install!
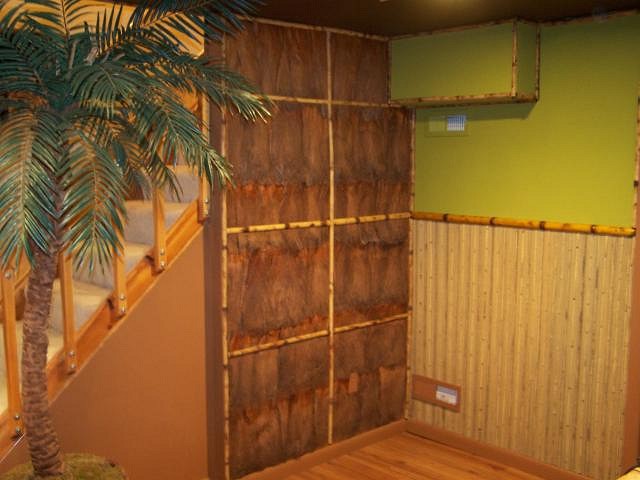
Once I had the wall covered with the coconut fiber, it looked like a giant bear skin rug! It looked really funny. So I had to trim down the really fuzzy fiber parts and added some bamboo trim. I liked the way it eventually turned out, so I continued around onto another half wall.
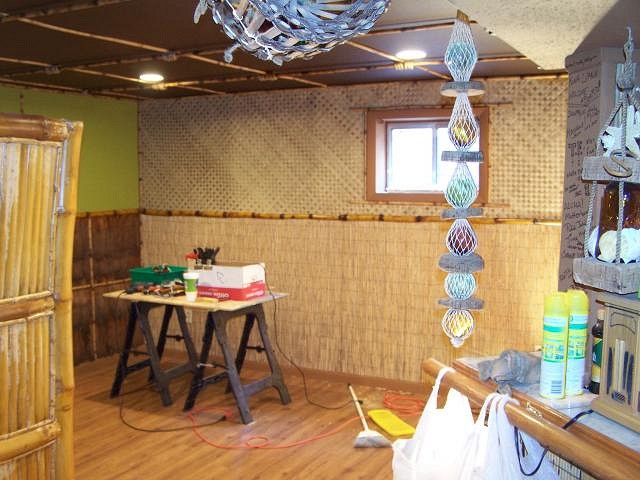
I also finished putting the half rounds and full poles onto the ceiling. I use the poles to hang nets, cargo, lamps, etc. (coming later).
|
|
T
Tiki-Kate
Posted
posted
on
Tue, Jun 23, 2009 6:32 PM
You make me want to have a better house. I love the way the wall turned out. Thanks for sharing all of this, Mike. |
|
Z

ZuluMagoo
Posted
posted
on
Sun, Jun 28, 2009 9:17 PM
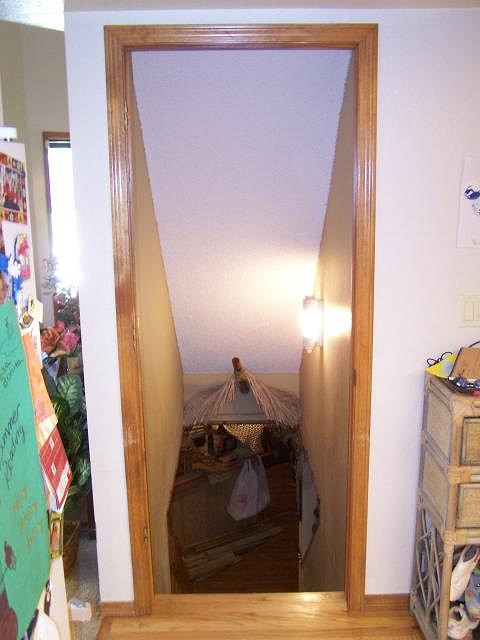
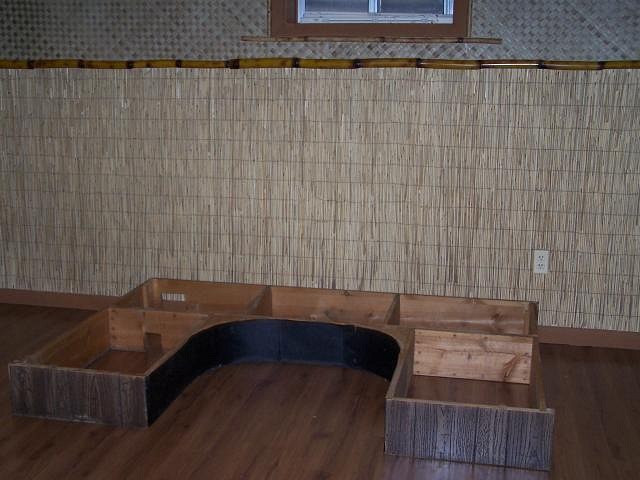
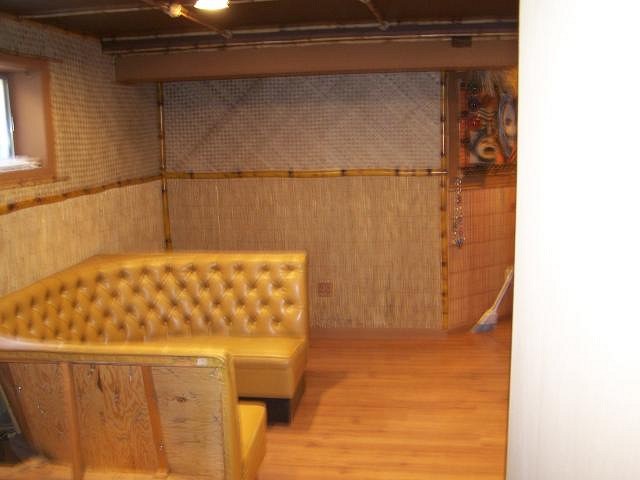
All of the prep work is now complete for Phase II (refloored, repainted, all wall trimmings are done).
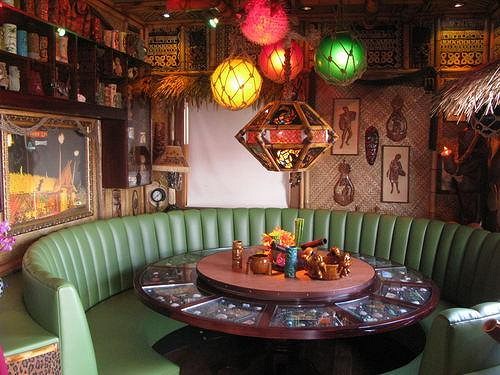
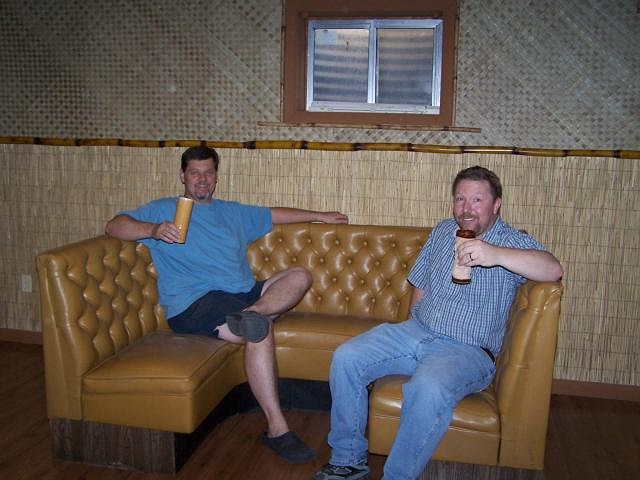
Now I'm ready to start with the fun stuff/decor. Last fall Bamboo Ben posted some shots of the Tonga Lei tribute roomhe worked on for the Malibu Pier restaurant. I was inspired by what he did with the round booth!
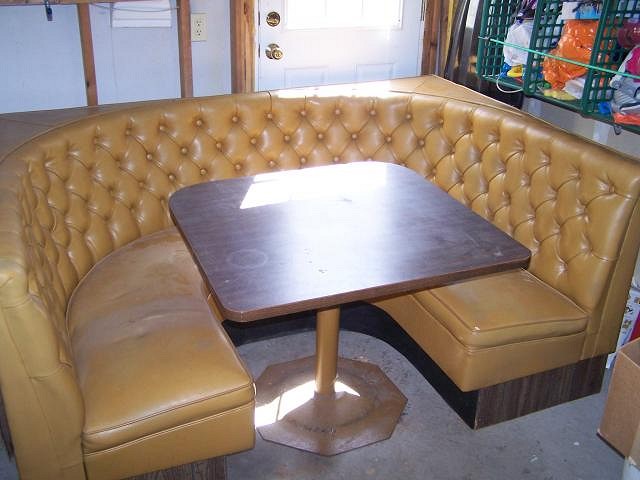
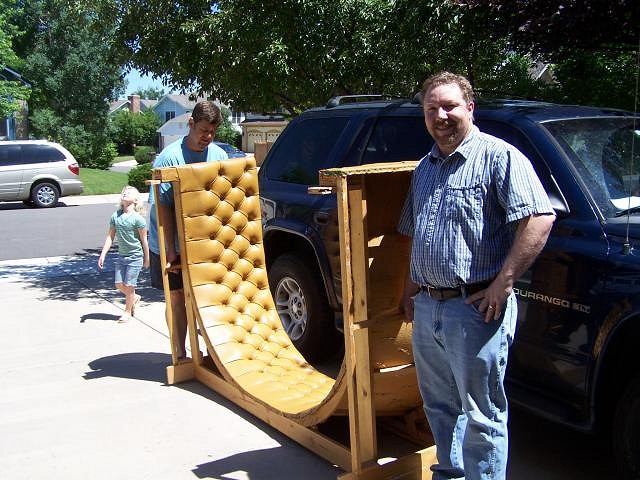
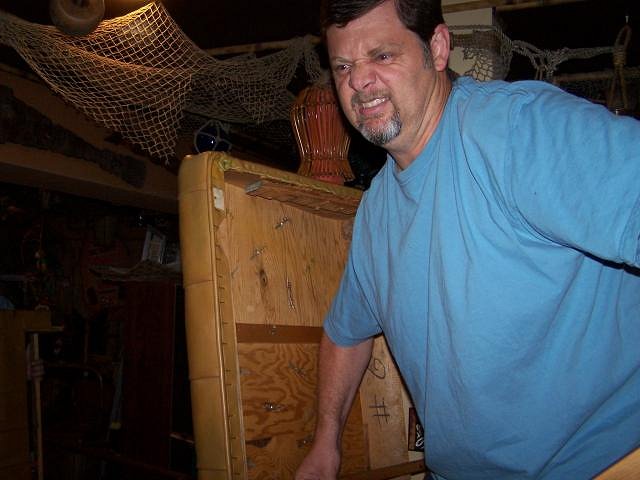
So I started searching Craigslist looking for a restaurant booth to make the centerpiece of the Phase II expansion. I had a little luck , but all of the listings were for standard rectangular booths. Then, a few months later I found this beauty at an estate sale. It is in almost perfect condition (one small tear on the seat which is being repaired). I got the booth and the table for $80. I brought it home and stored it in the garage until the flooring, painting, trimming was complete.
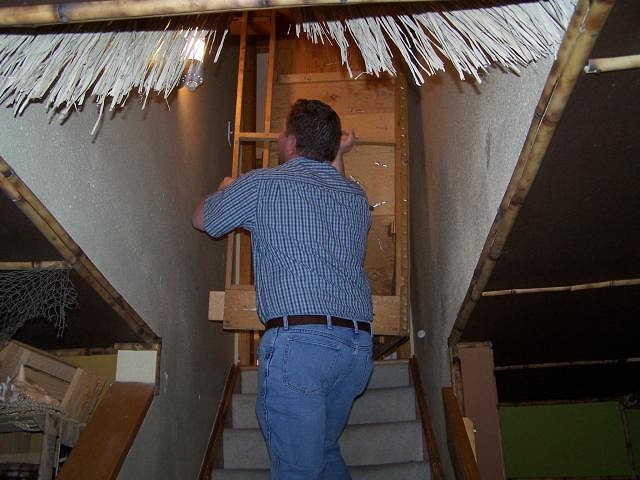
Fortunately, the booth comes apart into three pieces.
|

