Pages: 1 2 3 4 5 6 7 8 9 10 460 replies
|
C
cy
Posted
posted
on
Tue, Oct 27, 2015 8:07 AM
Your on fire swiz, great work!! |
|
S

swizzle
Posted
posted
on
Fri, Oct 30, 2015 6:08 PM
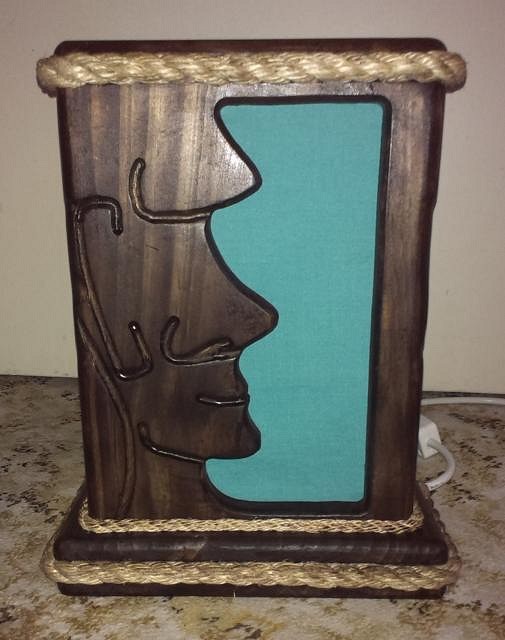
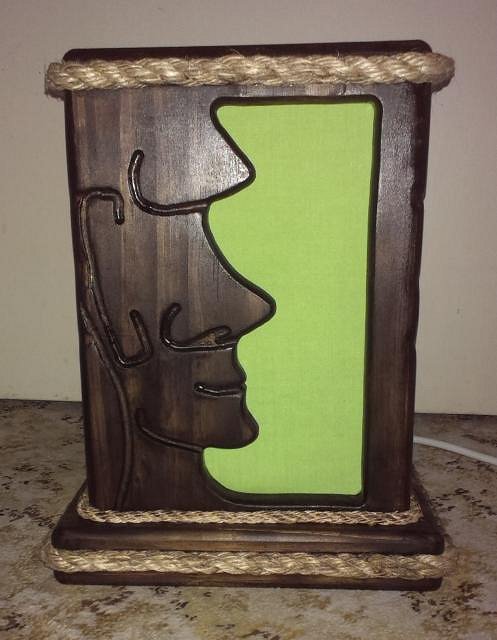
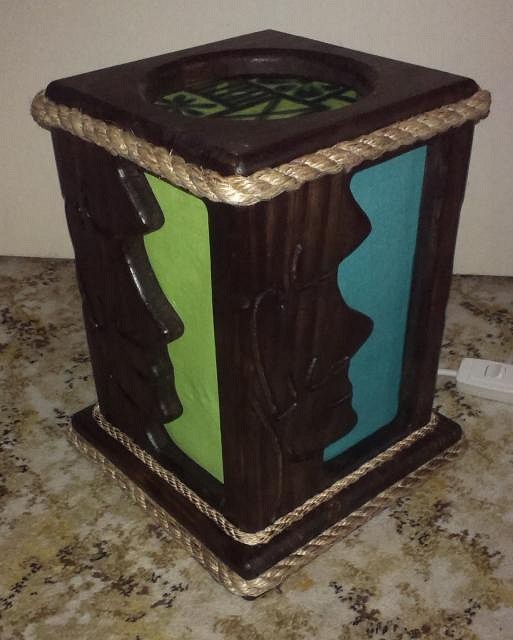
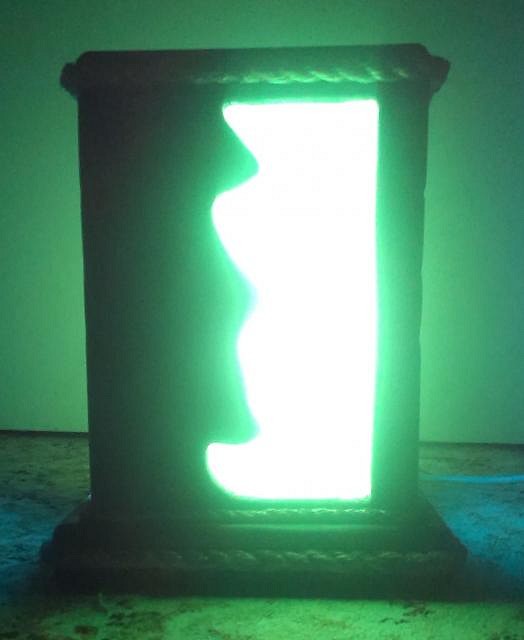
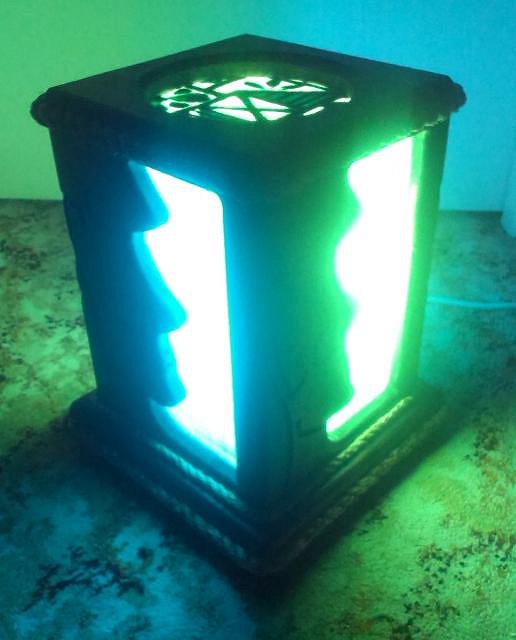
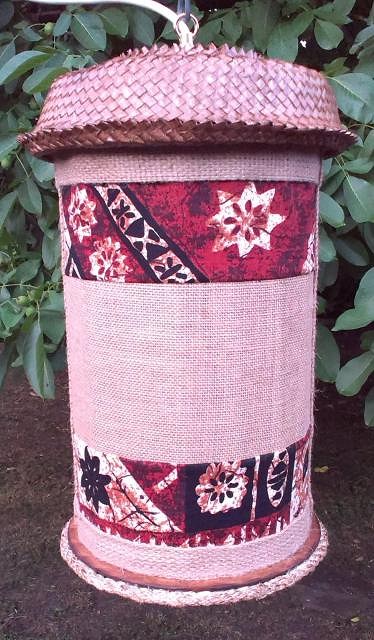
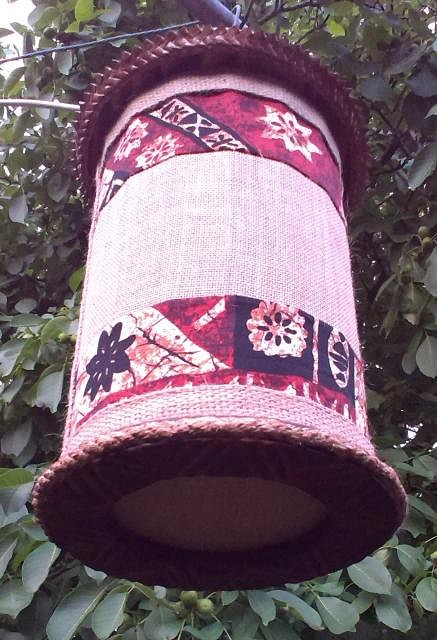
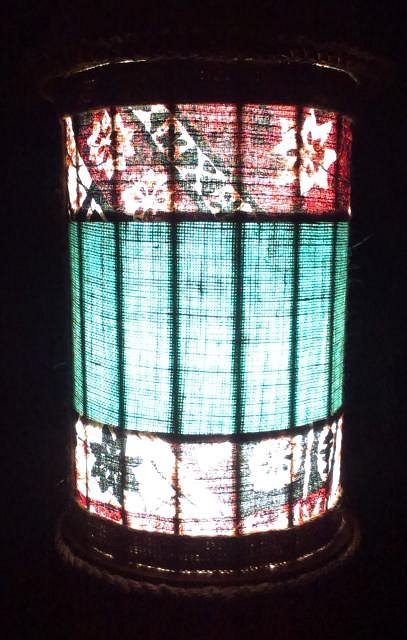
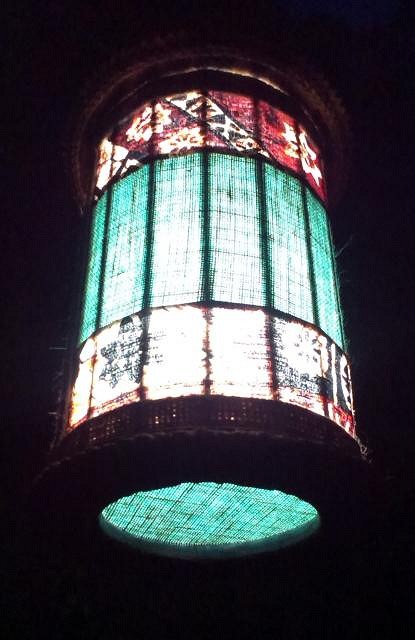
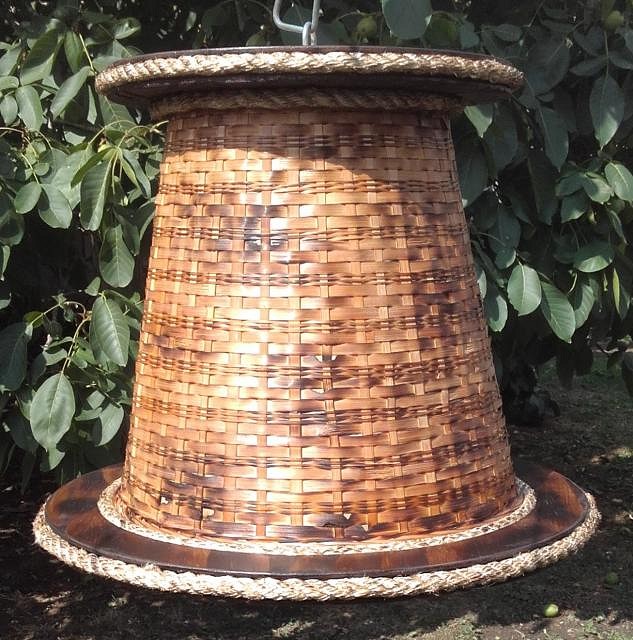
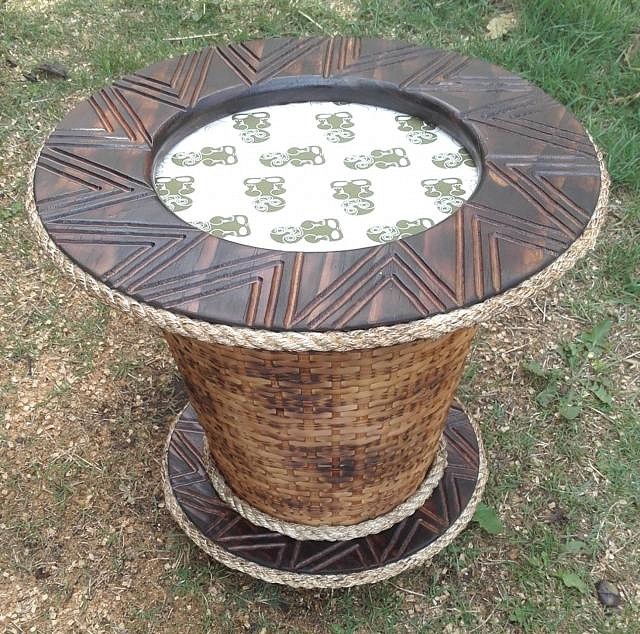
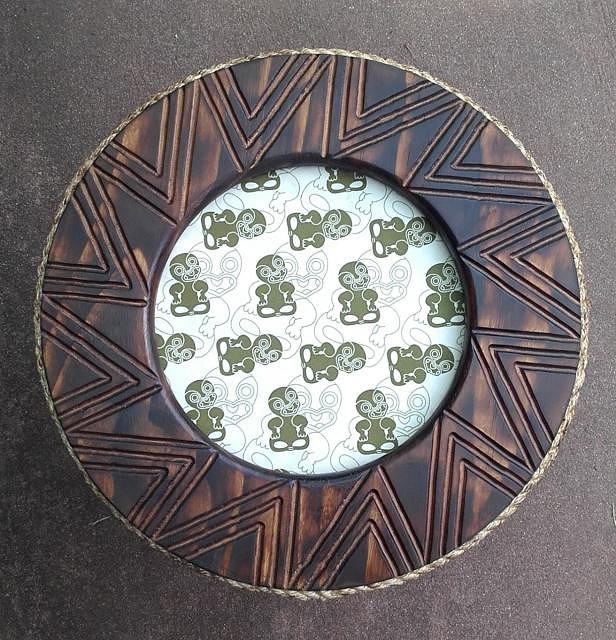
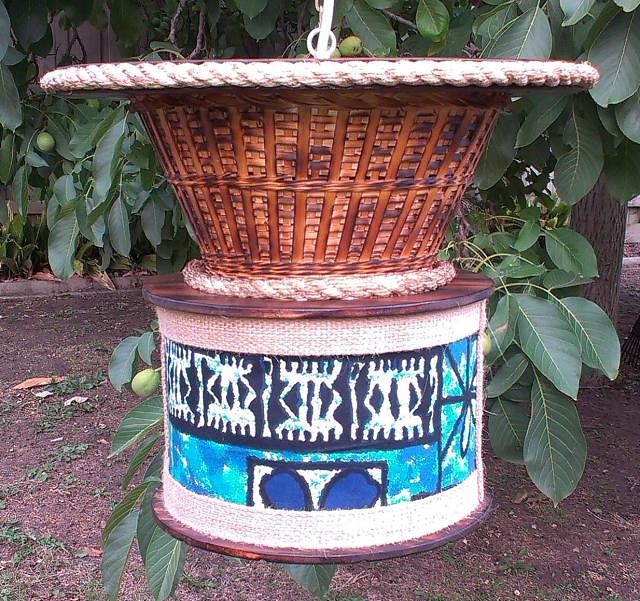
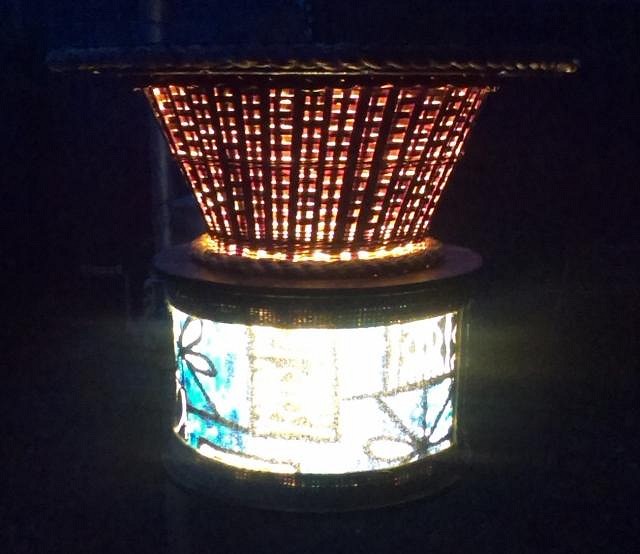
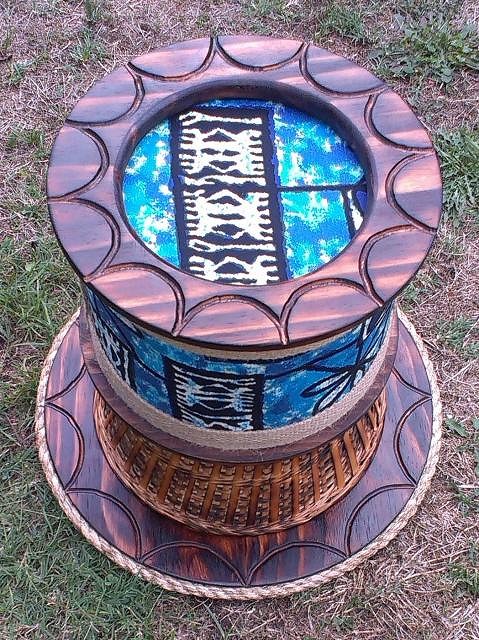
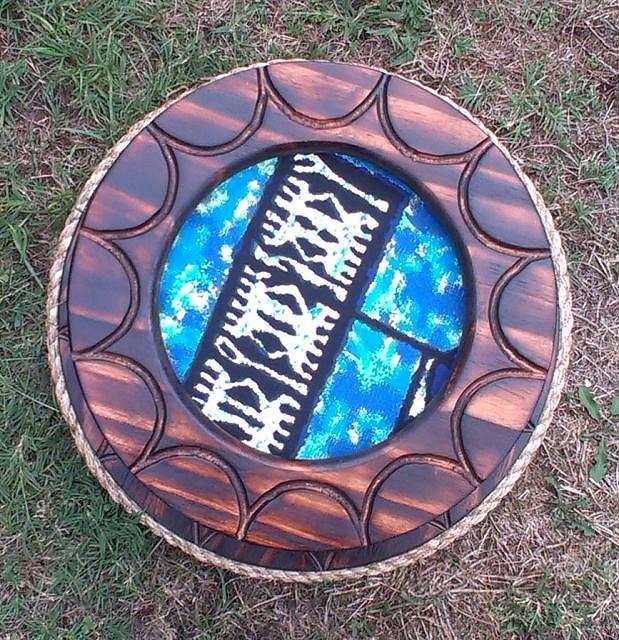
Thank you Wendy. I'll have a go at anything and some mediums i feel quite comfortable, and enjoy, working with. Wood is one of them. As a kid i was always making ramps to go off on my B.M.X. and then skateboard when i took that up. Now that i'm older i'm just making different things. Thanks tikiskip. I'm having fun making these lights and as i'm not working at the moment it's a good way to fill in the day. I found another trash basket the other day and realised i need to stop buying them for a while and start using them, as i have quite a few laying around in different parts of the house. I just hope i'll be able to sell a few, just to recoup my costs on materials and all the tools i've bought along the way to make them. As long as it's only me and not the lamps that are on fire (see above), then that's all that matters :lol: Cheers cy. =============================================================================================================== I had a couple of friends comment that i should make some table/desktop lights as well, not just hanging ones, and finished this one yesterday. I had already had half the pieces for this one ready as i did them at the same time as the previous light, i just had to assemble it the opposite way and work out how to make the base. It threw a few curve balls at me, which i now know how to deal with for the next one, and there's also a couple of flaws which might not be noticable to anyone else but i know what i did wrong and also what i need to do to eliminate them in the future. I also made one really big screw-up right at the end which nearly ruined the whole light, but thankfully i was able to fix it. So here is light #6. Again, the photos of it lit up don't do it justice. It looks much better in person. Not sure how much i'll get done over the next week as we are expecting rain for the next several days, but there are certain things i can do inside so light number #7 shouldn't be too far away. Cheers |
|
S

swizzle
Posted
posted
on
Thu, Nov 12, 2015 4:14 PM
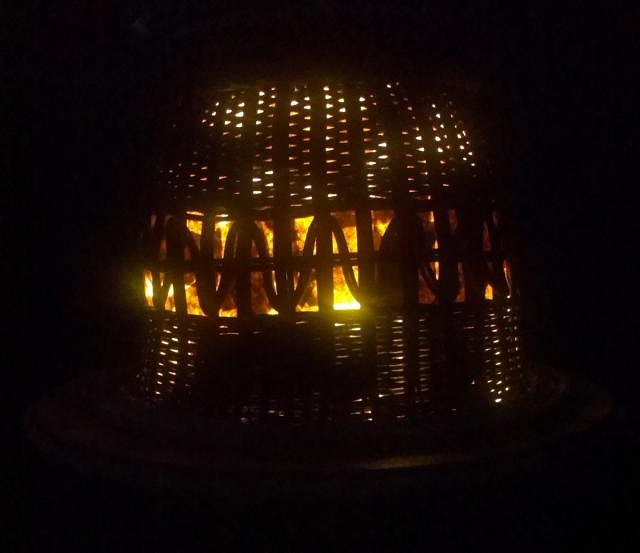
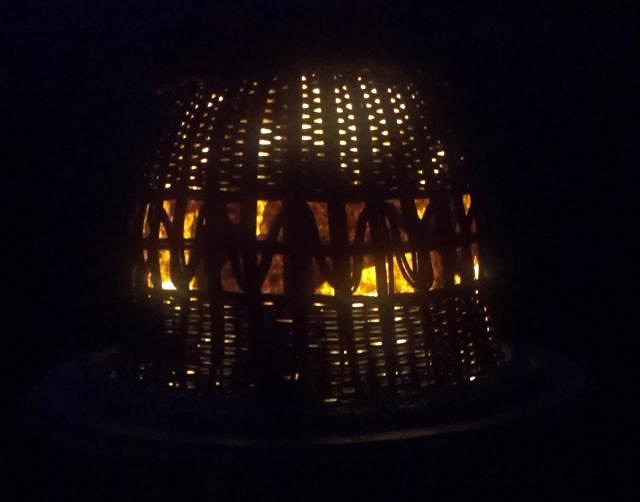
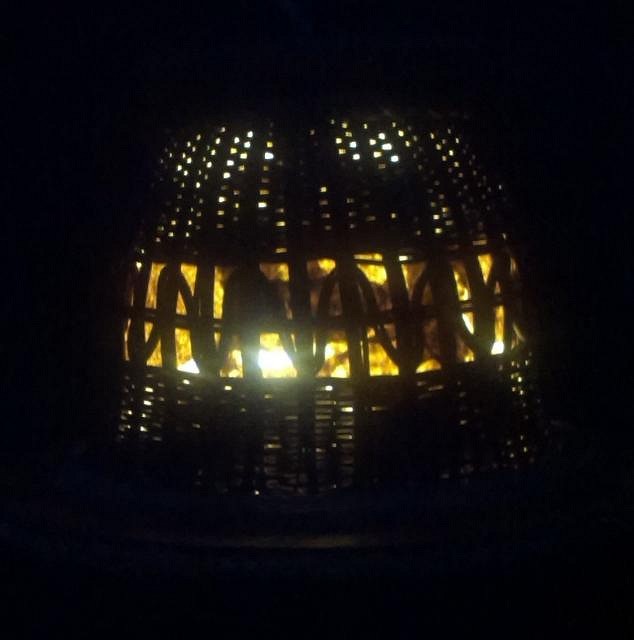
Finished off a couple more lights this past week. Here's the first one. It's body is a wicker/cane basket i found in a thriftstore and because of the shape of it i knew i would have problems lining it with fabric so i decided to tear up strips of brown wrapping paper and glue that to it. Because of the different amount of layers i put on it, as you can see by the pics it's quite patchy as the light shines through but it gives it a rustic, kinda tapa-ish, look that i quite like.
And here's the second one. I'm really happy with how this one looks lit up, considering i screwed up the fabric and had to do it again. Measure twice, cut once. I did measure twice but obviously wrong. :D
More in the works still to come. Cheers |
|
B
Beachbumz
Posted
posted
on
Thu, Nov 12, 2015 8:41 PM
Robbie they all are great bro!! |
|
S

swizzle
Posted
posted
on
Thu, Nov 19, 2015 5:30 PM
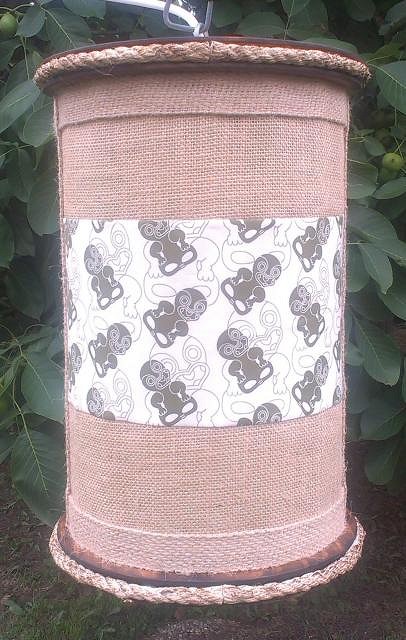
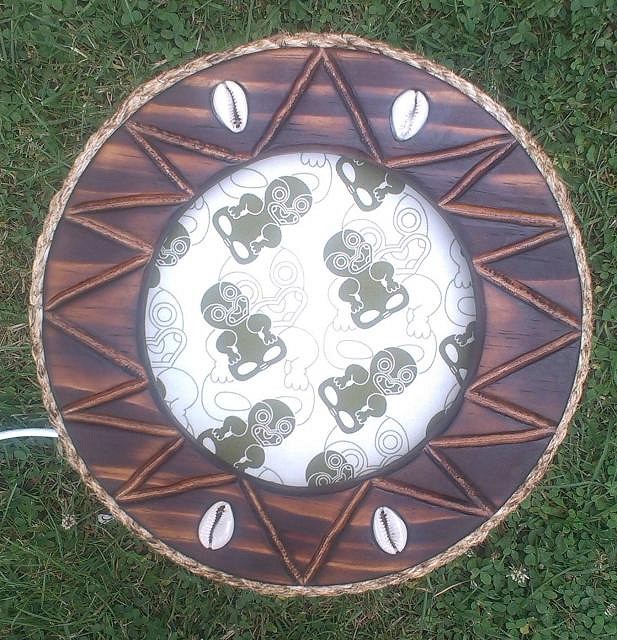
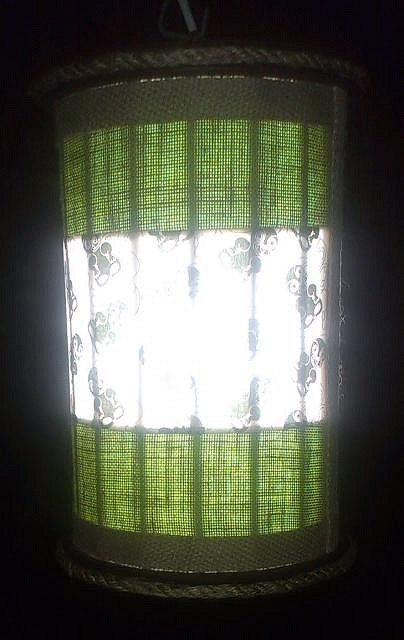
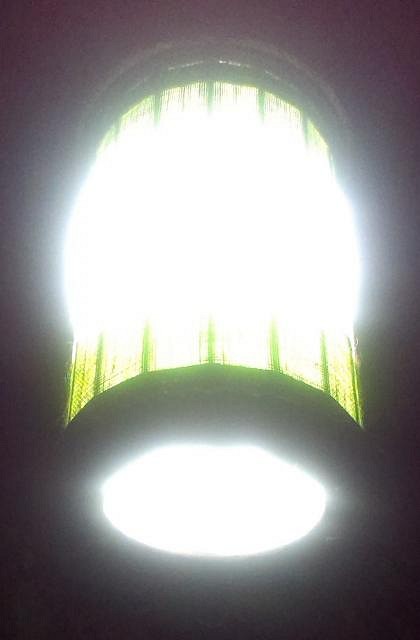
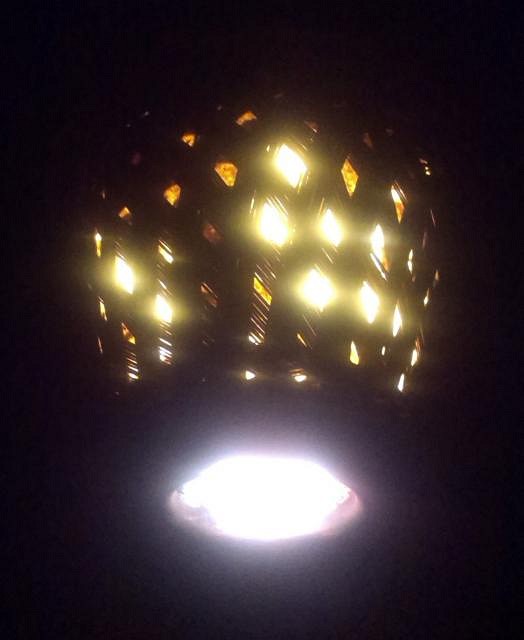
Thanks Beachbumz my buddy. I'm pretty happy with the moai myself. I have something similar but different on it's way which i'm loving so far. I wonder what you'll think. ================================================================================================================ Here's a couple more lights i finished last night and then something a little different. Another one of the cylinder type lights i've already made a few of, this one with a fabric with hei tikis from New Zealand on it. I have no idea how, but i finally ended up with a good shot taken at night with the light on where you can actually see the fabric pattern, not just a white blur like all the other night-time shots. (Exactly like the pic next to it :lol: ).
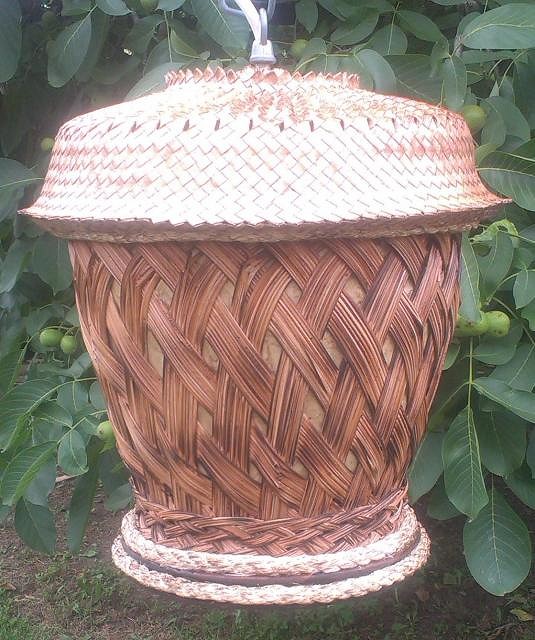
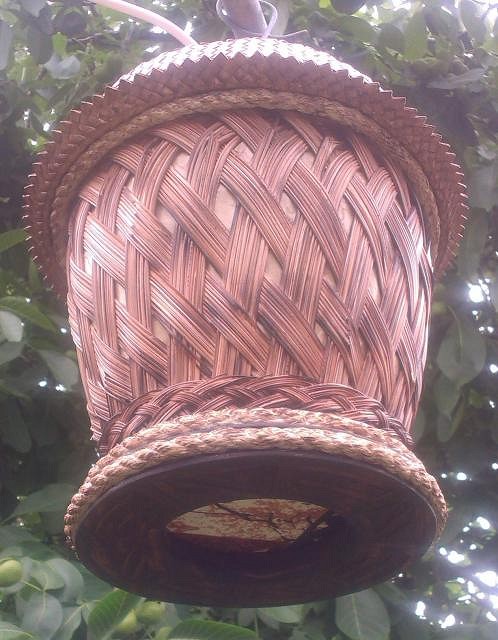
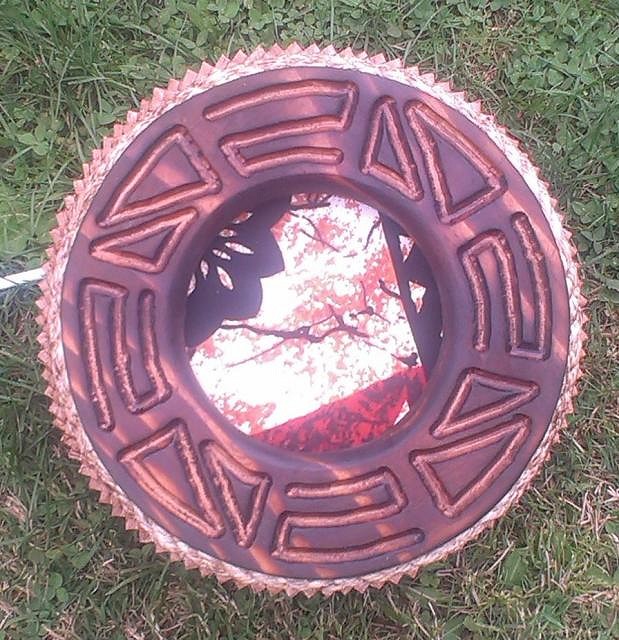
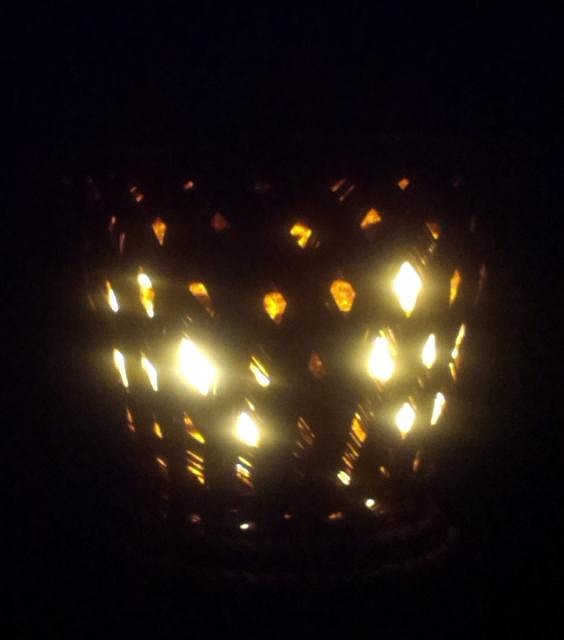
This light is another one made using a basket from a thriftstore. If you look closely you can see that there are a lot of threads/strands that are cracked. I don't know why i bought it at the time because i doubt i would buy anything damaged like this one now but i had it so i followed through with it and here is the result. I was actually planning on selling this at a cheaper price than all the others i've made, even though the cost of materials are similar, maybe a little less, and the labor involved the same amount of time, if not even more than some of the others, but as it was coming together and when i put the top onto it i decided i'm keeping this one for myself. I'm really happy with how it looks overall and think it really looks like it could have come out of the Kahiki or somewhere like that. It just seems to have a real 'old' look to it. Well at least i think so.
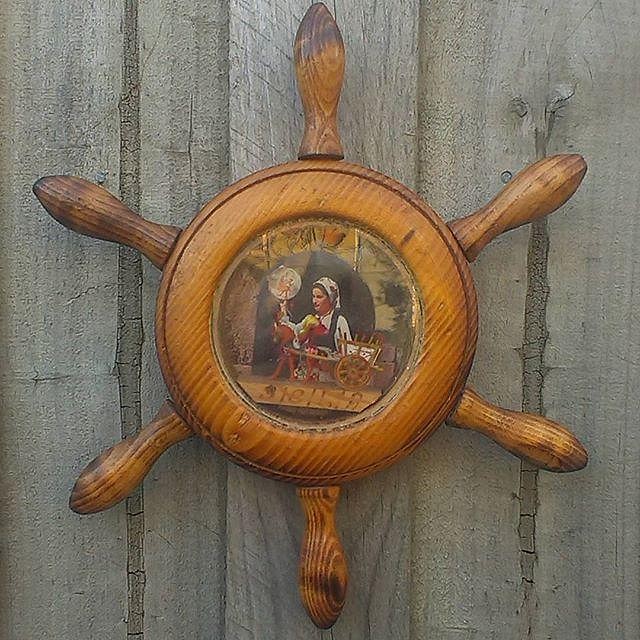
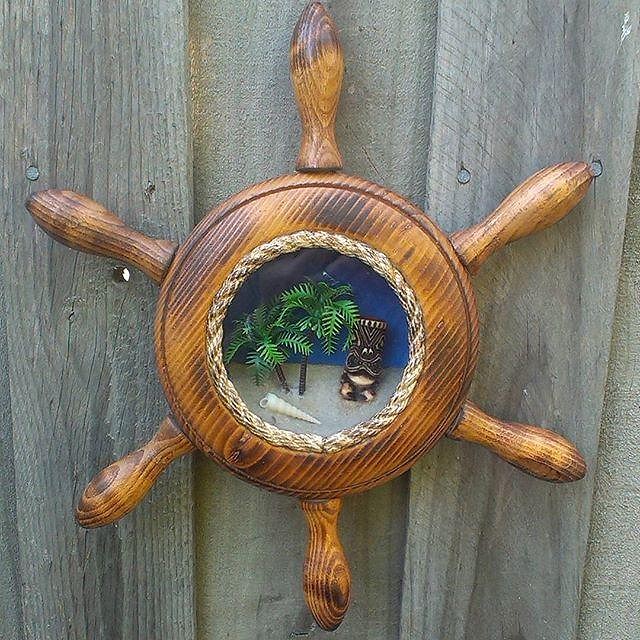
And here's something a little different i finished the other day. I found this ships wheel in a thrift store with what looks like an Eastern European diorama in it and bought it with the intention of removing what was inside and tikifying it. I painted the back, added some sand, some plastic palm trees from an aquarium ornament, a shell and used one of my pendants for the tiki and here is the result with a before and after pic. I'm pretty happy with it.
Cheers |
|
H

hang10tiki
Posted
posted
on
Thu, Nov 19, 2015 7:13 PM
Swiz on fire Jon |
|
S

swizzle
Posted
posted
on
Sun, Jan 3, 2016 1:33 AM
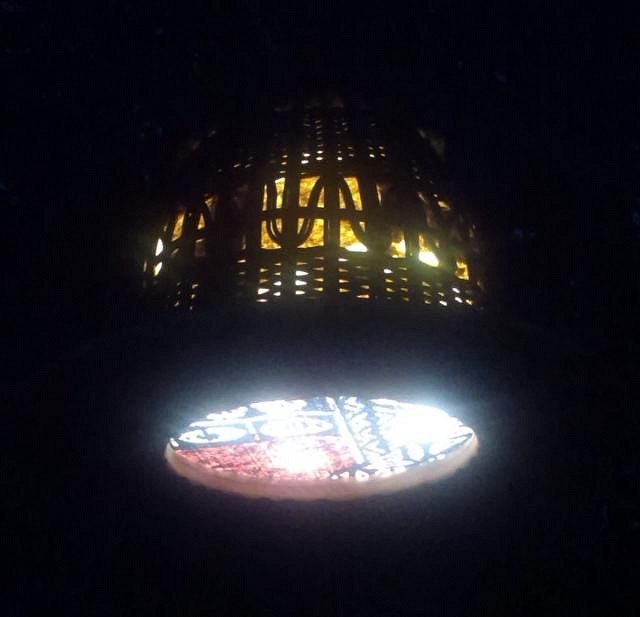
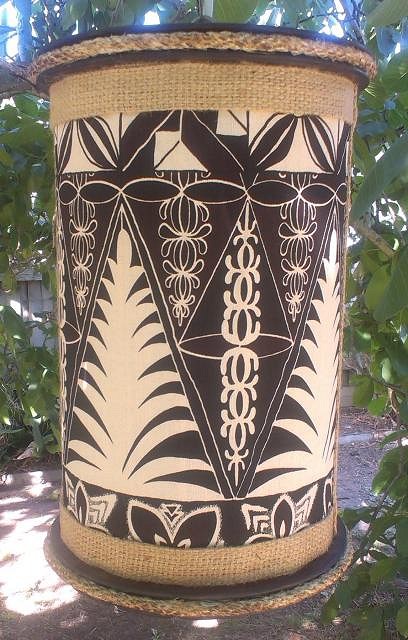
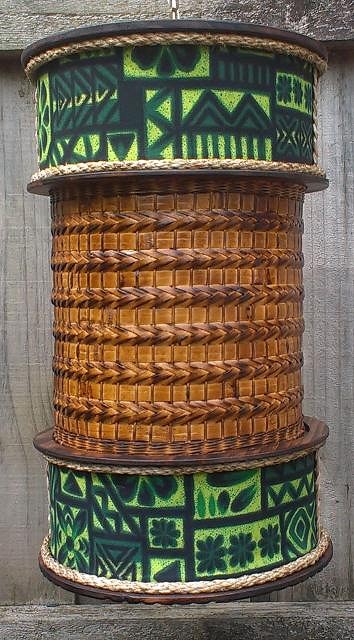
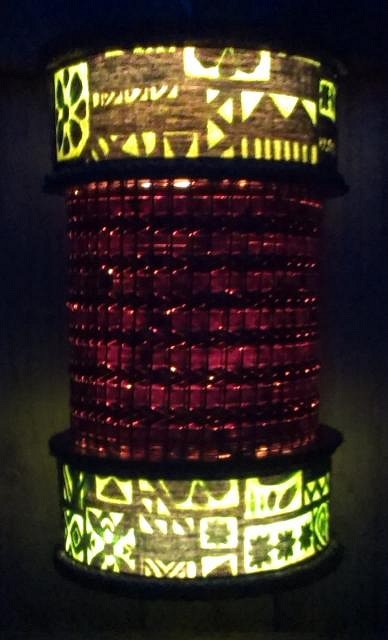
Thanks very much Jon. =================================================================================================== Although i've done a little bit of work here and there i've been quite slack the last few weeks. This is the only piece i've actually finished. I have no idea what the body is/was used for but i found it in a thriftstore and removed the bottom to make the cylinder. The only light emitted from this lamp is out through the fabric on the bottom.
I did spend some time cleaning up and making room where i'm living so i should have my kiln wired up in the next few weeks and be up and running to start doing ceramics again very soon. Cheers SWIZ |
|
D
danlovestikis
Posted
posted
on
Sun, Jan 3, 2016 9:19 AM
You are good at everything you do. Those are very cool lights and the wheel is such fun. I'm happy to hear you'll be back at your ceramics in the future. I always miss your posts. Wendy |
|
L

LoriLovesTiki
Posted
posted
on
Mon, Jan 4, 2016 3:57 PM
Great job Swiz! I love everything!! |
|
T
TikiAno
Posted
posted
on
Mon, Jan 4, 2016 4:01 PM
Just got caught up. Love the Moai lamps, the new cylindrical ones, and, well, everything. Awesome work, as always! |
|
S

swizzle
Posted
posted
on
Sat, Jan 9, 2016 10:44 PM
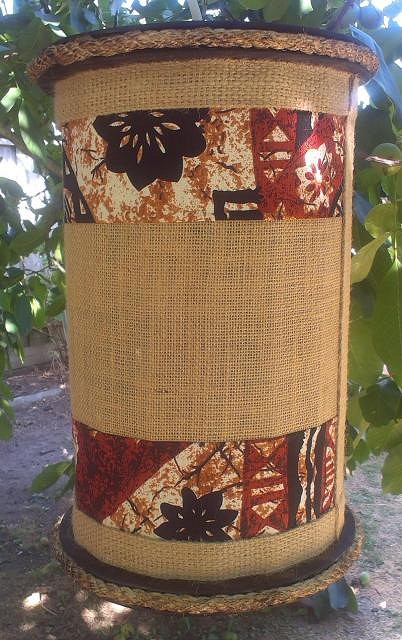
Thank you for the kind words Wendy, Lori and TikiAno. ===================================================================================================== I finished up a couple of lights yesterday. The fabric on this first one i found a few weeks ago when i went out for a drive.
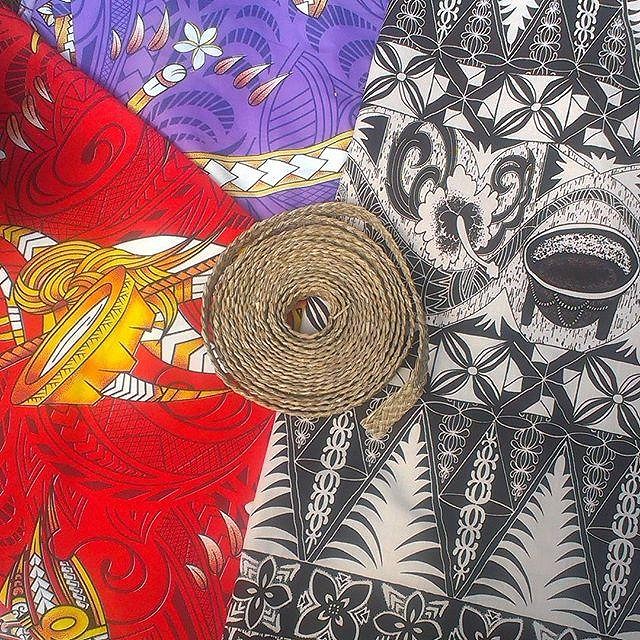
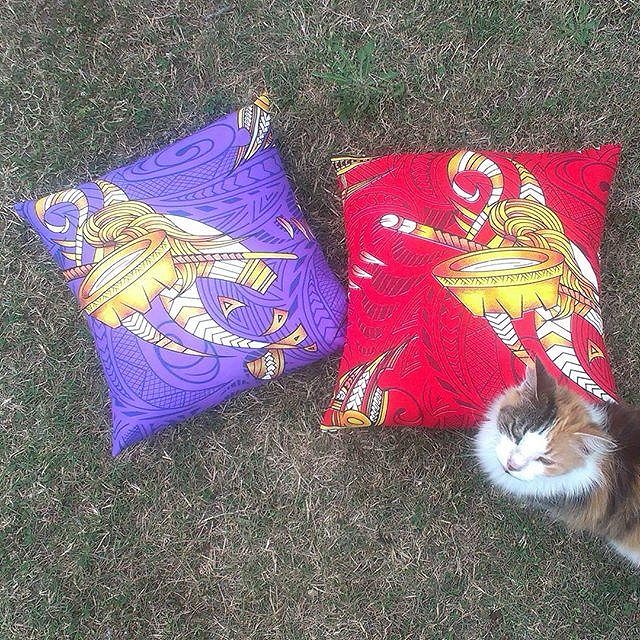
I happened to find a family owned store that has been making rattan/cane furniture for the past 63 years. I went in to see if they had any materials i could use for my lamp making. I asked about some seagrass edging which he had a small roll of that he sold me, i bought a couple of metres of the fabric used on this lamp, plus he GAVE me two huge lengths of another tapa type fabric. He gave me sooo much of it that i gave some of each colour to a friend and made several cushion covers out of each colour just to use it up because there is so much of it. I will use it on a few lamps and plan to reupholster some seat covers for a table and chair set i bought at a thriftstore a little while ago, but i still think i'll never use it all. Here's a couple of pics of what i got and the cushions, Daisy approved.
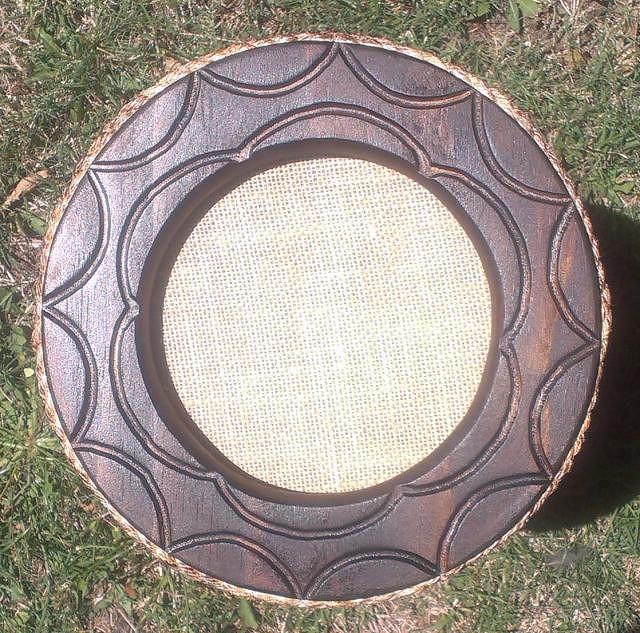
And here's the second lamp i finished. This is basically the same as the one pictured a few posts back except the routing design on the bottom is different and it doesn't have the 'lid/top' like that other one has. On the first one i had cut the fabric about an 1/2" too short so i had to redo it but then i realised, because of how i attach it to the frame, if i cut it in half and attached it in two pieces instead of one it would work, and it did, so here it is.
I have another frame ready in this style lamp which i will cover in the red fabric pictured above and another three different ones (two are the same body, they'll have different bases though) that are just about finished. I'm waiting for some rope to arrive in the mail and when it does they just need that added to them and they're done. I'll post pics when they're completed. Cheers |
|
D
danlovestikis
Posted
posted
on
Sun, Jan 10, 2016 8:07 AM
Swizzle, you are so good at lamp making in addition to ceramics. I look forward to each new design. It's wonderful that Australia has you! Hugs, Wendy |
|
T
TikiVato
Posted
posted
on
Sun, Jan 10, 2016 9:03 AM
Very nice job on those Lamps Robbie. I have been making lamps and lamp shades over the past year from thrift store finds. I like the creative way you attach the bottom and top covers with routed wood covers. Lots of extra details and work that sets your lamps apart from others and mine. |
|
M
MadDogMike
Posted
posted
on
Sun, Jan 10, 2016 8:09 PM
Very nice Swizz! Good to see you being creative :) |
|
H
hiltiki
Posted
posted
on
Mon, Jan 11, 2016 11:54 PM
Love the fabric you picked for the lights, also like your design and the final product, nice job. |
|
T
tikiskip
Posted
posted
on
Wed, Jan 13, 2016 6:02 PM
Lookin good Swizzman! |
|
T
TikiAno
Posted
posted
on
Wed, Jan 13, 2016 7:49 PM
Awesome work! |
|
S

swizzle
Posted
posted
on
Sun, Jan 17, 2016 7:49 PM
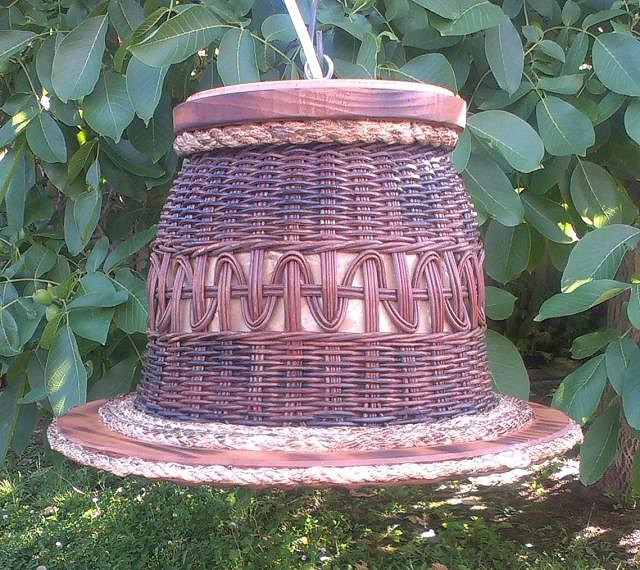
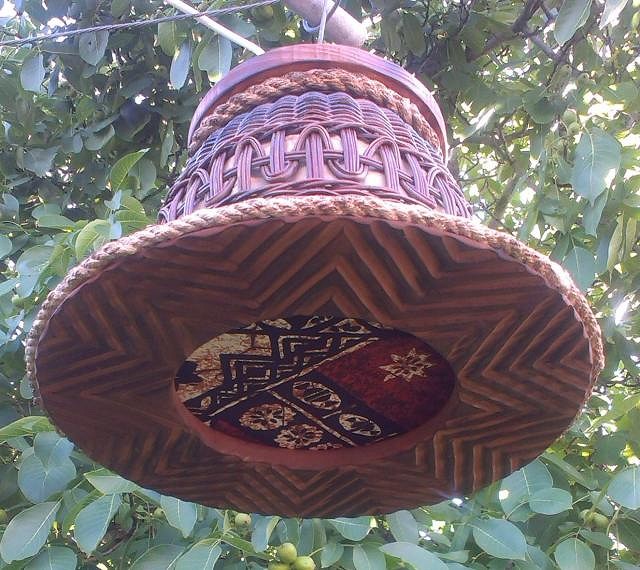
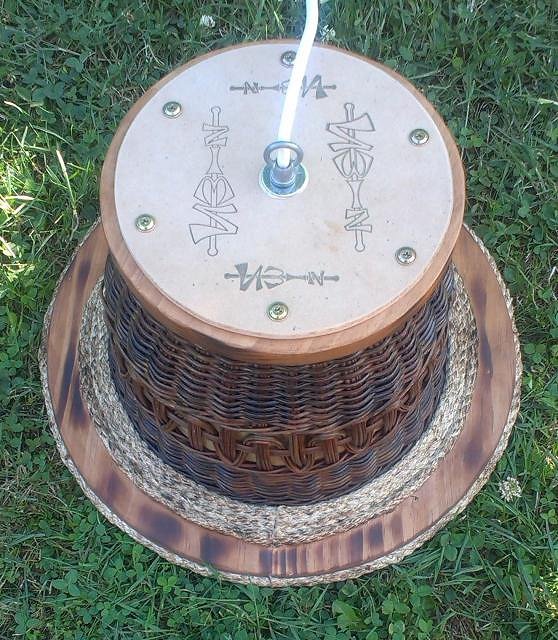
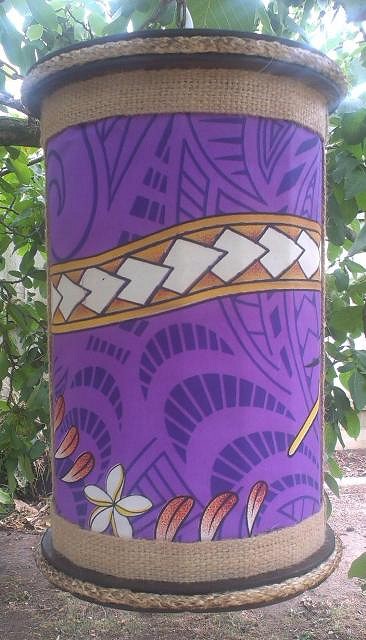
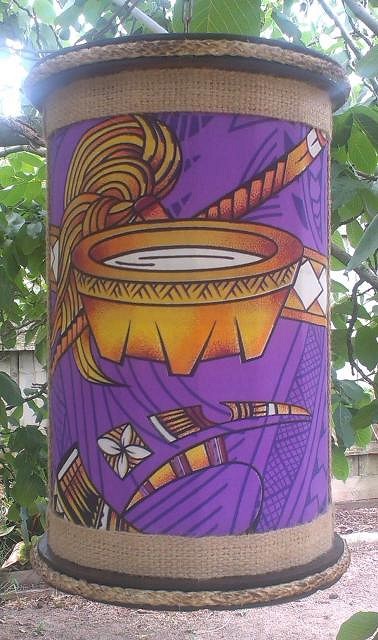
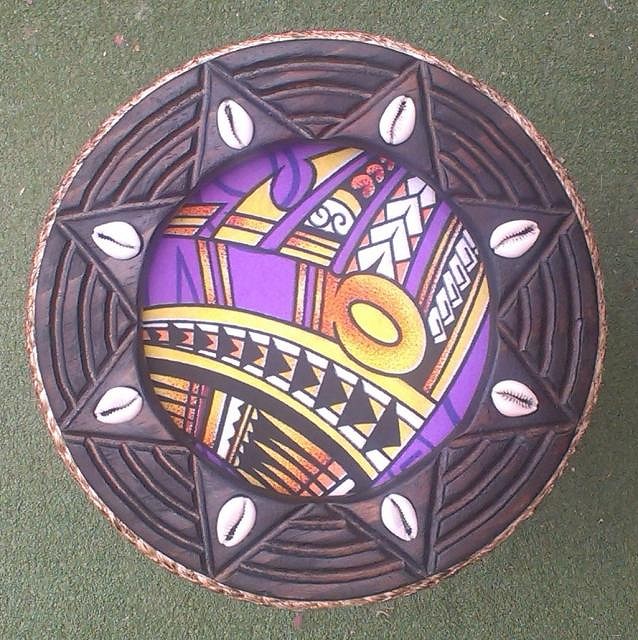
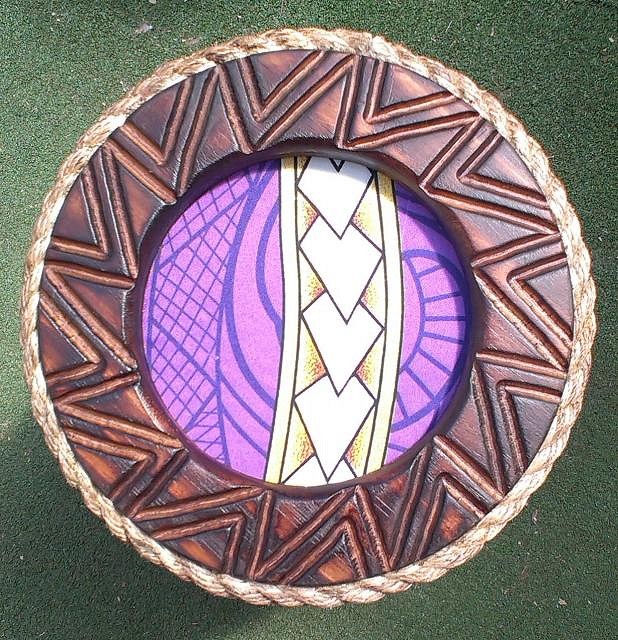
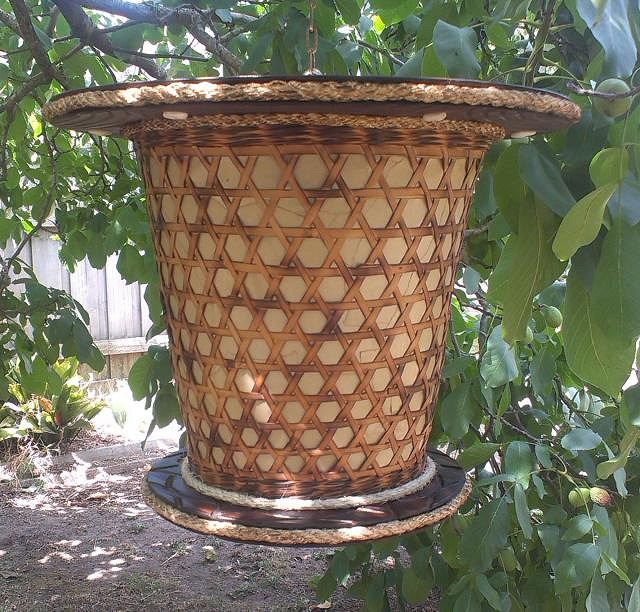
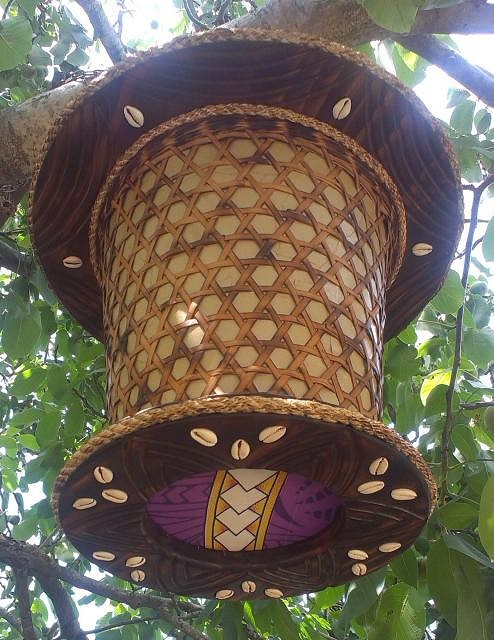
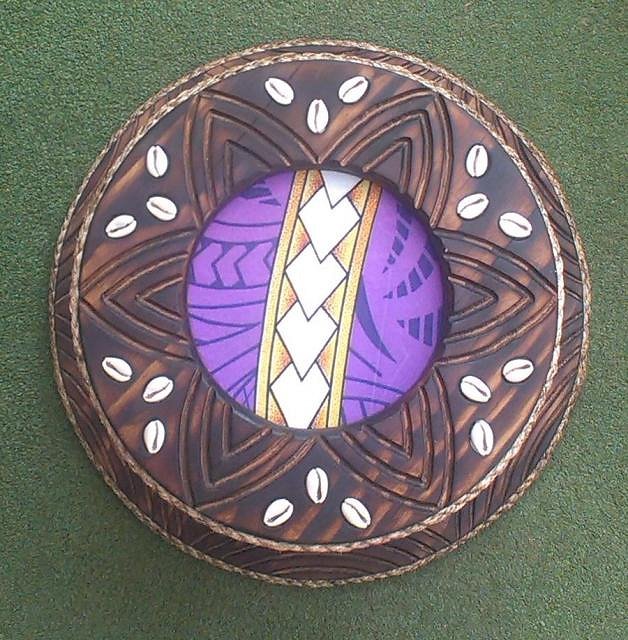
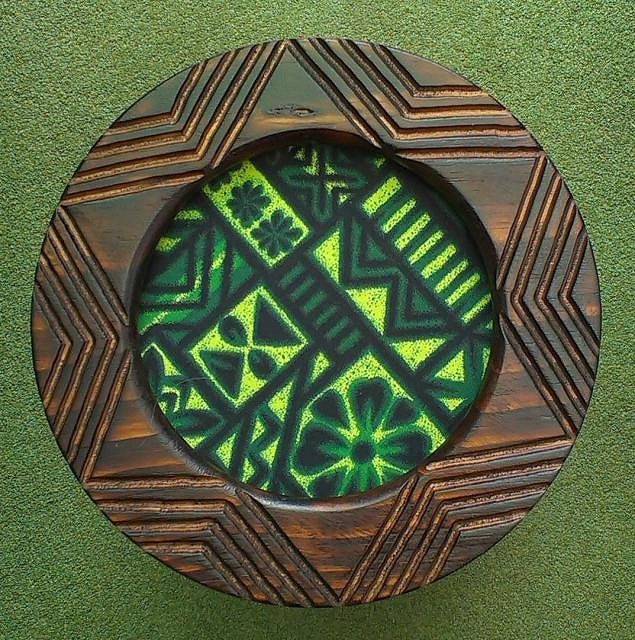
Thank you Wendy, although Australia might think otherwise. :D Thanks Joe. Because i started buying baskets when i first decided to try my hand at making lamps, the routed tops and bottoms were what i came up with as the way to attach everything. I'm happy with how they turn out and am trying to come up with my own style and not copy anybody else, at least not too directly. Your lights look great also. Cheers MDM. I can be creative if i want to, i just need to not be so lazy. Thank you hiltiki. About half of what fabric i have has come from eBay. I was very lucky to find that store and pick up something different. Cheers Skipman. Thanks TikiAno. ======================================================================================================== Just a couple more lights to show at the moment. I have three in progress but it's been too hot to work outside at the moment. In my previous post i said that i planned to cover the third frame i had ready with the red fabric that was pictured, but after laying it out and having a look at it, the quality of the print was not very good (the screens weren't registered properly when they printed it so everything is outside the lines) so i went with the purple instead. Here's both sides of the same light and the bottom.
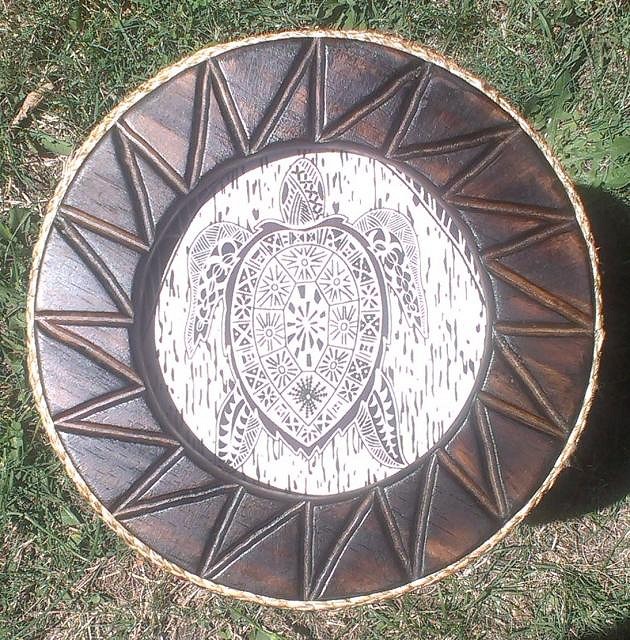
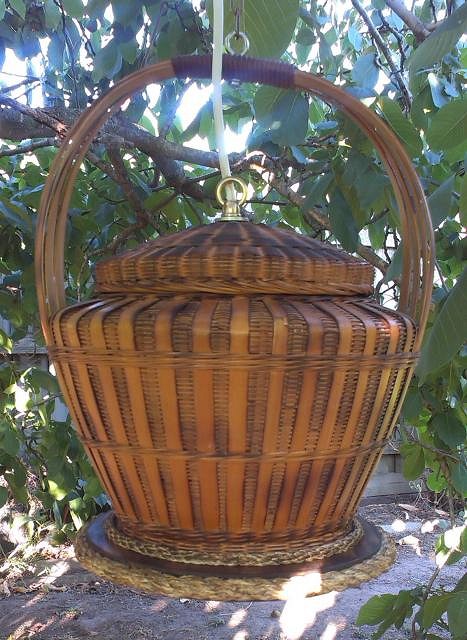
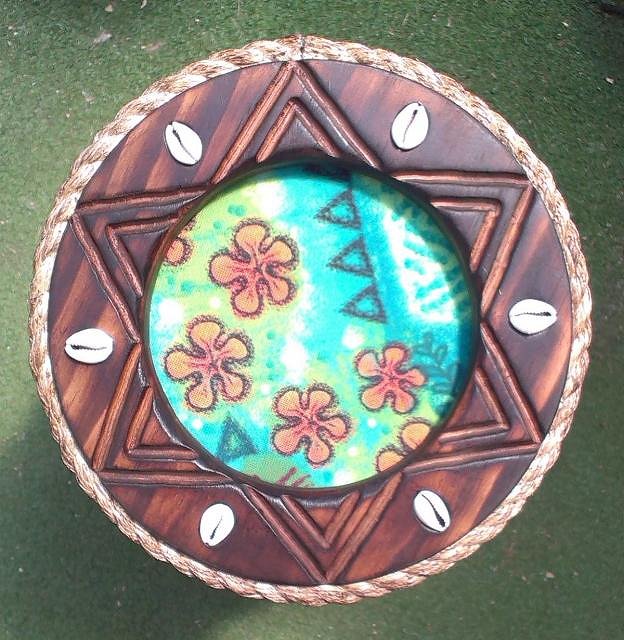
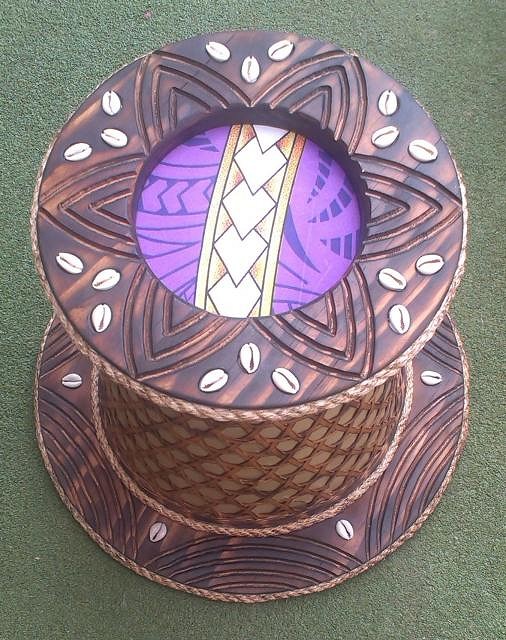
It's probably been a couple of years since i first decided i wanted to have a go at making lights and i was buying basket type things to utilise in my lights from thriftstores, long before i actually got around to making my first light/lamp, and the following one pictured is one of the very first i bought. A few weeks ago by chance i happened to find another one exactly the same so as the bases on these were going to be the same size i made both at the same time. I've only posted a photo of one of them from front on as they both identical, save an extra washer being added to the lid on one, and a pic of each base. I'm going to keep the one with the cowrie shells for myself and TRY to sell the other one.
More soon. Cheers |
|
D
danlovestikis
Posted
posted
on
Mon, Jan 18, 2016 8:34 AM
Your lamps are so cool especially love the bottoms! Wendy |
|
H
hiltiki
Posted
posted
on
Mon, Jan 18, 2016 10:10 AM
Swiz, nice clean finish. |
|
L

LoriLovesTiki
Posted
posted
on
Wed, Jan 20, 2016 3:37 PM
Great work, as always! |
|
S

swizzle
Posted
posted
on
Fri, Jan 29, 2016 11:18 PM
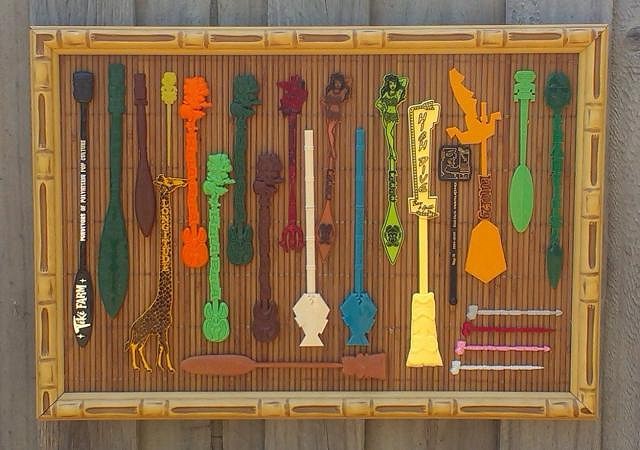
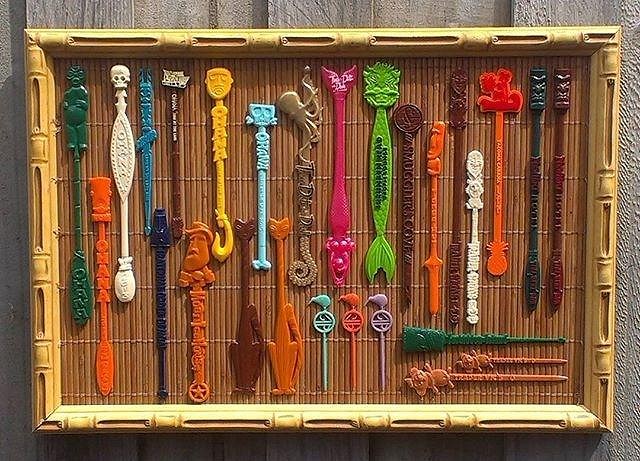
Thank you Wendy. I enjoy routing the bottoms of the lamps but it really tests me trying to come up with different patterns that i haven't already done, although there are some that i really like and are easy to draw up so i there will always be some that are the same. Thank you hiltiki and Lori. I appreciate your comments. ======================================================================================== I have a few more lamps i've finished to show you but before i get to them here's a couple of displays i made for my swizzle sticks. These pics were posted in another thread and i realised i hadn't posted them here in my own thread, so here they are for those that might have missed them. I have enough swizzle sticks left for at least one more of these, if not two, but when i get around to making the new ones they will be a different colour. I glued some placemats i found at the thrift store onto some foam core board and sewed the sticks on with fishing line. The bamboo frame is actually moulding i bought from a framing supplier a long time ago.
Now here are my most recent lamps i've finished. All of these lamps use cane/wicker basket type things that i found in thrift stores for the body. The last two pictured i tried a different way of attaching the fabric compared to how i have done it on all the cylinder shaped lamps i have made and i'm quite happy with the results. The idea still needs a little tweaking but overall i'm going to continue using this new method. Every lamp i make i learn something from which i take with me onto the next one and i know what works and what doesn't, or, it teaches me what not to do to get a better a result and make my life easier.
I'm quite happy with this particular lamp. I think the shape is quite unusual and not like anything i recall seeing before. And although the fabric is still washed out the pic, this lamp, and the next one especially, actually show up quite good in the photos when lit up.
And finally, this guy. I really love this light and will be keeping it for myself, unless someone wants to pay me big $$$ for it. :lol: I was really happy with how it turned out and had made that decision when i finished it. After i saw what it looks like lit up that confirmed it for me that this one is staying with me.
Well that's going to be it for a little while. I have a few bits and pieces for some other lamps laying around but it will be a while before anything else gets finished. Thanks for looking. Cheers |
|
WC
Will carve
Posted
posted
on
Sat, Jan 30, 2016 6:03 AM
Those lamps look fun to make. |
|
D
danlovestikis
Posted
posted
on
Sat, Jan 30, 2016 3:14 PM
You need to go to thrift stores. They are always full of baskets and fabric. I don't want you to stop this is way too much fun to watch. Wendy |
|
T
tikiskip
Posted
posted
on
Fri, Mar 4, 2016 11:06 AM
So anything new? |
|
S

swizzle
Posted
posted
on
Fri, Mar 4, 2016 5:11 PM
Haha. I did actually start on a new light yesterday. I have a couple of ideas floating around in my head that i'm going to try on this new one. It's one that i'm making for myself to see how it goes first. And unfortunately i still haven't had my kiln wired up yet (i'll be able to use a friends in the meantime) but i do have a new sculpt ready, just waiting on the mold. |
|
D
danlovestikis
Posted
posted
on
Thu, Mar 17, 2016 8:22 AM
Time for an update on your latest projects. Wendy |
|
S

swizzle
Posted
posted
on
Sat, Mar 19, 2016 6:55 PM
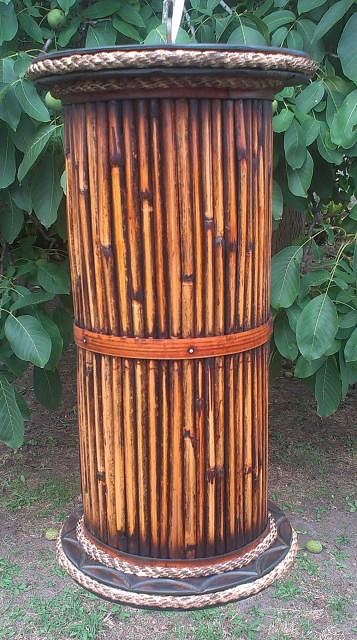
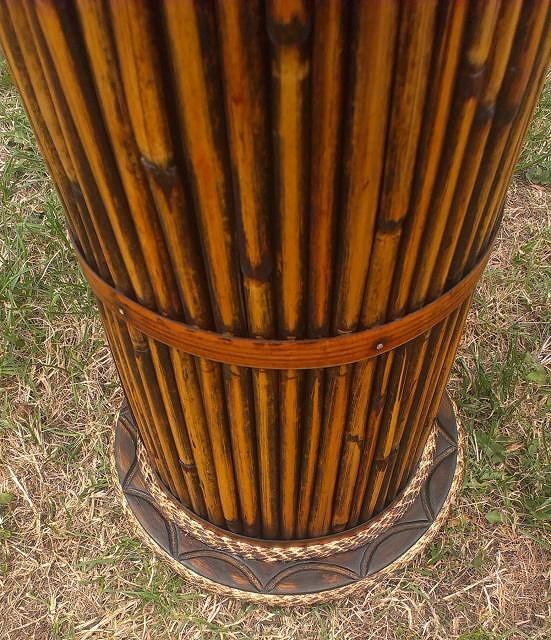
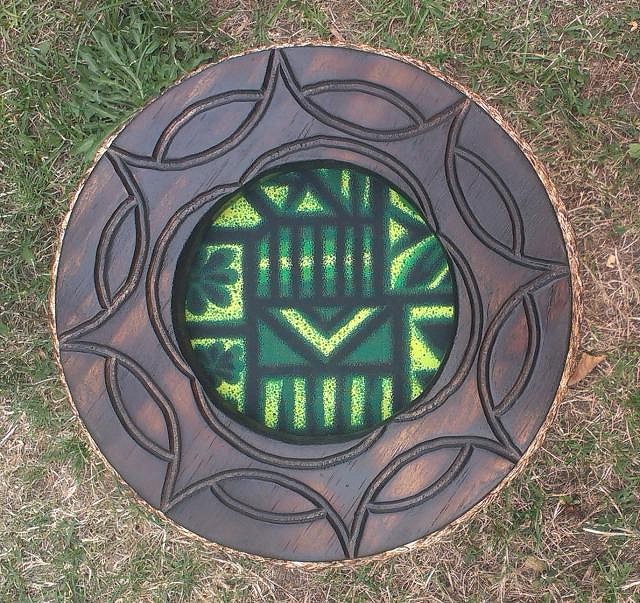
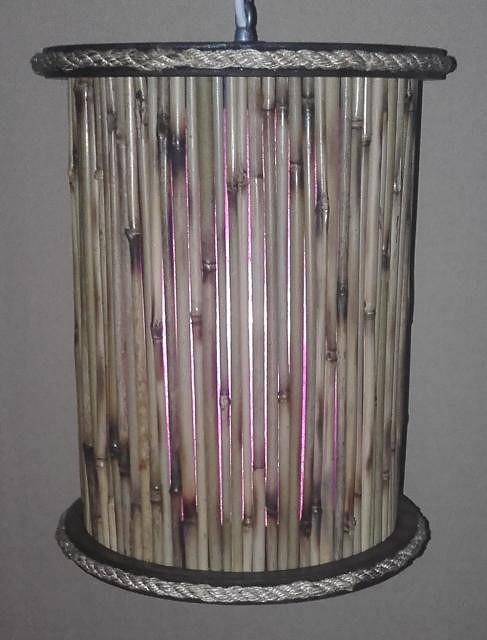
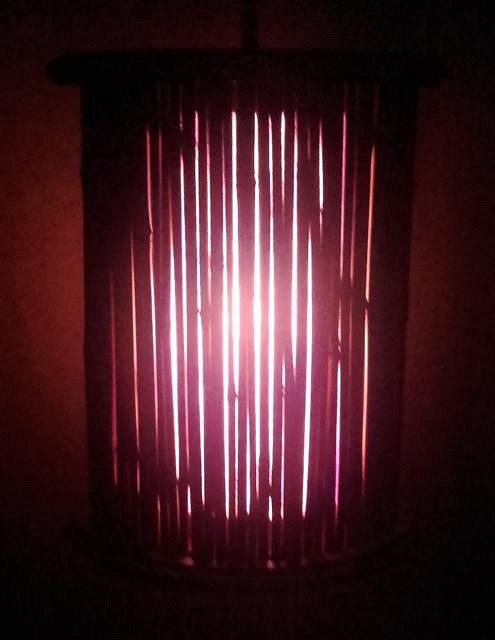
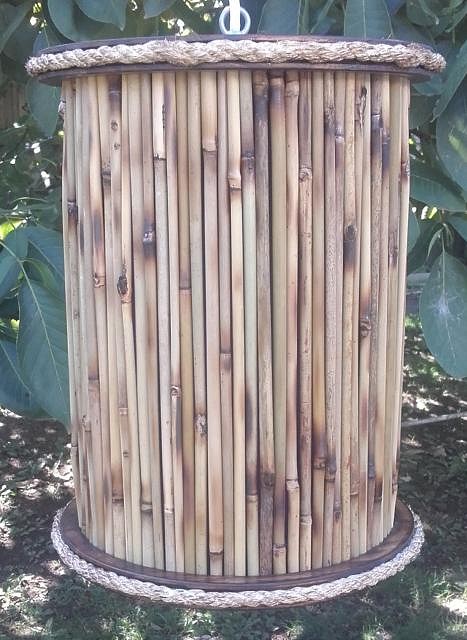
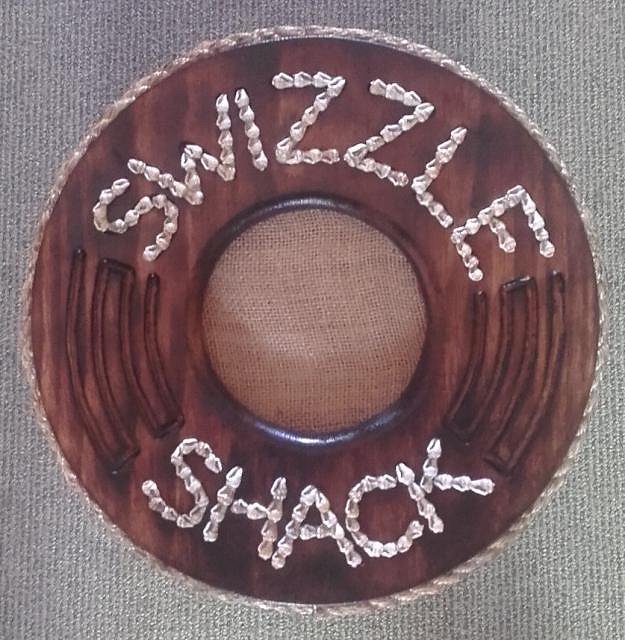
Thanks Will. Although i like making the cylinder style because it's pretty straight forward and i'm very happy with the results i get, i am trying to make as many different styles/types as i can. My new one pictured below is something i tried a few new things on. I go to a lot of thrift stores Wendy but the ones we have here are tiny compared to the Savers and Goodwill stores you guys have over there. Fabric is not something i've ever thought about looking for (i have enough at the moment anyway) but i am always looking out for baskets, however it's not that often i find something that i think i can use for a light. =================================================================================== So Tikiskip and Wendy, here's the most recent piece i've finished. Back before i made my first light i bought a couple of packets of bamboo stakes from the hardware store. They come in a pack of 20 and are just used to stick in the ground and tie plants to but i figured i'd be able to use them in some lights somehow. I finally figured out a way and the result is below. The other thing i tried on this light which is something i haven't done before is incorporate some shells into it. On previous pieces i have added a few cowrie shells but this is a little different. Those cowrie shells came from necklaces i bought from thrift stores and the way they were made was one cowrie shell to about ten or so little shells so i have a whole bag of them. So here's a couple of pics. The one on the left was taken at night with the flash on when the light was actually alight. You can just see the fabric behind the bamboo and can notice that it looks purple, which it is, compared to the pic on the right where it looks more pink. And below is a pic of the lamp during the day and also the base with the shells. I have a heap of the bamboo left so i will be making another light like this one but i have no idea when. Cheers |
|
D
danlovestikis
Posted
posted
on
Sat, Mar 19, 2016 8:09 PM
Cool, that looks wonderful. Wendy |
|
S

swizzle
Posted
posted
on
Mon, Apr 11, 2016 7:09 PM
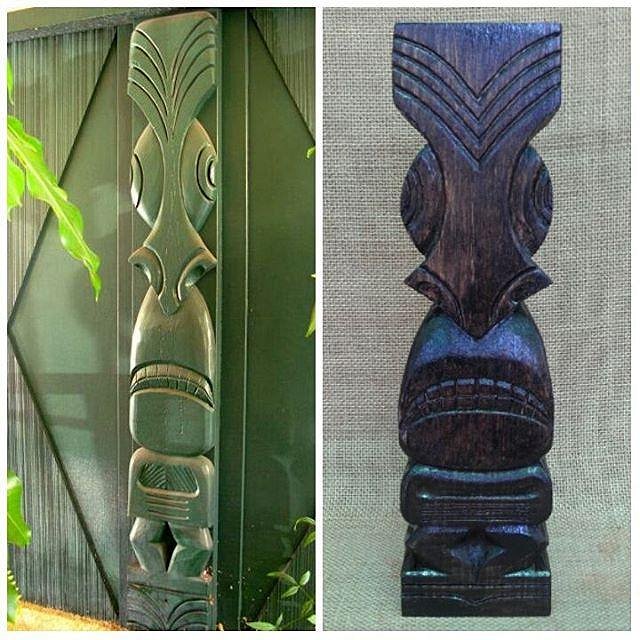
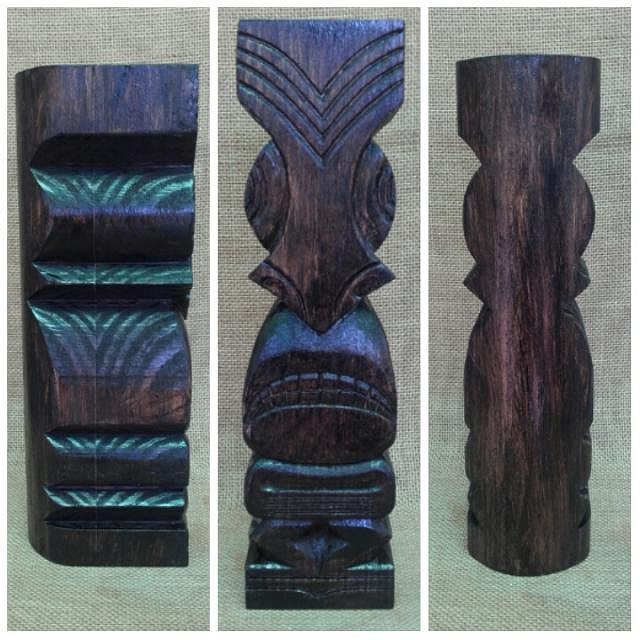
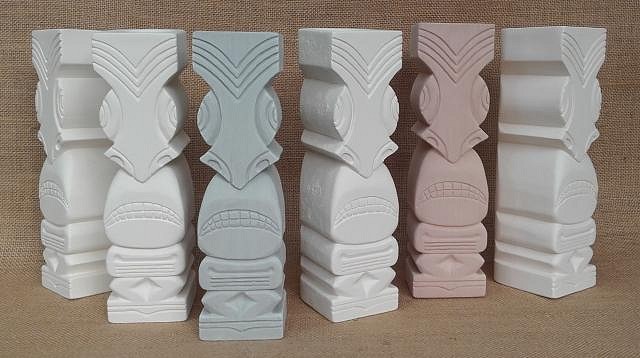
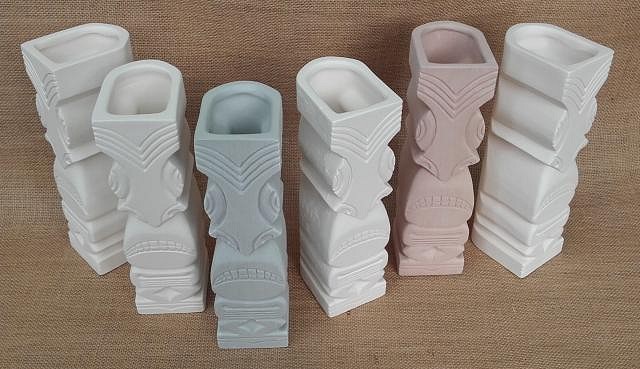
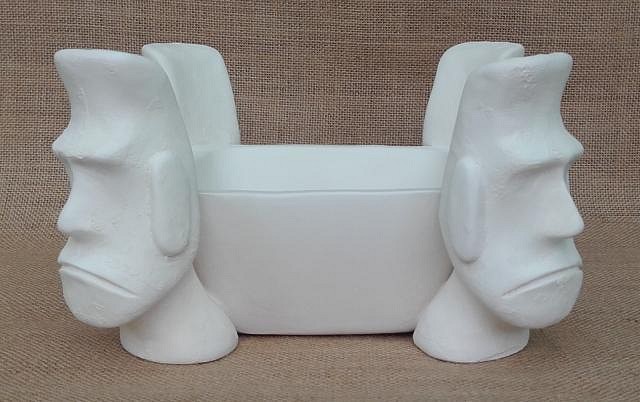
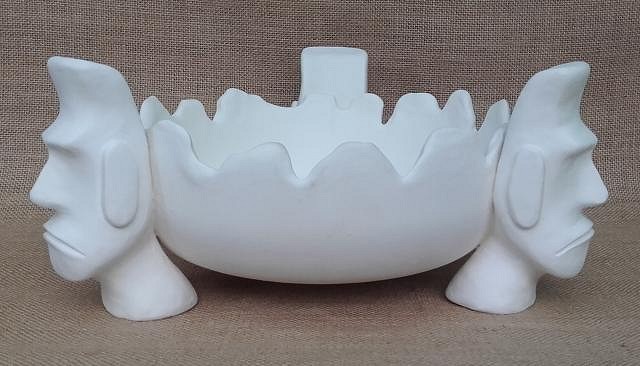
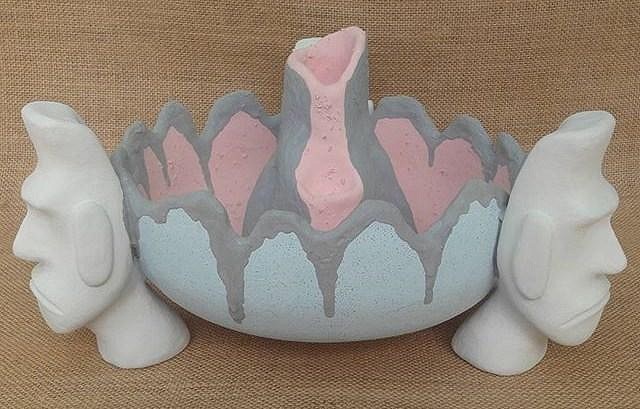
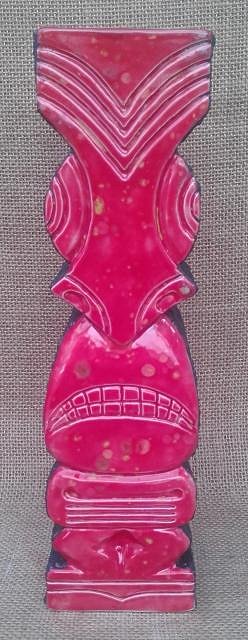
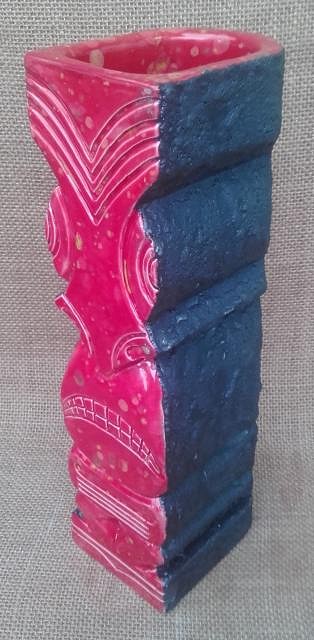
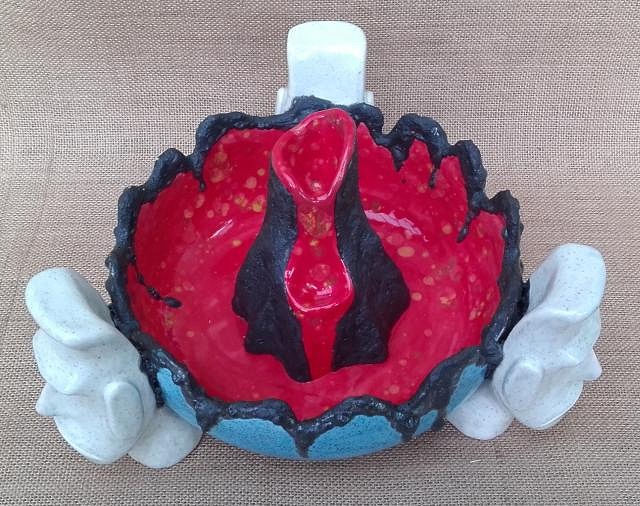
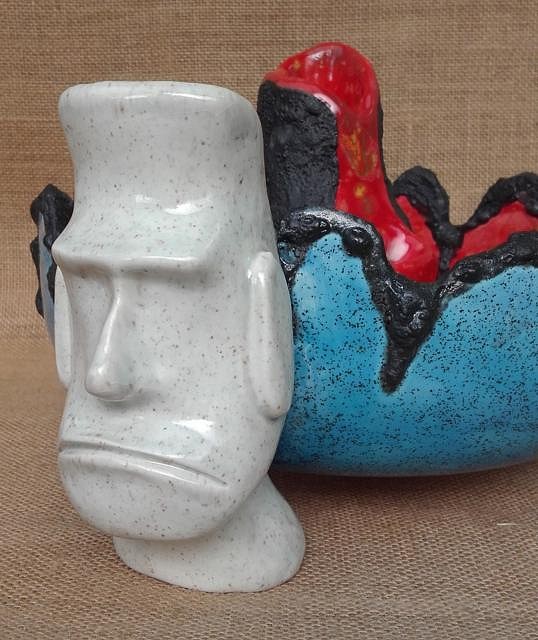
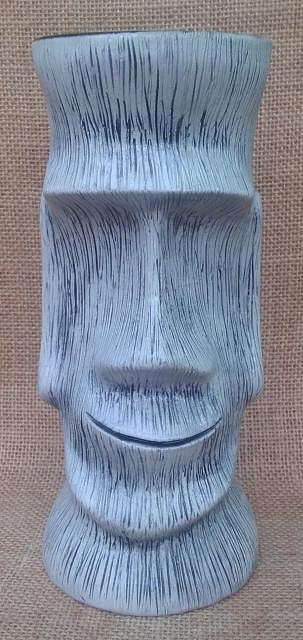
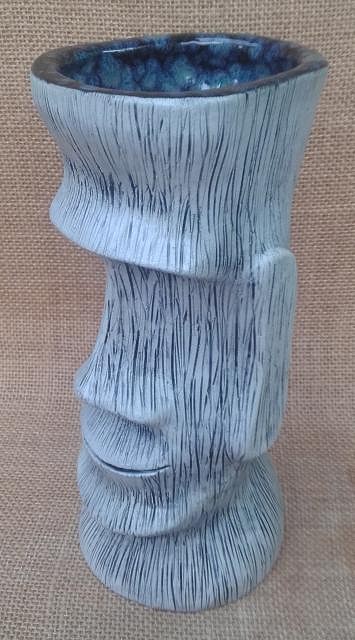
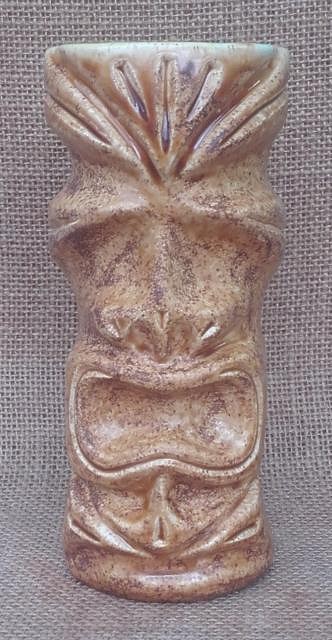
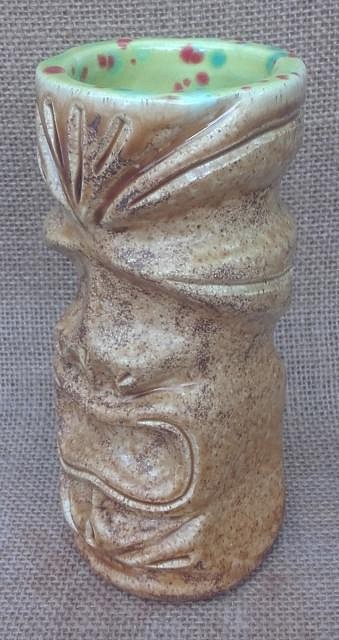
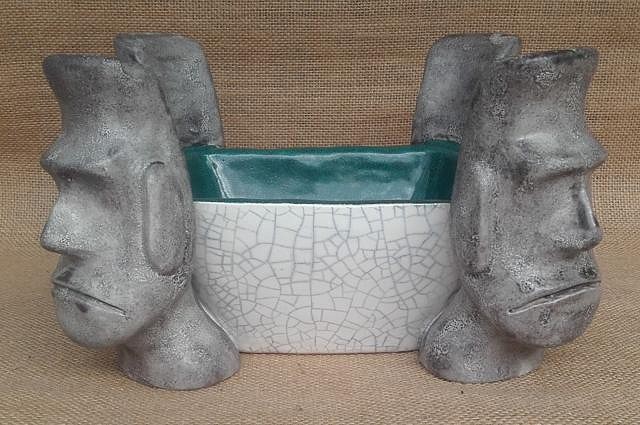
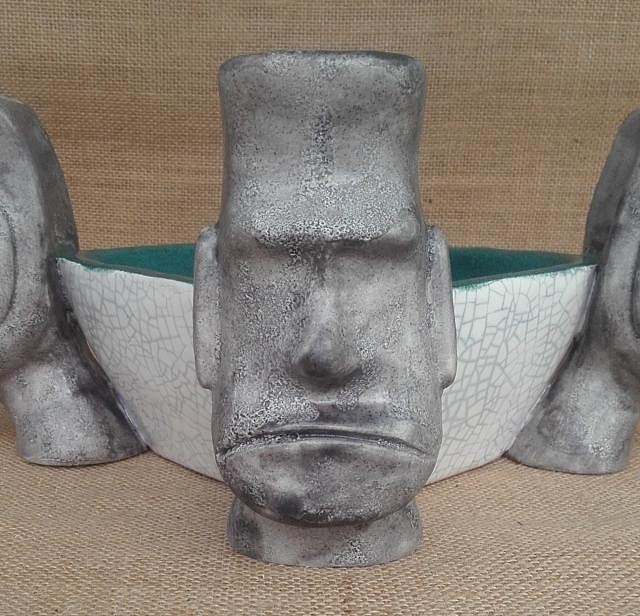
Thanks Wendy. I have another in progress using the same technique with the bamboo as the one above. That should be finished soon. ============================================== Well it's been a long time in the making but i've finally got around to making a new mug. When i was in the U.S. last year this thread got a bump and instantly i fell in love with one of the carvings that Sven had posted and thought that it would make a great mug. But because of the shape of the original carving i had to change the proportions of it to make it more practical. There was no way i was going to make something that tall and skinny to drink from. What i did was print out the picture to the size (height) i wanted it and then with a ruler ran lines across from each point on the carving and then redrew the image wider but kept all the marker points in the position they belonged. Here's the pic of the original carving i used alongside my master carving which i carved out of a block of hardwood i just bought from the hardware store. Here's my carving showing the different sides. And here are the first few castings of "Bombardier Ellistay". The reason why i called him that is because in the thread with the link above, there seems to be no clear consensus on who actually carved the original, Andres Bumatay or his apprentice, Richard M. Ellis, so i decided a combination of both their names would be the way to go. The 'Bombardier' part i'm sure i have explained somewhere in my thread before. Now unforunately there won't be very many of this mug made for two reasons. I am able to use a friends kiln (he bisque fired all the stuff in this post for me) but that has its drawbacks. First, he doesn't live that close so i don't want to be constantly running back and forth and then second, transporting glazed bisque is a real nuisance, because even though the pieces will be wrapped up, any movement can cause the glaze to rub off which then means it needs to be brought back home again, touched up, and then transported back which leads to the possibilty of the problem happening all over again. It's so much easier being able to glaze a piece and then literally be able to put it straight into the kiln ready to fire. The moai on the pieces below are another new sculpt of mine which had been sitting around for a while also. I had a couple of molds made of it when i had the mold made for my new mug above. I made it specifically to attach as 'feet' to the various bowls i have made before. Here are four of them attached to my 'Brigardier VF1' bowl. And here are three attached to a 'Lance Corporal Stoney' bowl. This will also have a volcano added to the centre, however i am a little concerned whether or not this piece will survive the glaze firing as i've already had an issue with one of the moai falling off. We'll see. So it will still be a few weeks until these are finished as i have not only all those pictured to glaze but also a handful of some of my older designs. (It is much easier, and better management of time and kiln space, to pour several pieces at once as opposed to just one mug at a time. Also, if i'm going to be driving back and forth to my friends place picking stuff up, i may as well make each trip even more worth while by dropping off more stuff at the same time). So there ya go. It's been long time in the making, and although it's still not completely finished, i thought i'd post some pics of where i'm at right now. That's it until i get some glazing done. Cheers [ Edited by: swizzle 2016-04-11 19:36 ] |
|
T
TikiAno
Posted
posted
on
Mon, Apr 11, 2016 11:22 PM
Wow, wow, and wow. Beautiful work. I dig the new Moai- and the Lance Corporal Stoney bowl with them attached is blowing my mind up. Think they'd look rad as individual mugs, too. Want. Thanks for coming back and posting! |
|
C
cy
Posted
posted
on
Tue, Apr 12, 2016 7:59 AM
You are a master of many things swizz, nice! |
|
H
hiltiki
Posted
posted
on
Tue, Apr 12, 2016 9:46 AM
Looks great Swizzle, looking forward to see the finished product, love the design. |
|
H

hang10tiki
Posted
posted
on
Tue, Apr 12, 2016 12:46 PM
SwiZ- freekin way Kool my man.... |
|
T
tikiskip
Posted
posted
on
Wed, Apr 13, 2016 10:45 AM
Nice mug Swizz! |
|
S

swizzle
Posted
posted
on
Wed, Apr 13, 2016 6:17 PM
Thanks TikiAno. It had already crossed my mind to turn the moai into some S&P shakers and also possibly into a mug/shot glass but i'm not too sure it would work well as one of those. Thanks for the compliments cy, hiltiki and hang10. Cheers Skip. I hope to have these glazed and fired in week or two. |
|
H

hang10tiki
Posted
posted
on
Wed, Apr 13, 2016 10:23 PM
Next step |
|
S

swizzle
Posted
posted
on
Fri, Apr 22, 2016 2:48 AM
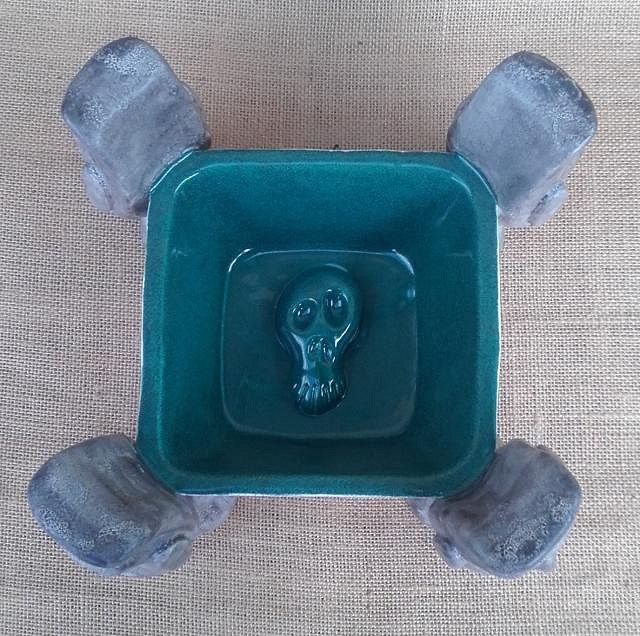
Believe me hang10tiki, if i could move there i would. Until then you are just going to have to suck it up and pay the postage costs. :P =================================================================================== I have glazed several pieces and dropped them off at my friends and am waiting for him to fire them. Amongst those are this bowl;
Although i'm looking forward to, and hoping, that the mugs i've glazed of my new design turn out well, this piece is the one i am most anxious about. We'll find out in a couple of days how it went. |
|
H
hiltiki
Posted
posted
on
Fri, Apr 22, 2016 11:08 AM
Love your design, looking froward to seeing the colors. |
|
H

hang10tiki
Posted
posted
on
Sat, Apr 23, 2016 7:43 AM
:) Looks like that bowl could hold a few drinks :) |
|
S

swizzle
Posted
posted
on
Thu, Apr 28, 2016 2:51 AM
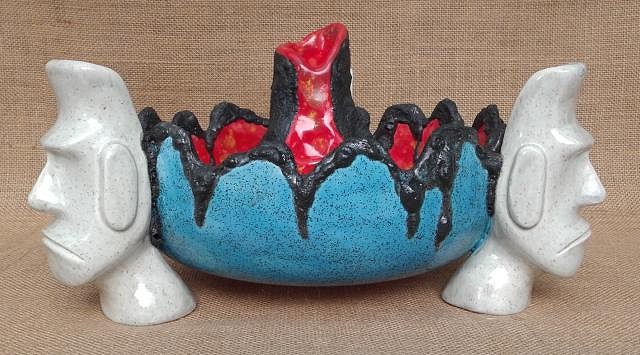
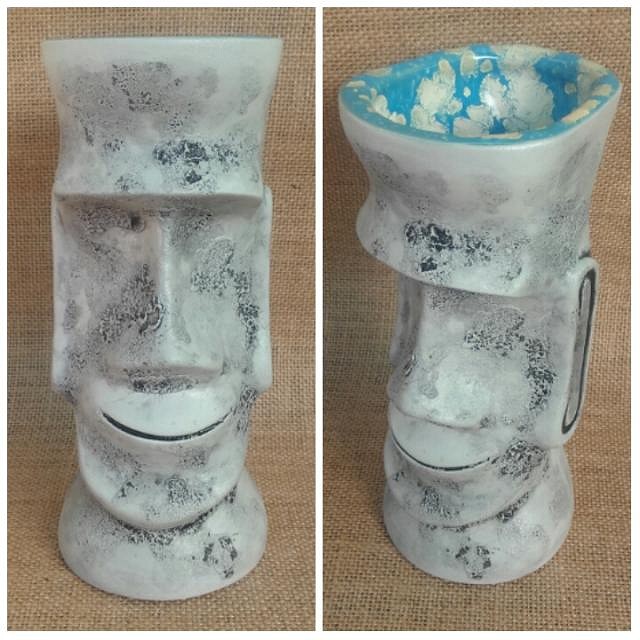
Thanks hiltiki. I haven't actually measured how much it holds hang10tiki but i think it might look a little deceptive as the volcano takes up a bit of space. I could possibly carve some out of the bottom of the volcano so that liquid can go inside it therefore increasing the volume but i just haven't done that on any yet. Not sure if i ever will as visually i just don't think it would look as good. =========================================================================== So after more than a year of not doing any ceramics i picked up the glaze firing of all the pieces i had glazed and as to be expected it wasn't the most successful firing with only a couple of pieces coming out fine and not needing to be re-glazed. This is not the first one from the mold and this also could be re-glazed and fired (the inside is fine on this one, it's actually the outside that could be touched up) but it's the only one of my new mug design, Bombardier Ellistay, that came out acceptable.
The volcano bowl is another piece that is not 100% perfect and i am going to take the risk of touching up and re-firing it even though it could possibly crack. I thought i put enough coats of glaze on it but obviously i didn't because besides the moai, all the other colours on the bowl are patchy in places. I am happy with it and think it looks good but know that it could look even better with better glaze coverage on it.
As i've been pouring my new mug design i've also been pouring some of my older ones too. I only glazed a couple of these so far but again, this is the only one of the two that doesn't need to be fixed. Staff Sergeant Nuoai. And just one Corporal Punishment glazed at the moment which fortunately came out fine. I have another electrician coming over next week to give me a quote and i think i am going to have to bite the bullet and unfortunately spend the big $$$'s to have my kiln wired up, but i think it is something that i just have to do. The convenience of being able to fire when i want and when i need to and also at the temperatures that suit me will be worth it in the end. The money spent on gas driving to and fro from either my friends house or my ceramics supplier, who is closer but i also have to pay for each firing, will add up in the long run eventually, not to mention all the time wasted sitting in the car when i could be spending that time working on more art. So hopefully the next time i post not only will everything have been fixed but also they will have been fired by myself in my own home. Cheers [ Edited by: swizzle 2016-06-07 20:18 ] |
|
WC
Will carve
Posted
posted
on
Thu, Apr 28, 2016 3:47 AM
That bowl's a knock out. |
|
D
danlovestikis
Posted
posted
on
Thu, Apr 28, 2016 10:53 AM
Very cool bowl. I recognize the blue sparkle glaze. It will be such fun to see. Wendy |
|
H

hang10tiki
Posted
posted
on
Thu, Apr 28, 2016 11:07 AM
That 1st one looks like it would fit right in the hand Bowl colors are killer |
|
S

swizzle
Posted
posted
on
Mon, Jul 11, 2016 1:52 AM
Thanks Will. I have a couple more bowls like that in the works. And i think they get that attitude from their designer. :D Thank you Wendy. I bought a few other colours in those glitter glazes, a couple of which you'll see below. Cheers hang10. Those curves do make it feel good in your hand, and hopefully drop proof. :lol: And i'm happy with the glaze colours on that bowl myself. ================================================================================= Well after god knows how many months and over $3,000 my kiln has FINALLY been wired up and i did my first firing in well over year. And thankfully just about every piece came out fine. The kiln gods were looking after me this weekend. First up is a bowl i added some of my new moai 'feet' to. This is the one piece i'm not 100% happy with. The glaze on the moai's is a little patchy and there are a couple of spots where the green on the top lip bled into the white on the sides. That's something that really frustrates me but unfortunately is too hard to fix.
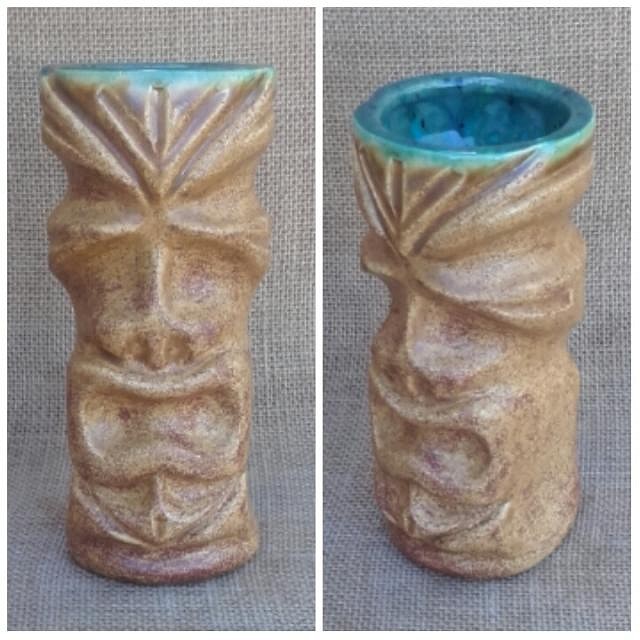
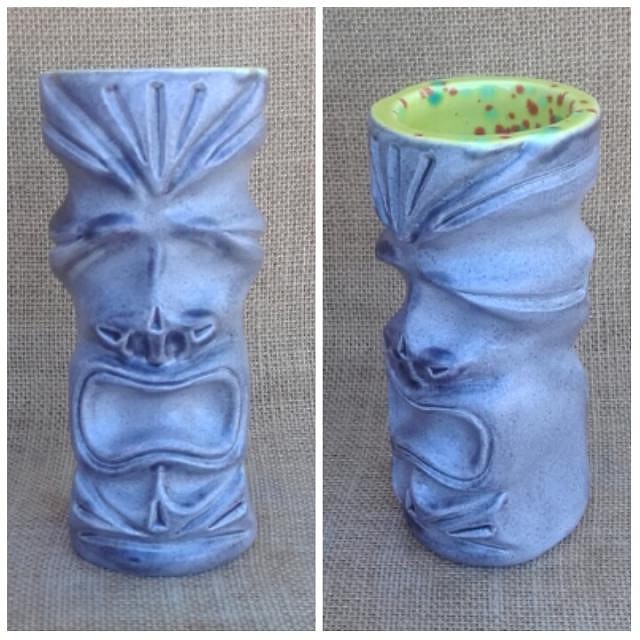
A couple of Corporal Punishment's.
A handful of my Staff Sergeant Nuoai mug. In the group shot on the bottom, the mug on the far right with the blue glaze is the only mug, along with another coming up that has the same blue glaze on the inside, that needs to be reglazed and fired again. For some reason that particular colour/brand seemed to bubble up on the top rim so i'll have try another glaze, most like a crystal, and hopefully when it melts it will even up and hide the flaws.
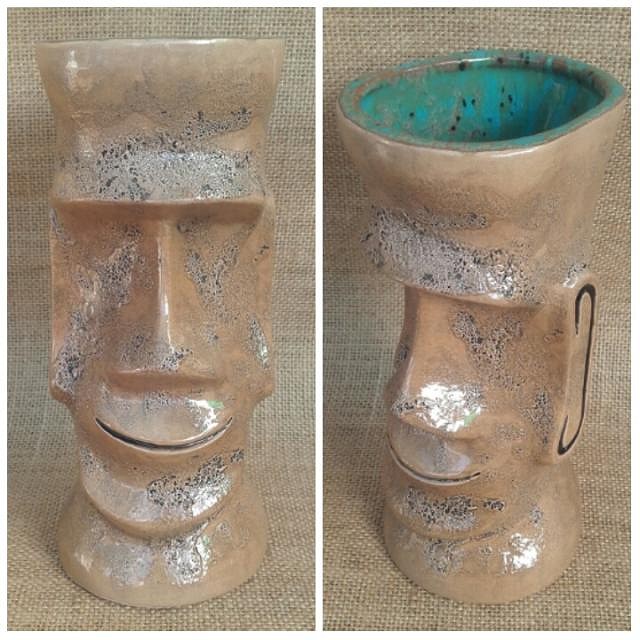
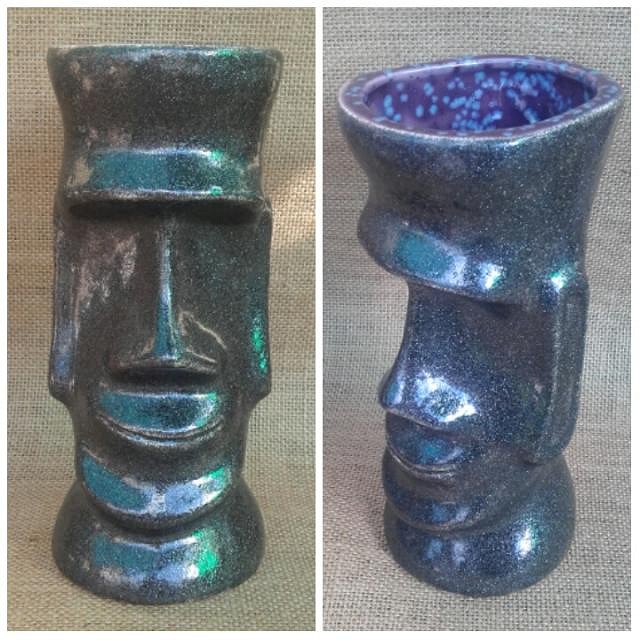
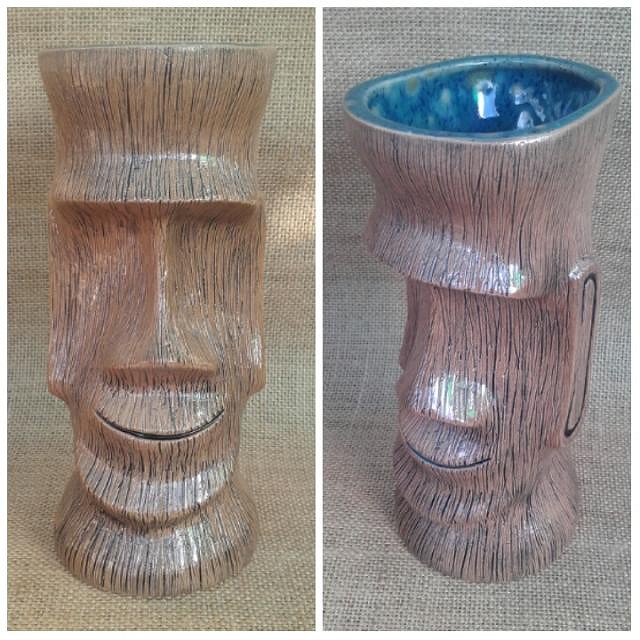
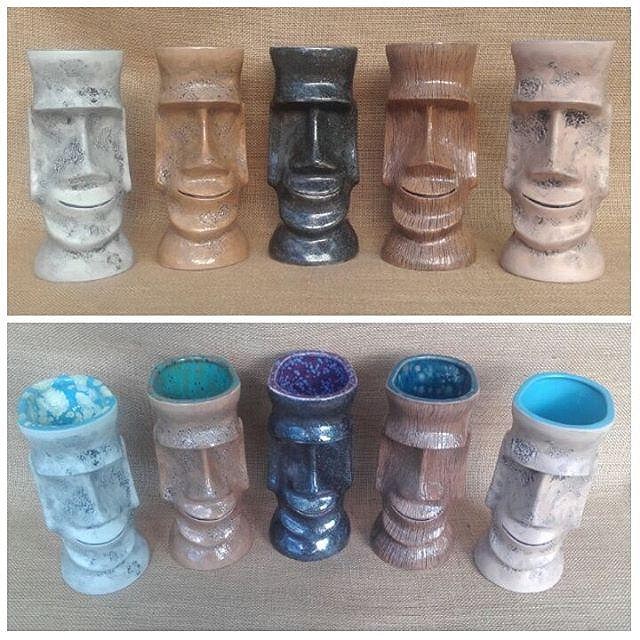
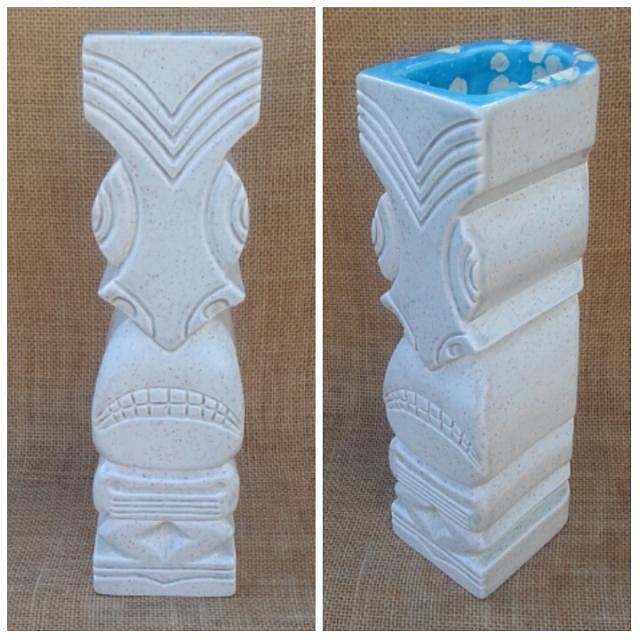
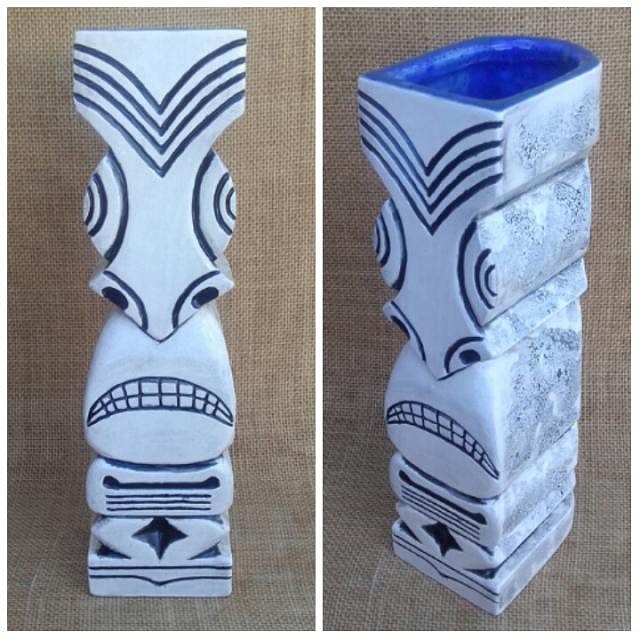
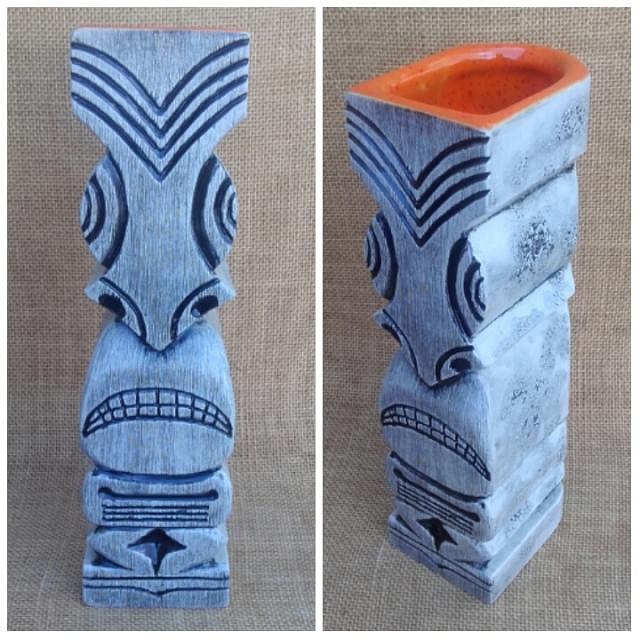
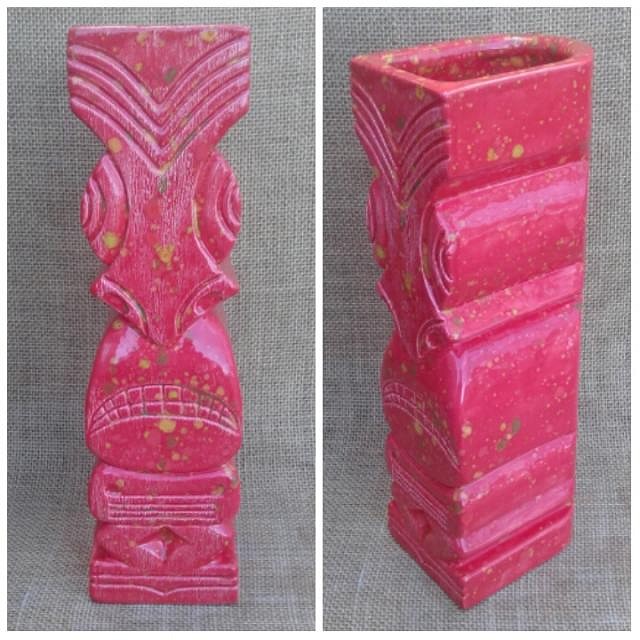
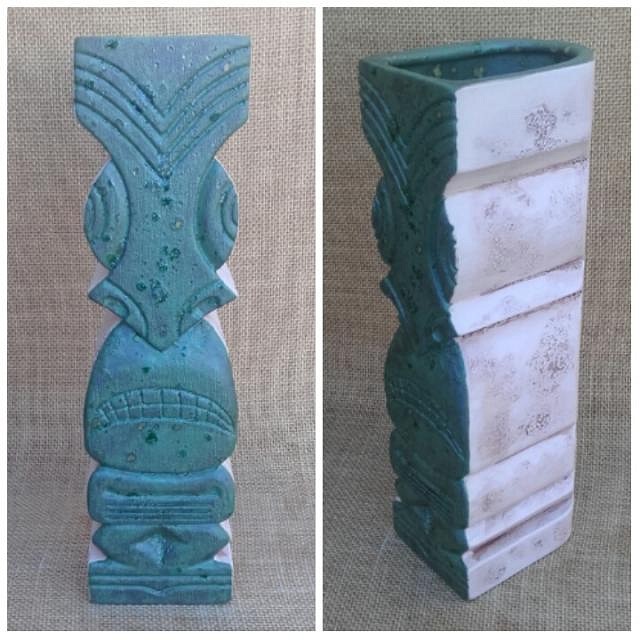
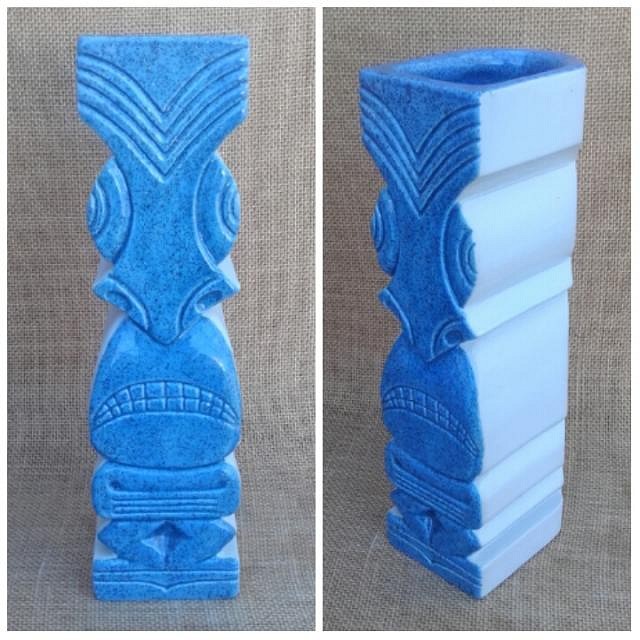
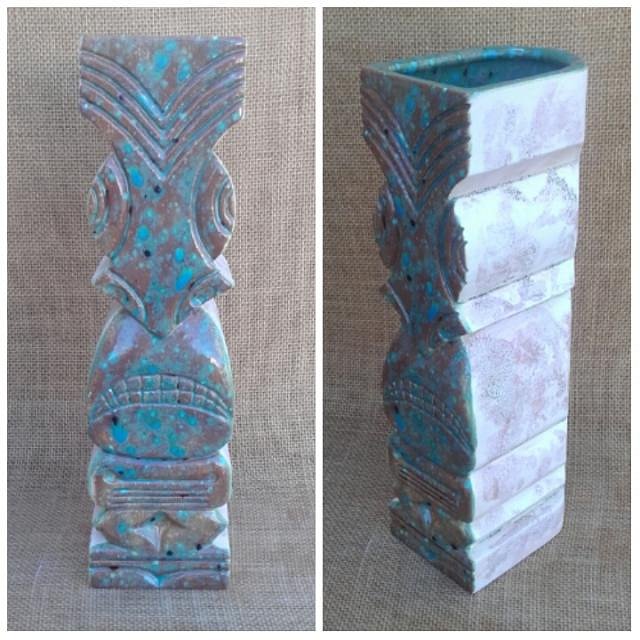
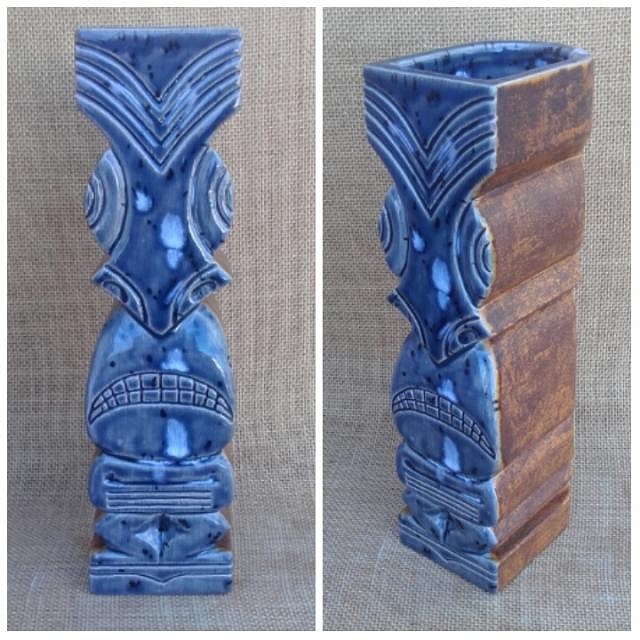
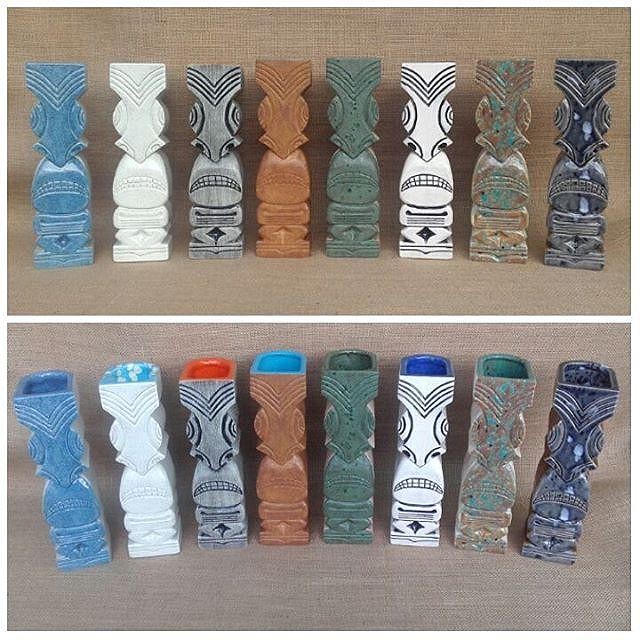
And here's several more of my latest design, Bombardier Ellistay. I'm very happy with how these turned out. I have to reglaze the brown/blue one, i have two more ready to fire and then i have 8 more to glaze and that wil finish the run of this design of 20 pieces, although i MIGHT extend that to 25.
Everything in this post has sold except for the two Corporal Punishment mugs. Send me a PM if you are interested in either of those pieces. Cheers [ Edited by: swizzle 2016-07-14 01:04 ] |
|
M
MadDogMike
Posted
posted
on
Mon, Jul 11, 2016 10:58 PM
I really love some of those glaze Swizz, nice work! |
|
D
danlovestikis
Posted
posted
on
Fri, Aug 12, 2016 8:57 PM
That's a fun design. I hope you'll have more to show us soon, Wendy |
|
H

hang10tiki
Posted
posted
on
Fri, Aug 12, 2016 10:58 PM
Dats a couple of great lineups........ Cheers |

