Tiki Central / Other Crafts
Khan_Tiki_Mon's Bar and Lounge 7/26/2008 update
Pages: 1 12 replies
|
K

khan_tiki_mon
Posted
posted
on
Thu, Aug 23, 2007 7:12 PM
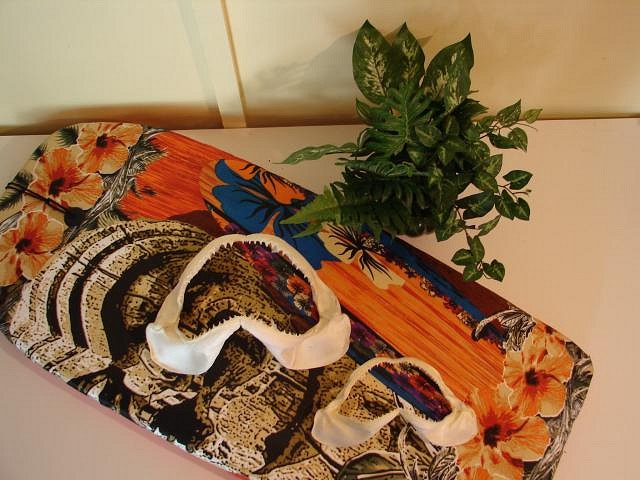
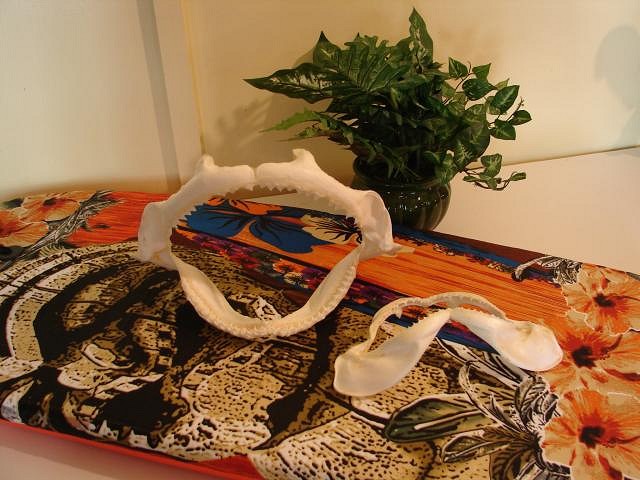
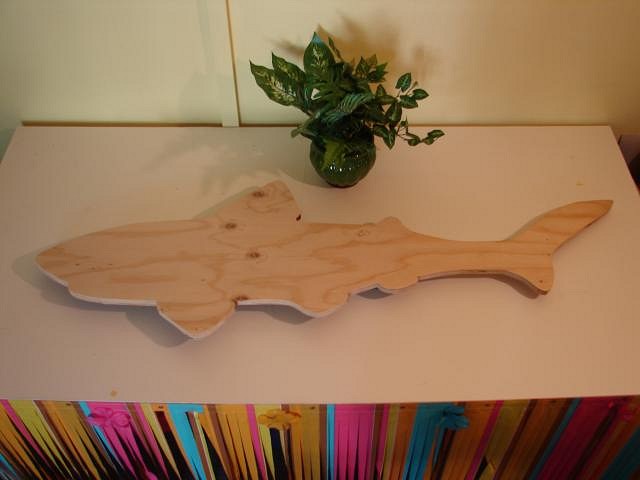
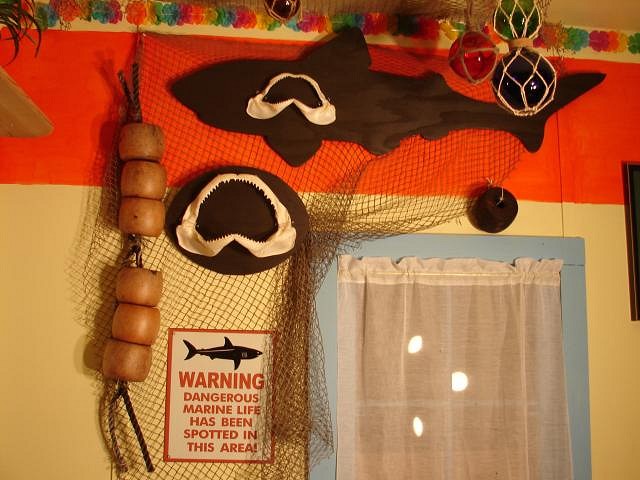
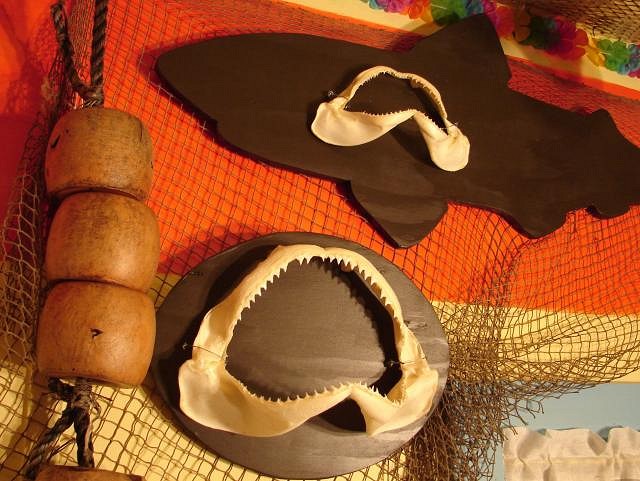
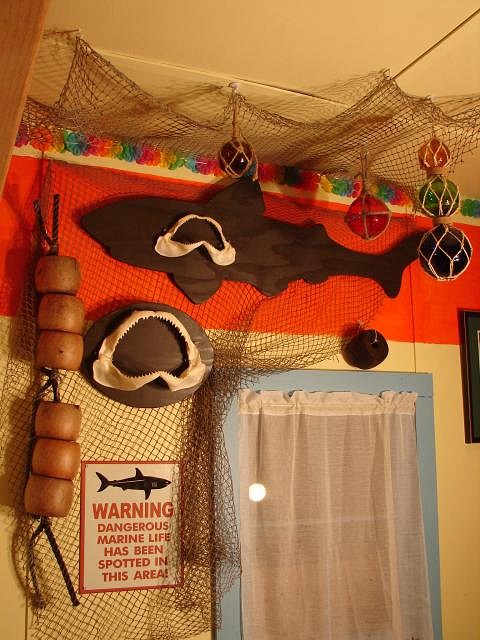
I am starting this thread so I can share the progress, or lack thereof, in the creation of my Tiki bar and lounge. My first little project to share is my shark jaws. I picked up 2 sets of shark jaws while vacationing on the Outer Banks in North Carolina. I wanted to display them in the Tiki lounge. I decided to wire them to a board and then hang them from the wall like a painting. What I did was to cut out two shapes from plywood. One is just an oval but the other I cut in the shape of a shark. I painted them black so the shark outline is like a silhouette. I wired the jaws to the cutouts. I put up fishing nets and floats, the shark jaws, and a metal "danger no swimming sharks" sign. I added some glass floats hanging from the ceiling to make it a little more 3 dimensional.
[ Edited by: khan_tiki_mon 2008-05-25 18:10 ] [ Edited by: khan_tiki_mon 2008-07-26 14:39 ] |
|
M

mzoltarp
Posted
posted
on
Fri, Aug 24, 2007 5:45 AM
Sharktastic! Pour some drinks and take more pix. |
|
V

VampiressRN
Posted
posted
on
Sat, Aug 25, 2007 12:13 PM
OOOOOOH...I'll have a Sharks Tooth!!! Fabulous job so far. :) Shark's Tooth Recipe 1.0 fill with Club Soda Directions: Add all ingredients except club soda to a mixing glass filled with ice. Shake and strain into glass filled with ice. Fill with club soda. |
|
M
mzoltarp
Posted
posted
on
Sat, Aug 25, 2007 2:56 PM
In my Telstar Lounge I make a drink called a Stingray. It's a vodka martini minus the vermouth. It's shaken gently but for long enough to get the vodka really cold--heck keep the vodka in the freezer I say--and then when served dribble in enough grenadine with a dropper so that it looks like a swirl of blood. Too much grenadine and the drink becomes pretty craptastic. Of course when I make martinis with Bombay Sapphire Gin, I dip a toothpick in blue food coloring and swirl it in the poured martini because Bombay Sapphire Gin SHOULD BE BLUE! Yes, I know the above is blasphemy and not tiki. |
|
K
khan_tiki_mon
Posted
posted
on
Mon, Apr 28, 2008 8:38 PM
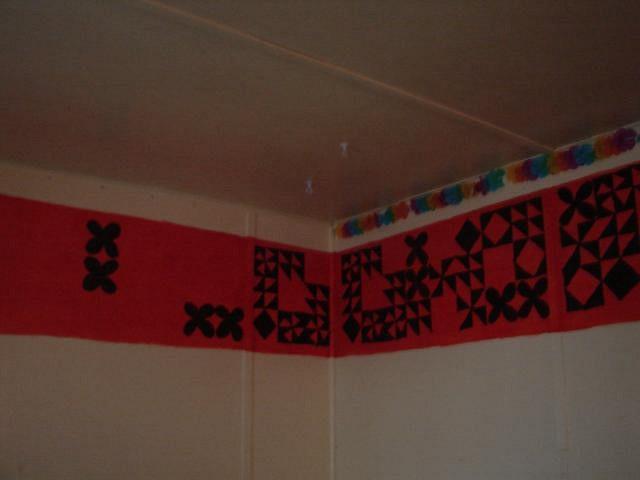
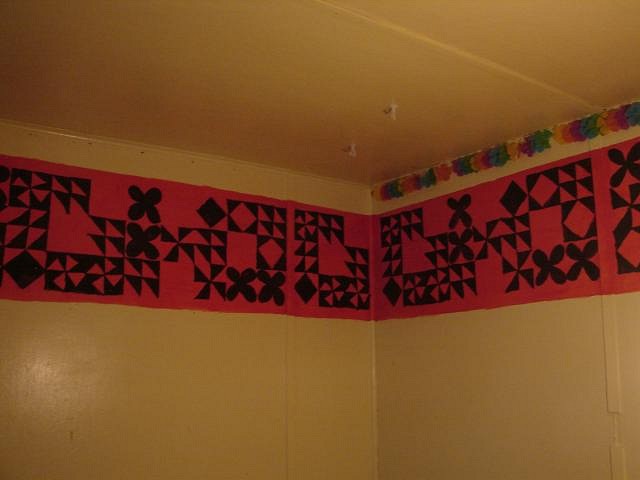
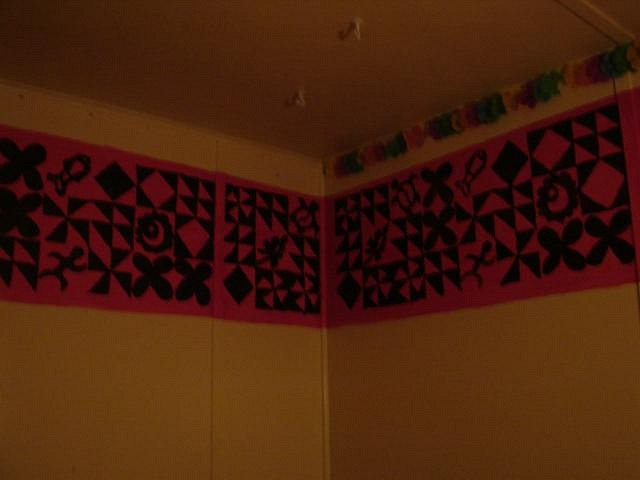
Faux Tapa Paint Effect. |
|
K
khan_tiki_mon
Posted
posted
on
Sun, May 25, 2008 6:28 PM
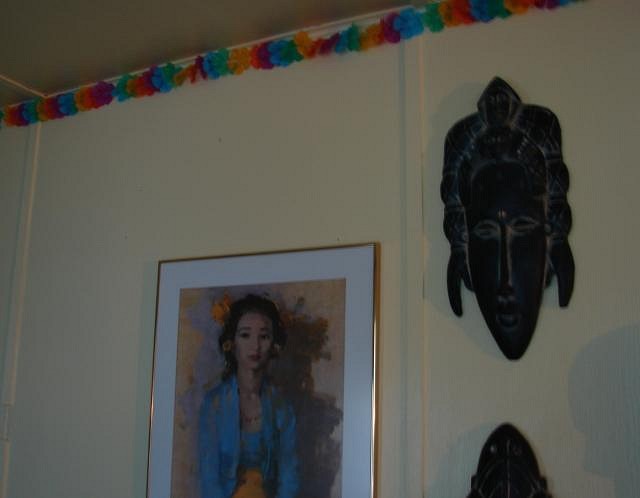
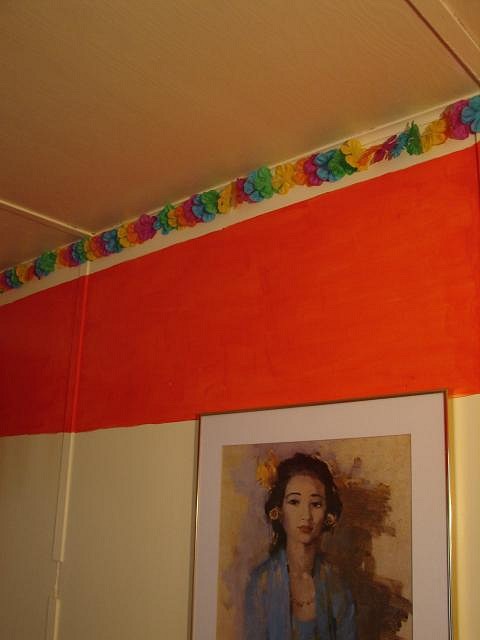
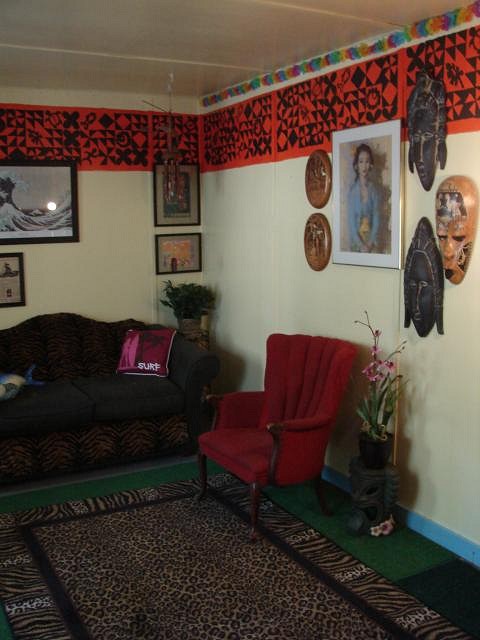
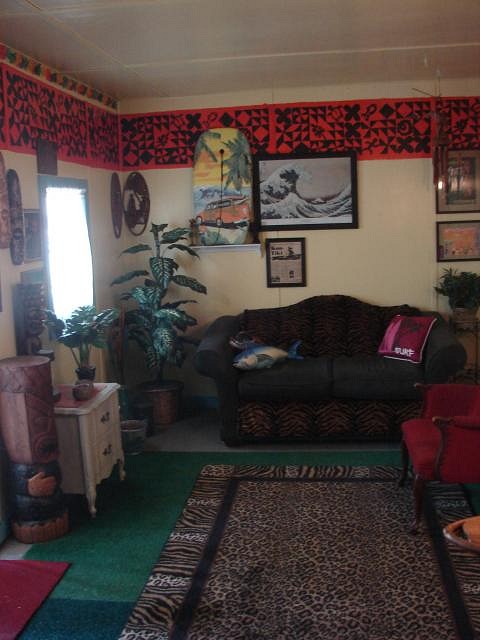
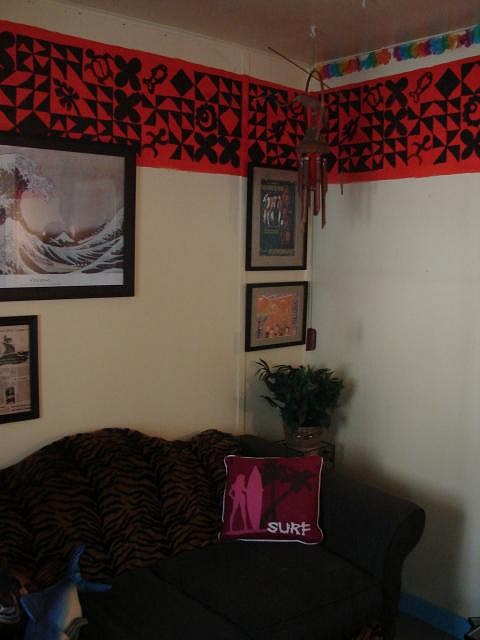
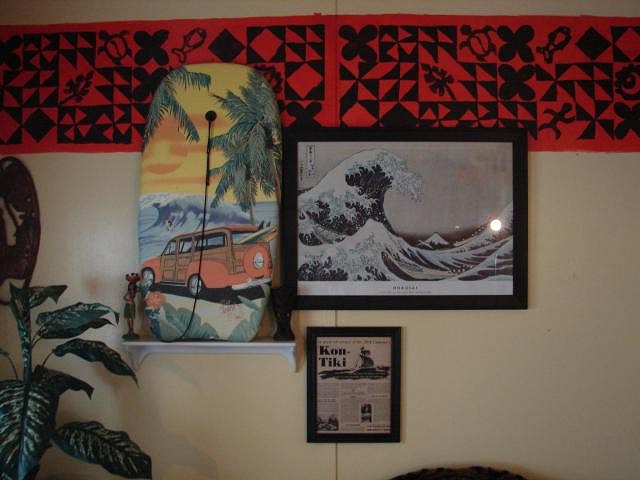
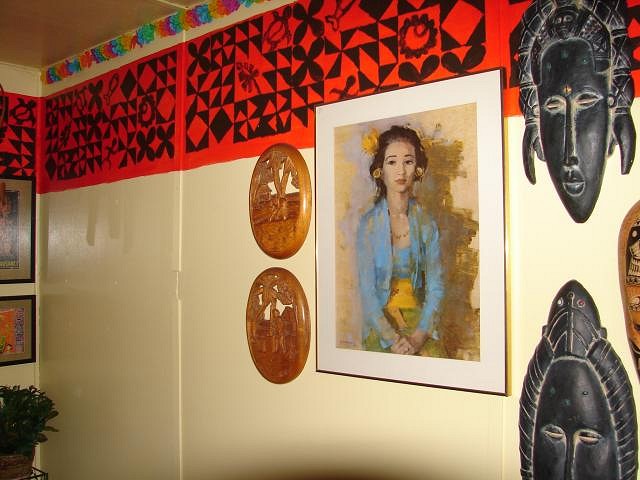
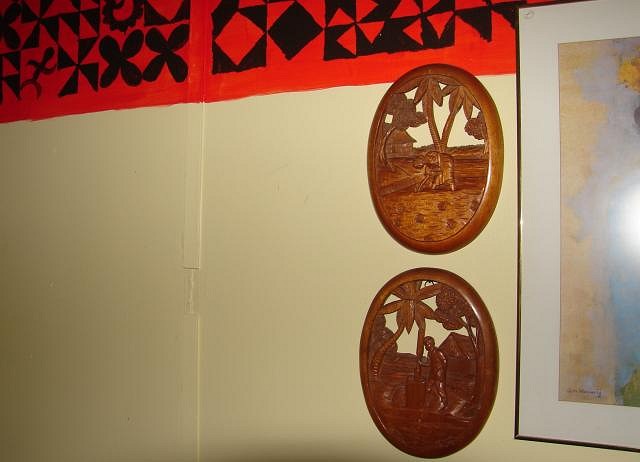
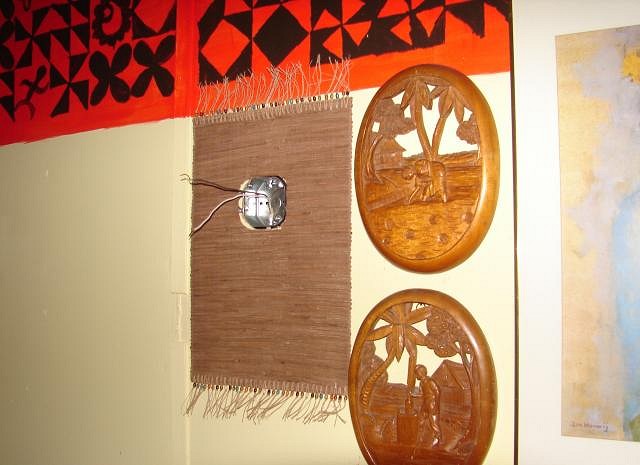
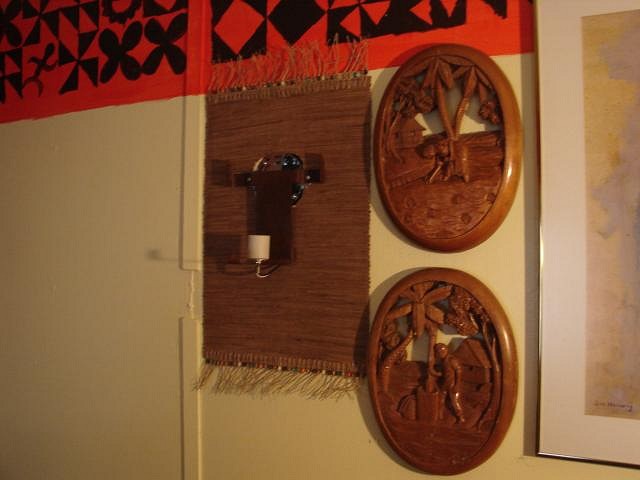
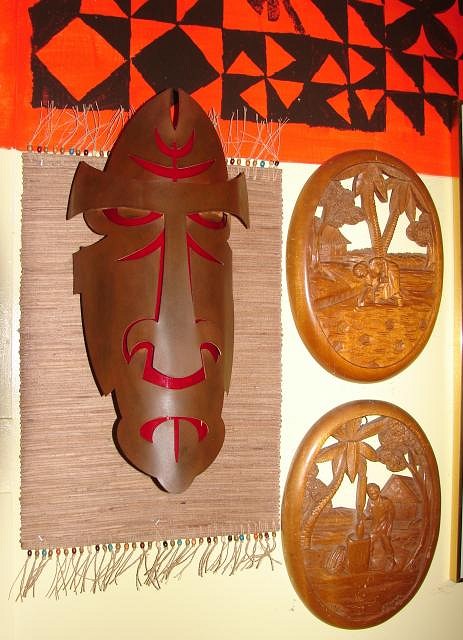
I have started framing and hanging some of my art collection. |
|
G

greentikipat
Posted
posted
on
Sun, May 25, 2008 11:54 PM
cool as hell none the less. the room is really taking shape. great collection of prints!! mahalo for posting- keep 'em coming!! |
|
K
khan_tiki_mon
Posted
posted
on
Sat, Jul 26, 2008 2:37 PM
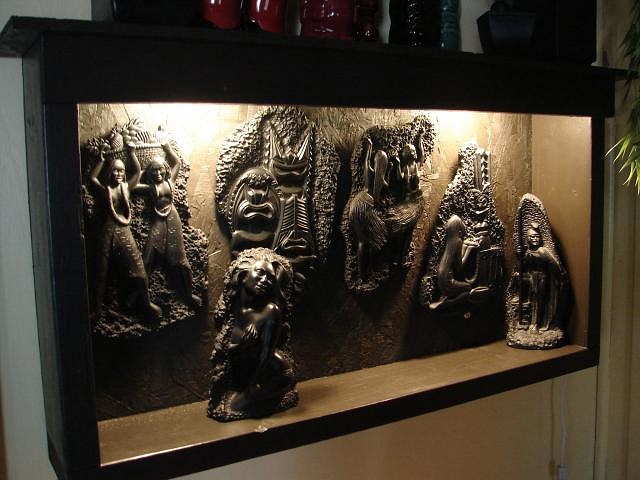
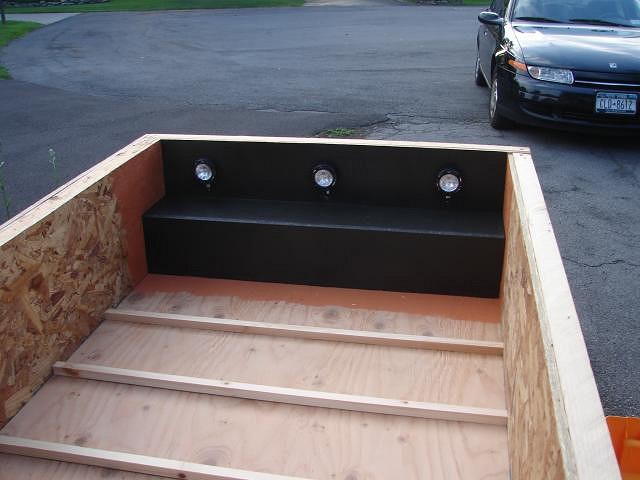
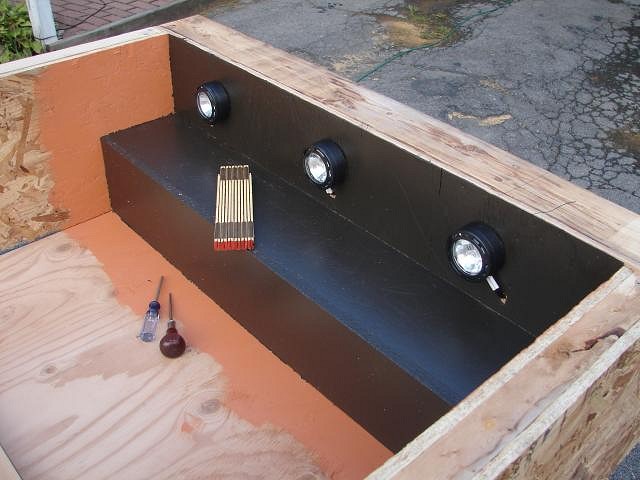
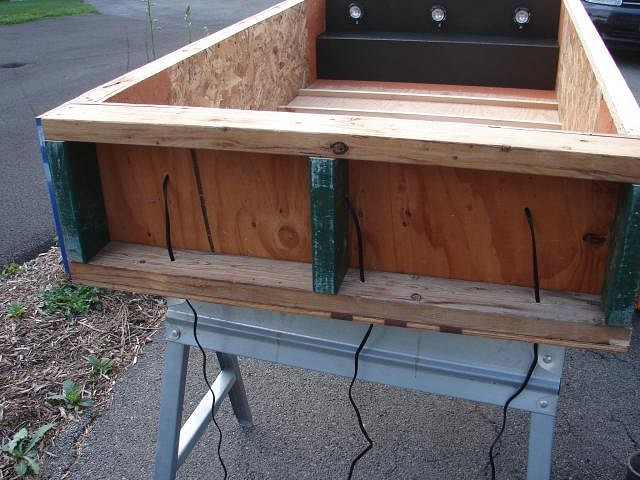
My newest addition to the Tiki lounge is my Coco Joe's display. I made a light box out of some scrap leftover lumber I had lying around. I painted the box black. I added two compact fluorescent under cabinet lights. I attached the light box to the wall and then hung my Coco Joe's placques inside. It makes for a nice display. |
|
T

Tabu
Posted
posted
on
Sun, Jul 27, 2008 6:40 AM
That Coco Joe's light box is sooo sweet. Nice job. |
|
K
khan_tiki_mon
Posted
posted
on
Sun, Sep 14, 2008 7:20 PM
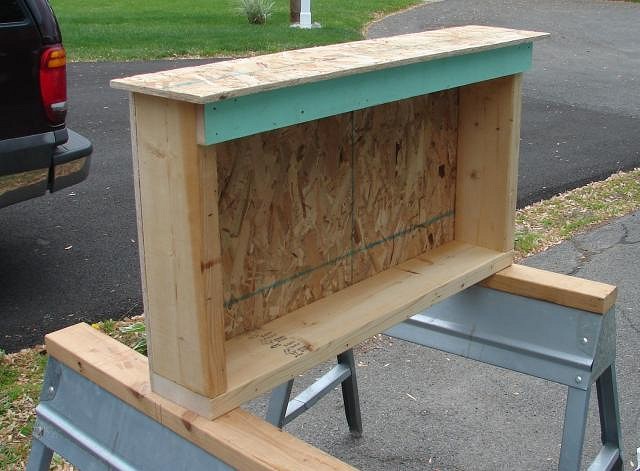
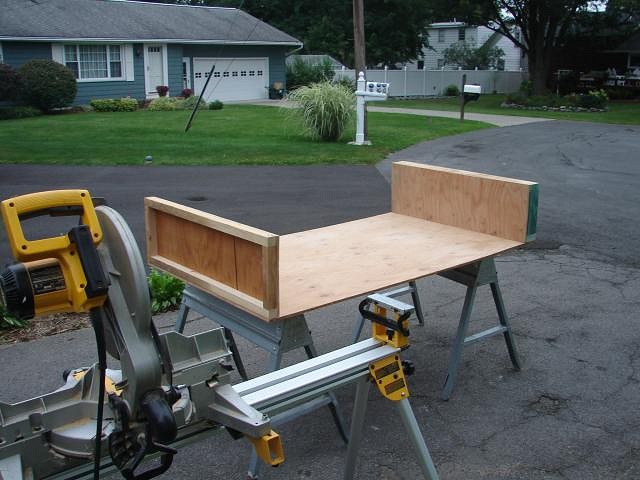
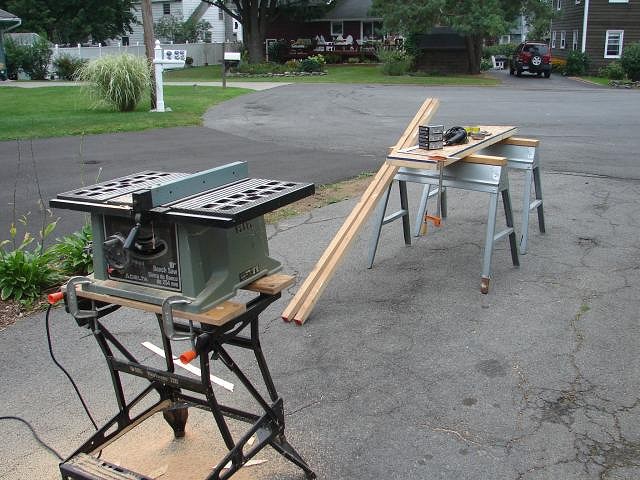
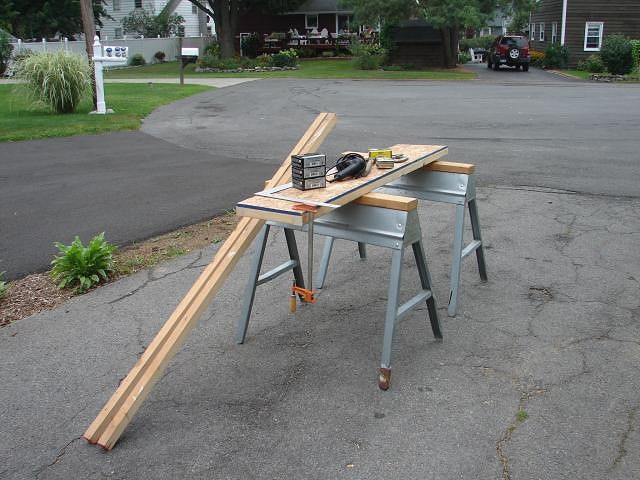
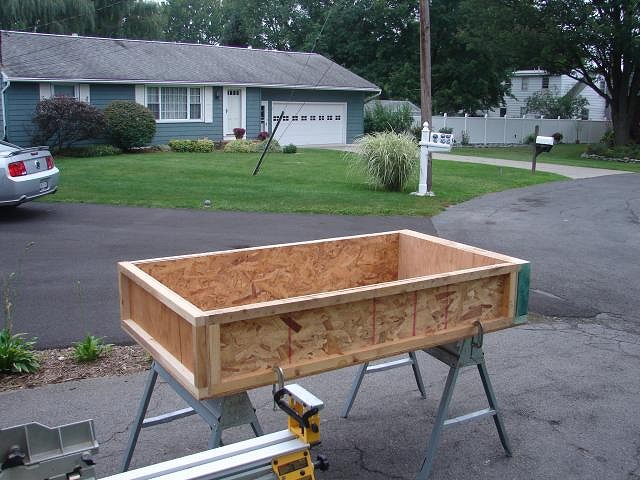
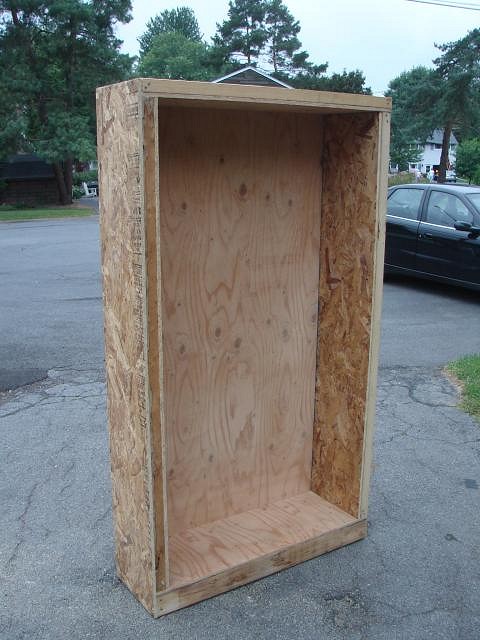
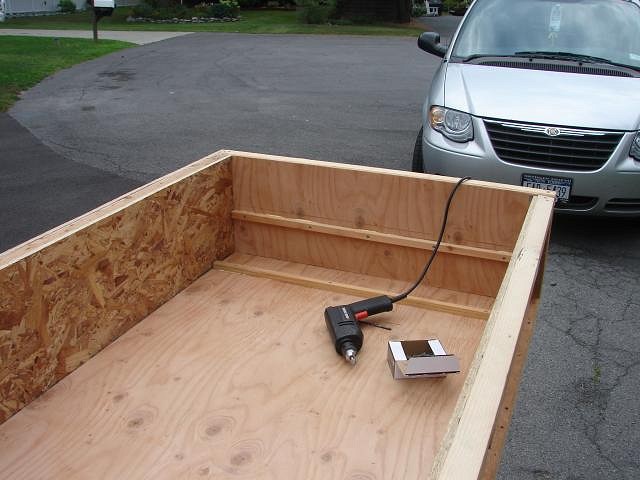
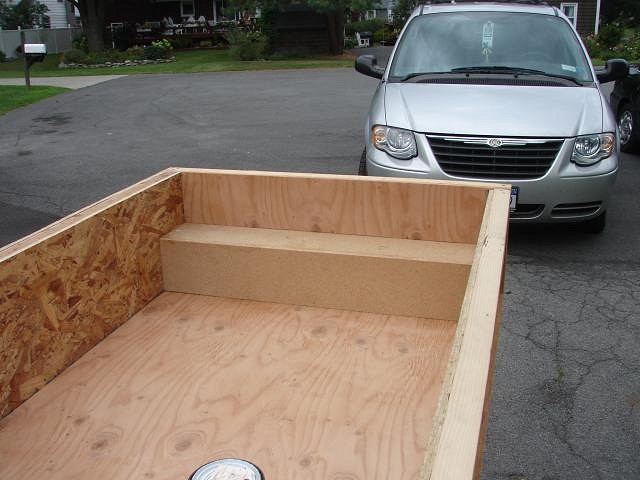
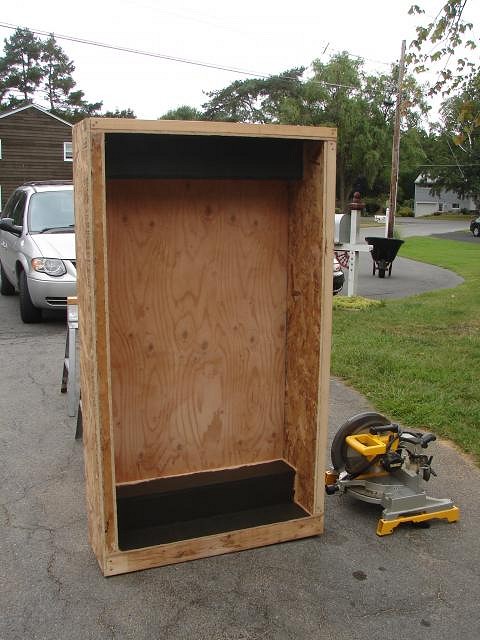
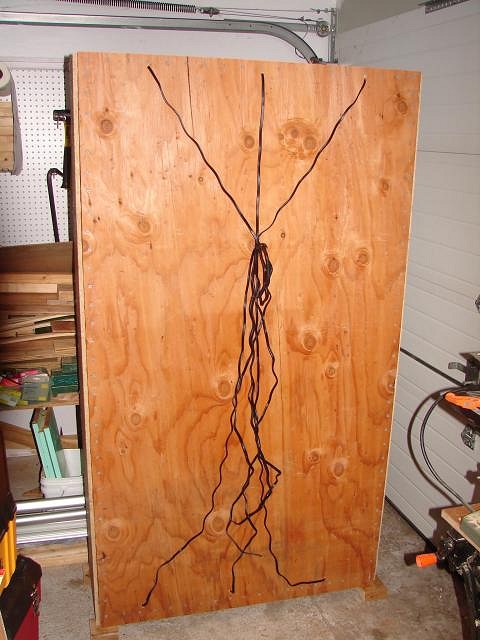
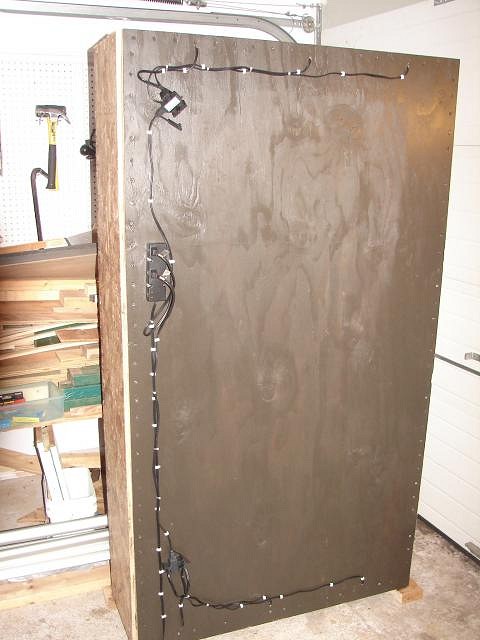
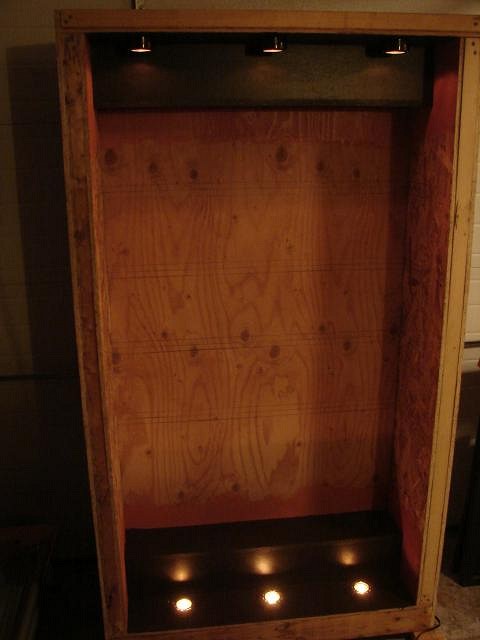
The wife gave me an ultimatum. She said if I bought anymore Tiki stuff without displaying everything I already had she was going to start "smashing stuff". Seemed a bit harsh to me but....she's probably just crazy enough... So, I needed a shelf / cabinet to display my Tiki mug collection. I saw a shelf I liked at Ikea. The nearest Ikea is a four or five hour drive for me. We were visiting my wife's brother and went to the Ikea in Pennsylvania and I saw some shelves I liked. They were fairly reasonably priced and so I thought I'll order them on the internet. The shipping was $250.00, which is more than what the shelves cost. I decided to build my own Tiki mug shelf. I decided to use up some of the scrap and left over lumber I have laying around. A Tiki mug shelf built from recycled materials as in crap I had laying around the house. That was the plan. |
|
K
khan_tiki_mon
Posted
posted
on
Sun, Sep 14, 2008 7:40 PM
|
|
K
khan_tiki_mon
Posted
posted
on
Sun, Sep 28, 2008 7:06 PM
|
|
K
khan_tiki_mon
Posted
posted
on
Sun, Sep 28, 2008 7:21 PM
|


Pages: 1 12 replies