Tiki Central / Tiki Carving
bigt carvings
Pages: 1 2 3 4 5 6 7 8 9 10 11 12 572 replies
|
M
McTiki
Posted
posted
on
Sun, Jul 22, 2012 1:22 PM
Wow! I feel for you guys. I hope everything dries up quickly for you. Nature can deal some hefty blows. Let me know if there is anything I can provide to help out. Mahalo for sharing McTiki |
|
P
pjc5150
Posted
posted
on
Tue, Jul 24, 2012 8:44 AM
wow...damn bro. Sorry about the flood. Hope everything is getting back to normal. On a lighter note, great start on the new tiki! |
|
T
TheBigT
Posted
posted
on
Sun, Aug 5, 2012 8:18 AM
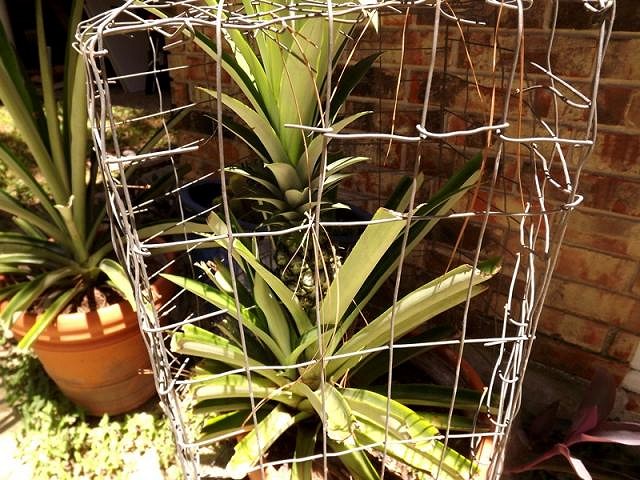
Thank you all for the encouraging words. No tiki carving going on here, but we are high and dry again. And we have a pineapple in the makings!
This plant started as the top cut off a pineapple from the grocery store. That was some 5 or 6 years ago. This year it decided to fruit! Don't laugh at the cage we have around it. The last time we bought a pineapple from the nursery, a raccoon or opossum took it one night! :lol:
[ Edited by: TheBigT 2012-08-05 08:19 ] |
|
AM
Atomic Mess
Posted
posted
on
Sun, Aug 5, 2012 8:30 AM
haha cool! glad you're no longer under water... |
|
T
TheBigT
Posted
posted
on
Tue, May 7, 2013 5:08 PM
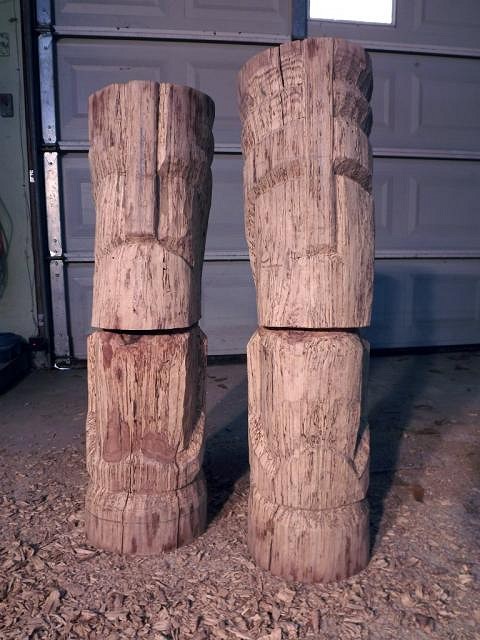
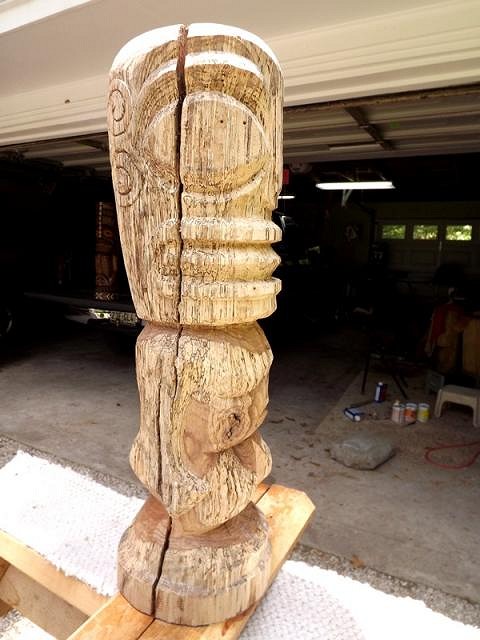
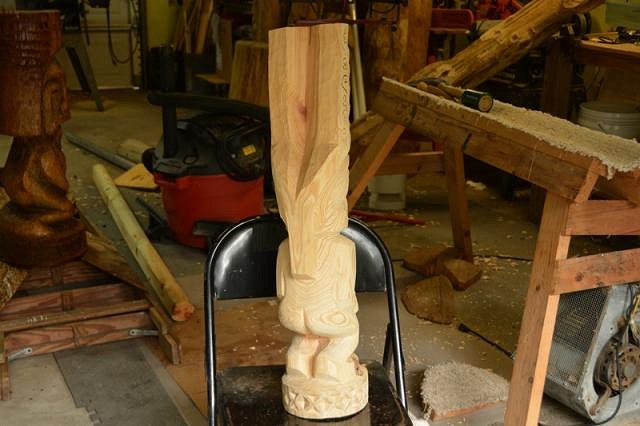
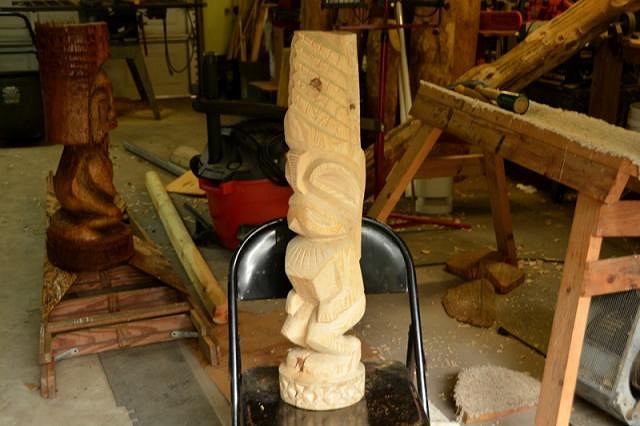
Whoa dang, it's been 8 months since I posted last! I guess it's time to blow the dust off this thread. There hadn't been much carving going on around here in those 8 months, but I finally started to get back in the groove a couple of weeks ago. Way back in February or March I had started these two tikis:
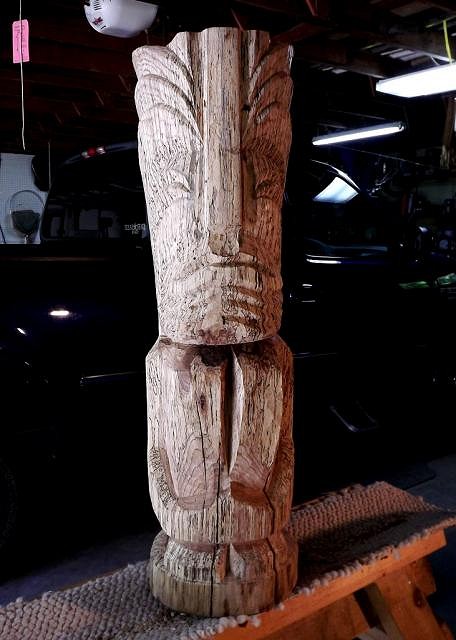
I finished the one on the right last year and finally picked up on the other one. He looks like this now...
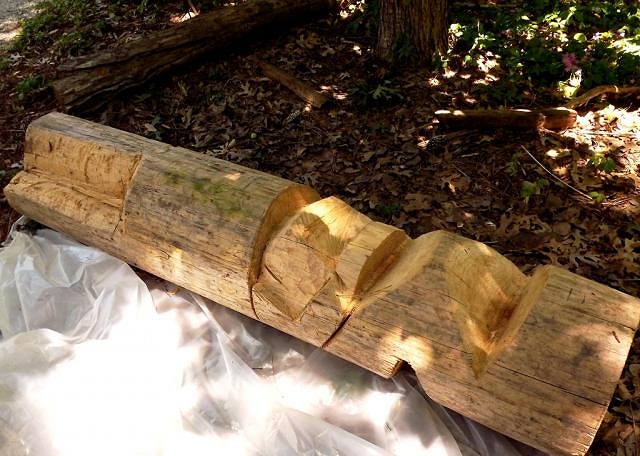
Somewhere along the way last fall I took the chain saw to a big pine log. Haven't done anything on him since then.
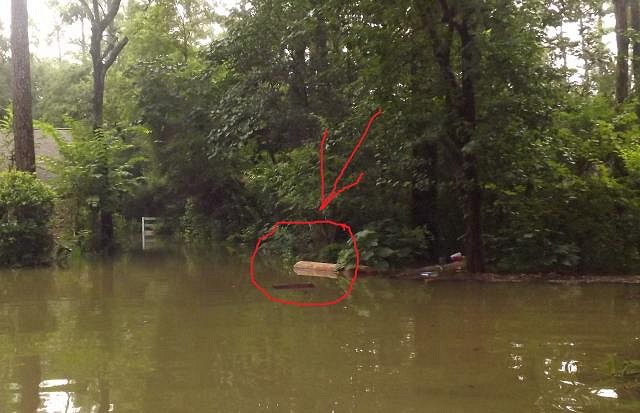
In fact, it's the very log pictured below that tried to escape during the food last year by floating away...
This dude is still sitting around too:
Will any of these get done any time soon? Heck, who knows!? |
|
M
McTiki
Posted
posted
on
Tue, May 7, 2013 5:41 PM
That spalting really adds something vintage to that one! Hes gonna finish real nice! Welcome back! McTiki |
|
M
McTiki
Posted
posted
on
Tue, May 7, 2013 5:44 PM
[ Edited by: mctiki 2013-05-08 06:43 ] |
|
M
McTiki
Posted
posted
on
Tue, May 7, 2013 5:50 PM
arrrrg..... sorry! [ Edited by: McTiki 2013-05-08 06:44 ] |
|
T
TheBigT
Posted
posted
on
Tue, May 7, 2013 7:09 PM
McTiki thanks, thanks, and thanks! haha. btw, love your latest. Love that vintage look you always get! |
|
AM
Atomic Mess
Posted
posted
on
Wed, May 8, 2013 11:41 AM
thanks fer the bump on my thread BigT, looks like you need a push too? These guys are very stylish, let's see some more! |
|
A
amate
Posted
posted
on
Thu, May 9, 2013 9:27 AM
Better get those guys finished and sealed. We are overdue for another flood. :) |
|
T
TheBigT
Posted
posted
on
Mon, Jun 10, 2013 8:06 PM
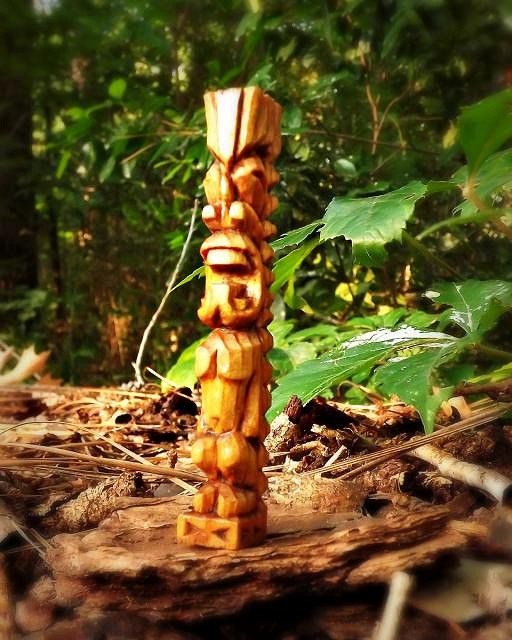
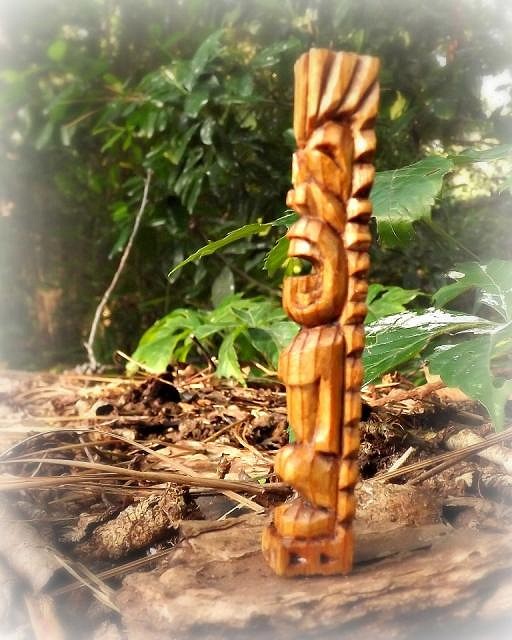
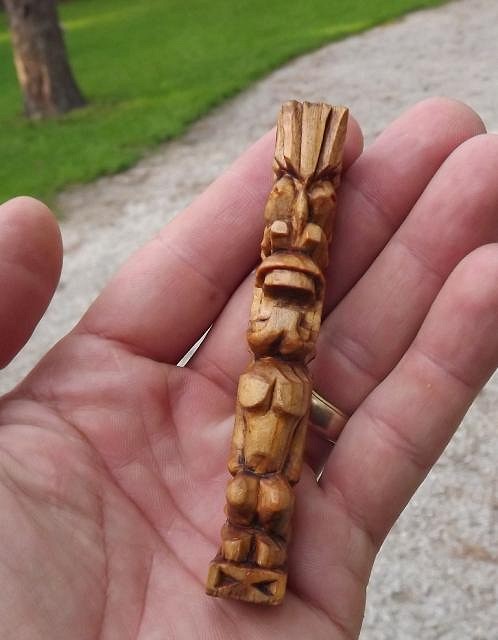
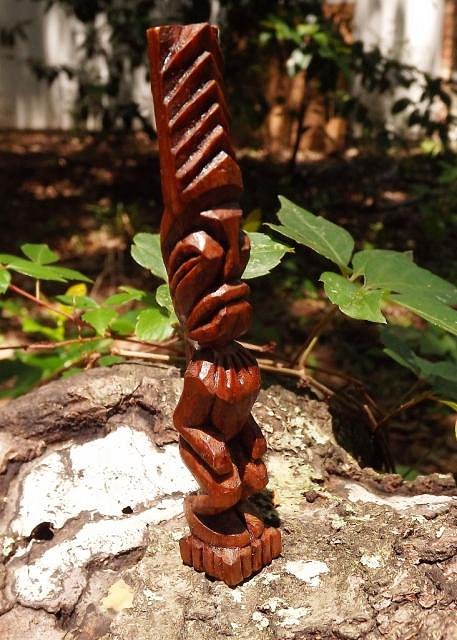
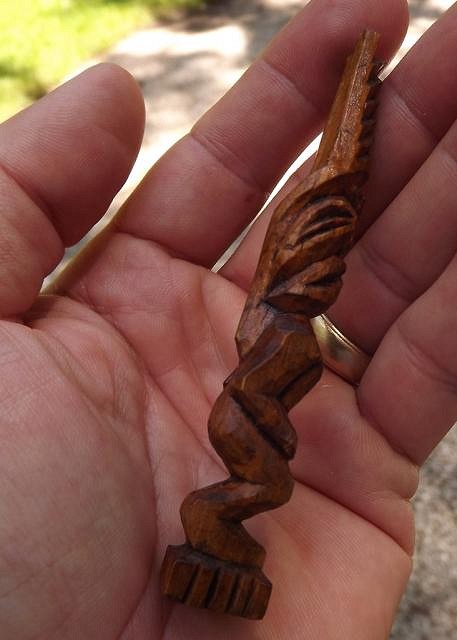
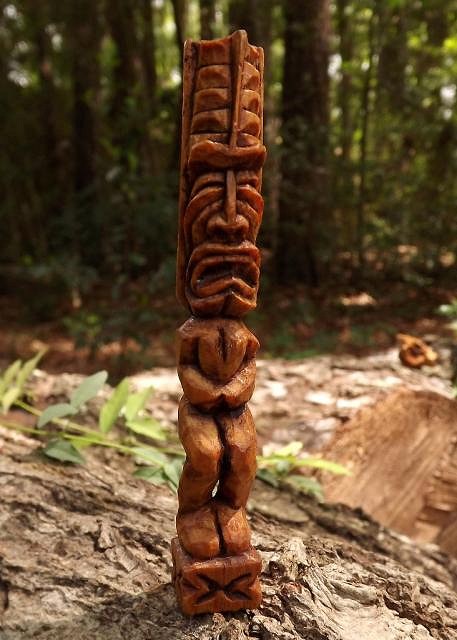
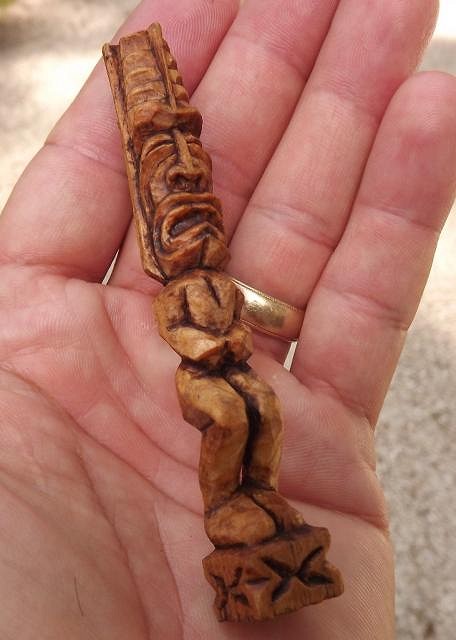
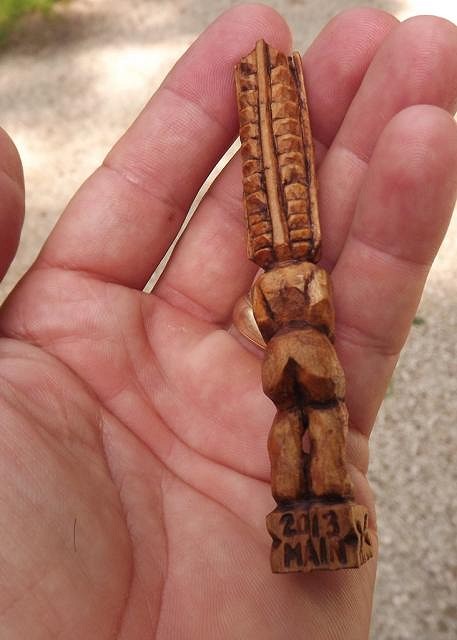
Thanks Atomic! Amate: still working on those other two dudes. Not much rain around here lately. Well, I can't seem to finish anything these days. However, I did complete an entire tiki from start to finish this weekend.
|
|
A
amate
Posted
posted
on
Tue, Jun 11, 2013 3:00 AM
Kool Ku...the beauty of those small ones is they don't occupy a lot of floor space. |
|
WC
Will carve
Posted
posted
on
Tue, Jun 11, 2013 4:20 AM
one wknd! |
|
T
TheBigT
Posted
posted
on
Tue, Jun 18, 2013 6:51 AM
Thanks Amate. Yeah, I've got room for about a million of these!
Will, many thanks. You should've seen the chainsaw I used! |
|
T
TheBigT
Posted
posted
on
Tue, Jun 18, 2013 6:54 AM
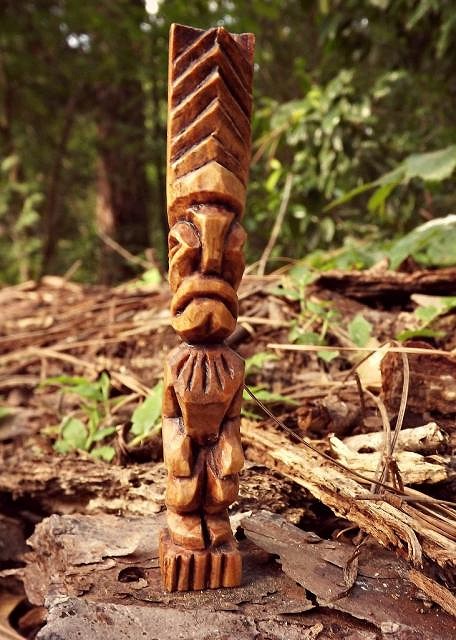
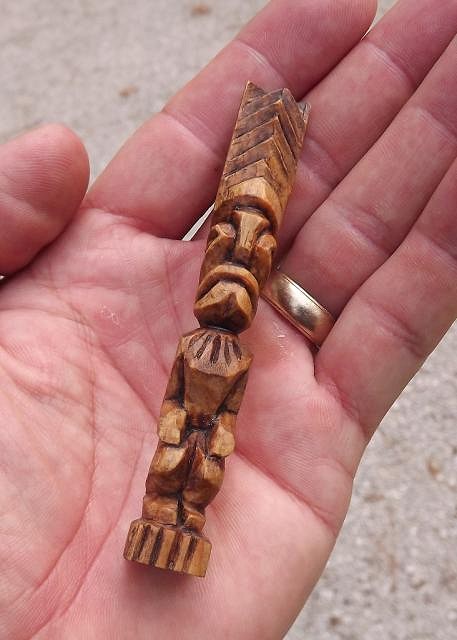
I managed to finish another one of these tiny tikis. Now if I could just have these enlarged to five feet, I'd be in business!
|
|
C
cy
Posted
posted
on
Tue, Jun 18, 2013 7:36 AM
Nice work Big T! |
|
T
TheBigT
Posted
posted
on
Thu, Jul 18, 2013 2:15 PM
Thanks cy! That detailed fish you did on that 4' cedar tiki is Incredible! |
|
T
TheBigT
Posted
posted
on
Thu, Jul 18, 2013 2:22 PM
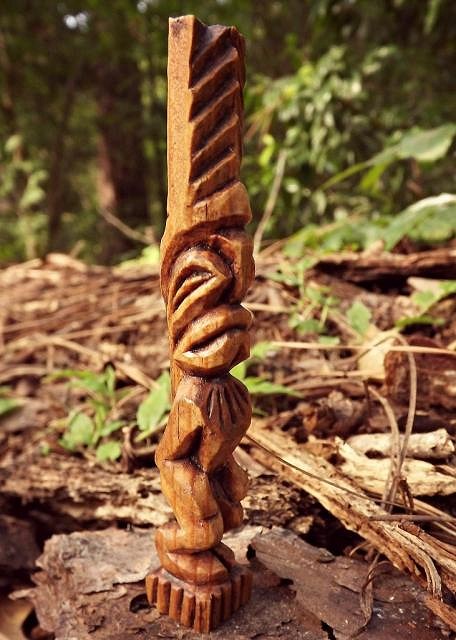
Hey All! Some new updates from Tiny Tiki Land! I recently did a 2nd one of these dudes:
Plus, one new one:
|
|
AM
Atomic Mess
Posted
posted
on
Mon, Jul 22, 2013 6:13 AM
I love these little guys! |
|
T
TheBigT
Posted
posted
on
Sun, Jun 8, 2014 11:22 AM
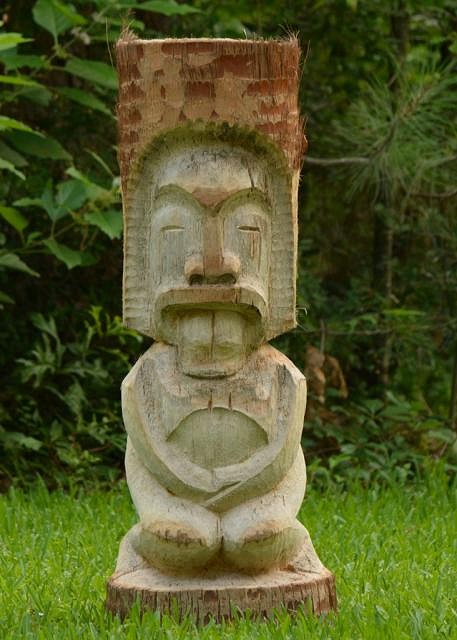
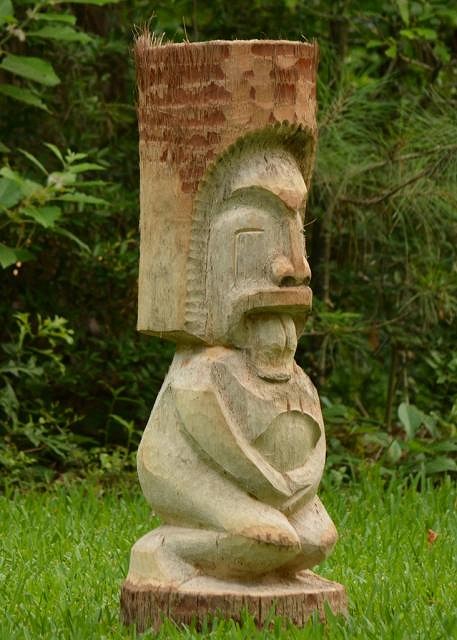
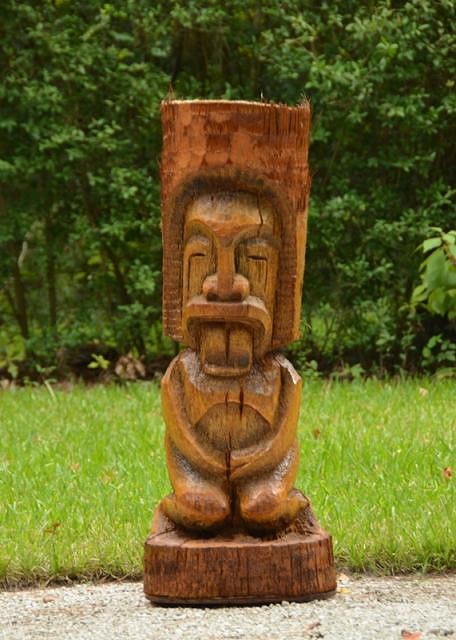
Hi All! Wow, I can't believe it's been almost a year since I posted any carvings! I guess real life must have intervened or something. Although I started a few things since then, I haven't actually finished a thing. Allow me to introduce my first palm tiki (mostly finished)! This is a design by the great Milan Guanko. I heard chain saws rip roaring one afternoon a few weeks ago and found my neighbor cutting down a palm tree in his back yard to make way for a new deck. The crew saved me a three foot piece of it. Have no idea what kind of palm this is. It's super stringy though and freakin heavy! I was barely able to lift it into the back of my truck.
I was planning to cut on it a little more, but it's now starting to get moldy and rotten. And as it dries, the fiber is coming apart like straw. I don't know if it's particular to this palm variety, or the gulf coast humidity or what. Plus, it got swamped at the base when my garage filled with water during one of our Houston summer soakers last week (4" of rain in one day, 9" over two days). I've been having to put mineral spirits on it to kill the fuzzy mold that's growing.
If it dries successfully and doesn't rot to pieces, I'll stain it and call it done.
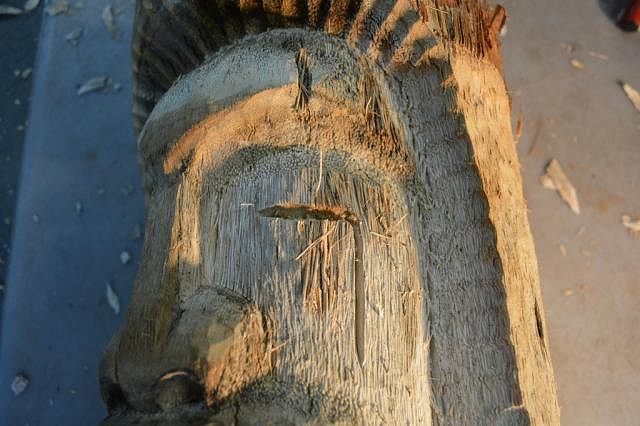
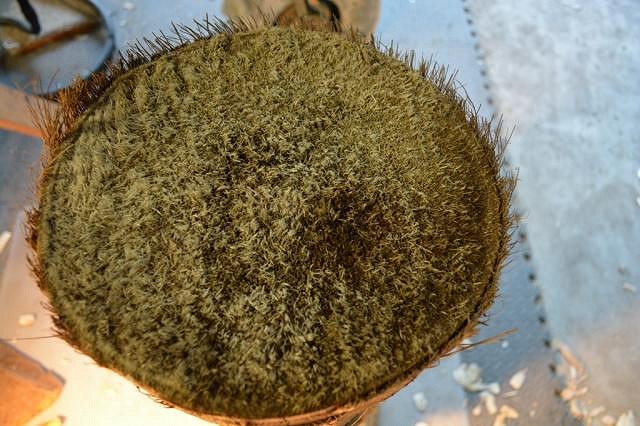
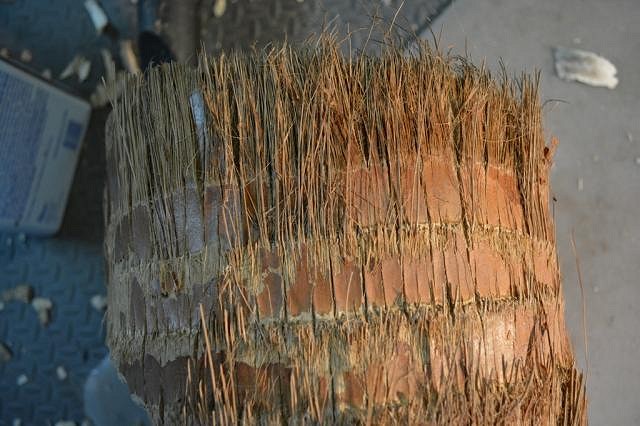
This is the skin and end grain. Anyone have any ideas what kind of palm this is? |
|
C
cy
Posted
posted
on
Sun, Jun 8, 2014 5:07 PM
NICE! |
|
A
AlohaStation
Posted
posted
on
Mon, Jun 9, 2014 6:15 AM
Being that you are in SE Texas, I would have to guess that it is Sabal Palm. The reason it is so heavy is due to the water that is trapped inside. It will get moldy, but that doesn't mean its rotten. Palm is stringy. Leave it somewhere dry so that it can lose the water inside. Don't be surprised if it becomes very light. Allow it to dry before finishing (I let some of my palm carvings dry for several weeks before finishing them). Don't worry about the mold that from the moisture inside - when the mold dies it may be dry enough to finish. DO NOT seal it till the mold stops growing - the mold will continue to grow even after you seal it. |
|
P
pjc5150
Posted
posted
on
Mon, Jun 9, 2014 8:23 AM
bark looks to thin to be a sabal... looks more fan-palmish to me... imho... but I am certainly no expert. |
|
A
amate
Posted
posted
on
Mon, Jun 9, 2014 2:19 PM
Very nice Roy!
|
|
T
TheBigT
Posted
posted
on
Mon, Jun 9, 2014 7:56 PM
Cy, thanks!! Sorta pales in comparison to your intricate carves... :) pjc, aloha, thanks for the tips. You're right it was literally so water logged that water splashed out with each cut I made. I suspect it will rot away because there are several big mushy spots. I tried to cut most of it out. We'll see. I brought it inside and will let it sit a few weeks. Did I say that was a blast to carve?! So nice to be able to cut out big chunks with each blow of the mallet instead of the little chips I usually make... [ Edited by: TheBigT 2014-06-09 19:57 ] |
|
T
TheBigT
Posted
posted
on
Mon, Jun 9, 2014 7:59 PM
Yo Allen, thanks! Yeah I've seen the ads for this place. Never been. Let me know if you're passing through. I wouldn't mind checking it out. |
|
T
TheBigT
Posted
posted
on
Wed, Aug 27, 2014 9:52 AM
The palm finally dried. It's a lot more fragile than I expected! The head is threatening to break off and it shakes a bit like a bobble head. I poured some minwax wood hardener in to stabilize it. It looks about a hundred years old, which is very cool, but a lot of the features are somewhat flatter in appearance than when I carved it. Wish I knew what kind of palm that was. My plans are to avoid it in the future! :lol:
|
|
H
hiltiki
Posted
posted
on
Wed, Aug 27, 2014 1:07 PM
Looks very nice, has a good vintage feel to it. |
|
C
cy
Posted
posted
on
Wed, Aug 27, 2014 3:03 PM
Cool carve BT! |
|
P
pjc5150
Posted
posted
on
Thu, Aug 28, 2014 9:54 AM
I had a softie break in half on me, and I fixed it by running a piece of rebar through the middle, and then pouring on the wood glue. it's been about 2 years now & it's still outside in the customers yard holdin' together... |
|
KK
Kahuna Kraig
Posted
posted
on
Thu, Aug 28, 2014 8:23 PM
Loving your work, so cool to see the progress in your craft. |
|
T
TheBigT
Posted
posted
on
Fri, Aug 29, 2014 9:14 AM
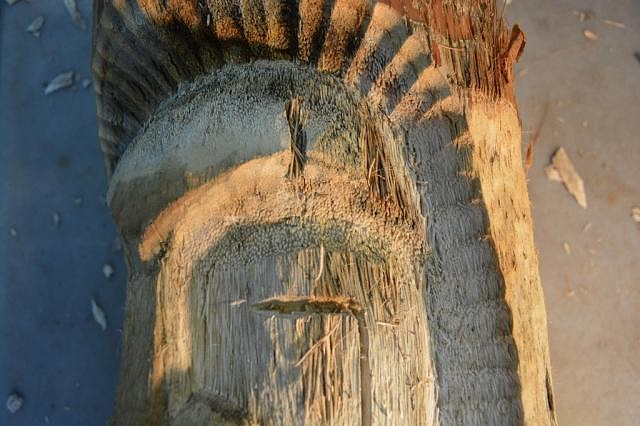
Thanks hiltiki and cy!! Jeff, great idea. I thought about that yet and if it comes apart, I may do that. You can see with the pic below that once it dried it started coming apart like a broom!
In this top down view, you can see some big gaps in the base where the fiber shrunk once the water evaporated. I had to glue a playwood base on the bottom to keep it from breaking apart. I say glue, because nails or screws wouldn't work on this palm.
kahuna kraig: I'm sure you could. If I can do it, anyone can! :) |
|
A
AlohaStation
Posted
posted
on
Fri, Aug 29, 2014 10:58 AM
Hasn't anyone told you not to carve too deep? |
|
T
TheBigT
Posted
posted
on
Fri, Aug 29, 2014 11:05 AM
LOL Now that's the 1st time i've ever heard THAT! |
|
T
TheBigT
Posted
posted
on
Wed, Sep 17, 2014 12:25 PM
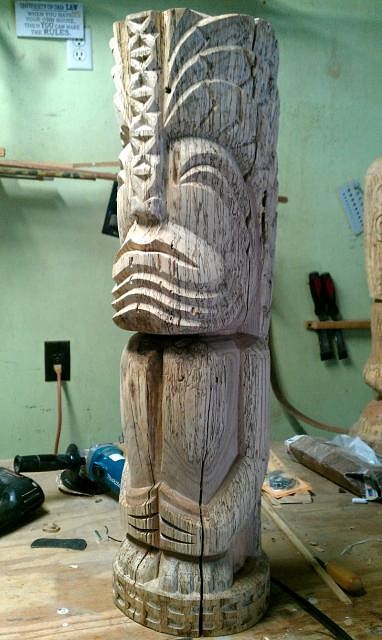
Been working on this one for some time. Finally, almost ready to stain...
|
|
T
TheBigT
Posted
posted
on
Wed, Sep 17, 2014 12:28 PM
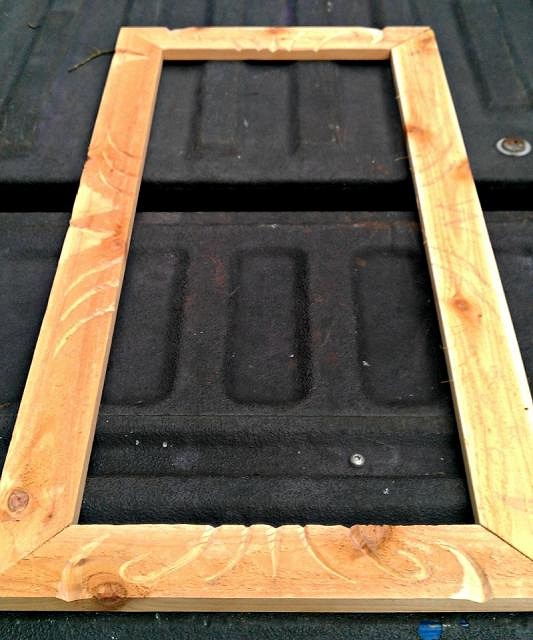
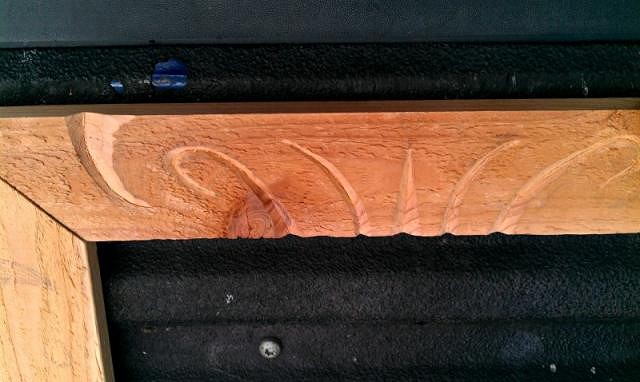
Also working on a picture frame. This is made from 1x3 cedar trim.
|
|
T
TheBigT
Posted
posted
on
Tue, Sep 23, 2014 4:43 PM
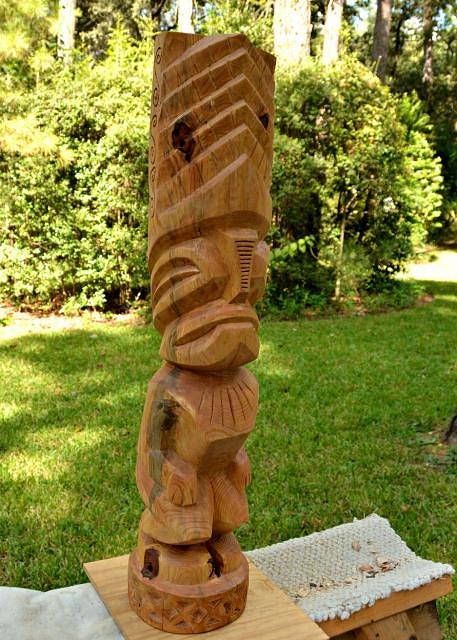
Got this little guy ready to stain. I was hoping to have these last two tikis finished by the end of the month. But maybe I'll get one of these last two finished.
|
|
I
IDoVoodoo
Posted
posted
on
Tue, Sep 23, 2014 5:25 PM
Lovin it! |
|
T
TheBigT
Posted
posted
on
Mon, Oct 6, 2014 7:40 AM
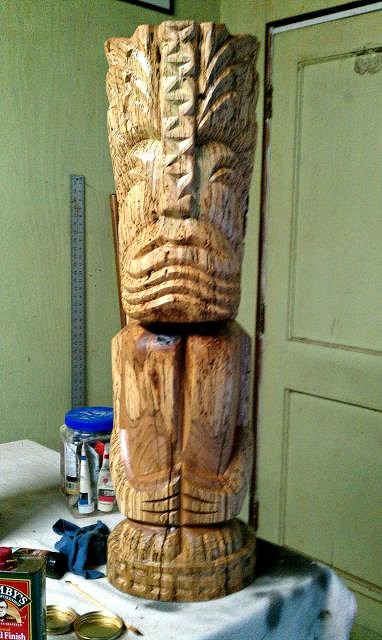
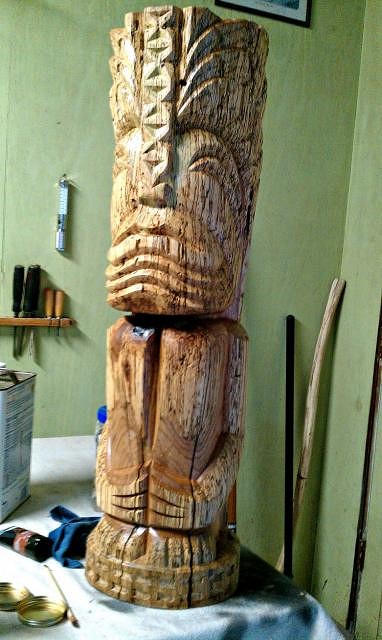
Progress.. Two coats of tung oil so far... The grain and spalting of this log are pretty crazy, so I'll try to preserve it. I'm going to give a light coat of shellac after this and I think that will be it for color.
|
|
T
TheBigT
Posted
posted
on
Tue, Oct 14, 2014 5:45 AM
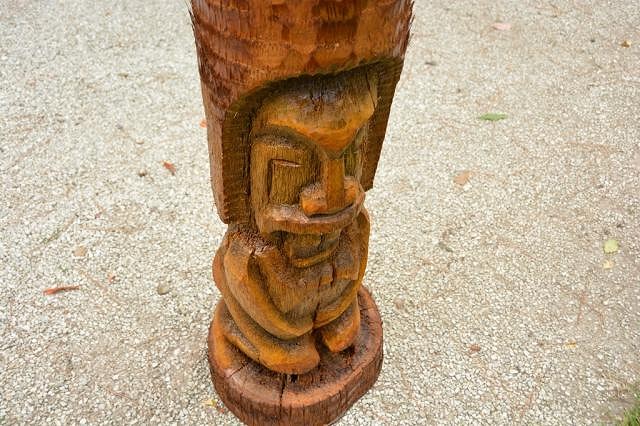
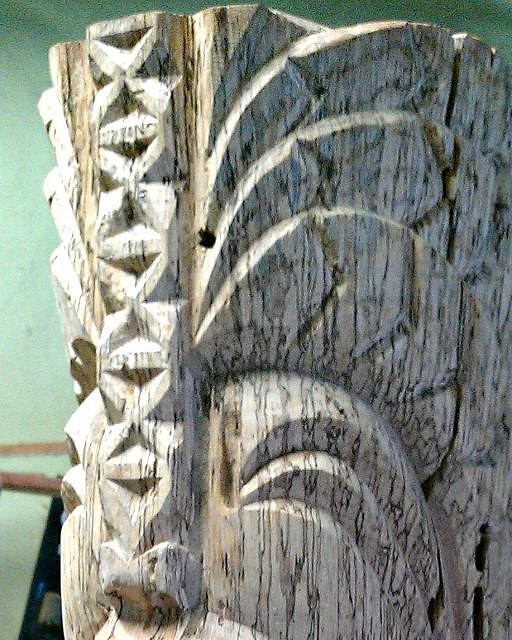
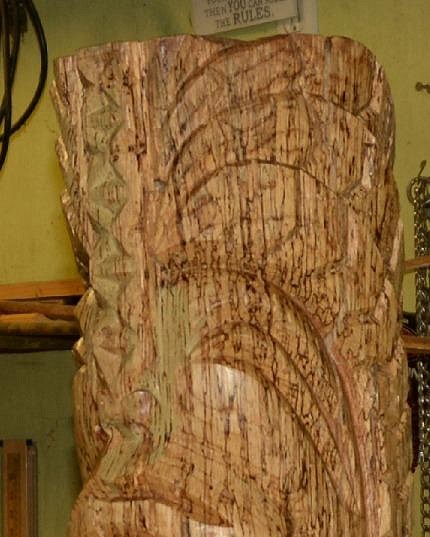
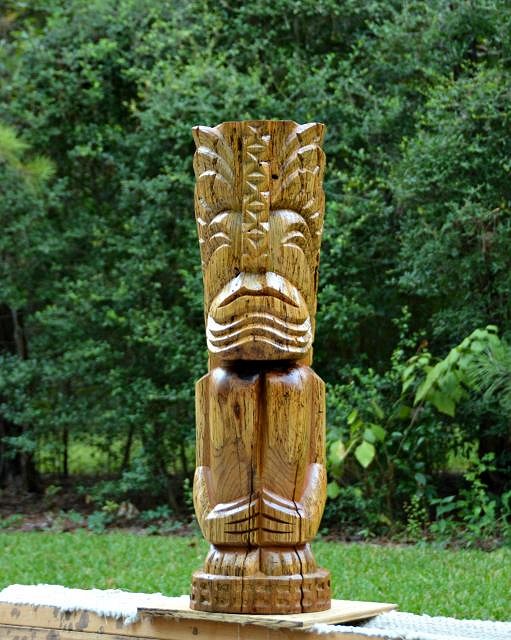
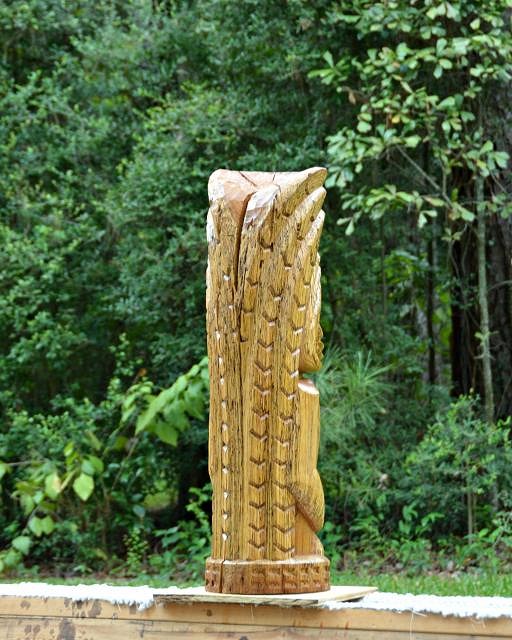
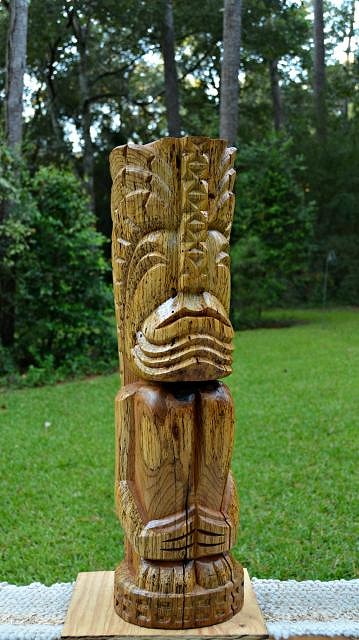
Finally finished this one. It had been sitting around in my garage for two years!! Ugh. The finish set me back a little. The nose and both sides of the eyes were heavily bug damaged. When I cleaned out all the frass, there was so little left, I regretted doing it. The bridge of the nose had a giant gap down the middle.
Luckily I was able to patch it and match some of the spalting with some acrylic paint.
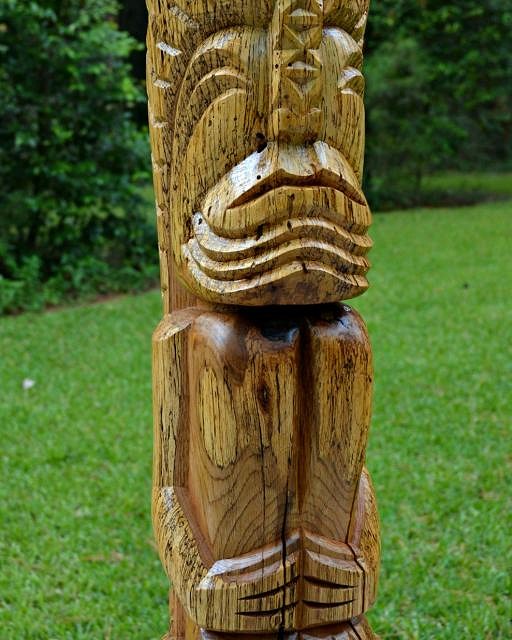
A close up of some of the crazy grain.
|
|
C
cy
Posted
posted
on
Tue, Oct 14, 2014 7:58 AM
That was definitely worth saving Big T . The grain, paint, and carve look great! |
|
C
congatiki
Posted
posted
on
Tue, Oct 14, 2014 8:11 AM
Nice carve...and nice save on repairing the bad spots. |
|
F
Fastbackadam
Posted
posted
on
Wed, Oct 15, 2014 2:07 AM
There is some great work in this thread! Those little guys and the last few in this thread are nice! Did your guanco hold up? And is that minwax wood hardener thick like a paste? Or a glue or putty? Keep it up! |
|
T
TheBigT
Posted
posted
on
Wed, Oct 15, 2014 5:11 AM
Thanks for the comments guys. We gonna something new from Wisconsin soon Conga? Adam: the palm tiki is still standing. Minwax wood hardener is very thin, almost like water. I'll bet the epoxy resin is stronger. I used the wood hardener because i poured it into some areas, like the neck, where i wanted it to soak in deep. Seems to have worked, but the carving itself is still fairly fragile. I'll bet it wouldn't last long at all outside. |
|
F
Fastbackadam
Posted
posted
on
Wed, Oct 15, 2014 9:09 AM
I almost bought the wood hardener, but wasn't sure if it was thin or thick, and saw the epoxy resin was thin so I went with that. I like how everyone says carve deeper, but with palm we can't carve deep cuz then they fall apart.. Maybe if we had good tall mature trees like bill said maybe they wouldn't fall apart as bad.. Anyway you do good work, I hope to see more of it, palm or not. I also like that you seem to sculpt the whole thing with chisels. :) |
|
H

hang10tiki
Posted
posted
on
Wed, Oct 15, 2014 9:29 AM
Way kool |
|
T
TheBigT
Posted
posted
on
Mon, Oct 20, 2014 7:31 PM
Thanks hang10, fastback. Fastback, yep I carve the whole thing with hand tools. I suck with the chainsaw. However, I do bust out tha angle grinder here and there if I need to grind something off pretty quick. That's about it. Starting to put the finish on this one. Has a light coat of Golden Pecan and a coat of thinned shellac so far...
I'm aiming for a little darker, so going to keep working on him. [ Edited by: TheBigT 2014-10-20 19:34 ] |


