Pages: 1 2 3 4 5 6 7 306 replies
|
GSM

Gene S Morgan
Posted
posted
on
Sat, May 11, 2013 7:14 PM
First I deleted the gray background so Happy could float. With an airbrush I add shading Then I shut off mirror to start adding some shaping.
|
|
GSM
Gene S Morgan
Posted
posted
on
Sat, May 11, 2013 7:18 PM
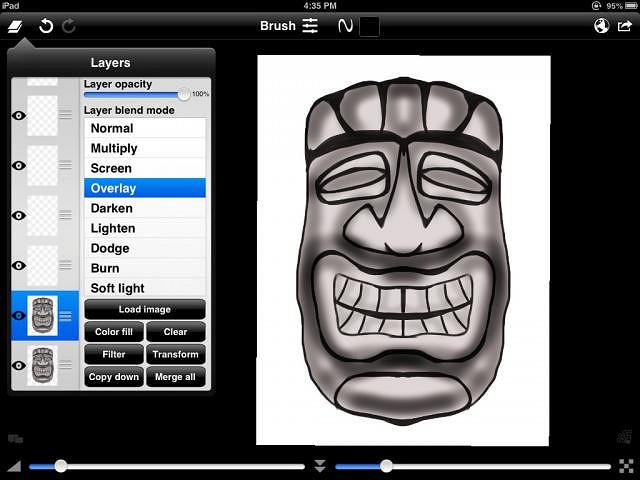
OK, someone said: “Where is the color?” Here it comes. Guys who use real paint might start glazing in some color at this point. I do it with layers. This image illustrates what the app looks like. On the left you see the layers. I copied the tiki into a second layer. As you can see the layer combination mode is set to overlay. Now the magic.
|
|
GSM
Gene S Morgan
Posted
posted
on
Sat, May 11, 2013 7:21 PM
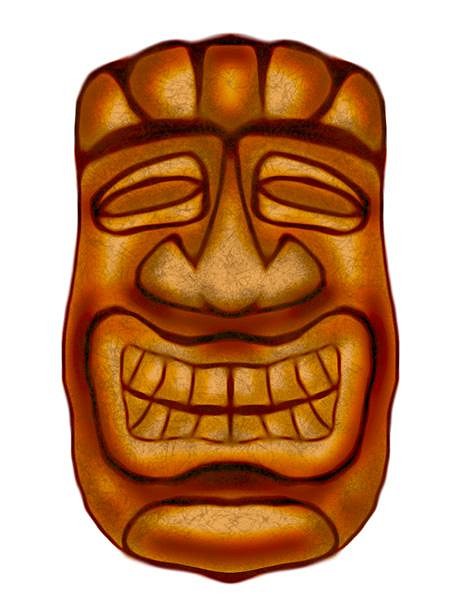
With the airbrush I color the top layer with a nice brown. When the layers are merged together everything is a shade of brown. Digital is so much fun.
|
|
GSM
Gene S Morgan
Posted
posted
on
Sat, May 11, 2013 7:25 PM
Next step is to use the smudge tool to soften the lines and do a little shaping. Looks a little less like a cartoon now.
|
|
GSM
Gene S Morgan
Posted
posted
on
Sat, May 11, 2013 7:28 PM
This may seem like an odd step but I have my reasons. With a filter in the app I increased both the contrast and saturation. This may look a little overdone, but that will soon change. (Tomorrow that is)
|
|
GSM
Gene S Morgan
Posted
posted
on
Sun, May 12, 2013 6:54 PM
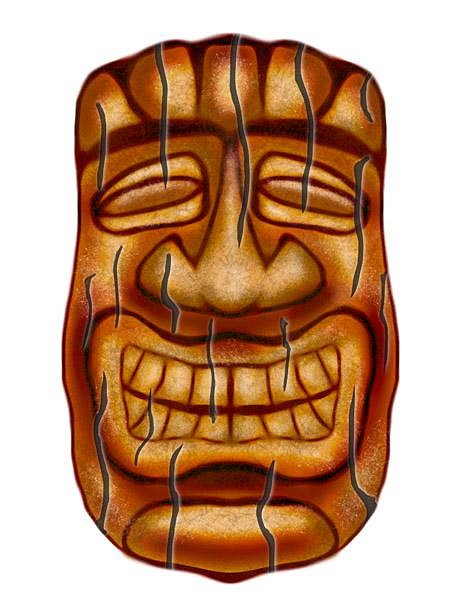
I have made several grunge brushes that look like scratches and cracks. Using a low level of black I cover areas of the tiki starting with a larger brush and working down to smaller sizes around the nose and other areas where I wanted to define shading a little more.
|
|
GSM
Gene S Morgan
Posted
posted
on
Sun, May 12, 2013 6:58 PM
Using the same brushes I switch to white and add highlights. The cartoon is starting to have a more three dimensional shape.
|
|
GSM
Gene S Morgan
Posted
posted
on
Sun, May 12, 2013 7:02 PM
Layers allow a guy to experiment. I made some deep cracks on a layer because all the good artist do that. Mine looked really crappy. So, I deleted that layer. That and the undo button are real life savers for us not so great artist.
|
|
GSM
Gene S Morgan
Posted
posted
on
Sun, May 12, 2013 7:05 PM
I ended up using a wood grain layer over the tiki. It gave in a kind of mahogany look. Not very authentic, but nice. But I thought the color was too strong.
|
|
GSM
Gene S Morgan
Posted
posted
on
Sun, May 12, 2013 7:08 PM
Using layers again I put a less saturated layer above and combined them. It brought the color down and brought the texture up some too. I liked it.
|
|
GSM
Gene S Morgan
Posted
posted
on
Sun, May 12, 2013 7:11 PM
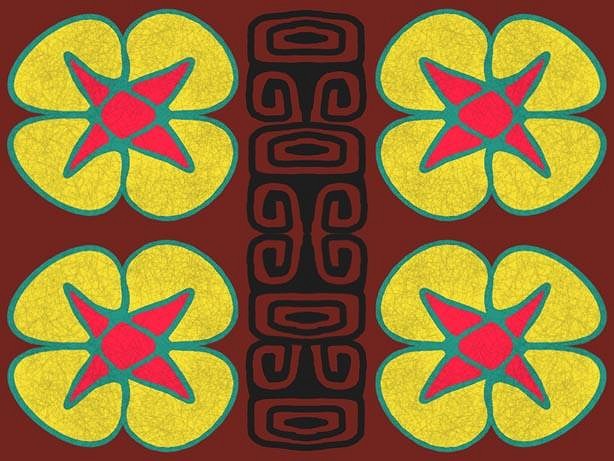
I wanted to give Happy Tiki a background so I could make a framed print out of it. Another stamp brush that looked like a stylized flower was just what I needed.
|
|
GSM
Gene S Morgan
Posted
posted
on
Sun, May 12, 2013 7:13 PM
A little color and I had a happy colorful pattern. |
|
GSM
Gene S Morgan
Posted
posted
on
Sun, May 12, 2013 7:16 PM
A nice flowery tiled background and a drop shadow and Happy Tiki looks right at home Makes even me smile.
|
|
GSM
Gene S Morgan
Posted
posted
on
Wed, May 15, 2013 7:05 PM
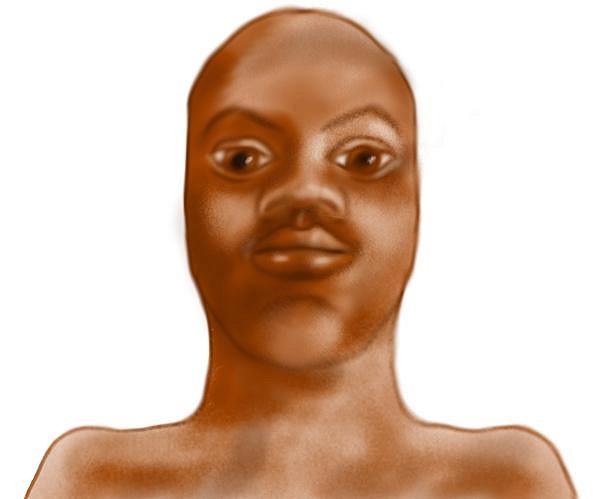
Is digital art really art? I have met lots of folks who say “No Way”. Since I don't consider myself a real artist, it doesn't much matter to me. I never was a painter, but I always did crafts that required some painting techniques. I knew the tools required and some of the methods. I find digital painting lets me experiment with those tools and gives me a few more that makes the process a little easier. This image will be done in sections and put together into something like a real painting. I started with this native girl created much like the other images I have illustrated so far. More smudge makes it look less cartoony.
|
|
GSM
Gene S Morgan
Posted
posted
on
Wed, May 15, 2013 7:08 PM
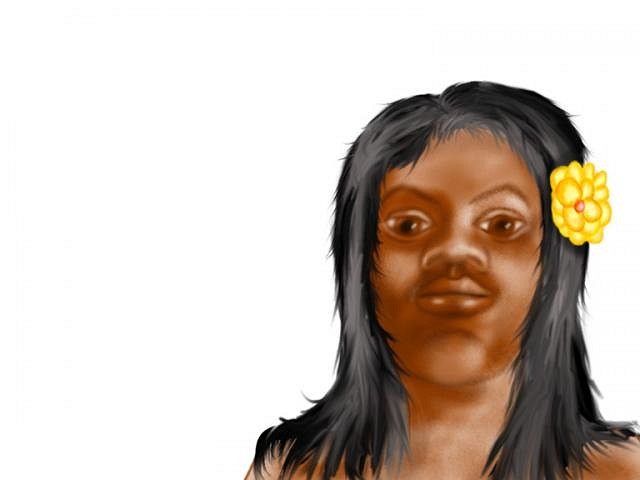
Layers allowed me to create the hair separately from the face. That way when I mess up (and I will mess up) I can just delete the layer and not have to start the whole thing over again. Yes, I could see the face when creating the hair, but you turn a layer on and off (or just dim it down) at any time.
|
|
GSM
Gene S Morgan
Posted
posted
on
Wed, May 15, 2013 7:11 PM
I based the native girl on a sculpture by Paul Gauguin. I tried to make the lady look a bit older and shall we say, longer in the face. I know I'm suppose to make native girls all cute and surfer girl, but I am pretty old myself and I wouldn't want folks to think I had too much in common with Gauguin. The sample image to the left is of Gauguin's actual work. That is another possibility with digital art. You can keep any reference image right on the screen.
|
|
GSM
Gene S Morgan
Posted
posted
on
Wed, May 15, 2013 7:15 PM
Moved her off to the side a bit and put a bright flower in her hair. Resizing and moving images around on your canvas is another digital technique that makes the process so much like magic.
|
|
GSM
Gene S Morgan
Posted
posted
on
Wed, May 15, 2013 7:17 PM
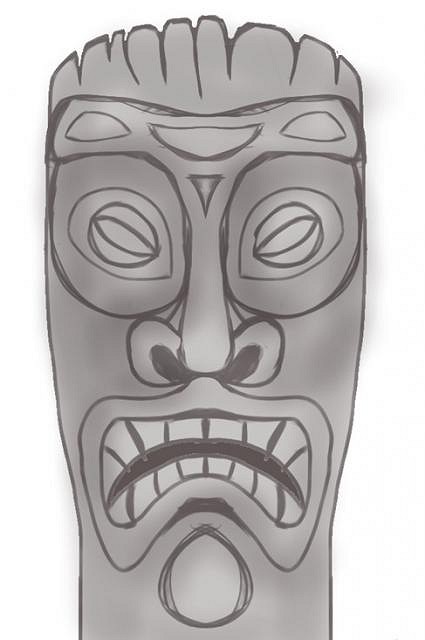
Now I start on the tiki, gray scale cartoon as before.
|
|
GSM
Gene S Morgan
Posted
posted
on
Wed, May 15, 2013 7:21 PM
Some shading added. Trying to make him a little scary this time.
|
|
GSM
Gene S Morgan
Posted
posted
on
Wed, May 15, 2013 7:24 PM
Colored with layers again. I will finish texturing and bring the images together tomorrow.
|
|
GSM
Gene S Morgan
Posted
posted
on
Thu, May 16, 2013 8:37 PM
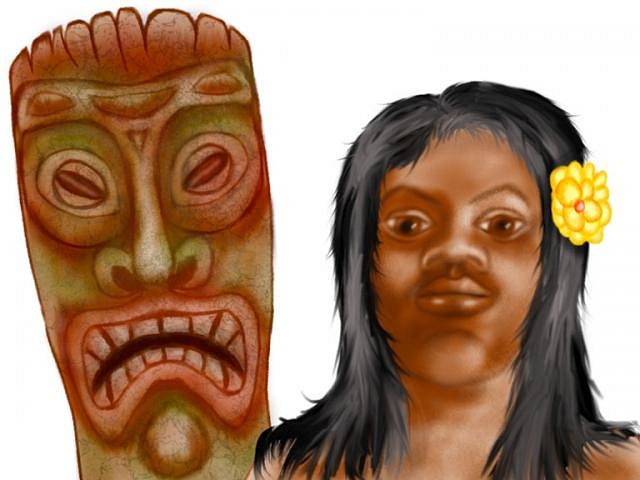
Skipped some steps, but smoothed, shaped, added some color, and textured it. I use green tones a lot for shading because that is how the impressionist did it. Also I think it looks like moss and mold. That happens in those humid tropical climates.
|
|
GSM
Gene S Morgan
Posted
posted
on
Thu, May 16, 2013 8:40 PM
OK, here they are together.
|
|
GSM
Gene S Morgan
Posted
posted
on
Thu, May 16, 2013 8:44 PM
I added some wood like grain and cracks to the tiki.
|
|
GSM
Gene S Morgan
Posted
posted
on
Thu, May 16, 2013 8:47 PM
I did a layer multiply to darken the tiki. I think the tiki sorta overwhelms the girl a bit. That is why I darken it and was the original idea for making the flower so bright. Helps draw the eye away from the tiki.
|
|
GSM
Gene S Morgan
Posted
posted
on
Thu, May 16, 2013 8:49 PM
Made a nighttime jungle background.
|
|
GSM
Gene S Morgan
Posted
posted
on
Thu, May 16, 2013 8:52 PM
Thought the background was too dark. Added some more stars and some lighter detail to the ground. As done as it will ever get I guess.
|
|
GSM
Gene S Morgan
Posted
posted
on
Sat, May 18, 2013 8:17 PM
I don't often try for realistic images. I guess I remind folks of that quite a bit, but my main goal here is to encourage people to try digital design. Don't be scared by the idea of attempting art. To some that is a scary word. It is just a fancy word, but at least some ability to produce art is in all of us. I think if you are interested in tiki and yearn to make some of your own images, it is possible to start at a simple level level like cartooning and find your own way into the art world. Digital imaging gives you a large toolbox to work from that you can just experiment with and most important, have fun doing it. Slowly learn some simple cartooning techniques and build from there. I have tried to show things a step at a time and how easy it is to start. I start with a cartoon and show a couple of new tools in this next series. [ Edited by: Gene S Morgan 2013-05-18 20:18 ] |
|
GSM
Gene S Morgan
Posted
posted
on
Sat, May 18, 2013 8:24 PM
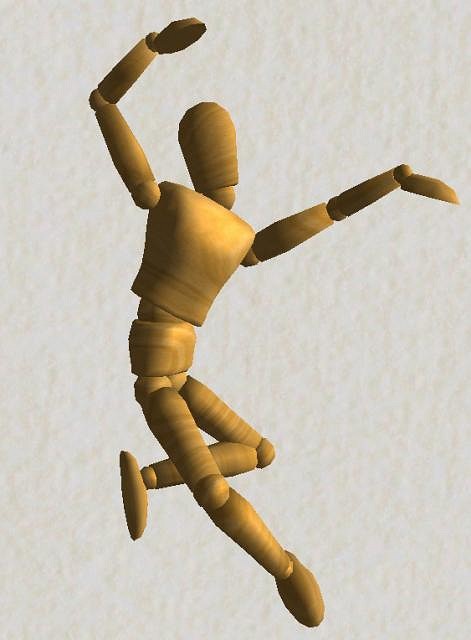
I use a free iPad app called Mannequin to experiment with different poses. You can move the arms, legs, and other moveable parts of the figure. In SketchClub I started playing around with this pose.
|
|
GSM
Gene S Morgan
Posted
posted
on
Sat, May 18, 2013 8:26 PM
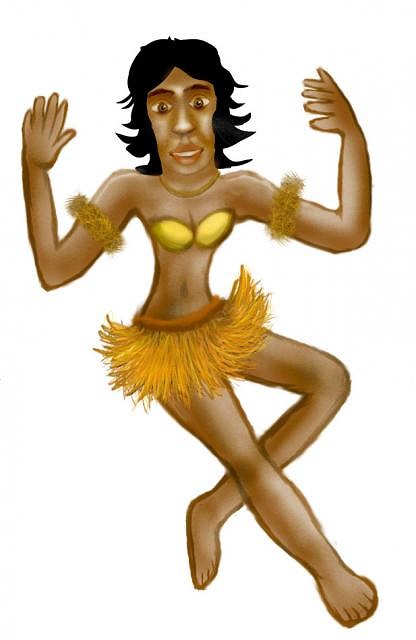
I came up with this strange native girl. Is she dancing? Is she jumping. Only time will tell.
|
|
GSM
Gene S Morgan
Posted
posted
on
Sat, May 18, 2013 8:28 PM
I knew a tiki would be involved.
|
|
GSM
Gene S Morgan
Posted
posted
on
Sat, May 18, 2013 8:37 PM
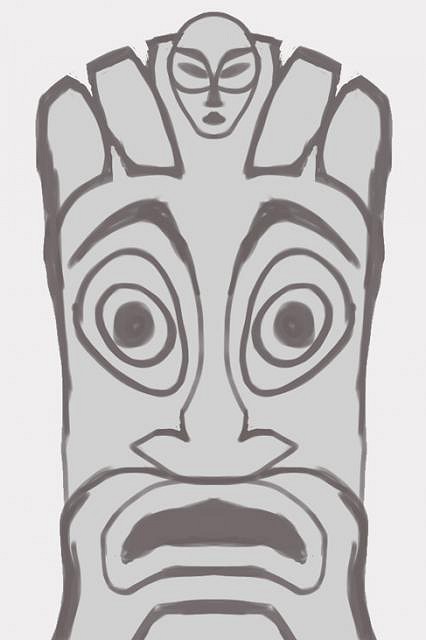
Same as before. Folks may wonder why I start with a grey scale image and color it. I think that is one way to better visualize shading and form. And, if you want your base image to be simple shades of one color so you can overlay other colors and shades easily, that is the best way to start.
|
|
GSM
Gene S Morgan
Posted
posted
on
Sat, May 18, 2013 8:46 PM
I was going for a kinda mean look. Eyes, mouth shape, and brow shape determine the expression. With tikis it isn't too complicated to create faces.
|
|
GSM
Gene S Morgan
Posted
posted
on
Sat, May 18, 2013 8:49 PM
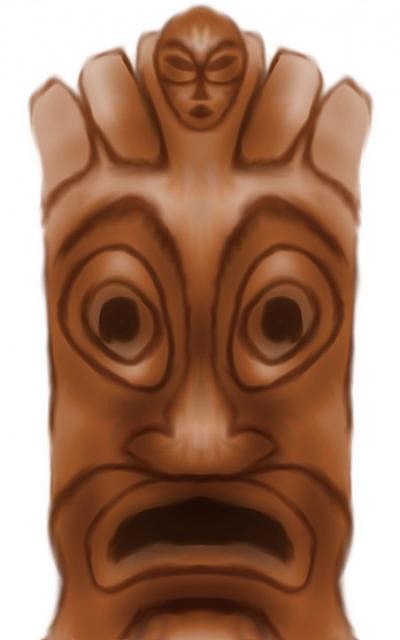
The smudge tool is my favorite. That is how a cartoon gets shape. The more you smudge the less it looks like a cartoon.
|
|
GSM
Gene S Morgan
Posted
posted
on
Sun, May 19, 2013 6:56 PM
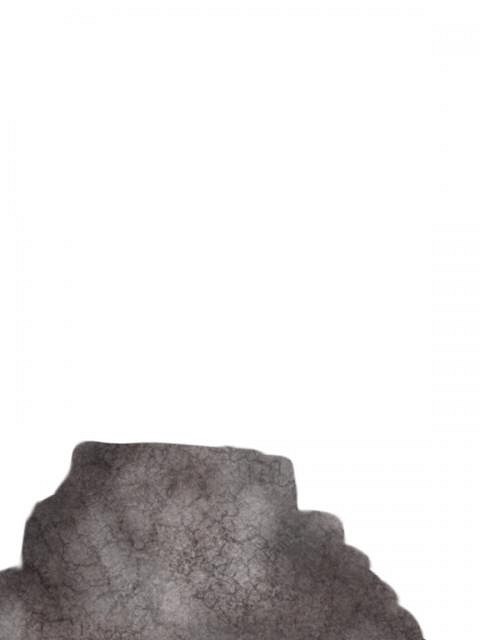
Just a rough shape with cracks and scratches.
|
|
GSM
Gene S Morgan
Posted
posted
on
Sun, May 19, 2013 6:58 PM
With digital art you can re-size and move stuff around. My tiki is now textured and put on top of that weird shape.
|
|
GSM
Gene S Morgan
Posted
posted
on
Sun, May 19, 2013 7:03 PM
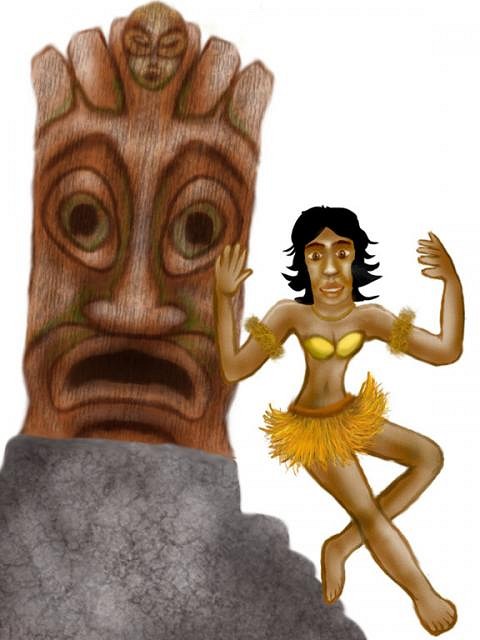
Hey, lets bring our girl into the picture.
|
|
GSM
Gene S Morgan
Posted
posted
on
Sun, May 19, 2013 7:06 PM
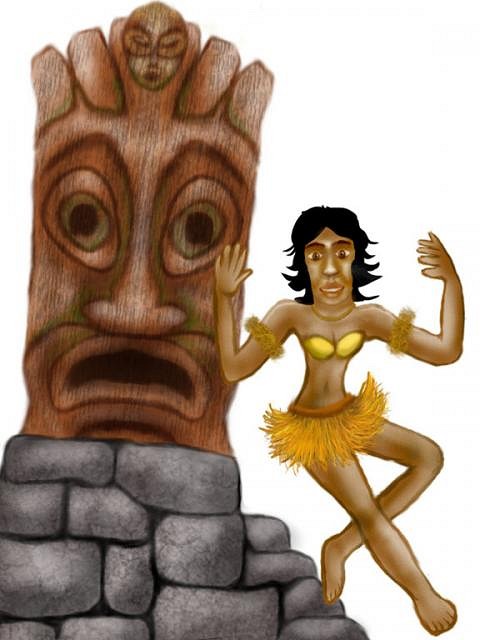
Now we got a pile of stones. Just took some shading, highlighting, and outlining.
|
|
GSM
Gene S Morgan
Posted
posted
on
Sun, May 19, 2013 7:12 PM
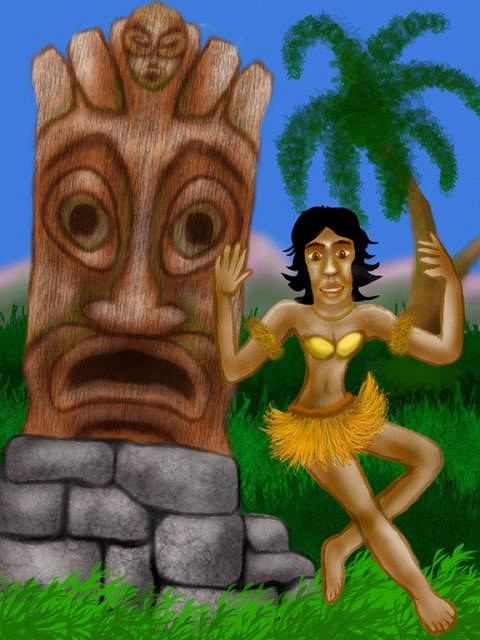
Added some background. That strange looking palm tree is actually a stamp brush I made.
|
|
GSM
Gene S Morgan
Posted
posted
on
Sun, May 19, 2013 7:15 PM
Finished the background. Still don't know what she is doing, but she goes pretty good with the tiki.
|
|
GSM
Gene S Morgan
Posted
posted
on
Wed, May 22, 2013 7:00 PM
Digital brushes are different than real world brushes. In the SketchClub app you can design a brush as a stamp or as an element that can be manipulated many different ways. Using a simple image, you can create natural elements in an image. All the grass and other vegetation in my past images started as brushes I made myself. Here is a kinda leafy brush.
|
|
GSM
Gene S Morgan
Posted
posted
on
Wed, May 22, 2013 7:03 PM
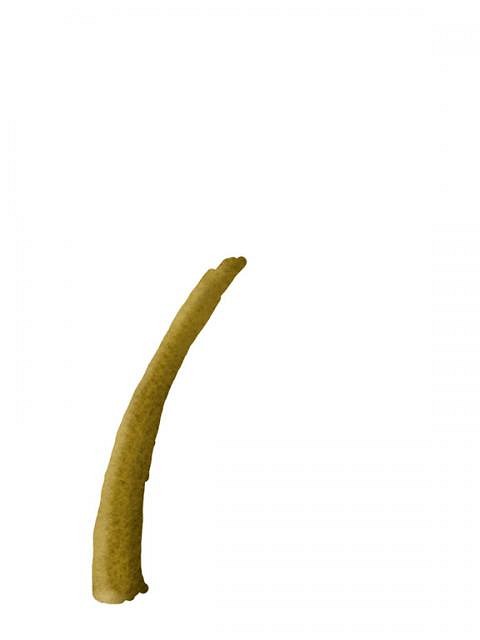
Start my image with a rough brush stroke of a simple paint brush shape.
|
|
GSM
Gene S Morgan
Posted
posted
on
Wed, May 22, 2013 7:05 PM
A little shading and highlights.
|
|
GSM
Gene S Morgan
Posted
posted
on
Wed, May 22, 2013 7:08 PM
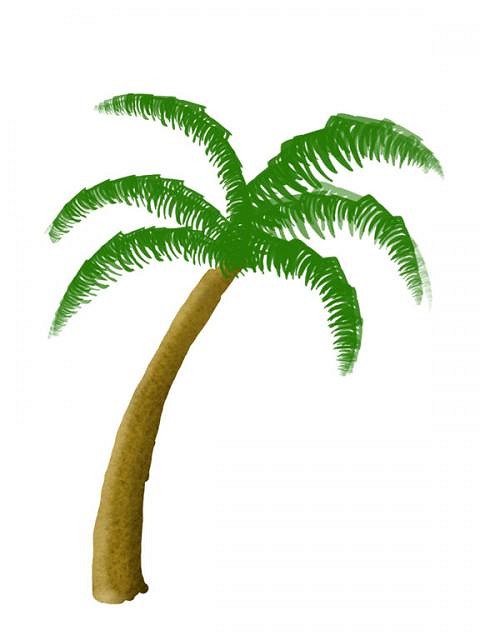
Using the leafy brush I make something tropical.
|
|
GSM
Gene S Morgan
Posted
posted
on
Wed, May 22, 2013 7:11 PM
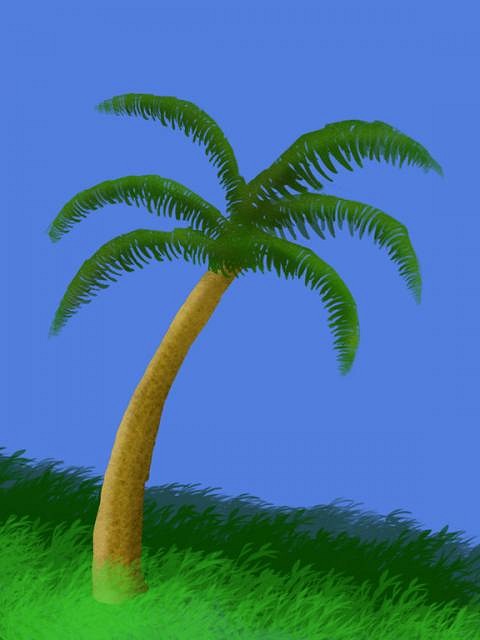
It took a cleanup and shaping to get something that looks like a palm. Some background using some other homemade brushes.
|
|
GSM
Gene S Morgan
Posted
posted
on
Wed, May 22, 2013 7:16 PM
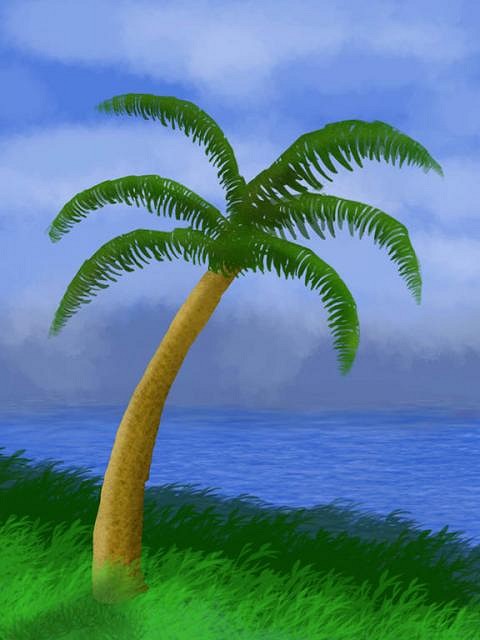
Some water, some clouds, and sky. Can smell the salt air.
|
|
M

mp
Posted
posted
on
Wed, May 22, 2013 10:58 PM
Good work Gene! How about a Bumatay Tiki under that tree? |
|
GSM
Gene S Morgan
Posted
posted
on
Thu, May 23, 2013 10:02 PM
Thanks much mp ... sorry I don't think I can afford a real Bumatay tiki ... I was disappointed to not see your Royal Gaurd in your post... that sure would have classed up this thread a lot ..... |
|
GSM
Gene S Morgan
Posted
posted
on
Thu, May 23, 2013 10:06 PM
I really don't know much about palms, there just are not that many here in the cold middle, but I do know there are several varieties. Some have a rough trunk. That called for another brush.
|