Tiki Central / Tiki Carving
NIxxon Addicted...
Pages: 1 2 3 4 5 6 245 replies
|
A
AlohaStation
Posted
posted
on
Sat, Jul 2, 2011 2:21 PM
DEEPER!! I heard a rumor that wood goes all the way through to the other side. That's just rumor - you'll have to find out for yourself. |
|
N
NIxxon
Posted
posted
on
Sat, Jul 2, 2011 4:59 PM
lol...Ive heard that before as well... Deeper it is :) Thanks for looking!! |
|
N
NIxxon
Posted
posted
on
Sun, Jul 10, 2011 9:10 AM
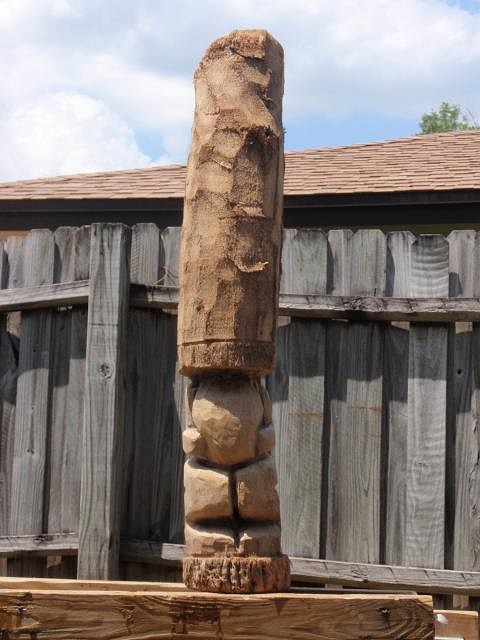
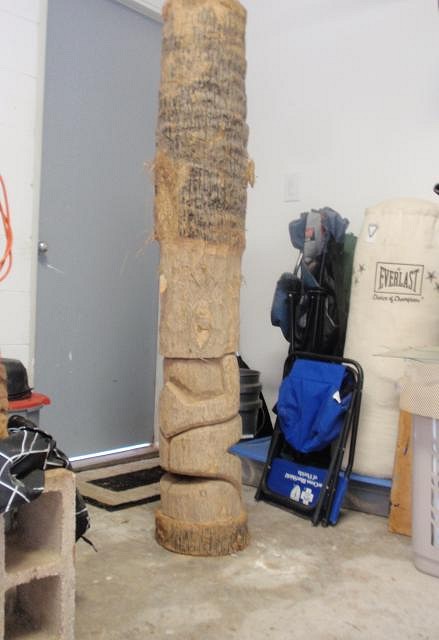
Got some carvin in this mornin...takin a lunch break and gona get back on it...here is the progress for now...let me know what ya think...and Thanks for looking!!! :)
|
|
N
NIxxon
Posted
posted
on
Sun, Jul 10, 2011 12:58 PM
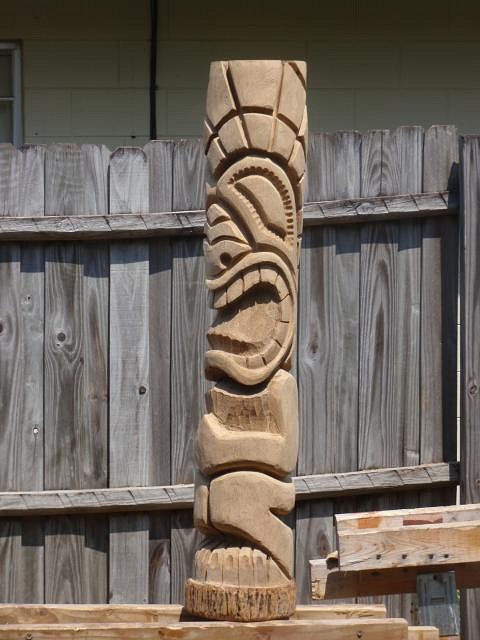
Alright...done for the day...pretty freakin pleased with the way this one turned out...just the poly left and it'll be all finished. let me know what ya think!!
|
|
WP
Watango productions
Posted
posted
on
Mon, Jul 11, 2011 4:10 AM
Great stuff. keep'm com'n !cheers Watango |
|
M
McTiki
Posted
posted
on
Mon, Jul 11, 2011 6:12 AM
Nixxon is spreading his wings! Awesome design on this one! McTiki |
|
N
NIxxon
Posted
posted
on
Mon, Jul 11, 2011 11:38 AM
thank you gentlemen. much more to come in the very near future :) |
|
N
NIxxon
Posted
posted
on
Wed, Jul 13, 2011 5:27 PM
Ok so I know I said that i was addicted before...but this time I mean it! Ive had tons of fun with these last two and cant wait to get started on some more... Here's another I started today...let me know what ya think and thanks for looking!! :) |
|
CC
Creative Chimp
Posted
posted
on
Wed, Jul 13, 2011 6:40 PM
FRIGGIN NICE! that last one is kicked up a notch |
|
N
NIxxon
Posted
posted
on
Tue, Jul 19, 2011 10:02 AM
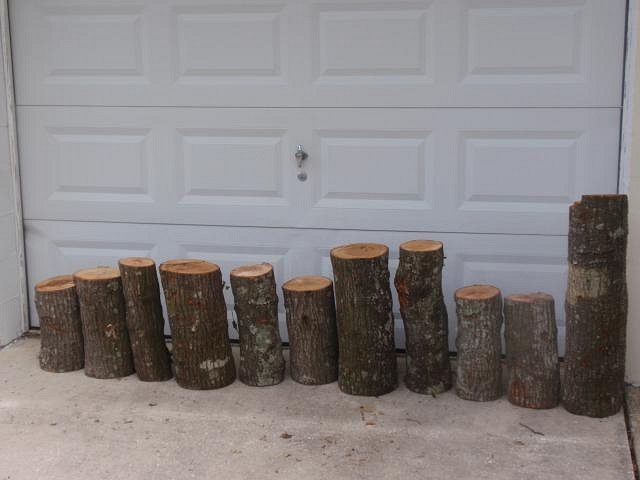
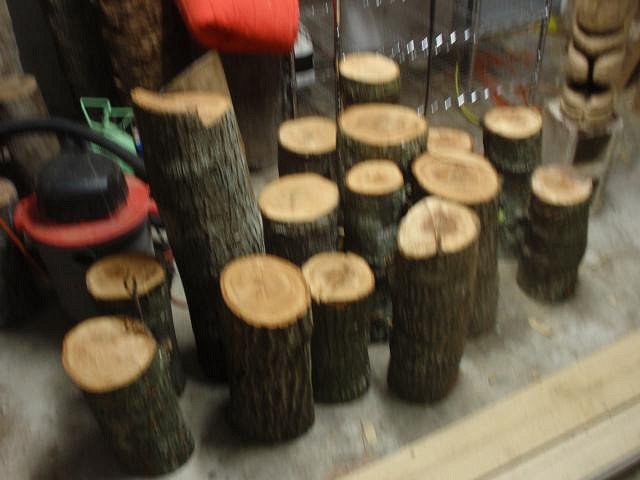
Got Wood? I came across some sweet oak but im not sure how to go about drying it. Any helpful tips would be greatly appreciated!! There were a couple HUUUGE pieces where I got these but they were way too heavy to even move. All fresh cut. |
|
P
pjc5150
Posted
posted
on
Tue, Jul 19, 2011 11:18 AM
Nice bro. I've never messed with oak, but I did just complete my first cedar tiki (posted in my thread) and kinda fell in love with it. Found a dude who cut down some big cedars on his property & I'm going to pick it up today. I'm interested to see how it goes with your oak! |
|
P
Polynesiac
Posted
posted
on
Tue, Jul 19, 2011 11:51 AM
As a general rule of thumb, you want to seal both ends of the log to slow down the drying process (you can seal with anything, polyurethane, pesticide paint, or regular house paint works too - just as examples), lay them on their sides raised slightly off the ground (on blocks or something) out of the main elements (garage is good, or under a tarp or overhang) and any major temperature swings (if you can). It may take a while to completely dry, and I usually only deal with palm so I am unfamiliar with the drying time of oak. I do have a friend who is a master carpenter and he tends to let his freshly trimmed wood dry for a good year before he does anything with it. I'm not sure if it's because that's what he is supposed to do, or if he's just too busy to do anything with it! Hope that helps a little. I like how you start with the legs and body first before moving onto the heads of your tikis. They remind me of the infamous ned kelly:
:) Nice carves! I hadn't seen your posts before! |
|
N
NIxxon
Posted
posted
on
Tue, Jul 19, 2011 12:22 PM
Yea bro Im excited to see how it carves...not really sure if I should wait for it to dry or just jump right in...Either way I guess I have enough to experiment a little... |
|
N
NIxxon
Posted
posted
on
Tue, Jul 19, 2011 12:25 PM
thank you for the info...I have read that sealing the ends is a good idea so I may try that. This is the first time Ive carved anything other than palm also so Im sure there will be a bit of a learning curve...thanks again for the info!! |
|
N
NIxxon
Posted
posted
on
Wed, Jul 27, 2011 3:03 PM
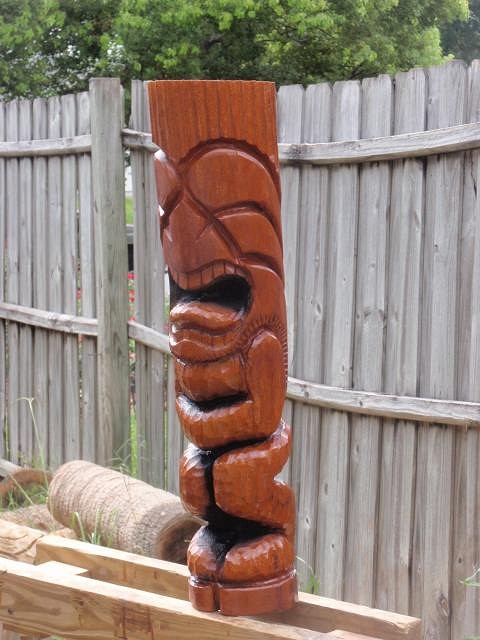
Ok...Been out of town for a week and was super anxious to get back and do some carving. Finished this piece and very pleased. Let me know what ya think!! |
|
N
NIxxon
Posted
posted
on
Thu, Jul 28, 2011 3:04 PM
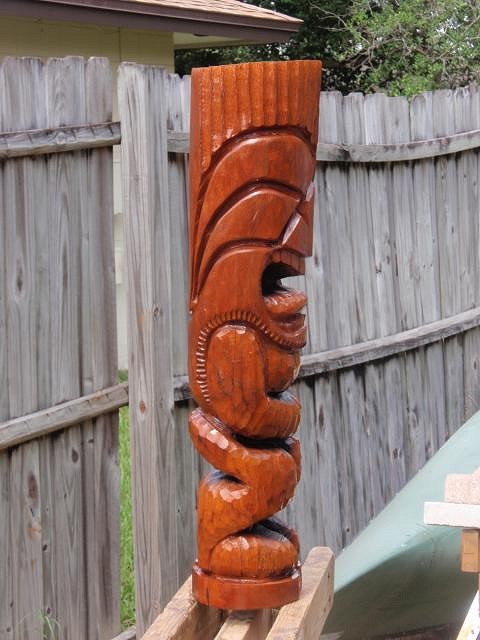
Put the finishing touches on these two today... |
|
N
NIxxon
Posted
posted
on
Thu, Jul 28, 2011 3:17 PM
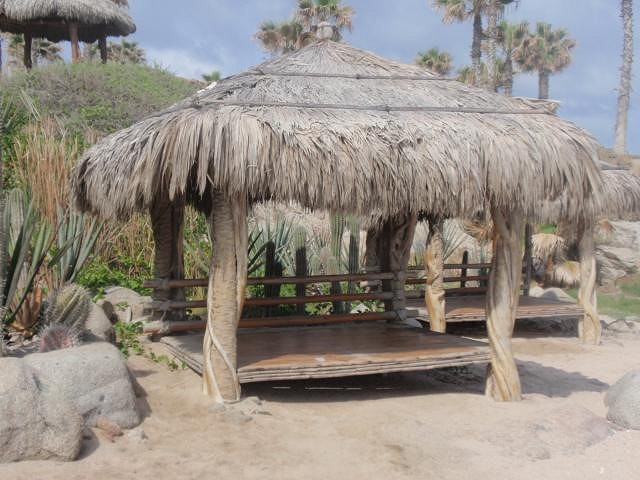
Just got back from Mexico and saw some of the coolest little huts ever. Not really "tiki" but super cool none the less. Here are a couple pics from the post used as support.
I have some more pics of the enitre hut...just have to search through and find them |
|
N
NIxxon
Posted
posted
on
Thu, Jul 28, 2011 3:25 PM
pretty sweet and the view's not too shabby either...
|
|
P
pjc5150
Posted
posted
on
Fri, Jul 29, 2011 1:25 PM
dude....I looooove Mexico. I left Cabo wanting to move back. My mom literally cried to keep me from pursuing it. Neat huts man. And those last 2 pieces...are those both palm? or have you already csarved up one of those pieces of oak? |
|
N
NIxxon
Posted
posted
on
Tue, Aug 2, 2011 7:09 AM
Yea I know what ya mean...I didn't want to leave either. Its perfect down there. They are both palm, im gona let the oak dry just a little before trying to carve it. |
|
N
NIxxon
Posted
posted
on
Fri, Aug 5, 2011 11:42 AM
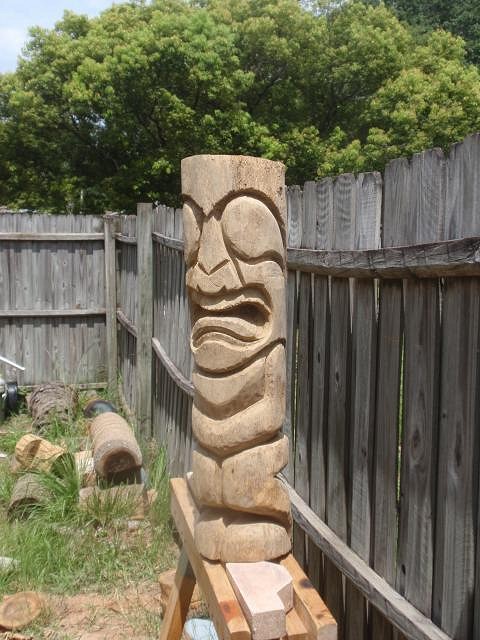
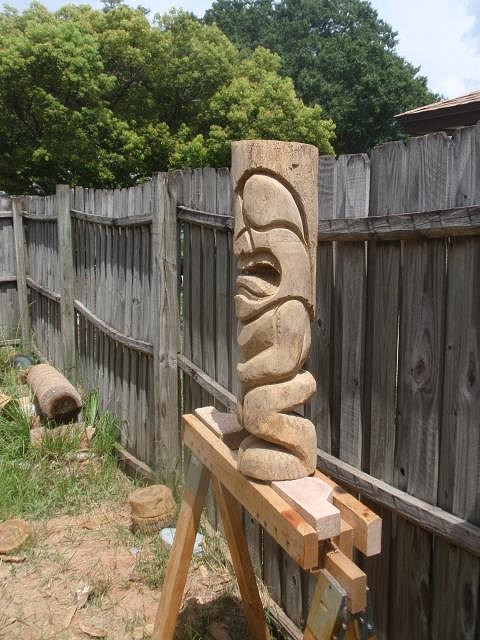
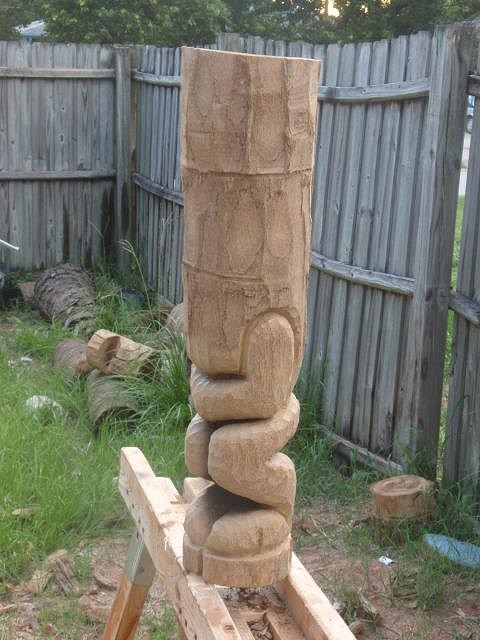
Spent the morning workin on a new piece. The log has a really cool shape so im gona try to make him a happy tiki.
[ Edited by: NIxxon 2011-08-07 14:19 ] |
|
N
NIxxon
Posted
posted
on
Fri, Aug 5, 2011 2:23 PM
Finished for the day...I think hes starting to look happy? |
|
N
NIxxon
Posted
posted
on
Thu, Aug 11, 2011 9:52 AM
Ok...NOW I think he is starting to look happy :)
|
|
P
pjc5150
Posted
posted
on
Thu, Aug 11, 2011 2:41 PM
One of your best yet Nixxy. My only suggestion is to start going a little deeper around the eyes and stuff. But I see major progression on this piece. I'd keep that one. Well done bro. |
|
N
NIxxon
Posted
posted
on
Fri, Aug 12, 2011 6:49 AM
Yea I'm really pleased with this one so far... I think I may order a few of the larger Flex Cut chisels to assist in going a bit deeper in the face...Maybe the sculptors set? Thanks for the comps and as always thanks for looking!! |
|
P
pjc5150
Posted
posted
on
Fri, Aug 12, 2011 7:09 AM
one thing I found when I started becoming more aware of the depth of cut is that I basically just had to give myself a little more space between eyes nose & mouth so I had room to work. You could probably acheive the same effect with the chisels you have now. Just leave 2 inches instead of 1 in between facial features and go deeper. But once again, very cool piece. You're rampin' up quick bro! |
|
WC
Will carve
Posted
posted
on
Sat, Aug 13, 2011 3:48 AM
Get a bigger hammer. |
|
T
TheBigT
Posted
posted
on
Sat, Aug 13, 2011 8:31 AM
Yes i recommend the sculptors set. The smaller ones break easy if you use them with a mallet. |
|
N
NIxxon
Posted
posted
on
Sun, Aug 14, 2011 3:46 PM
Thx for the input gentlemen. Always appreciated. I think Im gona get the sculptors set and a BIGGER HAMMER :) I am using a 14oz dead blow mallet right now...not too heavy. Maybe ill bounce up to a bit heavier and see what happens. Thx again everybody and thx for looking!!! |
|
N
NIxxon
Posted
posted
on
Fri, Sep 9, 2011 1:05 PM
Alright...finally mustered up the courage to attack one of the bigger logs. Took me 4 times as long to do the same work as on the small logs but I'm liking the larger area to work with...not too much finished but let me know what ya think so far and Thanks for Looking!! |
|
N
NIxxon
Posted
posted
on
Tue, Sep 13, 2011 10:47 AM
Couldn't quite bring myself to work on the big one today so I started on this guy... |
|
N
NIxxon
Posted
posted
on
Tue, Sep 13, 2011 12:46 PM
this is it for the day...waaaaay too hot outside!
|
|
P
pjc5150
Posted
posted
on
Thu, Sep 15, 2011 9:15 AM
Hey bro,have you considered getting one of these? My grandfather gave me one 6 months ago & it's absolutely wonderful...Before I got this thing, watching me carve was like watching a wrestling match. |
|
N
NIxxon
Posted
posted
on
Thu, Sep 15, 2011 10:12 AM
The link is showing an error? |
|
N
NIxxon
Posted
posted
on
Thu, Sep 15, 2011 10:15 AM
Doin some work on this guy today...takin a lunch break...Im hoping to get it all sanded and stained by the end of the day... |
|
N
NIxxon
Posted
posted
on
Thu, Sep 15, 2011 1:46 PM
Stained... |
|
P
pjc5150
Posted
posted
on
Thu, Sep 15, 2011 8:14 PM
Sweet! I like it bro. And here's a different link to the same item.... |
|
JJ
Jazzy Josh
Posted
posted
on
Fri, Sep 16, 2011 1:11 PM
thats awsome man I'm impressed! |
|
T
TikiGwogGwog
Posted
posted
on
Fri, Sep 16, 2011 4:55 PM
Looking good! |
|
N
NIxxon
Posted
posted
on
Sat, Sep 17, 2011 6:45 AM
Thanks for the comps guys! Always appreciated and always motivating to do more... And thanks for the new link...Ive been thinking about getting something like that for a while...I made a couple saw horses that I'm using now and they work pretty good but for the bigger logs its a little difficult...how big a log can you put on one of those? |
|
P
pjc5150
Posted
posted
on
Sun, Sep 18, 2011 8:30 AM
mine will hold like 450 lbs. the heavier duty one holds 550. so maybe not as helpful for huge jobs, but works for 90% of the stuff I do. I've seen some pics around here where some guys have bolted on some casters (wheels) sticking up from the table so they cradle the log. I think I may do that to mine here soon... |
|
TBBMT
tiki beat by marcus thorn
Posted
posted
on
Sun, Sep 18, 2011 4:13 PM
i love this one keep up the good work |
|
N
NIxxon
Posted
posted
on
Mon, Sep 19, 2011 5:36 AM
Well thank you very much! Your work has been a great inspiration to me from day one. Ill try to keep it up :) |
|
M
McTiki
Posted
posted
on
Mon, Sep 19, 2011 9:02 AM
I pimped my work station by using 4 skate board trucks/wheels sets. Once a large log is on them, it rolls with ease. Best use of a $12 skateboard ever! Mc |
|
N
NIxxon
Posted
posted
on
Fri, Sep 23, 2011 9:34 AM
LOL that's a great idea! |
|
N
NIxxon
Posted
posted
on
Fri, Sep 23, 2011 9:40 AM
Well my camera charger decided to hide from me so I had to use my phone for this pic... Couple of little guys I did over the past week. I'm going to be doing a small art show at the beginning of OCT so I'm trying to kick out a few different styles/colors to display so everything doesn't look the same...As you can see i tried leaving some of the bark on and working it into the design...
|
|
WC
Will carve
Posted
posted
on
Sat, Sep 24, 2011 4:54 AM
Don't forget ! |
|
P
pjc5150
Posted
posted
on
Sat, Sep 24, 2011 6:43 AM
Nice use of the natural exterior. I do that a lot. It adds something in my opinion. I usually try to leave a little bit of it somewhere. Nice work! |


