Tiki Central / Home Tiki Bars
Tiki Nui
|
A
arriano
Posted
posted
on
Fri, Jul 22, 2011 1:33 PM
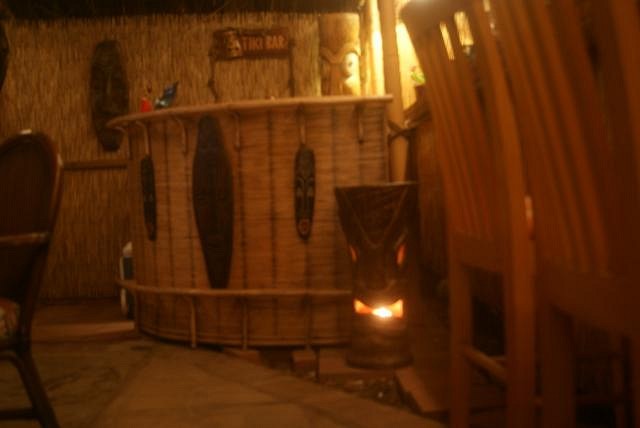
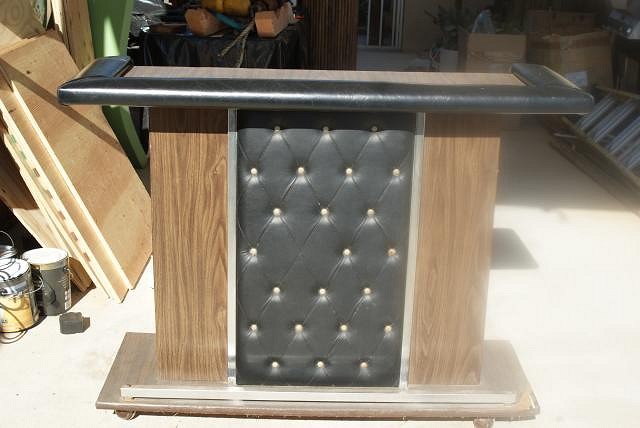
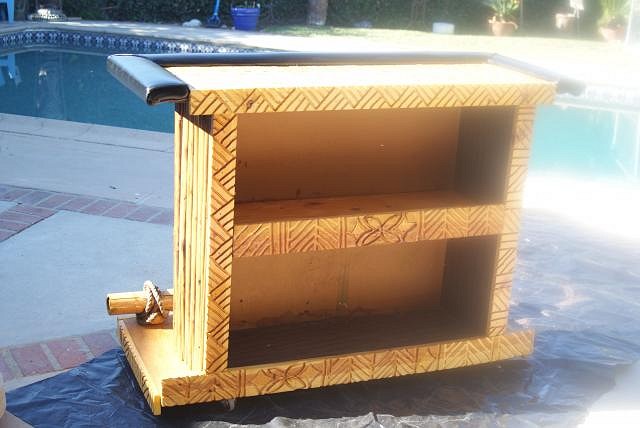
Awesome work. Question - Did you leave the bar top all marked up like that, or did you refinish it somehow. Just curious. |
|
T
TikiVato
Posted
posted
on
Fri, Jul 22, 2011 3:21 PM
Chuck Tatum, I am retired so when I am not out hunting tiki, my wife and I like hanging out in our little get-a-way. Thanks for the encouragement. Tiki Zen, Thanks, I try to recycle when possible. Trader Mitch, I bought the tapa at a Tongan festivity. Arriano, I put some matting on it. I will tile it someday. Thanks for reminding me. |
|
S
sur2baja
Posted
posted
on
Fri, Jul 22, 2011 8:11 PM
Love that bar! |
|
V
VampiressRN
Posted
posted
on
Fri, Jul 22, 2011 8:44 PM
Nice job on the bar...keep up the great work!!! |
|
T
TikiVato
Posted
posted
on
Thu, Jul 28, 2011 11:33 PM
I just got back from a week down in Baja. At a local pottery, I found a tiki head made of red clay. Fits right into my wife's patio. Slowly finding more decorations for her. |
|
T
TorchGuy
Posted
posted
on
Sat, Jul 30, 2011 6:52 AM
Love it! For a novice, you're doing great! Coulda fooled me if I'd walked into your bar. Me, I'd leave the carved-up bar top exposed. Call it history. Gives the impression that the bar is old. It's mock wear-and-tear, just make up tales of the colorful people who visited your tiki bar back in the 50s and left their mark. |
|
W

WestADad
Posted
posted
on
Sat, Jul 30, 2011 7:51 AM
Love all the things you've done, they all look great. I'd love to hang out with you there, I'll bring some rum. Mahalo! Chris |
|
T
TikiVato
Posted
posted
on
Sat, Jul 30, 2011 11:01 AM
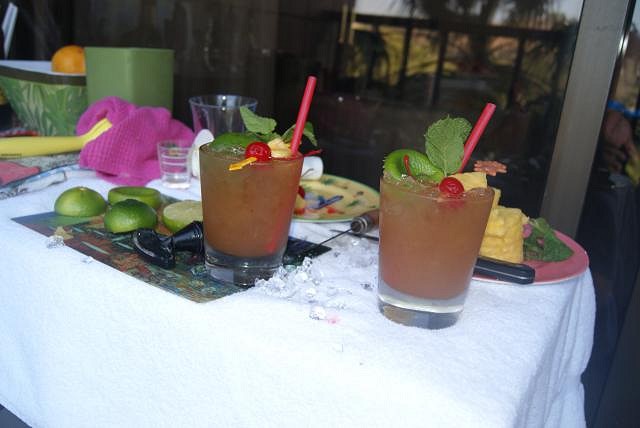
I'll give it some thought about leaving the bar top as is. West, when in town, give me holler, my brother and I craft a mean Trader Vic recipe Mai Tai.
|
|
LLT
little lost tiki
Posted
posted
on
Sat, Jul 30, 2011 11:30 AM
Hey TikiVato! |
|
W

WestADad
Posted
posted
on
Sat, Jul 30, 2011 2:08 PM
Those look delicious! |
|
GZ
gold zephyr
Posted
posted
on
Mon, Aug 1, 2011 3:55 PM
Orale tiki vato, working hard and hardly working at same time! Will have to look you up next time I'm at OA! Oscar |
|
T
TikiVato
Posted
posted
on
Fri, Jul 20, 2012 9:21 AM
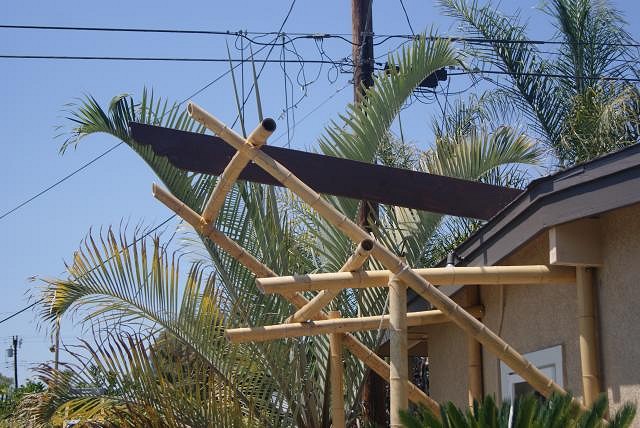
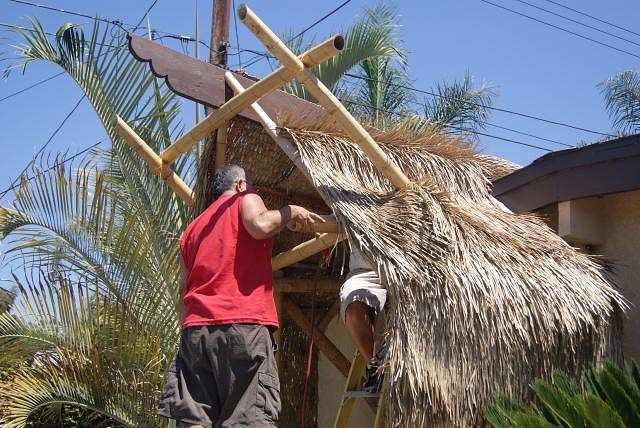
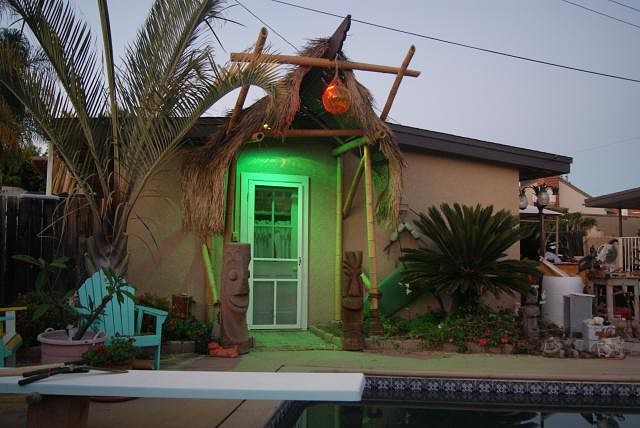
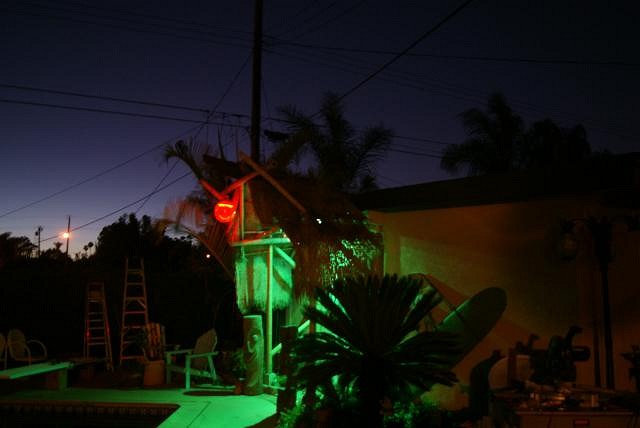
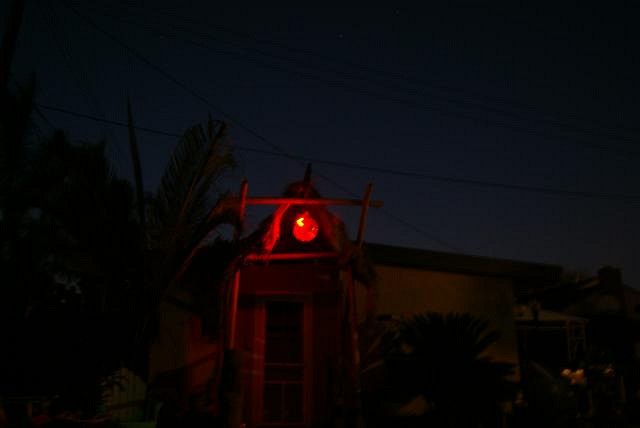
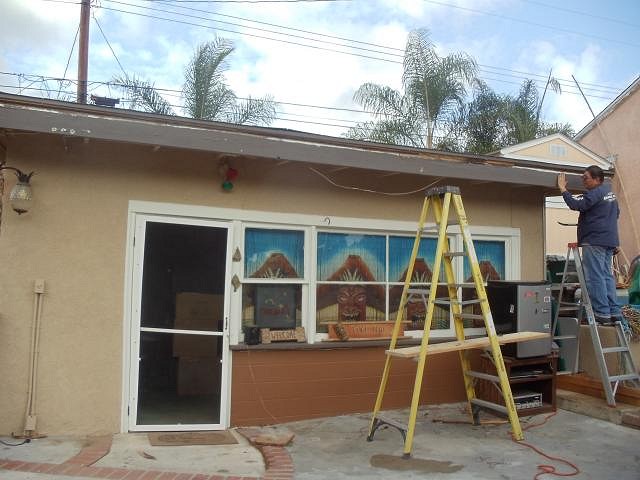
I just came across a deal on large bamboo and some thatch. I decided to try to build an A-frame to the side entrance to the Tiki Nui. Without any experience or plans, my buddy and I put together the frame from images I remember from A-Frames I've seen here in tiki central. |
|
V
VampiressRN
Posted
posted
on
Fri, Jul 20, 2012 10:20 AM
Looking great...your door framing project is fabulous. Cheers :drink: |
|
T
TikiVato
Posted
posted
on
Sat, Jul 21, 2012 12:05 AM
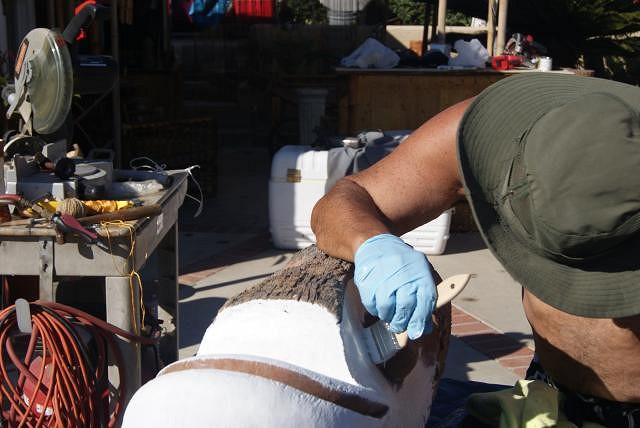
I decided to give Tiki Bob a face lift since he will be standing guard at the side entrance.
|
|
MAD
moki and duke
Posted
posted
on
Mon, Jul 23, 2012 2:10 PM
What a great sofa!!! |
|
GZ
gold zephyr
Posted
posted
on
Sat, Sep 1, 2012 9:25 PM
Orale...nice tiki jungle |
|
J
jimsflies
Posted
posted
on
Sat, Sep 8, 2012 8:48 AM
Do you have a link to the LEDs you used? |
|
L

LoriLovesTiki
Posted
posted
on
Sun, Sep 9, 2012 6:59 PM
Looking sweet!! :) |
|
T
TikiVato
Posted
posted
on
Mon, Sep 10, 2012 7:39 PM
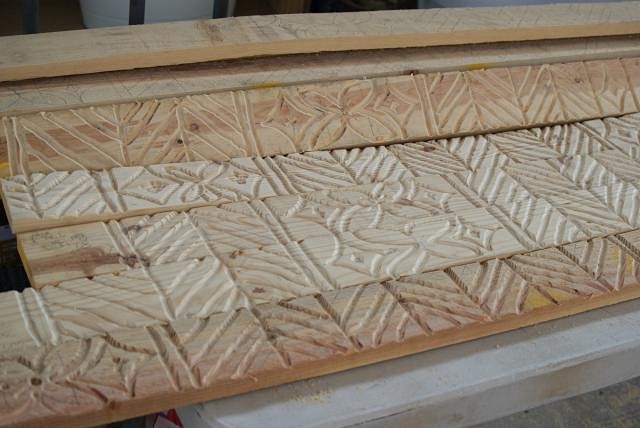
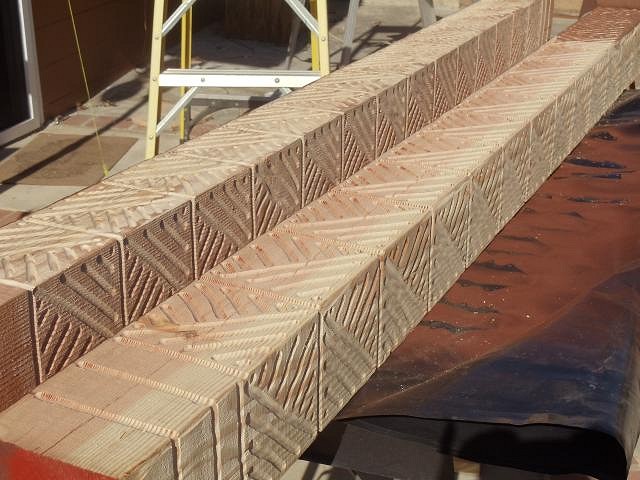
Jim, Lori, thanks for kind words. I am trying my hand at some router work on trim. I bought a stack of wood from Home Depot for a buck a piece. Not going very well. I think I am going to buy a smaller V router bit. Hopefully that will give me a little more control. Any suggestions from anyone? Mahalo, TikiVato |
|
P
PolynesianPop
Posted
posted
on
Mon, Sep 10, 2012 8:10 PM
Not a bad start Joe! It just takes a bit of practice. Try bringing the router bit up so that it cuts more shallow. That might give you a little more control since the router will be easier to push. |
|
S

swizzle
Posted
posted
on
Wed, Sep 12, 2012 1:30 AM
I think that looks fine Joe. Once it's burned and stained it'll look even better. |
|
S
skootiki
Posted
posted
on
Mon, Sep 17, 2012 7:15 PM
I've not tried to do any router work yet, but I think what you've done looks great! |
|
M
Monkeyman
Posted
posted
on
Mon, Sep 17, 2012 8:00 PM
Just remember some of the techniques we discussed at the Crawl and Im sure you will be happier with the results. What you have done looks fine but for even more control slow down the speed on your router speed a little bit and take your time when moving it through the wood. I shouldnt take much effort at all to push and pull the router. Rest your arms on your work if you can and it will help you keep the router steady. Make sure its clamped down well and only use your lines as a guide. In the end the router bit will pick its own path and you just need to be ok with that. If you are working with narrow pieces of wood then be sure to place other pieces of wood beside it (the same thickness) so it wont rock and tilt as you route near the edges of your main piece (clamp the side parts as well to keep them from moving). Try to make certain that the table you are routing on is super solid and you wont have to worry about the router moving the table or saw horses around. It was nice meeting you and hope to see you soon. |
|
T
TikiVato
Posted
posted
on
Mon, Sep 17, 2012 10:46 PM
Scot, thanks for the kind words but those are just practice runs with home depot opps wood I purchased for a buck a piece. Adrian and Derek have given me some pointers that I will apply as my wife buys me a plunge router with variable speed and some new router bits. (Sometime this week) Derek, I wrote down some notes on the tips you gave me right after the crawl. I can't wait to try them. |
|
T
TikiVato
Posted
posted
on
Mon, Nov 5, 2012 9:37 PM
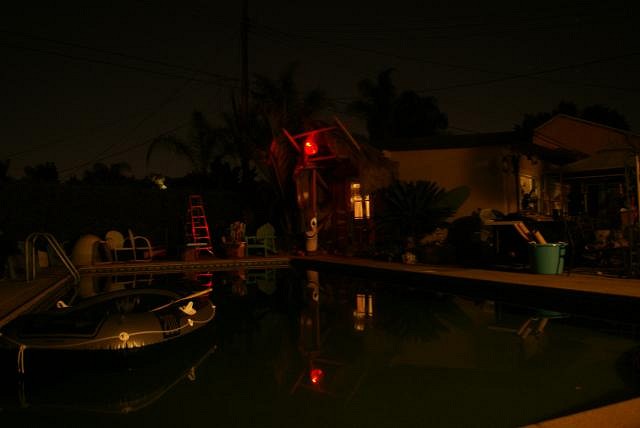
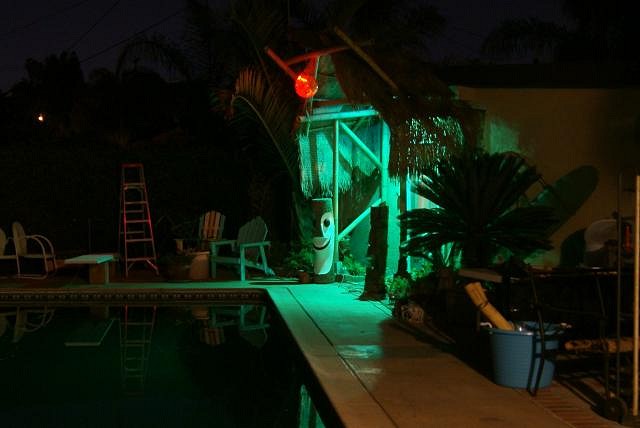
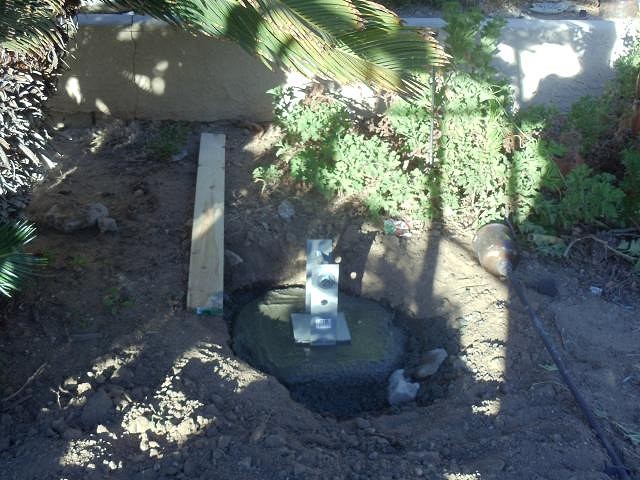
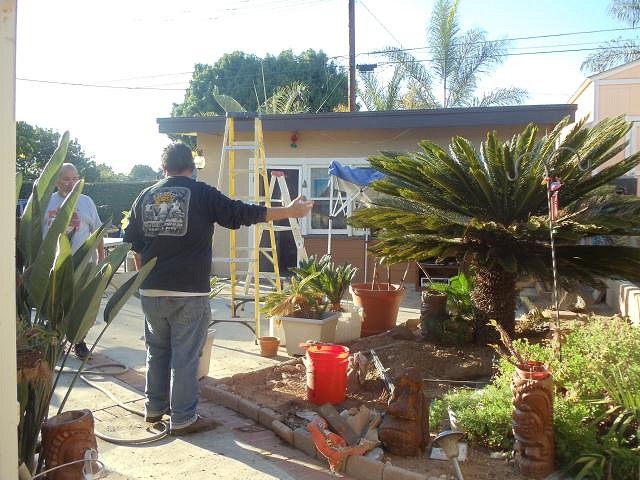
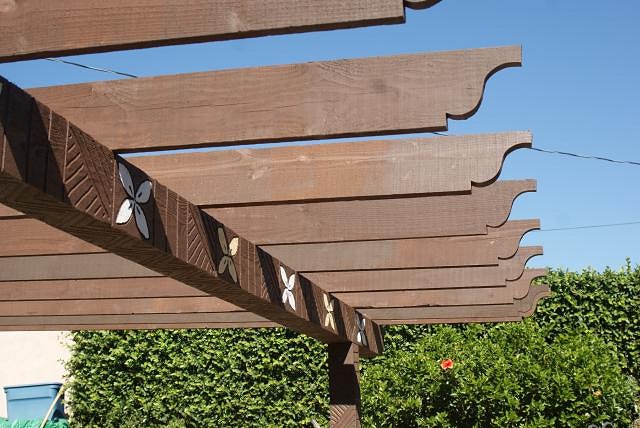
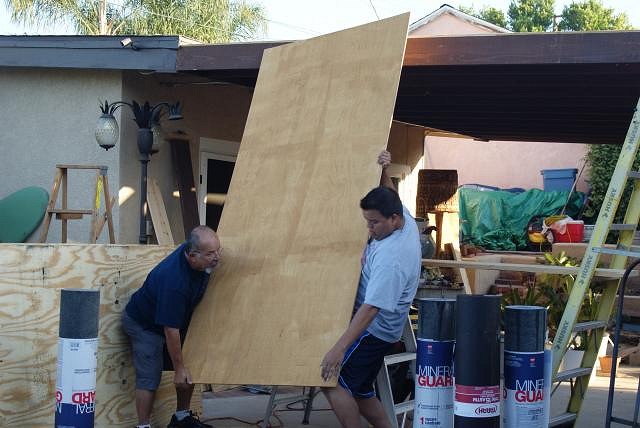
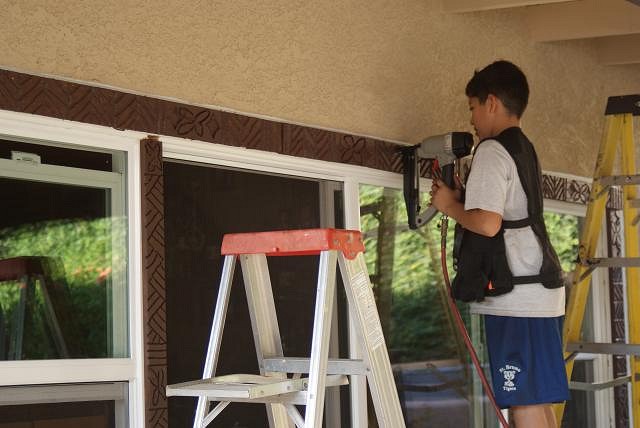
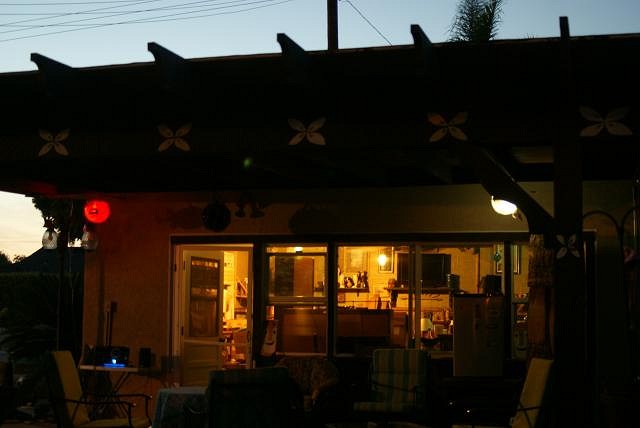
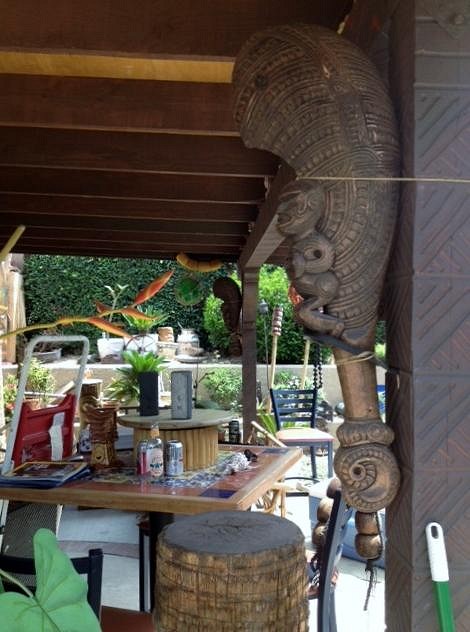
My wife told me she would like a patio in front of the Tiki Nui to compliment her patio. My good friend Tony, helped me with this task. We took down the gazebo then cleaned up the wood to put in the brackets for the rafters. We set the post brackets in concrete and then sold my Sago. We will be concreting most of that area to expand the patio.
Mahalo, TikiVato [ Edited by: TikiVato 2012-11-05 21:42 ] |
|
H
hiltiki
Posted
posted
on
Mon, Nov 5, 2012 9:47 PM
Fun progress pictures, great job. |
|
K
komohana
Posted
posted
on
Tue, Nov 6, 2012 5:32 PM
Have thoroughly enjoyed your Tiki transformation over the last |
|
J
jimsflies
Posted
posted
on
Wed, Nov 7, 2012 11:05 AM
Someone got busy with the router! What router/bit did you find worked best? |
|
T
TikiVato
Posted
posted
on
Thu, Nov 8, 2012 8:14 PM
Jim, |
|
PP
Pele Paul
Posted
posted
on
Wed, Jun 5, 2013 11:05 AM
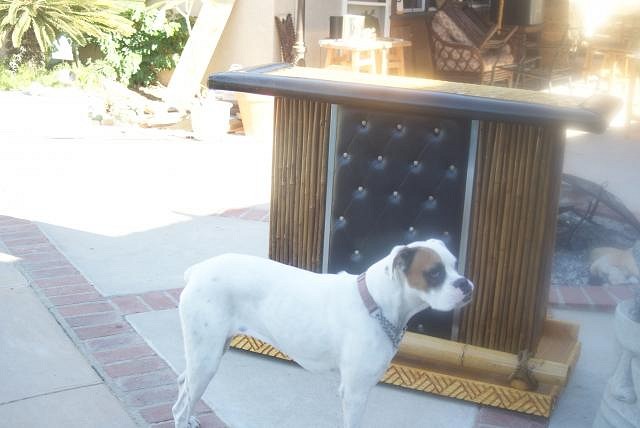
wow awesome, love your boxer too!!! |
|
P
Polynesiac
Posted
posted
on
Wed, Jun 5, 2013 6:24 PM
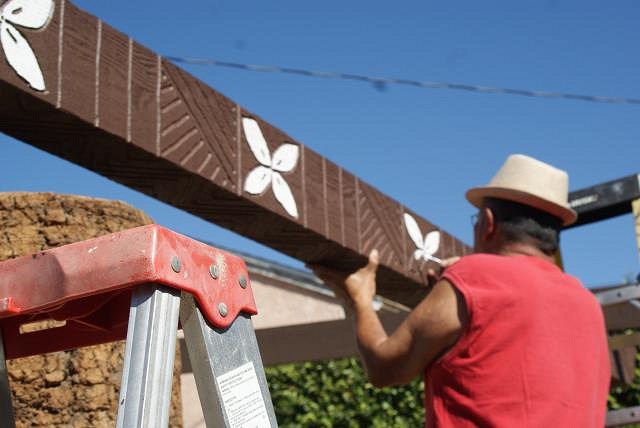
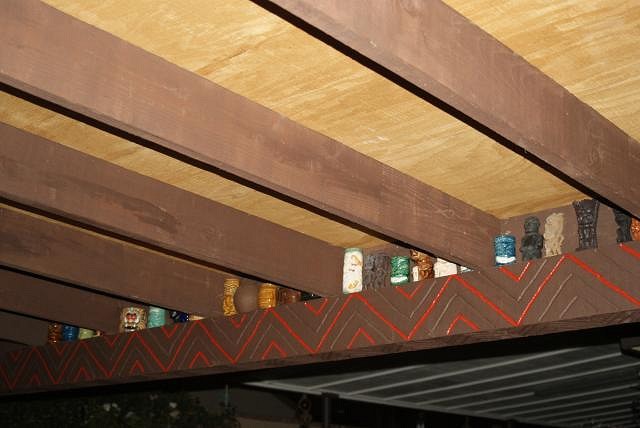
TV - that patio is fantastic! VERY nice job. The routing designs, the painting and the building - everything really adds up to make a great relaxing area by the pool. I know you did this back in 2012, but I'm just seeing it now and I am very impressed with the work that you do! |
|
T
TikiVato
Posted
posted
on
Thu, Jun 13, 2013 12:15 PM
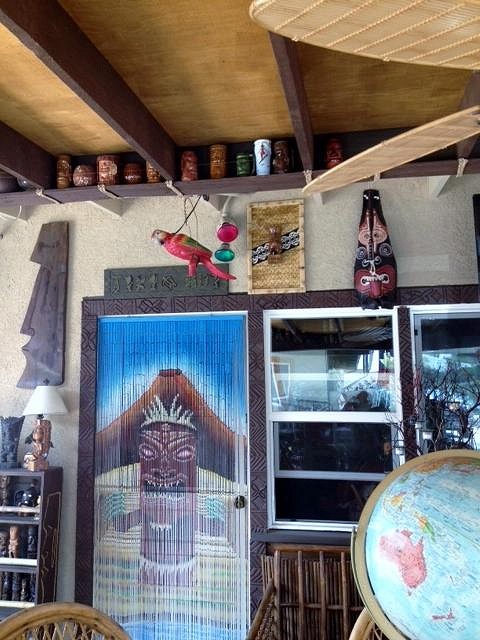
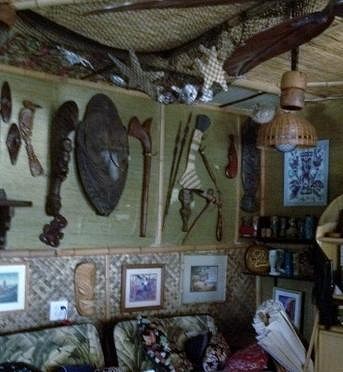
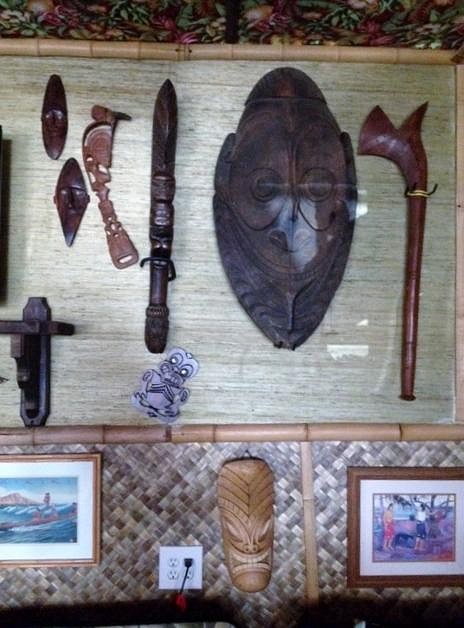
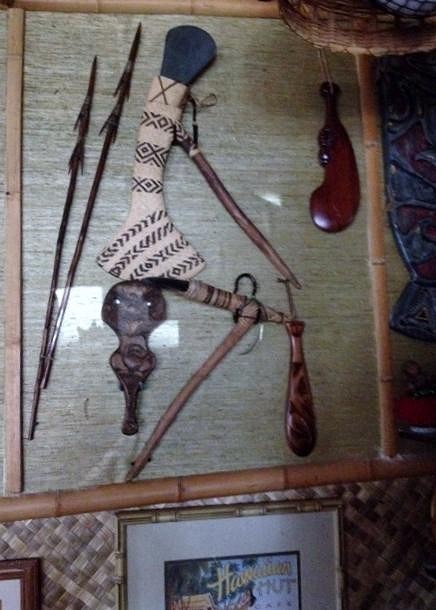
Thanks Pele and Poly. Here's a couple of pictures with some of my recent finds at their new home. |
|
HT
Hale Tiki
Posted
posted
on
Fri, Jun 14, 2013 9:18 AM
Your weapons collection is impressive. I'm drooling over those clubs. And the Marq stuff. Dig the space, man. Looks homey, in a good way, of course. |
|
T
TikiPops
Posted
posted
on
Sun, Jul 21, 2013 7:31 AM
TV it was nice meeting you at the ITMP yesterday. Your patio is great. As a fairly new router guy I'd say you router work is looking good. Your collection is amazing. I really like the way you find things to re-purpose. Keep it up. |
|
H

hang10tiki
Posted
posted
on
Sun, Jul 21, 2013 8:58 AM
Looks like you are well prepared for the Zombie Apocalypse... Jon |
|
A
AdOrAdam
Posted
posted
on
Tue, Jul 23, 2013 3:49 AM
I love the first few photos - shows you what a 'normal' space can turn into with a bit of dressing! :) |
|
T
Tiki-kitty
Posted
posted
on
Tue, Jul 23, 2013 6:59 AM
Amazing transformation!!!! I love the way you covered the 'fridge! |
|
V
VampiressRN
Posted
posted
on
Tue, Jul 23, 2013 8:22 PM
Wow...you sure are clipping along. I agree-great weapon collection. I am always jealous of the carpentry all you Builder Bob's can do. GREAT JOB!!!! |
|
T
TikiVato
Posted
posted
on
Thu, Nov 7, 2013 11:47 PM
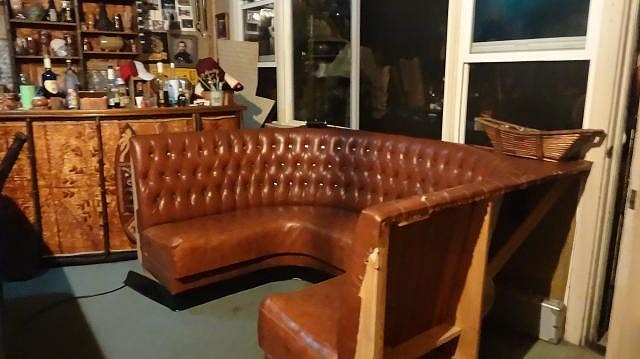
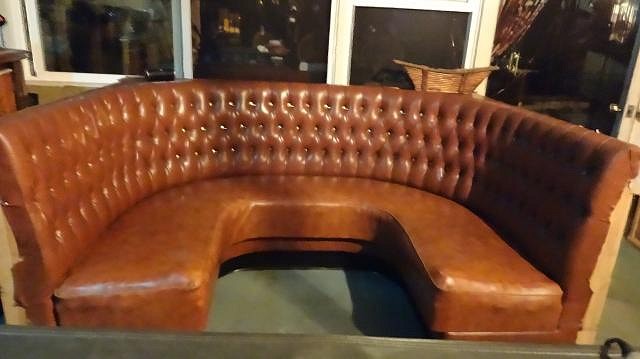
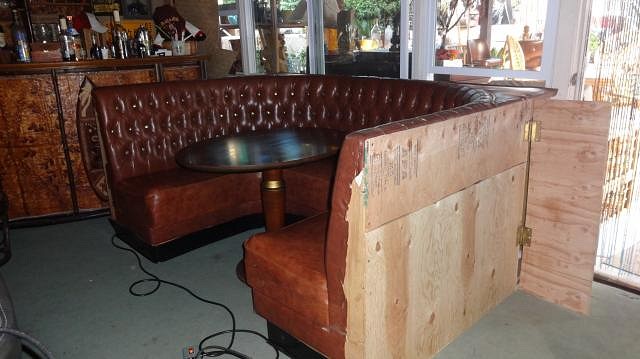
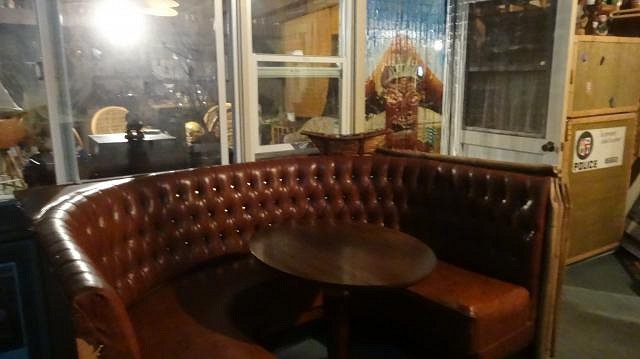
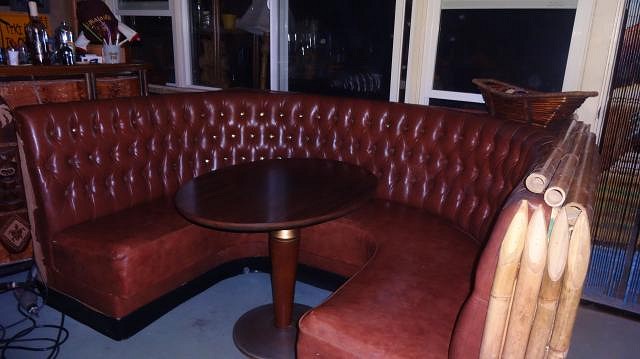
I finally found a booth that I have been looking for since I started the Tiki Nui. My wife and I picked up the free booth from a restaurant that has been around for decades and was remodeling.
I will complete the backings for the booth and do some modifications to fit into my decor. I won't be able to start this project until after December 7th, I am busy getting ready for the next ITMP at Don's. |
|
EJ
El Jefe
Posted
posted
on
Fri, Nov 8, 2013 5:11 AM
Nice score!! |
|
TM
tiki mick
Posted
posted
on
Fri, Nov 8, 2013 2:48 PM
DANG!!!!!!! Very cool! |
|
L

LoriLovesTiki
Posted
posted
on
Fri, Nov 8, 2013 5:17 PM
I like all your new additions! That booth is SWEET. I'm so jealous that you can find stuff like that on Craig's List!!!! NJ is devoid of tiki. :( This is why I need to visit CA and the ITM. Seriously! Keep up the good work. :) |
|
H

hang10tiki
Posted
posted
on
Fri, Nov 8, 2013 7:17 PM
Round n round ya go |
|
N''
nui 'umi 'umi
Posted
posted
on
Sat, Nov 9, 2013 12:35 AM
Supercool find little brother!might even improve your card playing skills on Friday nights. I may have to start wearing my lucky shirt again. |
|
T
TikiVato
Posted
posted
on
Mon, Nov 11, 2013 7:15 PM
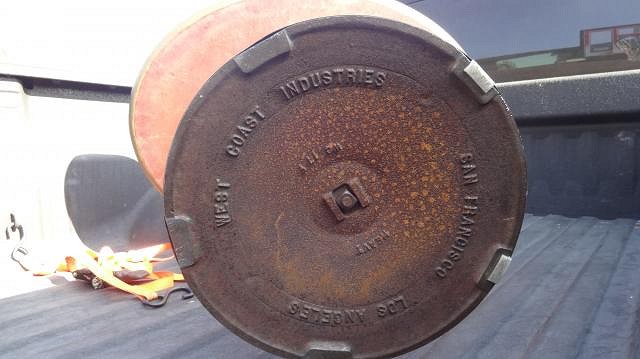
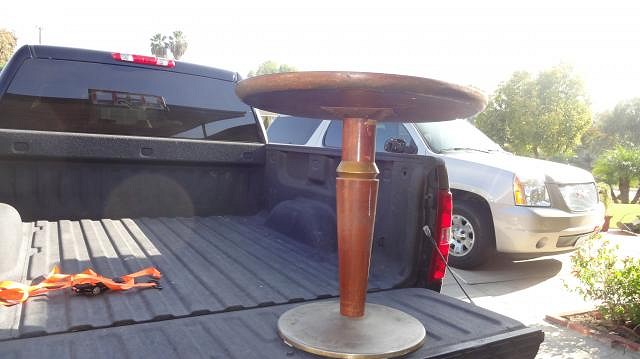
I went to downtown Los Angeles today to watch my grandson run a cross country race. After the race I went to a thrift store hoping to find a table for my new found booth. I got lucky and found this older West Coast Industries table. They have been in business for over 70 years and make quality restaurant products. |
|
W
Wayfarer
Posted
posted
on
Tue, Nov 12, 2013 12:45 PM
That is a beautiful booth! |
|
D
dtel
Posted
posted
on
Tue, Nov 12, 2013 5:28 PM
Everything looks great, nice work. I would be happy if I could route half as good as you. After reading this thread I realize I probably need a new bit and not go as deep, the grain was moving me all over the place. |
|
H

hang10tiki
Posted
posted
on
Mon, Feb 24, 2014 7:29 PM
Lookin good :) |

