Tiki Central / Other Crafts
Tiki Ano Mugsville: "I made it out of clay."
Pages: 1 2 3 4 5 6 7 8 337 replies
|
T
TikiAno
Posted
posted
on
Thu, Dec 13, 2012 4:37 PM
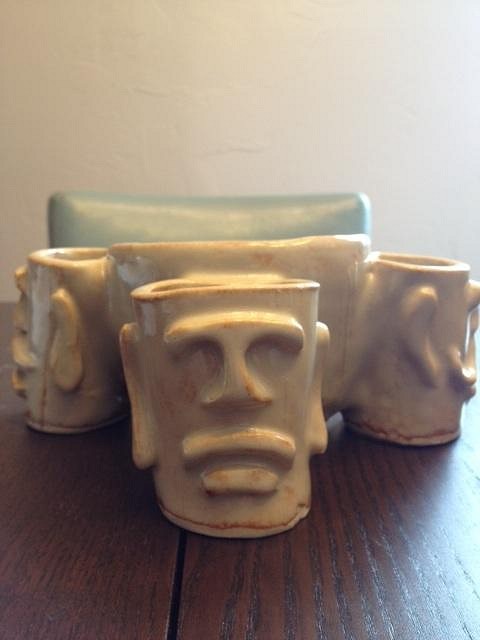
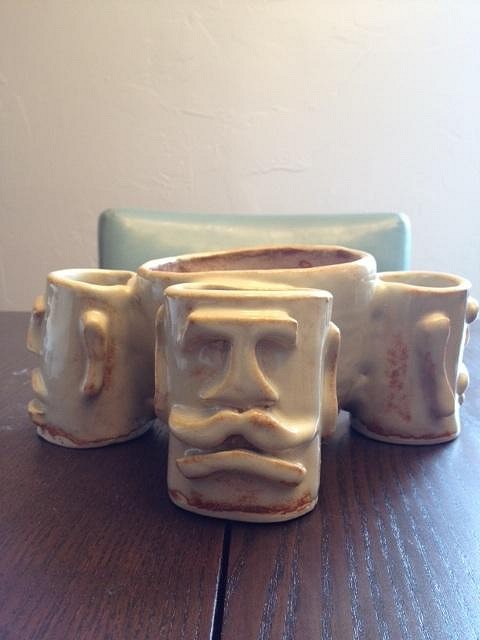
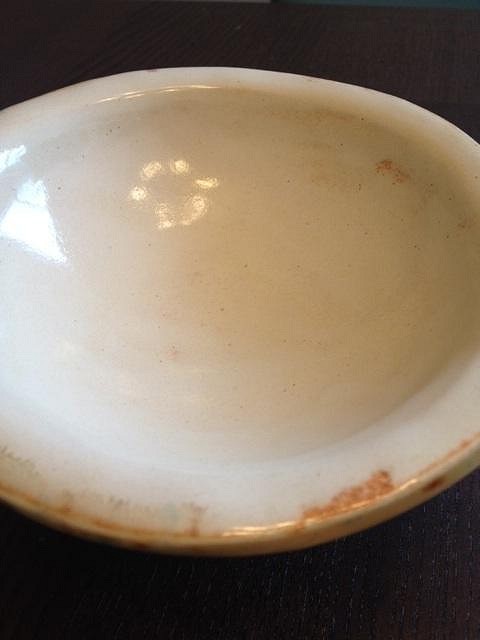
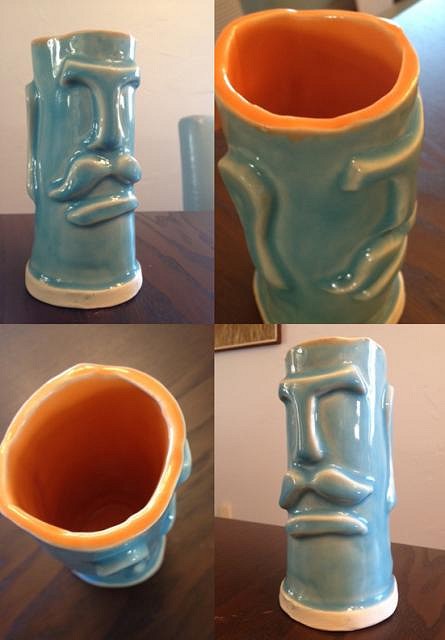
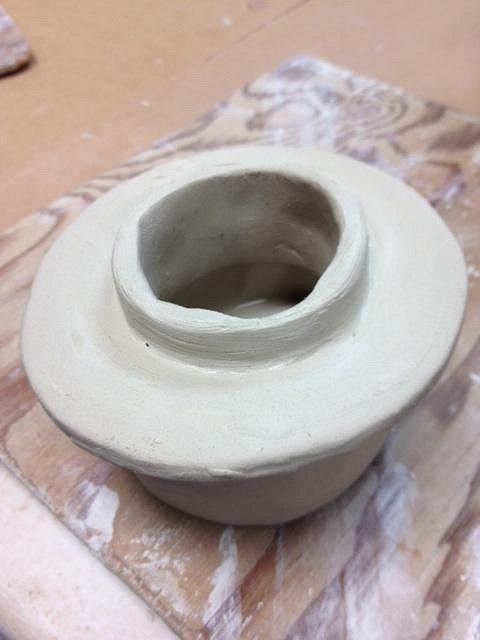
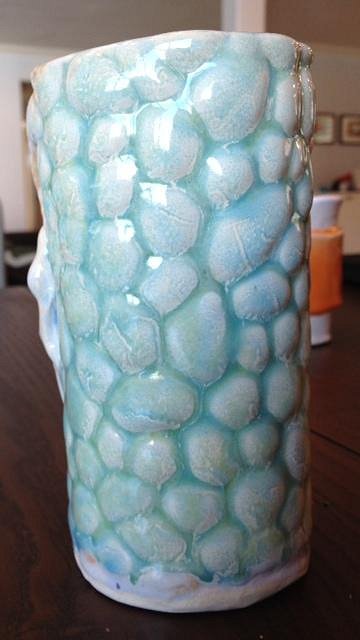
Wanted to show you some of my newest work. As a new artist, I'm playing around w/ different forms, glazes, and technique- thanks to all the advice from those here on TC (and in person)- Wendy, Tiki Tony, & Johnnie Velour have all been super helpful in talking shop at Don's. Look forward to hearing any/all feedback. I have a few other posts w/ photos that I'll add into this thread. I'll be starting work on my piece for the art swap next week, too: a Narwhal of the South Pacific mug. I call the first piece the "Fourward Thinking" Bowl: each post has a different "Post-Tiki" expression. It's a Lt. Shino glaze in the exterior, the interior of the bowl is a Dark Shino, which has a matte finish. You can see the beginning building of this piece at: http://www.tikicentral.com/viewtopic.php?topic=44206&forum=18&8
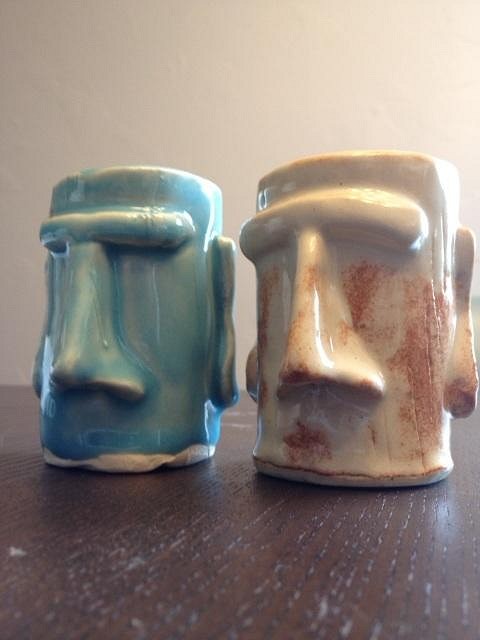
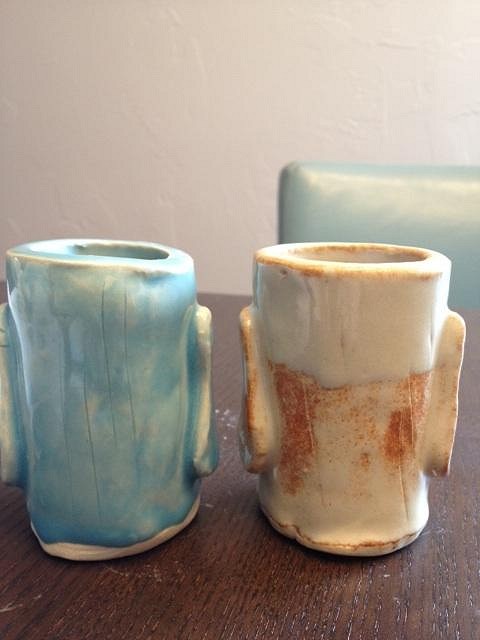
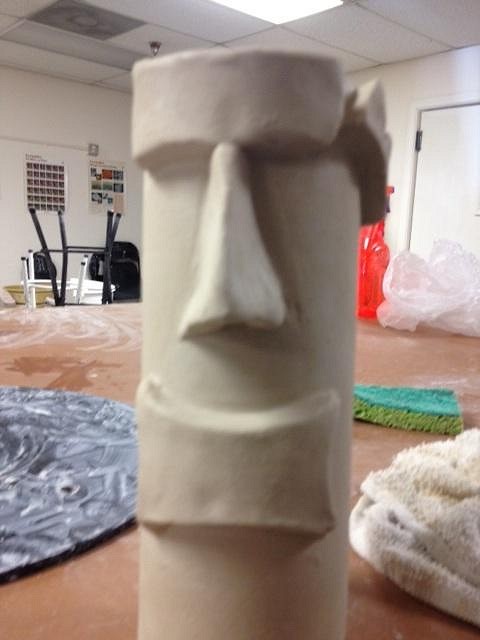
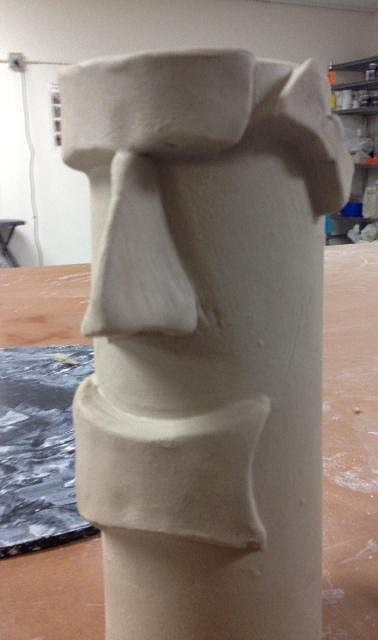
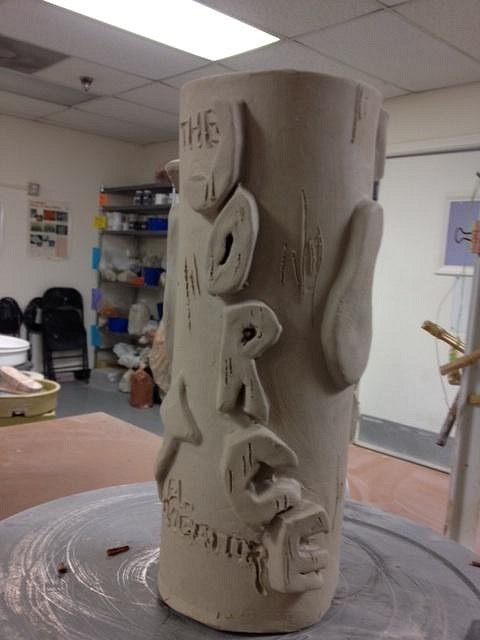
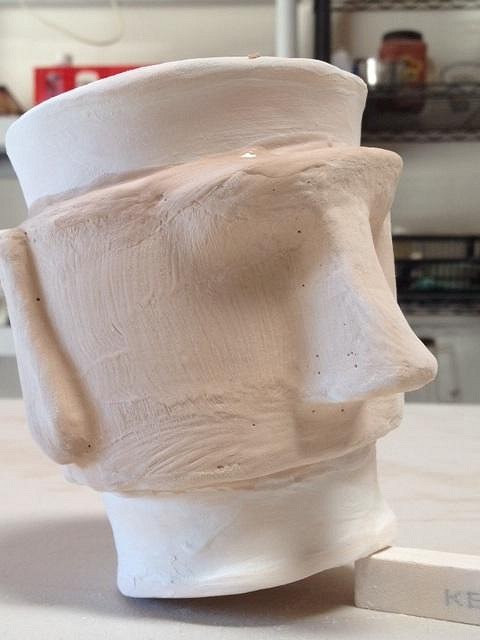
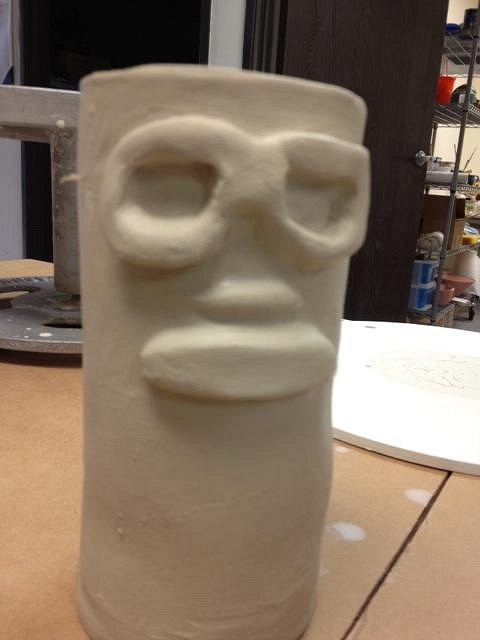
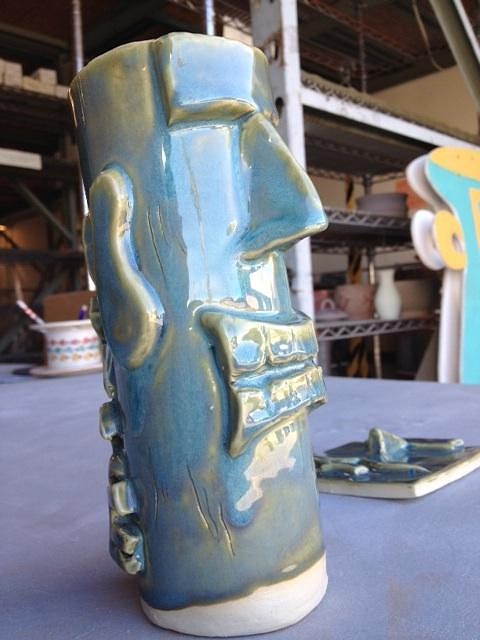
I had some extra cylinders, so made them into "Mini Moai." From the right angle it looks like they're buried into the table.
More to come! [ Edited by: TikiAno 2014-06-15 18:10 ] [ Edited by: TikiAno 2014-06-18 22:38 ] [ Edited by: TikiAno 2014-06-22 22:05 ] [ Edited by: TikiAno 2014-07-09 21:56 ] [ Edited by: TikiAno 2014-07-21 20:57 ] [ Edited by: TikiAno 2014-08-26 11:31 ] [ Edited by: TikiAno 2014-08-26 11:32 ] |
|
M
MadDogMike
Posted
posted
on
Thu, Dec 13, 2012 9:41 PM
TikiAno, those turned out great ~ an interesting modern/primative blend. And that Shino glaze is beautiful |
|
D
danlovestikis
Posted
posted
on
Fri, Dec 14, 2012 2:25 AM
You are off to a great start. The power is in your hands to create whatever you want. It's fun isn't it? Wendy |
|
T
TikiAno
Posted
posted
on
Fri, Dec 14, 2012 8:59 AM
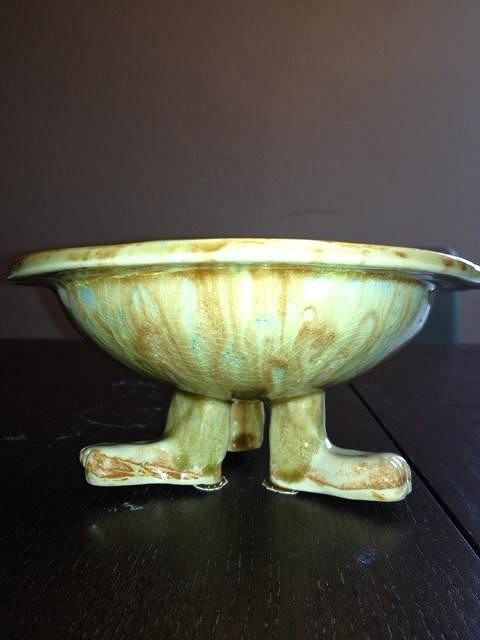
MDM, Thanks very much, that means a lot to me- your work (and others here) continually inspire me. It was my first time using (any) Shino glazes. The more coats the lighter in color, the thinner the application the darker. That explains the "oops" uneven look on the back of the Mini Moai. Wendy, thanks, it's always fun.... and getting more fun. Funner? Here's one more piece that came out of the kiln.- the Three Footed Bowl. There was a little bit of kiln wash stuck to it's feet, thus it's a little off-kilter. It' has a light shino glaze on the legs and the bowl interior, then a different glaze on the exterior (a Jungle Gem fired to cone 6, thus runny, not speckled). The photo (w/ flash) didn't come out that great, but I tried to make a functional and slightly silly piece work.
|
|
P

PockyTiki
Posted
posted
on
Fri, Dec 14, 2012 9:15 AM
cool ideas, and I actually really like the glaze on that three-footed bowl. Ya know what'd be really cool is if those feet were like claws or something. |
|
T
TikiAno
Posted
posted
on
Mon, Dec 17, 2012 8:44 AM
Thanks, PockyTiki. Yes, I've thought of a few options for "feet" on bowls. For a (sorta non-tikified, but still in the spirit of things), might try a mid-century looking Eames wire chair leg array- but claws would be fun, too. So many options. Here's a few pics from earlier pieces. They've been in other threads, but trying to include more stuff in this one. Hope you like! 'Stachetiki, from pre-bisque form: Grungiki: Large mug. He wears a plaid flannel shirt, vaguely dissatisfied expression, and furrowed brow. After glazing and firing. Have to drill out the earring hole & find a hoop (or stud): |
|
D
danlovestikis
Posted
posted
on
Mon, Dec 17, 2012 11:23 AM
Wow you are progressing at super sonic rate. Good Job. I love the latest glazes and tiki mug. Wendy and Dan looked too. |
|
T
TikiAno
Posted
posted
on
Mon, Dec 17, 2012 5:48 PM
Wendy, Thanks so much! The green and blue ones were done a bit ago, the ones earlier in the post are more recent. I'm about to post progress for the art swap pics, worked for a loooonnnnng time today after working on sketches for quite a while. I'm going to have some time off due to the clay studio I'm working at being closed for the holidays, so trying to get a few more hours in. Thanks for the support, hope Dan is feeling better every day! I should probably do a bowl with knees (as legs) for Dan. :) |
|
D
danlovestikis
Posted
posted
on
Mon, Dec 17, 2012 10:12 PM
You are too cute. I need to post on the swap thread tomorrow. Maybe we'll make it to the next DTB if Dan's knee is well. Wendy |
|
T
TikiAno
Posted
posted
on
Wed, Dec 19, 2012 10:12 AM
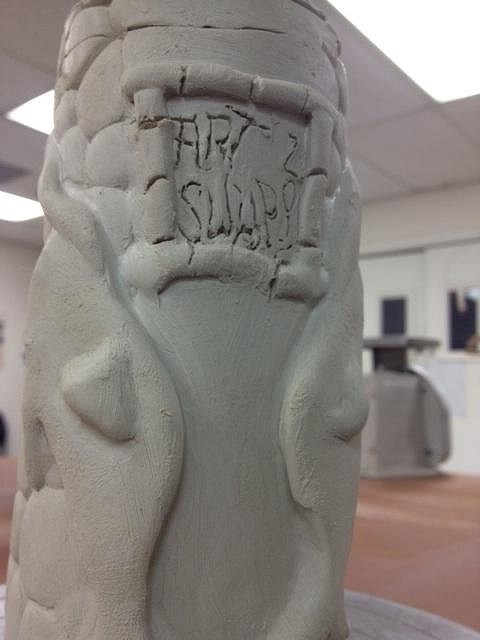
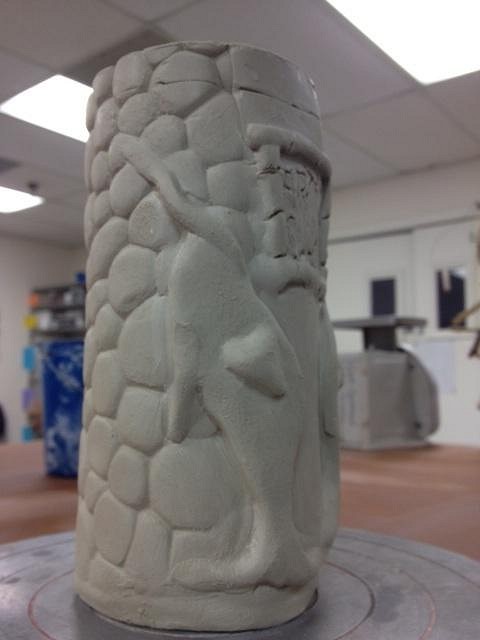
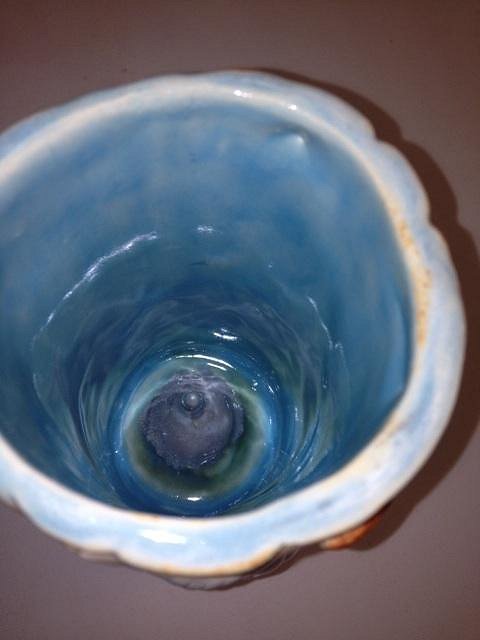
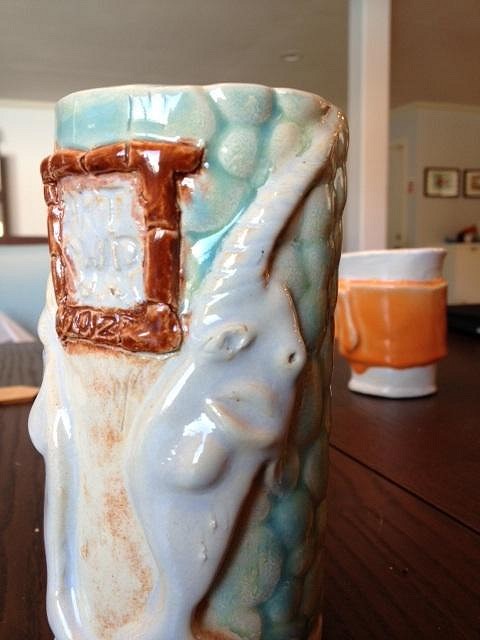
Wendy, I'm intrigued to see where you're going w/ the Art Swap piece. I think there might be something on the other side of the pre-fired glazed mug, not sure if it's a sea creature Bob or something else entirely..... :) Though I've already posted this in the Art Swap thread, here are a few pics from the mug I'm working on for this year's Art Swap. I call it "Narwhals of the (North) South Pacific (leaning on a fireplace)." Too abstract a name?
|
|
T
TikiAno
Posted
posted
on
Sun, Dec 23, 2012 4:41 PM
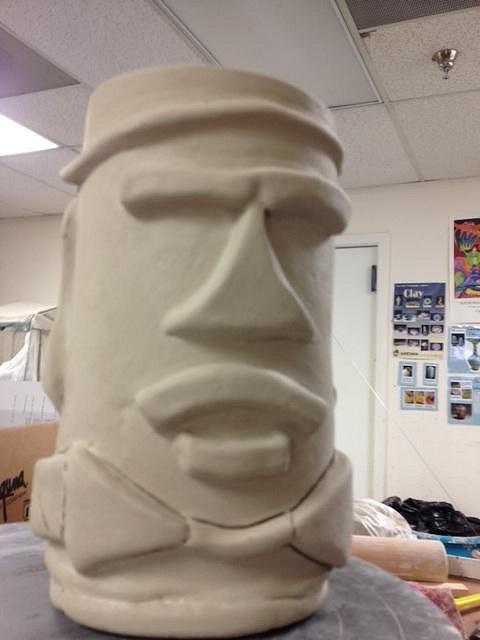
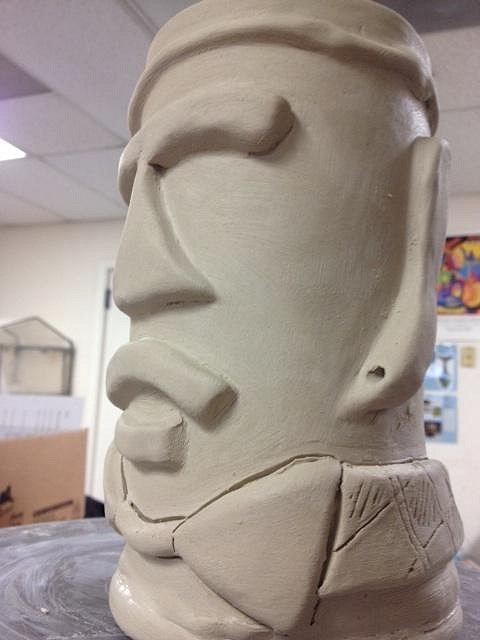
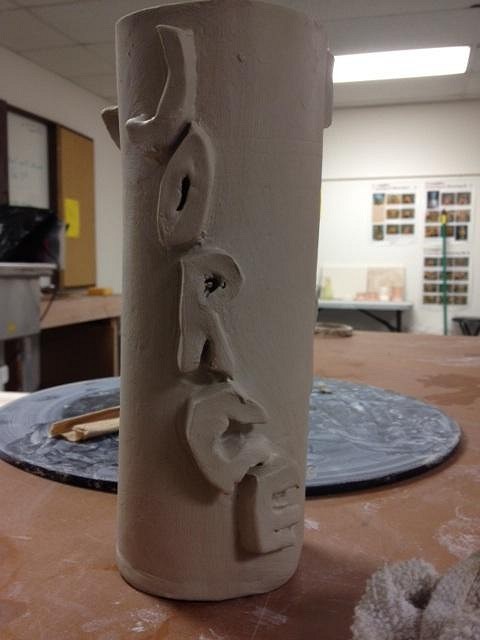
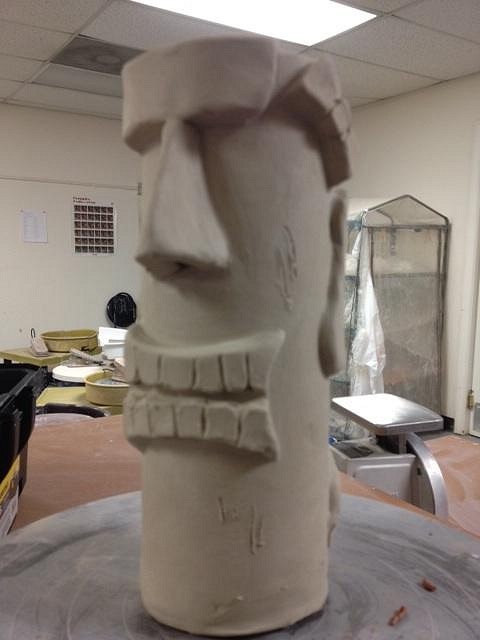
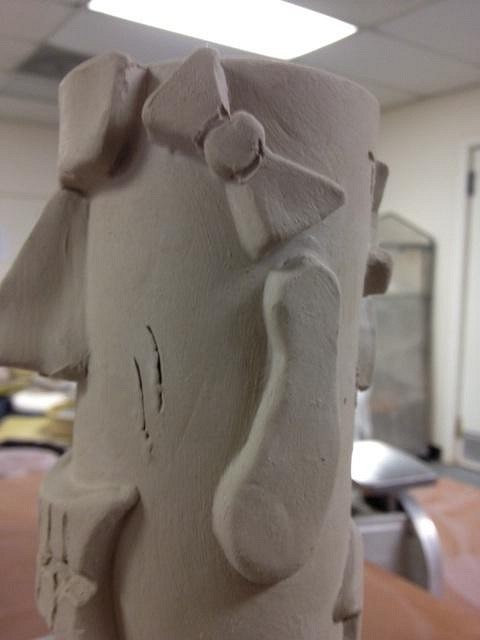
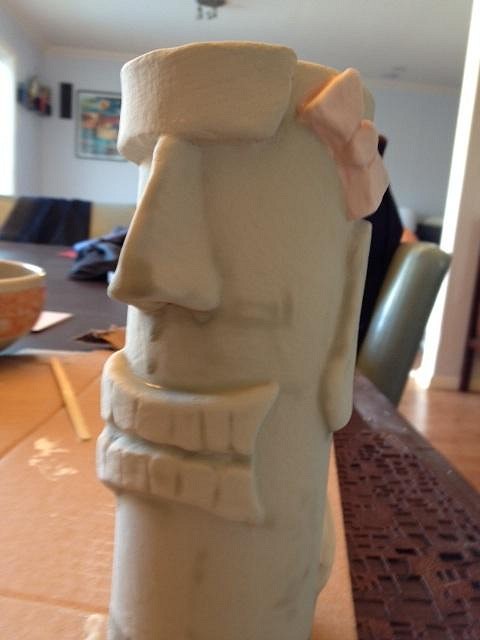
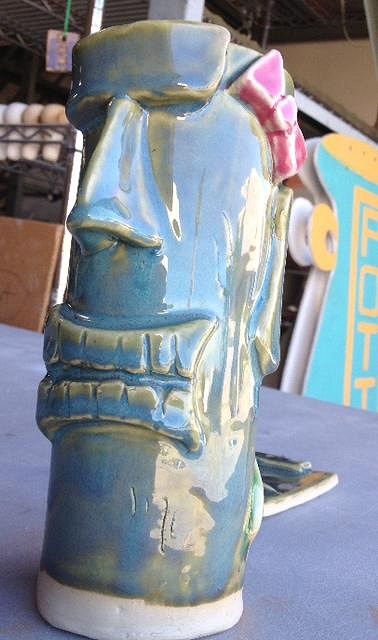
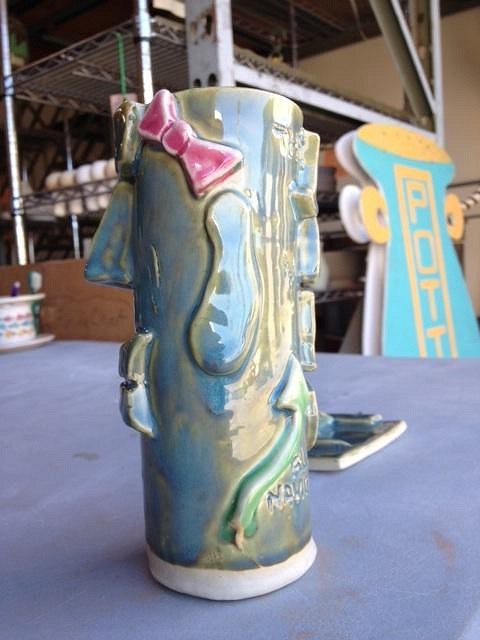
Worked a bit more on the TC Art Swap piece (photos in that thread), then started work on another mug as a (belated) Christmas gift for a friend on the East Coast. He requested a personalized mug a while back and have tried to come up with the right idea. Lots of people give him obscure "Hello Kitty" gifts as a running joke (Chia pets, etc), so I added a Hello Kitty bow on the side of the mug (tentatively called "Hello Tiki"). Next will be adding ears, carving in teeth, and adding texture to the sides/back. I've been doing some research to get inspired by tiki teeth details.
|
|
H

hang10tiki
Posted
posted
on
Sun, Dec 23, 2012 8:29 PM
Me likes em all.... |
|
T
TikiAno
Posted
posted
on
Tue, Dec 25, 2012 4:37 PM
Thanks, Hang10! |
|
T
TikiAno
Posted
posted
on
Thu, Jan 3, 2013 9:03 PM
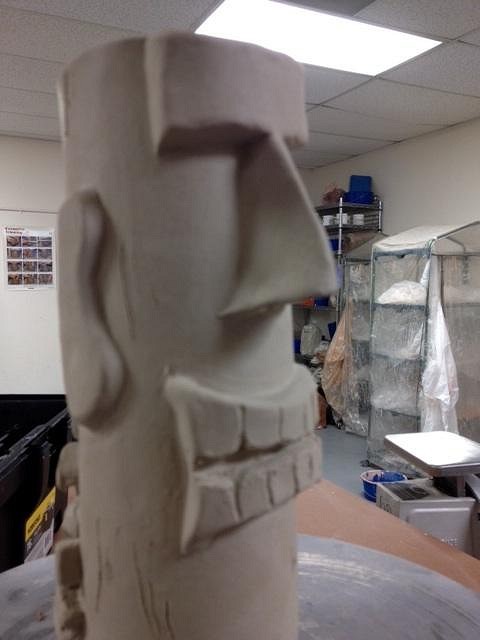
Some more progress on the "Hello Tiki" mug for Jorge. Carved in some teeth today, added more etching, ears, and a few other details, including a compass-like arrow in honor of his navigating skill (prior to smart phones). I also finished prepping the Art Swap mug to get ready to bisque fire. Unfortunately, as I'm in a shared studio, have to wait for more pieces to fill the kiln before they fire it. Time to figure out all the glazes for the two new one-off pieces. In retrospect, maybe I should have made the mouth a little more "Hello Kitty"-ish, but I was cutting my teeth on... carving teeth. Would love any feedback. Thanks!
|
|
M
MadDogMike
Posted
posted
on
Fri, Jan 4, 2013 8:12 AM
Jorge is going to be jappy* with that one TikiAno :) *for those unfamiliar, the j makes an h sound in Spanish :D |
|
T
TikiAno
Posted
posted
on
Fri, Jan 4, 2013 8:58 PM
Mike, :). I reluctantly sent some photos to him and he was excited. Whew. Next I have to experiment with different glazes- I normally use single glazes for exterior, then potentially another for interior- the details in this one (as well as the Art Swap one) requires a different approach. Slightly nervous about glazes running all over where they shouldn't. |
|
D
danlovestikis
Posted
posted
on
Sat, Jan 5, 2013 3:20 PM
Looking good. Forks do well for making wood grain slashes. Be careful not to make them too deep because glaze will not always stay in where you put it. Sanding when its dry works best with mesh see through sand "paper" its not really paper at all. Wendy |
|
T
TikiAno
Posted
posted
on
Sat, Jan 12, 2013 1:53 PM
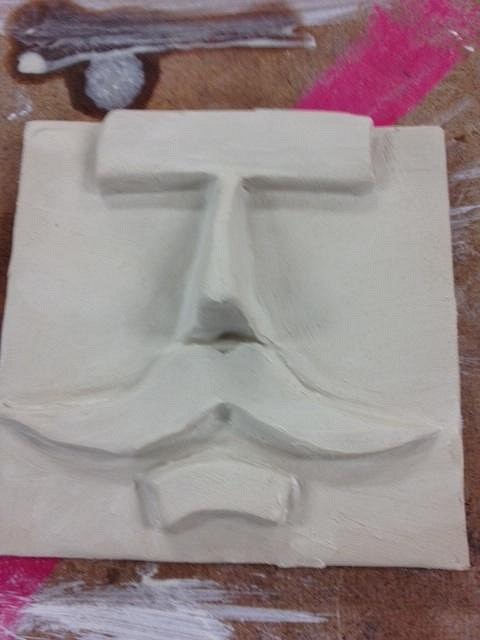
Started on some new pieces (and an old one) today, after devoting most clay time to the Art Swap piece. Made my first tile- a 'Stachetiki face. I hope to use this tile as my first (practice) casting piece. Pretty simple, but plan on trying some crazy glaze combinations. Will let this firm up for a few days, then get to carving a bit more into it. Wendy, thanks for the wood texturing advice. The fork is a great idea. What kind of "sand paper" are you talking about? Is it more a clay tool than a hardware store item?
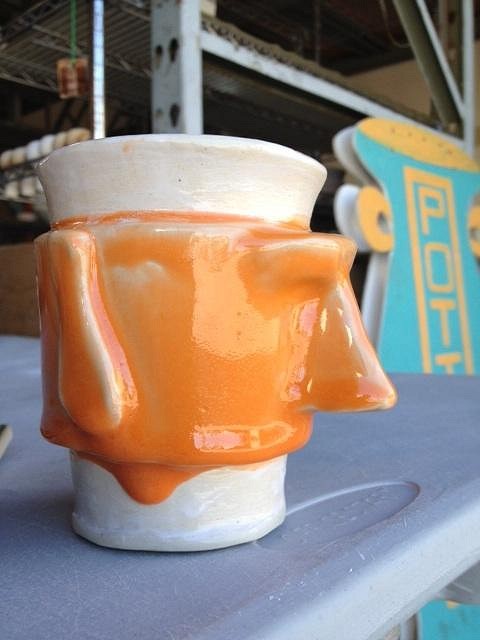
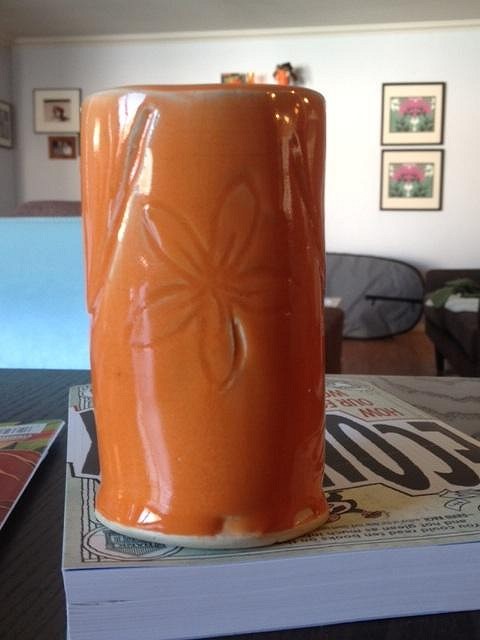
Finally got to glazing CupTiki- my concept of a paper coffee cup (w/ sleeve), tiki-fied. It has an orange glaze for the face/ sleeve, then a glossy white interior and exterior. Here's a post-glazing, pre-firing image. This hand built piece was done a while back, the next version of this should look quite a bit better. Look forward to hearing any feedback/thoughts. [ Edited by: TikiAno 2013-01-13 06:04 ] |
|
M
MadDogMike
Posted
posted
on
Sun, Jan 13, 2013 9:09 AM
The coffee cup sleeve is a great idea! Remember that it is going to shrink when you fire it - about 5% for low fire and as much as 10% for high fire. |
|
D
danlovestikis
Posted
posted
on
Sun, Jan 13, 2013 9:34 AM
After taking into account that it will shrink you also need to have enough space for after it is glazed on one or both surfaces. Good job. Wendy |
|
T
TikiAno
Posted
posted
on
Sun, Jan 13, 2013 3:08 PM
Thanks, Mike & Wendy. The sleeve is (permanently) attached to the cup- though a separate tiki sleeve IS a cool idea. I hand built it (using a paper coffee cup as a template) I do want to make one with a lid (next time). It'll be fired to cone 6 at the studio kiln, so we'll see how much it shrinks. I'm in the coffee business, so prepare yourselves for more tiki-coffee crossovers. :wink: |
|
T
TikiAno
Posted
posted
on
Thu, Jan 17, 2013 3:03 PM
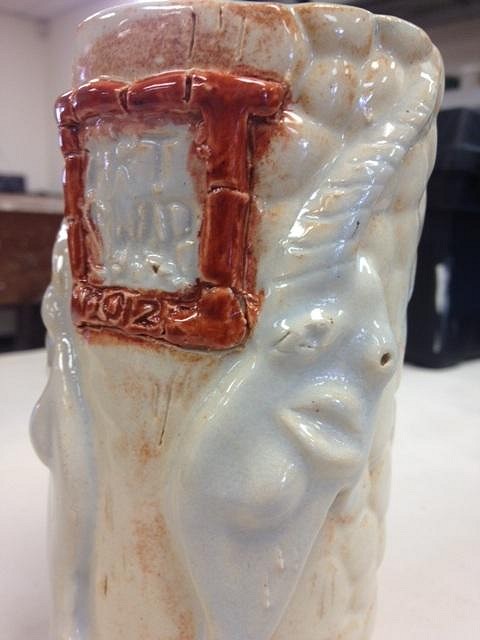
Updates: the Jorge mug is currently being bisque fired- and CupTiki came out of the kiln. Apparently there was some dust (or something else) preventing the orange glaze from sticking in a few areas- I'll reglaze and refire this, hopefully next week. Updates to the Art Swap piece are in that thread, but here's one photo of the exterior from the glazed version- may not be the final glaze firing, but we'll see.... The StacheTiki Tile is waiting for bisque firing, too- after that is done, time to play w/ making a mold (my first one). |
|
T
TikiAno
Posted
posted
on
Sat, Jan 19, 2013 6:42 PM
Stopped by the studio today and found the custom "Hello Tiki" mug for Jorge, which was just (finally) bisque fired. Glazed a few test tiles before glazing this one, but wanted to post a couple pics:
|
|
D
danlovestikis
Posted
posted
on
Sun, Jan 20, 2013 9:09 AM
You have become tikified. That's a classic with some cute touches. Wendy |
|
T
TikiAno
Posted
posted
on
Tue, Jan 22, 2013 3:59 PM
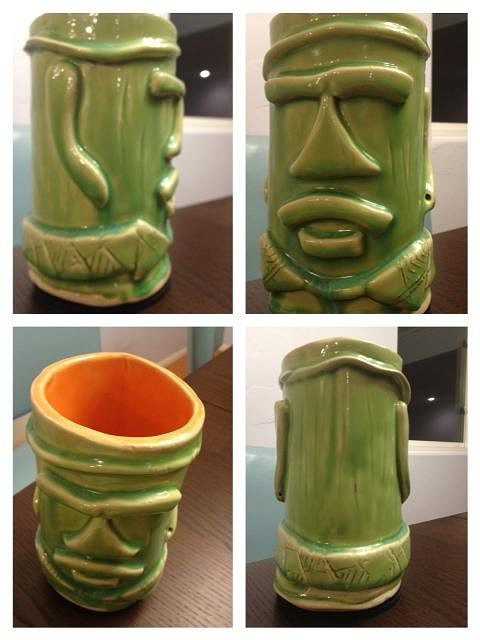
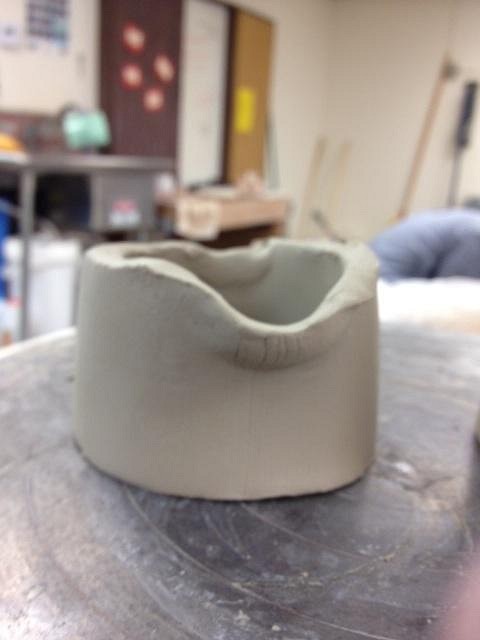
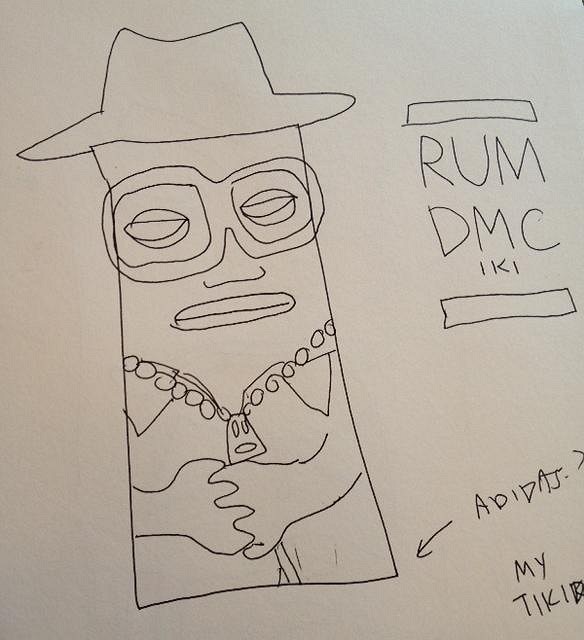
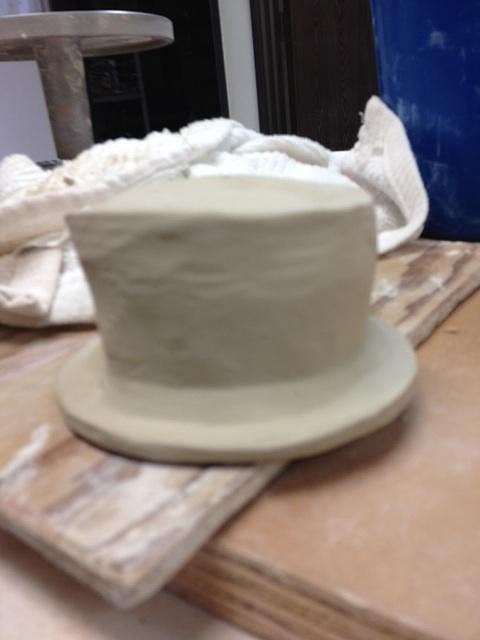
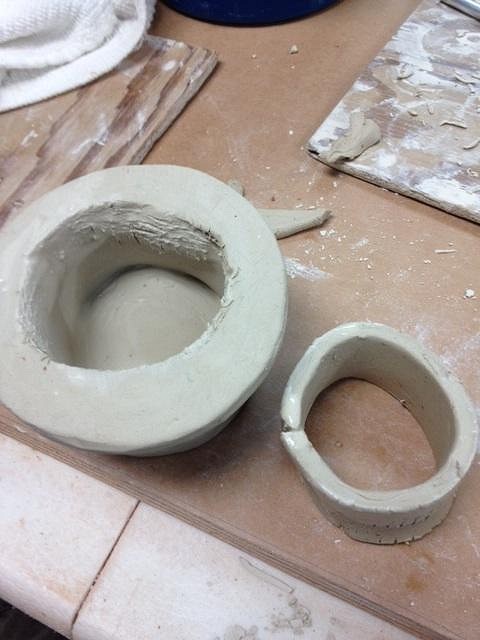
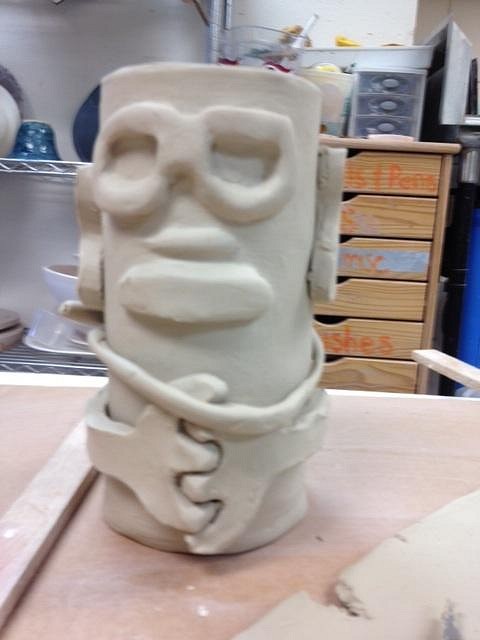
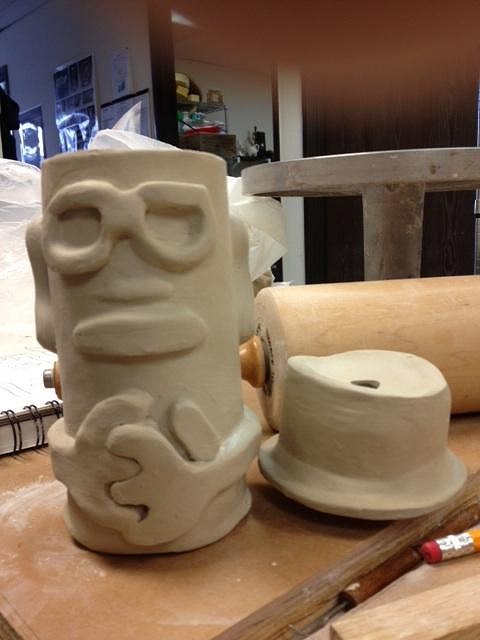
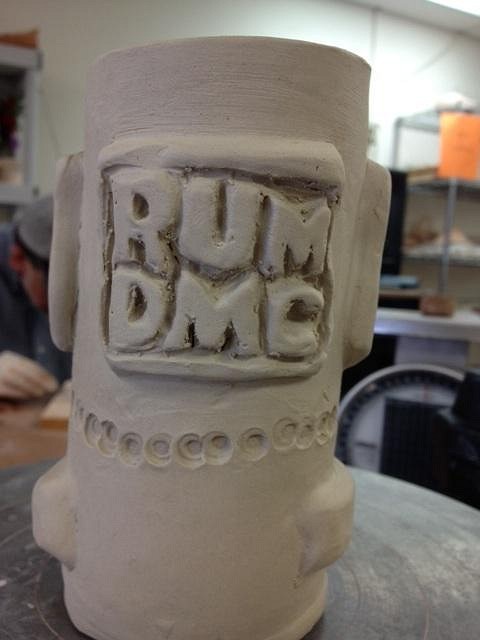
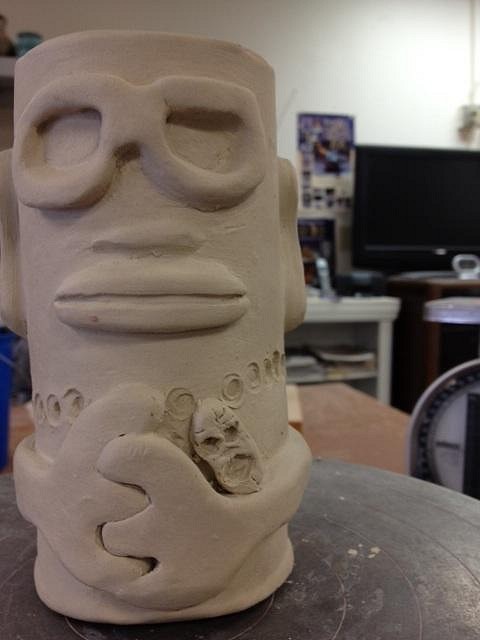
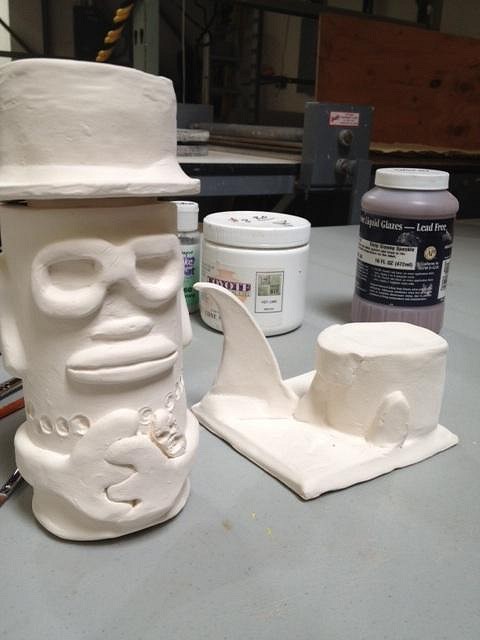
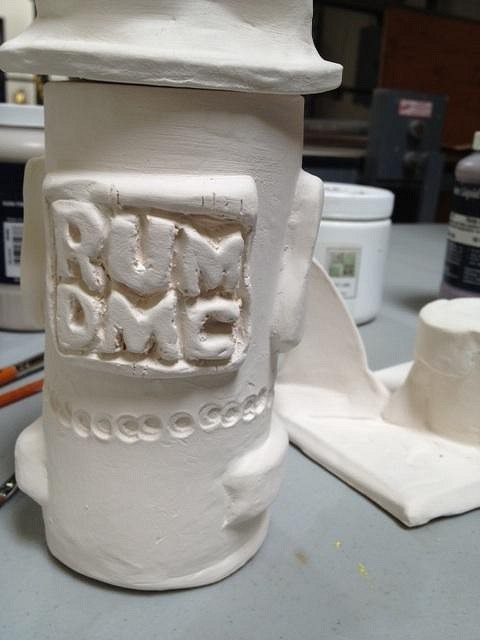
Got to glazing "Hello Tiki" for Jorge. Used a Textured Turquoise glaze the exterior (w/ a little lime green for details), plus some pink for the "Hello Kitty" bow. The interior is a lime green. Here's a photo with the glaze still drying (consider it an action shot ("of watching glaze dry")). I started working on a few new pieces- using the extruder to knock out some cylinders as bases for the mugs. I only have a few pics, but hope to post more later this week. Here's the first cylinder, not very exciting. I tried putting the Art Swap Tile on top of a plaster mold to get it to flatten down a bit- sides had curled up while resting. These two pieces are part of the newest mug- which I have high hopes for.... A few different people in the studio gave me advice on making lids, which completely threw me off (especially as I was in the middle of building it). I didn't take extra photos, but it involved trimming the brim and insetting the cylinder into the brim- sort of how an actual hat is made. I scored and slipped them together, then will add another ring on the inside that will fit inside the mug. In retrospect, I should have approached this in a different way. If it doesn't quite work, I'll rebuild the hat form- it's my first lid- using the same clay body, so shrinkage should be the same for both the mug and the lid. In any case, here's my drawing/plan of the piece. Don't be shocked- it's not a traditional tiki, it's "Rum DMC." Hopefully this won't offend some of the more traditional tiki folks here. :wink: Don't worry, the one after Reverend Rum will be more mainstream (tiki-mainstream, that is).
Feedback, as always, is appreciated. |
|
T
TikiAno
Posted
posted
on
Thu, Jan 24, 2013 5:22 PM
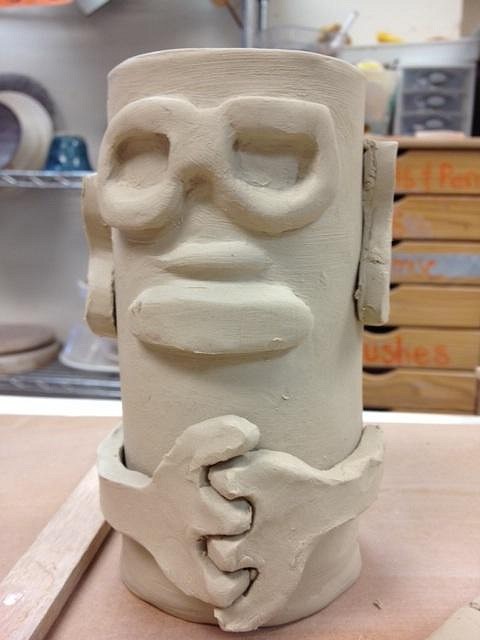
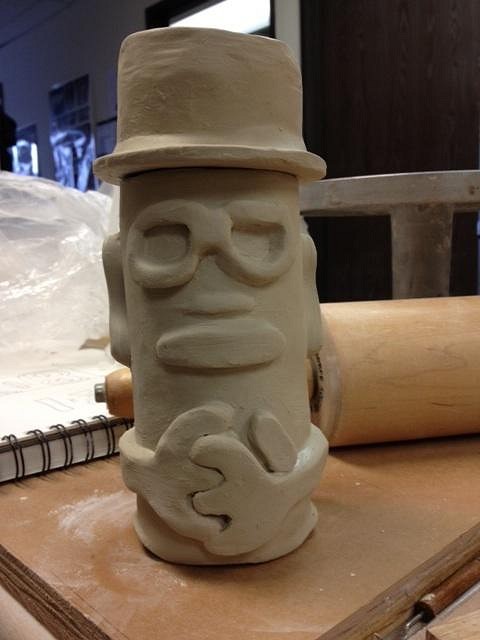
Got working on Reverend Rum today. First, unwrapped all of the pieces, then started shaving down the hat w/ a small rasp. Finally got it to a point that I felt good about. |
|
T
TikiAno
Posted
posted
on
Tue, Jan 29, 2013 12:20 AM
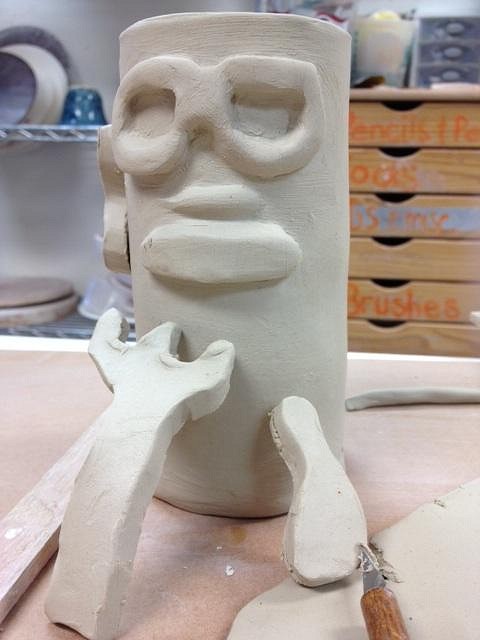
More work on Reverend Rum today. First, I started assembling more pieces for the mug. Ears, arms, a tiki pendant, and a few more items.... First I draw them out, then trim them out of a slab. I hold them up against the mug to make sure they're the right size: I've tried to change the name of this thread (to give updates for those keeping score), but I'm at a loss. Look forward to hearing any feedback. |
|
H

hang10tiki
Posted
posted
on
Tue, Jan 29, 2013 7:44 AM
Cool |
|
T
TikiAno
Posted
posted
on
Thu, Jan 31, 2013 6:20 PM
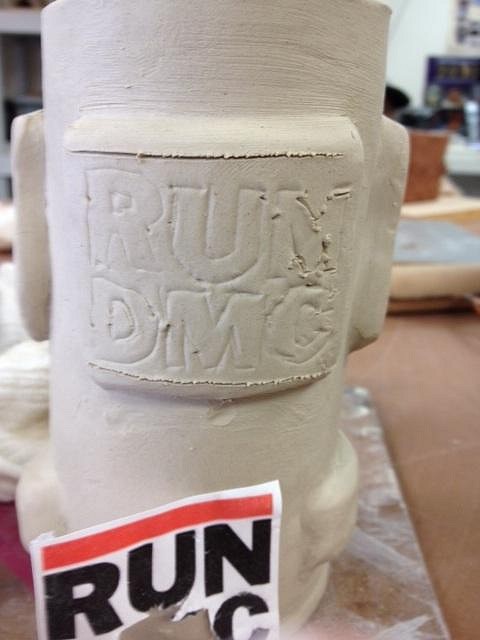
Rum DMC continues... I waited a few days for the mug to firm up. It was time to carve its name onto a small panel on the back. I wanted to keep the font similar to the "RUN DMC" one, so printed out the familiar logo and traced them out. |
|
L
lunavideogames
Posted
posted
on
Thu, Jan 31, 2013 10:37 PM
That is a cool looking mug! I think people would like it. I love the name. Funny stuff! I can't wait to see how it turns out and what colors you glaze it. You might not want to send it to run... That guy really likes money... A lot! |
|
D
danlovestikis
Posted
posted
on
Fri, Feb 1, 2013 8:32 AM
That's a great mug. I like the hands a lot. I hope you are being careful to not trap any air bubbles between pieces. Using slip like glue helps. Wendy |
|
T
TikiAno
Posted
posted
on
Fri, Feb 1, 2013 5:37 PM
Thanks, Wendy. Yes, I use slip to stick everything together- and I watch your step by step photos to gain carving skills. :) I appreciate the vote of confidence! |
|
H

hang10tiki
Posted
posted
on
Fri, Feb 1, 2013 7:33 PM
Rum DMC, classic |
|
T
TikiAno
Posted
posted
on
Mon, Feb 4, 2013 2:20 PM
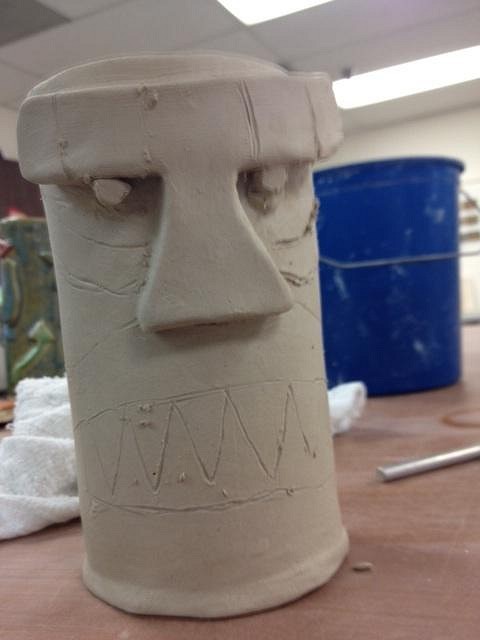
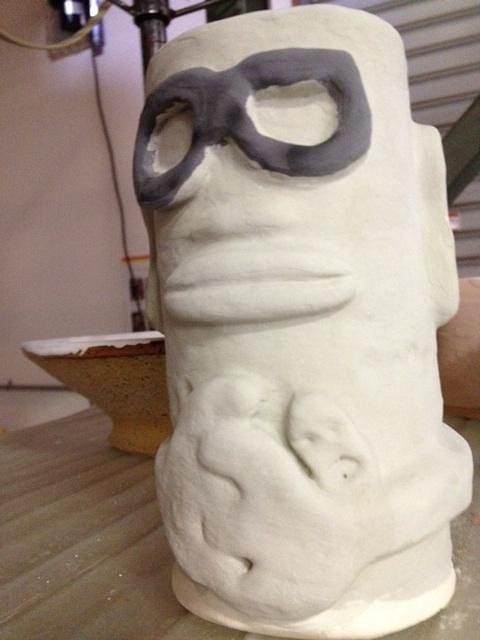
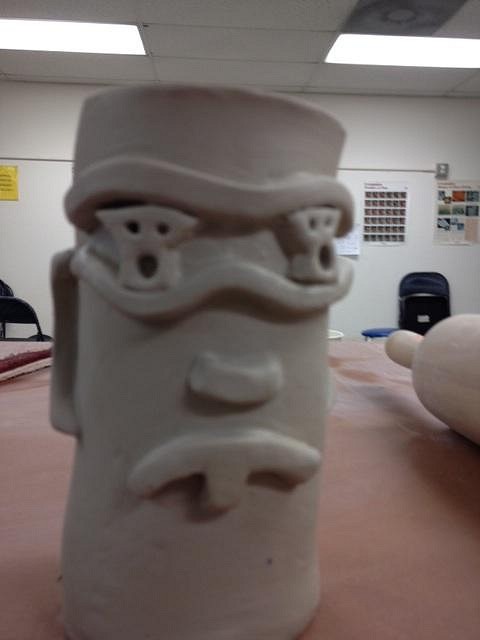
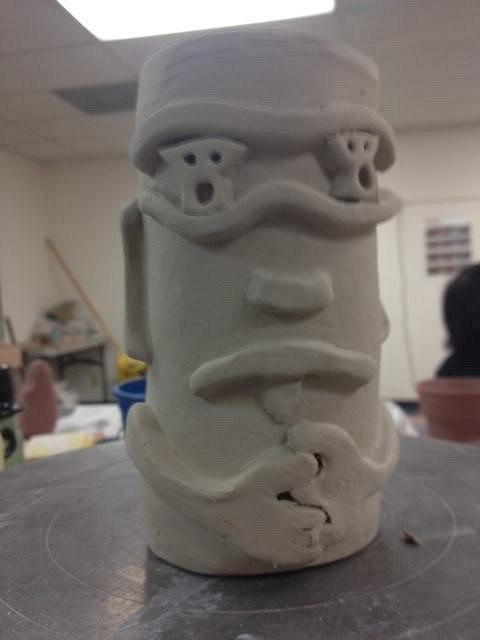
Lots of stuff out of the kiln today. Finally, "Hello Tiki," the custom mug as (very) belated XMas gift, is finished. Textured turquoise glaze overall, w/ a few colored highlights, w/ a lime green interior (sorry, bad glare from sunlight shooting in through a roll-up door): The 'StacheTiki Tile is done- same glaze. I'm going to play w/ making molds w/ this guy (as practice): CupTiki had to be reglazed, then re-fired since there was some dust left on the mug after sanding (and then wiping multiple times), which prevented the original glaze from adhering to the piece. I added more glaze in the spots that needed it, which then ran. This was a test piece for a future project. Not great looking, but the idea is there. The sleeve is built around the mug (it doesn't come off). I started digging into a new mug (no name yet, but inspired by one of VanTiki's tiles that I look at on a daily basis- clearly it's influenced me (Henrik, hope that's okay), along with a little Maurice Sendak "Where the Wild Things Are"). Sketched out the lines on the piece- I had added the brow and eyeballs last week: Feedback, as always, is encouraged. Thanks for checking this out. [ Edited by: TikiAno 2013-02-04 14:21 ] [ Edited by: TikiAno 2013-02-04 15:10 ] |
|
T
TikiAno
Posted
posted
on
Mon, Feb 4, 2013 2:20 PM
Hang10, appreciate it! :) |
|
D
danlovestikis
Posted
posted
on
Mon, Feb 4, 2013 4:09 PM
I'm enjoying your step by steps. It's great fun isn't it? You are totally tiki now. Wendy |
|
T
TikiAno
Posted
posted
on
Tue, Feb 5, 2013 11:24 AM
Thanks, Wendy. I appreciate the kind words. Having a great time with it, and each piece gets better- now that I'm in a rhythm I'm going through the sketchbook working drawings into clay. I'm going to start playing around with making molds soon- not sure if I should start with the tile or perhaps the Rum DMC one.... I assume the flat tile will be a bit easier. |
|
D
danlovestikis
Posted
posted
on
Wed, Feb 6, 2013 7:55 AM
If you do the tile it will just be one piece. You need to roll out some clay and pour some slip on it to seal the tile to the clay to make sure the plaster can't get under the tile. Run a bit of clay around the edges and press in with your finger. I've done it in the past. Pour your plaster very slowly so the tile doesn't come loose and float up into the wet plaster. I kept a hand on my piece while pouring in the plaster. Messy but it helps. Wendy |
|
T
TikiAno
Posted
posted
on
Sat, Feb 9, 2013 2:35 PM
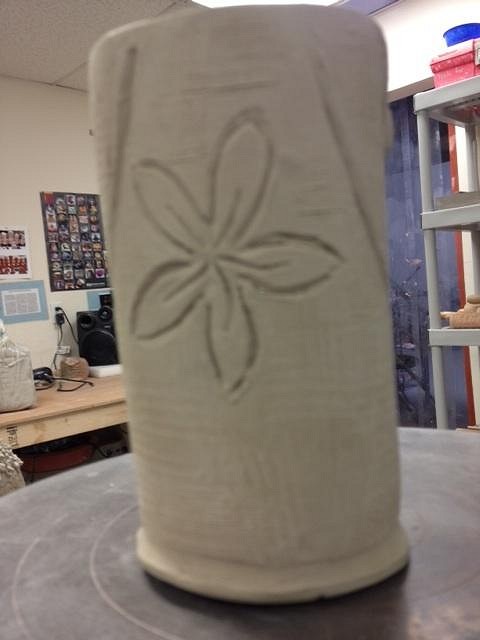
Thanks, Wendy. Who knows? I may try casting Reverend Rum, want to try making a mold soon. In the meantime, the second art swap piece was (finally) bisque fired, as well as the "Rum DMC" mug and lid/ hat. I continued carving into the new mug- adding a few new lines, texture, as well as a plumeria carved into the back. I glazed up the art swap piece- using a whole assortment of glazes that will hopefully turn into a cool water effect.,Also started glazing Reverend Rum. Look forward to seeing how these turn out. Any feedback, as always, is appreciated. Thanks for readin'. |
|
T
TikiAno
Posted
posted
on
Mon, Feb 11, 2013 1:30 PM
Rev Rum is glazed and waiting to get fired. Tried a new combination of glazes, excited to see how it turns out. |
|
T
TikiAno
Posted
posted
on
Fri, Feb 15, 2013 10:24 PM
New signature stamp, should improve signing future mugs:
|
|
D
danlovestikis
Posted
posted
on
Sat, Feb 16, 2013 8:44 AM
I like your mugs. Your name on the bottom looks great. If you want to prevent your mugs from rocking, indenting the bottoms and just leaving a rim will do that. Or you can sand them. Wendy |
|
T
TikiAno
Posted
posted
on
Sat, Feb 16, 2013 12:30 PM
Thanks, Wendy- Great advice (as always). I usually push the bottoms in a bit to indent them. I find it easier to trim foot rings on a wheel, haven't tried with the handbuilt (extruded) cylinders. I am a believer in sanding them down as well- though I probably should do as much post-bisque firing prep (rinsing, drying) that I've watched you and Dan do to your own work. Thanks for the continued support, it means a ton! :) |
|
T
TikiAno
Posted
posted
on
Thu, Feb 21, 2013 6:24 PM
First look (so to speak) at Ol' Skull Eyes (name a work in progress as well). Lots more carving and details to follow- plenty of time to work as I wait for the kiln to fire a few pieces (Rum DMC, Art Swap Sinking Moai, & new mug). Feedback, as always, is appreciated! |
|
BT
Badd Tiki
Posted
posted
on
Fri, Feb 22, 2013 8:51 PM
'RUM DMC' LOLOLOOLOLOLOlll CLASSIC! |
|
D
danlovestikis
Posted
posted
on
Sat, Feb 23, 2013 8:36 AM
Another fun mug, Wendy |
|
T
TikiAno
Posted
posted
on
Mon, Feb 25, 2013 2:39 PM
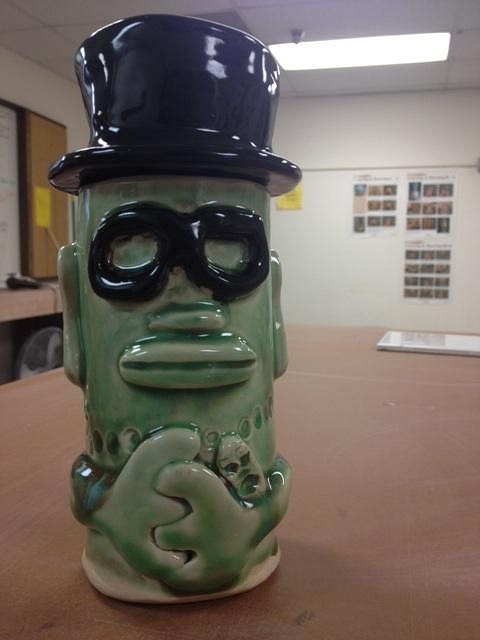
Thanks, Wendy! Worked a bit at the clay studio today- unfortunately, my 2nd Art Swap piece wasn't fired (???), it's been sitting out for a few weeks and was never loaded in to the kiln. Two other mugs DID get fired, though: Reverend Rum (of "Rum DMC" Fame): His hat is the cup's lid- there's a hole for a drinking straw. Combination of a few glazes (lime green and turquoise blue), along with a shiny black on his glasses and hat.
Got a little more work done on "Skully" (working title): carved a little bit, then added arms (similar to Reverend Rum's) and a big ol' mod Skull on the other side: Added to the list will be a mug covered in skulls (in this style). Look forward to any feedback. |
|
C
Canvas
Posted
posted
on
Tue, Mar 12, 2013 3:55 PM
RUMDMC- brilliant! He looks so encouraging. Drink more, I can feel him urging me. |


