Pages: 1 2 3 4 5 6 276 replies
|
W
W8N2Surf
Posted
posted
on
Sun, Mar 3, 2019 6:38 PM
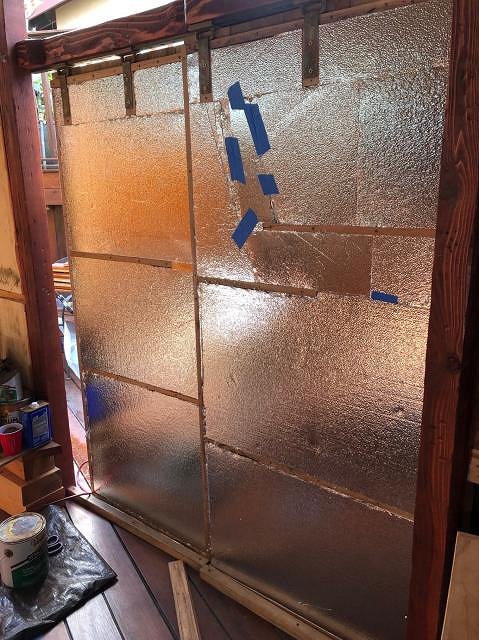
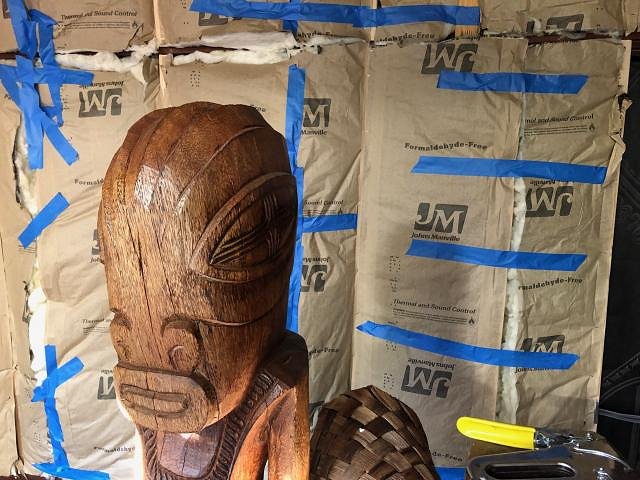
Hey y'all, quick pic of the insulation we are putting up on the inside. We've made some more progress and I'll get some updated shots up tomorrow.
|
|
W
W8N2Surf
Posted
posted
on
Mon, Mar 11, 2019 7:40 PM
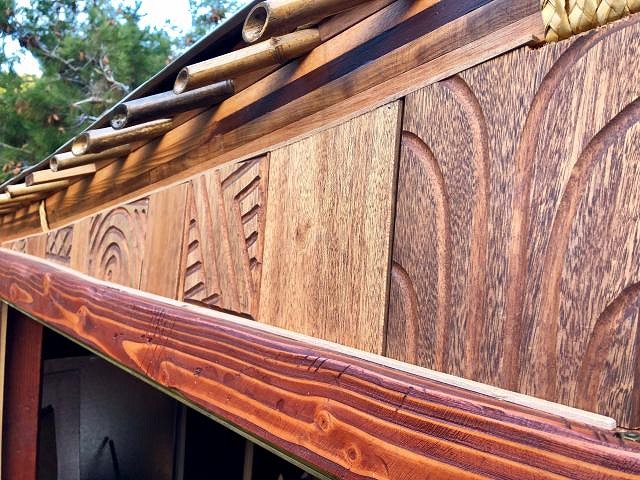
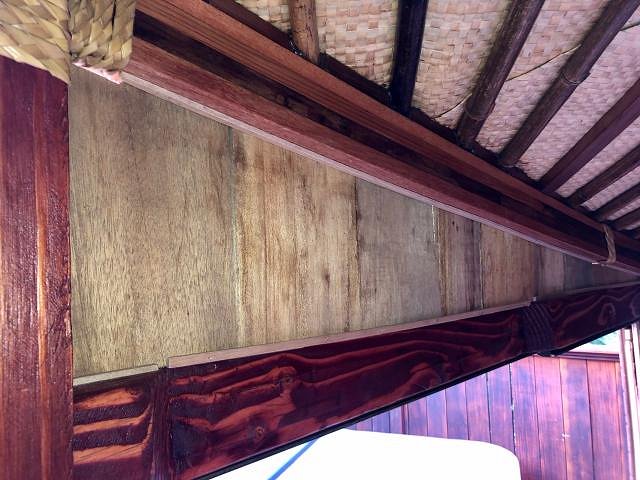
Here you can see that top part above the door but below the roof:
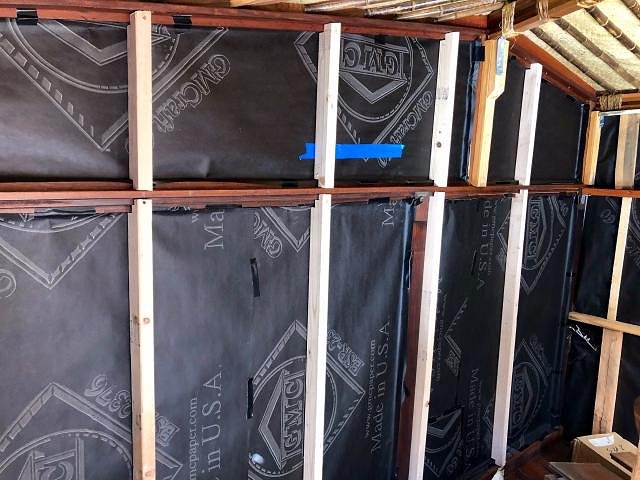
Starting to frame out and insulate the interior
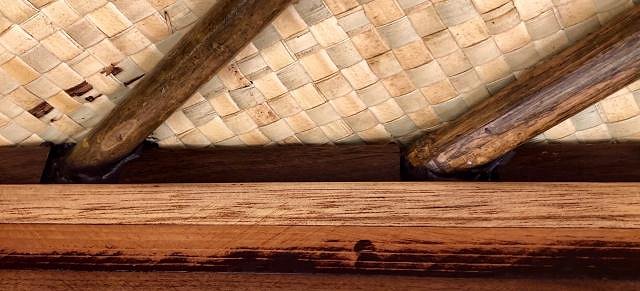
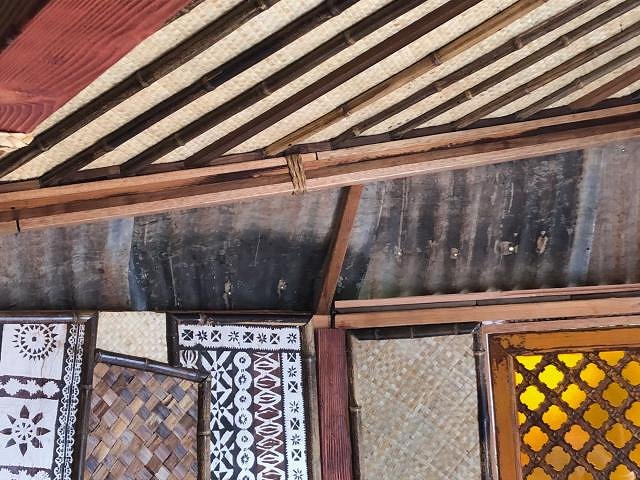
Some interior roofing detail with our bamboo rafters....
|
|
W
W8N2Surf
Posted
posted
on
Mon, Mar 11, 2019 7:43 PM
PROPER MOTIVATION
|
|
C
Commodore
Posted
posted
on
Tue, Mar 12, 2019 1:12 PM
With all of those bamboo rafters there were a lot of small voids going through to the outside - this photo shows some of the caulking detail to close those up - messy and time consuming for sure! |
|
W
W8N2Surf
Posted
posted
on
Sun, Mar 24, 2019 1:28 PM
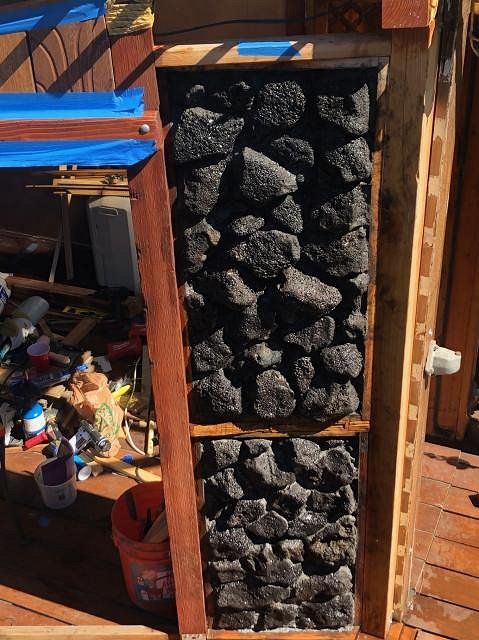
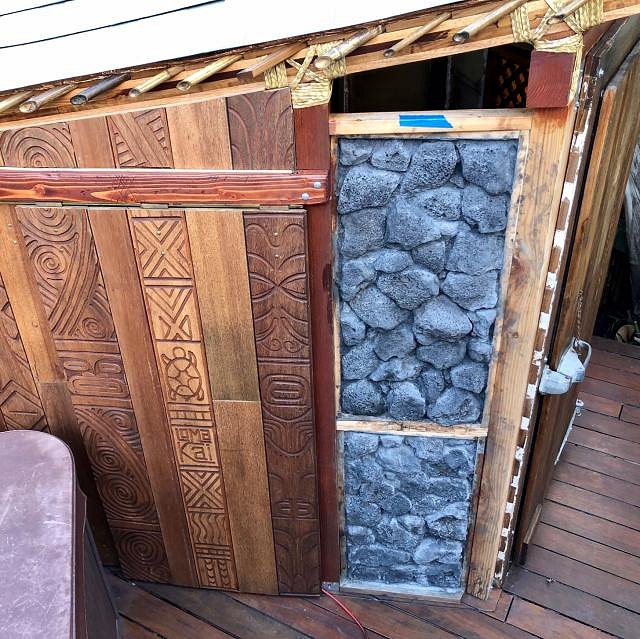
Alright alright it's update weekend. Here are some shots of the outside lava rock wall. Lots of finish work left on the sides and corners.
|
|
W
W8N2Surf
Posted
posted
on
Sun, Mar 24, 2019 1:41 PM
Here's a shot of the inside of the top wall. You can see the laminate of the side arch-beam.
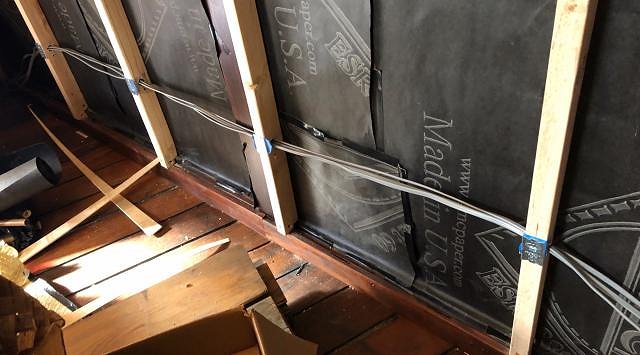
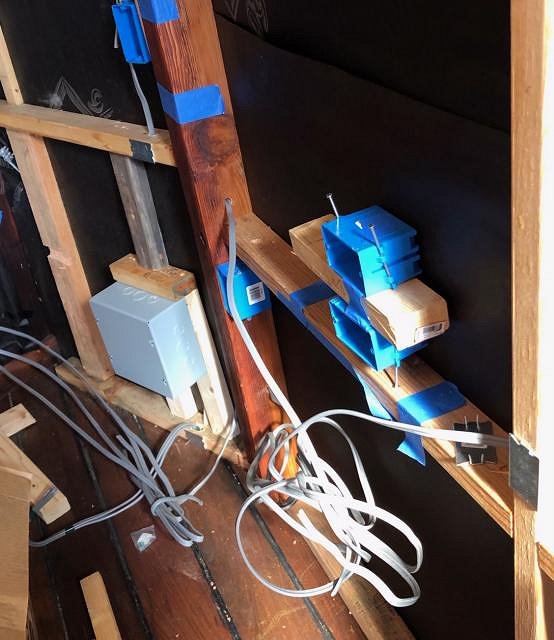
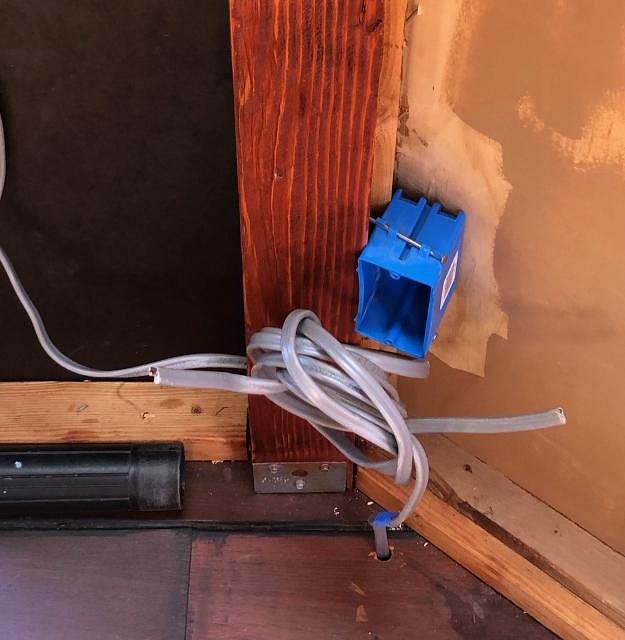
Need to have our lights, don't we! So here is the unglamorous work of pulling wire and getting things where we need them so we can put the lights at the right spots.
|
|
W
W8N2Surf
Posted
posted
on
Tue, Mar 26, 2019 5:49 AM
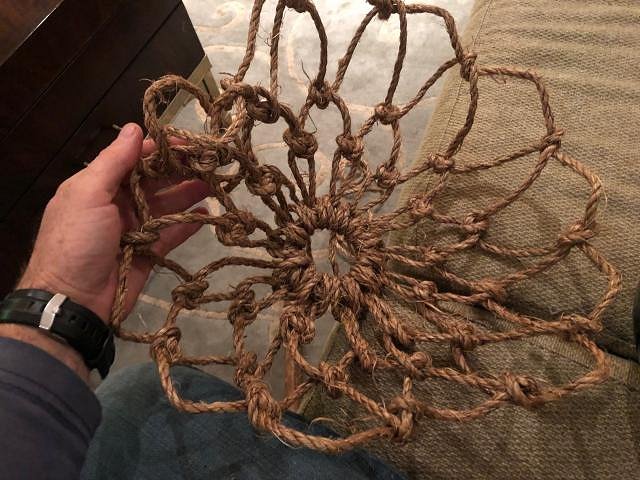
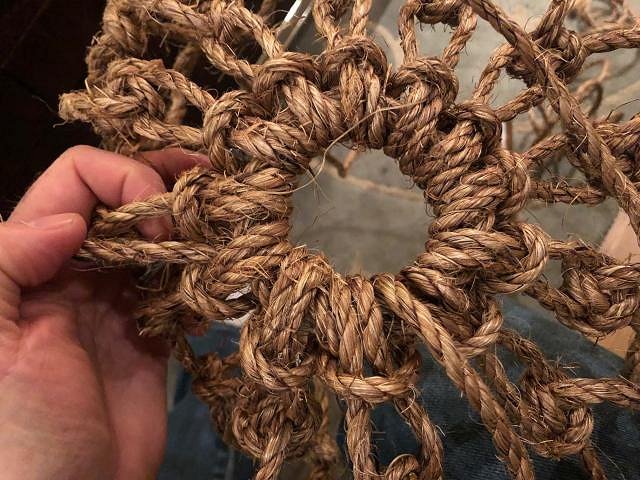
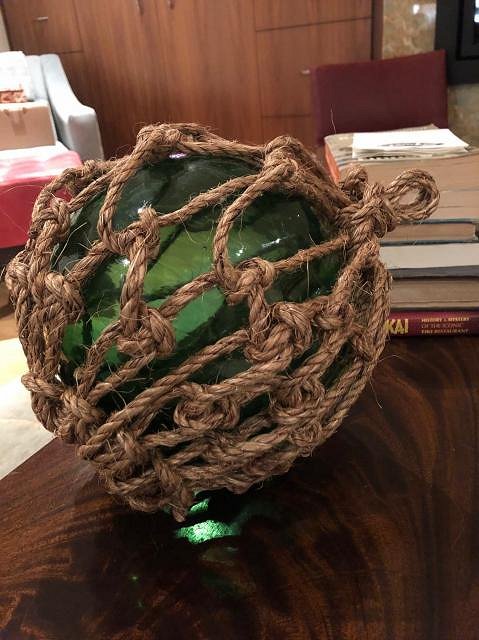
Trying our hand here at some arts and crafts with the Japanese fish floats! First time trying this, and we are working it out!
|
|
T
tikiskip
Posted
posted
on
Tue, Mar 26, 2019 6:29 AM
Looks good! Still have a float here to send you, did not forget. Heat wave today as it will hit 45! |
|
C
Commodore
Posted
posted
on
Tue, Mar 26, 2019 7:08 AM
Thanks Skip! that was a cheap float that I bought at home goods but it had a lame sparse net on it - so I made that new one - took a few tries, but it looks 100% better than before. Will probably do a few more as needed. Good call on aging that cordage! |
|
T
tikiskip
Posted
posted
on
Tue, Mar 26, 2019 7:47 AM
Keep tying them, you will get better and better. Plus next time write down the length of your rope and the size of the float you are tying and that way you will have a guide for next time and will not have to tie knots with a really long rope as you will have an idea of how long it will need to be and can cut rope down a bit before tying float. So measure the rope you have first and subtract the amount left over from that after you tie the float and you have the length needed for that size float. Plus it sucks to get to the end and find out you need only ten feet more of rope to finish your float. Good luck! |
|
L

littlegiles
Posted
posted
on
Tue, Mar 26, 2019 8:15 AM
Such a great build to follow! Thanks for keeping us updated on the details. |
|
W
W8N2Surf
Posted
posted
on
Sat, Mar 30, 2019 8:06 PM
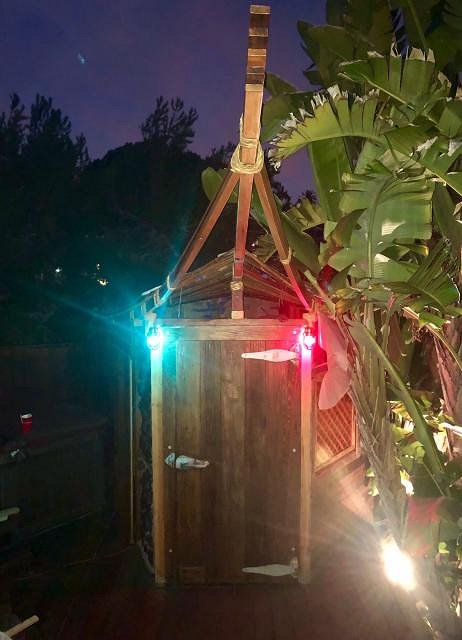
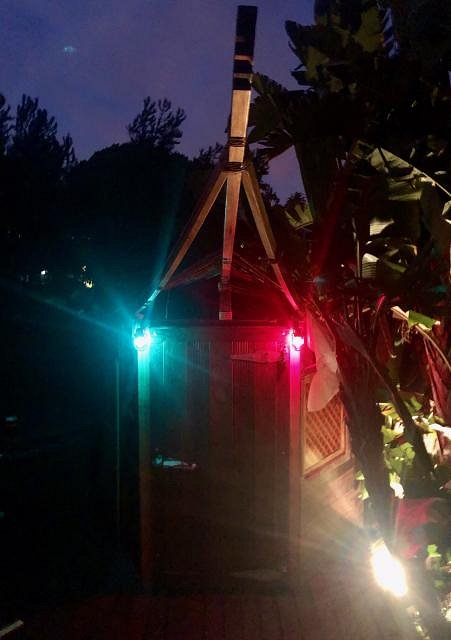
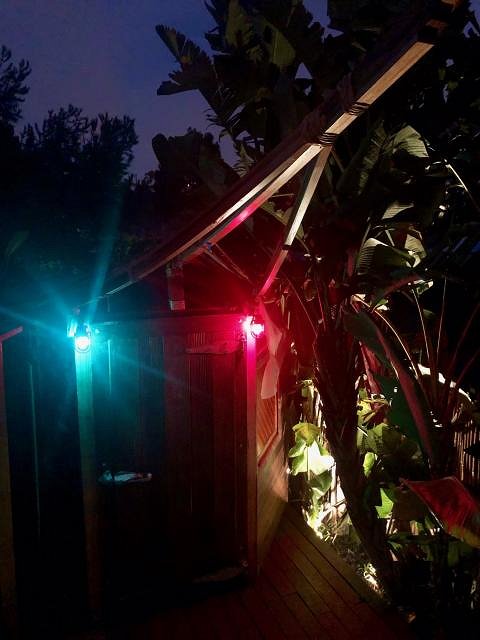
The nautical lights are on! Red Right Returning! This should help many a Loma Kai patron navigate back to their home harbors....
|
|
W
W8N2Surf
Posted
posted
on
Tue, Apr 2, 2019 5:49 AM
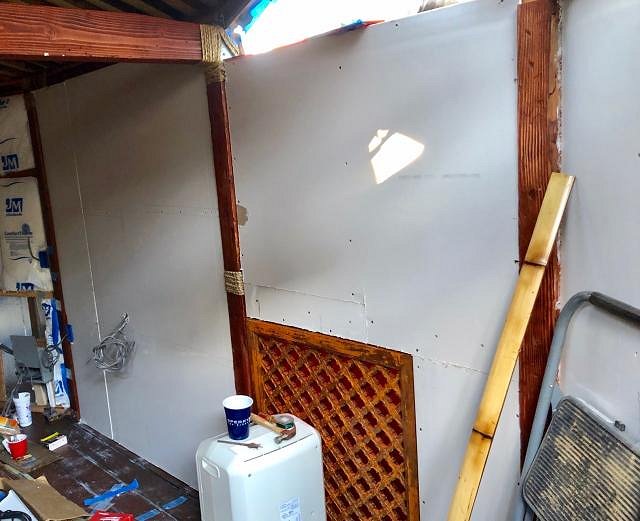
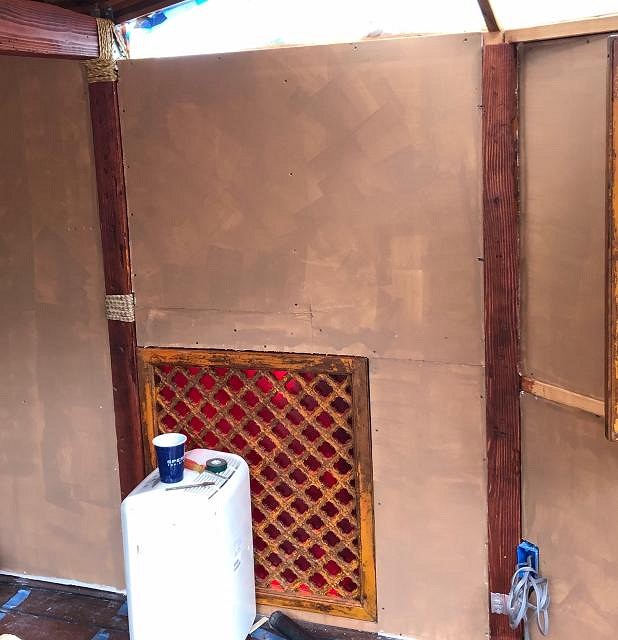
Still more progress - Insulation going in. We are going to keep "supplies" out here so it needs to be able to stay cool.
Then it's time to throw the 'ol sheetrock up
How about some texture and color in preparation for wall treatments....
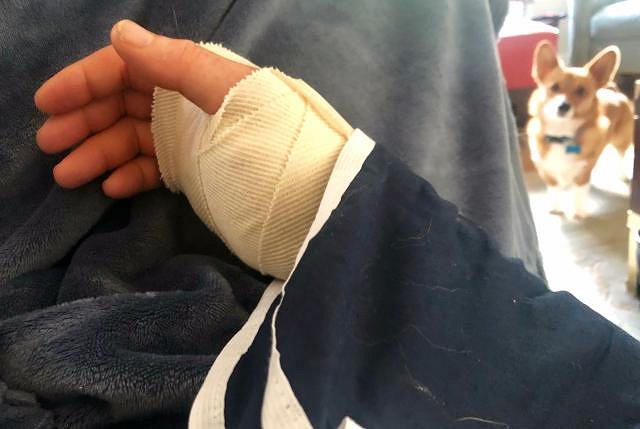
Here's what happens when you go at it with power tools too long. Carpel Tunnel surgery aftermath. You can see Nigel's concern. FYI, holding power tools is a big contributor to CTS.
|
|
T
tikiskip
Posted
posted
on
Tue, Apr 2, 2019 10:15 AM
Man the lights look great! I think the pain and stress is part of the reason people who are in Maintenance and food service, cooks drink so much, so as to self medicate and drink the pain away. They say that one in four people will end up on disability with mental disability being the top reason for being unable to work. We had a city council member who was on mental disability WHILE she was on city council still working. |
|
BB

Bam Bam
Posted
posted
on
Tue, Apr 2, 2019 6:54 PM
Yeow! I know firsthand what it's like to live with CTS - had both wrists released some years back and now have to be especially cognizant of repetitive, forced motion. It was hours upon hours of computer gaming back in college what did it for me. Loving the progress, and an especially nice job on the float. |
|
S

Sandbartender
Posted
posted
on
Wed, Apr 3, 2019 6:28 AM
Ouch! I know what that's like. I ended up with "Non-specific soft tissue" issues in my right hand and arm that basically ended my business. Take care of that hand. |
|
L

littlegiles
Posted
posted
on
Wed, Apr 3, 2019 8:02 AM
Lights look great and excited for what is to come. Hate to hear about the CPS, but I know the pain and aggravation well. |
|
T
Tikifrog
Posted
posted
on
Wed, Apr 3, 2019 10:23 PM
Awesome project since the beginning! So sorry to hear about the CPS. I guess it's time to relax and enjoy! |
|
C
Commodore
Posted
posted
on
Thu, Apr 4, 2019 7:39 AM
Mahalo for all of the well wishes! Much appreciated for sure. The CTS showed up in both hands, but especially my right which required surgery. From things outside of this build as well but certainly from all the power tools - especially sanding out all of those boards (especially the reclaimed wood) and the router as well. The Dr. prescribed me rest and MaiTai's so we'll be sure to double down on both! Progress on the bar as slowed a bit, but it is still continuing - much more to come! Big bro-hug to W8N2SRF for all the posts - we have many libations lined up for your arrival! -Commodore |
|
B
bongofury
Posted
posted
on
Thu, Apr 4, 2019 5:13 PM
Epic roof and build! Congratulations |
|
W
W8N2Surf
Posted
posted
on
Sat, Apr 6, 2019 7:36 AM
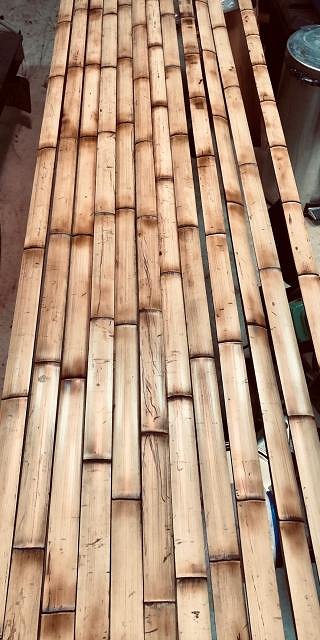
Aloha, it's a nice Saturday morning for an update. Here is some bamboo trim we are finishing for interior work:
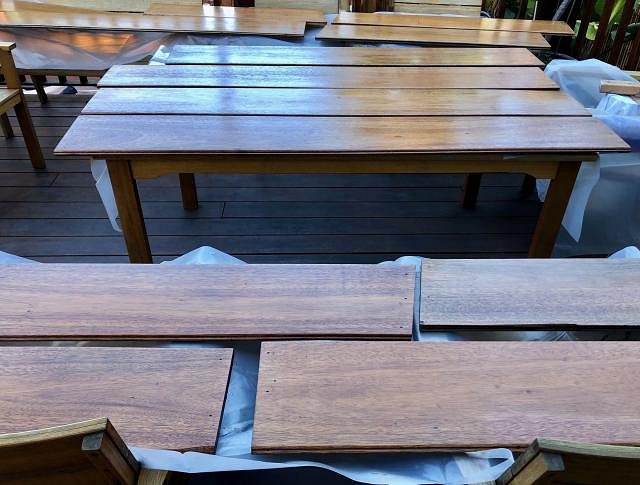
Refinished some of the reclaimed lumber we have, getting ready to panel the back bar!
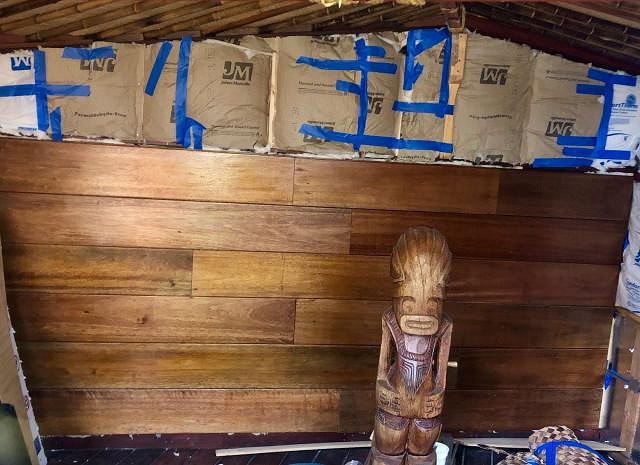
Man, it looks great. This will be the back of the bar, so there will be shelving on this wall.
This is really turning into a cozy Tiki space as I hope you can tell.
Cheers! I hope some of you are getting ready for the AZ Tiki Oasis. I'm doing the Hukilau again this year. Mahalo, and more updates soon!
|
|
T
tikiskip
Posted
posted
on
Mon, Apr 22, 2019 6:40 PM
Luv the wood! You got a PM Commodore. |
|
W
W8N2Surf
Posted
posted
on
Sun, May 5, 2019 3:33 PM
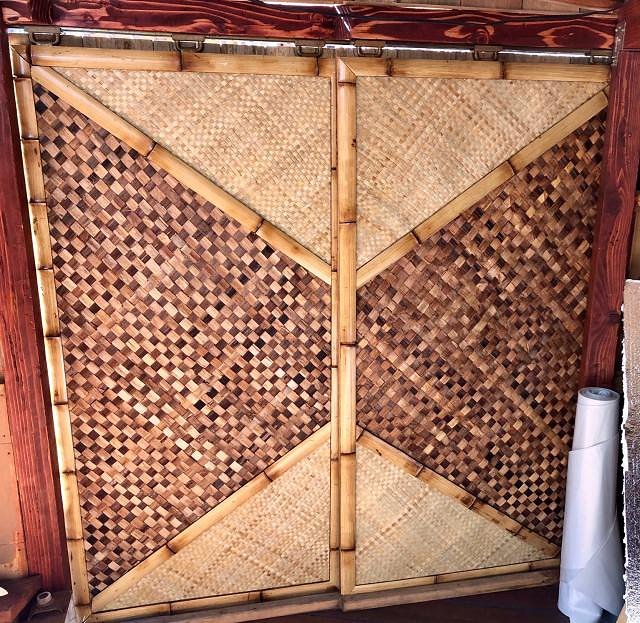
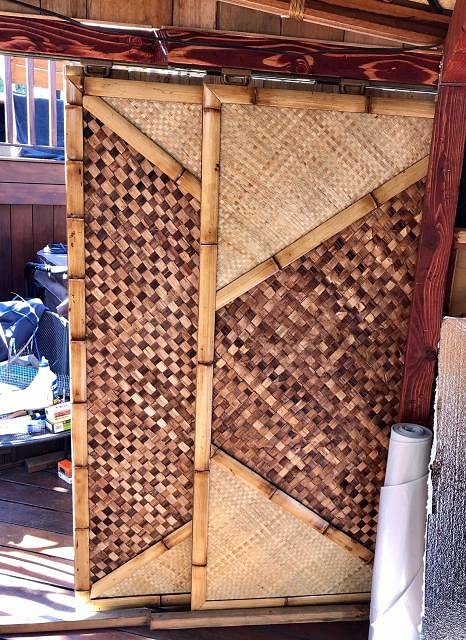
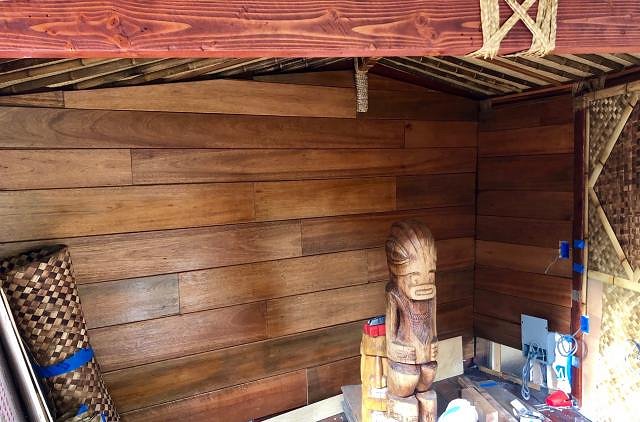
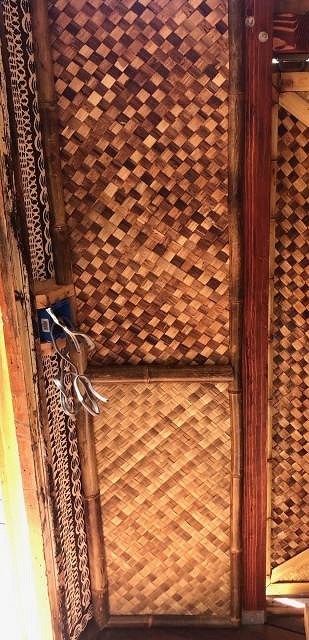
And a happy May Sunday to you fine people. Here's a bit of an update on the hard work going on at the Loma Kai. Working on the interior, as you can see here, the inside of the sliding door using the prepared bamboo trim.
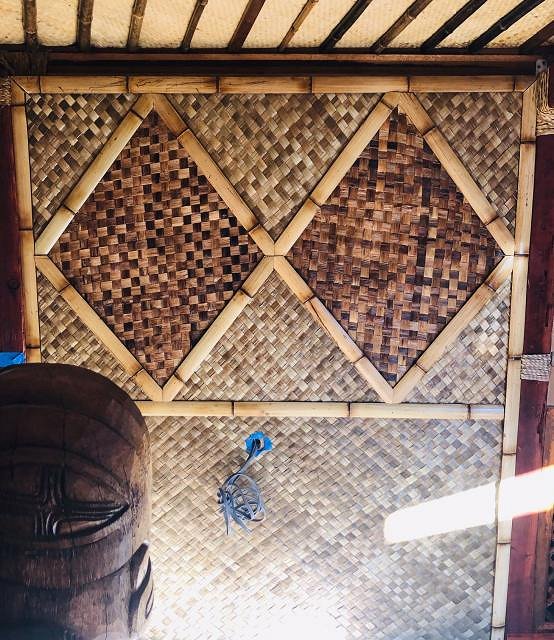
Another section of interior wall:
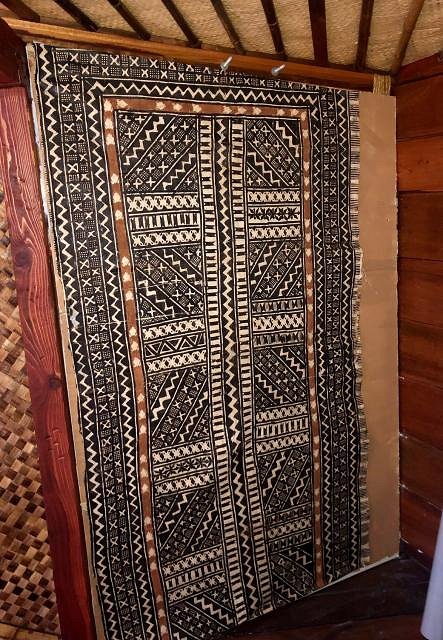
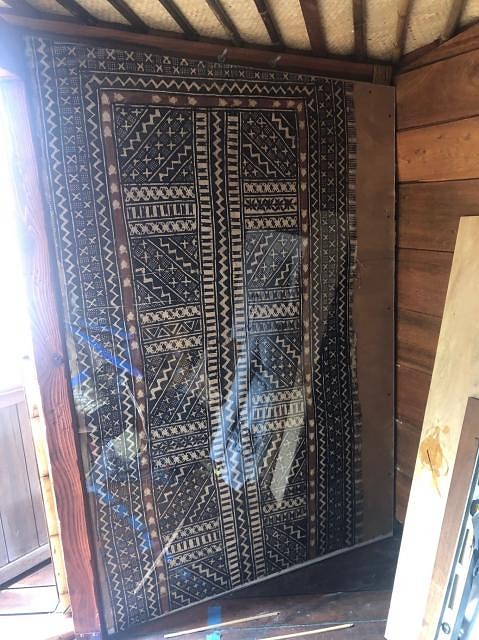
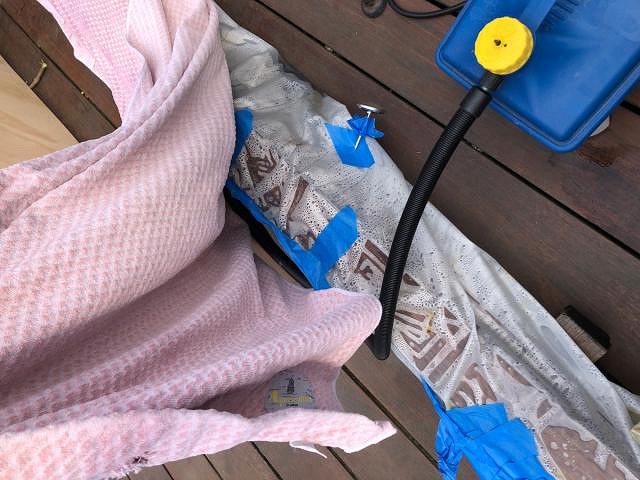
And then we have this very special piece. This is genuine Tapa brought home by a family member serving in the South Pacific during WWII. Working on sealing it behind plexiglass so it stays protected.
|
|
S

Sandbartender
Posted
posted
on
Sun, May 5, 2019 4:29 PM
Holy moleys! That is an incredible wartime souvenir! |
|
C
Commodore
Posted
posted
on
Sun, May 5, 2019 9:07 PM
Mahalo Sandbartender... my wife's step-grandfather brought it back from Tahiti after WWII and put it in a drawer where it sat for 70 years. My mother-n-law gave it to me and I had to be super careful with it as its paper thin - that will be on one side of the actual bar and we'll have a treatment over it that should look good. More to come! -Commodore |
|
W
W8N2Surf
Posted
posted
on
Mon, May 13, 2019 6:51 AM
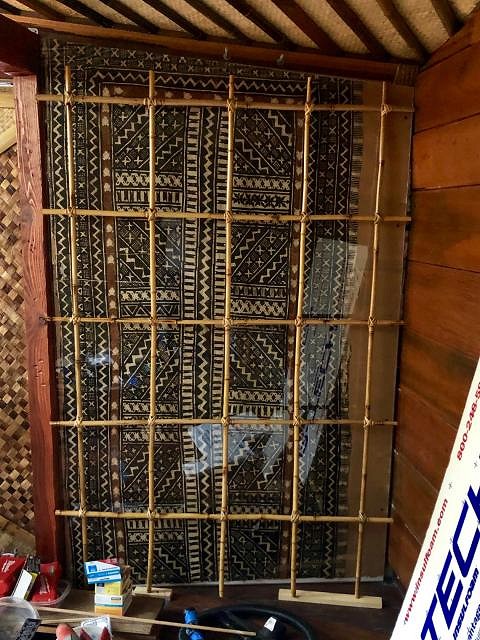
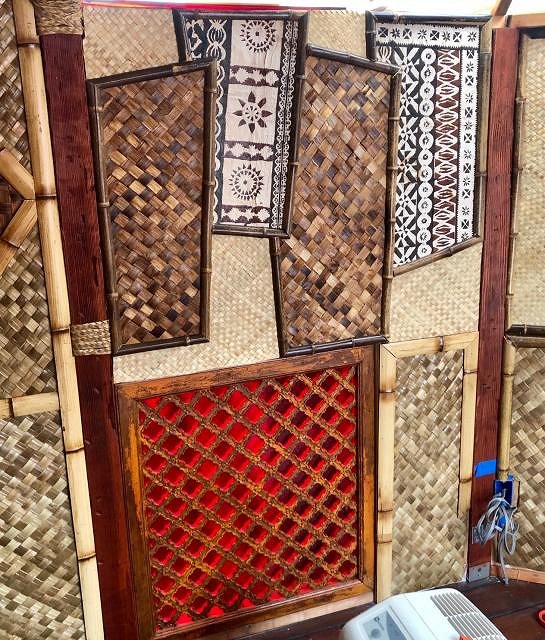
Here is the Tapa panel display with a bamboo trim grid in process!
A shot of the back bar wood panels
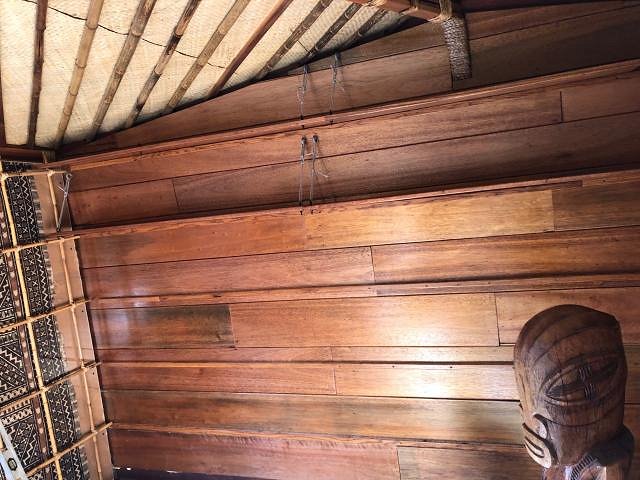
Left arched beam and ceiling detail
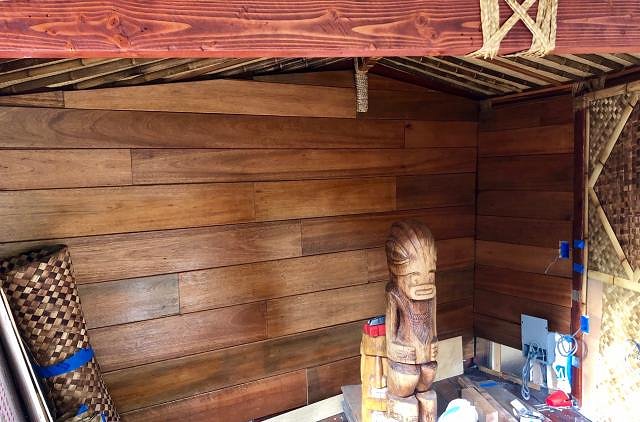
And here is some port wall detail. Using a variety of shapes, textures, and materials as you can see. Fun!
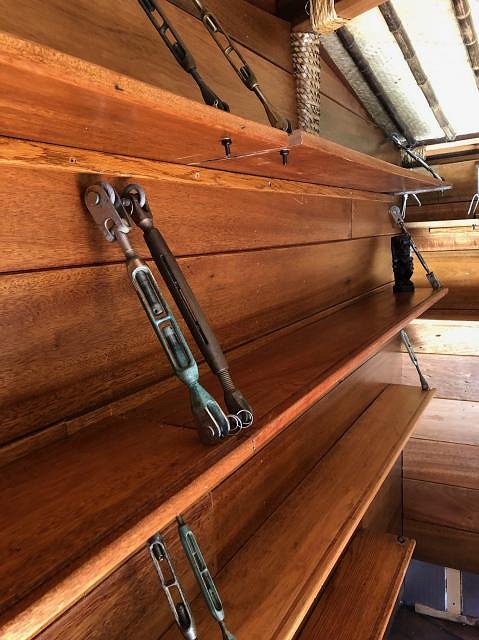
The back bar wall, and notice the bottle shelves. Using nautical hardware to support those. More to come, keeping the progress steady, although it's just weekends only now.
|
|
L

littlegiles
Posted
posted
on
Mon, May 13, 2019 7:06 AM
Love all the details and the shelf supports are a great idea! You have really covered that "don't know where to look next" vibe that I think is really beautiful in that space. |
|
C
Commodore
Posted
posted
on
Mon, May 13, 2019 8:15 AM
Thanks littlegiles! Its really starting to come together and can't wait until I'm actually putting stuff in it! Have some cool items to go on the walls, so layers of texture should keep growing. Fun times - wish it was going faster, but its certainly coming together. cheers! |
|
BB

Bam Bam
Posted
posted
on
Wed, May 15, 2019 6:48 PM
I adore this treatment. The odd, overlapping shapes have that Mid-Mod feel nailed. |
|
C
Commodore
Posted
posted
on
Thu, May 16, 2019 3:48 PM
Thanks BamBam... those are easy shapes to get wrong... took a few go's at it until it started looking right... more to come! |
|
W
W8N2Surf
Posted
posted
on
Tue, Jun 4, 2019 12:28 PM
Guess what? It's Hukilau this week! Headed to Ft. Lauderdale a bit later. In the meantime here's what the 'ol Commodore has been up to at the Loma Kai. More texture on the interior! Electrical still in progress.....
And here's another shot of our back bar shelving, supported by nautical hardware
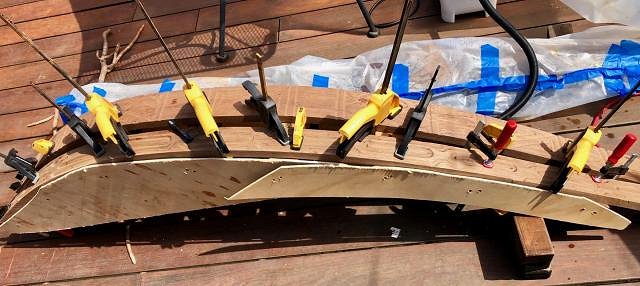
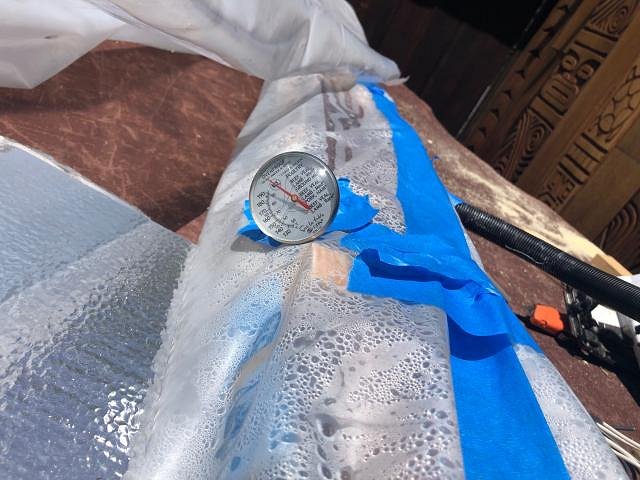
And what's this? More Steam fueled wood bending? Why yes it is.....
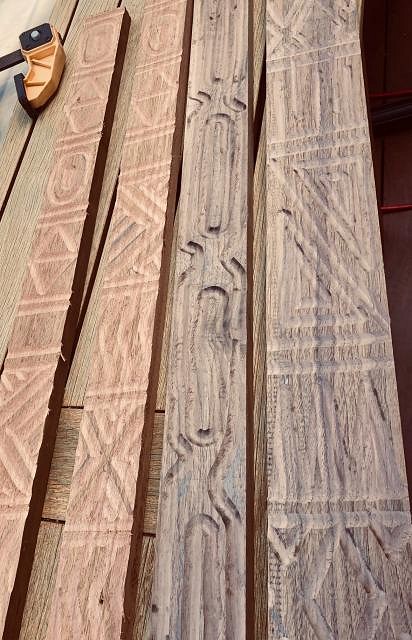
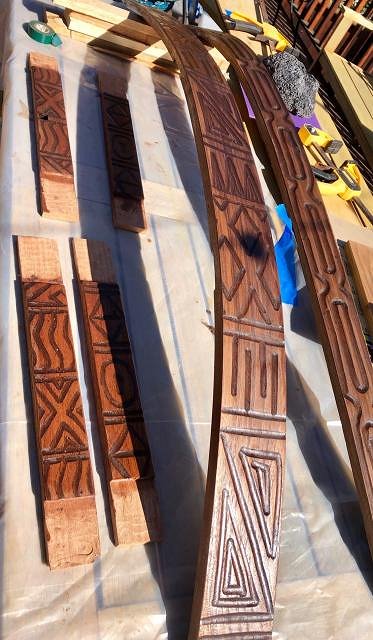
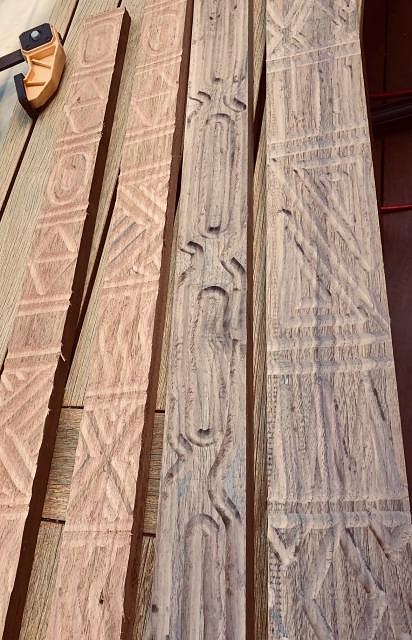
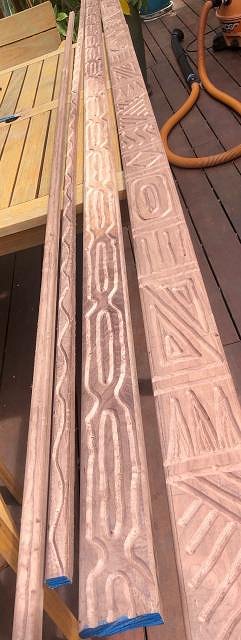
And what pray tell are we bending? More carved wood, perhaps the last carved trim we will be producing....
Fully bent, carved, and stained, ready to go
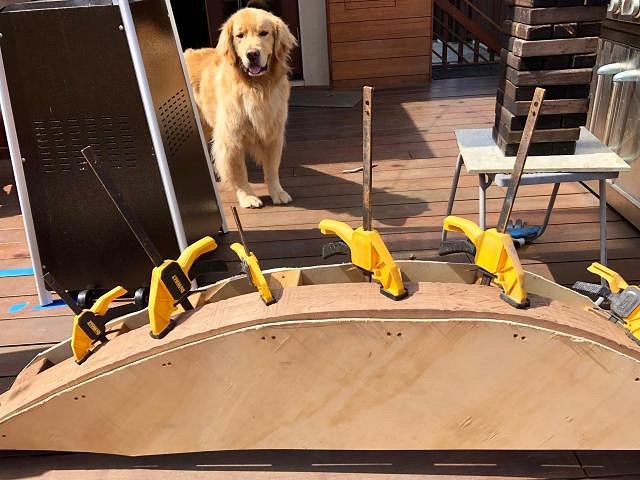
And what is it we are building?
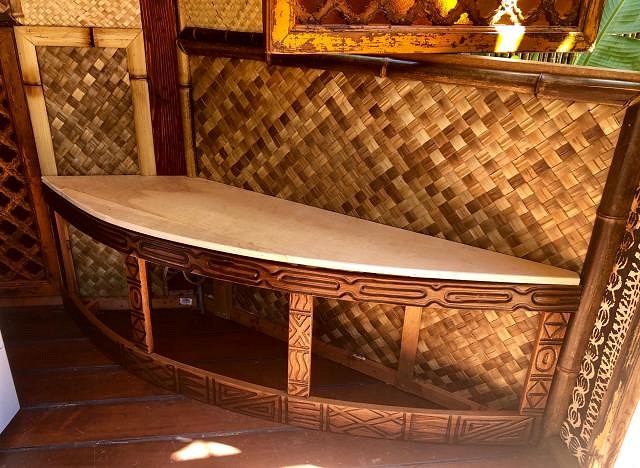
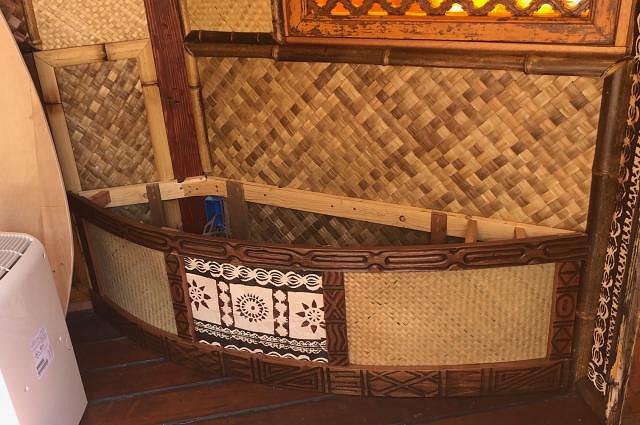
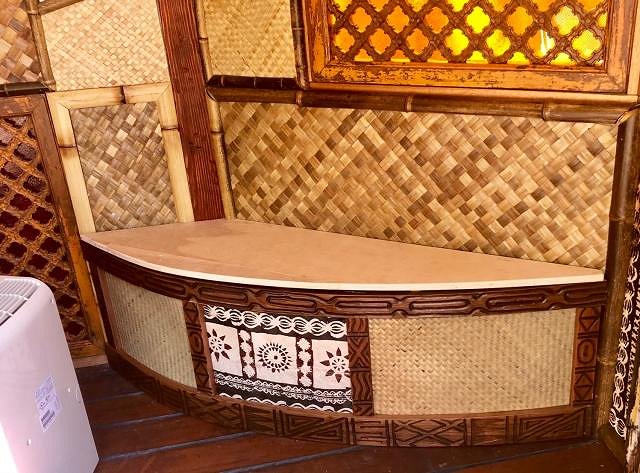
Yes! A curved bench form fitted to the layout of the Loma Kai, adjacent to where the bar will be. From here on out henceforth to be known as "Lauralee's Bench".
We'll be making a leather padded seat cushion for the top! And the inside will serve as storage, and perhaps include some speakers as well. So, who's joining me at the Hukilau? |
|
S

Sandbartender
Posted
posted
on
Tue, Jun 4, 2019 1:57 PM
Woah, that bench is incredible so far. The carved and bent seat deck is amazing. One thing you might consider doing instead of a flat wooden deck that would definitely lend a bit more comfort would be to use upholstery webbing. It's a very high density rubber/nylon "seatbelt" like material that, when tensioned properly and installed with upholstery staples, provides a very nice seat. You'd have to beef up the perimeter of the deck to take the tension and weight, but you'd end up with a sprung seating surface. |
|
L

littlegiles
Posted
posted
on
Wed, Jun 5, 2019 4:46 AM
Loving all the details in this build and that bench is great. Wish I was joining you in Florida, but alas.....here in SC I'll remain while all you party people soak up the Tiki vibe. I have to believe and trust that you all come back revived and ready to share knowledge and pics. :) Have a great time. |
|
T
Tikifrog
Posted
posted
on
Mon, Jun 17, 2019 9:08 AM
The work and details of your build are amazing! |
|
H
HodagHut
Posted
posted
on
Thu, Jun 27, 2019 9:27 AM
Totally stealing some ideas from you for carving! |
|
C
Commodore
Posted
posted
on
Sat, Jun 29, 2019 9:10 AM
Thanks Hodag and others for the great comments. I think we all certainly look at all the great stuff out there and try to bring what we dig into our own. What I've used as developed from a ton of sources for sure. Glad you all are enjoying - I'm going to keep building and have W8N2SRF do another post here Mahalo! |
|
W
W8N2Surf
Posted
posted
on
Sun, Jul 7, 2019 5:29 PM
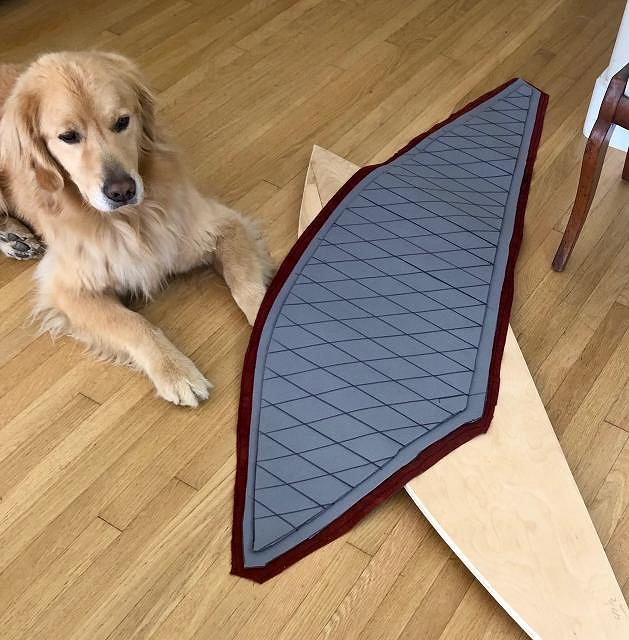
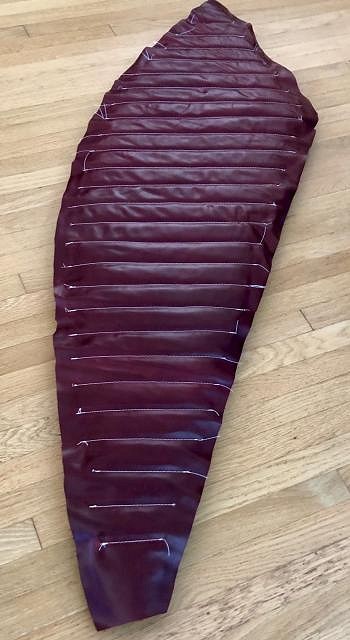
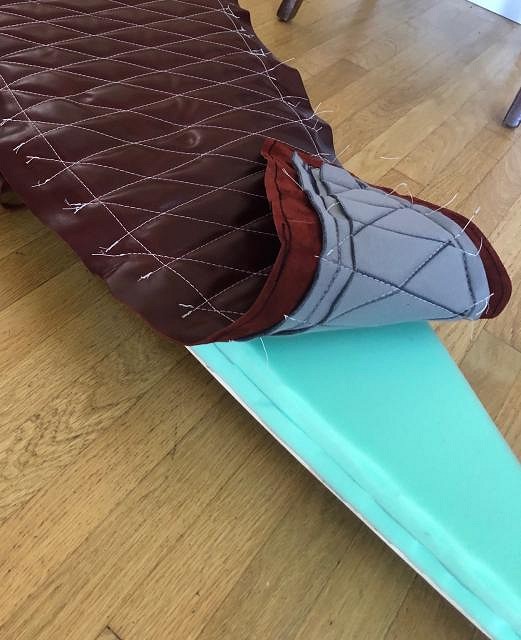
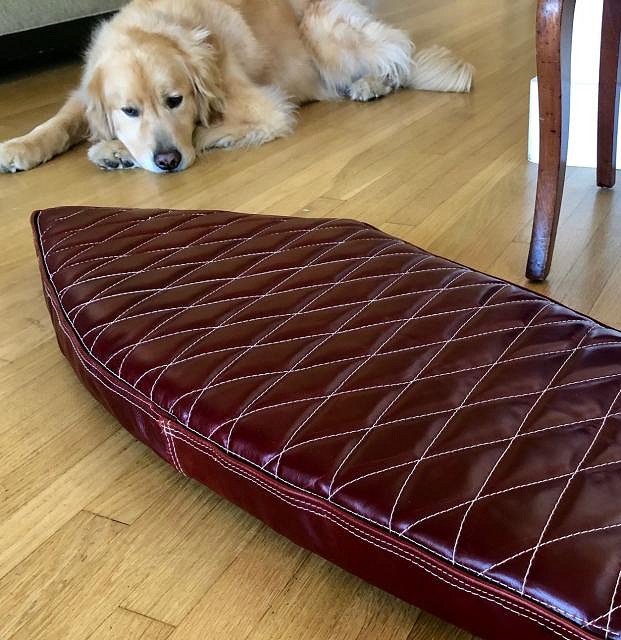
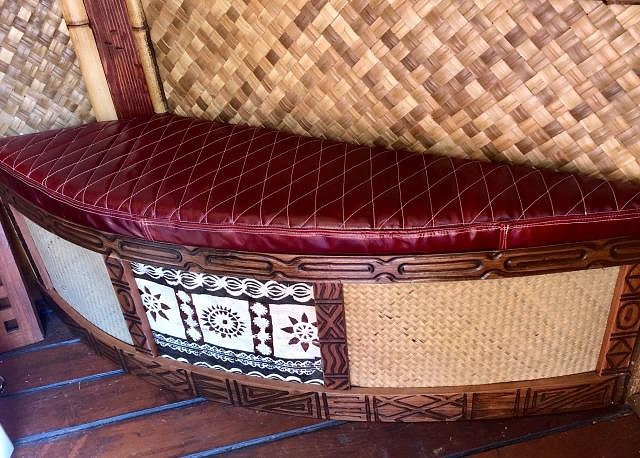
Happy 4th Ohana. Long weekends make for extra build time, and we have not wasted a moment. First, here is the finished interior seat, known as "Lauralee's Bench". We had this red leather top custom sewn, and put the padding in. The hard top will protect what's inside, which I'm hoping will be some hidden atmospheric-generating sound electronics. We shall see.
And here is the finished project!
Lauralee is pretty picky about who sits on her bench, so If you stop by be sure and ask permission from her first! Nice work Commodore! |
|
W
W8N2Surf
Posted
posted
on
Sun, Jul 7, 2019 5:49 PM
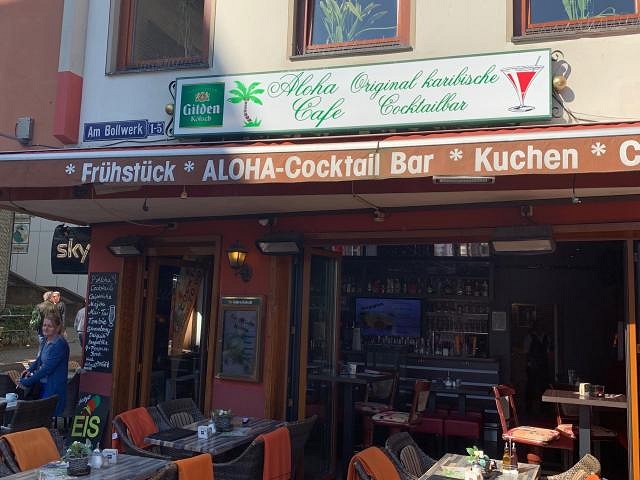
A little levity. On a recent trip near Cologne Germany this was the closest I could find to a Tiki bar. Ha! Notice the drink list on the left hand side chalk board!
|
|
C
Commodore
Posted
posted
on
Mon, Jul 8, 2019 11:55 AM
Thanks W8N2SRF for the update! I'm really stoked on how that bench came out. I actually sewed it myself with an old machine I have for sailing gear and using left over leather my wife had form getting some chairs redone. I watched 10 min of youtube videos and thought 'I can do that!'... sample pieces came out really well, the foam is 2 layers of car headliner foam and super pleased with the end result. Hope to drop a stereo under the seat to let the exotica vibes flow! Mahalo! |
|
W
W8N2Surf
Posted
posted
on
Sun, Jul 14, 2019 7:29 PM
Quick update- Taking some more wood, carving it out and then back to the steamer!!!!! Yep, bending more for the next phase......
|
|
W
W8N2Surf
Posted
posted
on
Tue, Jul 30, 2019 8:51 PM
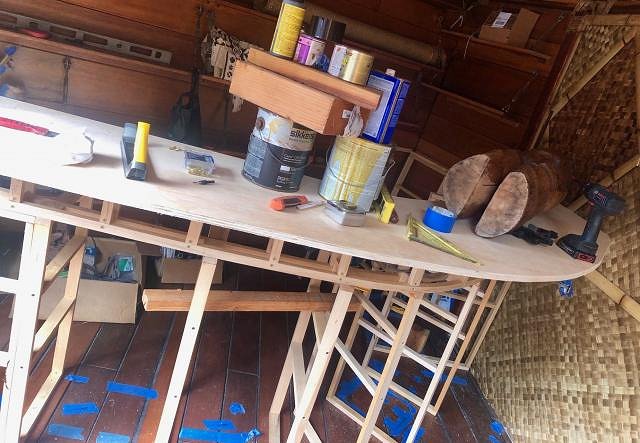
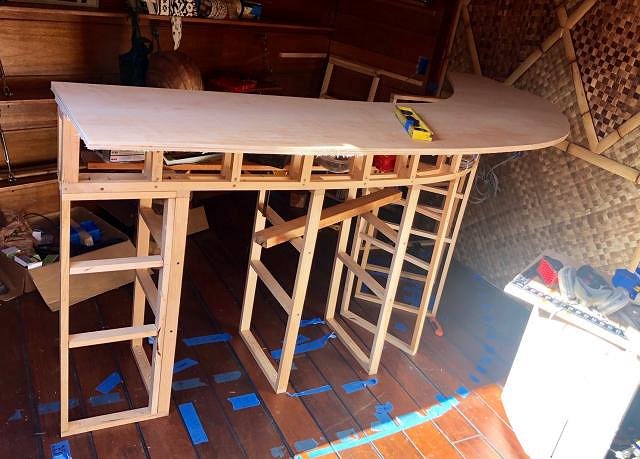
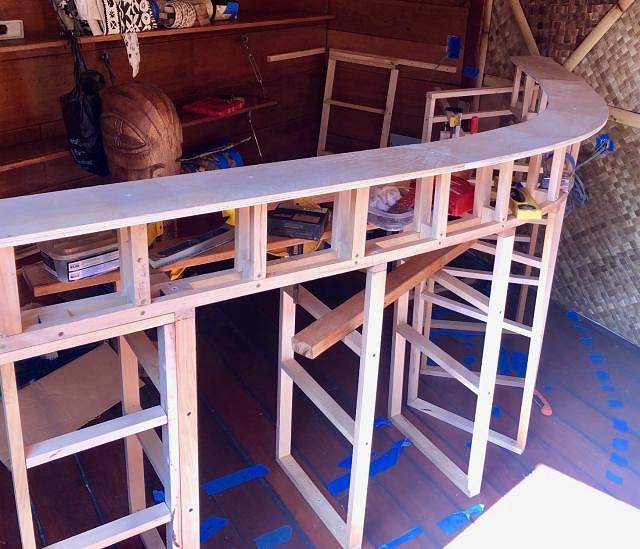
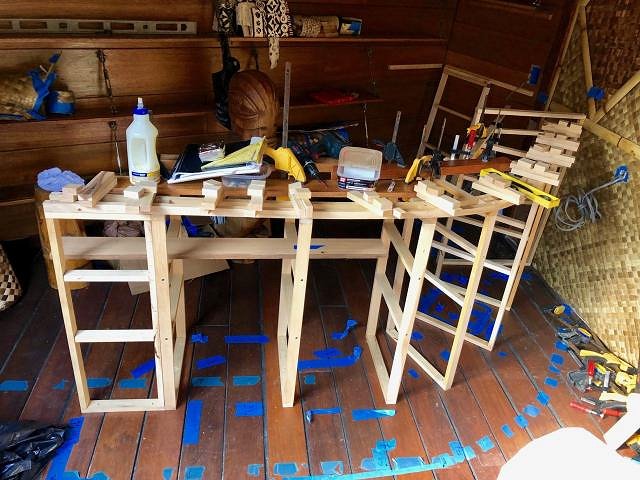
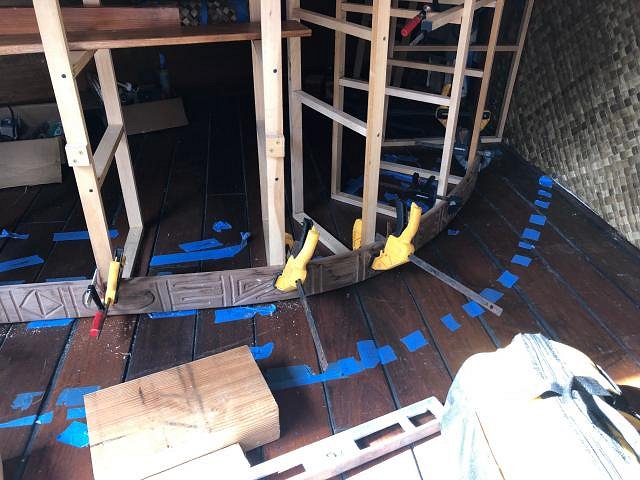
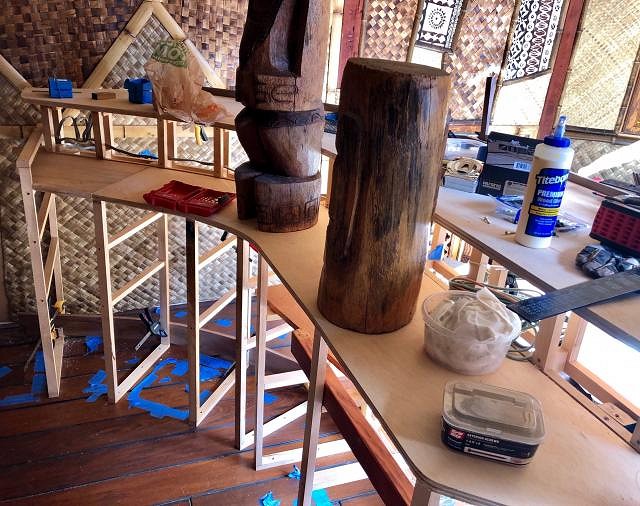
It's Tiki Oasis time! The Loma Kai Ohana should be there! Well, it's time to actually build the bar. This project has been an overwhelming labor of love, but we can see a window of completion coming soon. Perhaps a late fall opening?
And here is the bent trim boards, coming into play.
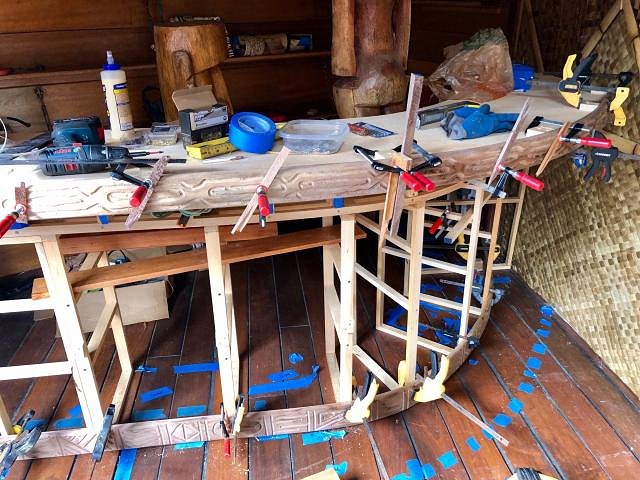
The top trim board in place as things take shape.
Let us know if you're going to Oasis! |
|
W
W8N2Surf
Posted
posted
on
Tue, Jul 30, 2019 9:15 PM
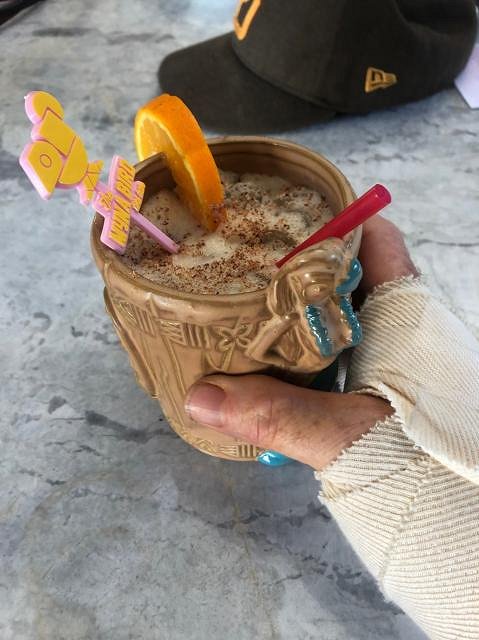
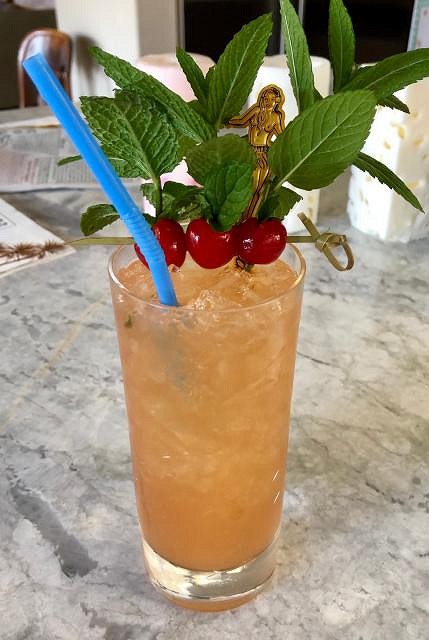
Time for one of these
|
|
L

littlegiles
Posted
posted
on
Wed, Jul 31, 2019 4:58 AM
Loving the bar so far and can't wait to see how you finish it. You really do some beautiful work. That cocktail is well deserved. In fact, I think you should have two of them. :) |
|
C
Commodore
Posted
posted
on
Wed, Jul 31, 2019 7:20 AM
thanks LittleGiles and much appreciated! Every time I'm thinking about simplifying something about this project - W8N2SRF and my other bros convince me otherwise... ha - so we went with the curved bar, but am loving it. those big tikis in the pics are helpful when it was time to glue the first layer of those tops down. Also - those trim boards (walnut) were tough to get bent and on. Even after steaming that bottom one wanted to break (and almost did) but managed to negotiate it in place. They are looking great, which you'll see in some upcoming pics. Certainly looking forward to having a few libations at TOasis next week and hope to meet some of you all there - was hoping to have the LomaKai done by then - but she'll be done when she's done. Mahalo! |
|
W
W8N2Surf
Posted
posted
on
Wed, Jul 31, 2019 1:26 PM
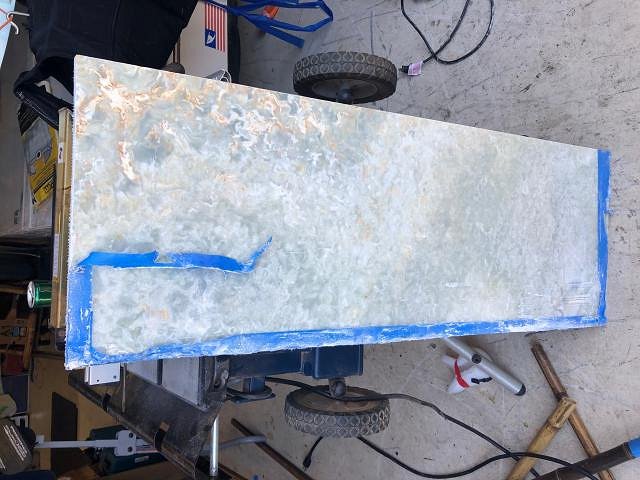
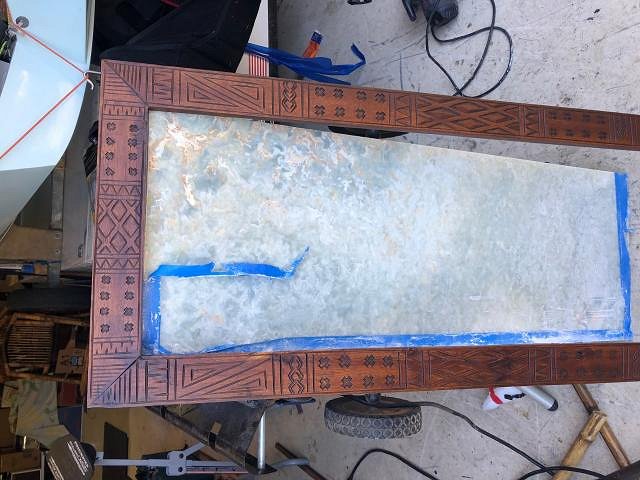
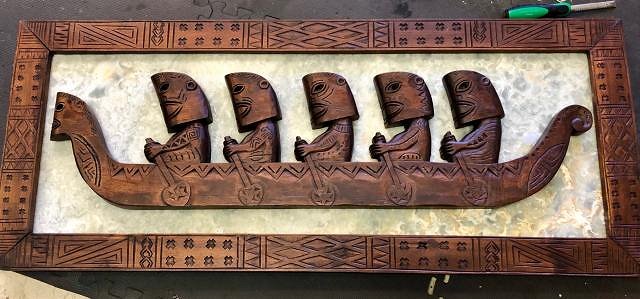
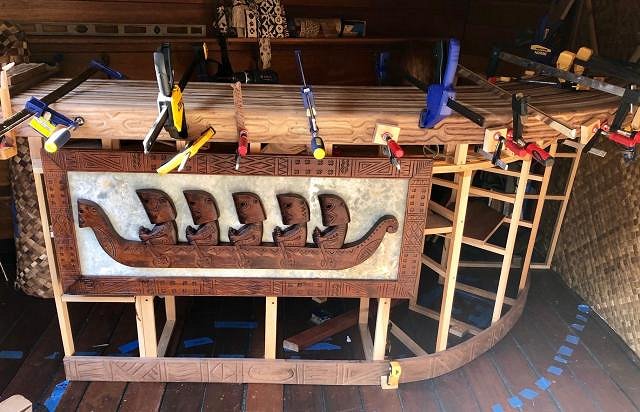
So here's a fun project. You've seen those carved wooden wall hangings of the polynesian war canoe, right? A perfect piece to deconstruct. Let's make a new backing. Check out this piece of marble we had leftover from another project.
Cut to fit the frame that comes on the original art.
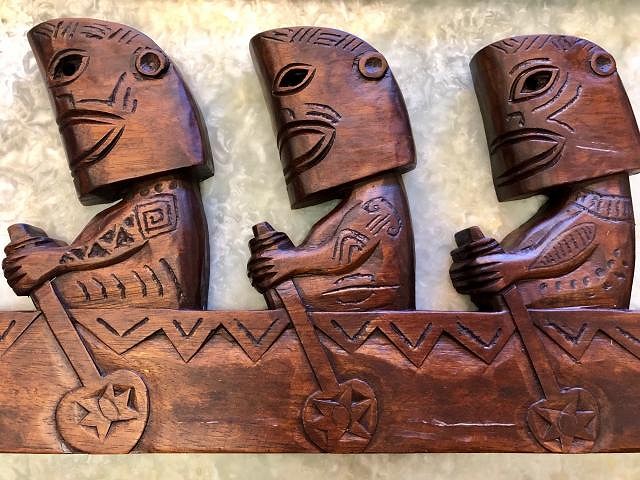
Might be hard to see, but Commodore drilled out the eyes. Light will shine through from the back.
Here's a test hanging on the bar! Great work Commodore, keep it going!
|
|
S

Sandbartender
Posted
posted
on
Wed, Jul 31, 2019 1:41 PM
Wow! Everything's coming along really nicely. Do you know what you're doing for lighting under the bar? |
|
H

Hamo
Posted
posted
on
Wed, Jul 31, 2019 7:23 PM
It just gets better and better. |
|
C
Commodore
Posted
posted
on
Wed, Jul 31, 2019 8:43 PM
Thanks Hamo & Sandbartender... I bought the 5 tikis in the canoe about 2 years ago with my bro knowing the bar build would happen - later came up with the idea to change the background to the leftover Onyx stone I had which will backlight and look really cool. Haven't figured out the lighting out yet and i know there's lots of threads on that, but I will have plenty of options. With the onyx the piece weighs about 80 lbs now... so it is mounted in a big way and not coming off. Also, I felt the canoe & tikis could use some more detail so I added some extra design and tattoos on them... I think it turned out well enough - onward to the next piece! Mahalo! |

