Pages: 1 2 3 4 5 6 7 8 9 10 11 12 13 14 15 16 17 18 19 20 920 replies
|
T
tikiskip
Posted
posted
on
Tue, Jun 12, 2007 8:52 AM
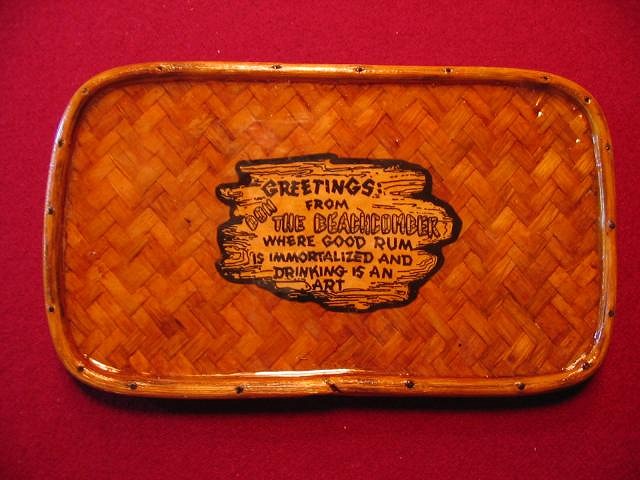
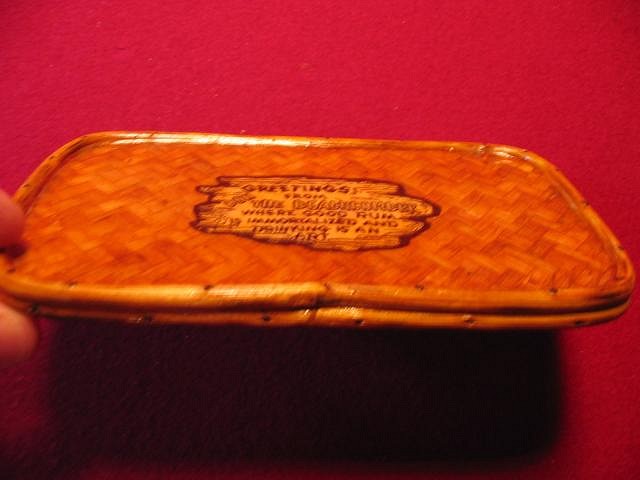
Thanks Haole'akamai hows that holder. And you too Frostiki. Tip Tray. You could maybe use one of these Haole'akamai. [ Edited by: tikiskip 2009-06-05 06:15 ] |
|
TM
Tipsy McStagger
Posted
posted
on
Tue, Jun 12, 2007 9:46 AM
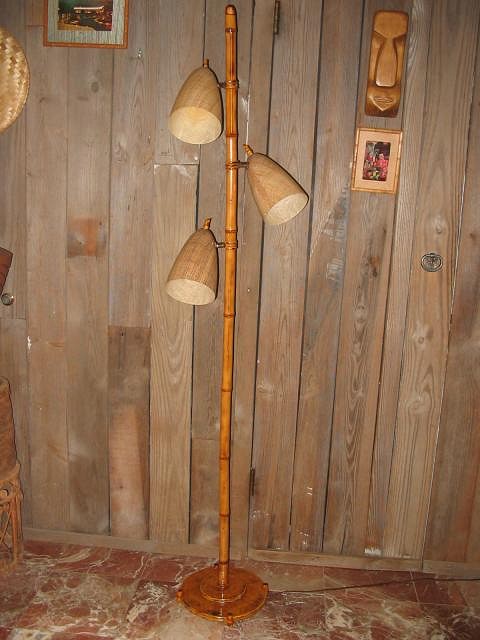
...i like it....but i would have liked to have seen you use coconut shell halves for the light fixtures as opposed to the vintage fiberglass ones you have on there now...good stuff as usual though...you've become quite the lamp maker!! |
|
T
tikiskip
Posted
posted
on
Wed, Jun 13, 2007 10:53 PM
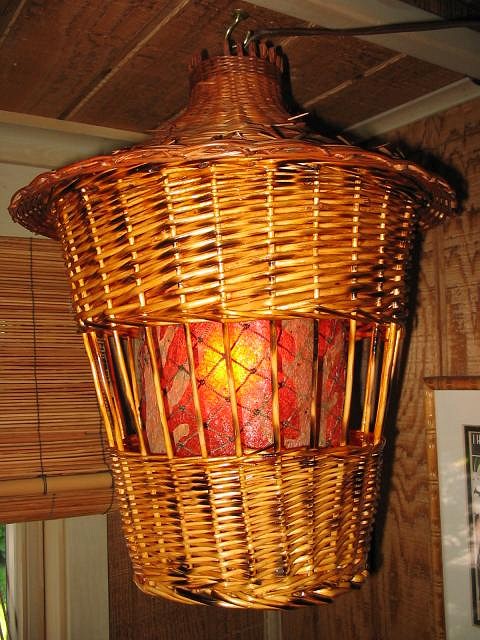
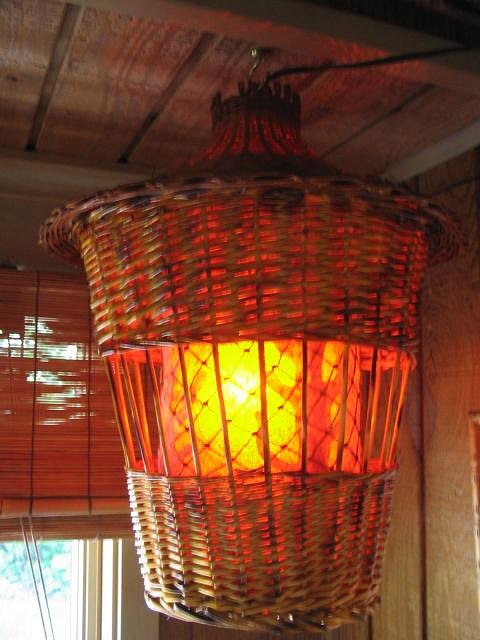
Thanks Tipsy, Yeah I was going to put rattan baskets on them |
|
T
tikidreams
Posted
posted
on
Thu, Jun 14, 2007 2:58 AM
Great work. Just got a nice pieca of bamboo. Think I´m going to make a frame and torch it. [ Edited by: tikidreams 2007-06-14 03:07 ] |
|
M
mzoltarp
Posted
posted
on
Thu, Jun 14, 2007 1:16 PM
Love the creativity. It's very inspiring. everyone should have a home bar...mine is the Telstar Lounge http://TelstarLounge.blogspot.com [ Edited by: mzoltarp 2007-06-14 13:17 ] |
|
T
tikiskip
Posted
posted
on
Sun, Jun 17, 2007 6:34 PM
Guys thanks for the kind words. And yeah, go get some bamboo/ rattan and get busy! |
|
H
hewey
Posted
posted
on
Sun, Jun 17, 2007 9:07 PM
Just went through the entire thread, some very nice stuff here :D |
|
QK
Queen Kamehameha
Posted
posted
on
Mon, Jun 18, 2007 4:12 PM
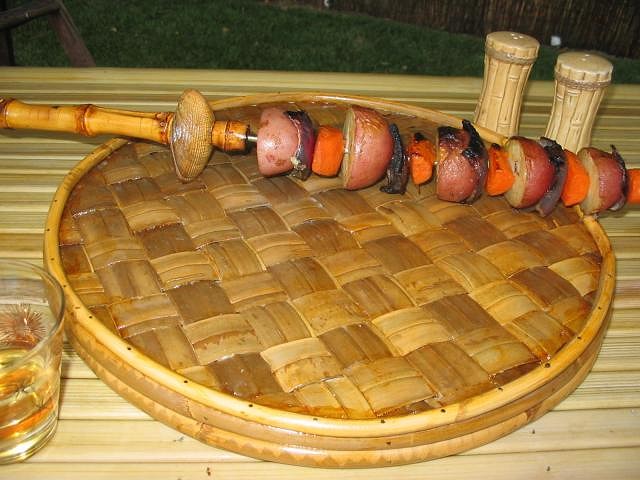
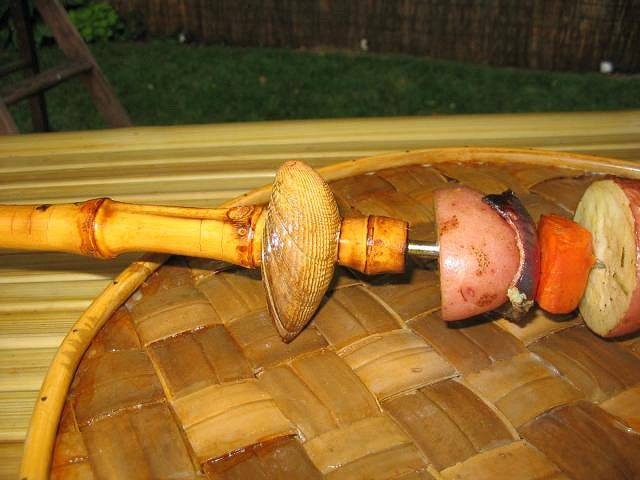
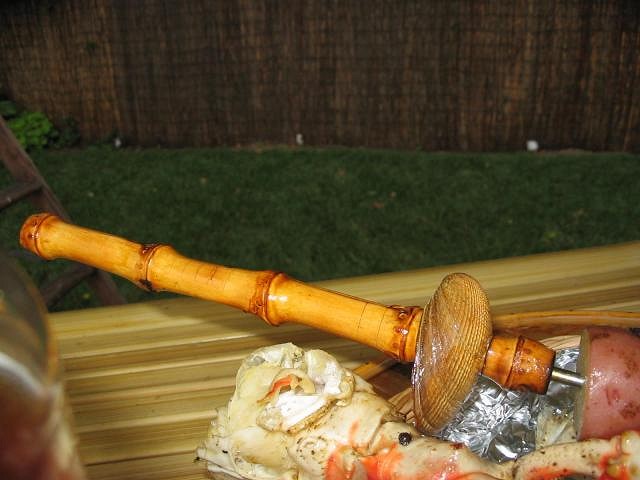
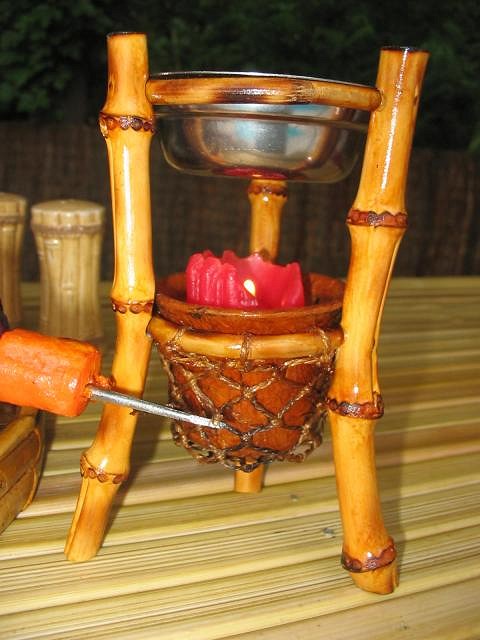
wow!!!!! very cool!! love the skewers! and butter warmers!! Amy |
|
T
tikiskip
Posted
posted
on
Sun, Jun 24, 2007 1:57 PM
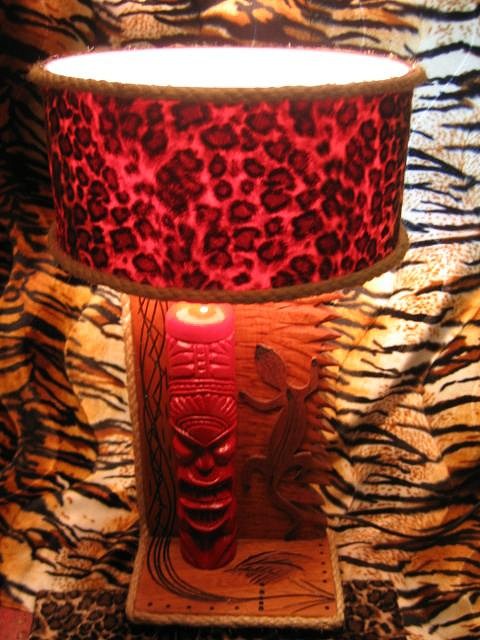
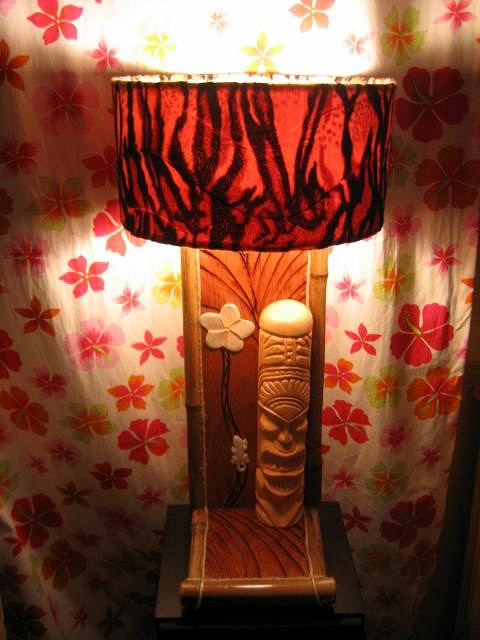
Here's the latest. [ Edited by: tikiskip 2012-06-29 07:02 ] |
|
F
frostiki
Posted
posted
on
Mon, Jun 25, 2007 10:55 AM
Does that $20 include airfare? 'cause if does I'll by two. |
|
T
tikiskip
Posted
posted
on
Thu, Jun 28, 2007 8:33 AM
Hey I would rather come to you. |
|
QK
Queen Kamehameha
Posted
posted
on
Thu, Jun 28, 2007 2:54 PM
John, you should do a video, and I still need a rin lamp tiki! Amy |
|
T
tikiskip
Posted
posted
on
Tue, Jul 24, 2007 4:34 PM
Thanks Amy. |
|
F
frostiki
Posted
posted
on
Thu, Jul 26, 2007 8:17 AM
Bilbo Bagins was big in to tiki, back in the days of Middle Earth. You could always find hoim a the Trader Vices in Ilsidor. Sadly Frodo and Sam did not have an appreciation for it. |
|
T
tikiskip
Posted
posted
on
Mon, Jul 30, 2007 2:05 PM
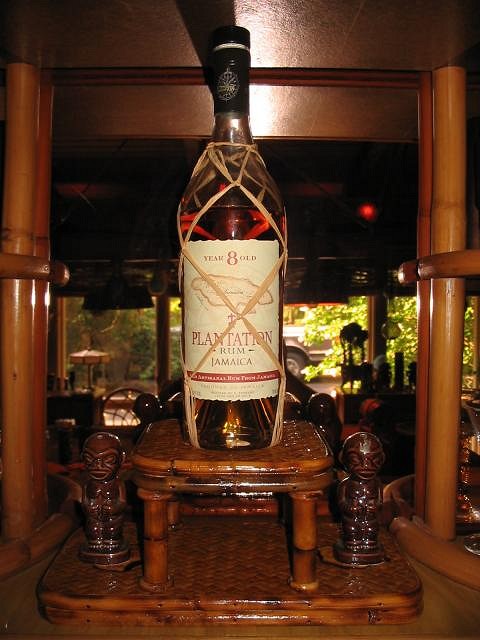
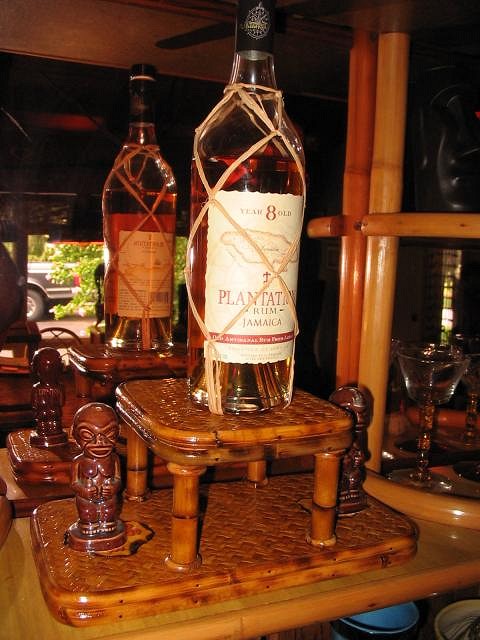
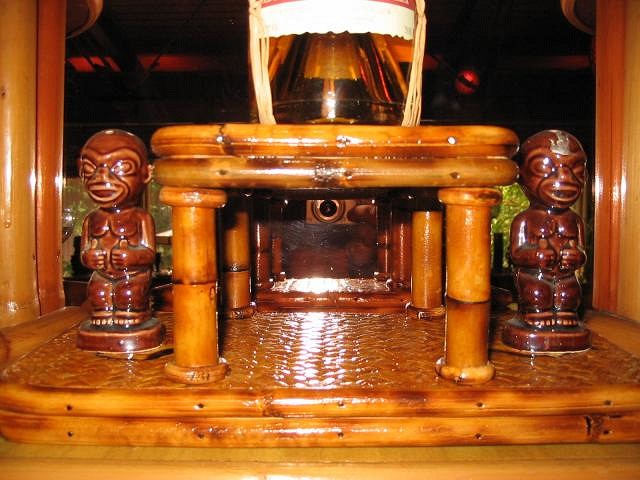
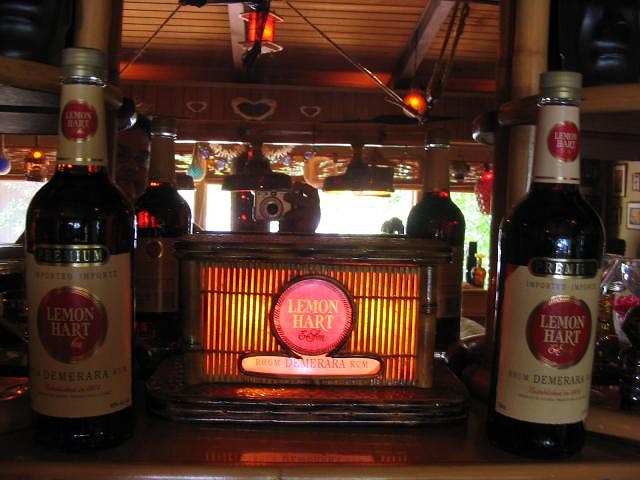
Here is a booze bottle display. |
|
JC
Jeff Central
Posted
posted
on
Mon, Jul 30, 2007 2:26 PM
Damn tikiskip!!!!!!!!!!!!! :o Those booze stands are sweeeeeeeeeeeeeeeet!!!!!!!!!!!! Cheers, |
|
CS
Capt'n Skully
Posted
posted
on
Wed, Aug 1, 2007 7:31 AM
Wow- that turned out nice! Bet that would make for an excellent mug display, as well!! :wink: ~Skully
[ Edited by: Capt'n Skully 2007-08-01 16:34 ] |
|
T
tikiskip
Posted
posted
on
Wed, Aug 1, 2007 8:47 PM
You mind reader you! just wait till that Awesome HRHH3 |
|
T
tikiskip
Posted
posted
on
Sat, Aug 4, 2007 12:47 PM
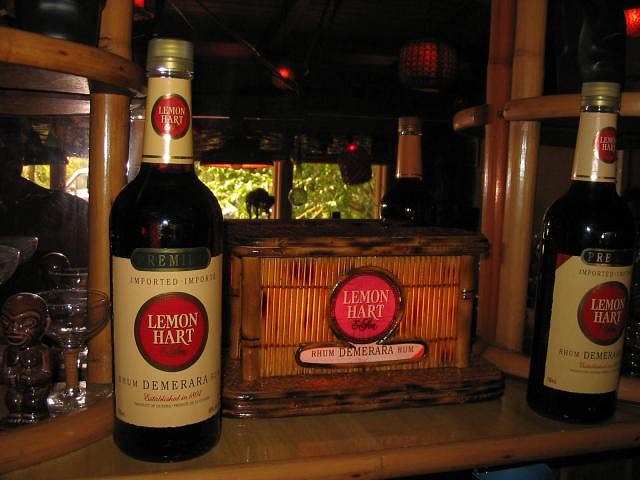
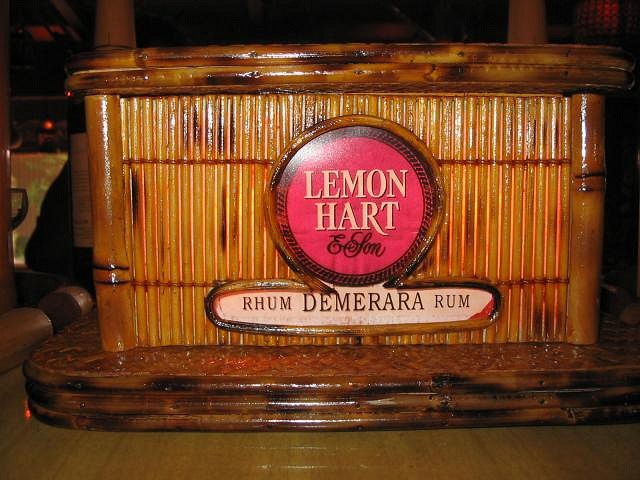
Check out my new bar sign. |
|
T
tikiskip
Posted
posted
on
Sat, Aug 4, 2007 12:54 PM
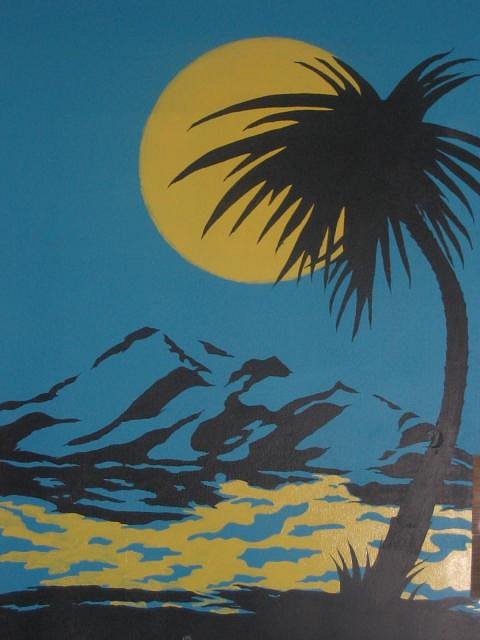
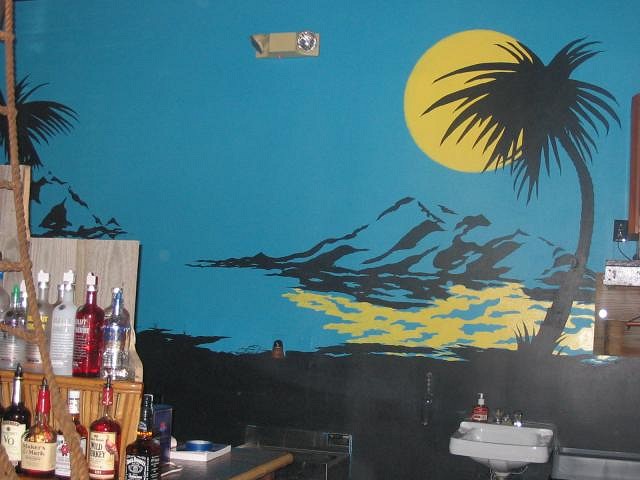
This is a mural I did for Largo's in columbus Ohio. [ Edited by: tikiskip 2012-06-29 06:59 ] |
|
P
Plumeria29
Posted
posted
on
Mon, Aug 6, 2007 4:03 PM
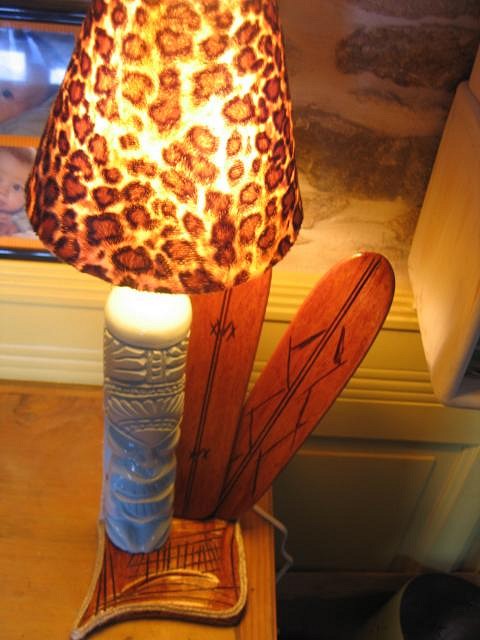
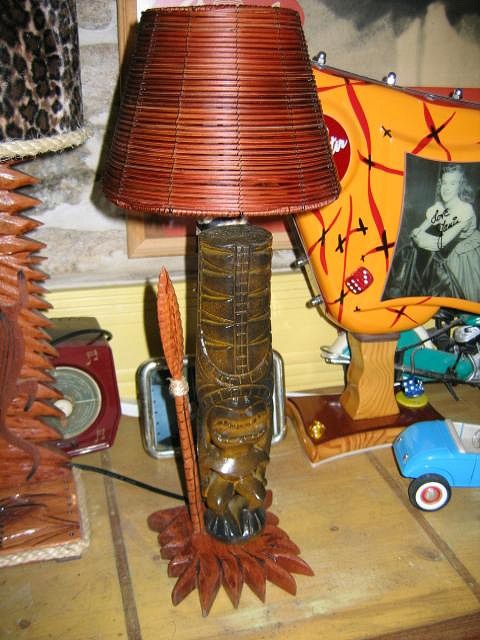
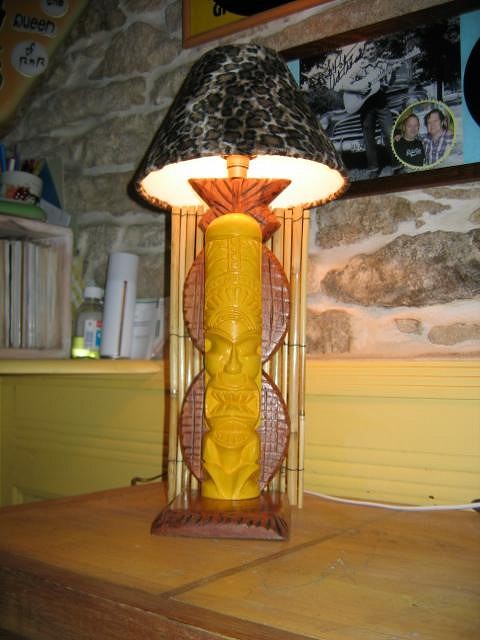
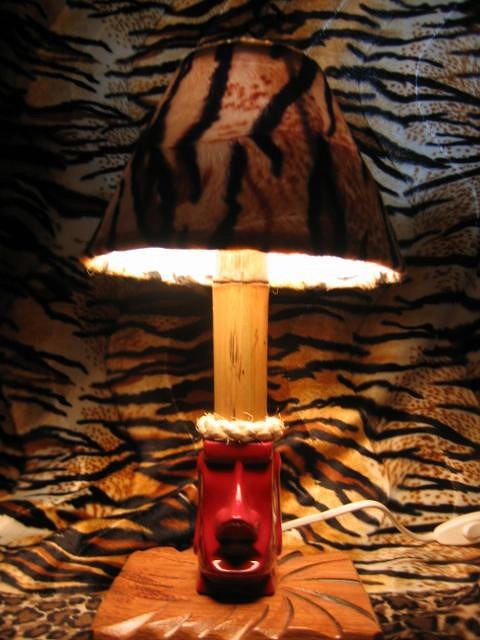
I've got tiki lights to show too...Usually,my husband learns to people the way to dance on rockabilly music but since he is on hollidays,he doesn't stop making some tiki lights.Would enjoy you to tell me what you think about...
|
|
T
tikiskip
Posted
posted
on
Mon, Aug 6, 2007 7:32 PM
WOW! Those are Awesome!!! |
|
T
tikiskip
Posted
posted
on
Fri, Aug 17, 2007 2:02 PM
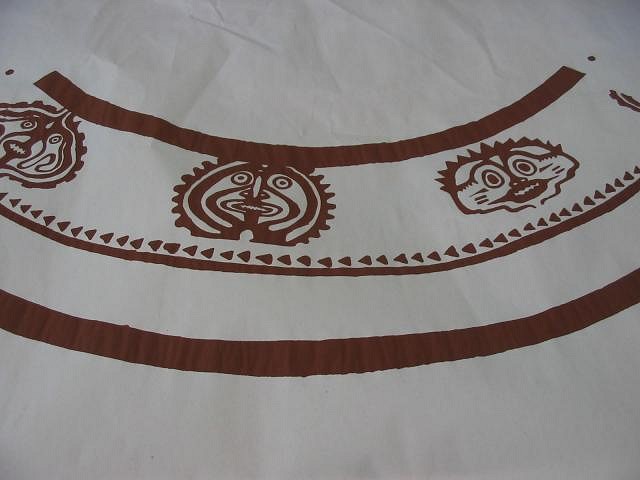
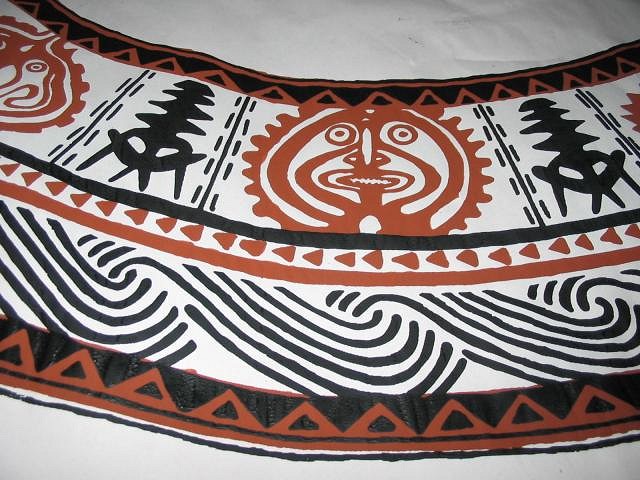
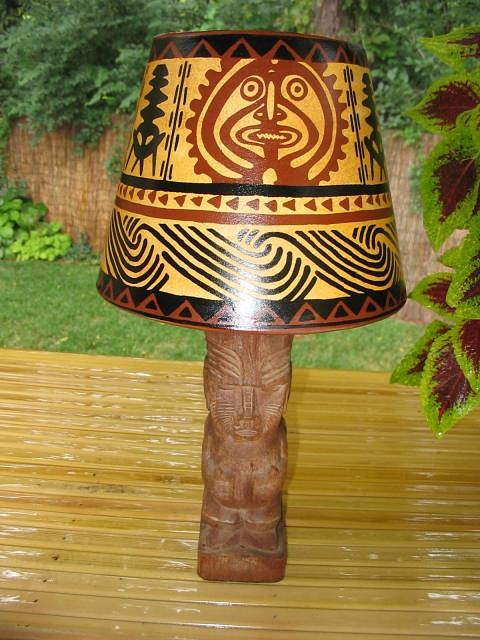
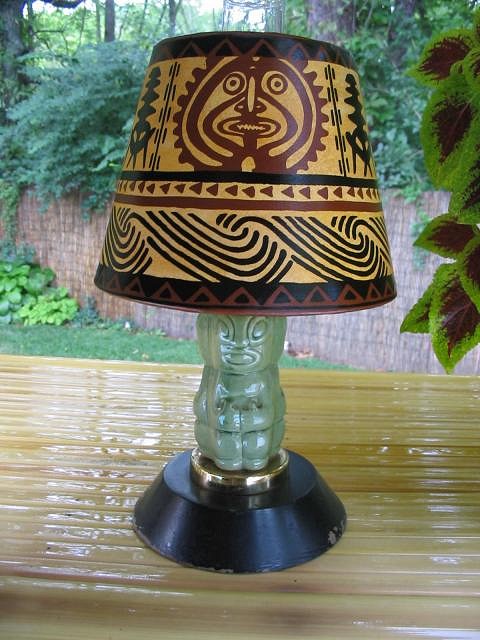
Here is the first run print of the Kahiki table lamp lampshade. |
|
T
tikiskip
Posted
posted
on
Fri, Aug 17, 2007 5:30 PM
Hey look at this. |
|
T
tikiskip
Posted
posted
on
Fri, Aug 17, 2007 5:41 PM
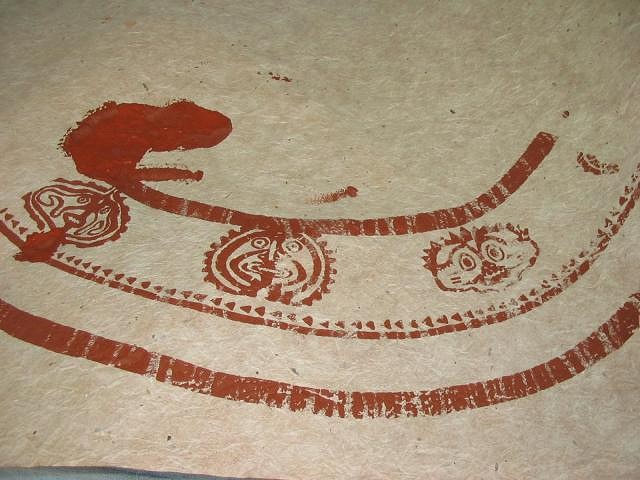
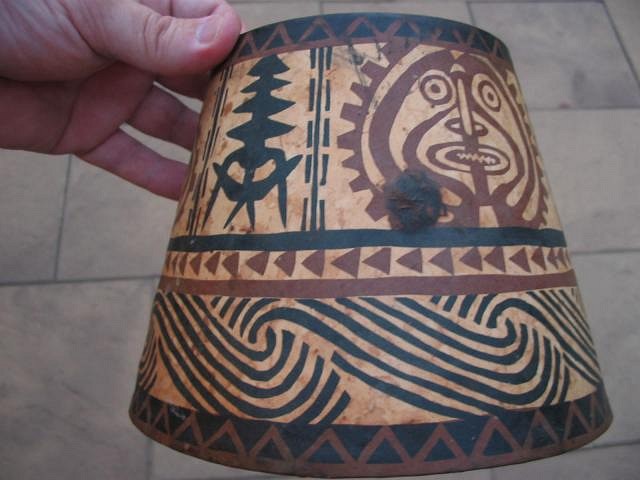
Here's the original shade. |
|
P
Paipo
Posted
posted
on
Fri, Aug 17, 2007 5:46 PM
That looks really cool skip - could we have the backstory on this piece? I assume you've got an old/original lamp you're modelling it from? I love the varied forms tiki art takes...I can't think of another genre or style where making lamps is such a crucial part of the look. [ Edited by: Paipo 2007-08-17 17:48 ] |
|
C
croe67
Posted
posted
on
Mon, Aug 20, 2007 9:10 PM
Looking AMAZING, Skip!!! Looking forward to seeing your progress :) |
|
T
tikiskip
Posted
posted
on
Tue, Aug 21, 2007 9:00 PM
Thanks Croe67. |
|
P
pappythesailor
Posted
posted
on
Wed, Aug 22, 2007 2:30 AM
Now that's cool. I don't usually go in for most of the lampshades 'round here but that one is winner. |
|
JC
Jeff Central
Posted
posted
on
Wed, Aug 22, 2007 12:43 PM
Damn John!!!! That looks freakin' awesome!!!!!!!!!!! Cheers, |
|
T
tikiskip
Posted
posted
on
Wed, Aug 22, 2007 8:02 PM
Thank's Jeff. Wait till you see em. |
|
T
tikiskip
Posted
posted
on
Sat, Aug 25, 2007 3:30 PM
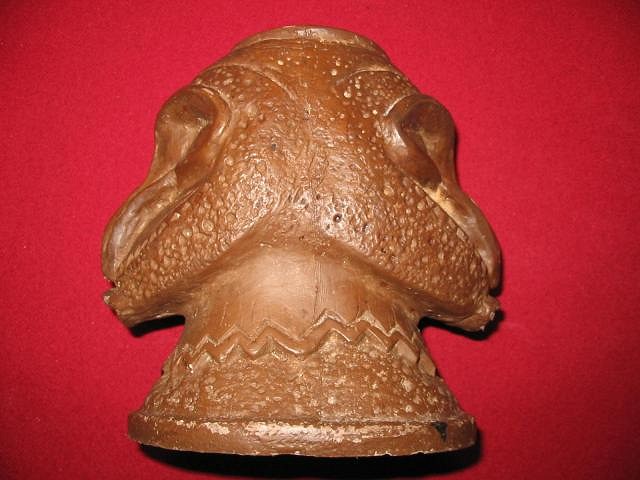
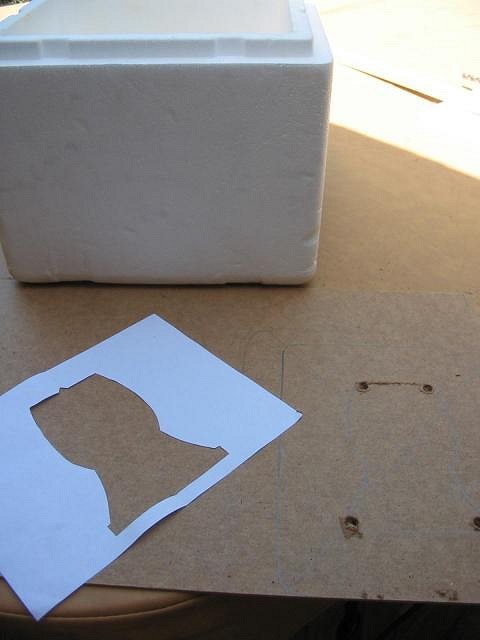
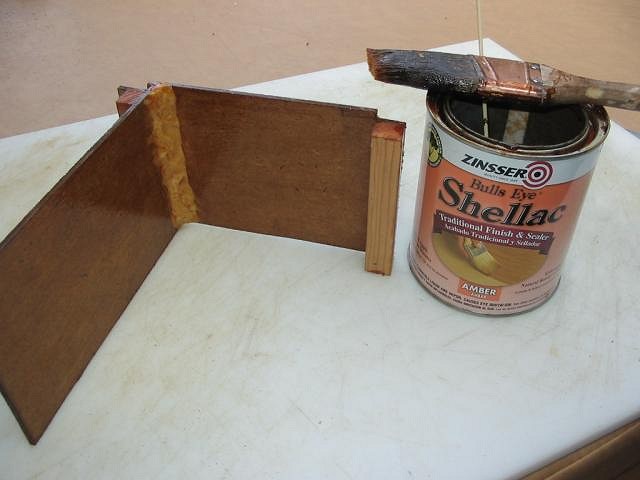
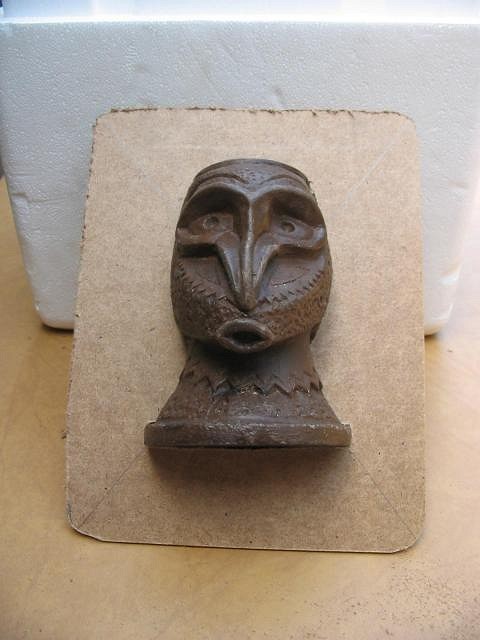
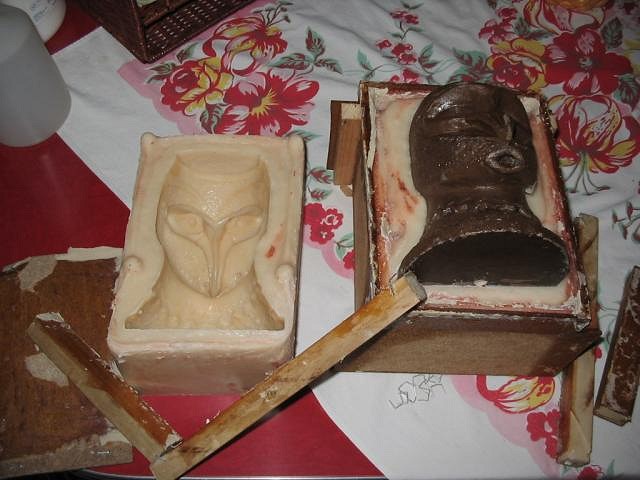
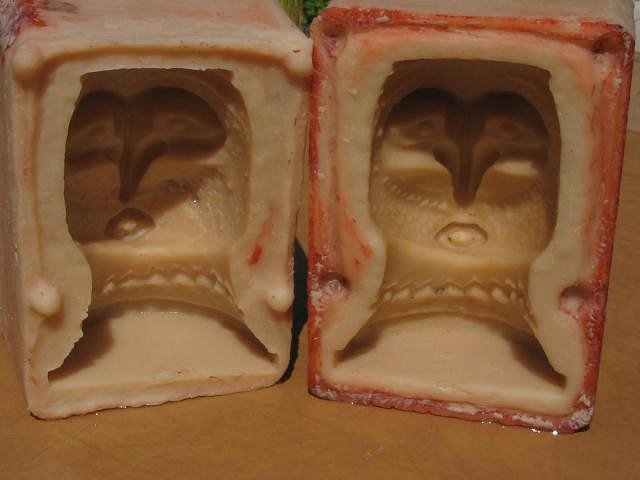
How I made a mold of a Kahiki lamp. |
|
T
tikiskip
Posted
posted
on
Sat, Aug 25, 2007 7:36 PM
My original was painted and sealed so I did not need to seal mine. |
|
TD
Tiki Diablo
Posted
posted
on
Sat, Aug 25, 2007 9:07 PM
Ooh coolio Skip! Your lamps are the best, I love this one. |
|
T
tikiskip
Posted
posted
on
Sun, Aug 26, 2007 9:45 AM
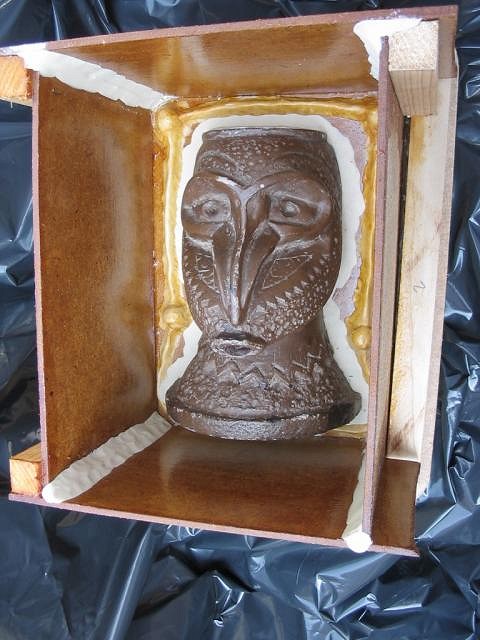
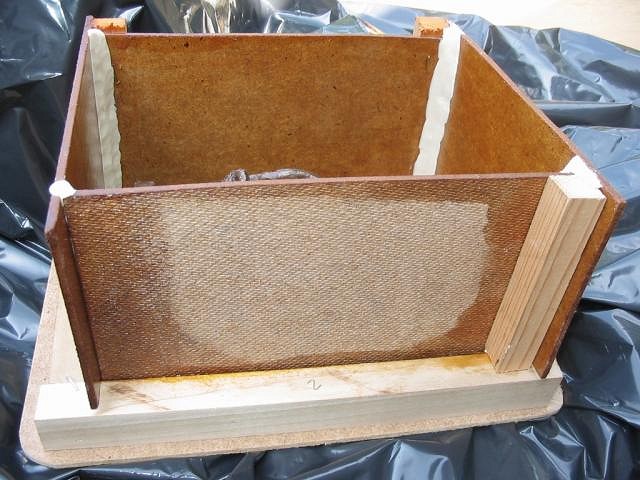
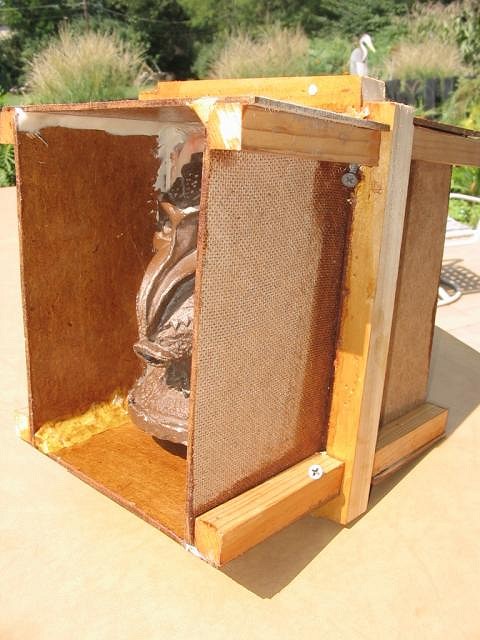
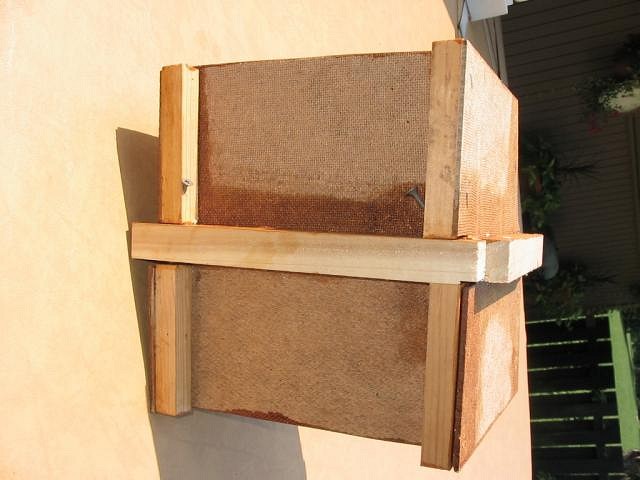
Thanks Danny! Coming from an old school tiki pro like you that Here's what's next. You are making half of a box. This is how your boxed piece will look. |
|
T
tikiskip
Posted
posted
on
Mon, Aug 27, 2007 7:49 AM
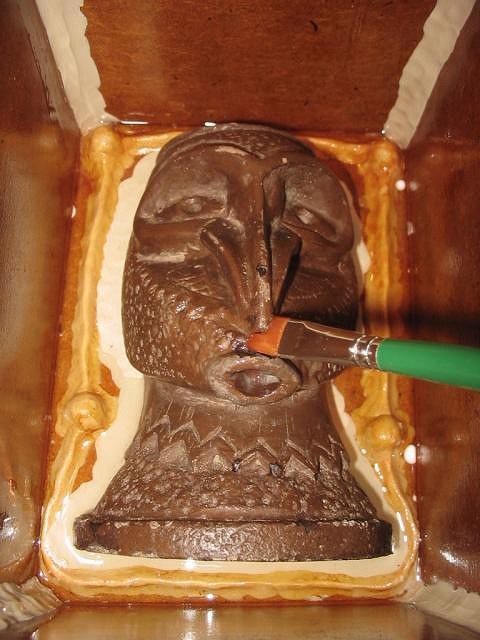
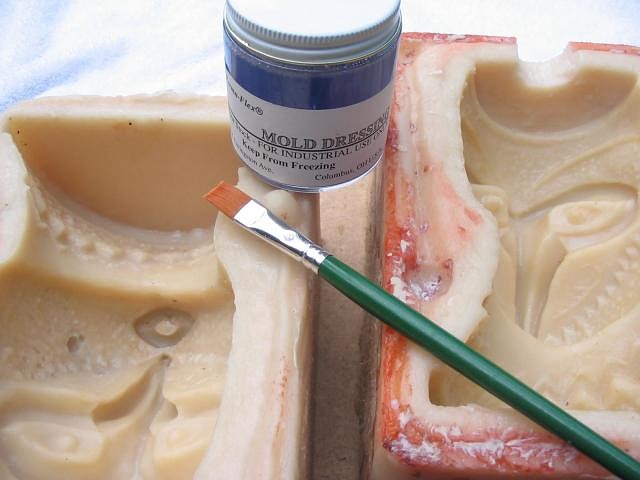
One thing I forgot to mention is that you need to Here you also see brushing on the release agent. |
|
T
tikiskip
Posted
posted
on
Mon, Aug 27, 2007 1:57 PM
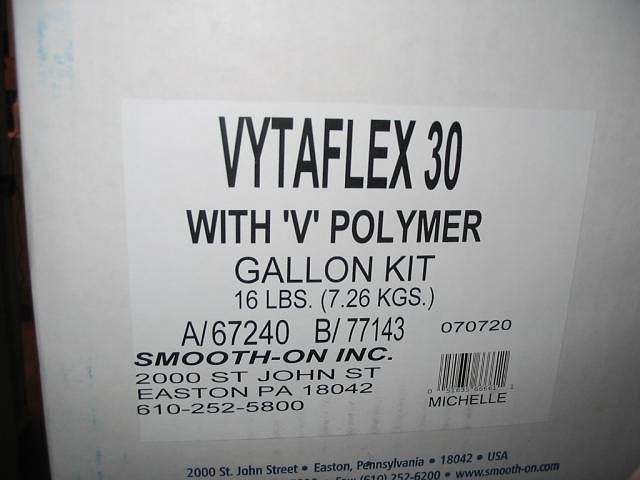
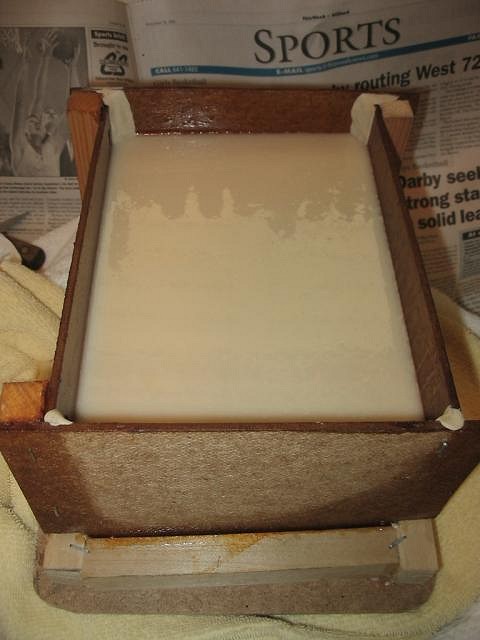
Next you mix and pour in the rubber mold stuff. Make sure you pour it in slow. |
|
F
frostiki
Posted
posted
on
Mon, Aug 27, 2007 2:01 PM
Wow, the lamp shades are incredible. Did you say you were screen printing them? Are you planning on aging them as well? I can't wait to see more. |
|
T
tikiskip
Posted
posted
on
Mon, Aug 27, 2007 2:05 PM
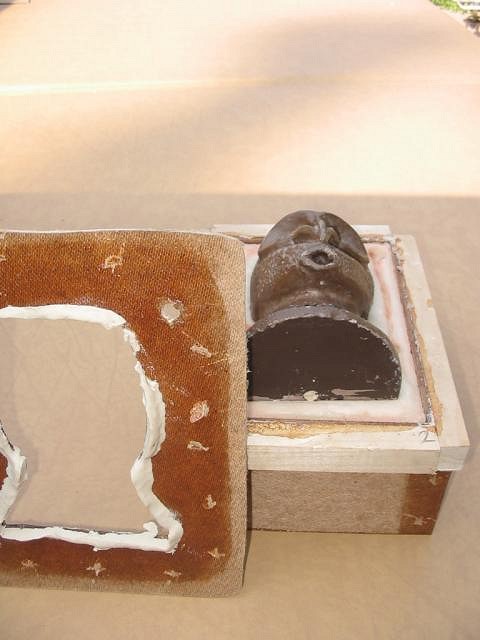
Thank you. After the mold dries, 24 hours. you take off the one side only. [ Edited by: tikiskip 2007-08-27 14:08 ] |
|
T
tikiskip
Posted
posted
on
Mon, Aug 27, 2007 6:20 PM
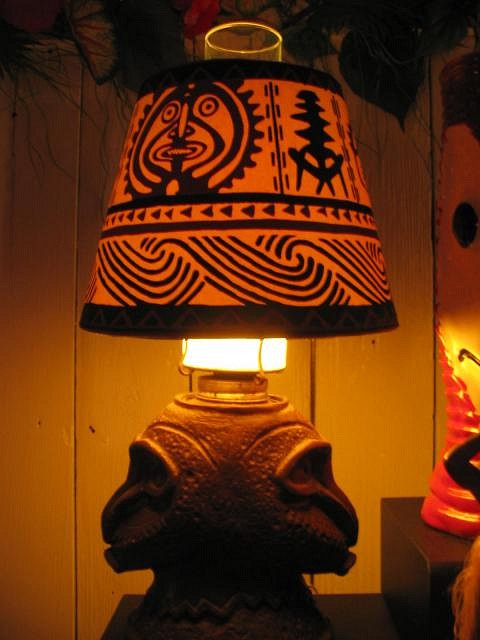
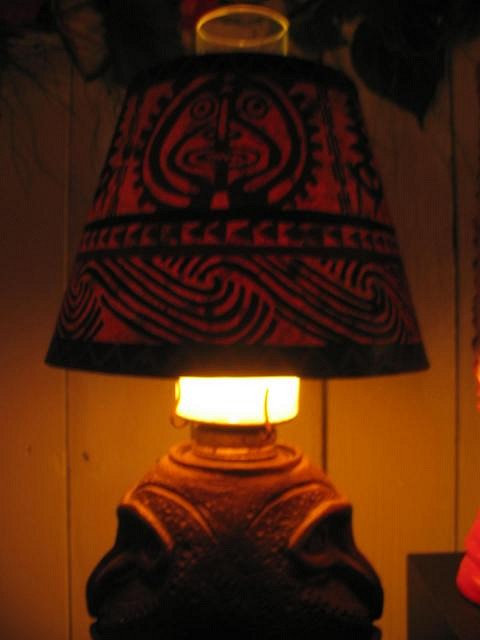
Let me stop with the mold and give an update on the shade. The new shade shows the pattern much better when the light is on. |
|
T
tikiskip
Posted
posted
on
Tue, Aug 28, 2007 9:16 PM
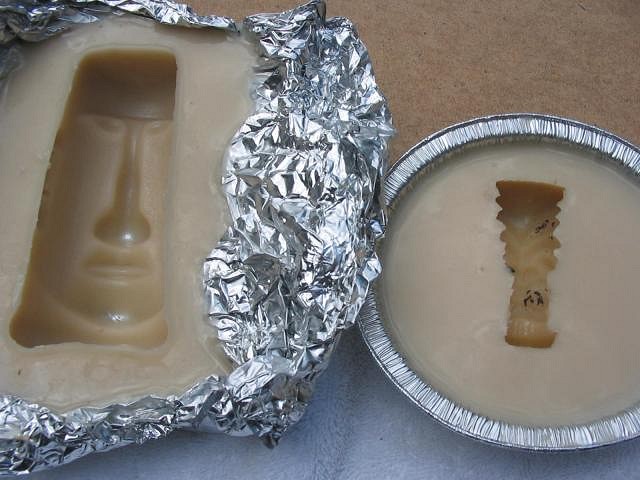
Ok back to the mold.
When you make these molds you will always have mold stuff left over.
|
|
T
tikiskip
Posted
posted
on
Wed, Aug 29, 2007 7:20 AM
Now you can mix your plaster.
|
|
CS
Capt'n Skully
Posted
posted
on
Wed, Aug 29, 2007 7:36 AM
Sweet Jebus, It LIVES!!! Glad to see you moved forward with this project. Lookin' good!!! |
|
T
tikiskip
Posted
posted
on
Wed, Aug 29, 2007 2:49 PM
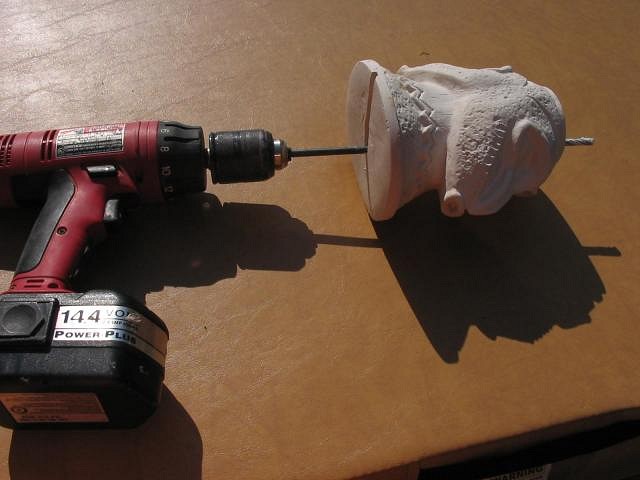
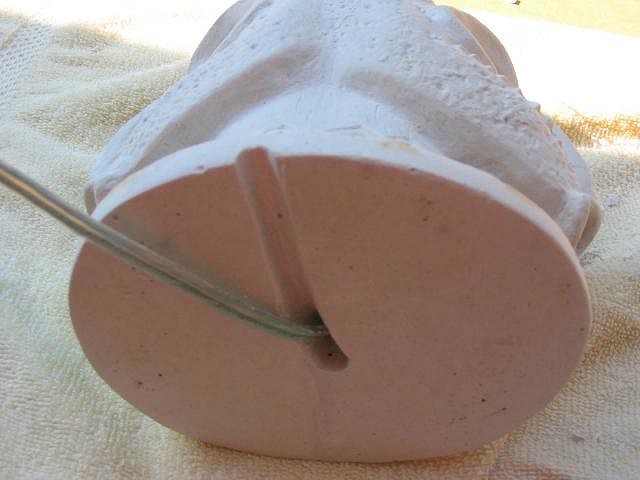
Before it gets too hard you will need to carve some |
|
T
tikiskip
Posted
posted
on
Thu, Aug 30, 2007 7:07 AM
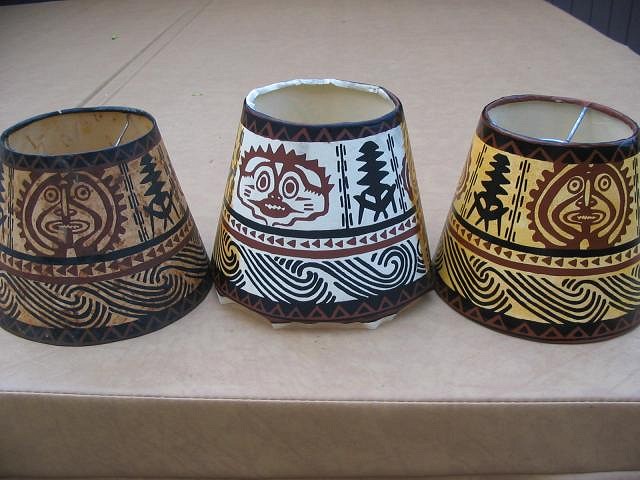
The shade is done! |
|
T
tikiskip
Posted
posted
on
Thu, Aug 30, 2007 7:17 AM
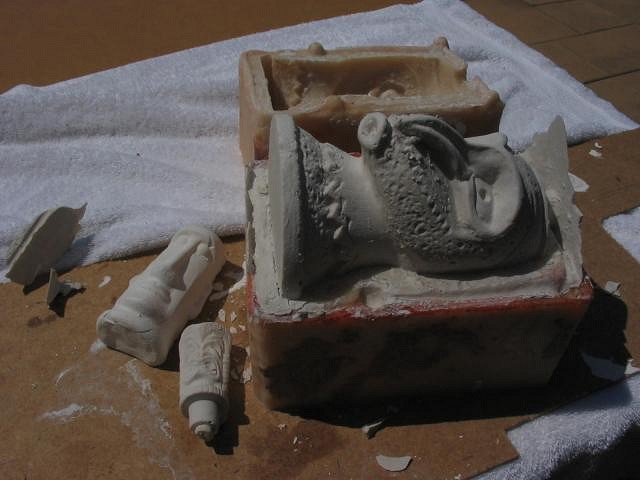
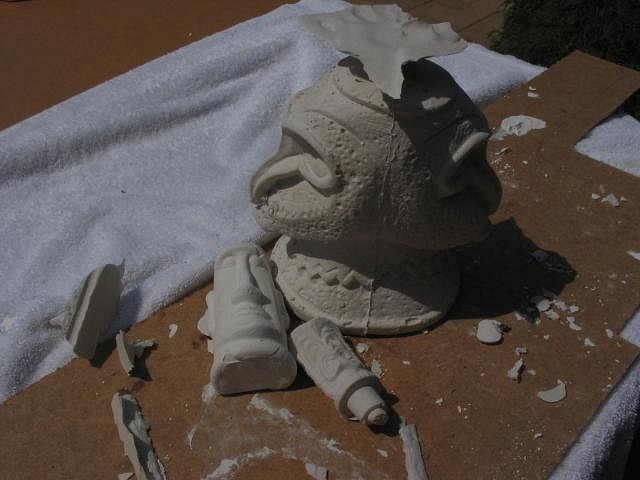
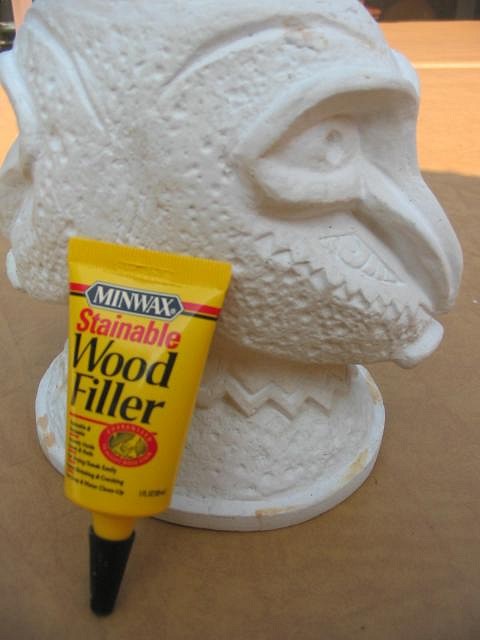
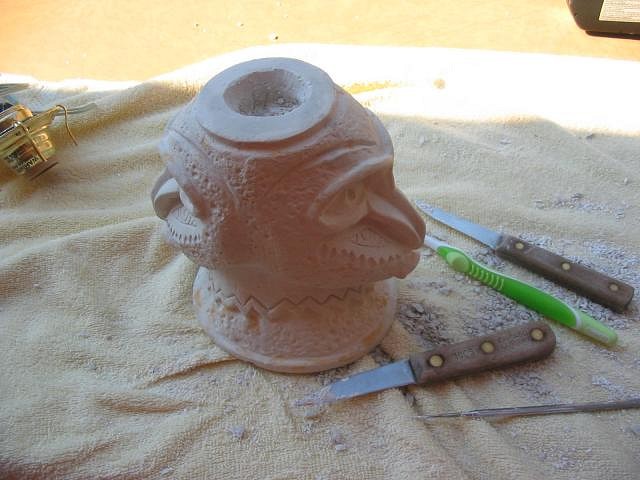
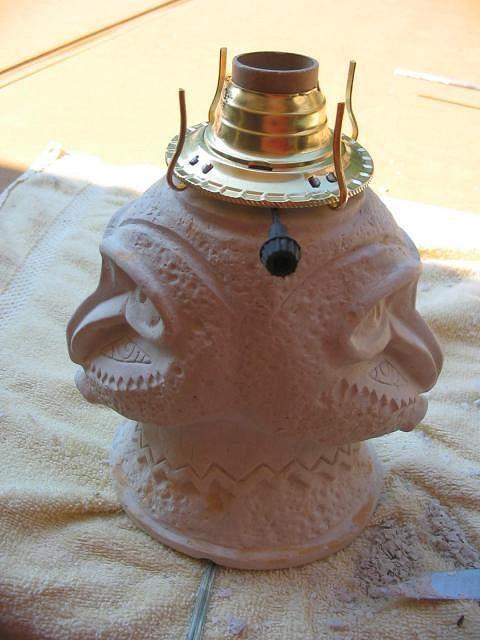
Back to the base. |
|
TM
Tipsy McStagger
Posted
posted
on
Thu, Aug 30, 2007 9:53 AM
awesome job skip!! i knew if i held off long enough you would figure out how to create copies of that damn monkey lamp yerself without me involved!! LOL ya done good, skipper....now when can i get a lamp?? [ Edited by: Tipsy McStagger 2007-08-30 09:53 ] |
|
T
tikiskip
Posted
posted
on
Thu, Aug 30, 2007 2:15 PM
Ha! Ha! Thanks David. |
Pages: 1 2 3 4 5 6 7 8 9 10 11 12 13 14 15 16 17 18 19 20 920 replies

