Tiki Central / Tiki Carving
TikiMango's Carvings- P31, Bone Hawaiian Tapa Hook
Pages: 1 2 3 4 5 6 7 8 9 10 467 replies
|
S
surfintiki
Posted
posted
on
Wed, Dec 9, 2009 10:58 AM
Nice TM! You are WAY on top of your game! Very creative, and a reason for every element. |
|
L
laojia
Posted
posted
on
Wed, Dec 9, 2009 9:22 PM
Wow! The texture contrast! Excelent! And the inlays work... Perfect! Truly a beautiful piece! Sure you make happy your mother-in-laws. J. |
|
C
Clarita
Posted
posted
on
Wed, Dec 30, 2009 11:51 AM
Beautiful beautiful piece! so full of meaning, I looove it! |
|
L
laojia
Posted
posted
on
Sat, Jan 2, 2010 1:55 AM
2010 BUMP! |
|
T
TikiMango
Posted
posted
on
Sat, Jan 2, 2010 12:19 PM
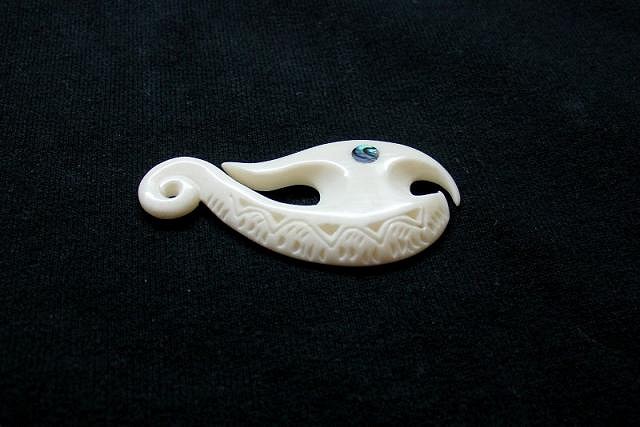
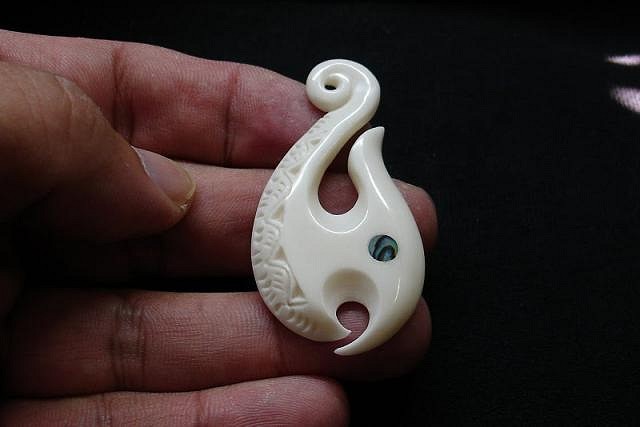
I hope everyone had a fantastic and safe New Year's Eve. I'm so sad I missed out on Tikiyaki Orchestra's gig this year. Here's to hoping that 2010 will treat you all kindlier and sweeter than 2009! I especially want to thank everyone for looking at my stuff the past year, your encouragement keeps me going and growing. AlohaStation, TikiHardBop, Surfintiki, Laojia, and Clarita, thanks for all the support and great comments. The recipient of the above was truly touched, and that's all I could ever hope for. I over heard someone in the family say that it could become a new family heirloom, made me feel good. On to some new stuff... I haven't had the energy to do much due to the Holidays, but now that they are behind me I hope to try a few new things this year. One aspect I am trying is to be a little more "commercial" I guess. For me that means to try to reduce my times and make designs that have mass appeal. Let's face it, not everyone is a fan of Maori work. So for this piece I didn't take the traditional route with some of my detailing, but rather tried to make the piece visually interesting.
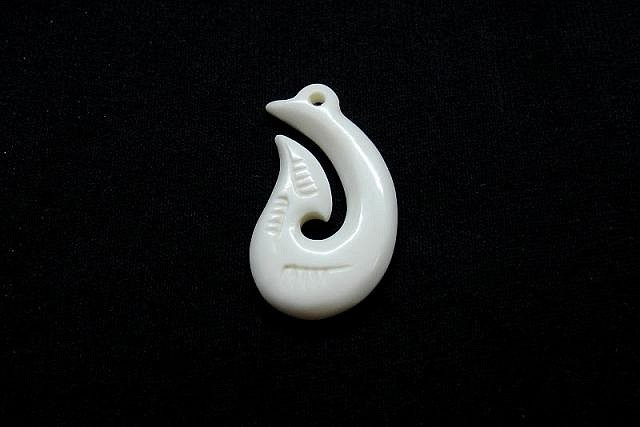
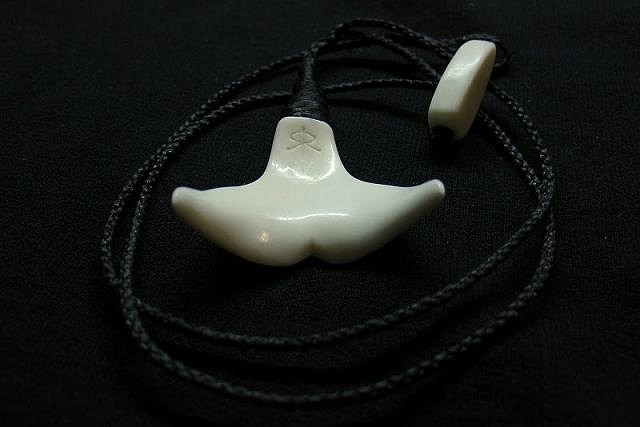
Next, I decided to see how "practically small" I could make a pendant. I have heard several times that my pieces are just too big for some folks. This was a hand-cramping size that I probably won't go smaller than. For me, there just isn't enough heft to be a pendant. You probably couldn't even tell if you were wearing this.
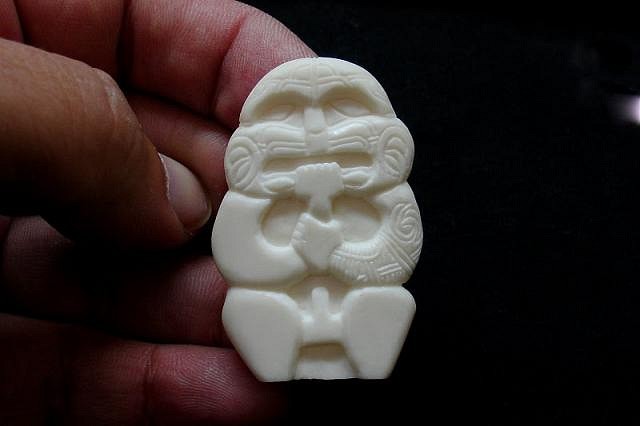
I enjoy working with all the New Zealand Maori design elements. It's been great studying them and understanding the meanings behind them. This next piece I started a tad before the holidays, and he's waiting for me to finish him. My problem is that I think there's too much detail, and the beauty of the bone is getting lost. Sometimes the bone needs large uninterrupted expanses of flat bone space so there is something to put a sheen on. Also, just not happy with the symmetry or proportions of this little guy. Anyways, here's a sneak peek in-progress...
Lastly, I have decided that my dog Matai is not so photogenic... a face only his Master could love.
|
|
A
amate
Posted
posted
on
Sat, Jan 2, 2010 5:11 PM
You are blowin' me away man! Your stuff is awesome!! |
|
B
Benzart
Posted
posted
on
Sun, Jan 3, 2010 7:34 AM
Mango, I'm Really digging your new works, watching your skills and confidence gro is really Great! Love that hook with the tribute koro, really well done all the way down and around, the inlay too. |
|
T
TikiMango
Posted
posted
on
Sun, Jan 17, 2010 2:28 PM
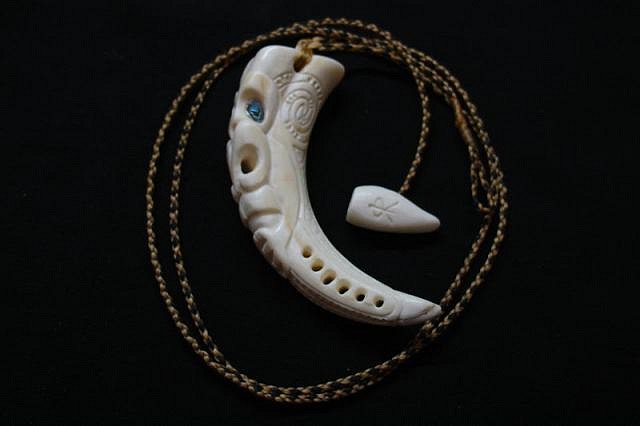
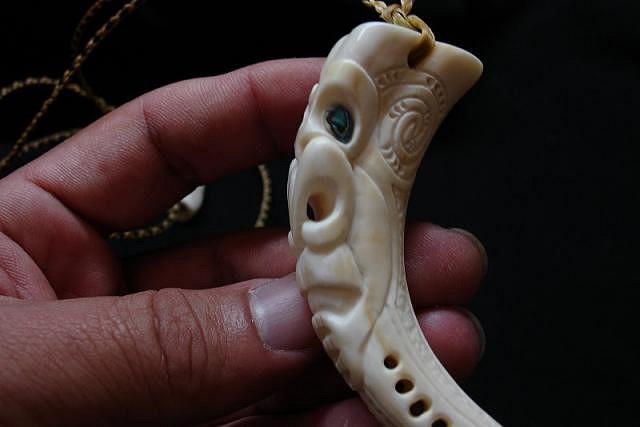
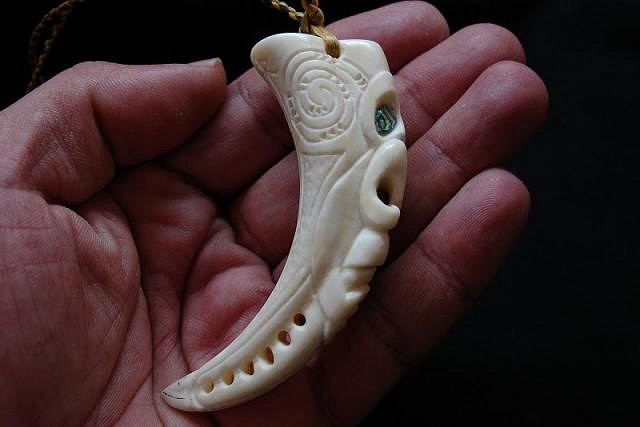
Finally it has warmed up enough to do some carving in the garage. This has been one of the coldest Florida winters I can ever remember. I was cleaning up a bit and found a boar tusk that I thought had "walked away" a few months ago. I haven't carved this before, and found it fun but a challenge. The curvature of the tusk can get in the way sometimes, preventing a good angle for carving.
Tusk smells like bone basically, but deep inside the tusk has it's own unique aroma. Thanks for looking. |
|
A
AlohaStation
Posted
posted
on
Sun, Jan 17, 2010 6:23 PM
Nicely done. Those tusks are definately a challenge. You pulled it off. Glad to see you back at it. |
|
P
pdrake
Posted
posted
on
Sun, Jan 17, 2010 6:34 PM
holy crap! those are beautiful. i really, really want to know the secret of the rough texture on the mil piece. outstanding. tom, i'm going to have to give you a big shin kick when i see you. you should have made a point to tell me about this guy. great stuff. |
|
L
laojia
Posted
posted
on
Mon, Jan 18, 2010 5:26 AM
Lace on a tusk! Excelent stuff in a not easy material... J. |
|
T
TikiMango
Posted
posted
on
Mon, Jan 18, 2010 7:38 PM
Amate and Benzart, thanks for the comments, and sorry for not replying when I posted the new tusk. Ben, you are right, some things are taking less time, especially them cords. Now I can do 'em while watching TV and holding a conversation, much thanks in hammering the technique home for me. AlohaStation, it feels good to be back... and warm! I heard it even got cold down where you live. Hukilau is right around the corner! Pdrake, I've been eyeing your stuff for a while, thanks for stopping by. The rough texture I stumbled across, I thought I was the last one to find out about it. Loajia, thank you. The tusk was fun, can't wait to get some more. |
|
B
benella
Posted
posted
on
Sat, Jan 23, 2010 1:28 AM
Hi dude, This new piece is mind blowing. Bravo, Benjamin. |
|
S
surfintiki
Posted
posted
on
Sat, Jan 23, 2010 6:12 AM
MAN, I like looking at your stuff. You look like a master. |
|
T
TikiMango
Posted
posted
on
Sat, Jan 23, 2010 4:20 PM
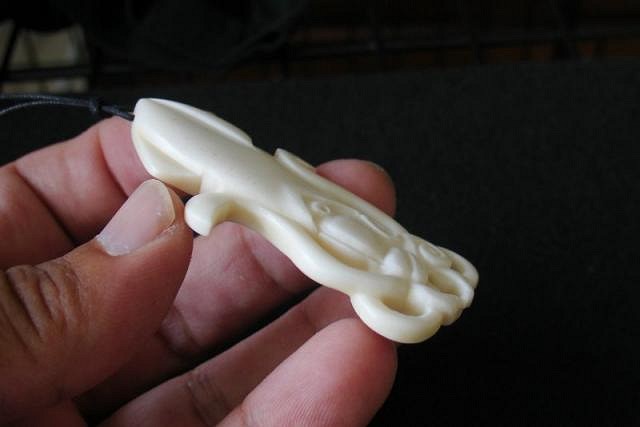
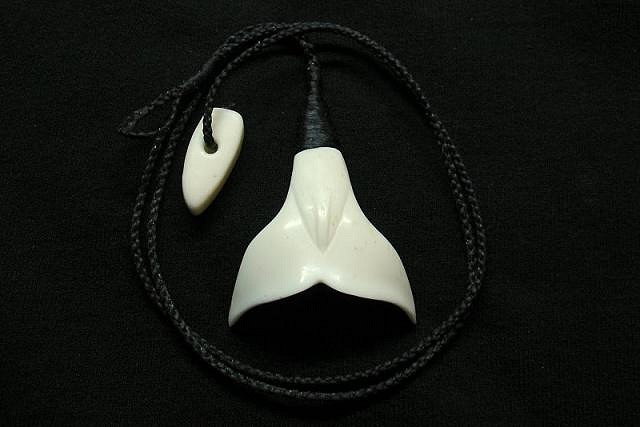
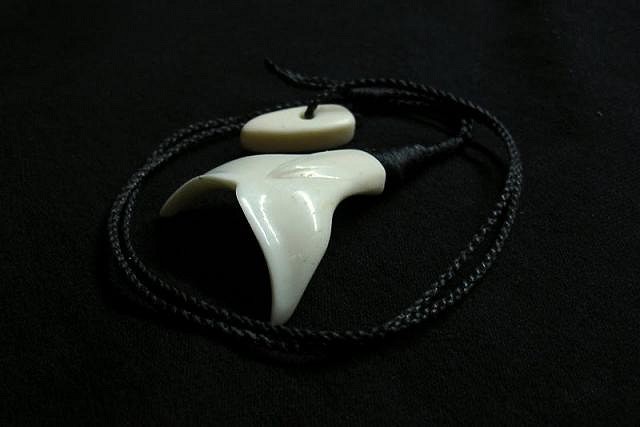
Benjamin, thanks for the kind words. The inlay is a pain, but I can't stop doing it. Surfintiki, thanks for the comps! My pieces are far from perfect, but it helps me manage my OCD by trying to get rid of all the tool marks. :lol: A another whale tail done, this one with a big curve in the tail.
|
|
L
laojia
Posted
posted
on
Sun, Jan 24, 2010 1:56 AM
Black and white look! I like that so much! Beautiful curve on the bone. And the cord work: perfect! You just change the black cloth below for more beautiful pictures ...:roll: J. |
|
T
TikiG
Posted
posted
on
Mon, Jan 25, 2010 7:31 AM
Ray - I'm blown away with the new whale tail! The curvature of the tail is stunning, but I have to ask you how does the piece feel when its hanging around your neck? Another modern classic from somebody who really "gets it". Beautiful work as always (Thanks to your OCD) and the black and white combo just can't be beat in my opinion. I can't wait to see any future works 'cause I know you'll be selling em like crazy at this year's Hukilau in Ft. Lauderdale. Keep them coming TMango!! Thanks for sharing. |
|
M
mp
Posted
posted
on
Mon, Jan 25, 2010 8:25 AM
Ray, regrettably I havent been over here in carving much lately. All of your newer carvings are out of this world! |
|
B
Benzart
Posted
posted
on
Mon, Jan 25, 2010 10:36 AM
Really Happy to see you back carving Mango, what you did with the tusk was Excellent. Like the new tail too. |
|
T
TikiMango
Posted
posted
on
Mon, Jan 25, 2010 4:25 PM
Loajia, thanks! I tried finding something different for the background, but then I'd lose the contrast on the bone. I'll keep looking though. TikiG, thanks for the comments, and to answer your question, the piece lays nicely around the neck. There isn't much mass behind it, so the points don't "dig in", it just lays there like a disembodied tail. :wink: Mp, thanks for stopping by. I've been peeking over the fence at your stuff. All good! Benzart, thanks for taking a break from slabbing to visit. That tusk was a joy to work on. |
|
BTS
BIG tiki scott
Posted
posted
on
Mon, Jan 25, 2010 4:34 PM
that whale tail is wicked!! i will have to try carvin bone and stone someday!! but right now i luv to marvel at this kind of stuff!!!! cheerz !! |
|
S
seeksurf
Posted
posted
on
Mon, Jan 25, 2010 7:49 PM
Sharp! I also like the back and white contrast. |
|
T
TikiMango
Posted
posted
on
Sat, Feb 6, 2010 6:30 PM
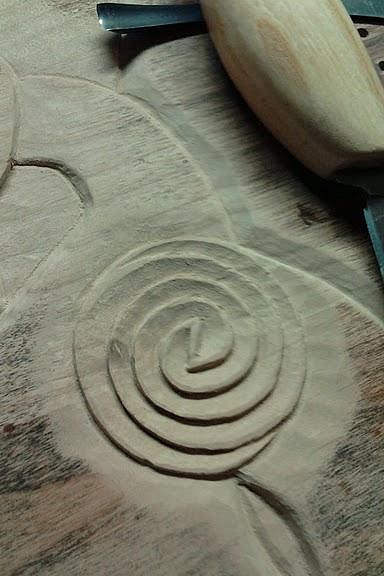
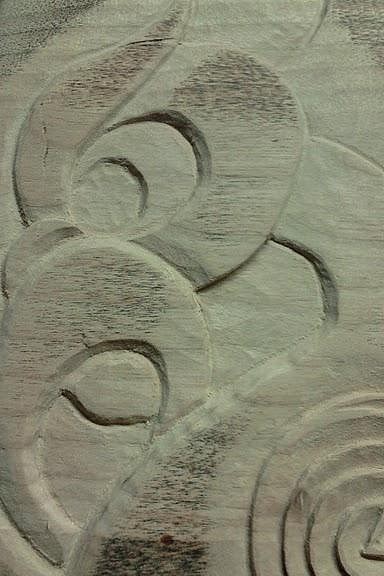
BIG Tiki Scott, thanks for the comments. You gotta try the bone, you'll love it... or hate it. :wink: Seeksurf, thanks for checking in. i think the black cord is pretty spiffy too. I decided to take a break from the bone for a bit. I've been working on something, but not quite ready to share yet. I will post a couple of in progress teaser photos though. Working with wood felt so alien, I mean I have to worry about grain direction! What the heck is up with that? And the smell... not even as soothing and aromatic as ground bone. Oh well.
That's it, thanks for looking. I'll post more as the progress progresses. |
|
BTS
BIG tiki scott
Posted
posted
on
Sat, Feb 6, 2010 6:55 PM
this looks like the begining of a master piece!!! cheerz!! |
|
L
laojia
Posted
posted
on
Sun, Feb 7, 2010 12:19 AM
Right ! Nice begining Ray, you're on the way for an amazing Maori panel... I look forward an overview of this Manaia panel, the eyes inlays seems a very good idea. J. |
|
L
laojia
Posted
posted
on
Sun, Feb 7, 2010 12:27 AM
A BenZart's style question: Can you post some pics of your new chisel set for the tools addicts who is around here? :roll: Thank you! J. |
|
B
Benzart
Posted
posted
on
Sun, Feb 7, 2010 5:11 AM
Thanques Laojia, couldn't have stated it better myself! Mango, I'm liking the looks of your new Manaia, Of COURSE you have to inlay the eye :o. |
|
B
benella
Posted
posted
on
Mon, Feb 8, 2010 9:27 AM
I vote for inlay too, this piece looks too cool to lack some paua eyes. B. |
|
C
coconuttzo
Posted
posted
on
Mon, Feb 8, 2010 1:16 PM
Looking nice. I'm no expert but I think mother of pearl shell eye with paua shell for the iris/pupil would make a nice contrast against the wood. Just an opinion. |
|
T
TikiMango
Posted
posted
on
Tue, Feb 23, 2010 7:34 PM
BIG tiki scott, thanks. I'm not sure of a master piece, but it is a piece... :D Laojia, thanks for the advice on wood. I think after this I will be ready to return to the safety zone of bone. I'll try to get pics of my tools next time. It is just a basic 6 piece Flexcut palm chisel set. Benzart and Benella, thank you. Yes, I went ahead with the inlay. I was worried about how even I could get the inlay in the wood. In bone it is fairly easy, but the wood has a different "sanding rate" and hardness. Coconuttzo, thanks for taking a break from your bone work to check out my pics. Mother of pearl would have been nice, but I don't have any handy. Maybe next time 'round. My latest project has been nothing but a time sink and money pit, but I'm getting a great abject lesson in... in something I'm hope! :D Well, on to the update, though not much for 2 weeks of effort.
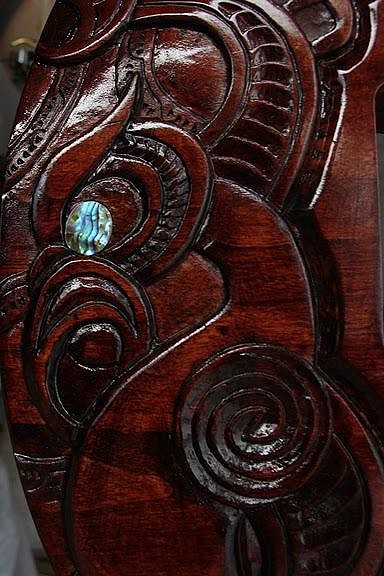
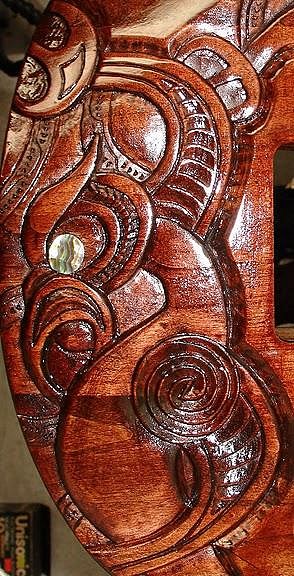
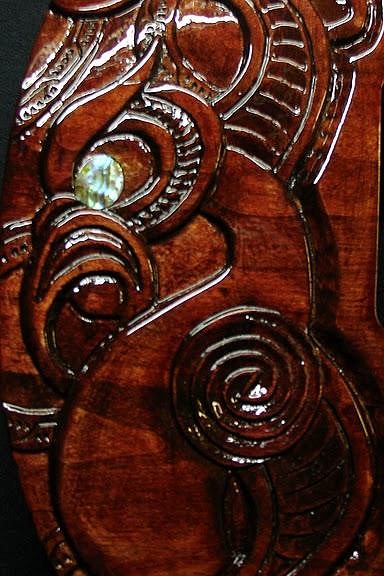
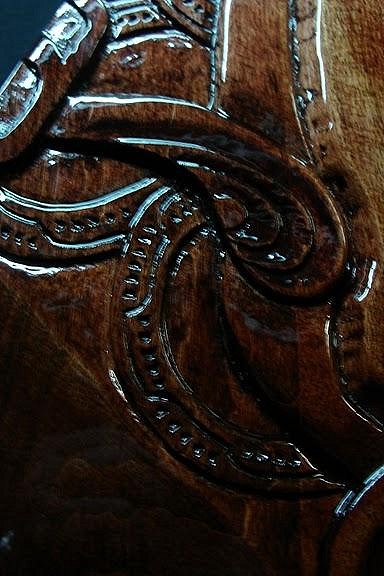
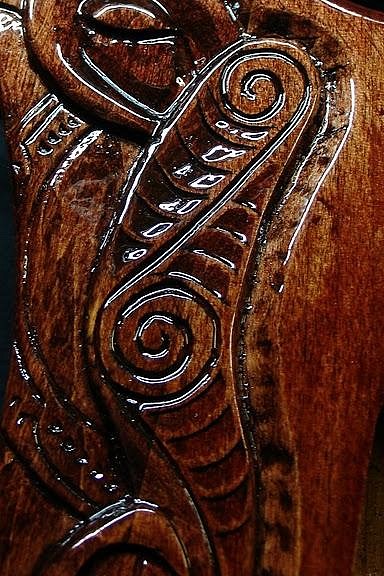
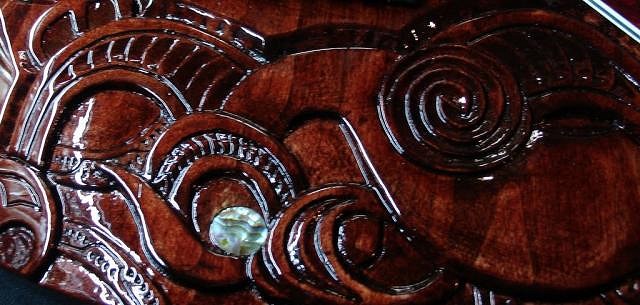
Sorry for all the funny detail shots, I'm just not ready to reveal the whole thing until the thing is whole. :lol: As for being an abject lesson, I have a new appreciation for people that work with wood on a regular basis and take the time to really sand and finish a piece. This will be an indoor piece so I am using a spray-on polyurethane for the clear coats. I was waffling between varnish, but I've heard that the FL humidity can pose a problem and cause hazing. I hope I wasn't told wrong. As for the time sink, I'd tack cloth the piece, make sure there wasn't any dust and spray. Wait a few hours, see dust, wet-sand (2000 grit) it smooth and repeat the next day or so. And I mean "repeat"... tack cloth, spray, see dust, sand and re-coat. Very frustrating! I think I have at least 5-6 coats of clear, I lost count. :( I hope I can get everything finished this coming weekend, I'm ready to finish so I can get on to other things, as keeping the area dust free has put a hamper on me doing anything other work. As always, thanks for the interest! |
|
L
laojia
Posted
posted
on
Wed, Feb 24, 2010 12:01 AM
OH! Damn it! You want us to languish as would a beautiful woman? :o :evil: :o Cool work for now but I stay tuned for the finished update! :wink: J. |
|
B
Benzart
Posted
posted
on
Wed, Feb 24, 2010 6:02 AM
Looks Great so far Mango, LOTS of detail to keep us busy and guessing. The finish looks great to me, but the long wait between coats is why I love Lacquer for the indoor finishes. spray, wait 30 minutes, sand and spray again. 6 coats in a day and it's done. |
|
T
TikiG
Posted
posted
on
Wed, Feb 24, 2010 10:50 AM
Nice, Ray! no kiddin' regarding the color vs lighting deal... Can't wait to see the finished project :wink: |
|
LLT
little lost tiki
Posted
posted
on
Wed, Feb 24, 2010 11:07 AM
What a RELIEF! go ManGO...GO! tis beautiful... |
|
CJ
Coco Joe
Posted
posted
on
Wed, Feb 24, 2010 11:13 AM
talent! |
|
IK
Iokona Ki'i
Posted
posted
on
Wed, Feb 24, 2010 2:33 PM
Oooooo, this is looking great! |
|
LS
Lake Surfer
Posted
posted
on
Fri, Feb 26, 2010 12:33 AM
Looking spectacular Ray! Nice clean cuts and wonderful detail! |
|
T
TheBigT
Posted
posted
on
Fri, Feb 26, 2010 1:54 PM
The Zone of Bone. Haha! Good one. This looks like some amazing work. Can't wait to see the whole thing. I've never used spray-on poly so can't comment on that. But we've got some pretty high humidity in Houston and the carvings I've finished with lacquer are doing just fine so far. |
|
T
TikiMango
Posted
posted
on
Fri, Feb 26, 2010 3:20 PM
Jerome, thanks for peeking in and finding me on Facebook. We always have to wait on the women... TikiG, Little Lost Tiki, Coco Joe, Iokona Ki'i, and Lake Surfer... thanks for the visit and comments. Youz is all ohana! Benzart and TheBigT, it sounds like I made the "less correct" choice with the polyurethane. If you guys enjoy the lacquer, and there's a "next time" for something similar to this project I'll be sure to switch to lacquer! As I said (somewhat incompletely) above, I was torn between poly, varnish, and lacquer. Varnish seemed a bit messy or Old School in my mind, and I really dislike the smell of lacquers so I went with the poly. This was all new to me, and one can only read so many random Google returns... I'm not sure which one offers the "hardest" finish, as I know basswood is soft, and I wanted to protect it as best as I could. Thanks for your advice, I suppose I could've saved myself some "pain and suffering" if I had asked a few questions of the Kumu on these forums from the start, but where's the "fun" in that!? Some of Life's lessons stick better after drawing a bit of blood. Mahalo! |
|
K
kroozzn62
Posted
posted
on
Fri, Feb 26, 2010 7:36 PM
wow, man i just scrolled through your work ,insanely awesome |
|
T
TikiMango
Posted
posted
on
Sat, Feb 27, 2010 8:43 PM
Kroozn62, thanks for looking! |
|
T
TikiMango
Posted
posted
on
Sat, Feb 27, 2010 8:44 PM
Bumped to page 23... for the reveal! |
|
T
TikiMango
Posted
posted
on
Sat, Feb 27, 2010 9:24 PM
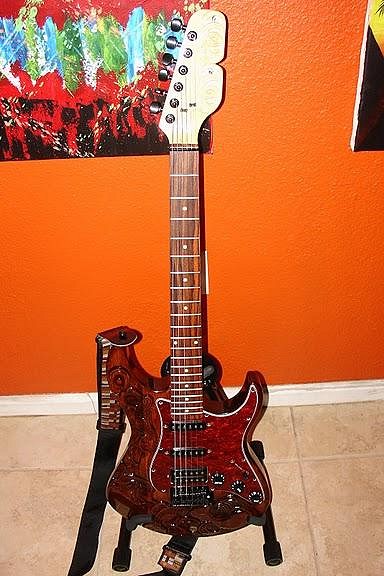
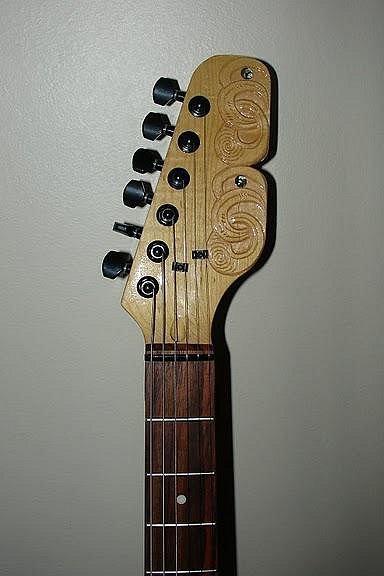
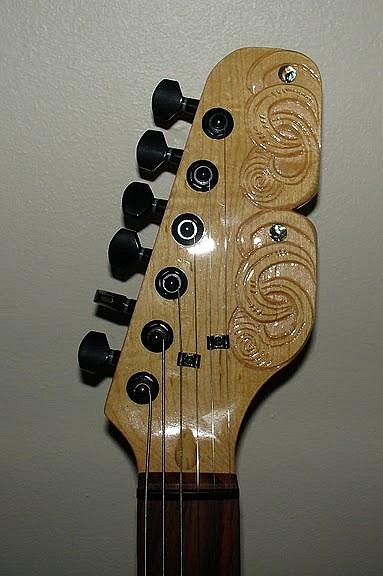
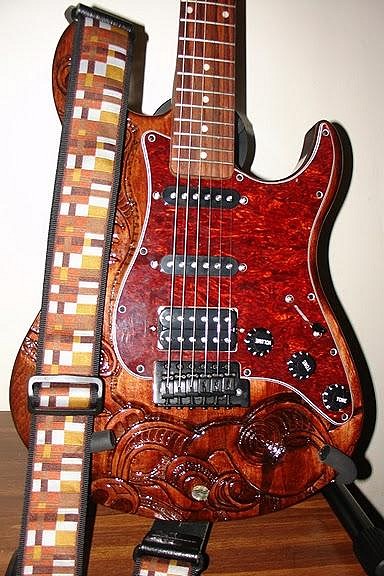
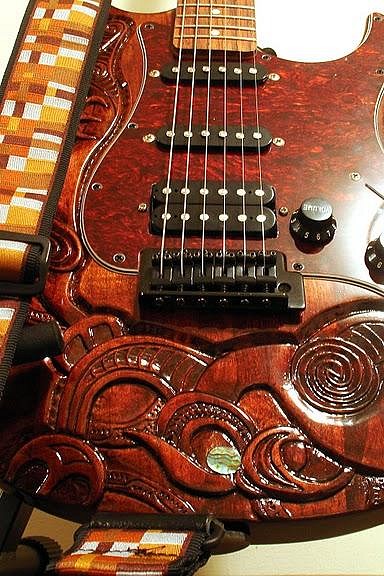
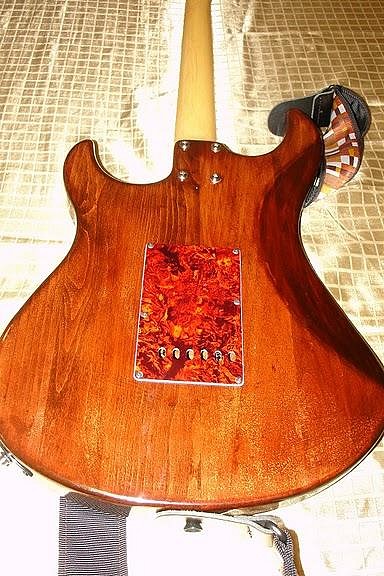
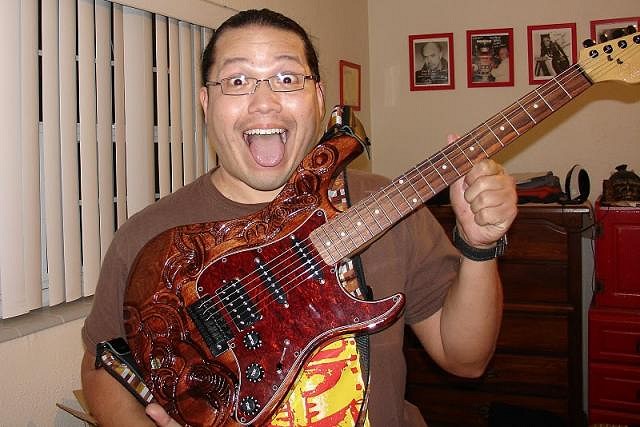
So as I've stated before, this was a very different project for me. I had a lot of fun making it, and it probably won't be my last one. Looking through all the great work on this site, spread over the years, its really, really hard for me as an artist to create something new and different. Though other artists here don't seem to have a problem creating something that leaves me dumbstruck and in awe on a regular basis. I've read throughout the forums that it is always amazing to see the creative energy and talents of everyone that helps to grow and evolve the genre of "tiki art". I hope my meager attempts are enough to do my part. So a little back ground on this. I've always wanted to make a functional piece of art, and was inspired by works like Kirby's USB Tiki, the slit gongs of JohnnyP, and Tahitian drums of Bay Park Buzzy. Then I searched to see what other functional art existed here, and noticed a lack of stringed instruments. Enough blabber, on to the pictures!
So this guitar started out as a practice piece, but has turned into a "Frankenstein" project to be sure! It was turning out so well that I had to make it playable. The body is a basswood Yamaha Pacifica Stratocaster style, dating back to the mid-90's. It was a real pain to remove the original finish and sand down to get rid of a few major scratches. It had been in the hands of a few others, and had a few unusual routed out areas to the say the least. The neck is a new one, rosewood fret board over maple, which I think is pretty standard. Being a Yamaha and not a Fender meant that there was a lot of footwork required to resurrect the body into a playable guitar. Diggin' in graveyards is not my thing, mainly because I have zero musical ability or exposure. I was way in over my head when it came to component selection and sewing all the body parts together, but I had a few local friends that were willing to help me out. I opted to make something that someone wouldn't mind hanging on their wall as "art", yet were still capable of playing a decent song or two if they wanted to. I'm sure if someone wanted to use this as their regular Gig Guitar, they'd gut the electronics and play Mad Doctor on their own to get the sound they were after. Here's a couple links to vids I have on Facebook so you can hear how it sounds. Thanks for looking and putting up with me. :wink:
Pupule Tiki! [ Edited by: TikiMango 2010-02-27 21:50 ] |
|
T
TikiG
Posted
posted
on
Sat, Feb 27, 2010 9:41 PM
Blown away again Ray! Impressed with the outcome of this project, never thought of a guitar :wink: By the way, my phone ran out of minutes...call you tomorrow. G [ Edited by: TikiG 2010-02-27 21:42 ] |
|
G
GROG
Posted
posted
on
Sun, Feb 28, 2010 1:05 AM
Gorgeous. GROG like. |
|
B
Benzart
Posted
posted
on
Sun, Feb 28, 2010 3:26 AM
Way Excellent Mango, Nice suspense and surprise ending, and I don't think Anyone expected this Awesome stuff. Much Respect earned today! |
|
S
surfintiki
Posted
posted
on
Sun, Feb 28, 2010 6:23 AM
Friggin awesome! I lOVE it! Mooney started one a while back here on TC, but still haven't seen him finish it up. There definitely is a lack of this sort of thing. Nice job! |
|
T
Tikilizard
Posted
posted
on
Sun, Feb 28, 2010 12:17 PM
WOW! That Rocks! |


