Tiki Central / Other Crafts
Kahaka's Tiki Lamps
Pages: 1 2 3 4 5 6 7 8 9 10 11 483 replies
|
K
KAHAKA
Posted
posted
on
Fri, Jul 5, 2013 12:56 PM
Mahalo braddahs. Polynesiac, I'm about ready to send one your way. I'll get back to ya in the next couple weeks! |
|
K
KAHAKA
Posted
posted
on
Tue, Jul 9, 2013 8:58 AM
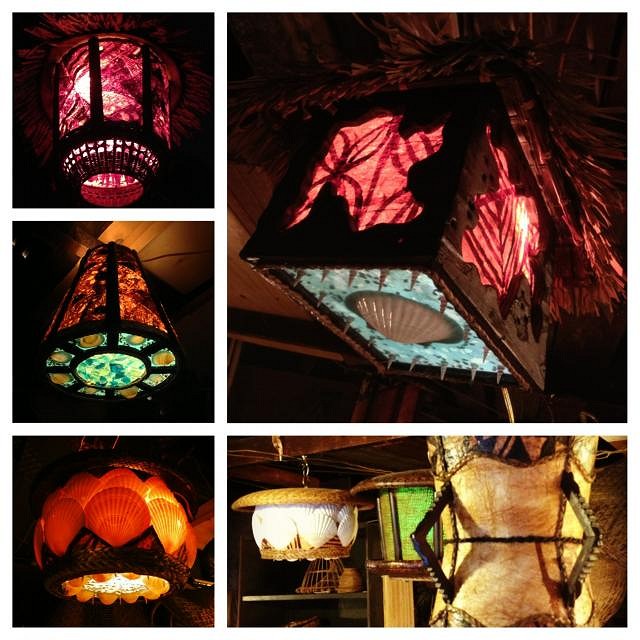
Aloha Ya'll, I hadn't looked at or done much with my Flickr page where I upload pics of my lamps in a while, but I just edited, deleted, and rearranged some stuff on there. I would one day like to have a website, but I think their new layout looks awesome, and probably much better looking than something I could put together myself. Here it is: http://www.flickr.com/photos/rocknrollwoody/sets/72157600546621178/ It's the same site that's in my signature. Mahalo and Cheers! |
|
AF
A Frame
Posted
posted
on
Tue, Jul 9, 2013 2:38 PM
Frickin' Amazing KAHAKA! |
|
K
KAHAKA
Posted
posted
on
Tue, Jul 9, 2013 9:44 PM
As a general reply to interested parties through PM, all lamps listed on the Flickr page can be replicated, considering the supplies I have on hand. And, if there's something you see on one lamp that you'd like on another, that can be done as well. Mahalo!! |
|
W
Woodtiki
Posted
posted
on
Wed, Jul 10, 2013 6:58 PM
Rad stuff! |
|
H
hiltiki
Posted
posted
on
Wed, Jul 10, 2013 9:22 PM
Woody, your lamps are fabulous, specially the last one it's so complicated yet so well put together, great job. |
|
K
KAHAKA
Posted
posted
on
Thu, Jul 18, 2013 8:54 PM
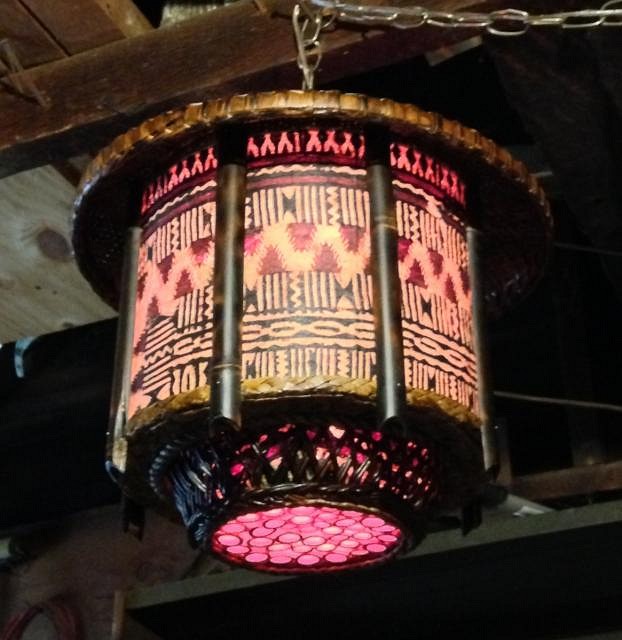
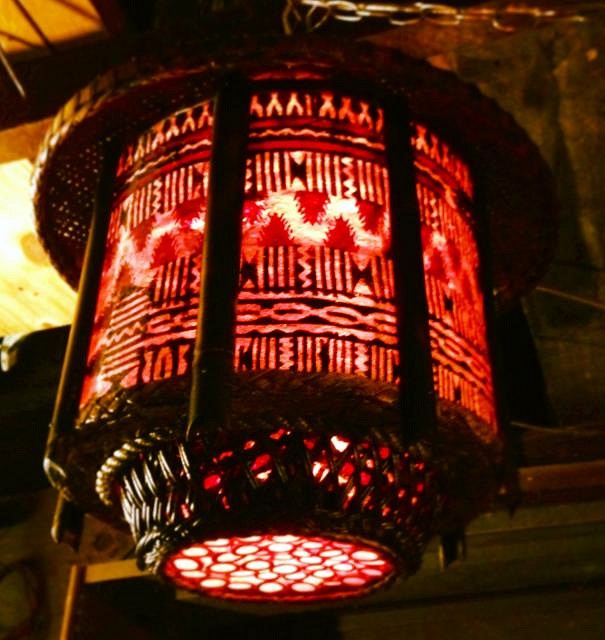
Woodtiki... I really dig your art! You really need to post more of it on here. You're name is Woody also? How cool is that. Hiltiki... Thanks again! My sister in-law's dad has been battling throat cancer, and hasn't been doing too good lately. He asked for a lamp a while back, so I finished this one for him today in hopes that it might help him feel a little better. It's a twin to the last one I made to Nacho, with a slightly different bottom.
Thanks for lookin'. |
|
H

hang10tiki
Posted
posted
on
Thu, Jul 18, 2013 9:56 PM
Wow, awesome lamp... Jon |
|
T
TikiPops
Posted
posted
on
Mon, Jul 22, 2013 6:14 PM
Woody, |
|
K
KAHAKA
Posted
posted
on
Thu, Aug 15, 2013 10:19 PM
Mahalo! See ya'll at Tiki Oasis in the morn'. I'll have these lamps and a few others fer sale out there. Head on by the huge Moai postin' hitch, ya hear?!
Cheers, |
|
K
KAHAKA
Posted
posted
on
Sun, Nov 10, 2013 1:12 PM
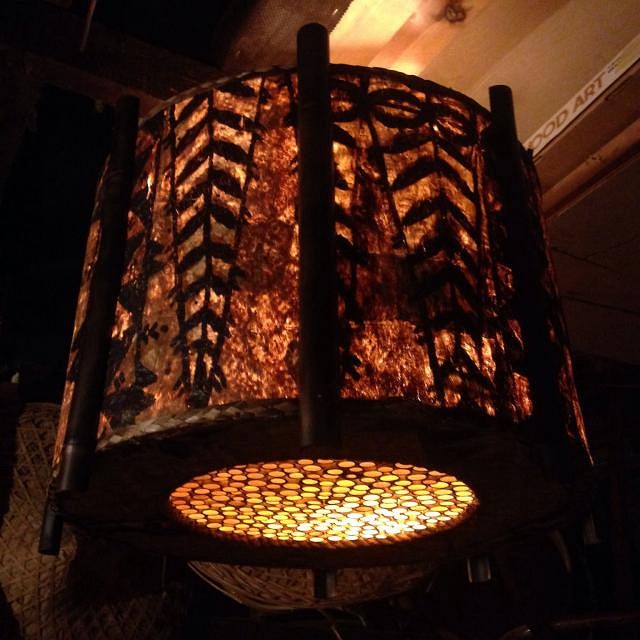
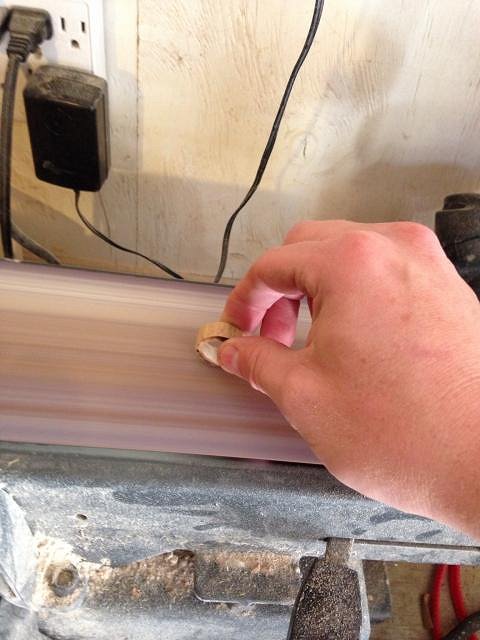
Aloha TC, I recently finished the biggest lamp I've built in 10+ years of lamp making for a customer. 24" x 18" didn't sound as big in an email as it looked when it was completed. This sucker is huge. Anyone figure out a better way to cut the bamboo trivets like the ones on this lamp? I use a miter saw with a 200 toothed blade, but the bamboo still splinters and I have to hand sand each one clean. I've tried a bandsaw, but I can't get straight cuts on pieces this small. The masters at Oceanic Arts told me they used to order huge bags of bamboo trivets already cut from China back in the day. Those were the days!
Thanks for lookin'. |
|
T
tikiskip
Posted
posted
on
Sun, Nov 10, 2013 1:46 PM
Looks like a light for a private back room bar. [ Edited by: tikiskip 2013-12-03 09:14 ] |
|
K
KAHAKA
Posted
posted
on
Mon, Nov 11, 2013 4:56 PM
Thanks Skip. I've tried to find another miter saw blade with 200+ teeth to replace the one I have to no avail. I might eventually have to go the jigsaw route. |
|
T
tikiskip
Posted
posted
on
Mon, Nov 11, 2013 6:01 PM
Yup. [ Edited by: tikiskip 2013-12-03 09:14 ] |
|
K
KAHAKA
Posted
posted
on
Wed, Dec 11, 2013 12:16 PM
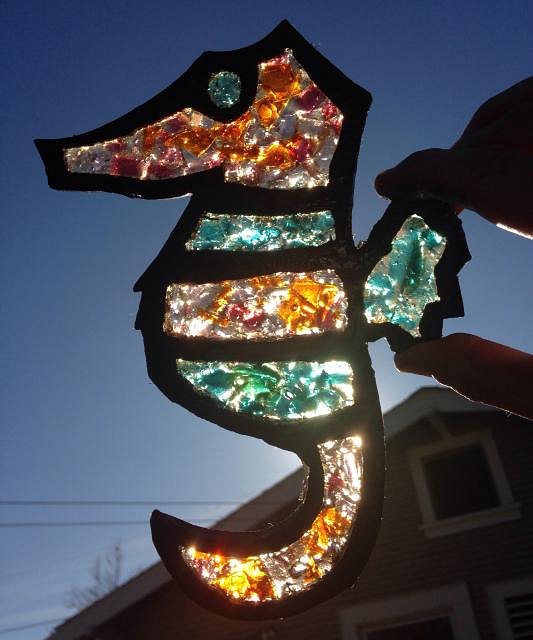
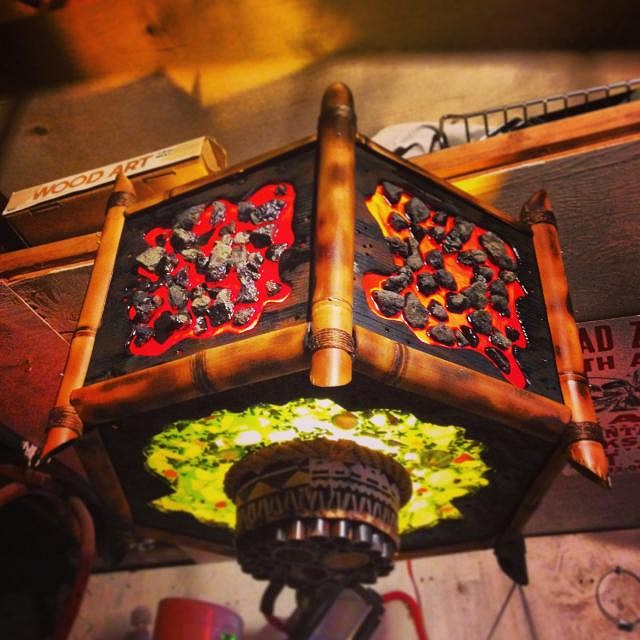
Aloha, I've wanted to try a seahorse panel lamp for some time now, so I'd been saving all of my leftover resin and smashing the pieces into tony bits to collect enough for a faux stain glass effect. I'm guessing there's over 25 hours in this project and over 4 pounds of resin. There's a lot I learned through making this one, but I'm glad to be done. This one is going to my brother and his family for Christmas.
Mele K, |
|
H
hiltiki
Posted
posted
on
Wed, Dec 11, 2013 7:57 PM
You are so good. |
|
K
KAHAKA
Posted
posted
on
Wed, Dec 11, 2013 9:15 PM
Ha... Nope. This one was for a customer in Illinois. I'm guessing he has really tall ceilings! |
|
K
KAHAKA
Posted
posted
on
Wed, Dec 11, 2013 9:16 PM
Thanks hiltiki! I'm still learning. |
|
T
TikiPops
Posted
posted
on
Thu, Dec 12, 2013 10:21 AM
Woody, |
|
K
KAHAKA
Posted
posted
on
Tue, Dec 17, 2013 3:35 PM
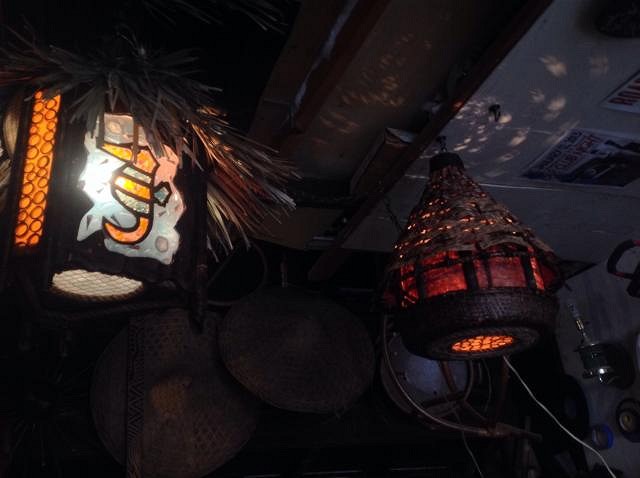
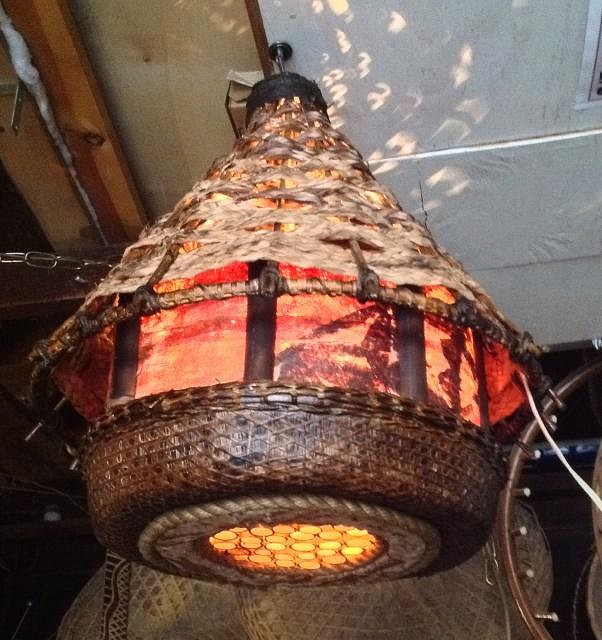
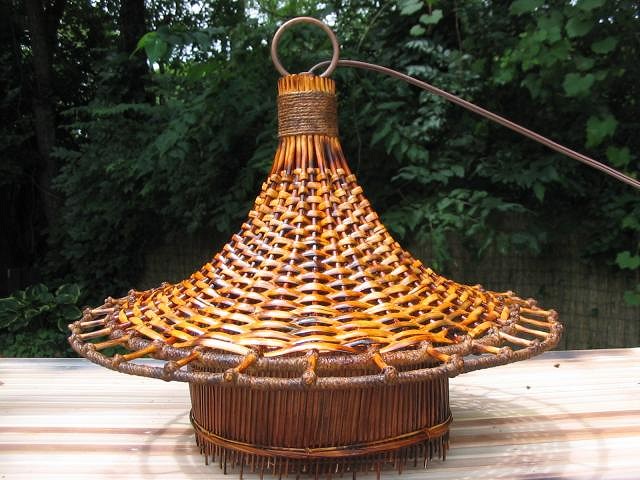
Thanks TikiPops... I'm digging the work you're doing on those lamps too. You're kickin booty with that router! I tried to make a hat that would fit on top of the seahorse lamp, but it was too dang tall. I used bamboo ribs that didn't flex much. I found out that rattan is the way to go from a certain lamp maker. :wink: I made another quickie lamp that would work with the hat. This one is going to my brother as well. Now he'll have 4, whereas I still don't have one of my own. One of these days....
Thanks for looking.
Custom Tapa Swag Lamps and Sconces Built By Kahaka [ Edited by: Kahaka 2013-12-17 16:57 ] |
|
T
tikiskip
Posted
posted
on
Tue, Dec 17, 2013 6:19 PM
Love the hat trick on the bottom of this light. Old Kahiki hat outa bamboo. New hat made outa rattan made with a method of mine. (I think that Franks cane and rush has photos of how I did it on their website Still) |
|
K
KAHAKA
Posted
posted
on
Thu, Dec 19, 2013 11:16 PM
I didn't have any references making this hat, other than pics I found of old Orchids' lamps, but I think I've figured out the necessity of an upper ring to give it the bell curve. Learning seems to happen along that same curve. |
|
K
KAHAKA
Posted
posted
on
Sat, Dec 21, 2013 1:24 PM
And that hat you made is incredibly bitchin there, TikiSkippers. |
|
T
tikiskip
Posted
posted
on
Sun, Dec 22, 2013 7:38 AM
Thanks KAHAKA, "I didn't have any references making this hat, other than pics I found of old Orchids' lamps" That's how I do it that and getting lucky and buying lots of lights from the Kahiki and |
|
K
KAHAKA
Posted
posted
on
Fri, Jan 10, 2014 9:30 PM
Aloha, Here's the last lamp I completed for 2013. This was a custom order by Forgotten Tikiman. Thanks buddy!
Cheers, |
|
AF
A Frame
Posted
posted
on
Fri, Jan 10, 2014 10:06 PM
Nice...an excellent outcome seems to be the norm when you create! |
|
T
TikiPops
Posted
posted
on
Sun, Jan 19, 2014 5:03 PM
Woody. |
|
F
foamy
Posted
posted
on
Mon, Jan 20, 2014 8:53 AM
Woof. Another excellent lamp maker. Very nice work. I gotta drop in more often. |
|
K
KAHAKA
Posted
posted
on
Thu, Feb 6, 2014 3:36 PM
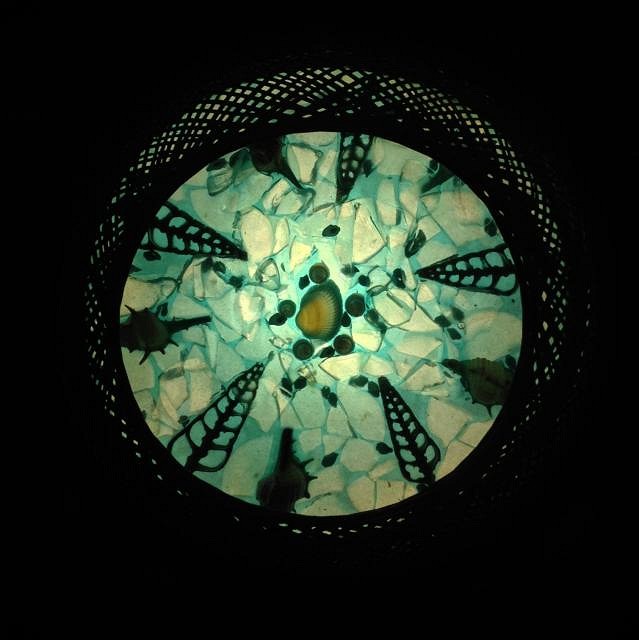
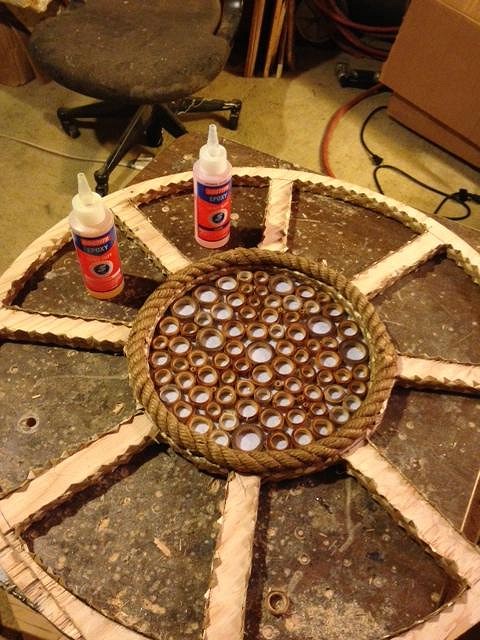
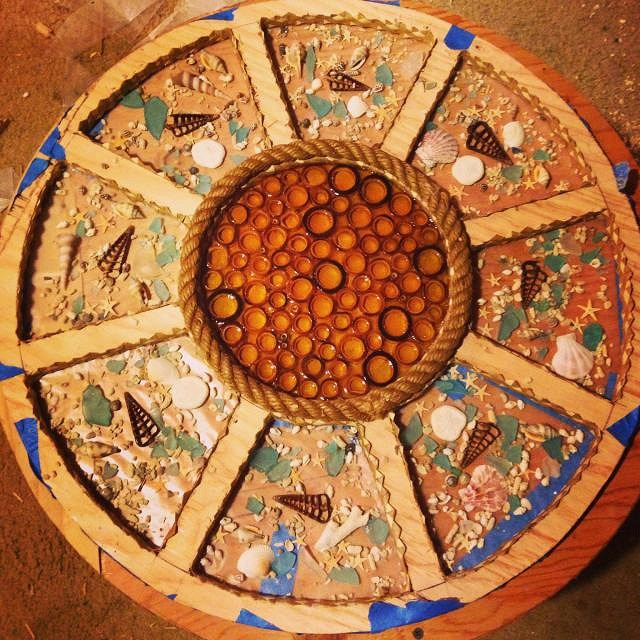
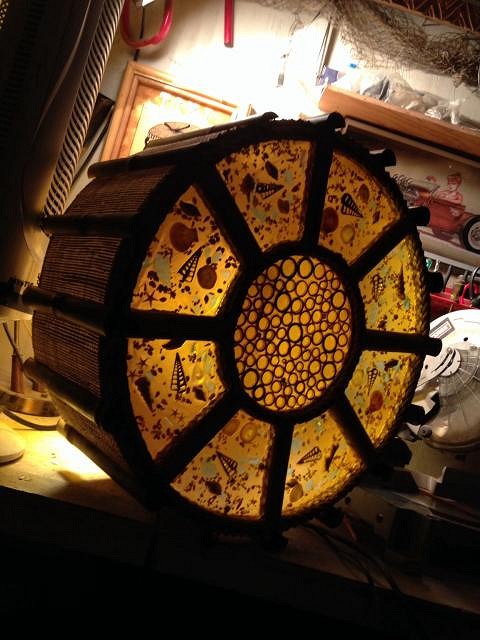
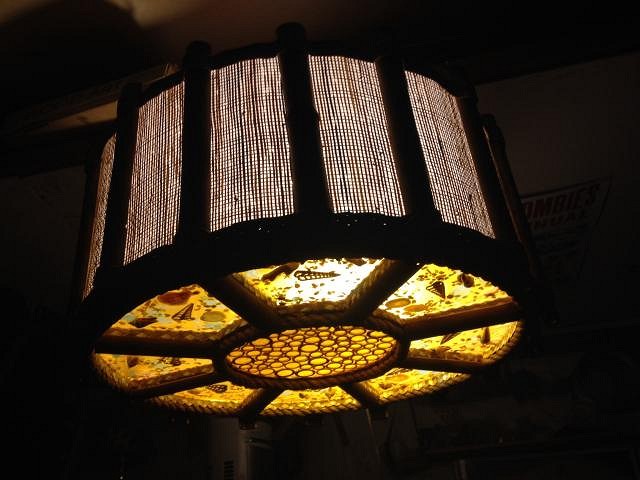
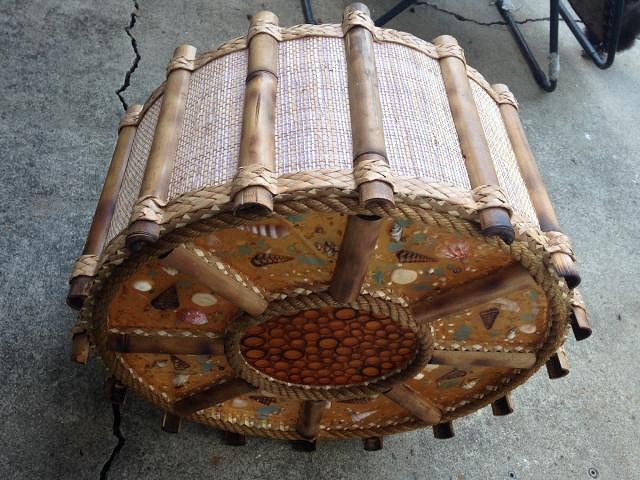
Thanks A Frame, TikiPops, and foamy! TikiPops... resin is fun stuff, just messy as hell, expensive, and fumy. It does open up windows of possibilities for lamp making! I haven't done a thread of a lamp build from start to finish in the ten years I've done this, so here goes. I'm making a drum style lamp with bamboo sides with a resin, ship wheel style bottom. I use this goofy caveman "tool" a while back to make my circles. I then divide the circle so that there are 8 spokes leading to the center circle.
After cutting out the windows between the spokes, I line all inner walls with woven edging I get from Benson's Imports.
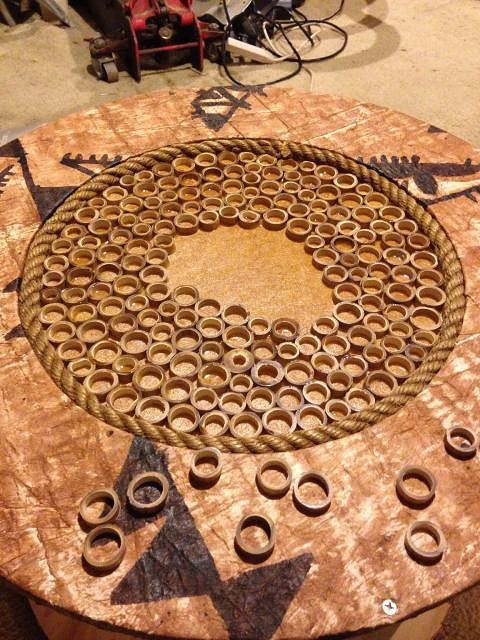
After cutting down some bamboo into 3/8" trivets, I use 2 part epoxy to glue the pieces into place on a sheet of synskin, before I pour the colored resin over the top.
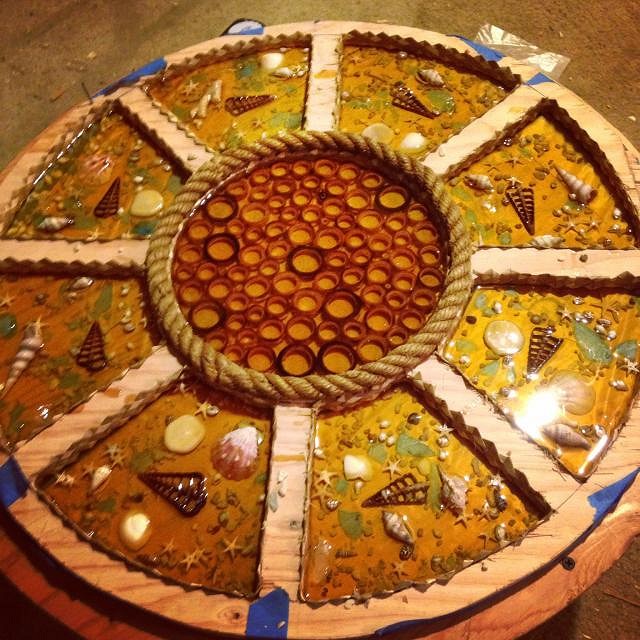
Next to fill the other windows with shells, and pour the resin... |
|
T
tikiskip
Posted
posted
on
Fri, Feb 7, 2014 5:44 AM
Lookin good. |
|
K
KAHAKA
Posted
posted
on
Sun, Feb 9, 2014 7:20 PM
We still need to do that trade, TikiSkip!! |
|
BK
Big Kahuna
Posted
posted
on
Sun, Feb 9, 2014 7:29 PM
Kahaka, you're killing me! Dude, your stuff is amazing! Thanks for the in-progress pics! |
|
K
KAHAKA
Posted
posted
on
Sun, Feb 9, 2014 7:59 PM
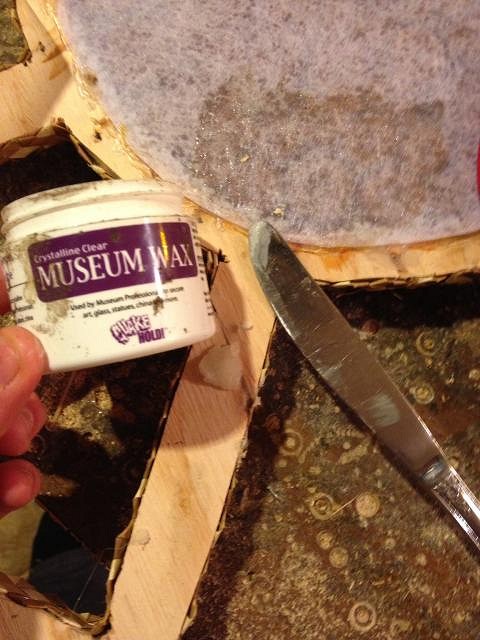
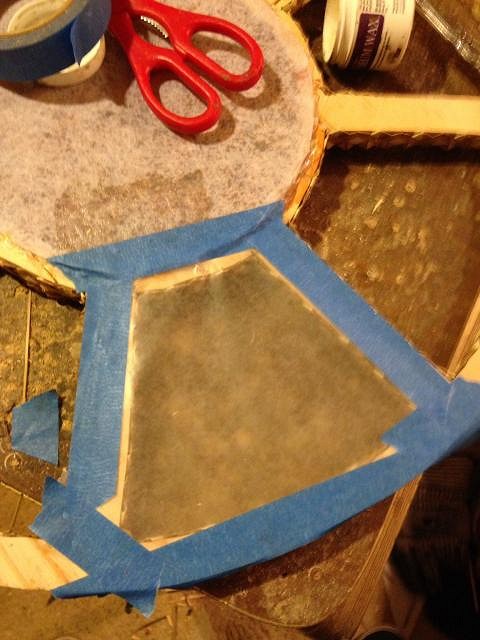
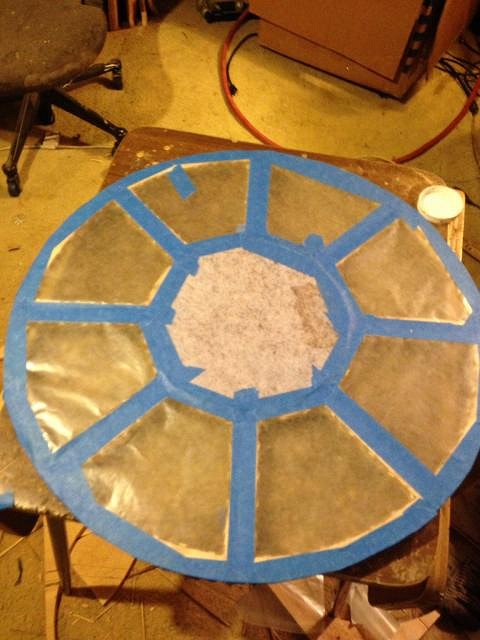
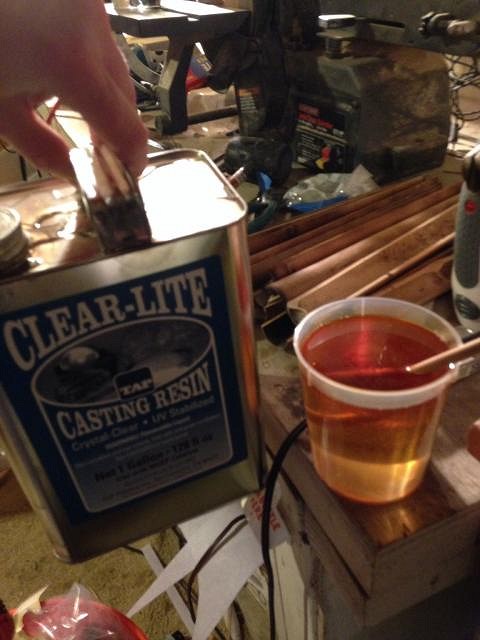
Resin! I use this wax to dam up the imperfections in the wood so the resin doesn't run all over hell. Then I use wax paper for the panels and painters tape to prep for the resin. Wax paper pulls off cleanly- doesn't stick to the resin once it hardens.
All the panels taped up. This is the resin I use... I get it at Tap Plastics. Poured. Ready to work with in about an hour. Next up, the sides and bambooing.
Custom Tapa Swag Lamps and Sconces Built By Kahaka [ Edited by: KAHAKA 2014-02-09 20:03 ] |
|
BK
Big Kahuna
Posted
posted
on
Sun, Feb 9, 2014 8:56 PM
Great work! Your attention to detail is what makes your lamps so rad! |
|
V
VampiressRN
Posted
posted
on
Sun, Feb 9, 2014 9:39 PM
One of these days I am going to have to get a Kahaka lamp. Although I was thinking it would go in the Tiki lounge, I lately have been thinking the dining room might be a better fit. Sure I was just going to keep Tiki in one room of my house but I got some creep going on...LOL You do beautiful work. |
|
ATP

Atomic Tiki Punk
Posted
posted
on
Sun, Feb 9, 2014 9:43 PM
Is that your car key in the resin? |
|
T
tikiskip
Posted
posted
on
Tue, Feb 11, 2014 5:06 AM
Going to sell all Tiki, I'm going Spanish conquistador!!! Jokes aside, I have already got some new tips here. |
|
K
KAHAKA
Posted
posted
on
Tue, Feb 11, 2014 6:25 PM
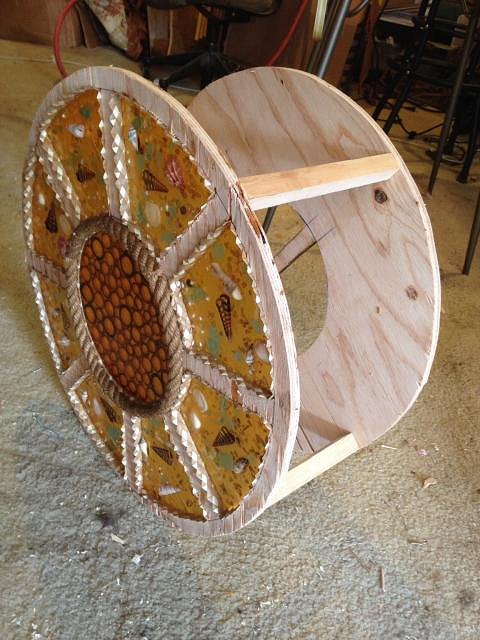
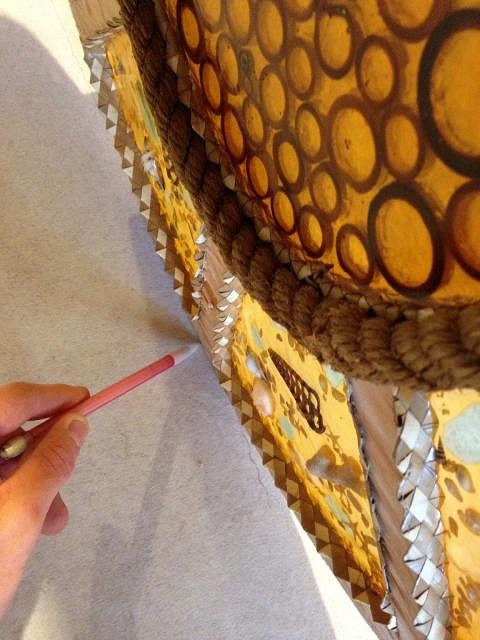
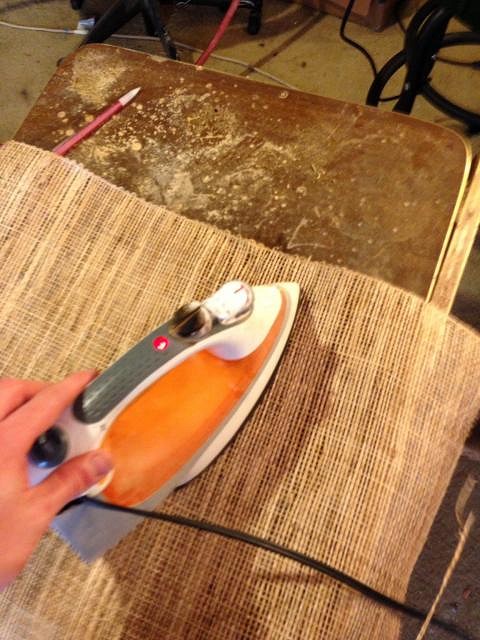
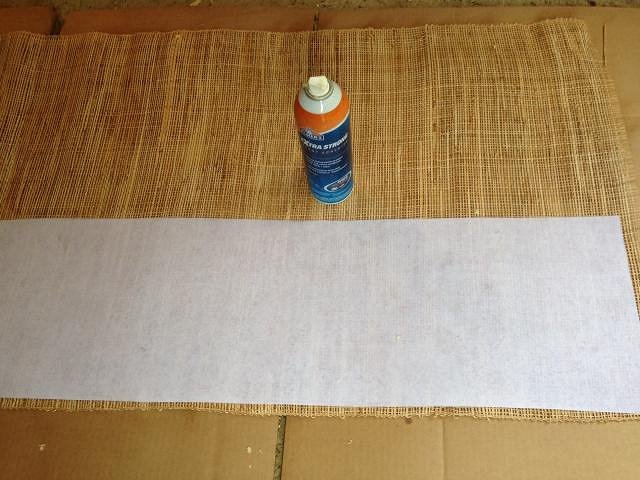
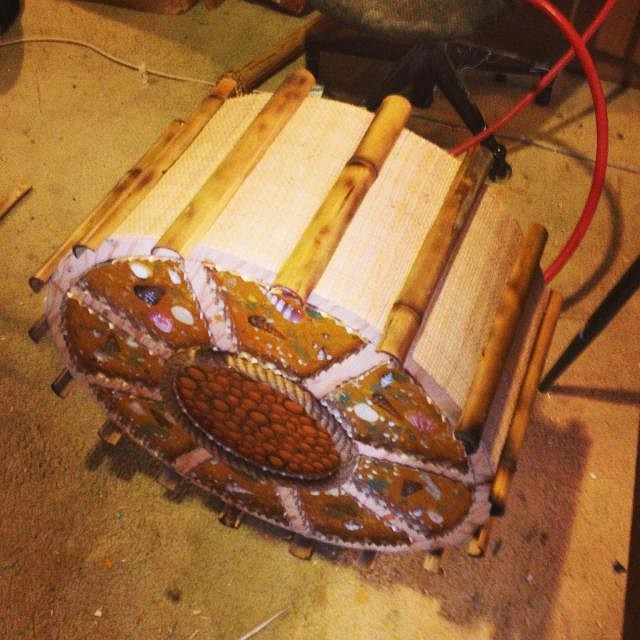
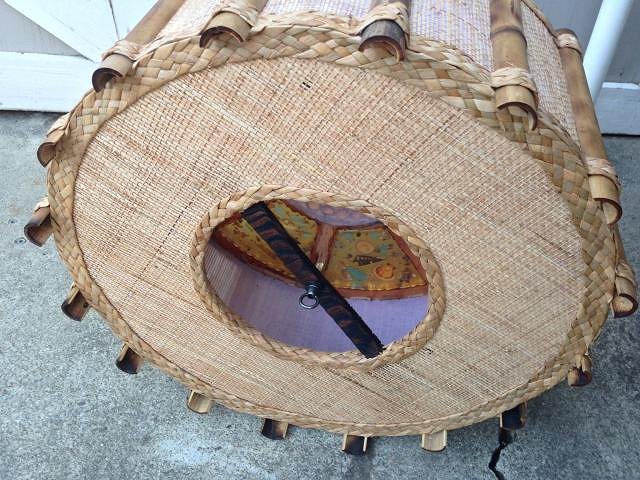
I lost all 8 of my keys in the resin on this one! BigK, thanks man! I'm havin' fun with it. I've wanted to do this for a while, Skip. Your how-to-threads were/are always fun to watch and inspiring. Glad you've found something useful in this one! Next steps! After the bottom is done, I join it to the top circle with four beams. The top piece has an open center to provide access to the bulb. Then I lay out the synskin I'm going to be cutting out to adhere to the abaca matting I'll be wrapping around the frame. With pencil, I trace the edge of the frame as I roll it to find out how much I'll need, then repeat on the other side, then cut it out. The synskin will defuse the light from the bulb and give the sides the necessary glow. I like to iron out the abaca matting to get rid of the creases before spray gluing to the abaca.
Synskin adhered to the abaca.
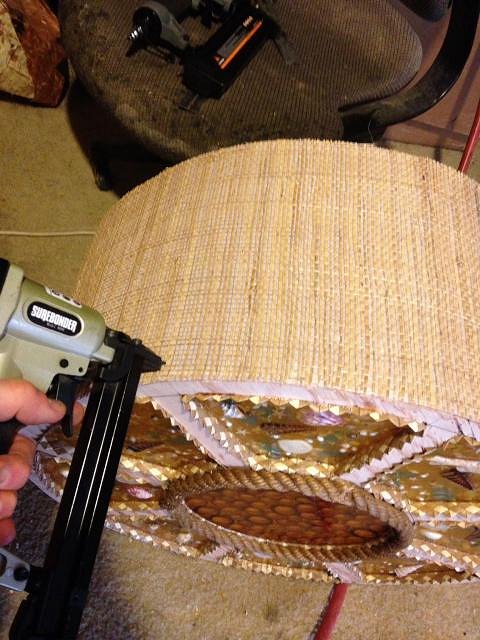
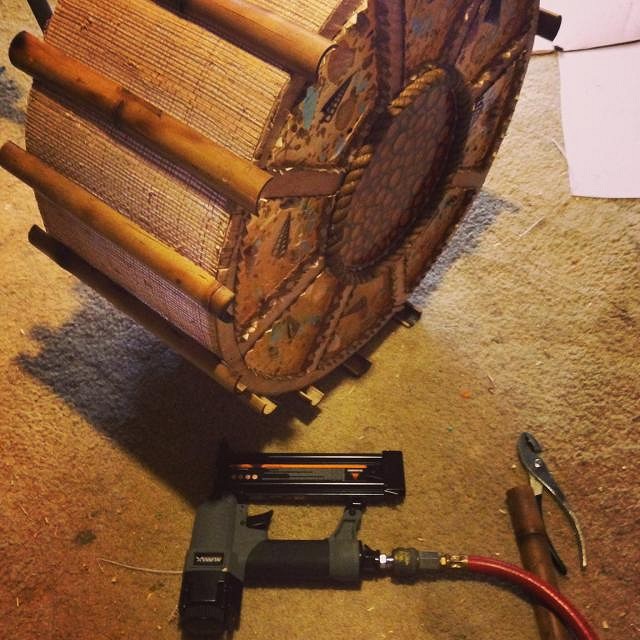
When I moved to the house we're currently in 2 years ago, I was finally able to set up my air compressor in my work space. All previous work spaces were too small to even allow me to use it. Hot dog, I love this thing. I use a pneumatic stapler to staple the matting to the frame. I also recently bought an air nailer, which I used to nail on the bamboos.
Finishing steps up next! |
|
K
KAHAKA
Posted
posted
on
Tue, Feb 11, 2014 6:26 PM
And I'd be happy to make a lamp for ya, VampiressRN! |
|
T
tikilongbeach
Posted
posted
on
Tue, Feb 11, 2014 6:33 PM
That looks beautiful! That lamp would really catch a person's eye with all of the details. |
|
M
Murph
Posted
posted
on
Wed, Feb 12, 2014 1:08 PM
Lovin' the tutorial! |
|
M
Monkeyman
Posted
posted
on
Thu, Feb 13, 2014 12:28 PM
Inspiring as always..... |
|
H
hiltiki
Posted
posted
on
Thu, Feb 13, 2014 5:05 PM
Can't get any better. |
|
ATP

Atomic Tiki Punk
Posted
posted
on
Thu, Feb 13, 2014 7:04 PM
Now your giving away all your secrets, looks great! |
|
K
KAHAKA
Posted
posted
on
Fri, Feb 14, 2014 4:06 PM
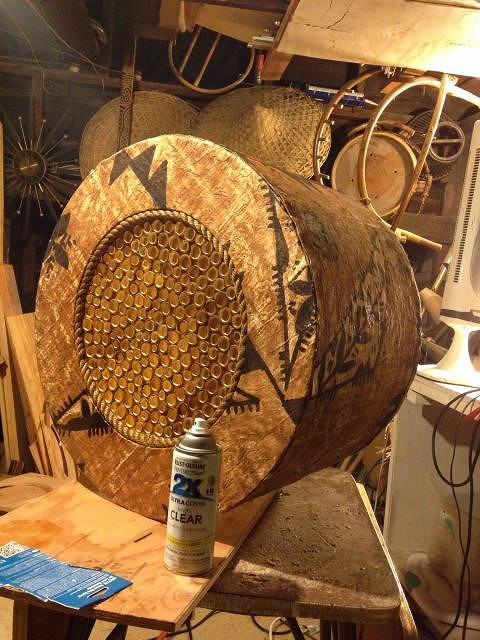
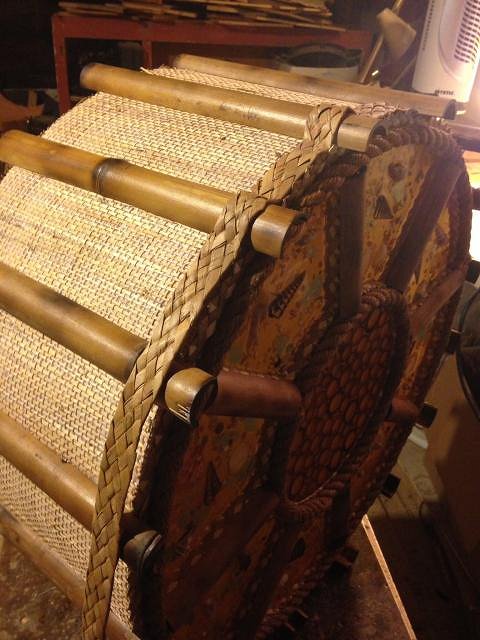
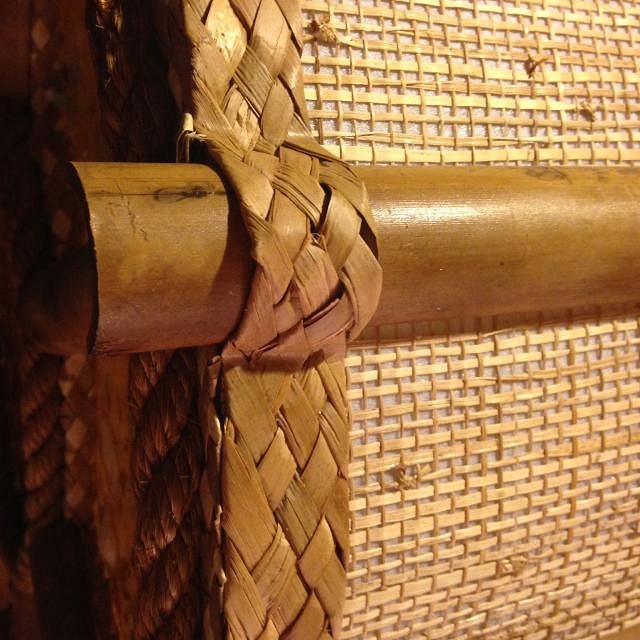
Thanks for the kind words ya'll! Next up... Edging. I use this woven material found at Oceanic Arts and Benson's. I iron it flat before hot gluing it on. I iron it again after I've glued it to spread the glue around and to get a tight fight around the bamboo.
|
|
K
KAHAKA
Posted
posted
on
Fri, Feb 14, 2014 4:12 PM
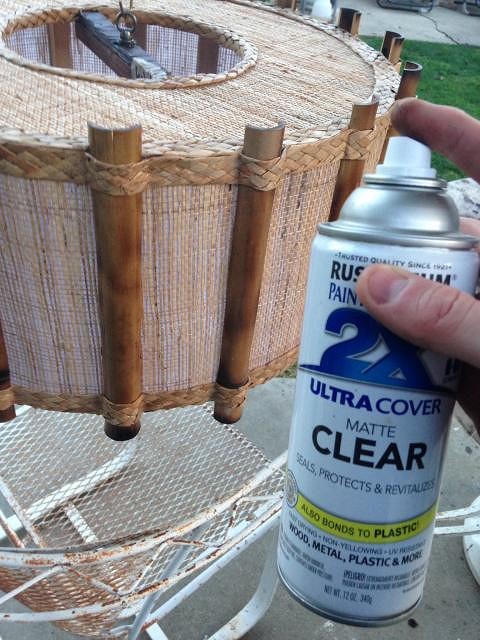
Then I coat the bamboo with a few coats of this matte clear to bring out the color in it and to protect it.
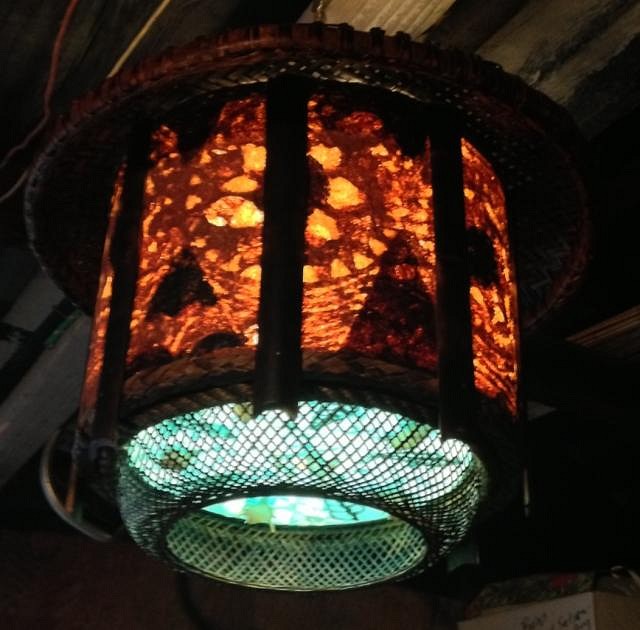
And that's a wrap! Lotsabamboo with the Shipwheel Resin Bottom, headed to Texas. Mahalo! |
|
S
SandraDee
Posted
posted
on
Fri, Feb 14, 2014 6:30 PM
Regardless of the fact that you sign your posts "Woody" I never put it together that you were the same Woody that is Notch's friend until recently. Yes...I catch on quick! Awesome lamps as usual. Crazy how much work you put into these things but man does it pay off in the end! [ Edited by: SandraDee 2014-02-14 18:30 ] |
|
TT
Tiki Tonie
Posted
posted
on
Fri, Feb 14, 2014 8:01 PM
Wow, they're all so awesome!!!! Do you do any table lamps? |

