Pages: 1 2 3 4 5 6 7 8 9 10 11 12 13 14 15 16 17 18 19 20 21 22 23 24 25 26 27 28 29 30 31 32 33 34 35 36 37 38 39 40 41 42 43 44 45 46 47 48 49 50 51 52 53 54 55 56 57 58 59 60 61 62 63 64 65 66 67 68 69 70 3,332 replies
|
LLT
little lost tiki
Posted
posted
on
Sat, Apr 16, 2022 8:57 PM
So.... What's New? Oh! Doug Horne,BigToe,McBif,and Myself designed a NightMarchers bowl! it was supposed to be for last May's "Seven Voyages of the Gargantuas" exhibition. Part of the annual Gargantua shows we've been doing since forever ago..... Actually ALMOST ten years but we're not quite arrived at 10 shows yet... Some shows need to brew longer than others' guess! Anyways... here's my pieces for that show
I got the Wild card category this year and chose..... STILL LIFE!
Oops! Got distracted!
As soon as we started offering the remaining Nightmarchers bowls,
I was keen on Custom painting a few.... because....that's something I LOVE to do!
There still may be some available on my KenRuzicStudio page on Etsy if'n you just gotta adopt one! Well, that's about it for this post... Who Knows what the next post will Cover? So much Art to catch up on! Aloha until LATER!
:)
[ Edited by little lost tiki on 2022-04-16 21:01:21 ] |
|
LLT
little lost tiki
Posted
posted
on
Wed, Apr 27, 2022 3:12 PM
Hello Everyone! Finally finished a Pyrographical Wonder this Week!
And the BEST PART.......
is that each stage was recorded so I could give all my friends a lil' walkthrough
concerning how to create one... My hope is that this inspires you all to create wonderful pieces,
as well as revive an often glossed over tool to create Art!
Ready?
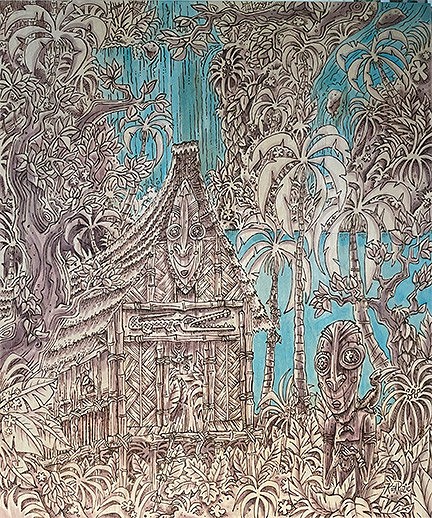
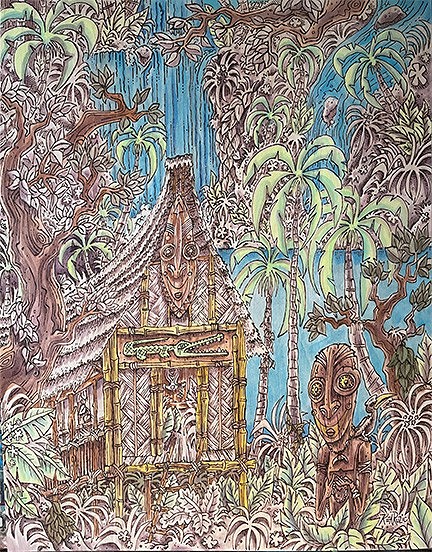
" Listening to the Waterfall" 16 x 20" pyrography and acrylic tinting on wood
Heeeeeeere We GO!
First off, you need some Wood!
Maple is the BEST but $$$$$
Poplar is a great less expensive substitute
and Basswood is pretty forgiving....
I mostly burn on Basswood,as it has a Light grain and when I turn up my temp on the woodburn
it feels like I'm just drawing, which is a great comfort zone for me when wielding a red hot instrument of art!
|
|
S
seagoat
Posted
posted
on
Wed, Apr 27, 2022 4:17 PM
Good stuff Kinny!! Thanks for the walk through. Have used my Colwood a few times but not nearly enough. |
|
H

Hamo
Posted
posted
on
Wed, Apr 27, 2022 6:29 PM
This is super cool. I've been thinking about trying some woodburning for awhile. thanks |
|
H

hang10tiki
Posted
posted
on
Fri, Apr 29, 2022 8:18 PM
Wow Great walk through my friend I used my wood burner to put the scales on the 4 snake walking sticks I made (took about an hour an inch to make) so I can appreciate your skillZ. I’ve only made one wood burning piece, a portrait of our pups. Looking forward to more wood burning! Cheers to you and to another great page of your art. |
|
WC
Will carve
Posted
posted
on
Sat, Apr 30, 2022 10:27 AM
Ken, How can your stuff keep getting better & better? Tell me. [ Edited by Will carve on 2022-04-30 10:28:18 ] |
|
T
tikiskip
Posted
posted
on
Sat, Apr 30, 2022 3:44 PM
Wow that was a lot o work. Great tutorial! And you are cranking out the art. Had a chance to buy a box of that woodburning stuff at a tag sale, but did not. |
|
B

bamalamalu
Posted
posted
on
Sun, May 1, 2022 4:46 PM
Wow - Love it! And it's so cool seeing all the steps as it came to life. |
|
LLT
little lost tiki
Posted
posted
on
Wed, May 11, 2022 10:25 AM
Wow! Thanks kids for all the kind words! sea goat-you've got skills aplenty in a variety of mediums. it helps to hone them every half year or two.. woodburning is like riding a bike....on fire! lol Hamo-So happy so many folks are thinking of taking the woodburning kits out for a dust-off and drive! Can't wit to see what is born from these loving prompts... hang10tiki-Cheers to you my friend! and remember the BEST works are ones that are Made! So let's see you bust out and make it TWO wood burnt pieces! Will carve-So many of the old-Schoolers on here! What a joy! I just show the pieces that Succeed... There's plenty of rejects that get painted overland redone... I strive to get better but it's so incremental, I never notice it until 6 months later! Thank you for the enthusiasm! Hey Skip! was just writing back and forth with Michael from Sunken Studios and your name came up! Heard a rumor there's gonna be a LampJAM in your future and I am excited to see what you boys create! Pyrographical details on a lamp might been your future if you come across another kit in the wild! bamalamalu-Thank you kindly! Been taking shots of my two latest pieces ,so there will be another step-by-step VERY SOON! Since we all spoke last, was tapped to create a tee design for the Bamboo Club here in So Cal
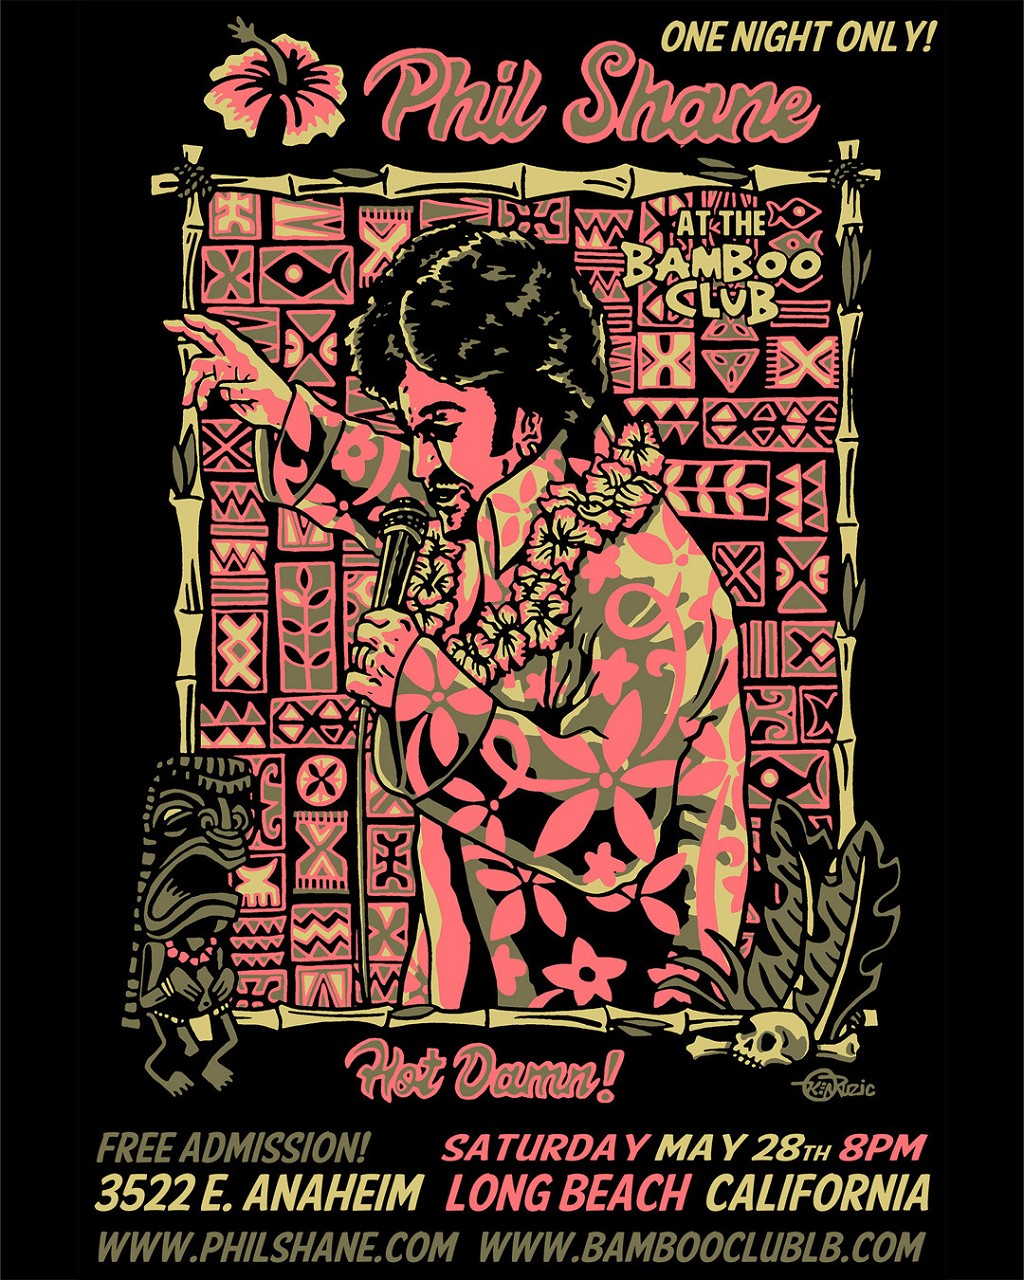
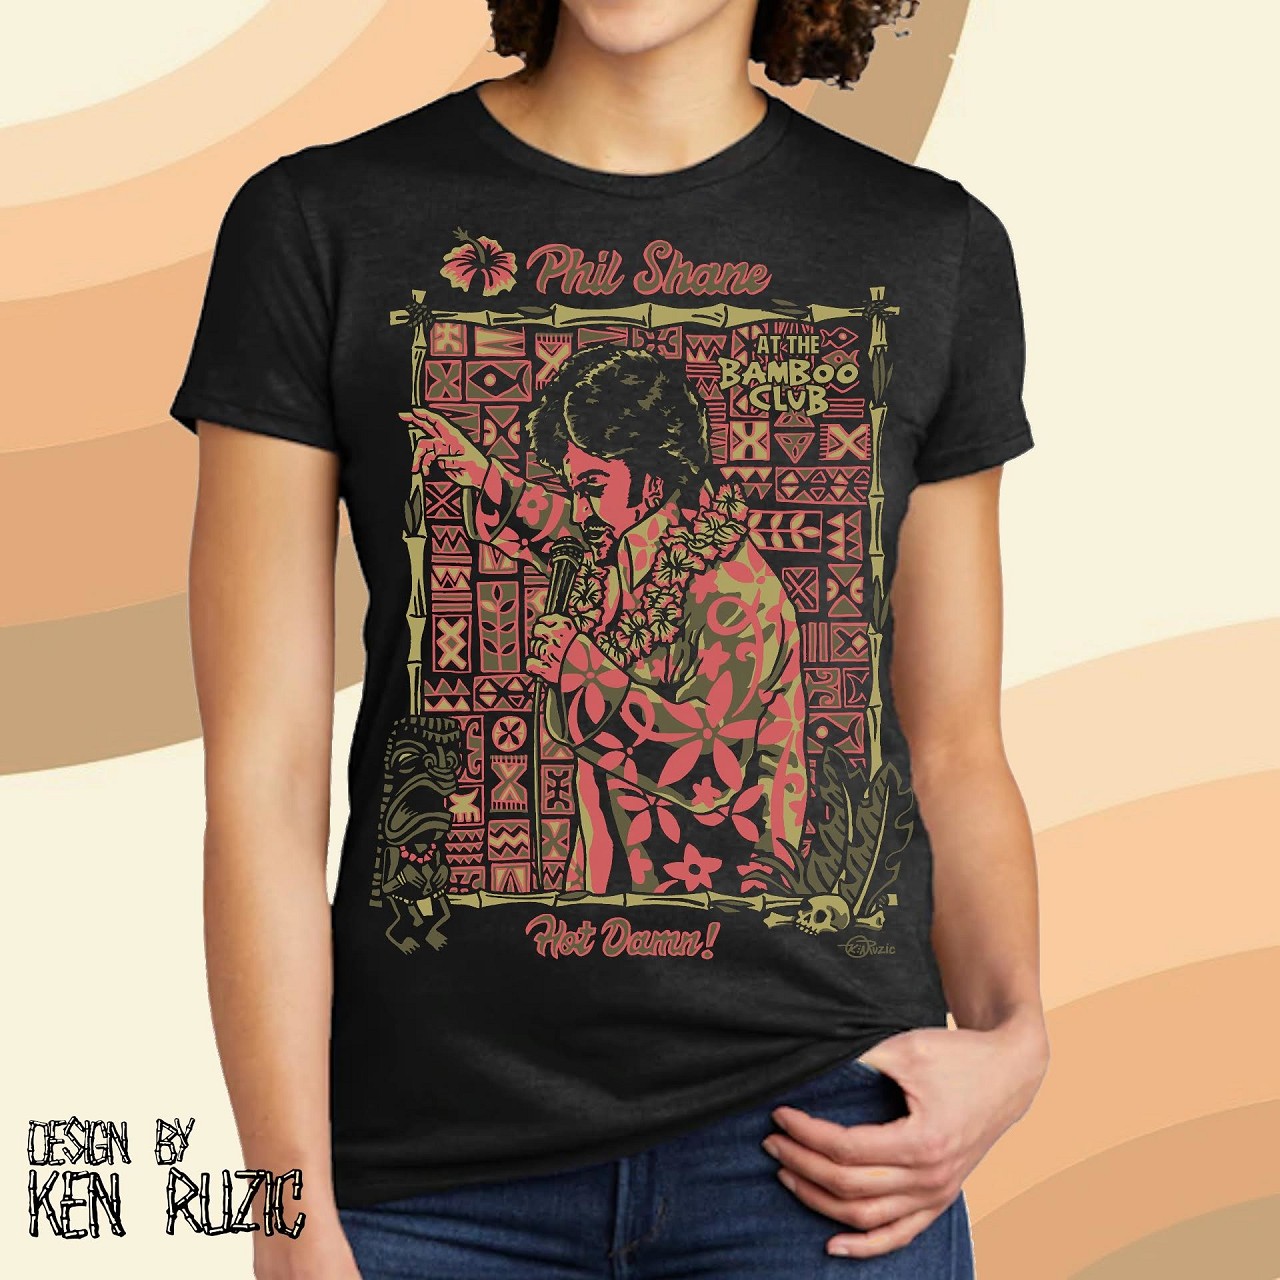
to commemorate a great entertainer and dear friend,Phil Shane!
Here's the tee design and info if you'd like to go!
ONE NIGHT ONLY!
Premiere Performance by OC’s Most Beloved Entertainer
PHIL SHANE!
http://philshane.com
LIVE! At the Bamboo Club
Saturday May 28th 8pm
3522 E. Anaheim in Long Beach
FREE Admission!
Come Down and Enjoy an evening of Song,Cocktails and Dancing
With a Performer like No Other!
Special Commemorative T-shirts will be available at the event
They are Currently Available on the Bamboo Club LB website!
Art by Yours Truly and available in a range of sizes
https://www.bambooclublb.com/.../bamboo-club-everyday-tee...
They also will be available at a special price the night of the Show only at the Bamboo Club
Phil has been the Touchstone for Entertainment in Orange County for over 30 years!
If you haven’t experienced his Unique blend of Americana and Popular Music
THIS IS YOUR CHANCE! and I will see you ALL very Soon
and with a Brand new Tutorial!
|
|
LLT
little lost tiki
Posted
posted
on
Tue, May 17, 2022 10:05 AM
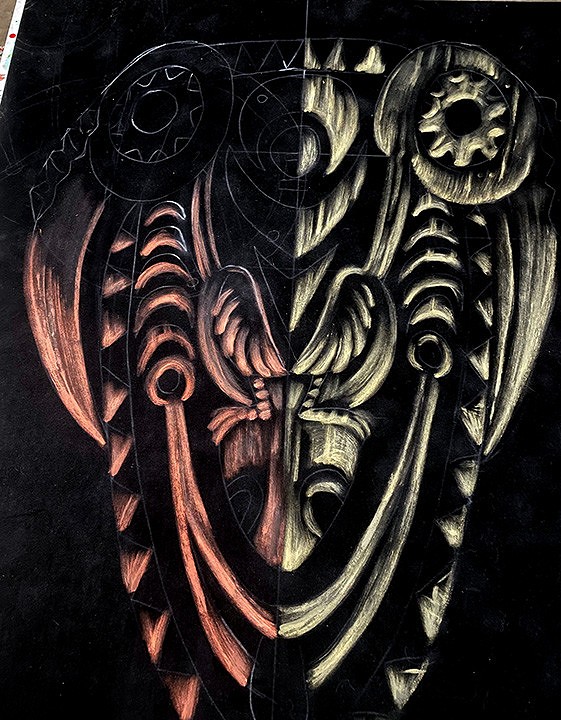
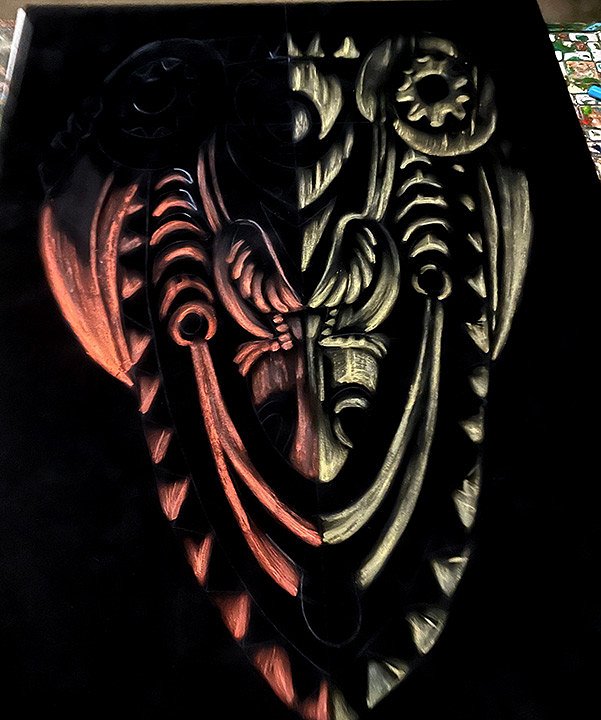
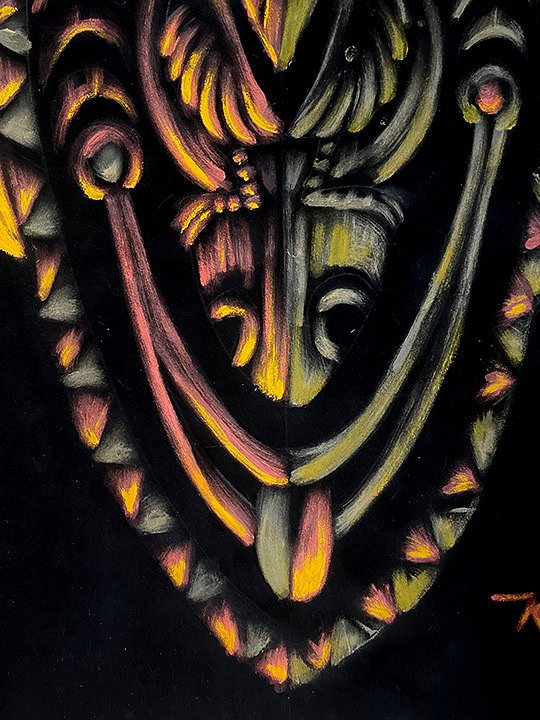
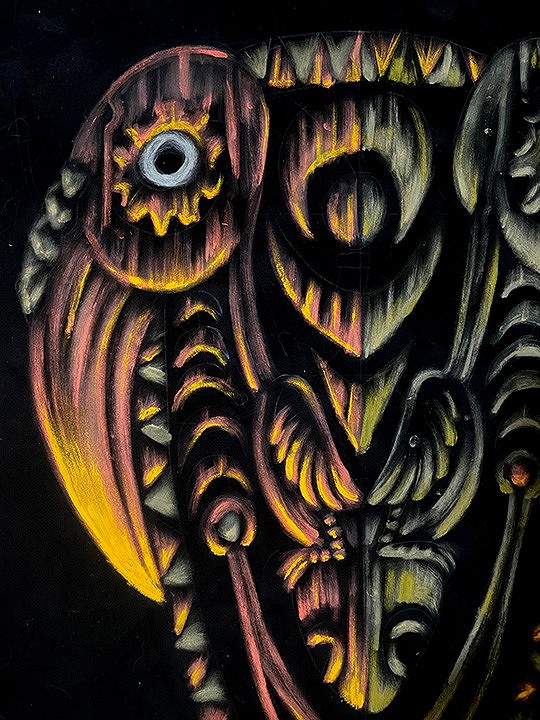
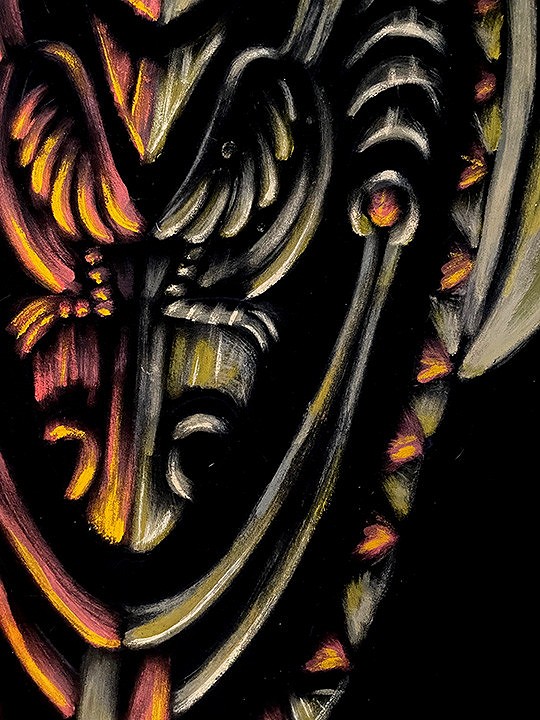
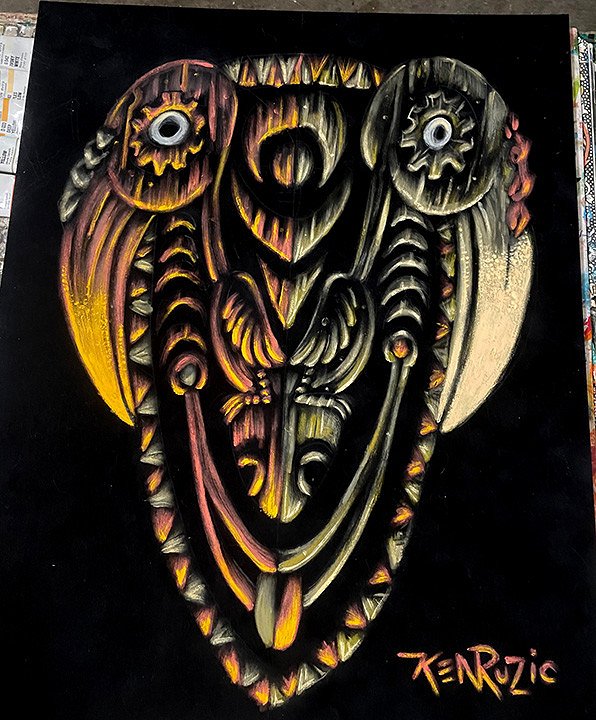
Acrylic on matte suede matboard-the poor man's velvets I like to call it... (actually,the more forgiving velvet would be a more accurate term....) We're going to make a PNG Hornbill mask today! YAY!
Step One! Pick an Image!
Got to work on my 104th-5th and 6th sketchbooks during the lockdowns there were plenty of images to draw on.....
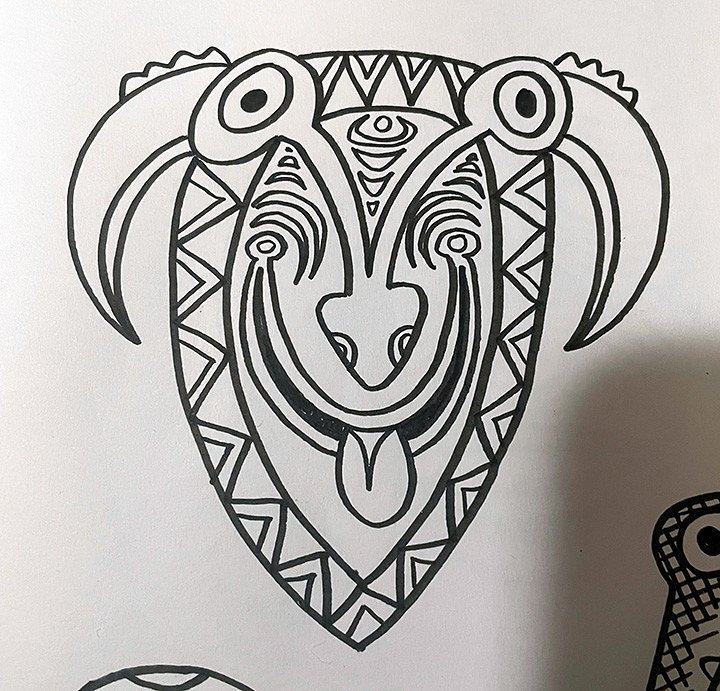
These 2 doodles of a Hornbill and a croc mask fit the bill!
Let's start with the Hornbill mask first!
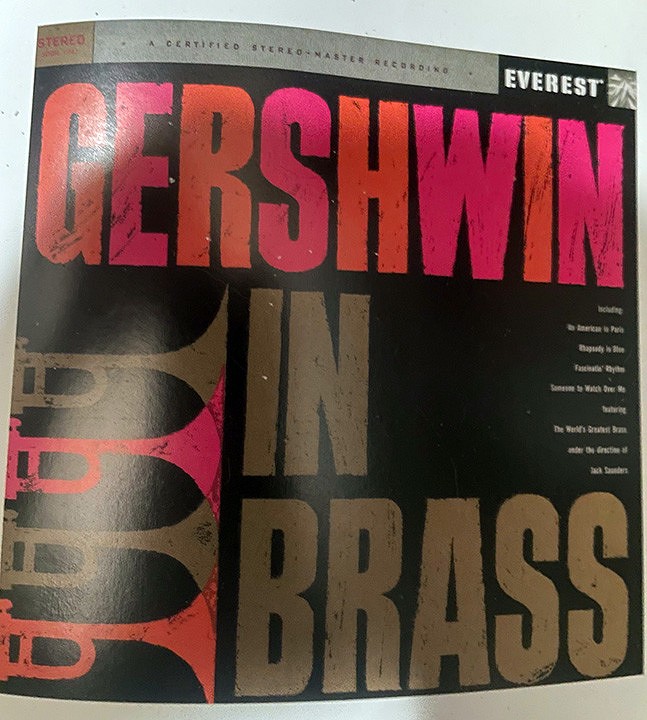
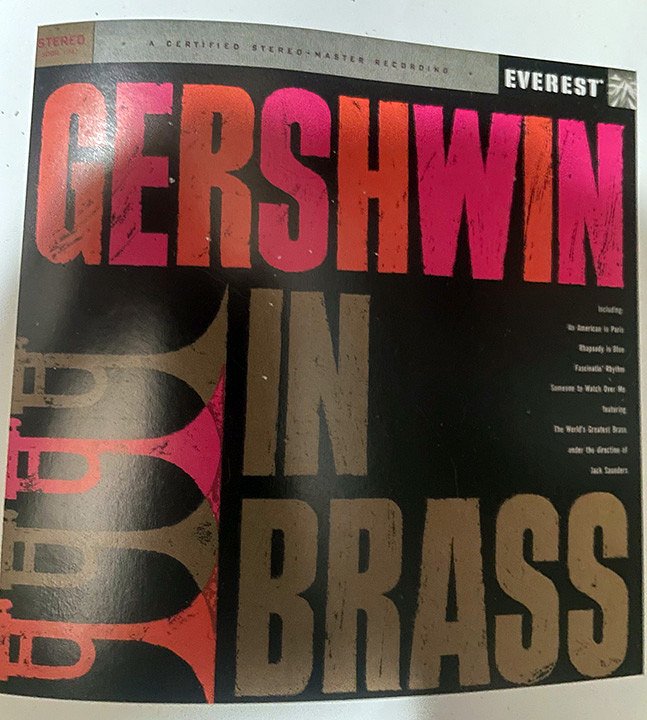
I stumbled across this wonderful color way and design conceived by Alex Steinweiss (look him up!)
and decided to try a color way similar,but more toned down and not as intense...
That way, the design won't be TOO in your face and still has the intensity of color upon a black surface...
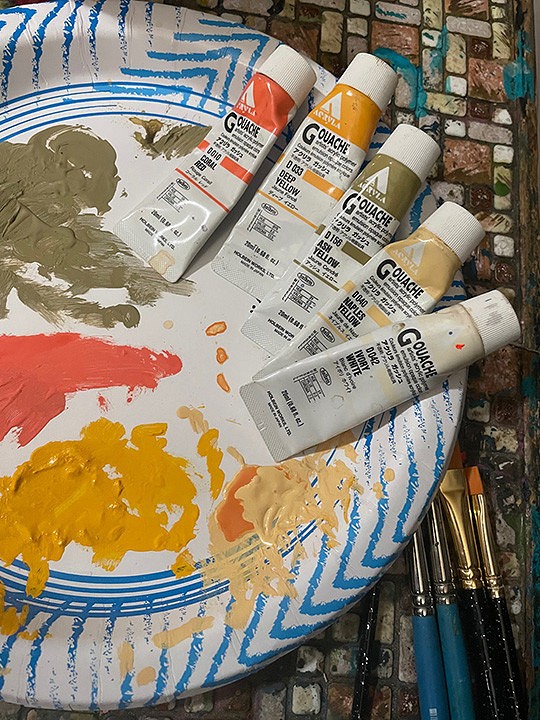
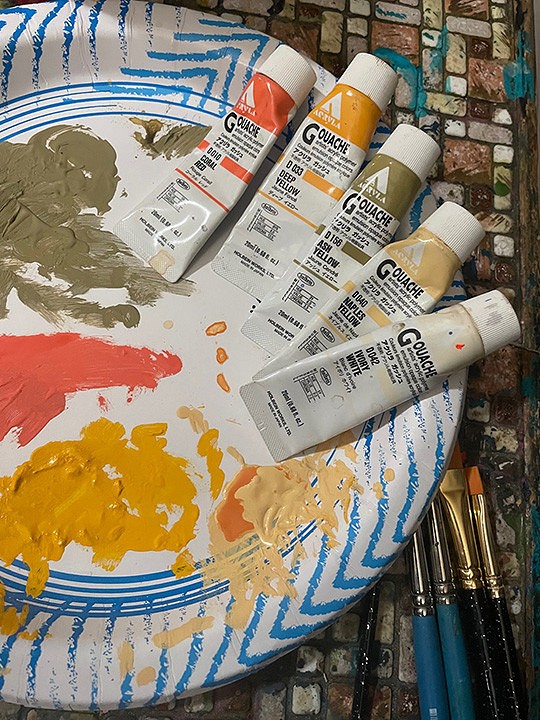
Here are the colors I chose... it helps to use acrylics for these pieces,as you really don't want to try to seal it,because of the surface you're working on.... If this is bound for a well occupied Tiki Bar, I would suggest it being framed in glass....... cuz....drunk people! lol I've used acrylics, cel vinyl, leather paint, and acrylic gouache for these forgiving velvets. This one we'll be using acrylic gouache.... Gouache is an opaque watercolor,and is available as an acrylic. The real gouache is such a great consistency for blending etc... it's like painting with toothpaste with a slight gritty texture... the acrylic gouache is smoooooother... Gouache was the go-to medium for all those men magazine covers from the 50's/6o's
easy to blend/fast drying.....the perfect medium for the job!
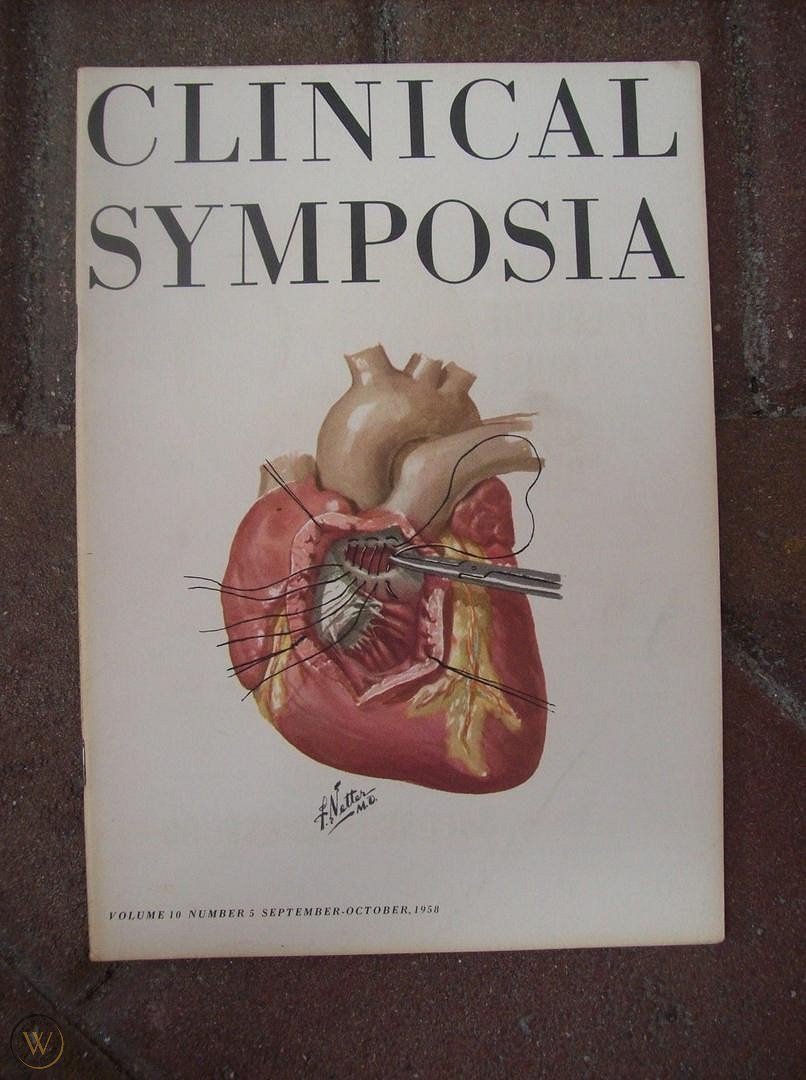
I first discovered gouache while leafing thru an ephemera box at the local thrift Store
here's the cover.....
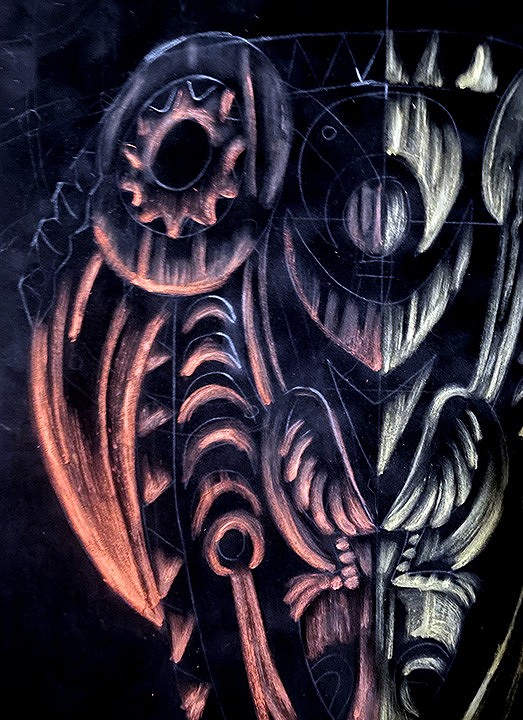
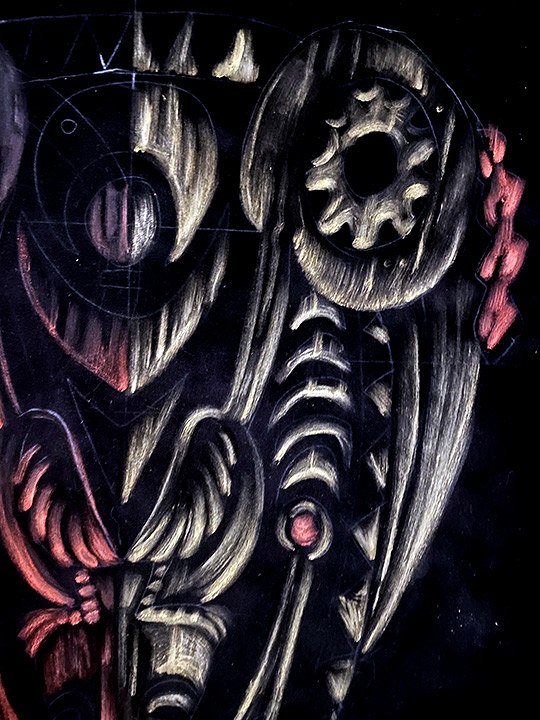
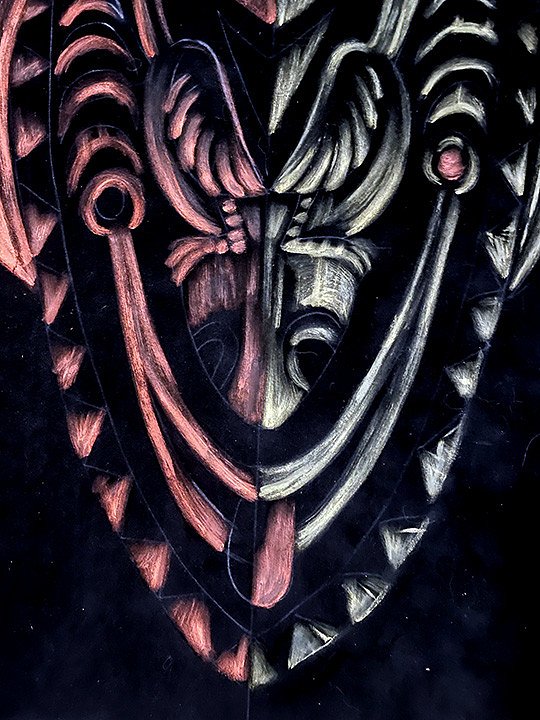
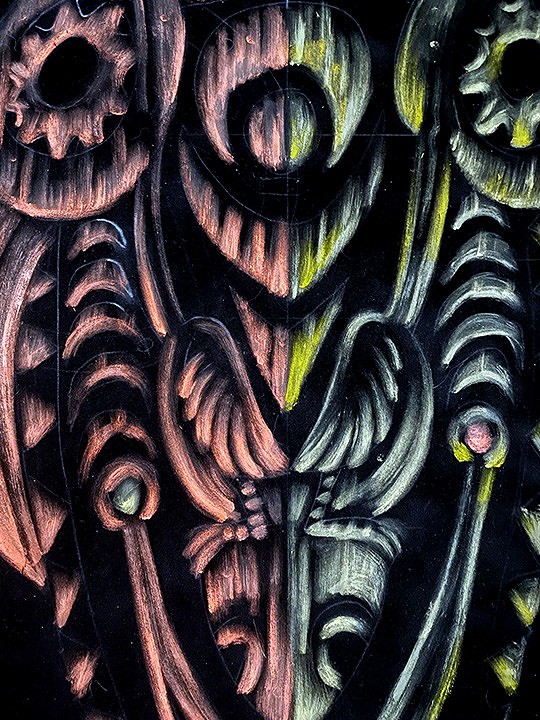
fascinated by these gorgeous illustrations of surgical procedures' sought out what was used to render these and the rest is trivial artistic development history! So what have we learned so far today? Regular Gouache on watercolor paper is DIVINE! has a toothpaste slightly gritty feel that is a joy to play with....please try it... Acrylic Gouache... smoother than the regular gouache texture Alrighty! We've covered the visual inspiration for the piece the medium to paint it on and now for the surface.... Black Suede matboard... the forgiving velvet... Woody miller was kind enough to share that tid-bit when I was bemoaning how difficult velvet painting was, and how I was intimidated and discouraged by the surface. be sure and check out his wonderful paintings! The boy is Master of Many Disciplines and All around FAIRLY Cool guy! :) https://www.woodymillerart.com Here's where I get Black Suede matboard (which...I think comes in other colors too! but more of that later....) I go to the local frame shop and order two pieces I have them cut one into 4 16 x 20" pieces and the other into 16 8 x 10's or 8-8x10's and 2 16x20" pieces always remember to cut these into standard frame sizes...or you'll have to custom frame it or exhaust yourself finsding a frame.... Where velvet is "bushier" and a fabric, it bows when you press the velvet with a paint filled brush While a soft hands good for velvet painting, I prefer to ground myself by tackling harder surfaces... wood/masonite-artboards/panels....canvas in a pinch, but again... the surface reacts with the brush as it slides and it's no longer a straight solid surface..... SOLID is my jam, tho a soft feathery hand is good for detailed shading, don't get me wrong... I got a little ahead of myself and forgot to show a picture of the initial underdrawing /paint guide I lightly sketch the image with a white PASTEL pencil.... DONT use a regular colored pencil.....just DON'T and don't go gettin all clever and try a Water-soluble white pencil.... Because you'll have a BAAAAAAAD time trying to remove it after your painting is finished. and while getting peeks at the underpainting is acceptable
like Bruegel ...and he's a real artist who knows exactly what is necessary for the work....
One thing to consider is that there is going to be an initial SHOCK when you first lay paint down....
the contrast is something to be tamed and utilized as you start giving it dimension thru the illusion of light...kinda.
And you'll also see why I held back on the intensity of the colors
(Hint: it makes it a little more moody and ...classy! lol
one thing with both velvet AND black suede velvet... you're gonna need to stay in One Direction with your brushstrokes... for now...this is how to get a smooth color fill and blends flik-flik-flik and lightly pull it in one direction... If you don't .... you get the TAPIOCA! the DIVIT! the PROBLEM AREA! the GLARING ERROR! amongst other names for this cursed malady that I still encounter on occasion if you go the wrong direction (especially before the paint is dry/cured) or push around too much paint you're gonna have a BAAAAAAD time.. The Saving grace of these masks are that they are made of wood! so I can apply cracks and grains and specks in order to distract or camouflage these wretched mistakes (also, when dry, these can be remedied by pulling a thin blanket of paint over the area just tuck it in ,say goodnight and voila! with some practice, these speed bumps can be disappeared!
I'm using the Ash Yellow,a green/brown it looks a bit bright because I upped the contrast to make the pencil stand out...
more paint applications for the areas where you WANT more of that color the areas where the light is illuminating the surface more True Velvet painters are much more careful and take time to seamlessly blend the colors to accurately capture the perfect rim lighting and atmosphere to practice economy of details to achieve both place and time.... Not this guy...this is more of a punk rock approach a means to an end and attempt to adapt my personal style of painting to this still unfamiliar medium. Which might be a cop-out,but it's been fun as the technique gets easier...
For this piece I was going to play with a concept from some black gessoed canvas paintings splitting it down the middle with 2 different colors and then lighting it from there.... these paintings on black gessoed canvas are a LOT easier than our current challenge but what's life without some adversity?
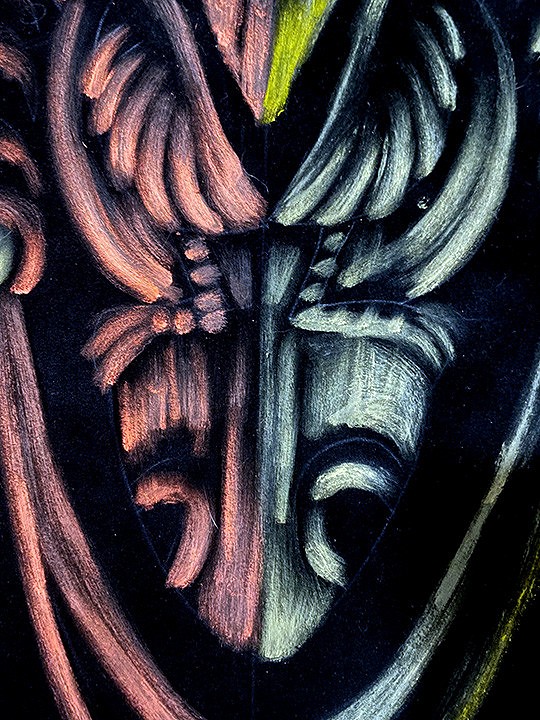
and with that info....here is the other side with Coral Red started
The Right side already has about 4 hours of building up the colors working on one area while another area dries enough to slowly add more color layering ONE DIRECTION! the trick is to create that illusion of a bright area where the light hits it and then to slowly fade that light as it spreads across that surface. if you have a dramatically lit tiki in your home bar
try a life study in this medium
by sitting there and looking at the way light hits some objects and the shadow of those objects
you'll get a clearer understanding and that helps immensely!
and below you can see some problem areas...
No One is Immune! it's meant to humble you That's where the dedication and perseverance should kick in! Six Hours in....
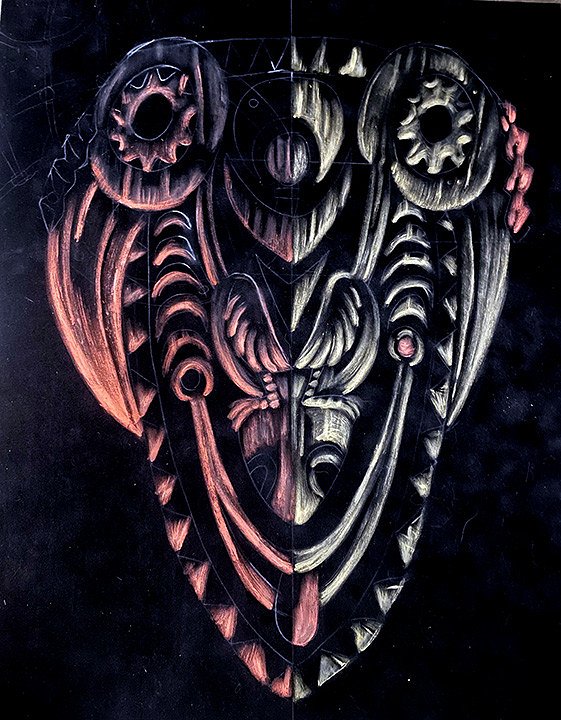
Then I did some color swapping for the hornbill part of the beaks a lil switcheroo! Also layers and layers are paying off and the semi illusion of cartoonish realism is coming into view....
Below is an example of going against the grain going in the wrong direction.. the thing is .... it was done after the paint was dry so it can be used in a cross hatchy textural application here and there
like scuffs on a weathered wood shield or mask....
Also notice that the white pastel pencil is disappearing!
NOT a paper towel! it will leave little nubbiest all over the place
at least if the towel or tee leaves a few post lightly scrub nubs
they can be brushed off or lifted off with a lint brush later
paper towel nubs....BAD and hard to completely remove...
.
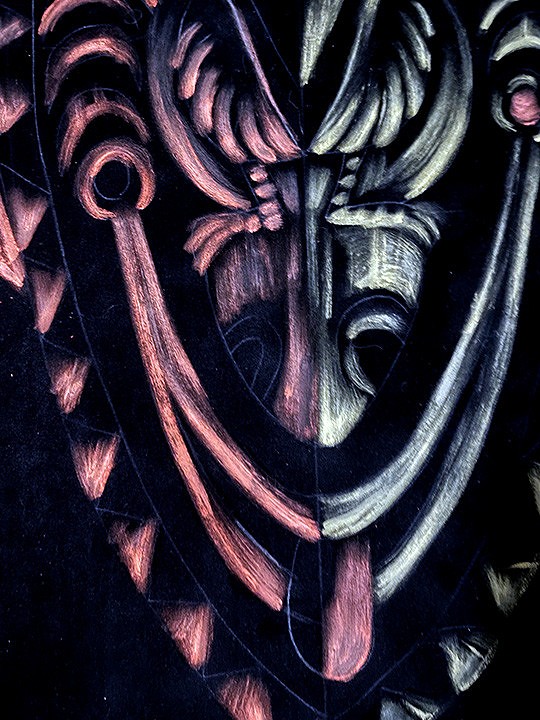
Also did some switcheroo colors on the tongue and cheek circle by the bird's chest.. And while we're here... we haven't discussed how clever the pair of Hornbills are!
They perched back to back so the their eyes
also act as the mask's eyes! MIND BLOWN!
Now here's a bit of a happy accident... After painting for hours amongst a table of colors for the painting and the ones that were close... but didnt make the grade. I accidentally grabbed and used the NOT ASH YELLOW... Mistakes...
the great Equalizer...
and a moment to pause to slow down
to problem solve....
and so I had to go over more edges to distribute the newer tone and make it into part of the beak colors a good save, but even if the viewer never notices the artist ALWAYS does! Like a non verbal taunt...lol Also notice please the switcheroo in the coral red hornbill also the cheek circle and tongue,... Something about the velvet style of painting, but with the dual color approach and the muted colors helps to give it a bit of a Retro Moderne feel... at least that's what I'm striving for despite the stumbles....
So... Seeing as the Ash Yellow Right Side has an extra color.... the Coral Red side needed sumptin....
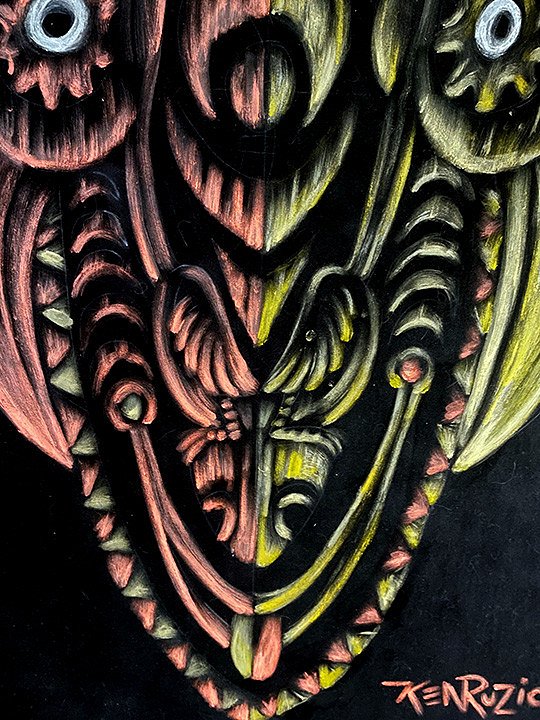
Here's a closeup and you can see the color buildup and the handling of the wood texture with little tics and grains and weathering....
if I didnt do would have saved me a lot of time and still would have ended up a fine piece... But I sometimes like to develop an idea before weighing those things out. Artistic instinct is mostly a tame and gracious creature but pitted against curiosity .... Since the deep yellow added to the coral red, the Ash yellow side needed to be balanced so I used Naples yellow and did a stipple gradation up the beak to mimic the deep yellow on the opposite side.... Also spiced up the signature with some deep yellow.... just because... and Naples yellow on the Ash yellow side for hi lights and a nice warm ivory white for the eyes
So here is the frame for it FOOOOOOOOORE! I need a pair of them little Rascal pants and a matching hat! Tho McBiff would look better in such attire, to be honest.... Got 2 of these frames for 20 bucks apiece..fair but not like the thrift store glory days of the late 80's/early 90's quality oddities and inexpensive! :)
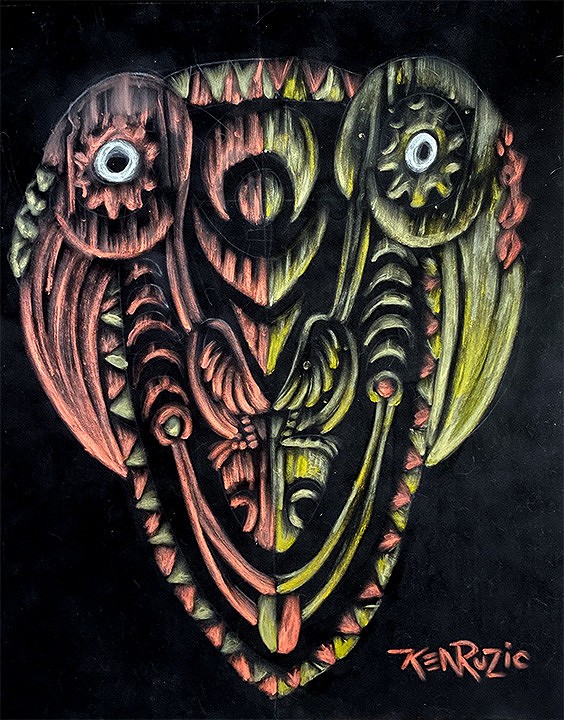
And here is the final finished piece
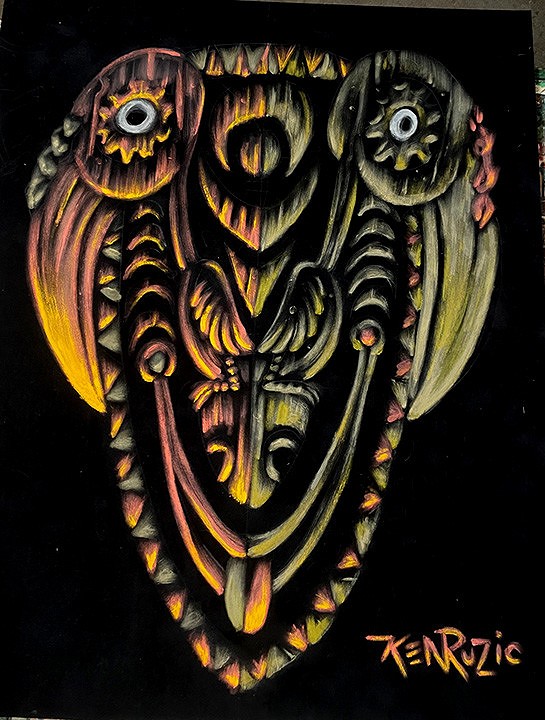
the expanse of color on the bills of the birds was too much I may have made an error so I tipped income color like actual jungle bird beaks.... which I half like and half don't... But... the next one will be better and I'll have learned not to rush with these things....
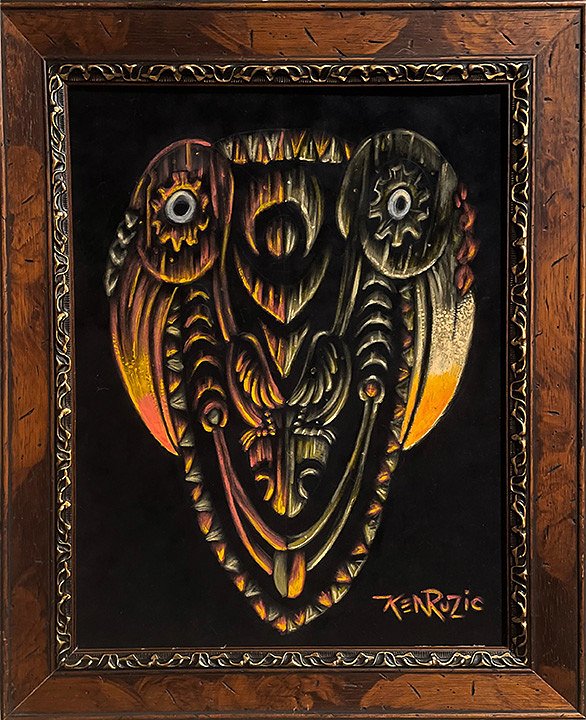
And here it is in this frame...
the pits and gouges in the wood
mixed with the weathered Nouveau trim
on the inside
when placed into a different context
begins to resemble jungle vines and growth
or those Thai lion Tail motifs
with their organic movement...
Anyways....
Here is the first of a pair..
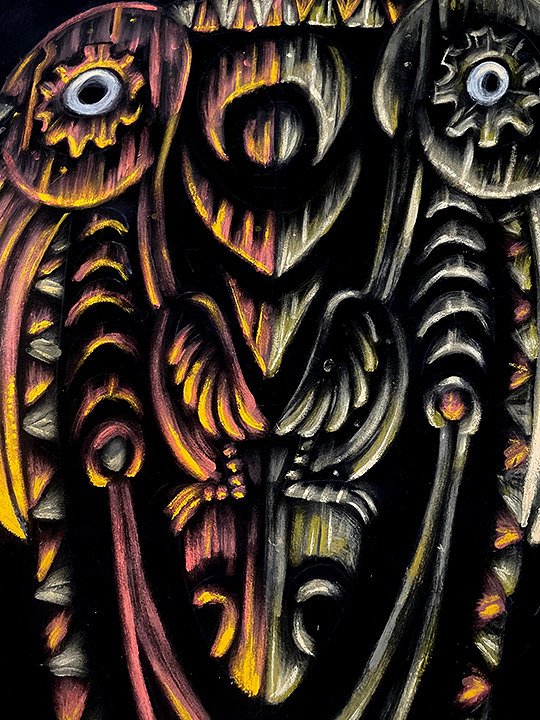
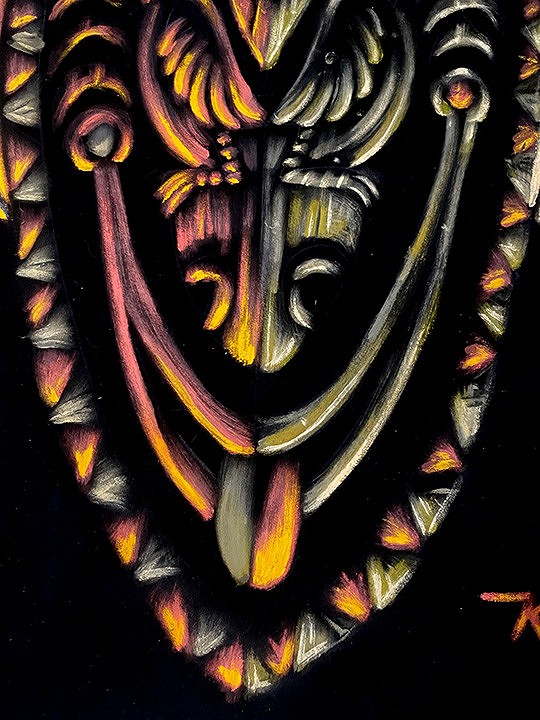
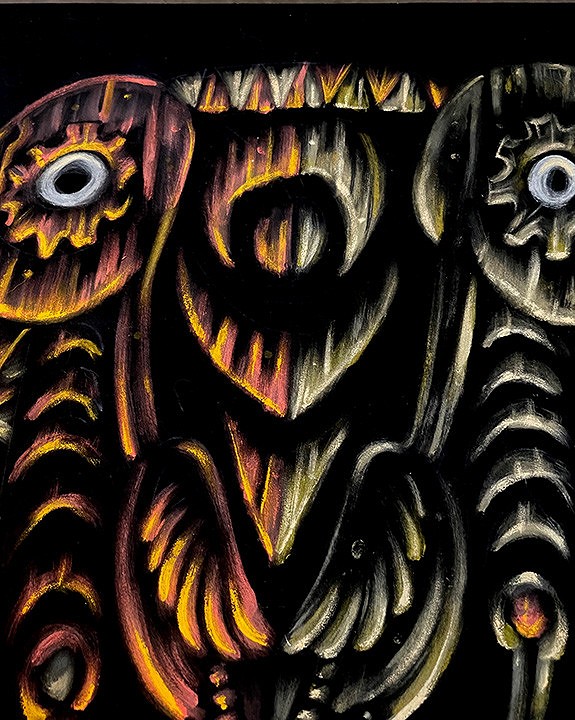
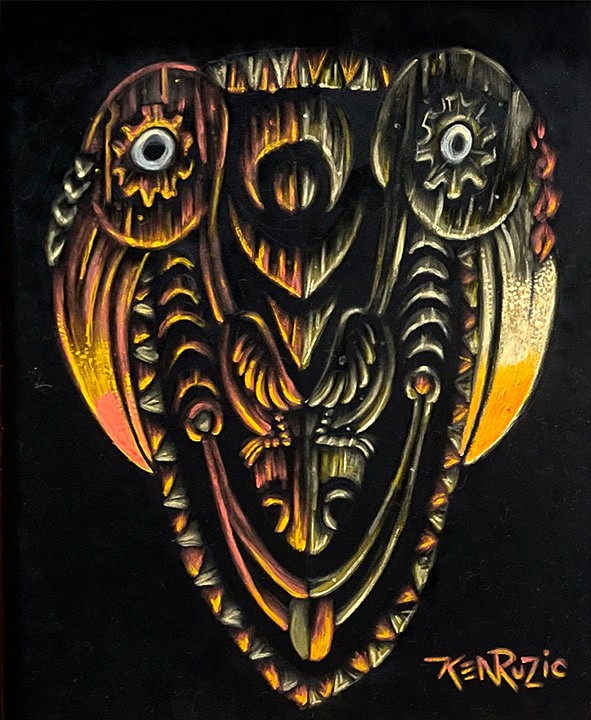
"Hornbill Mask"
16 x 20" unframed
acrylic gouache on Black Suede matboard
I hope you enjoyed this little Rantutorial and hope you all give it a try! Bet you can coax a masterpiece outta that cranium of yours! I will have another one shortly this time a cooler choice of colors to mimic the cold waters of the Sepik River with a Crocodile mask! Thanks for wading thru this and I hope it was enjoyable in some degree. I'll be vending at tiki oasis in August this year
and I have lotsa goodies available on Etsy,
So Give them a visit if that's your thing!
Thank you!
[ Edited by little lost tiki on 2022-05-17 10:20:14 ] |
|
LS
Lake Surfer
Posted
posted
on
Tue, May 17, 2022 7:53 PM
Epic Ken, just epic. Your energy and enthusiasm never cease to amaze me. |
|
T

TikiDaye
Posted
posted
on
Wed, May 18, 2022 7:21 AM
in reply to little lost tiki
Kinny! First, thank you for documenting your magic and providing such an exhaustive tutorial. I just contacted Goldsmiths in London and requested my deposit back because I don’t need art school anymore… I’ve got you! Second, I am not just being poetic when I reference your work as ‘magic’ …it is truly something amazing, especially when we get to peek behind the curtain and watch it come alive. I’ve always loved PNG, and especially like your take on it. Love hornbills, and the way birds/animals are worked into these. Looking forward to that croc magic! And for the record, I love the way the coloring on those bills came out. I see you are 50/50 on them, but I’m 💯 Appreciate you, bro 🙌🏽 grace+peace, Jason ‘TikiDaye’ Daye |
|
M
MaukaHale
Posted
posted
on
Wed, May 18, 2022 10:19 AM
I'm always fascinated with your work because I get lost in the detail. In a good way! |
|
M
MadDogMike
Posted
posted
on
Mon, Feb 6, 2023 1:59 PM
Kinny why am I just now seeing this tutorial! I've been wanting to try this. Thank you sir! |
|
T

TIKIGIKI
Posted
posted
on
Mon, Feb 6, 2023 9:40 PM
I really appreciate that you understand a basic fundamental of the genre of black velvet painting, in that the black of the velvet is used as the darks of the subject. It's not just painting conventionally onto the velvet as you might on a canvas. Excellent layering of colour and tutorial. [ Edited by TIKIGIKI on 2023-02-06 21:42:13 ] |
|
OGR

Or Got Rum?
Posted
posted
on
Tue, Feb 7, 2023 10:03 AM
Fantastic tutorial Ken...Thanks! It's an area I want to venture into soon...Nude Wahines here we come. |
|
D
danlovestikis
Posted
posted
on
Tue, Feb 7, 2023 7:51 PM
I love the step by steps. I studied each one of them. So, if my art improves, you'll know why! |
|
ATP

Atomic Tiki Punk
Posted
posted
on
Thu, Feb 9, 2023 7:24 AM
Nice Kinny, Your style looks great on Velvet. |
|
LLT
little lost tiki
Posted
posted
on
Sat, Aug 12, 2023 12:09 AM
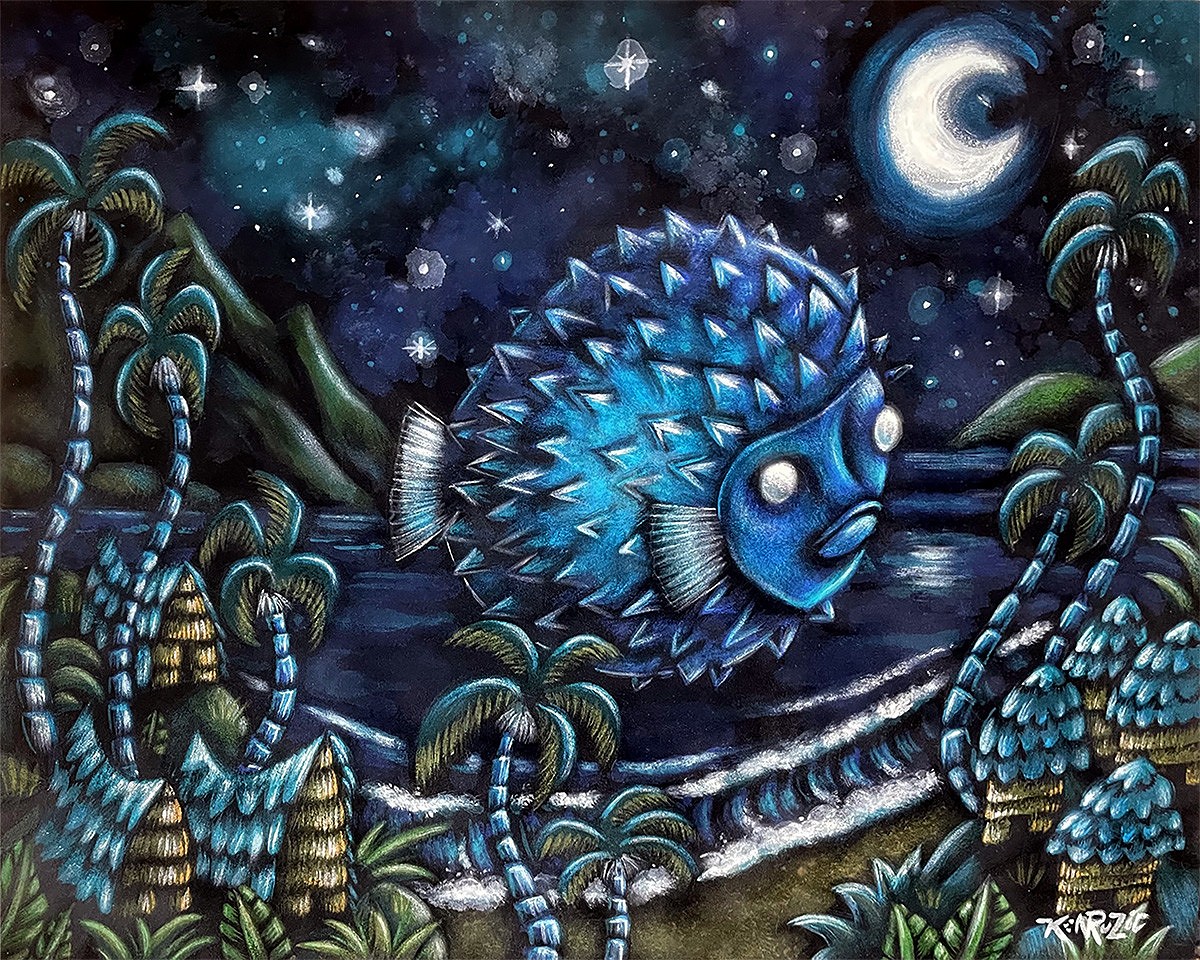
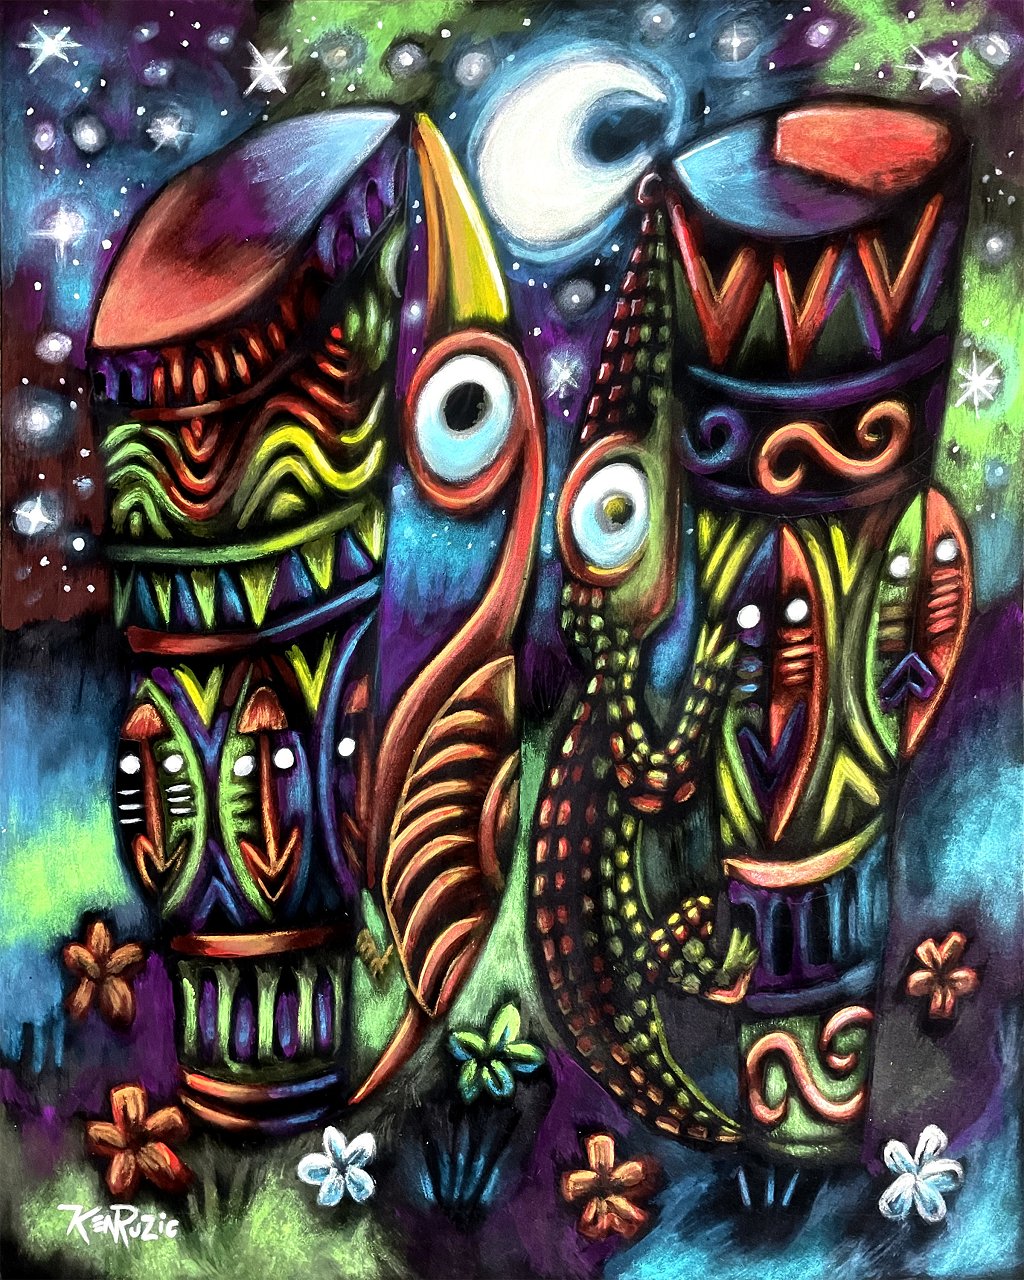
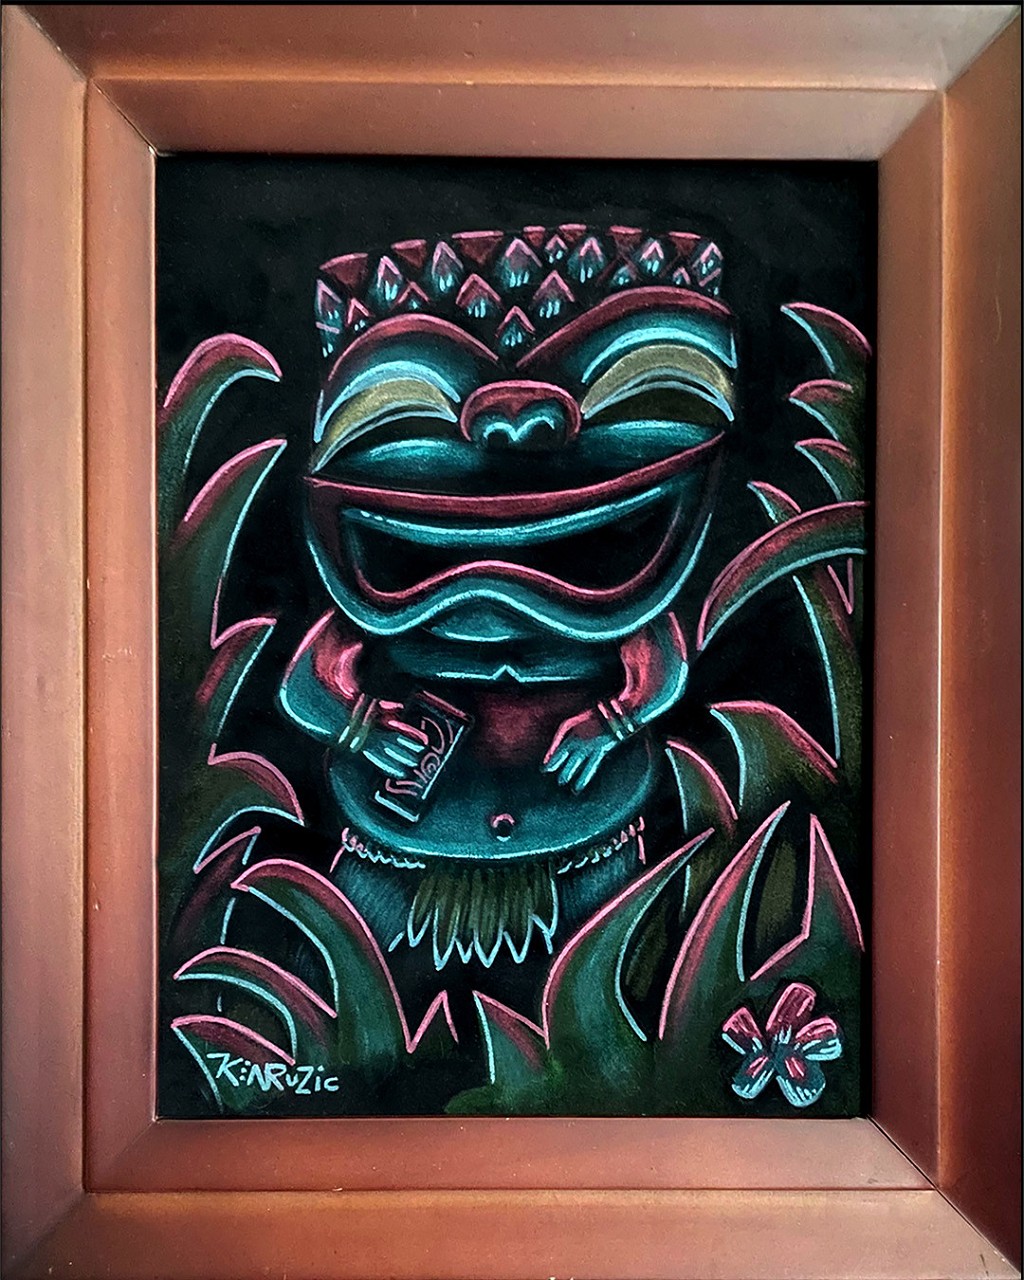
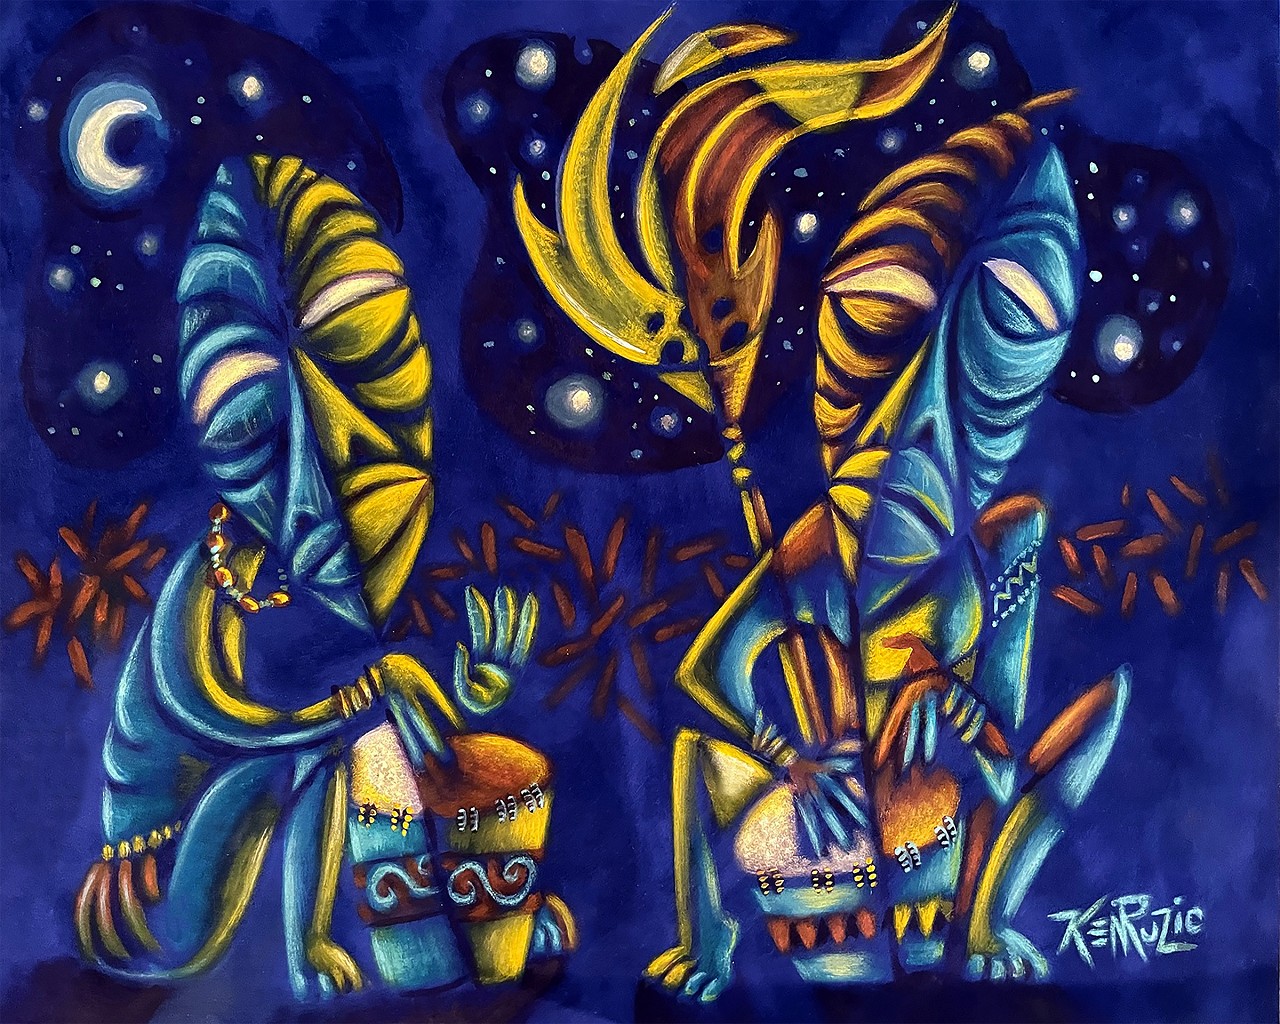
Thanks Everybody! I hope to see some of your creations in the future... And if YOU discover any extra tips Please Share Them! Lots has happened since my last postings, but I DO have a few new pieces in this style to share. I;ll be back soon.'Consider these a visual placeholder! Blue Drummer (sold)
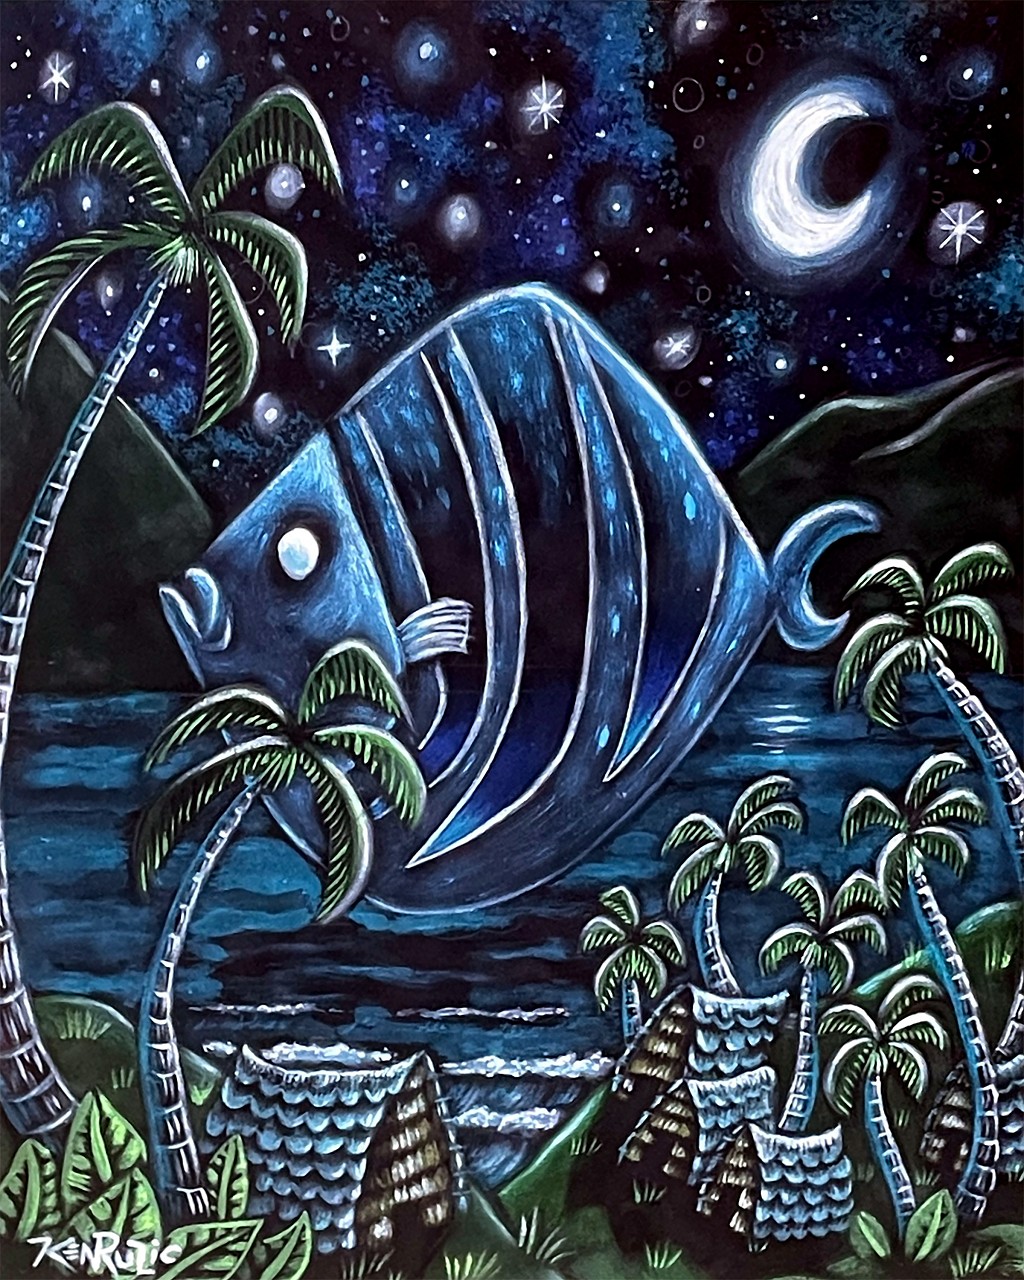
Moonfish
Moonlight Visitation
Night Drum (sold)
The Late Night Giggle (sold)
The Off Beat
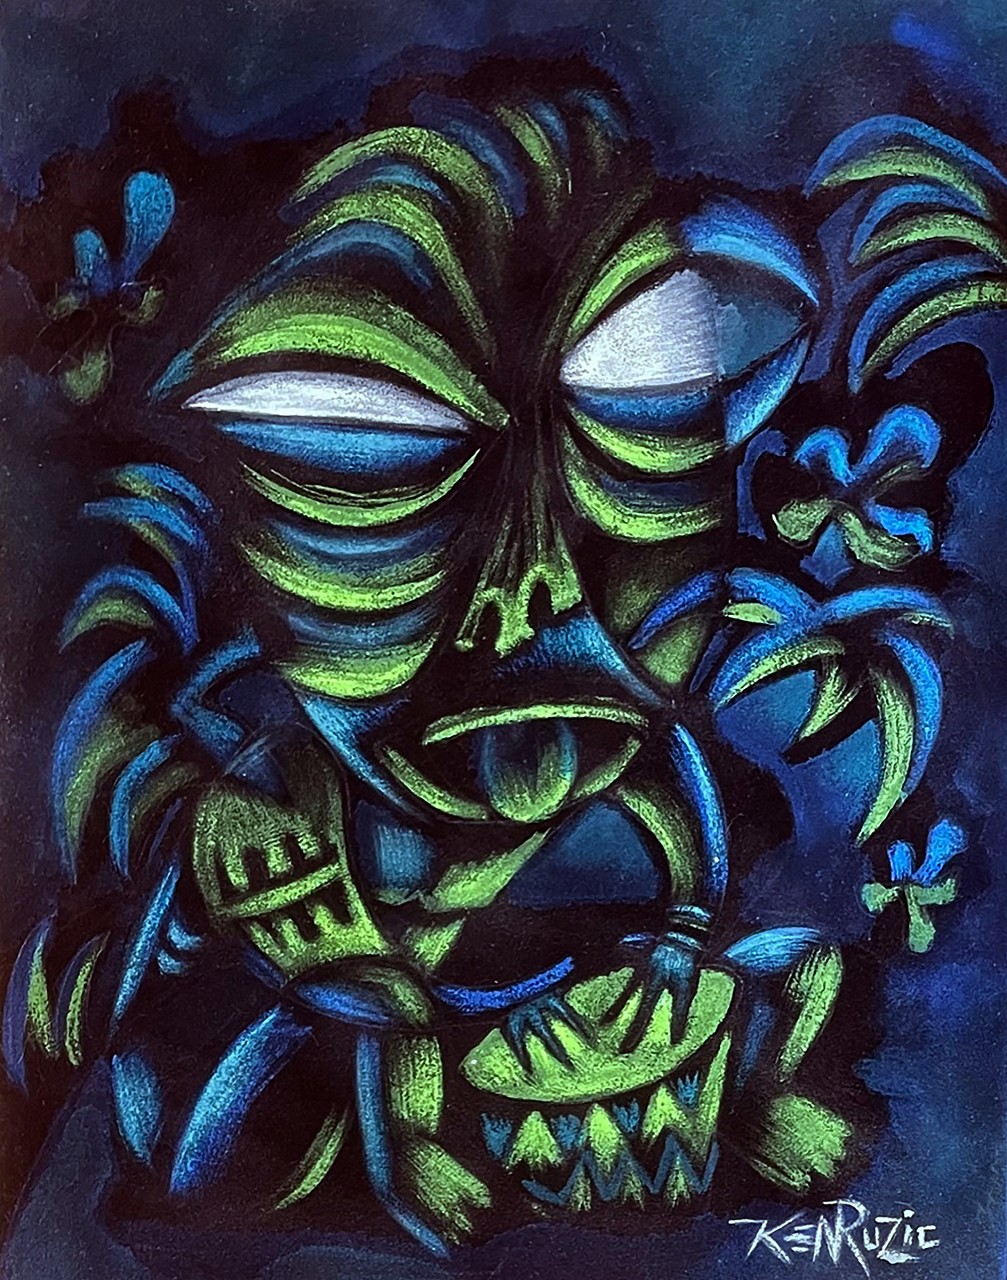
(Black Suede Matboard is great....
But have you tried BLUE Suede matboard?)
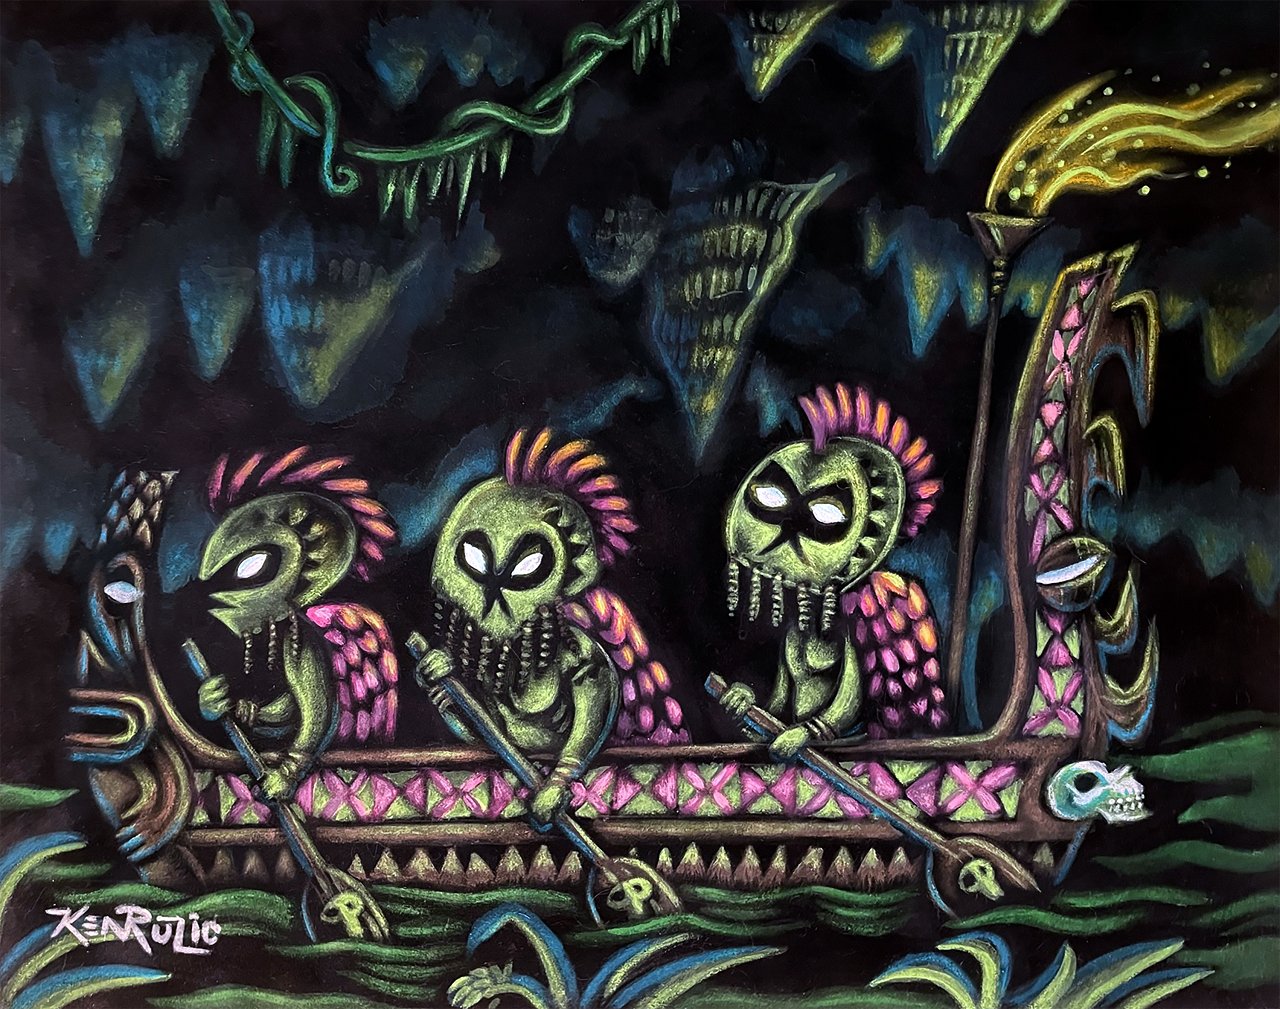
The Night Rowers (sold)
And I have one last one....
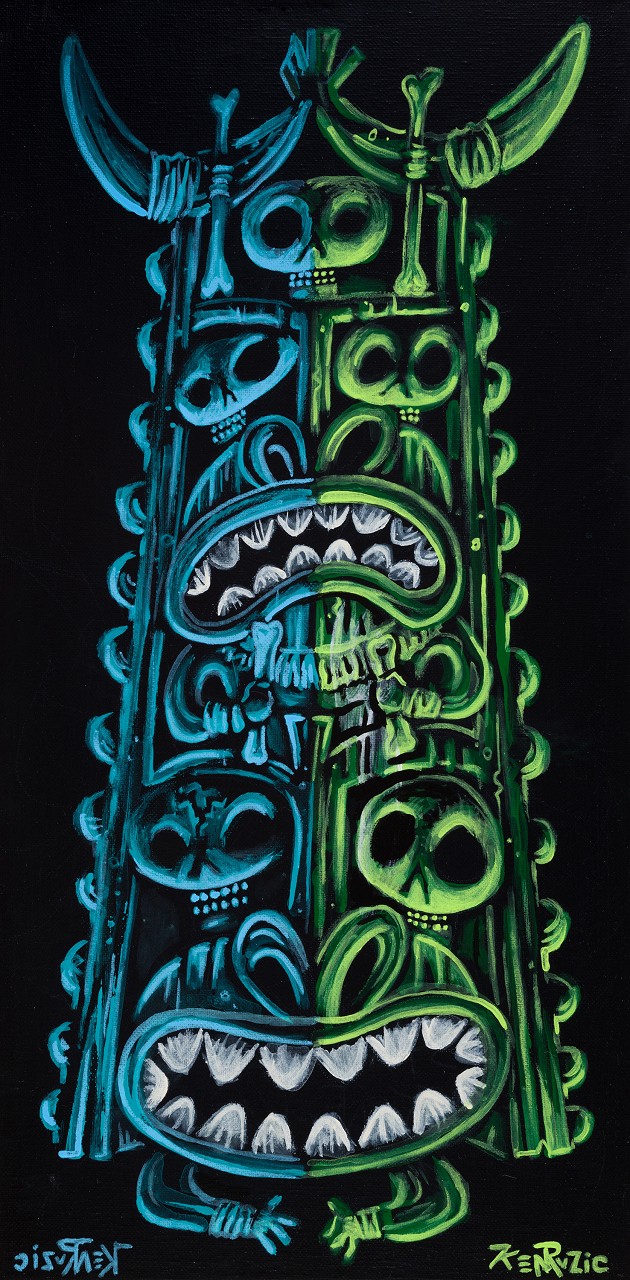
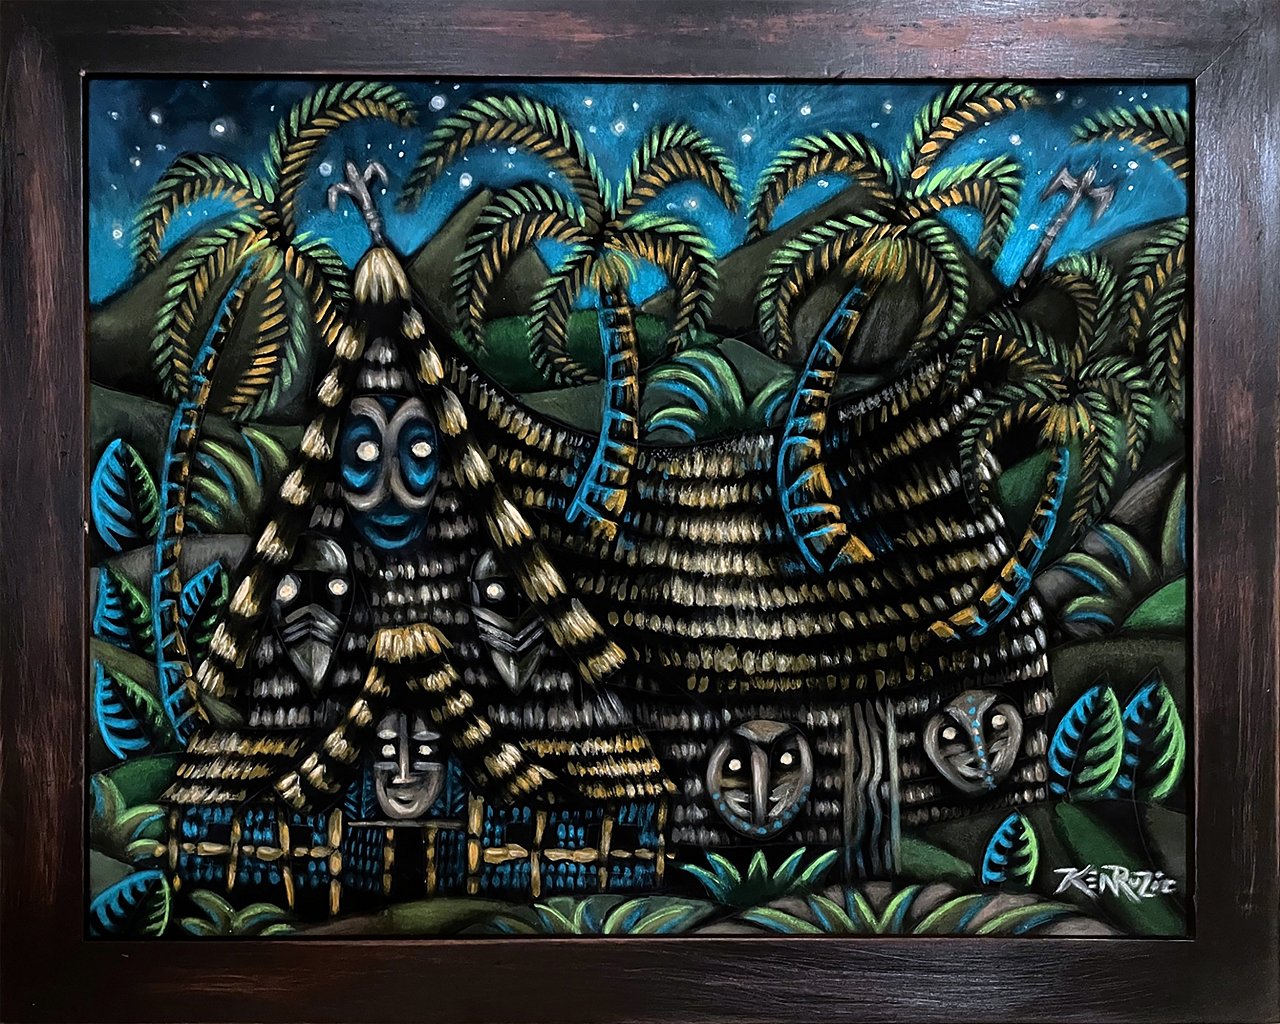
Men's hut
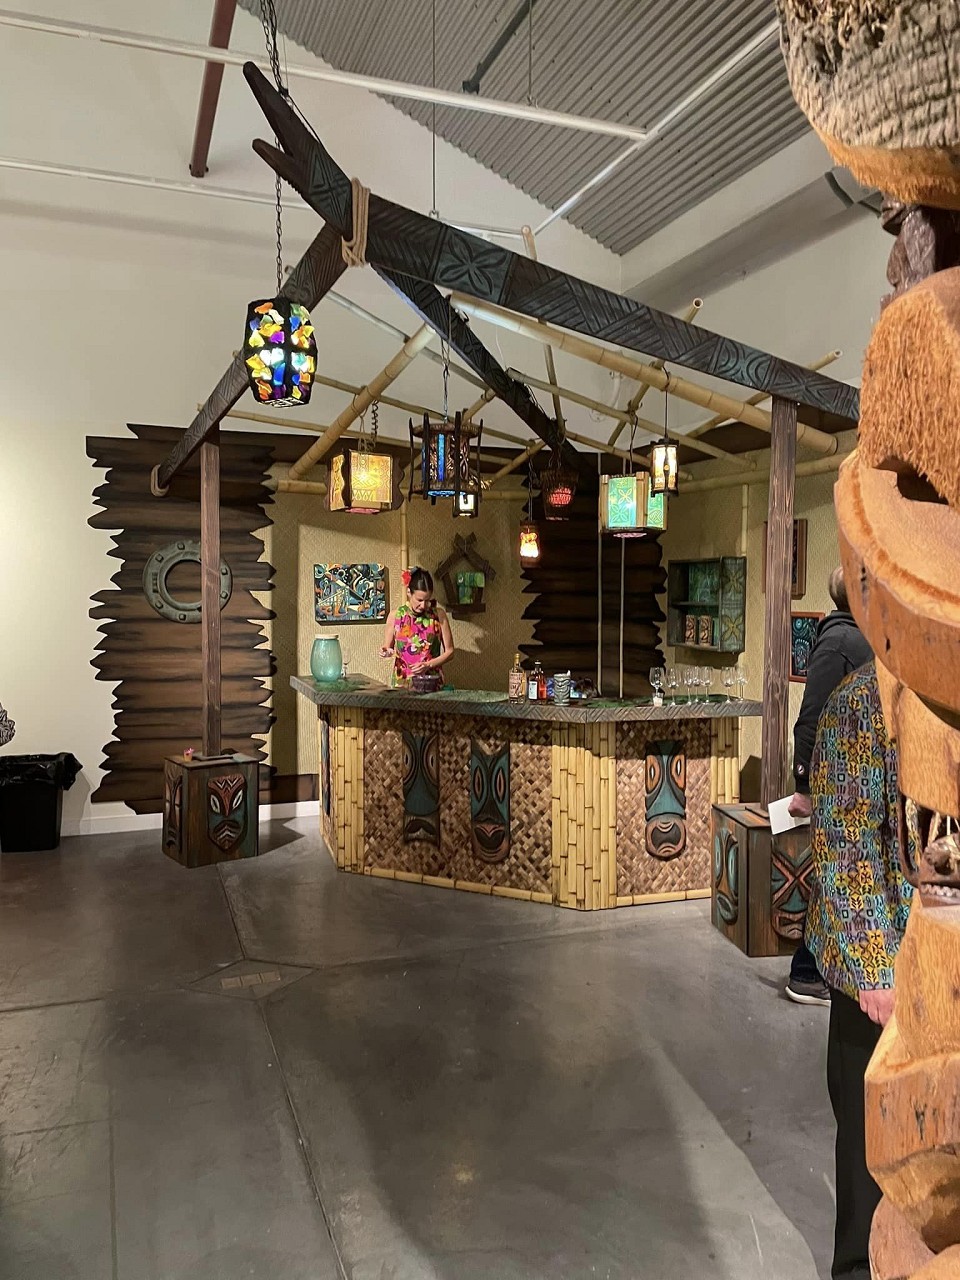
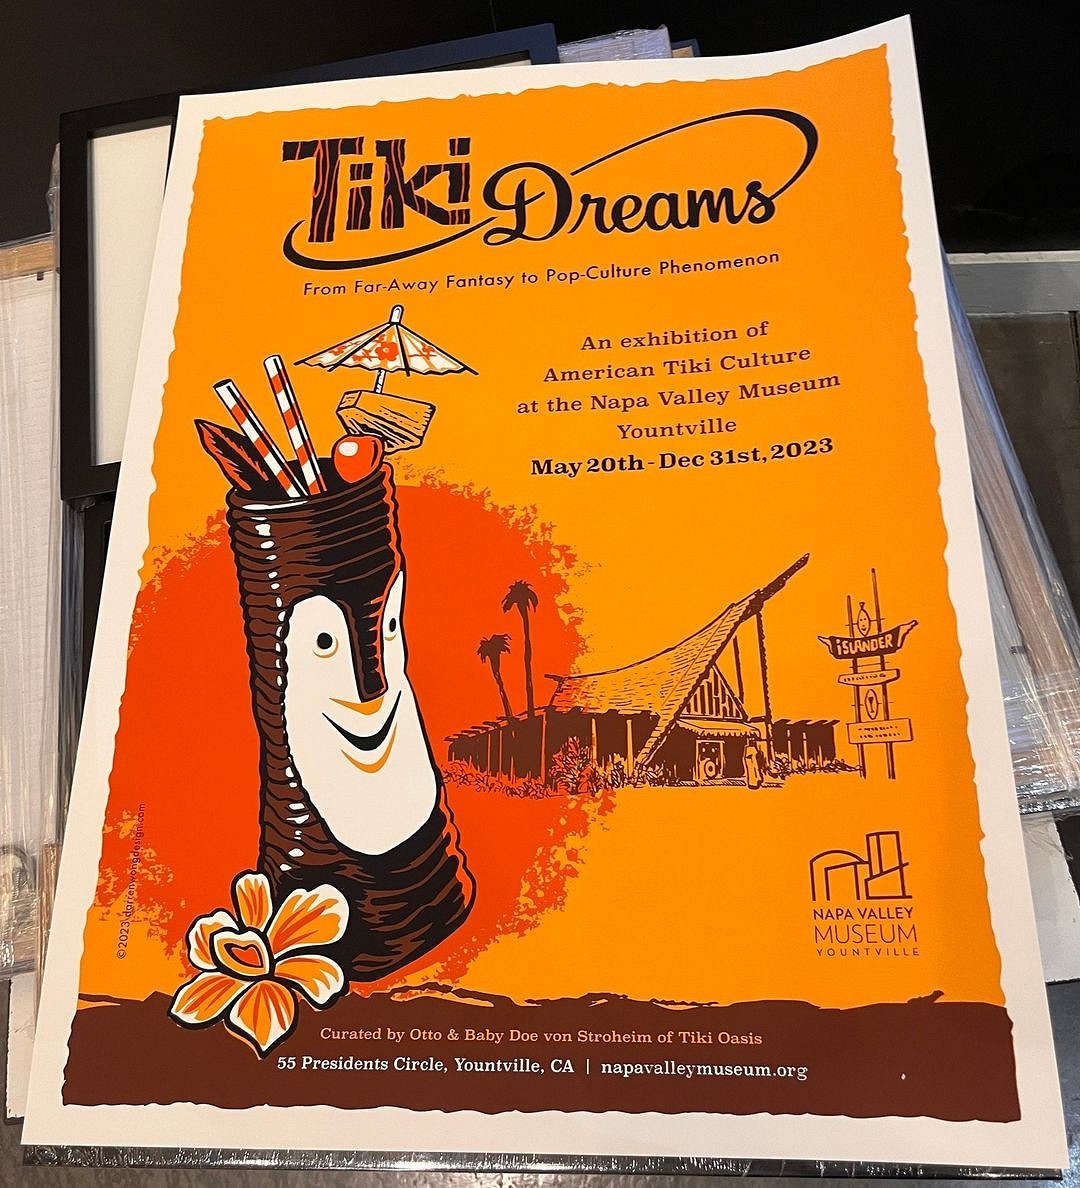
This one is currently on display at the TIKI DREAMS exhibit in Napa
Can you find which piece it replaced in the picture?
That's it for now.... I promise I will be back Soon....with more goodies and maybe a tutorial....or discussion,or something..... [ Edited by little lost tiki on 2023-08-12 11:27:53 ] |
|
LLT
little lost tiki
Posted
posted
on
Fri, May 23, 2025 12:19 AM
Aloha Kids! Yes... Yes.... it HAS been awhile....and time isn't as easy to find But .....Have a few things coming up,and thought it might be of interest to Y'alls! I'll be showing SIX pieces at the "SubCultural Appropriation" exhibit at the Punk Rock Museum (Las Vegas) with a bunch of our Beloved Tiki Art Brothers and Sisters!
Folks like...
Doug Horne! BigToe! Shag! Candy! Bamboo Ben! Thomas Fernandez!
Dave Warshaw! Matt Reese! Dirk Vermin!
i would say 1) that's a pretty good line-up
and 2) i don't what glitch got me into this incredible line-up, but am happy to slosh paintin's along with these Rogues!
BigToe and Baxter (our curator friend from our Fullerton GARGANTUA days) are the curators...
here's the write-up.. Join us for the “Subcultural Appropriation” art show - an explosive collision of seemingly disparate subcultures! Our new exhibition explores how Punk Rock and Tiki Culture— collided in the 80s in Southern California as rebellious responses to Reaganomics and capitalism—and share a fundamental spirit of resistance. “Subcultural Appropriation” has 10 artists who relate to both worlds. Opening June 7, and featuring musical performances, special cocktails, and an artists reception. The show runs for 3 weeks. As part of our artists reception of the “Subcultural Appropriation” art show, opening 6/7 at @thepunkrockmuseum, we will be presenting an early cut of our new documentary “Rum & Riot”- produced by @sessabells of @poptheory films. Where Punk expressed anger through raw energy and catharsis, Tiki offered escape through tropical fantasy and rum-soaked liberation. Both flipped the middle finger to mainstream America’s puritan values, embracing a more authentic, feral existence. Featuring an incredible lineup of artists whose work synthesizes these rebellious movements into something entirely new. Experience visual art and music that captures the DIY ethos of punk and the exotic escapism of tiki culture—all under one roof! 1422 Western Ave, Las Vegas,NV #TikiRevival #PunkRockMuseum #SubcultureStories #TikiPop #LasVegasEvents #diydocumentary @theartistshag, @doug_horne_art, @candywild65, @davewarshaw, dirkvermin, @reesenik1602, @kenruzic, @liveradstudios, @bigtoeart and @bamboo_ben_ @sessabells @_poptheory We're only allowed sneak peeksof work for now...
so i'll share the 2 shots that are already online..
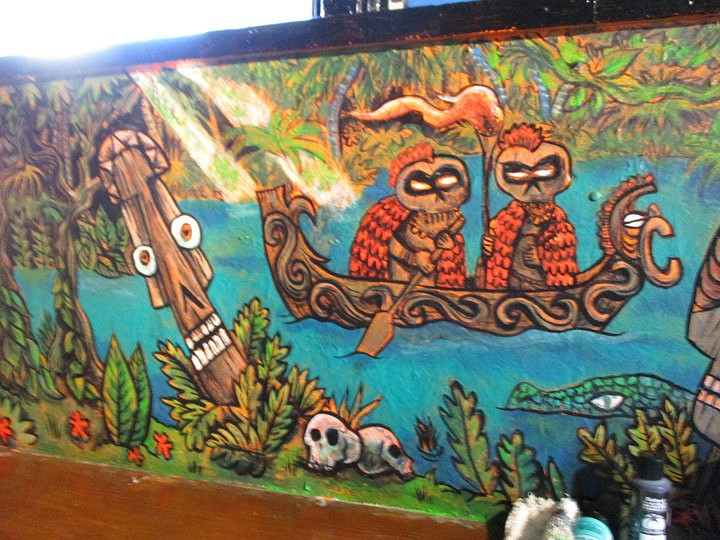
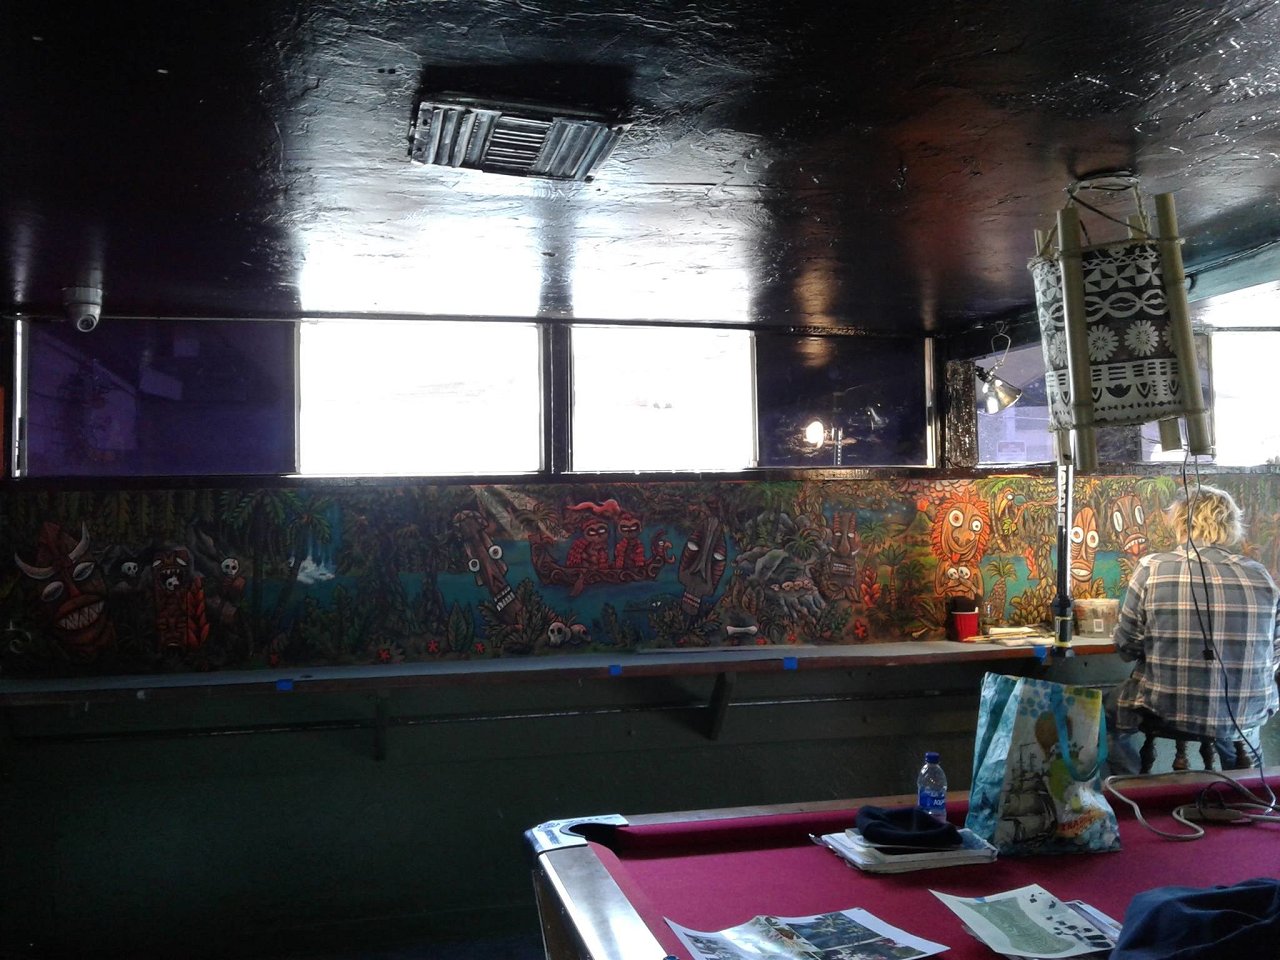
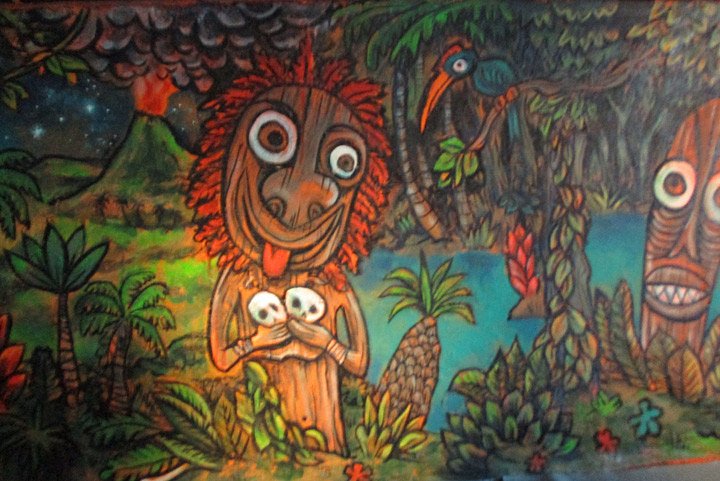
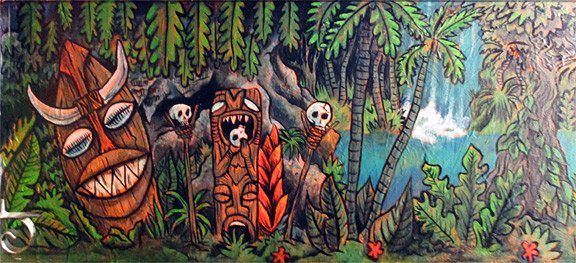
it's for a piece entitled "Initiation (Circle of men)"
and it's 24 x 36"
|
|
H

hang10tiki
Posted
posted
on
Tue, Jul 1, 2025 7:30 PM
Wow Just wow |
Pages: 1 2 3 4 5 6 7 8 9 10 11 12 13 14 15 16 17 18 19 20 21 22 23 24 25 26 27 28 29 30 31 32 33 34 35 36 37 38 39 40 41 42 43 44 45 46 47 48 49 50 51 52 53 54 55 56 57 58 59 60 61 62 63 64 65 66 67 68 69 70 3332 replies

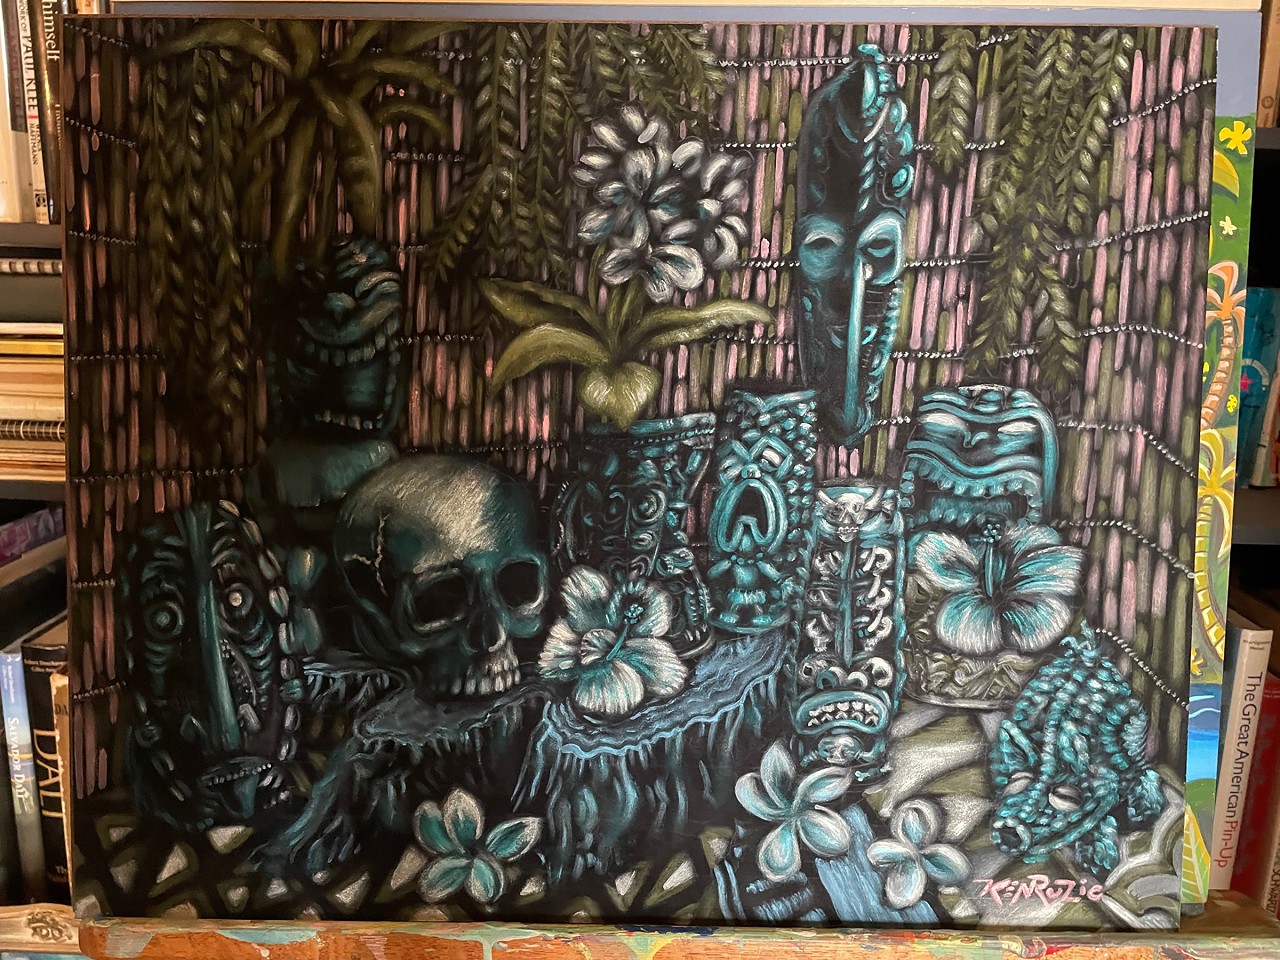 "the Hidden Alcove" 16 x 20" Acrylic on Black Suede matboard
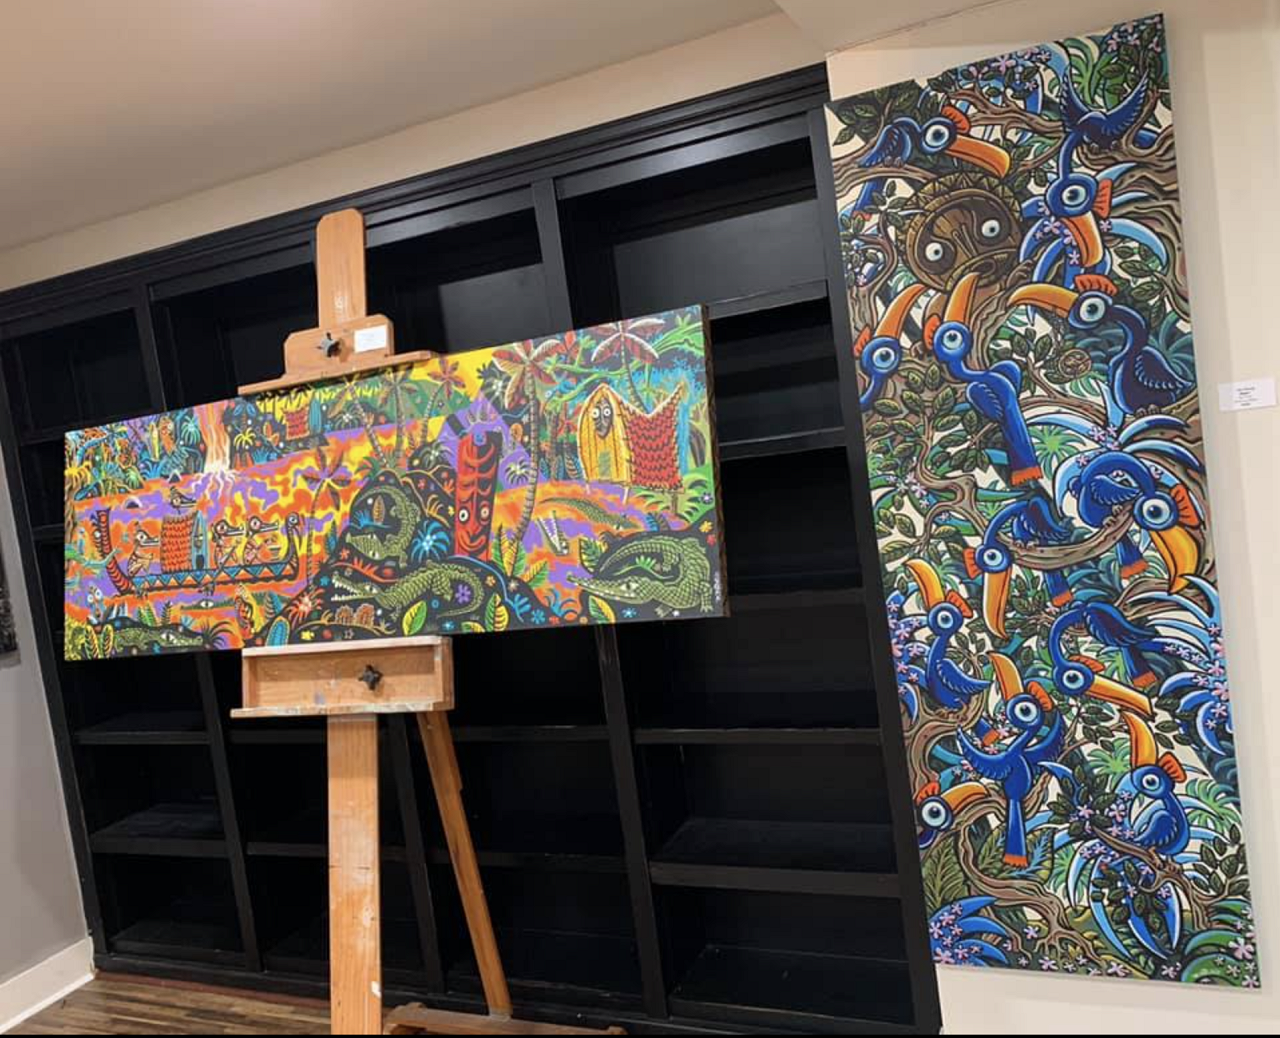
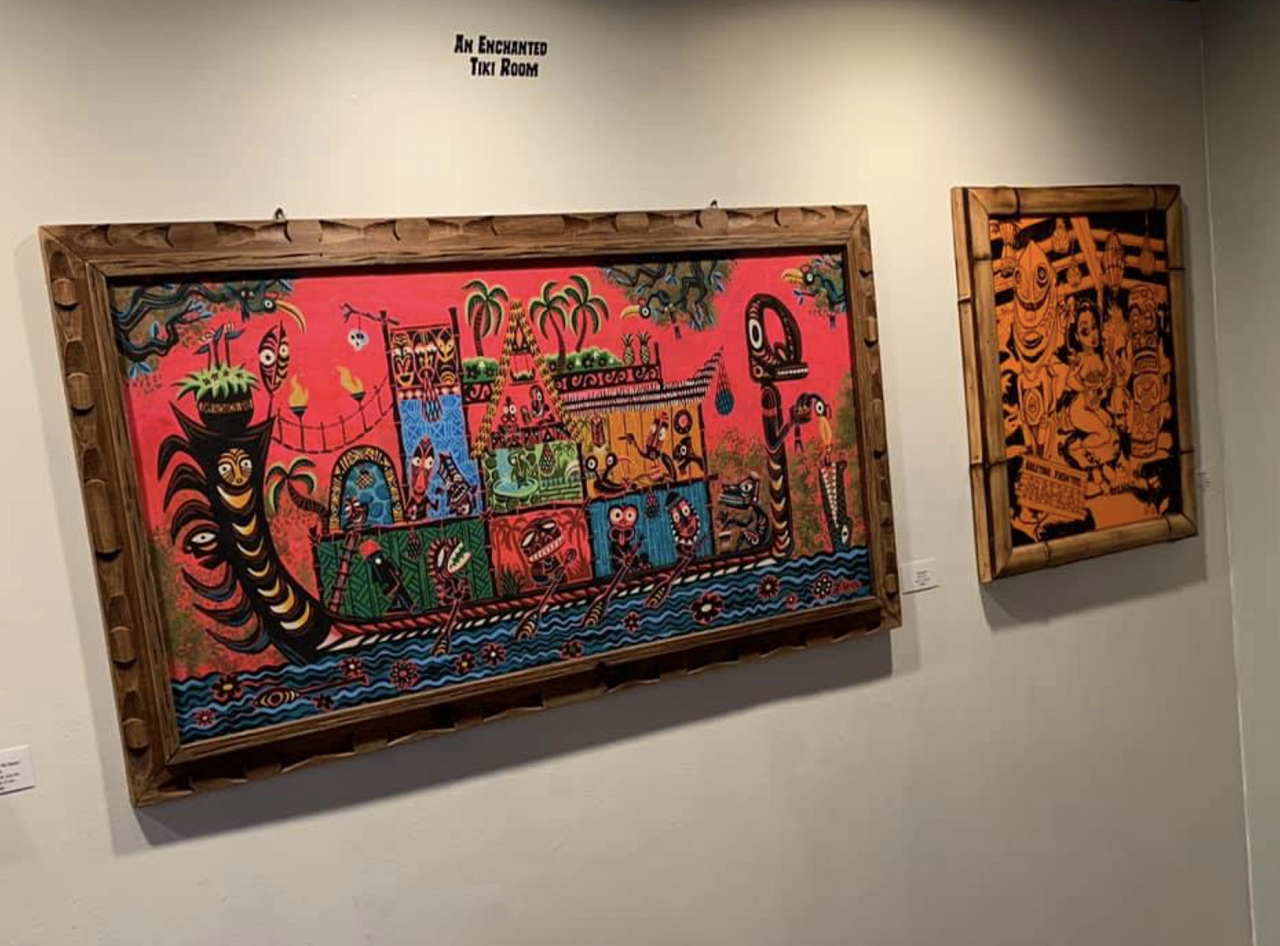
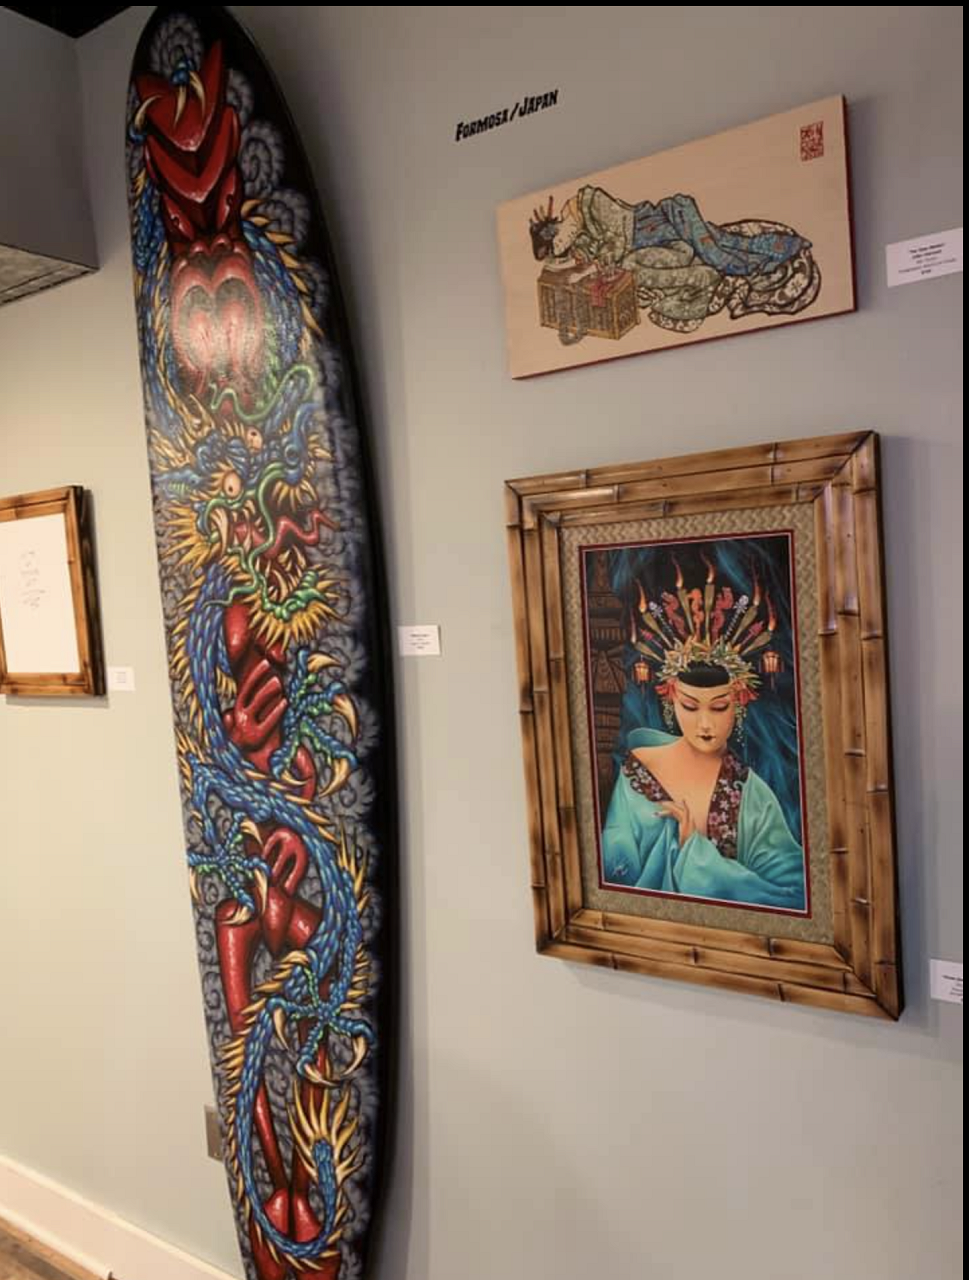
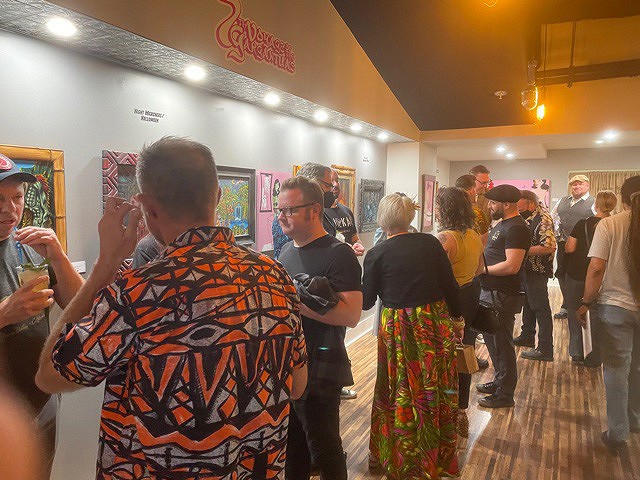
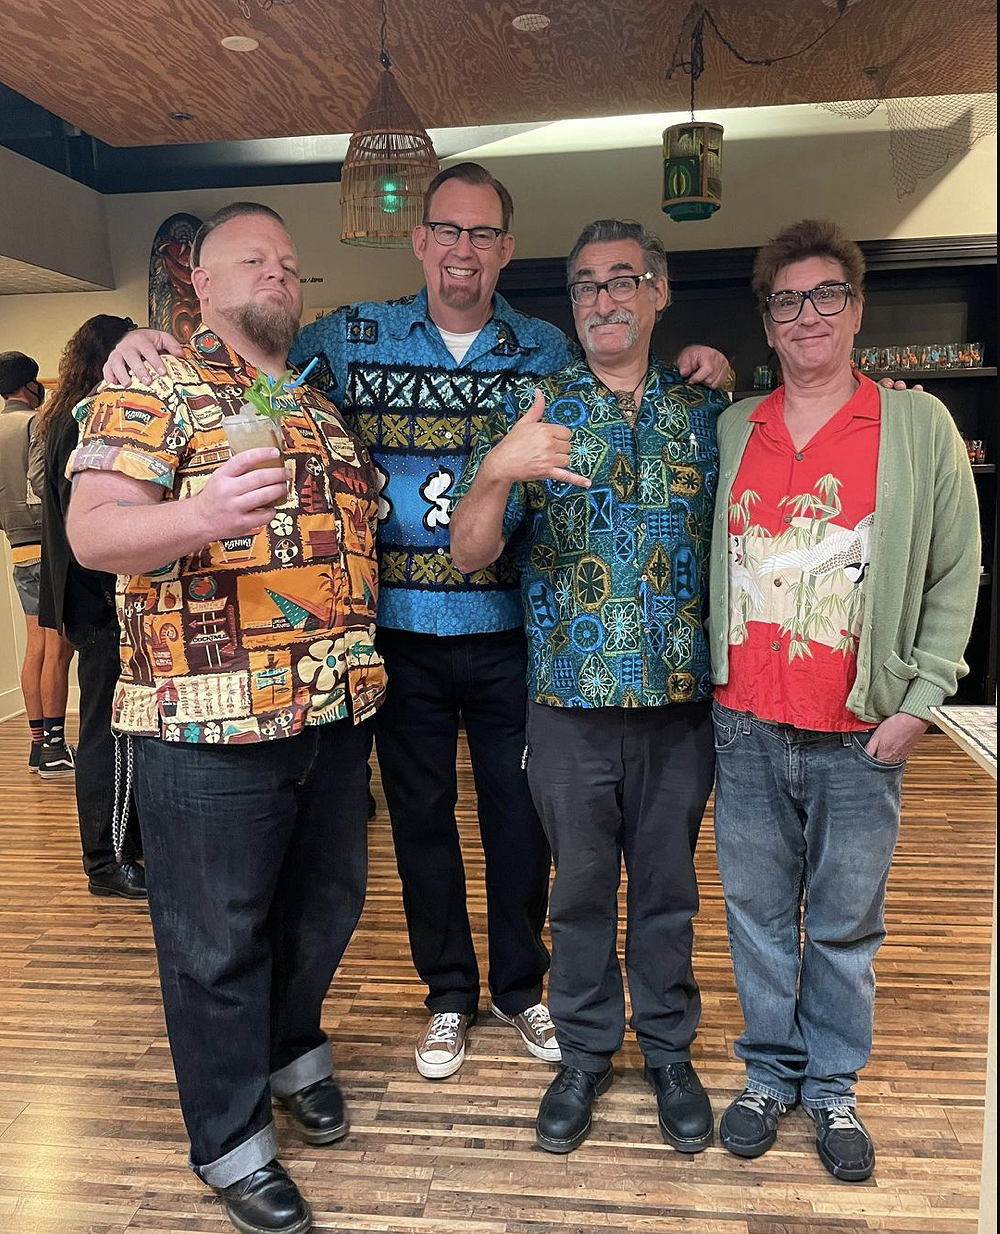
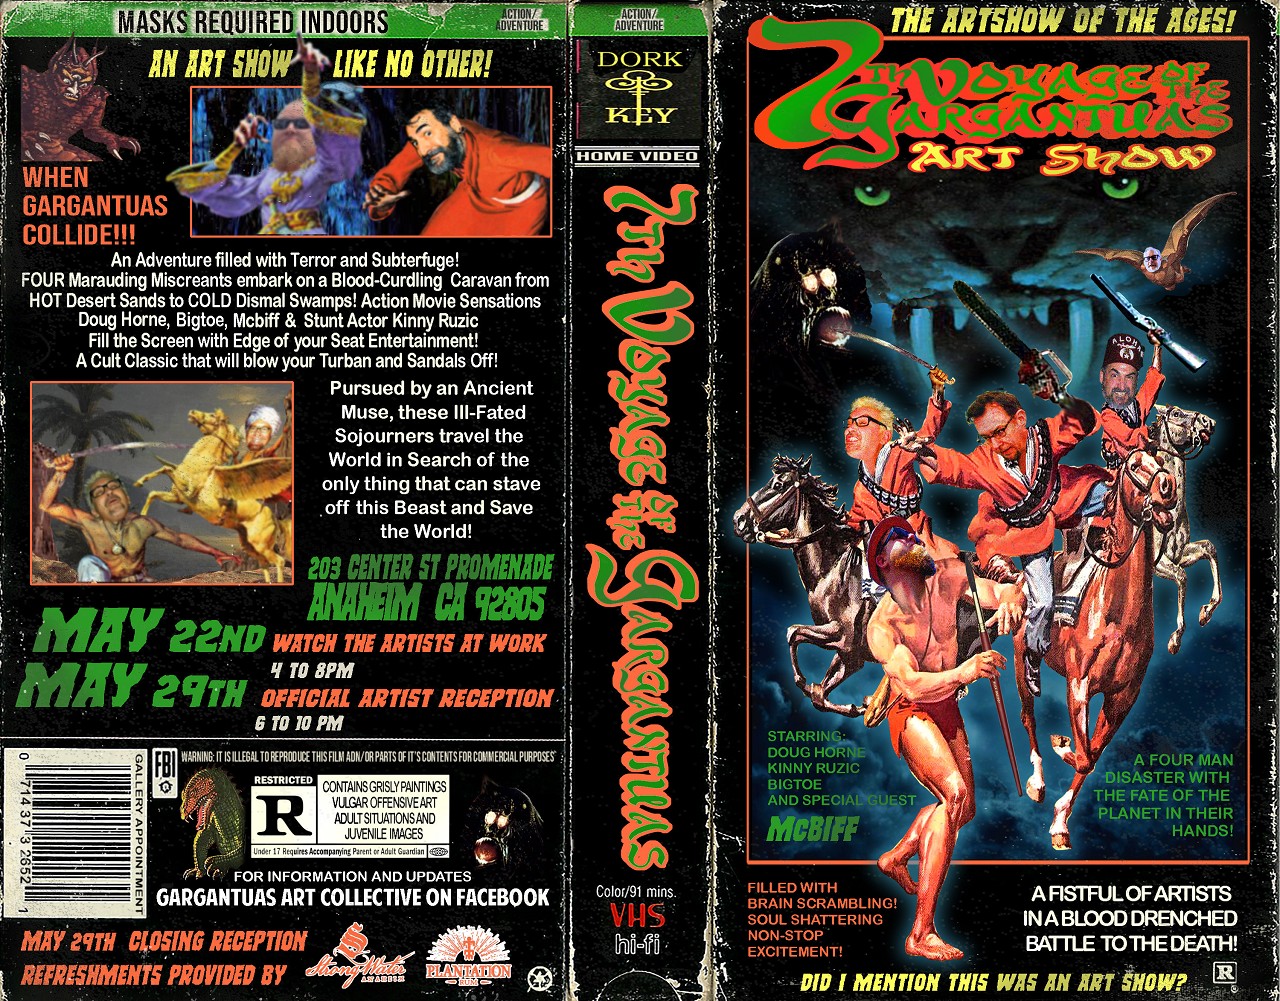 So that was the show in a nutshell...
An Incredible Night with wonderful people....
and some really Stellar paintings from these Bozos!
(I'll do a whole post about that show later....)
But for NOOOOOooooOOOOw......
NightMarchers bowl!
This is a tribute to the fabled and fearsome Nightmarchers of Hawaii.
to save me typing ,here's some info...
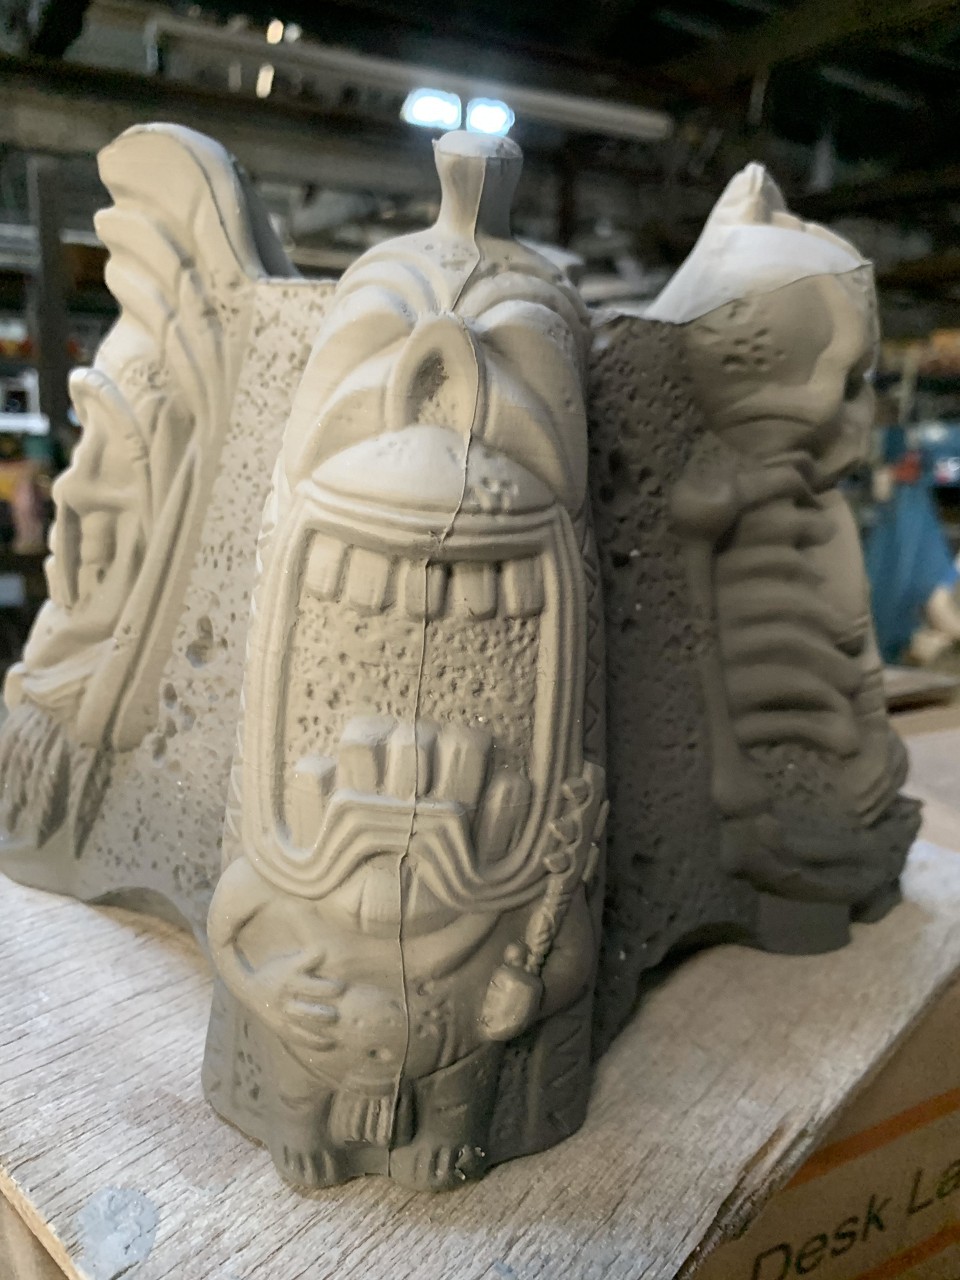 Kinny's Nightmarcher corner post
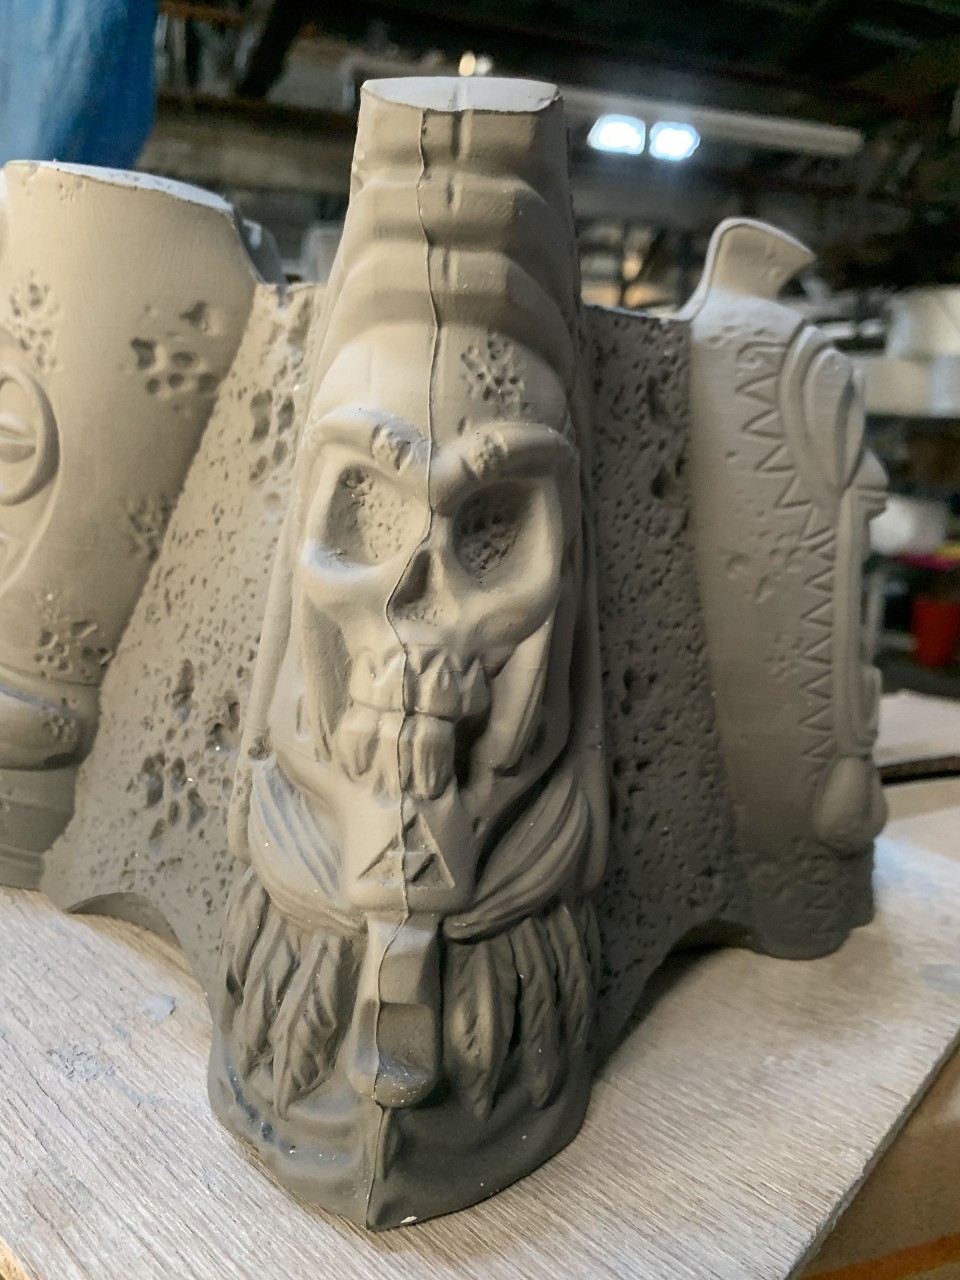 BigToe's Nightmarcher corner post
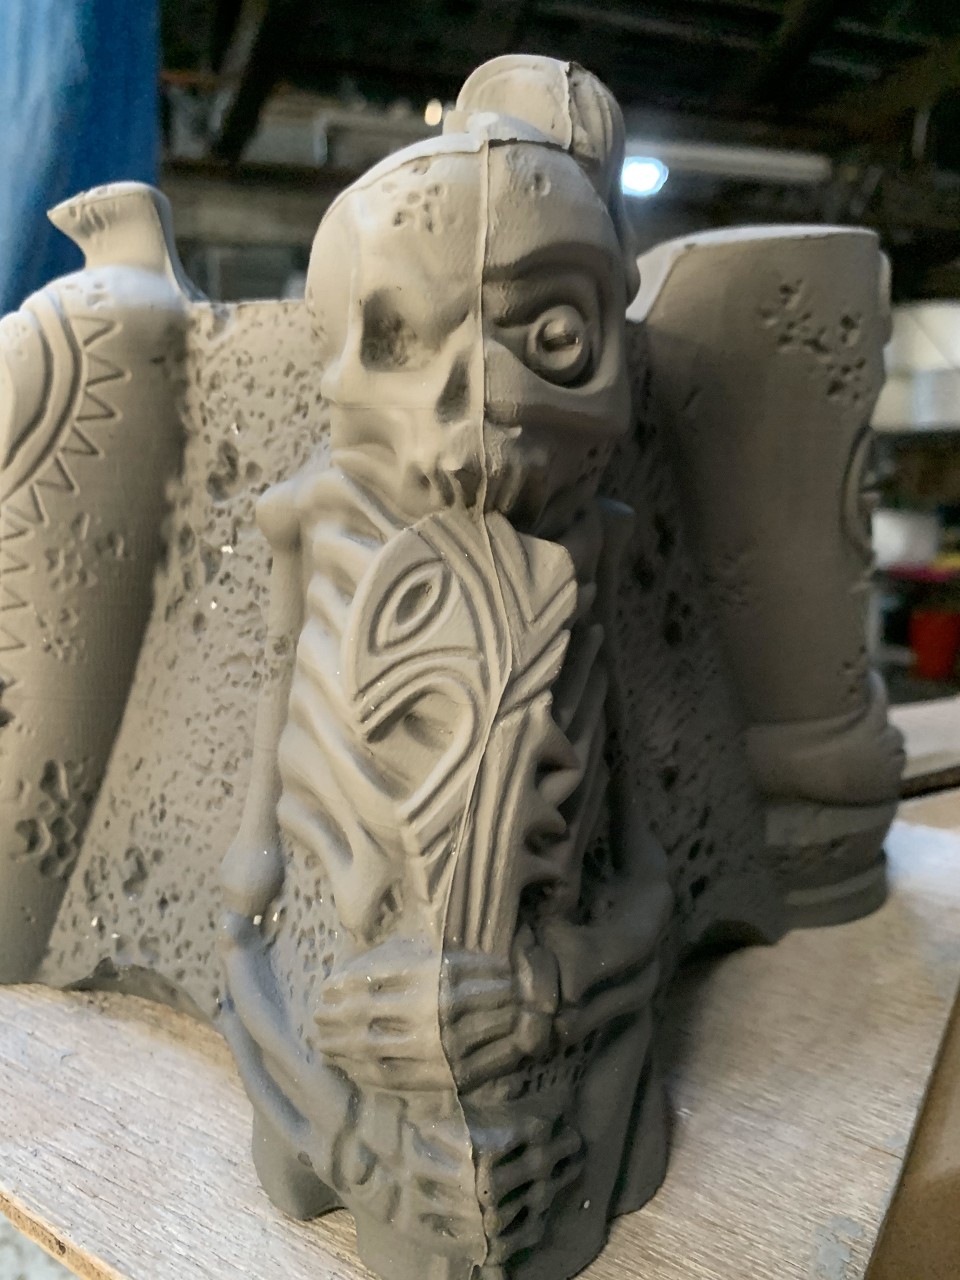 Doug Horne's Nightmarcher corner post
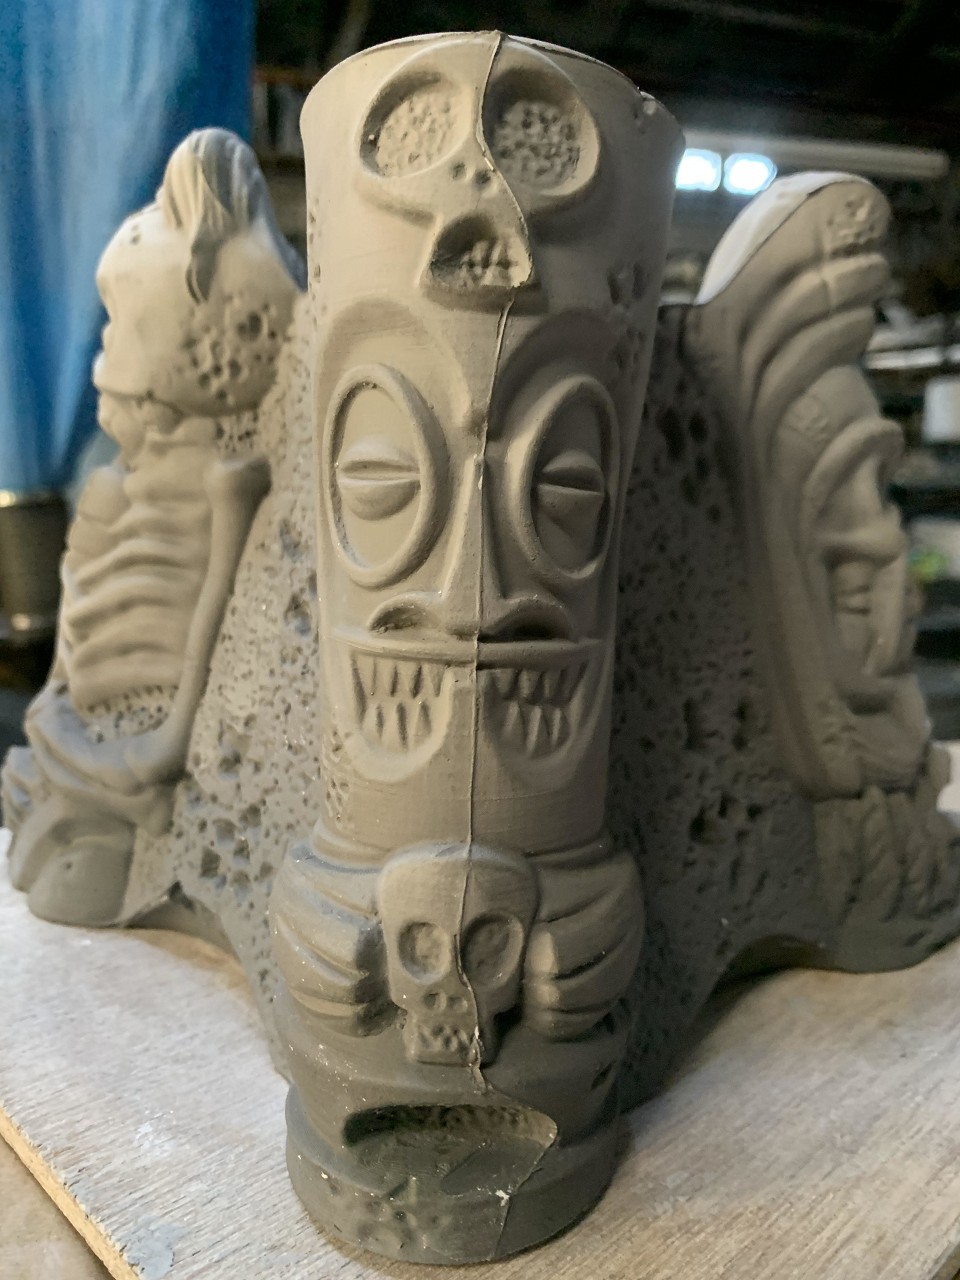 and McBiff's Nightmarcher corner post
Four different takes on this legend from us four!
Anyways.... next we tried some glaze options...
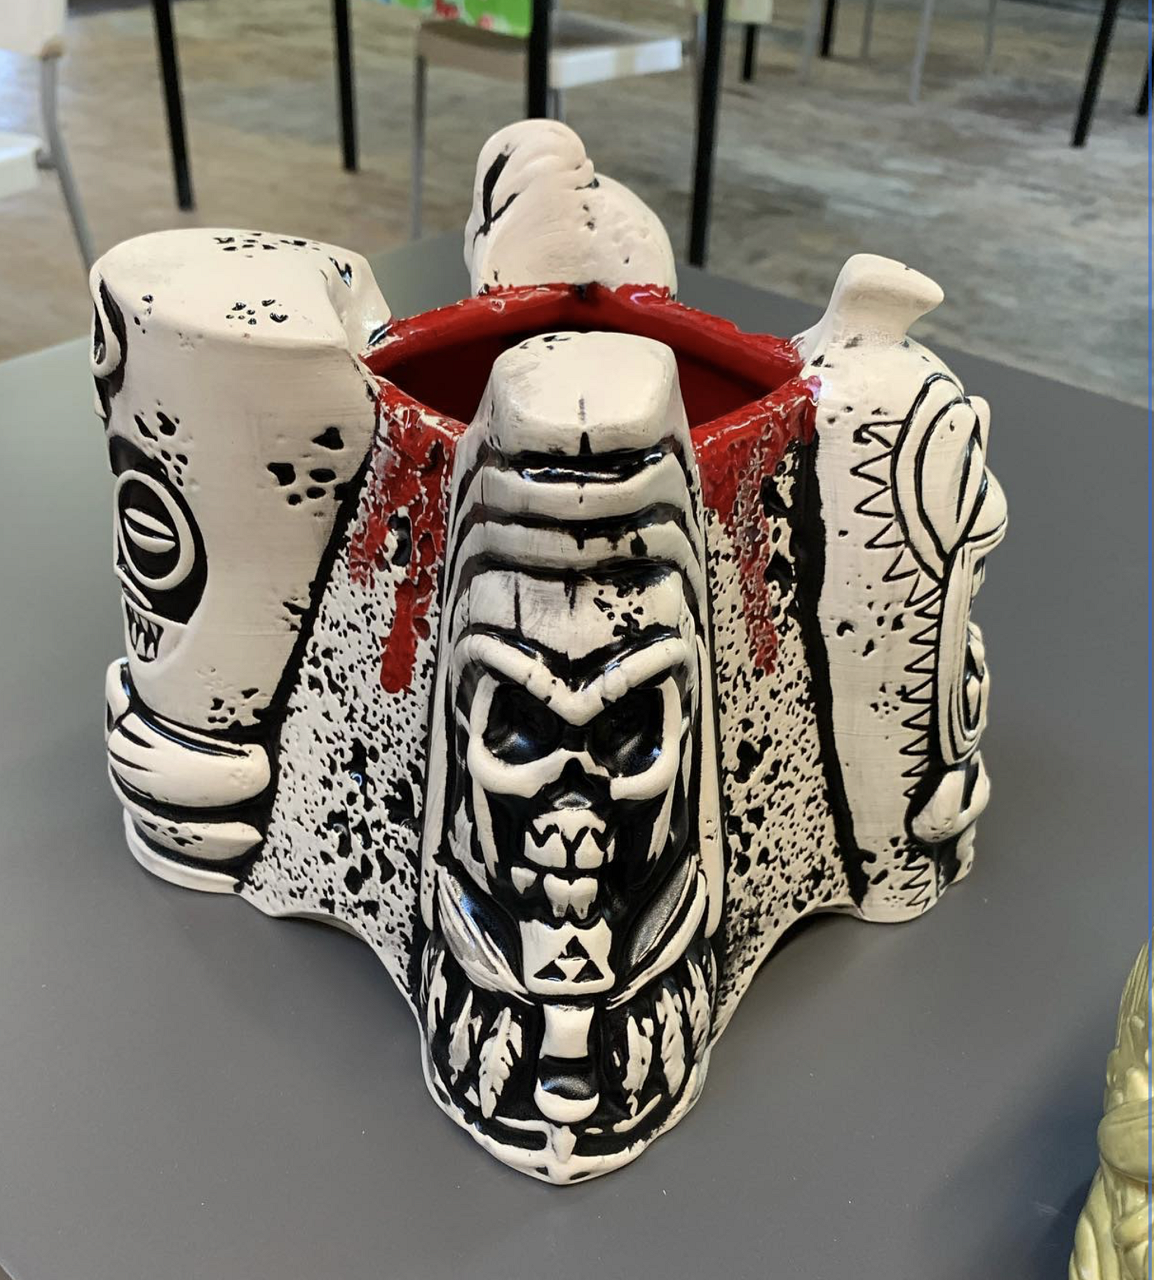
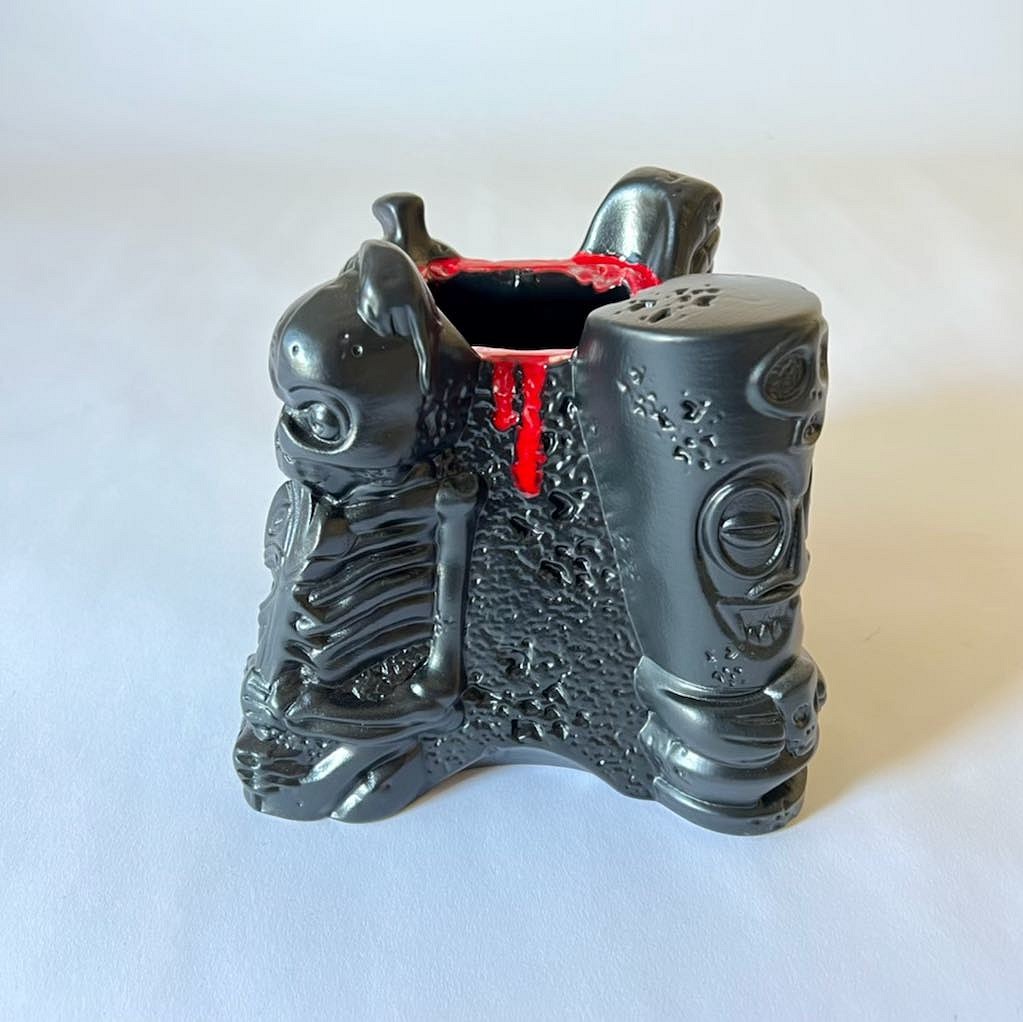
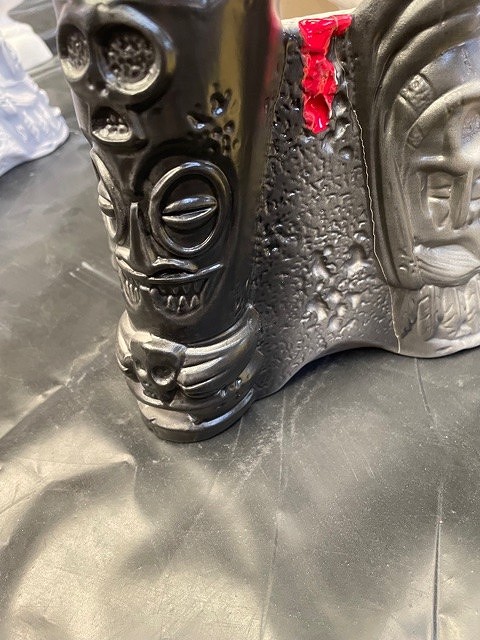 AND THE FINAL ONE!
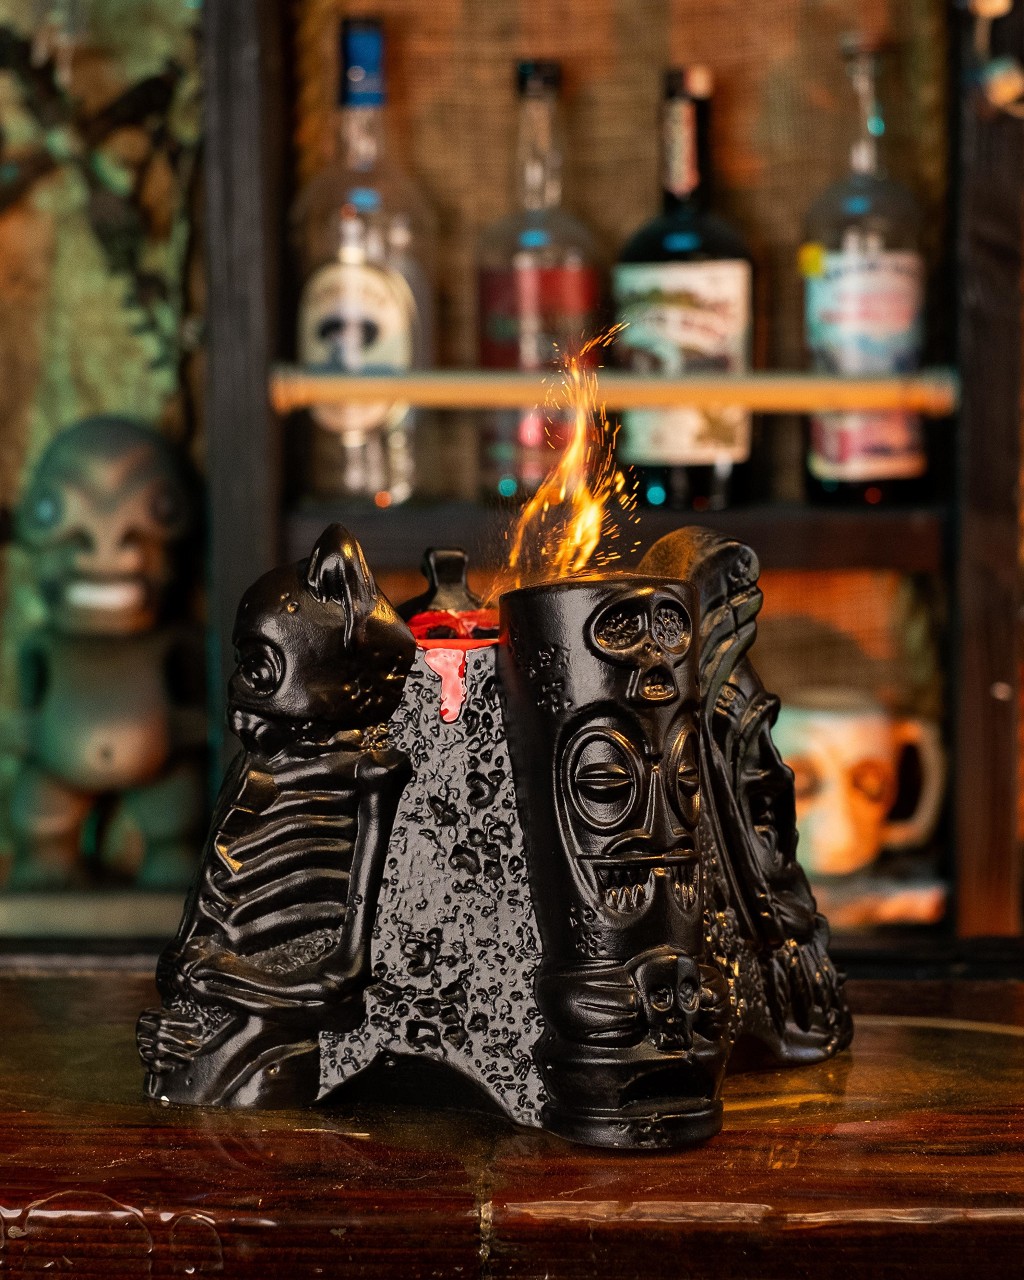 and Finally, Nine Months after the Exhibit,the Bowls were READY!
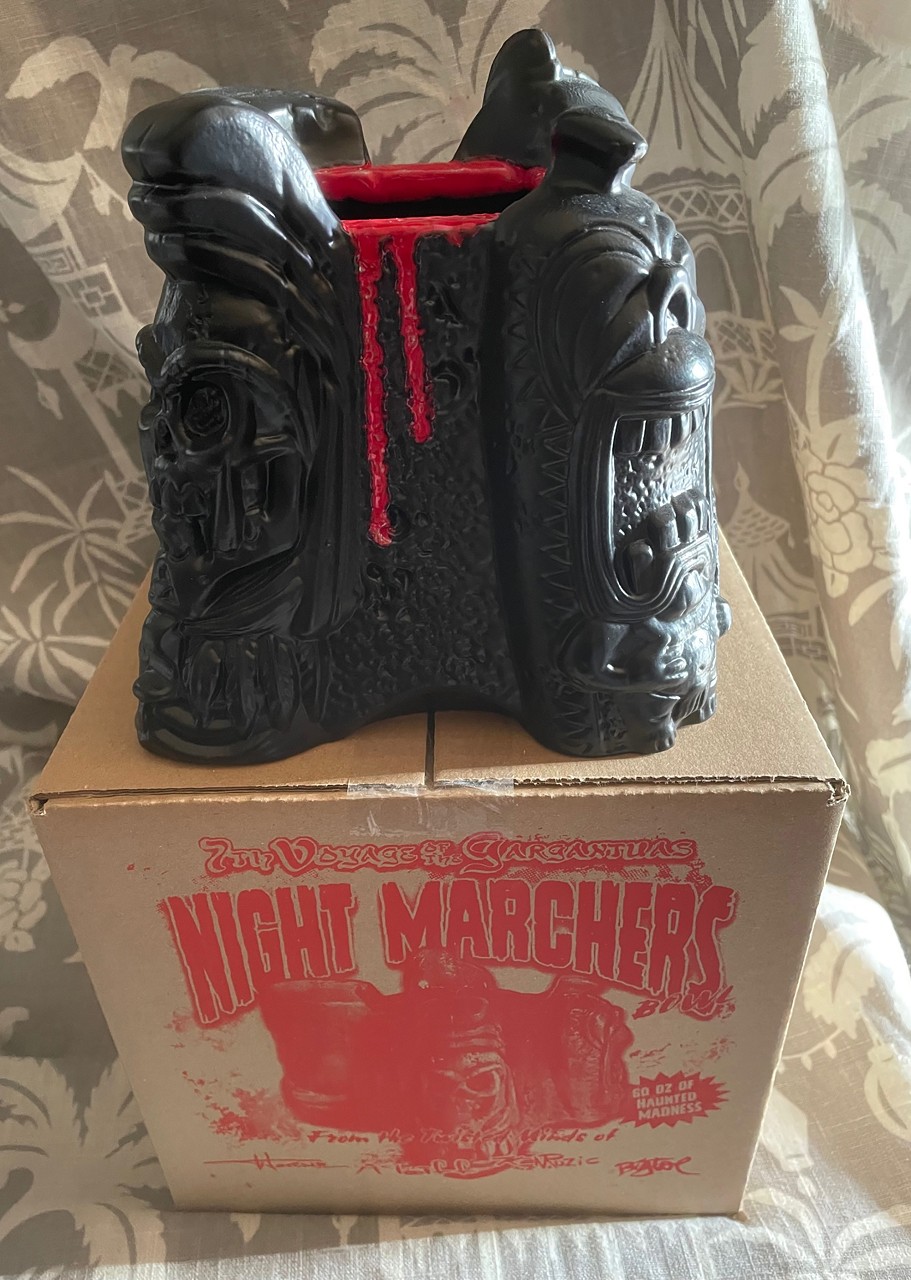
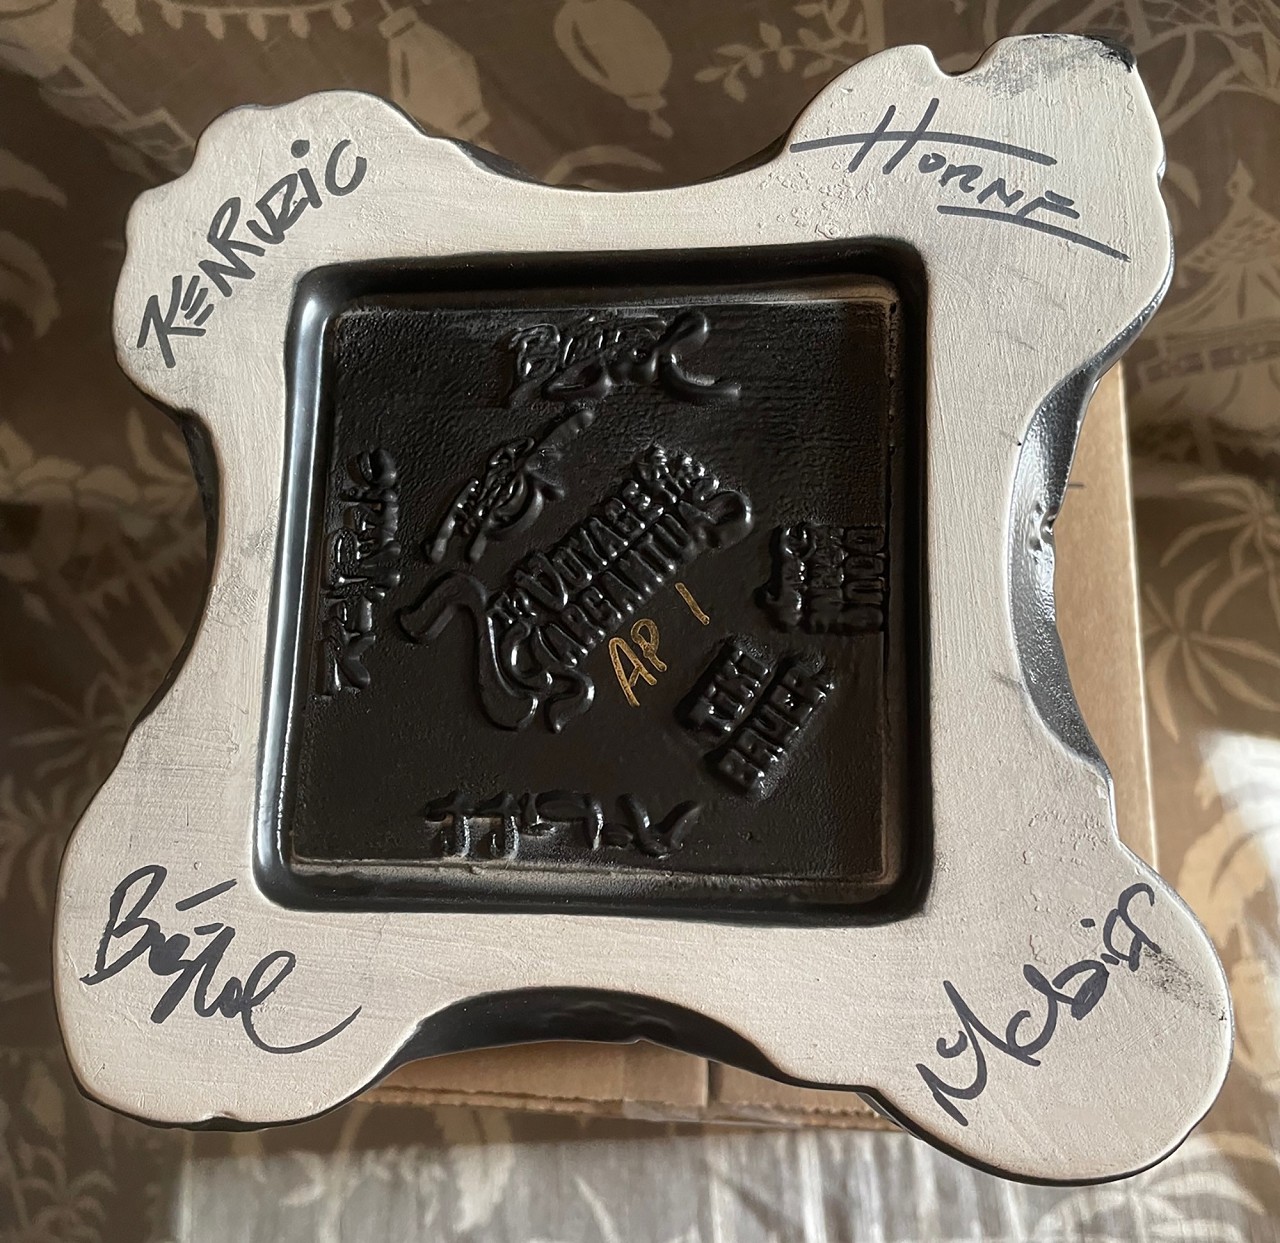 Every Bowl was lovingly looked over ,signed, numbered, and carefully packed into our custom printed boxes. (Toe did the awesome graphic) And each box was numbered to match the bowl.
After all that, we packed up the boxes into vehicles and staged them at the studio in anticipation of
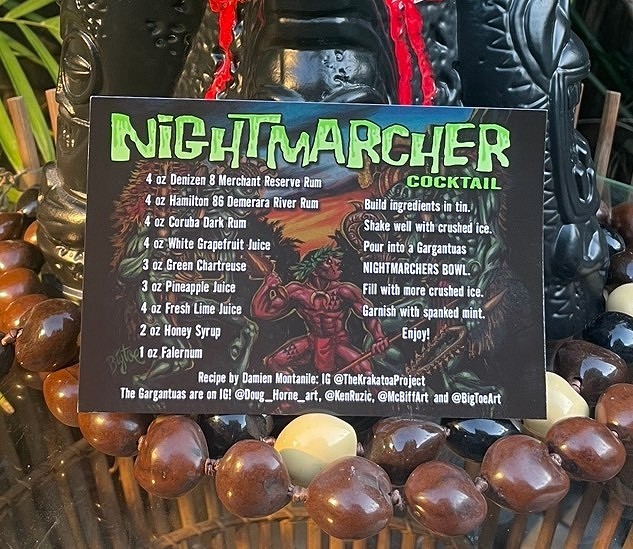 Then we Promo-ed the Funk out of the Social Medias...
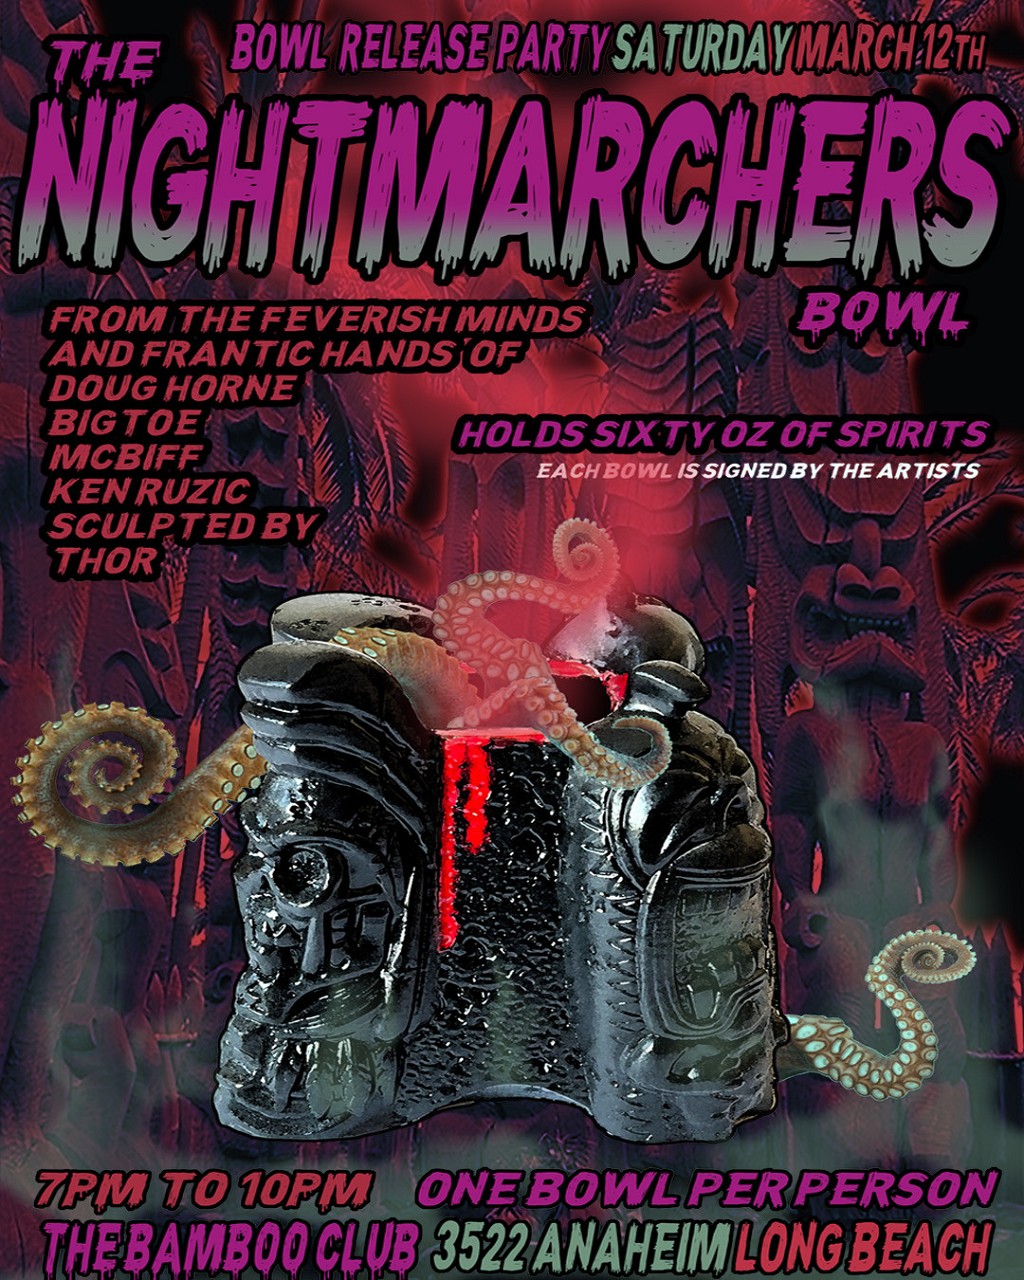
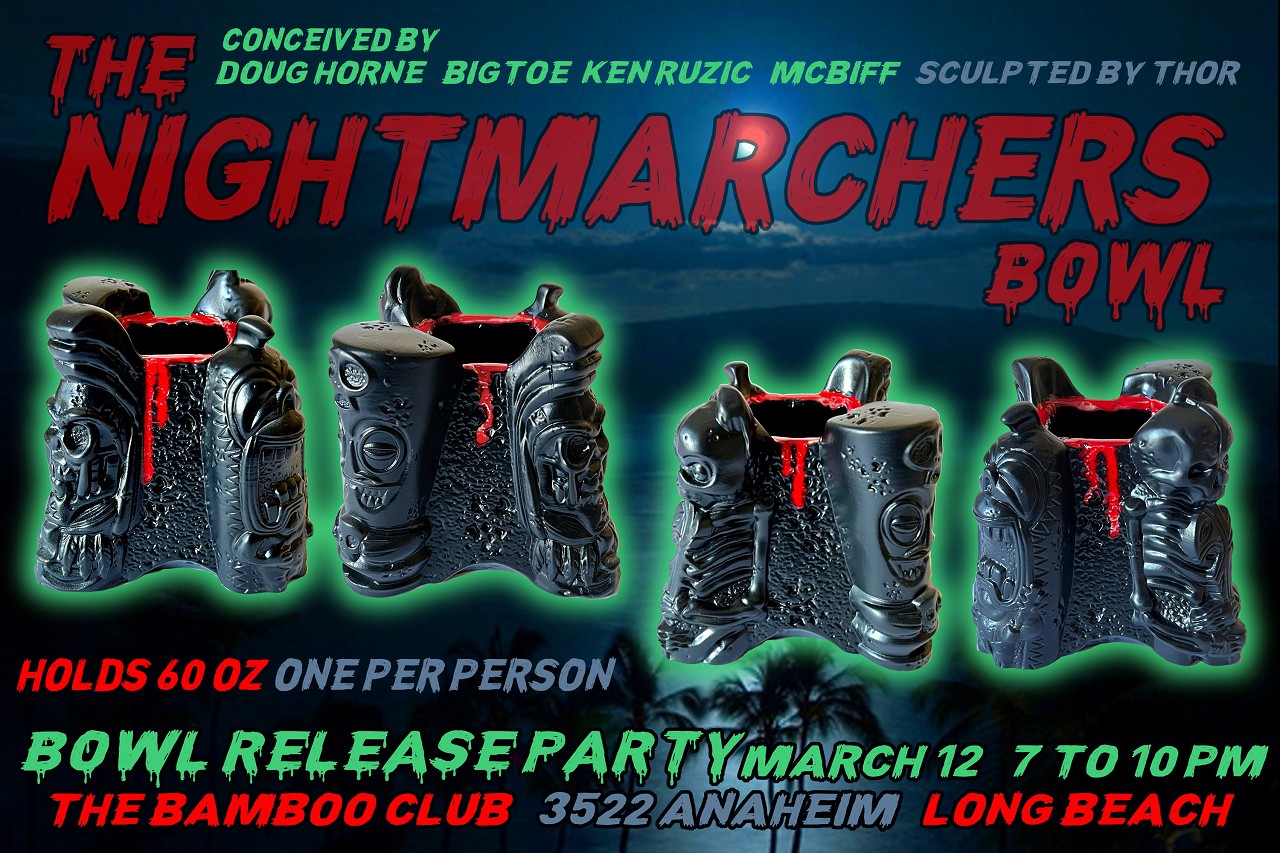
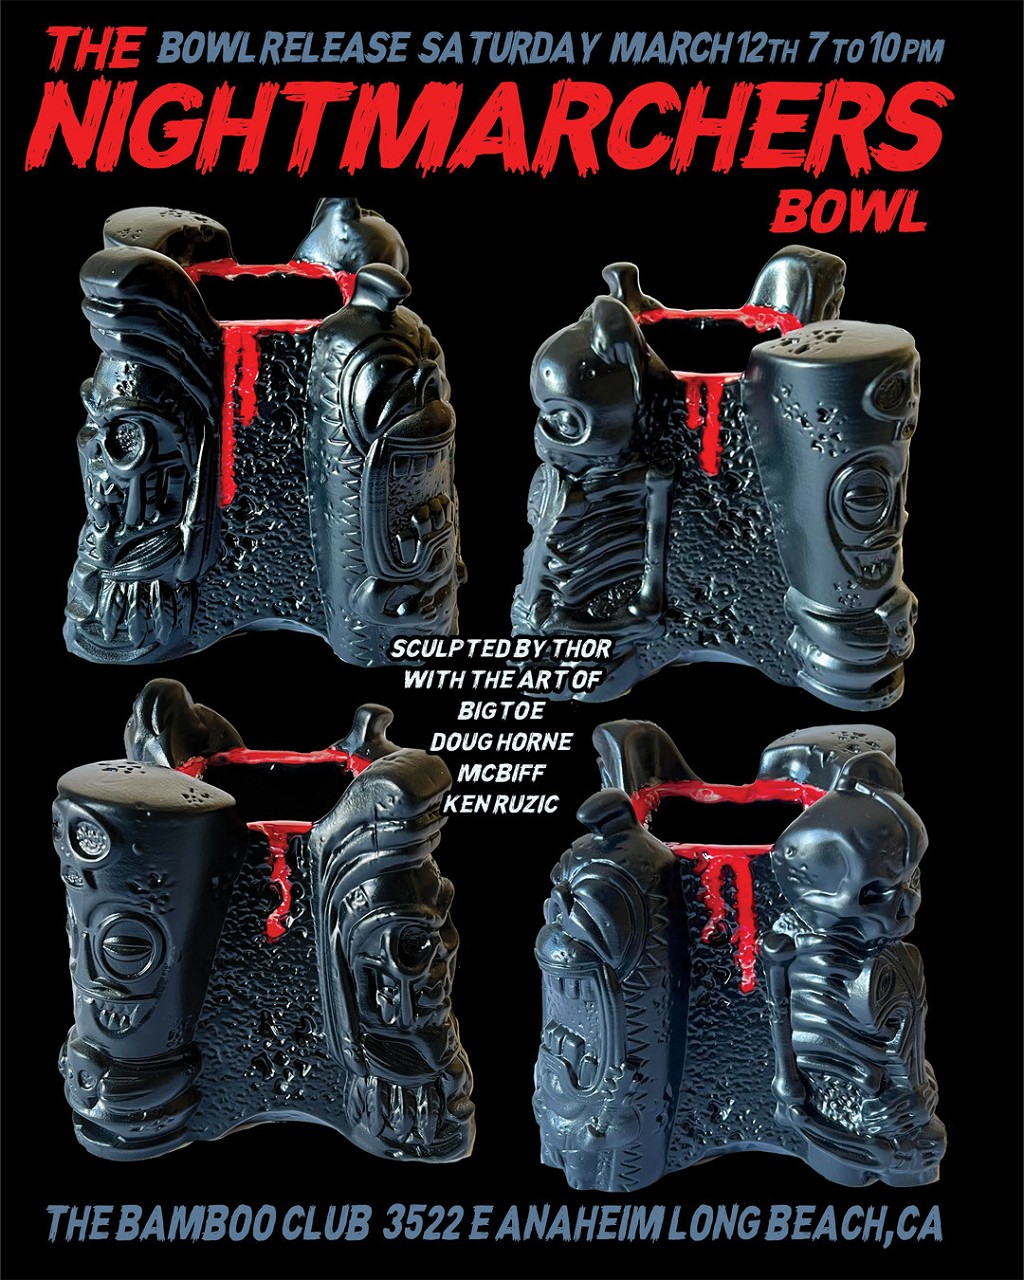 We also had a nice Family shot for a Flier!
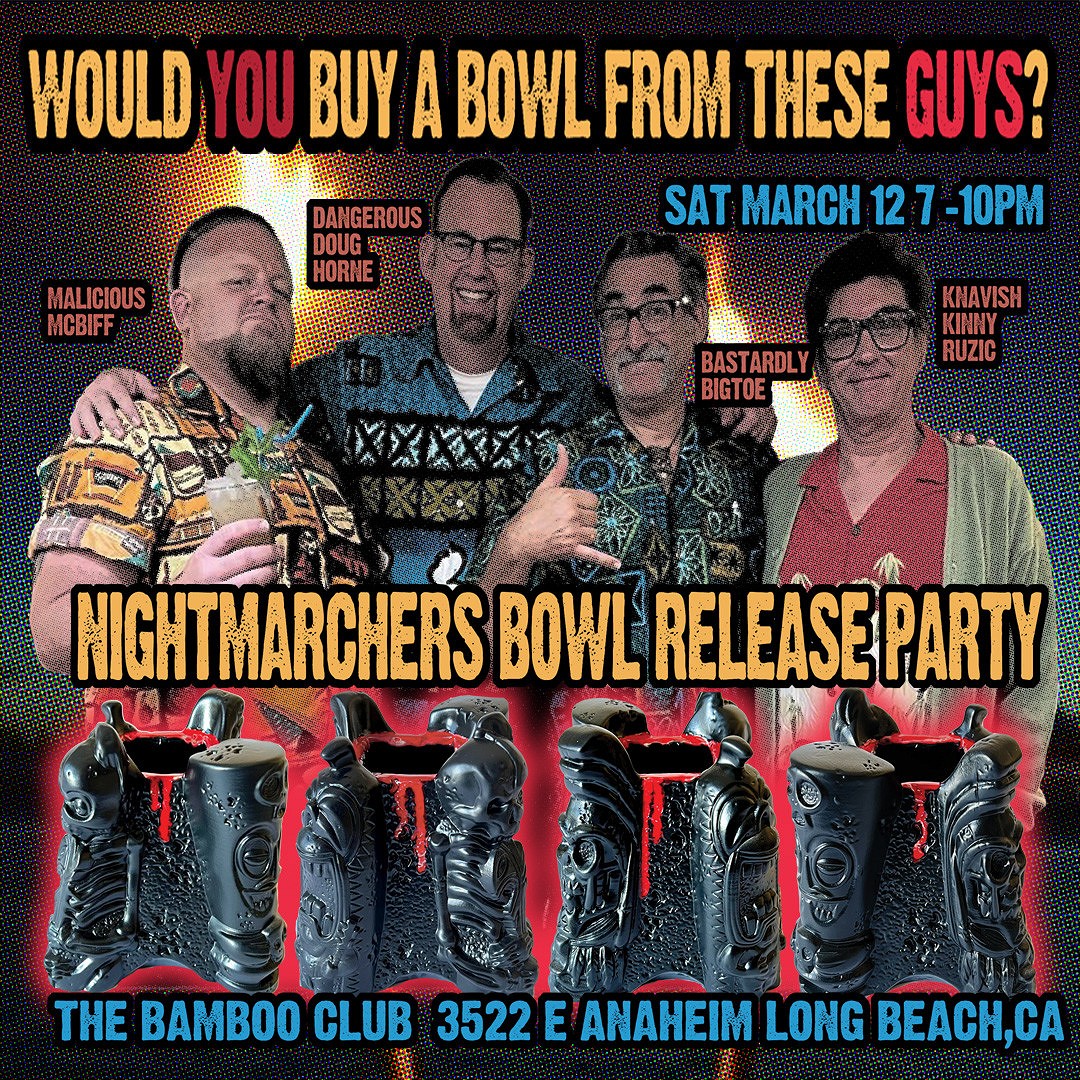 And my Personal Favorite Promotional Flier for this exhibit....
 Here's one by Doug which shows our original concept drawings for the posts!
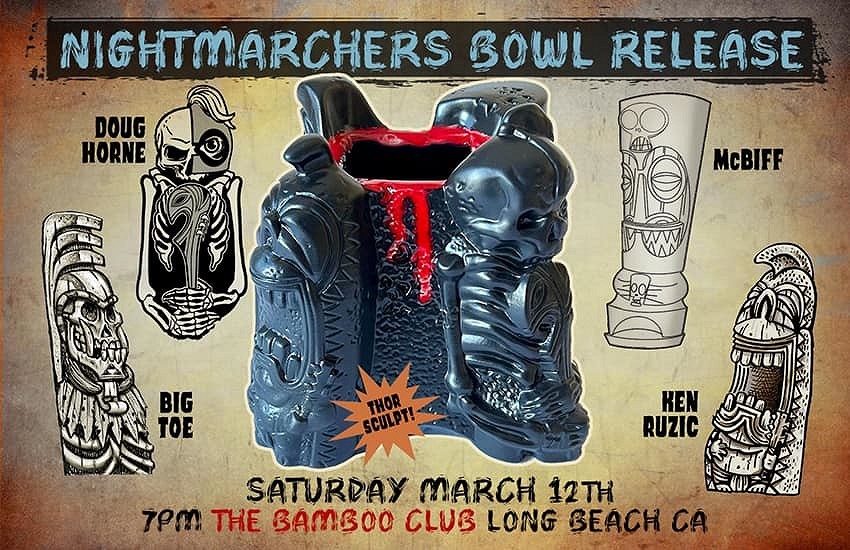 And the Bowl Release!
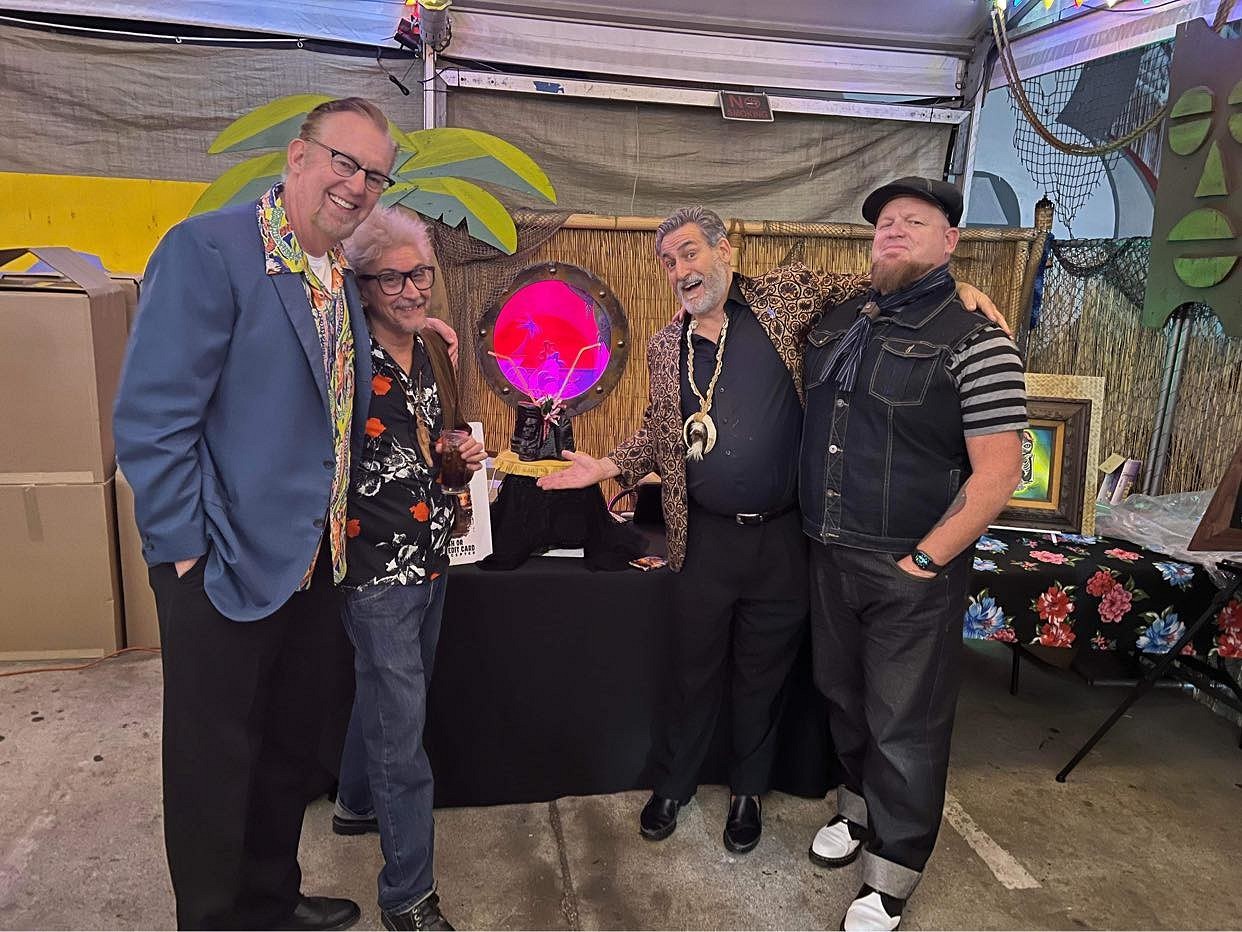
Here we are with Damien!
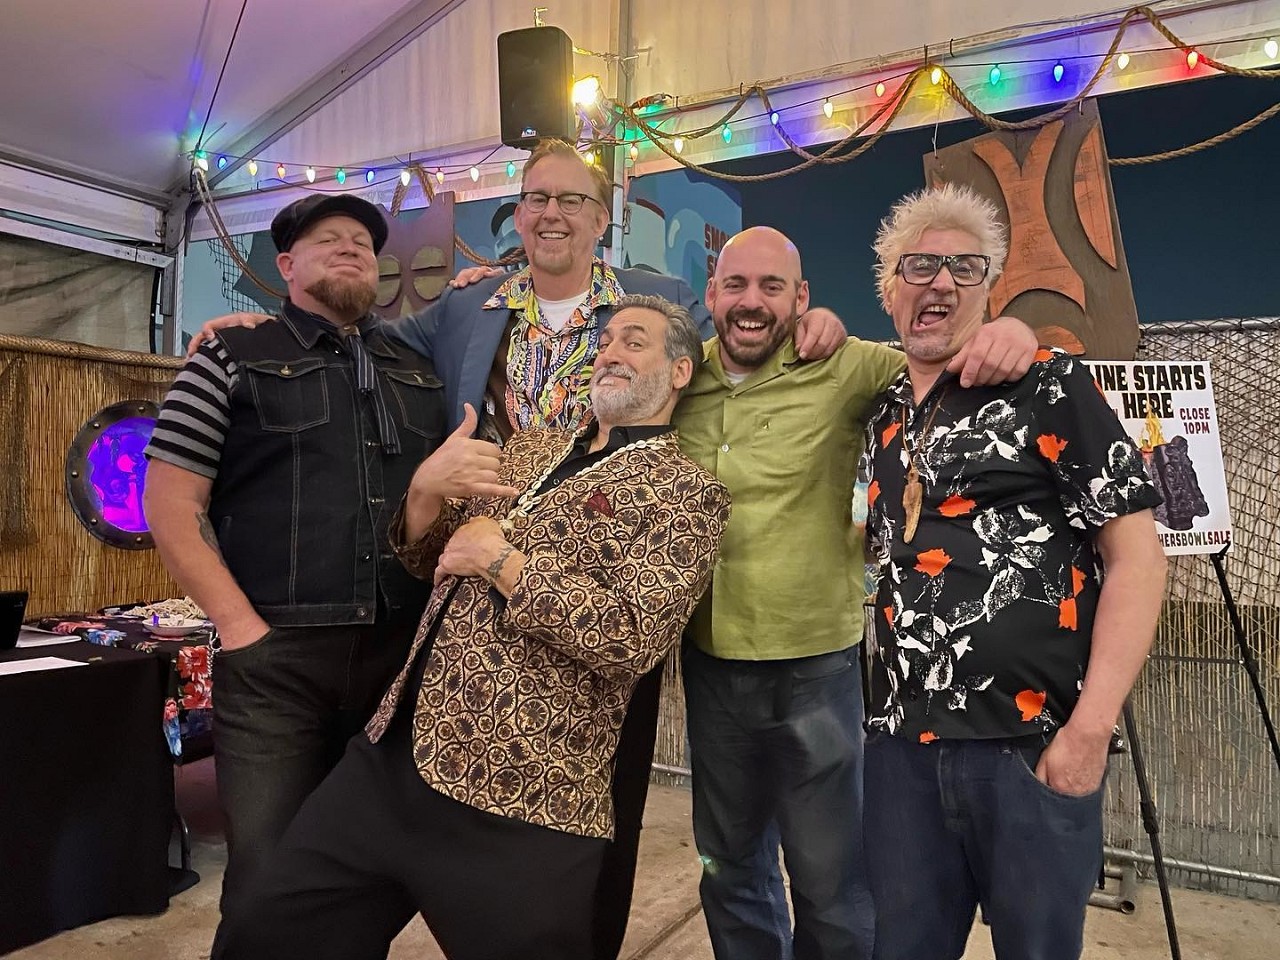 The Four Gargantuas after selling a LOT of Nightmarchers (and a few Cocktails!)
 Even BooBen showed up! He just got back from his Globe-Hopping that night!
 We even had a lil pop up Nightmarchers show
where we displayed art concerning this Ghostly legend...
I brought two!
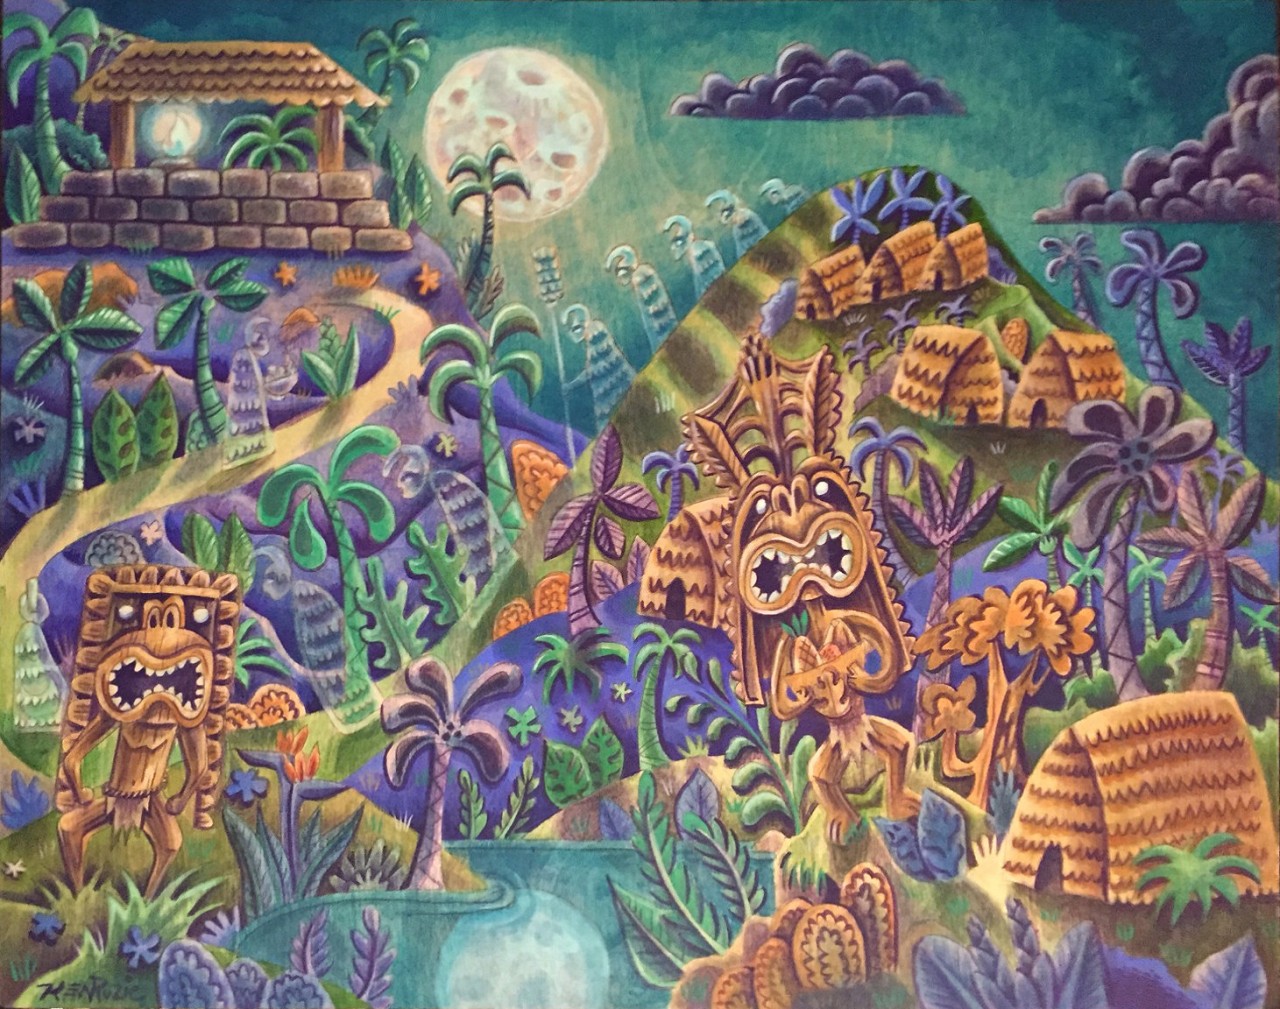 "the Night Marchers" 16 x 20" Acrylic on wood
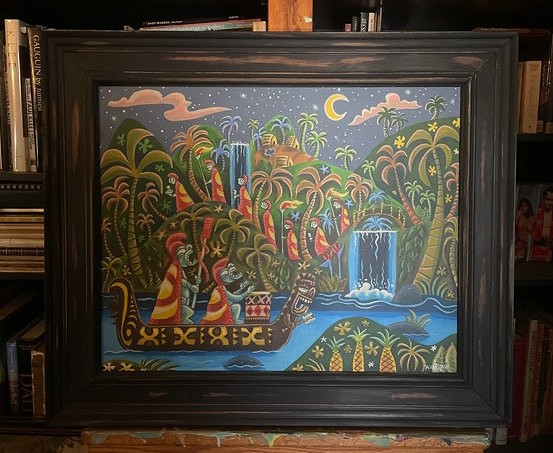 "The Procession" 16 x 20" Acrylic on wood
Very Fun and So many People! We felt very Special and Thankful....and a lil Buzzed!
Kudos the Bamboo Club for hosting us and this event!
Give them a visit if you're in the area!

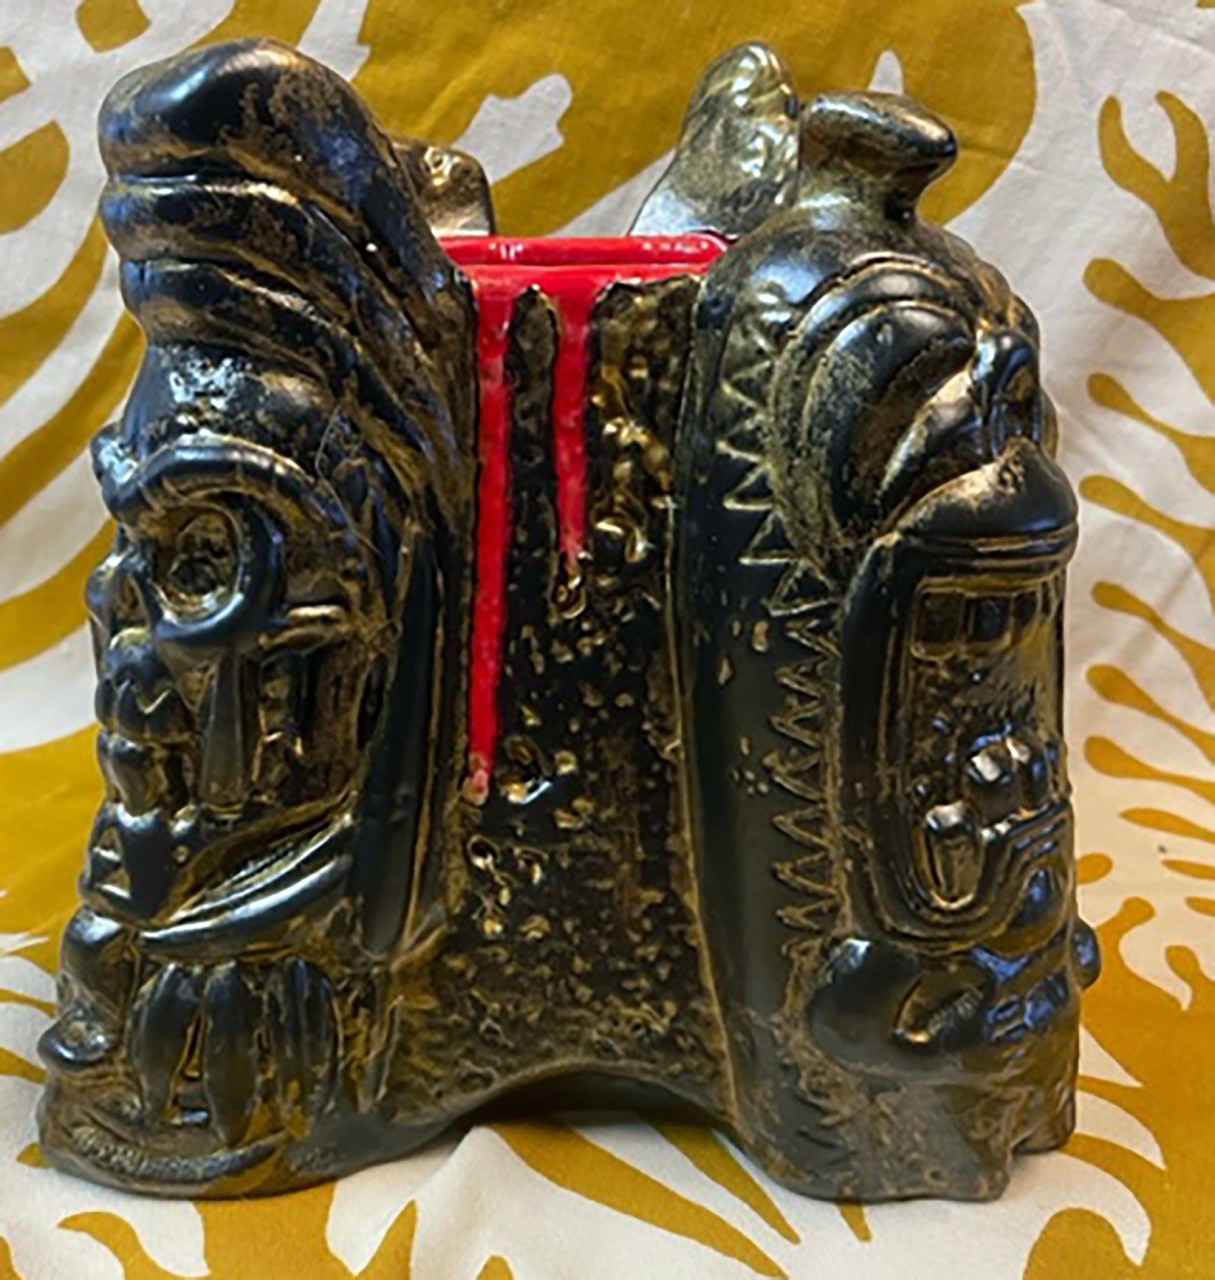 Burnished and Bruised Edition
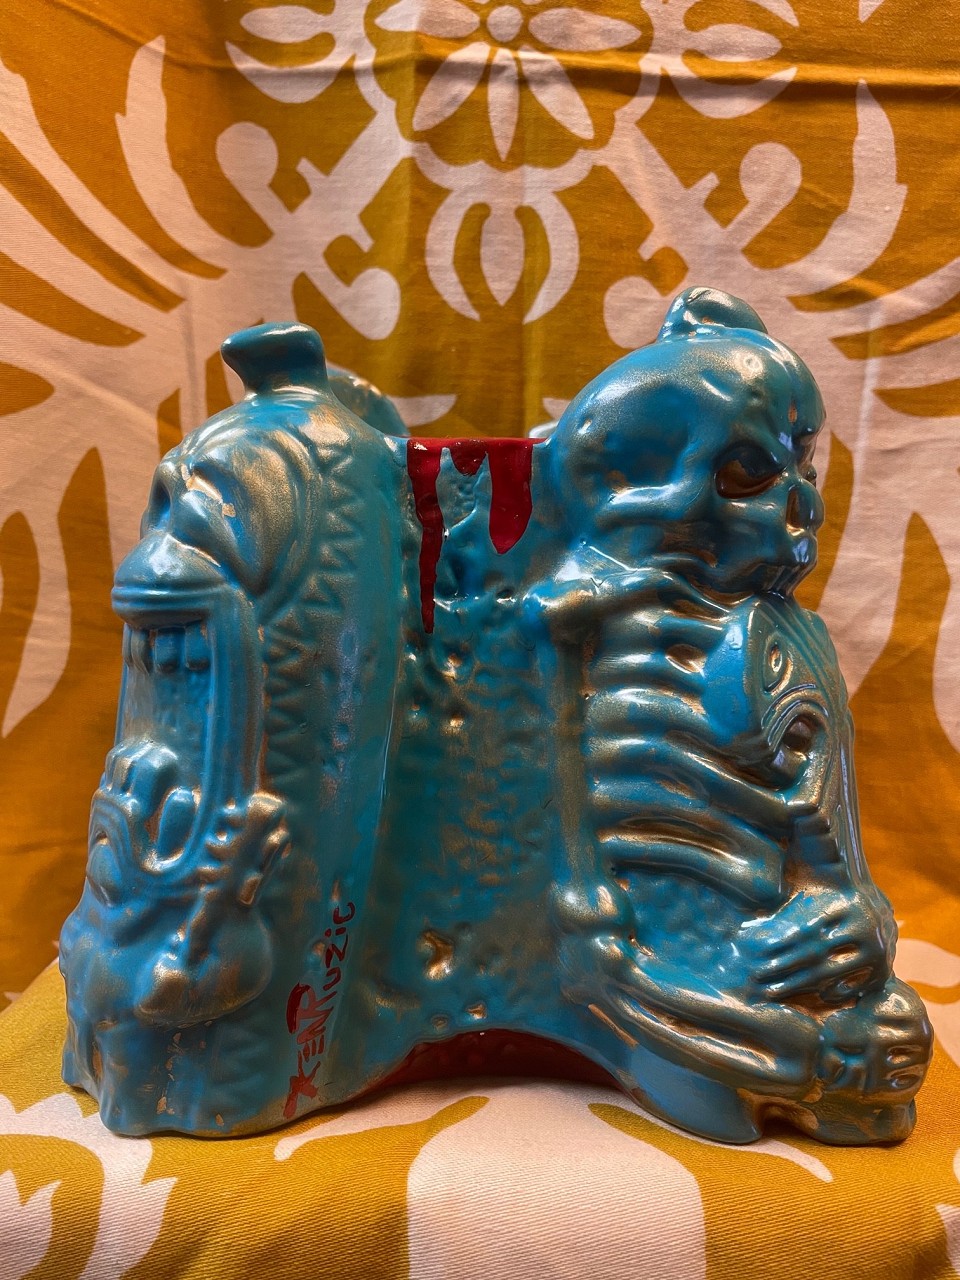 Midnight Volcano Edition
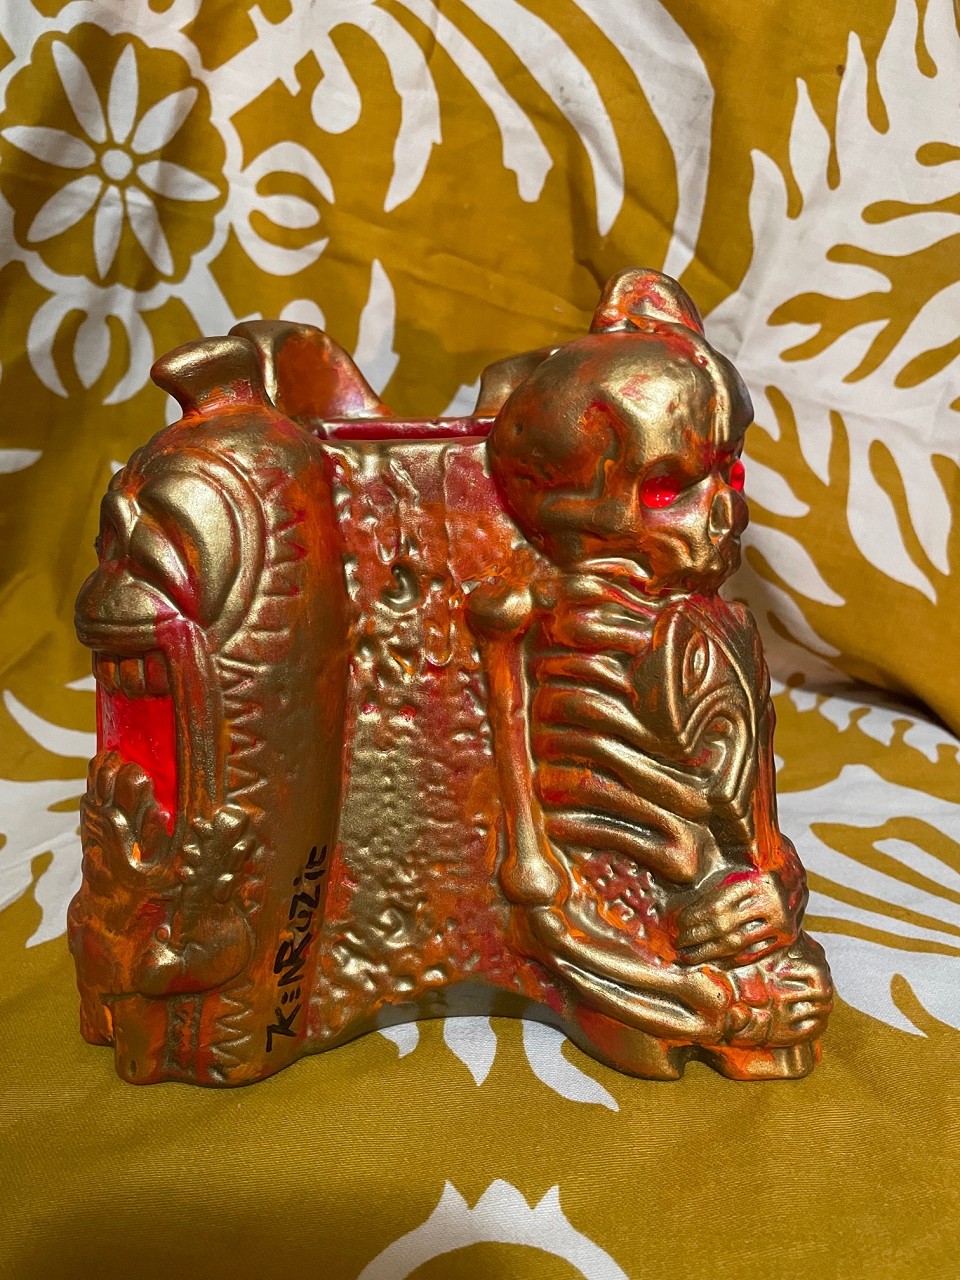
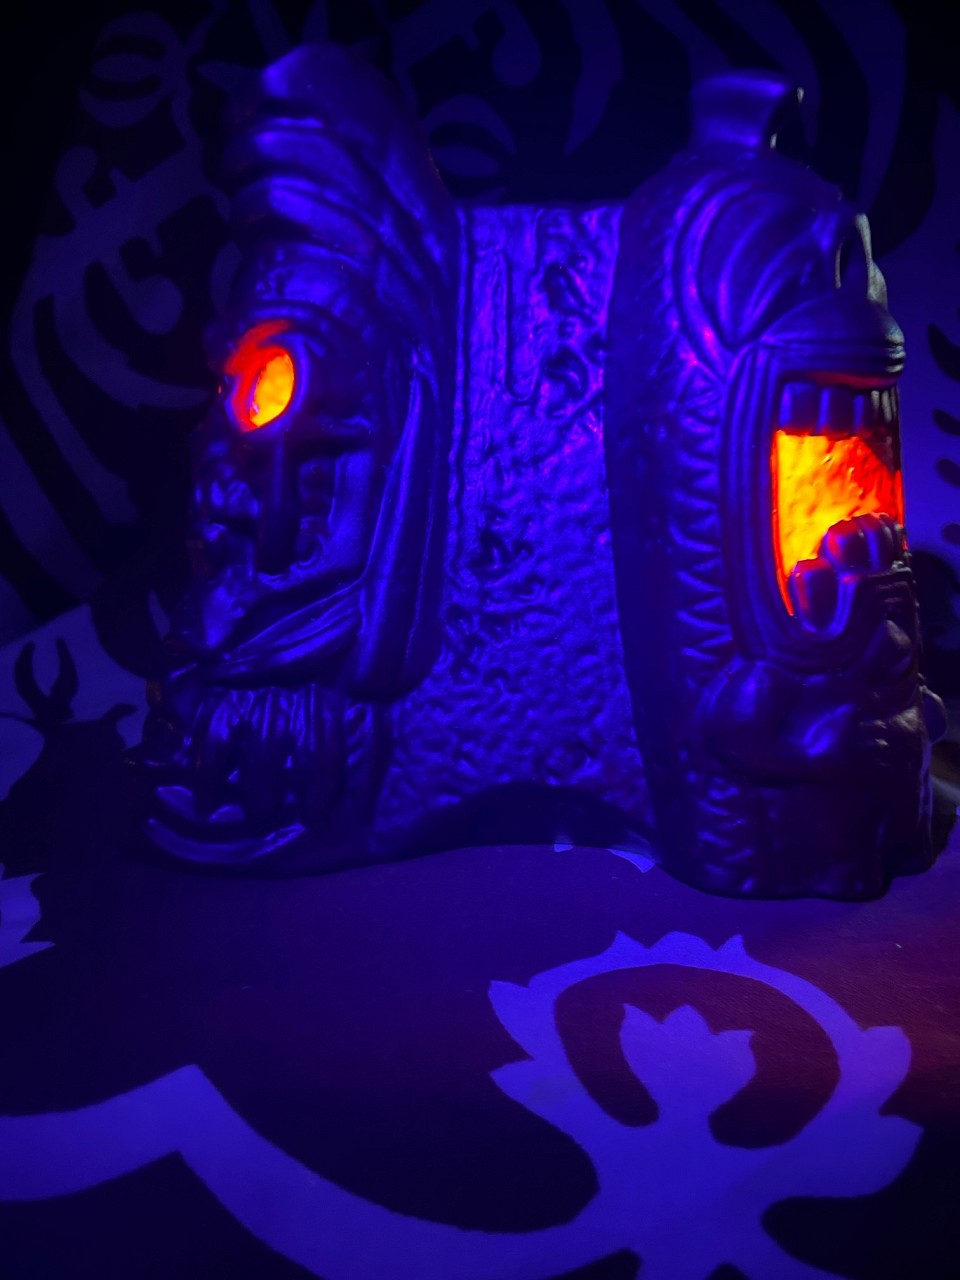 Golden Glow Edition UV activated!
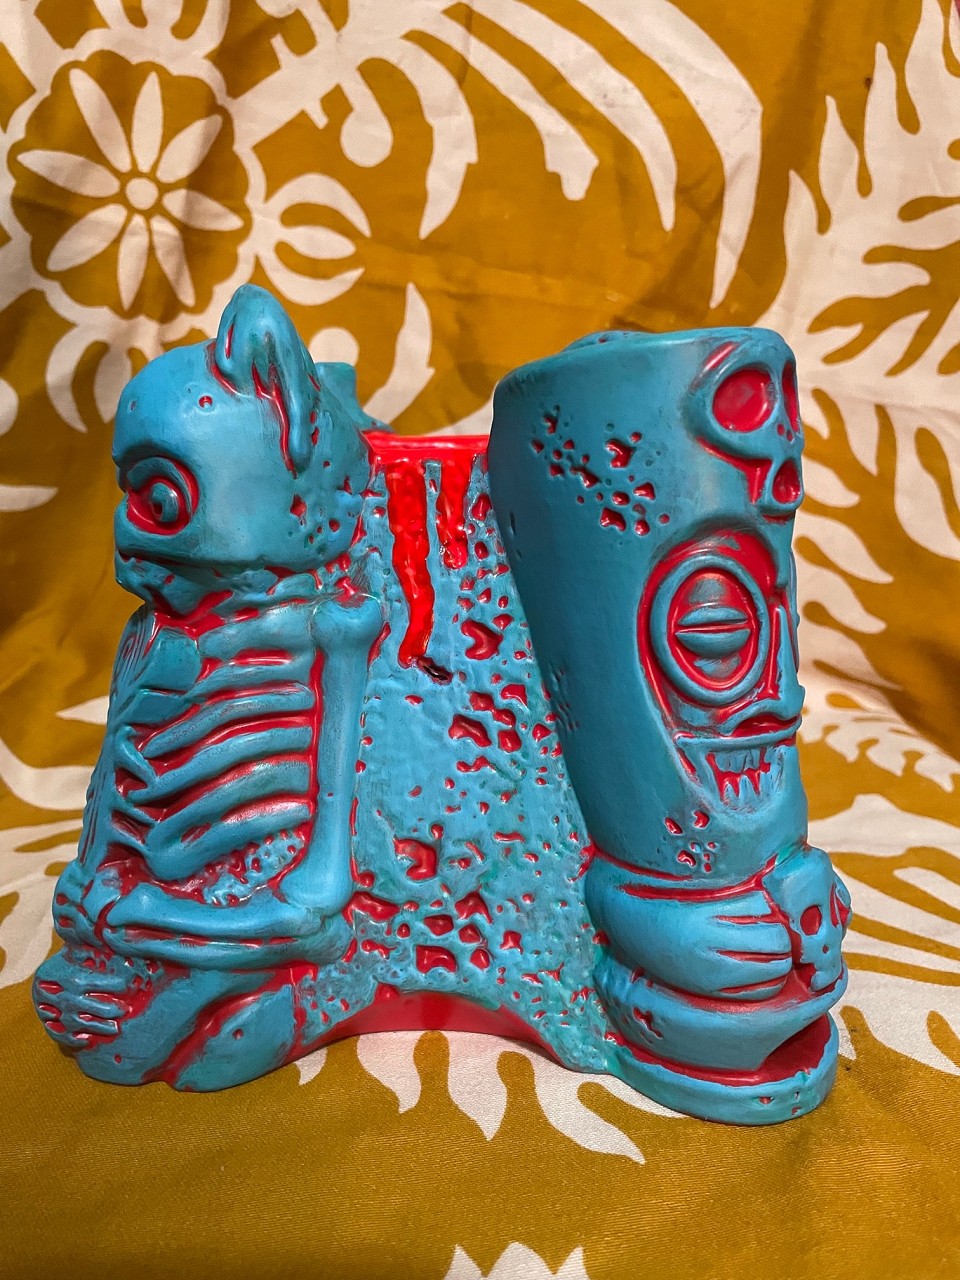
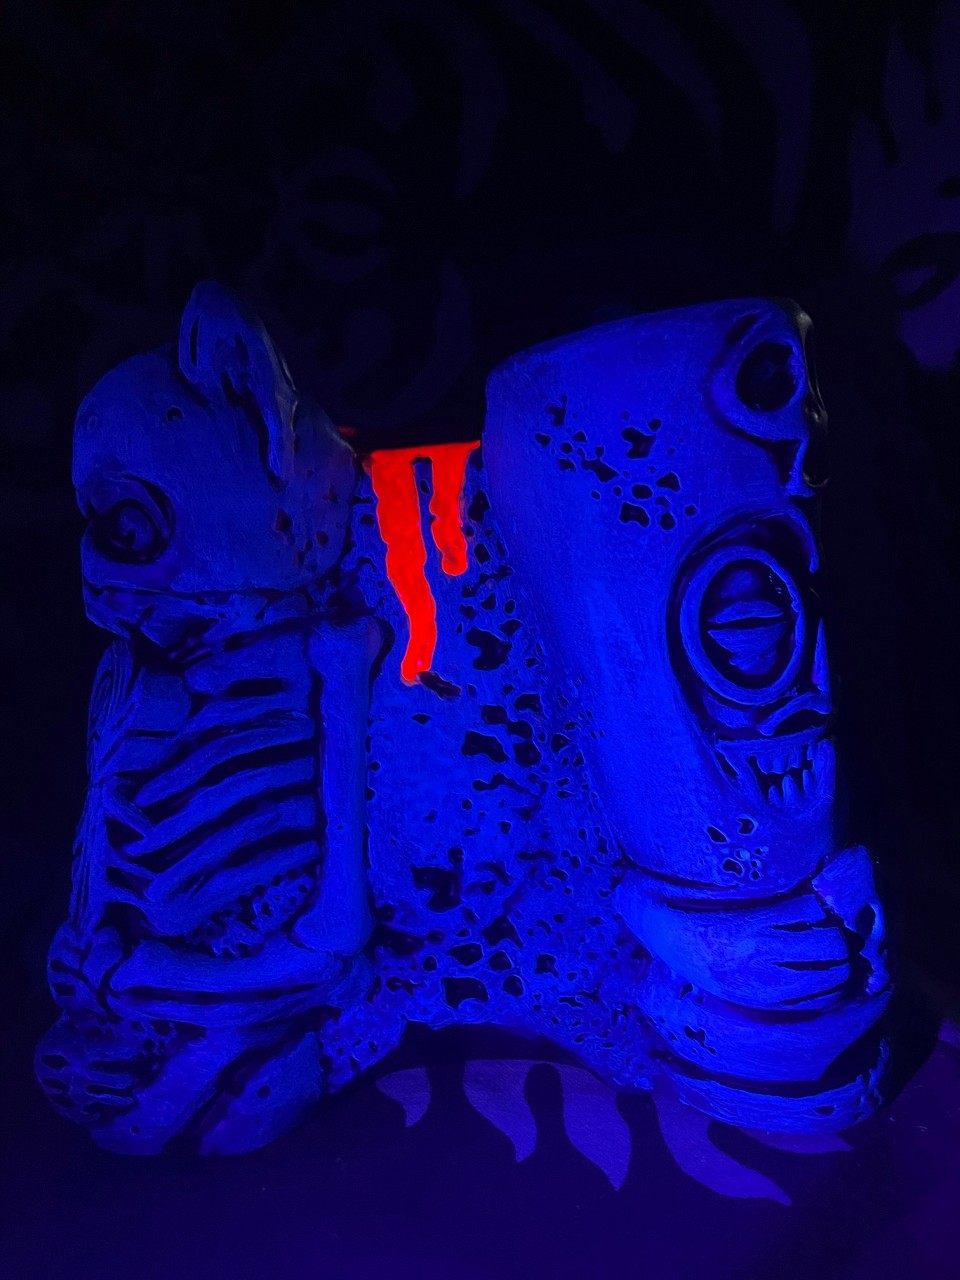 Blue Hawaii Edition UV activated!
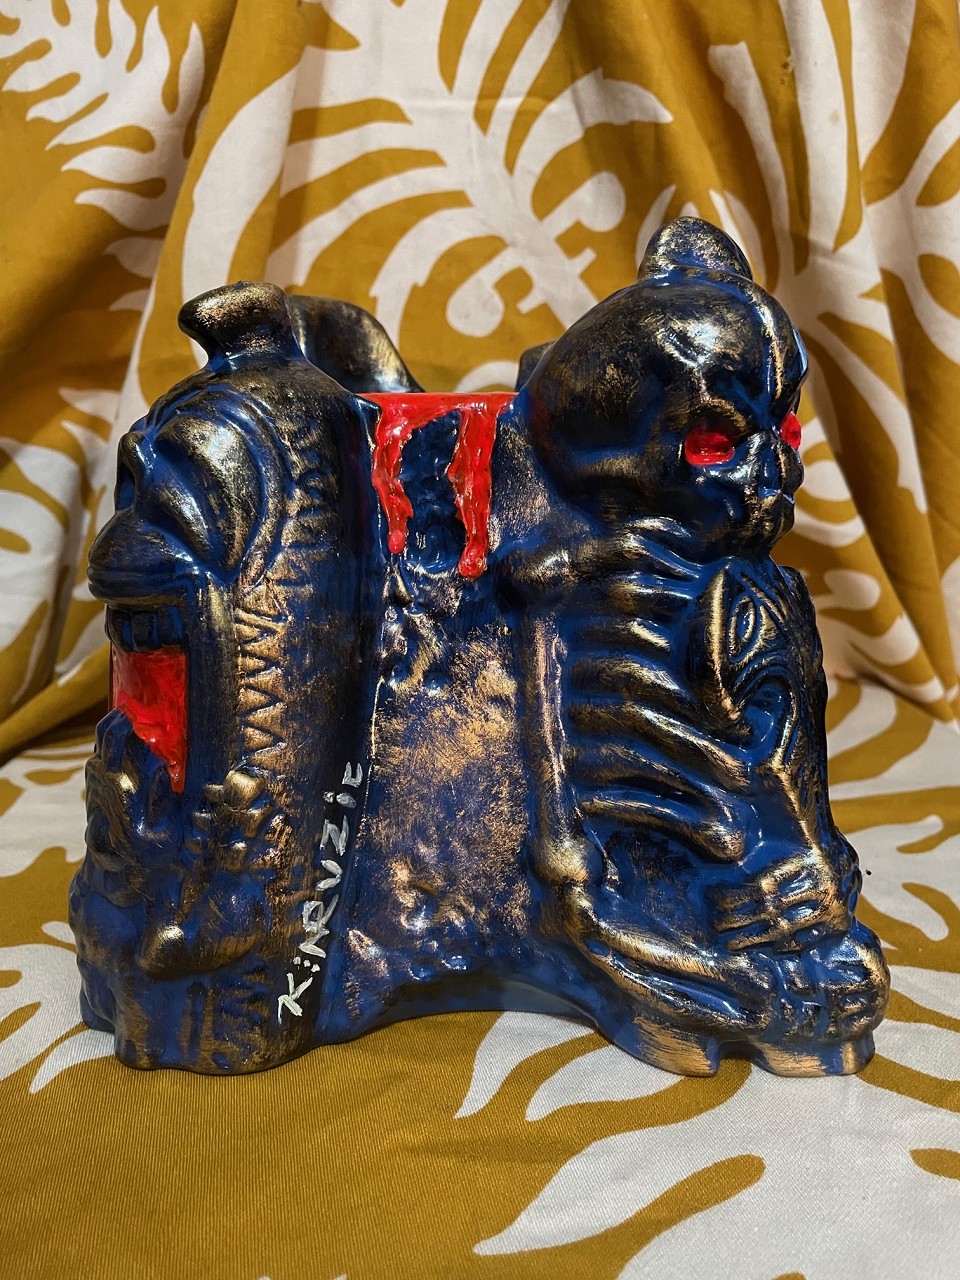
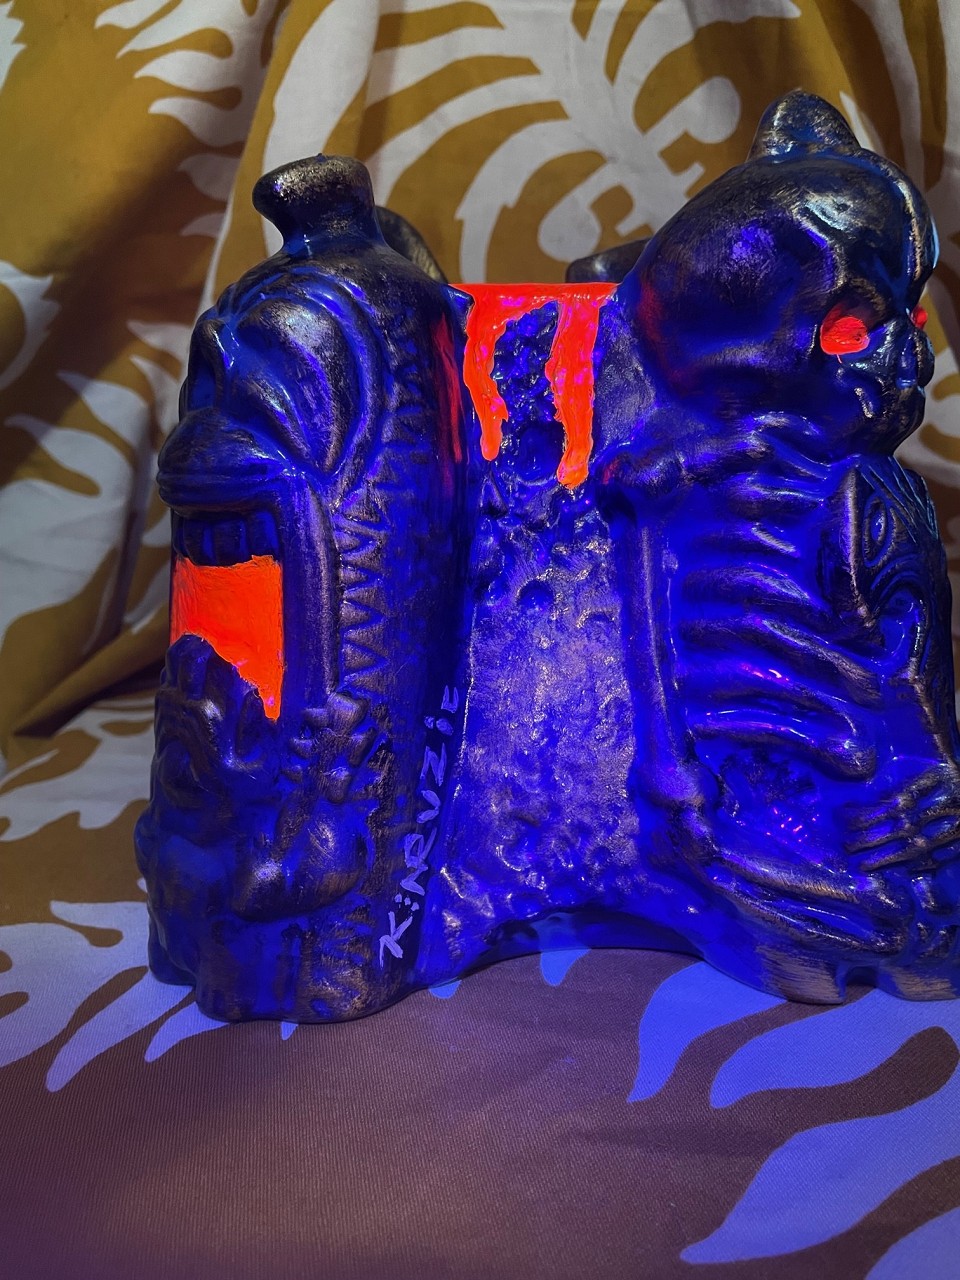 Moonlight Staccato Edition UV activated!

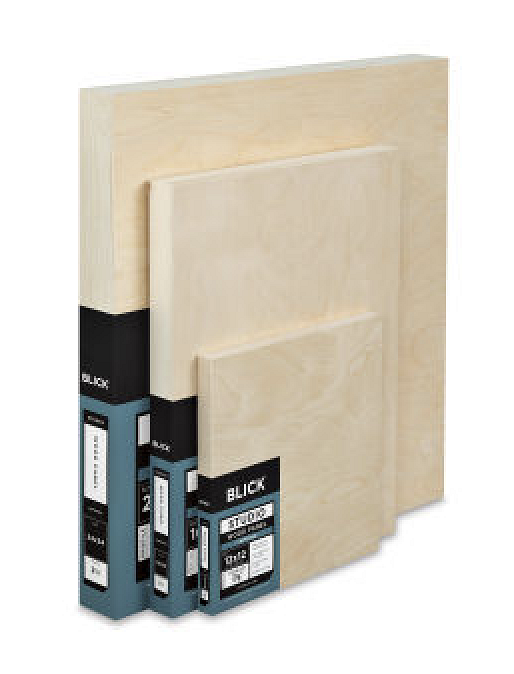 Blick has a range of sizes of pine wood cradled Basswood panels
that are worth the purchase....
a 16 x 20" one will run you around 25 bucks
so I suggest buying a 4 x 6" one for around $6 as a "practice surface"
or just a panel of basswood ,if you have a lumberyard/wood shop nearby.....
STEP ONE: Lightly sketch what you want to burn onto the surface
a soft lead, and a light touch is encouraged, as you're gonna have to erase it after you finish the
Blackline/woodburnt stage.....
Here's the entire fast sketch...No real reference, just me having some fun and putting the instinct on autopilot....
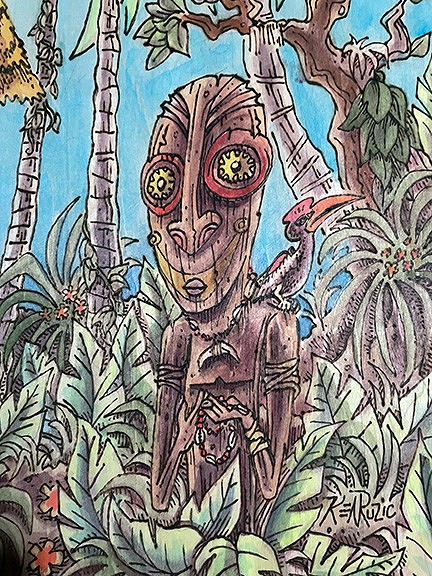
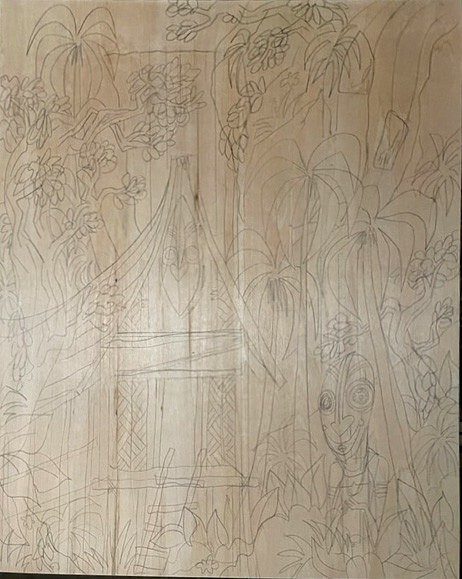 HAVE to add a Tiki to this pieces I sketched out this little gent
and wanted to give him a little story/something deeper than just a wooden sculpture hangin by a hut.
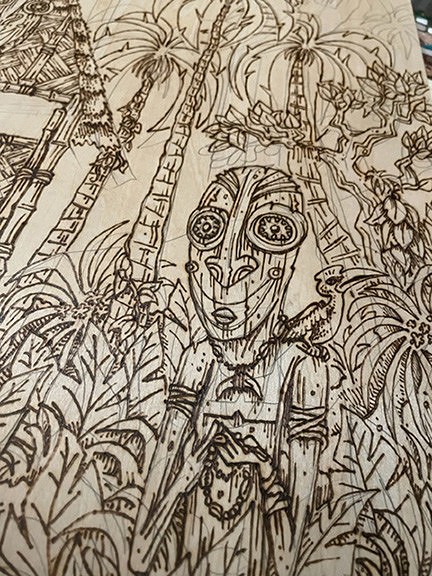
SO...it was decided by the inner-council to put some strung beads in his hands... And with that infamous Papua New Guinea "stare" He begins to appear to be contemplating something...in the zone, if you will.
Really having no title at this stage, this guy was the birth of the title....in a way....
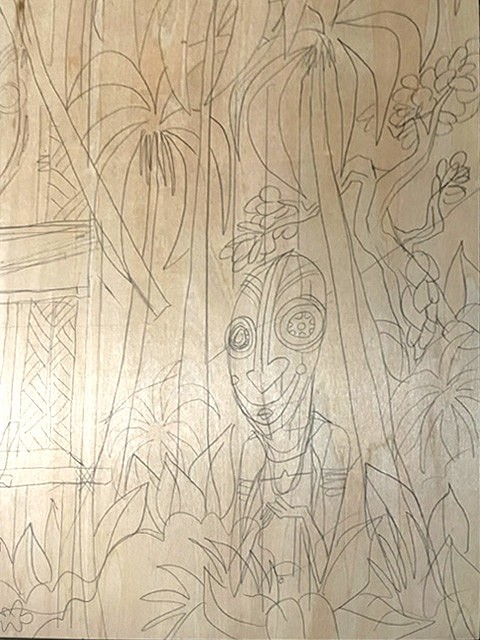 All sketched up lightly....time for PYROGRAPHY!!!!
I used to work with one of those 20 buck kits ,until overuse one day
caused the tip to actually melt a bit! Not good! Fire hazard!
A dear friend sent me a ColWood kit that provided a wonderful learning curve
and prevented any mishaps.... I wouldn't be capable of such works without this
and I am forever grateful!
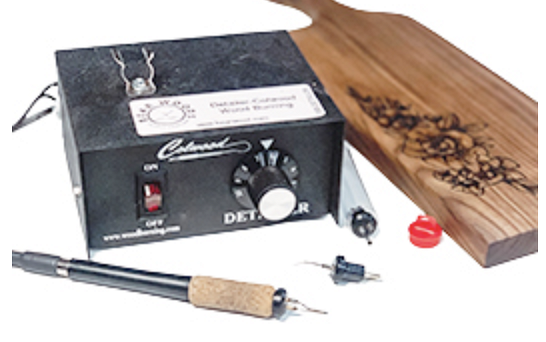 Being able to adjust the temperature of the tip, one can adjust it so it feels like sketching and drawing....
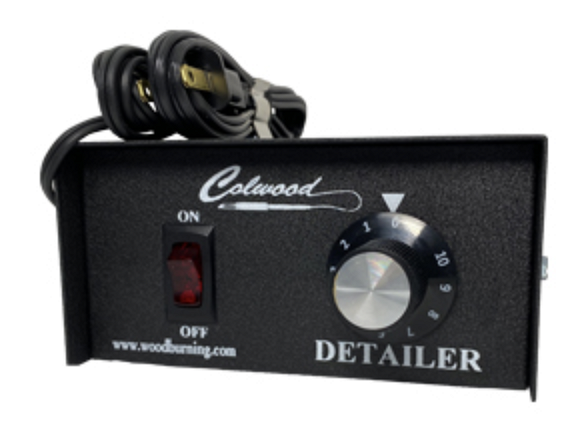 Also, some kits come with a range of tips for different textures/etc.
For some reason,...I've just used ONE tip about 99% of the time...go figure!
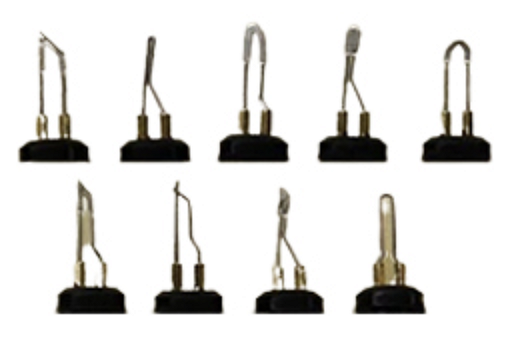 Enough Logistics!
Let's get down to BIZZNAZZ!
I like to work Left to Right with woodturning.
Now that doesn't mean I always start on the far left hand side...
If started in the middles draw to the right... I think it's so I can SEE the progression...
The temp dial is usually around 7-8 for my comfort zone.....
tho if I dropped the pen on my lap, comfort wouldn't be the end result...YOWz!
That being said: ALWAYS REMAIN VIGILANT when woodturning...
and turn off the pen when you want a break AND always be aware of the tip IS....
There's a lil clamp on the temperature dial boxes I always place it there and check that the unit is off...
Remember...you're drawing with FIRE!
Here's some vegetation ,a tree, and some hut...
it's always good to start with "minor" elements
to warm you up before the good Stuff!
no pun intended...
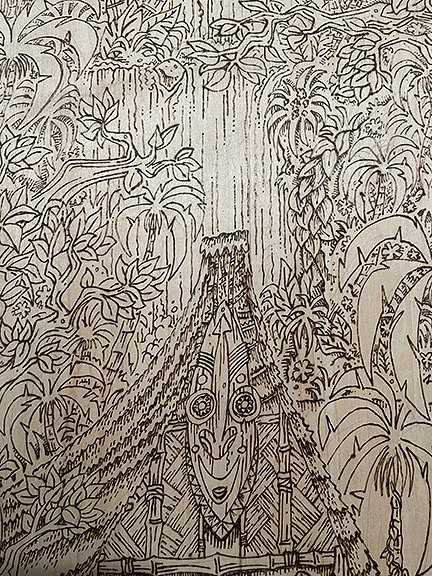
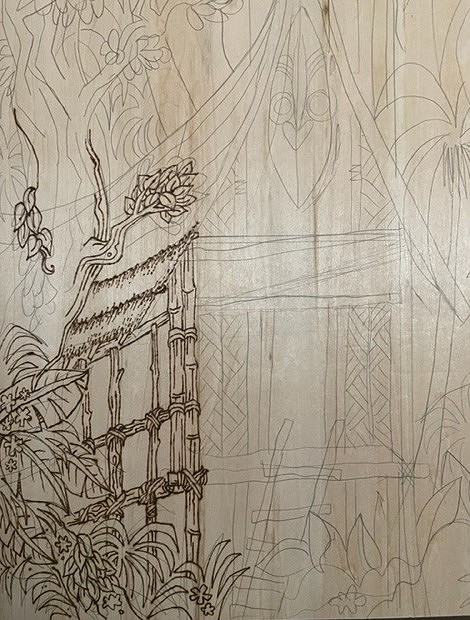 Here's a close-up to show the light pencil work...
The fun part is erasing the pencil in areas you have burned..
Then you are able to see your work without that "underpainting" thang....
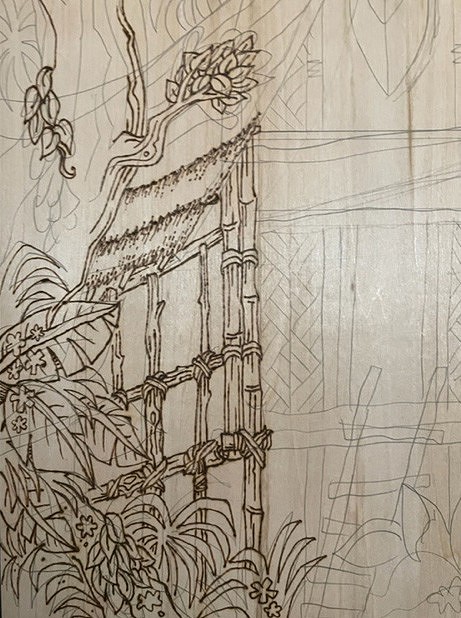 More Progress
The Cool thing about this technique is that you can pencil in additional details later
to make it more lusher to add something that a muse has handed you...
You'll see this later underneath the hut, when leaves and brush are added...
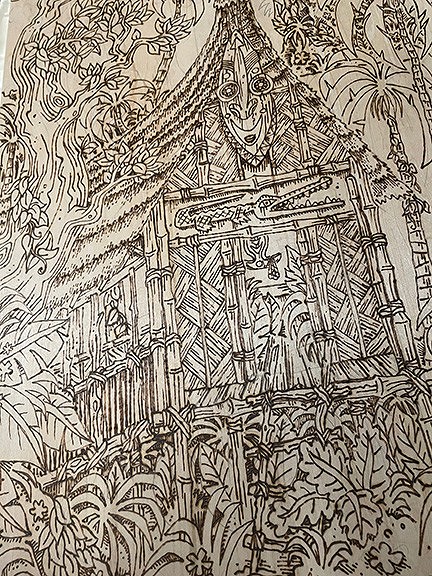
And LOOK! a Ladder! Didn't think I'd make a hut without a way for you all to get into it, eh?
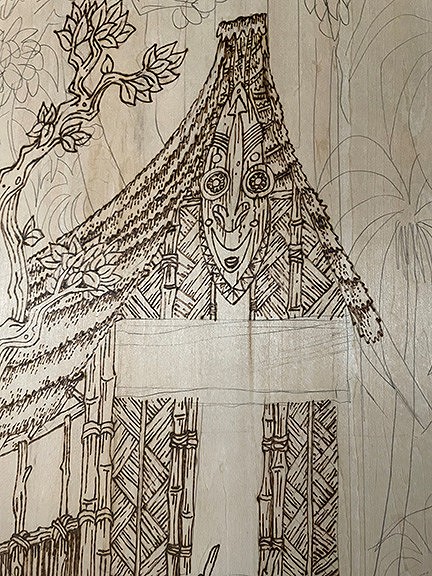
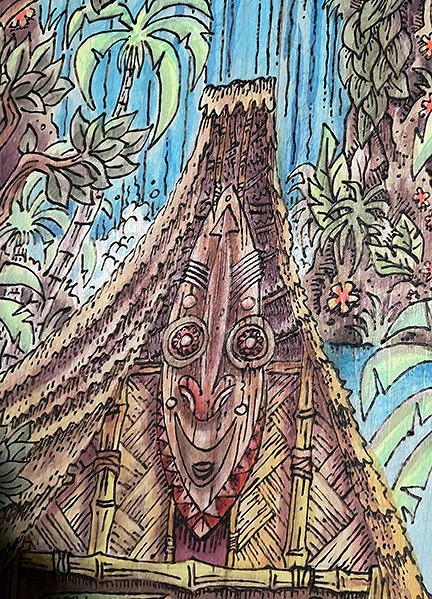
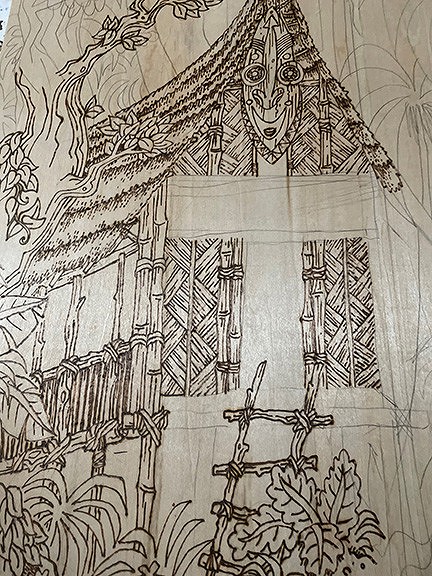 Who doesn't love a HUGE mask over the Doorway?
The direction and position of the mask Could or Couldn't denote a conversation/relationship between the two tiki carved objects.... Will have to wait and see what happens...
When you've been creating art for 30 some years, sometimes it's fun to let a piece speak to you
and tell you where to journey onward...That surprise always helps to revive that artistic apprehension and excitement of earlier years...
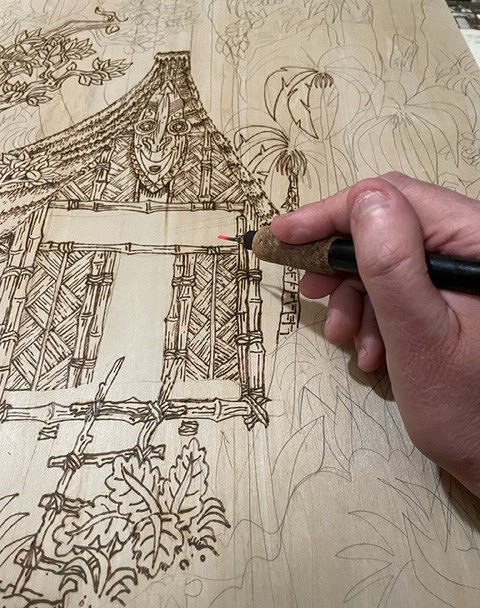
 Here's a picture in ACTION!
Note the red hot tip...
ALWAYS REMAIN VIGILANT!
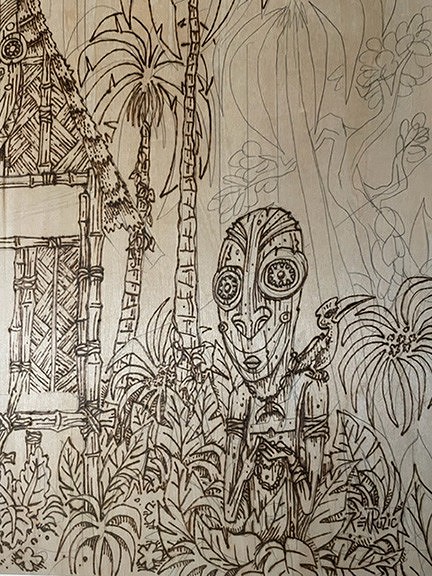
 Here he is!
With a hornbill on his shoulder and mindlessly fighting with the beads...
What has caught his attention?
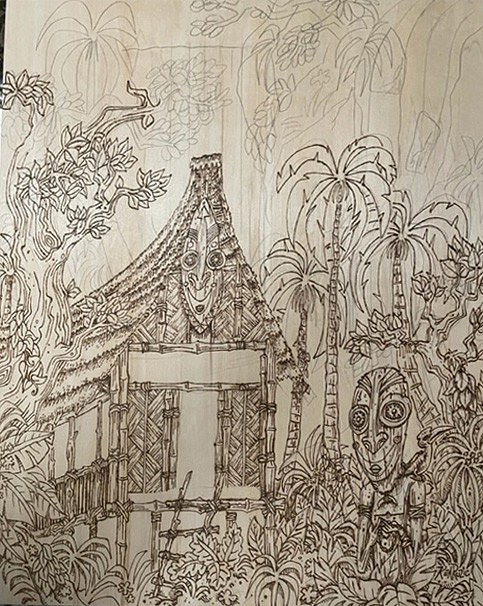
 Panning back to give you a sense of what has been done thus far....
 And a closeup of this fellow...
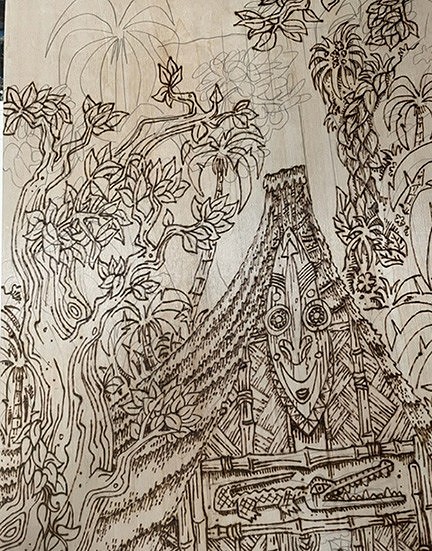
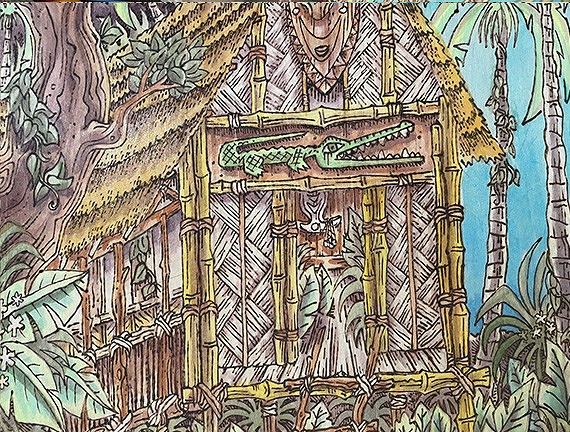
 Decided to throw a Carved Croc on the front panel of the hut.
and if you note...There are very few areas of deep shading
a heavier line here, some tics and lines to denote overlapped roof palm leaves or grass
but not much. this is because one has to think into the future!
Why do I say that? because this is only the first step...
COLOR ...adding Color will take care of the shadows and dimension...
this woodburn "drawing" is only the frame to assemble the rest of the structure...
unnerstand?
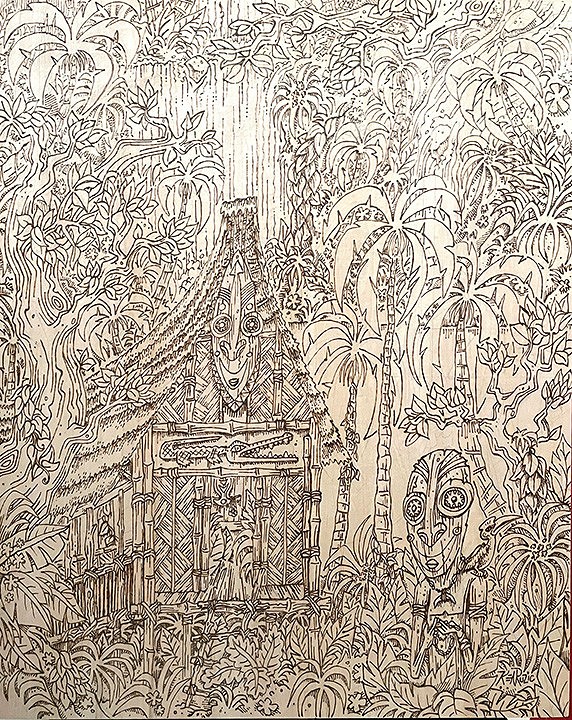
 Here's the whole piece
As you can see, I took care of under the hut, Right now it looks like a chaotic mess
but wait til COLOR...Color will help create the illusion of cool vegetation 'neath the hut!
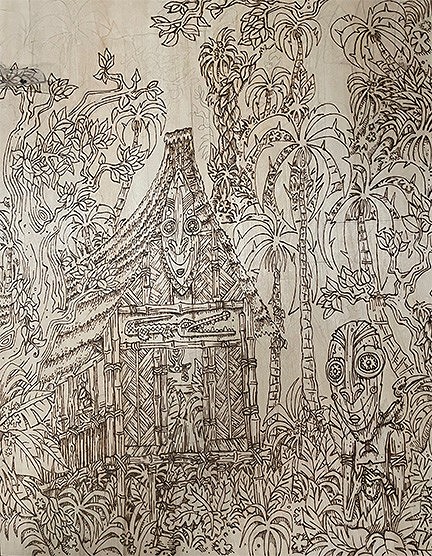 AND this is when the title popped in...
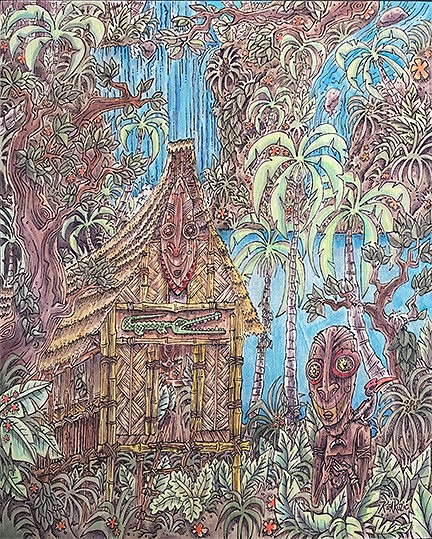
"Listening to the Waterfall"
That's why they are zoning off into the distance...
These tikis are just thinking and enjoying the coolness and sooting sounds of the distant waterfalls!
Here's some of the interior of the hut....
Now here's where I took some artistic liberties concerning dimension and logic.
I try to keep it wonky and uncertain when it comes to perspective and the actual dimensions of the hut.
I did this to be a straight shot INTO the hut for the viewer, an easy way to enter "beyond" what the piece shows....Sometimes ,creating a world ,and then bending that world's logic, creates a dream-like landscape where logic may not always be in charge....
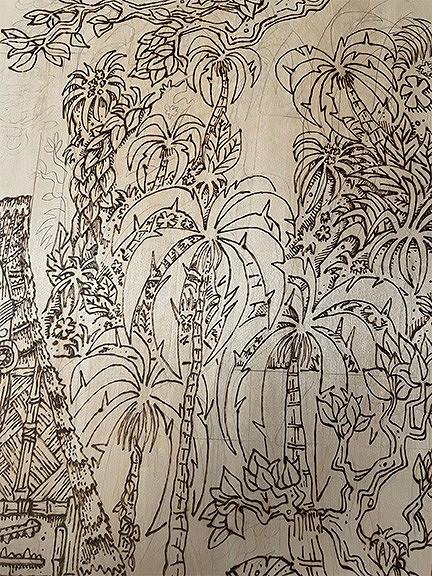
 Here are the palms, and the areas awaiting water.
Decided to lay low on details for the palm leaves...
Between that and the water, the eye will have a place to "rest" after hacking their way thrush jungle...
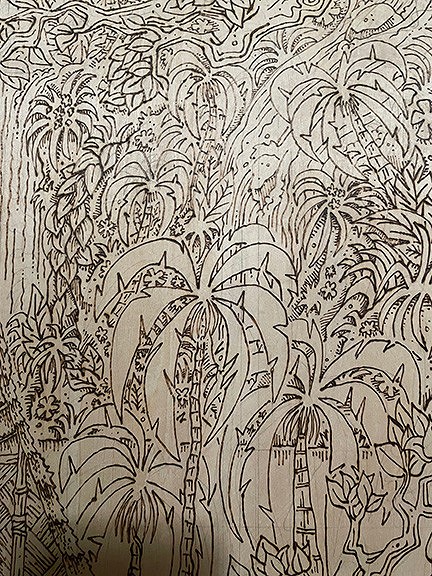
 Aaaaaaaaand DONE! With this phase, at least......
 Here's the water, the waterfall, some rocks....
 I used a clear t-square to pencil in straight vertical lines to denote the flow of the water in the waterfall.
if I didn't do that, it would impede the flow of the water....
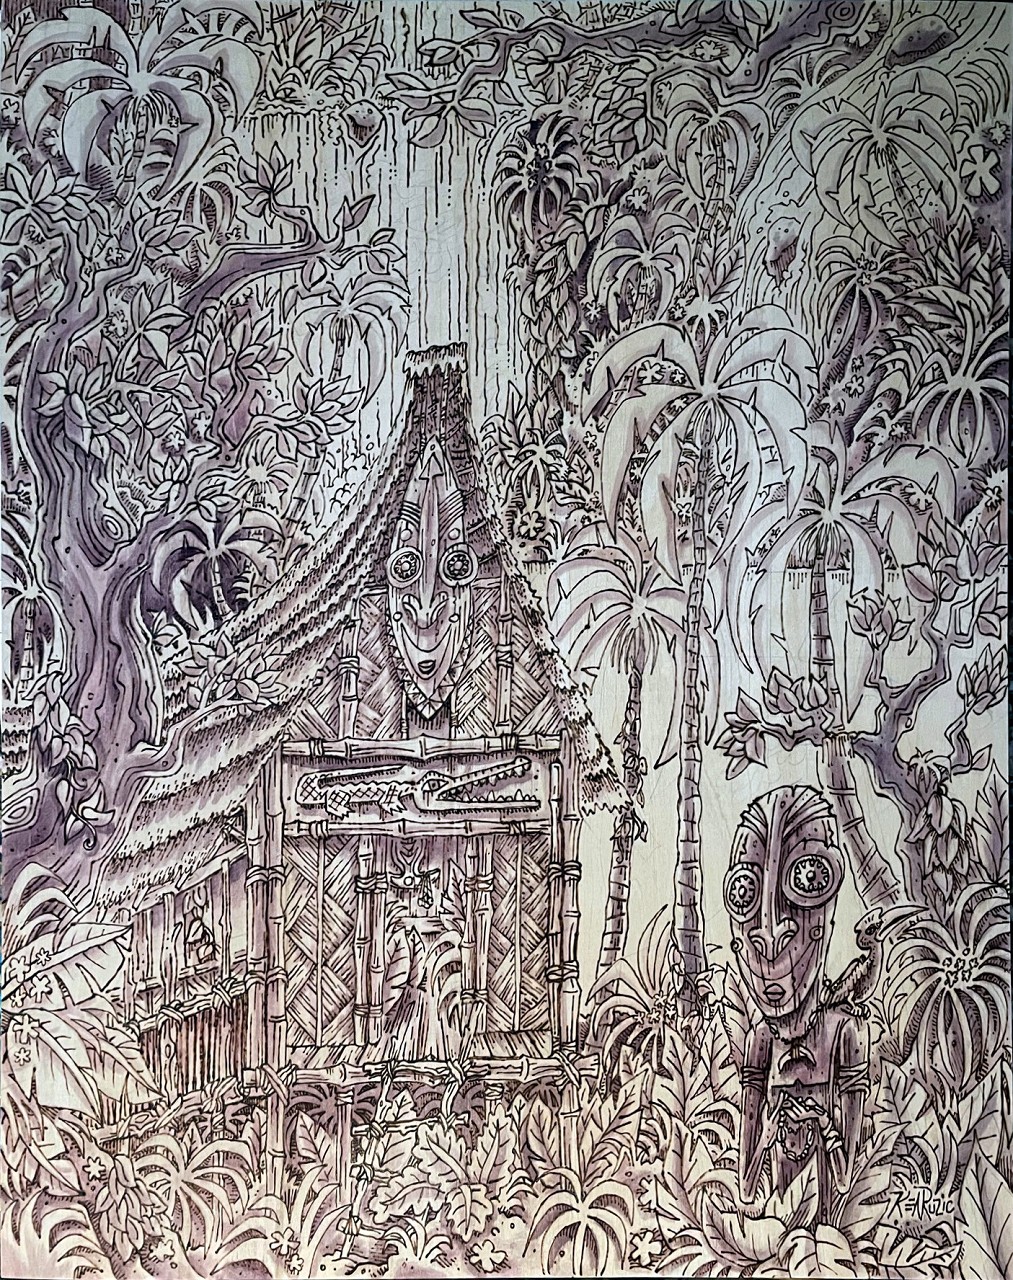
 Right before I started applying the Maroon underpainting
(I use Angelus leather paints or Acrylic (both are Acrylic) paints watered down and applied very lightly
to indicate the shadows... if you go thick with the paint, you will COVER your woodburn,which may be okay when building up transparencies and stuff, but mostly it should be light washes so the wood burnt lines don't vanish.... Remember that once the paint seeps into the wood and dries
that it will lighten. So best advice during this stage is to complete a whole area, let it dry and then repeat until the whole first application/layer) of underpainting is done.
From there, you can deepen arras that require more shadows
(behind the hut/under the hut/under some brush..etc)
 Close-ups....
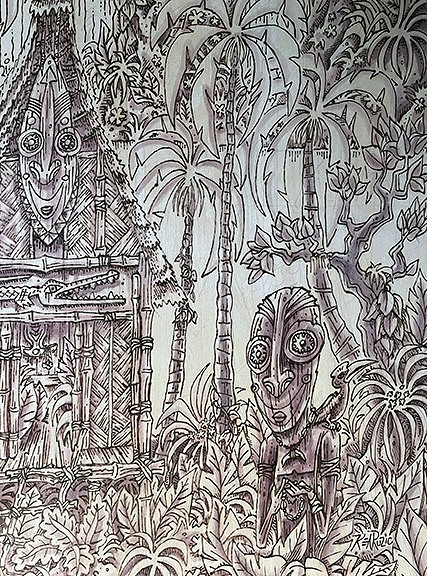
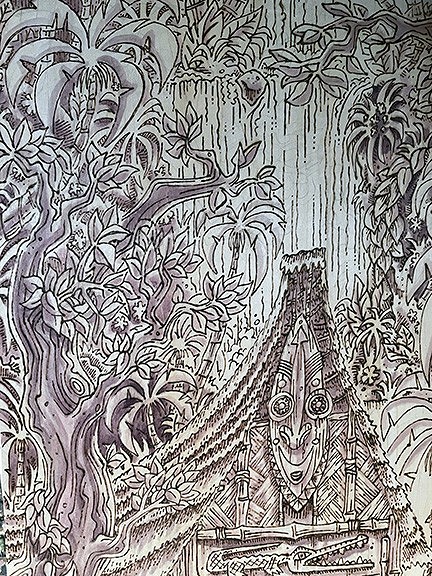 And now, after all the shadows/lighting is resolved for this stage....
time for COLOR!
Let's start with BLUE,which I apply some water to the surface and THEN apply the watered down pigment to the wet surface (Avoid wetting the surface too close to the boundary of that color.keep it about 1/2 inch from there's you can brush the wet pigment up to that boundary without it bleeding beyond it..
Don't let it discourage you if it bleeds beyond that boundary....Wood is porous, just keep that in mind...
And art is hand-made.... and inconsistencies and flaws are the human part of us seeping out...
Aint no shame in that...
 Closeup of the blue against the uncolored area
while the surface is wet, you can slowly add up pigments to create darker values of that color....
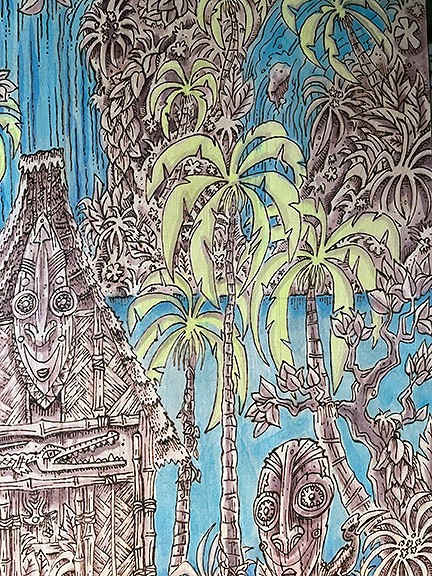
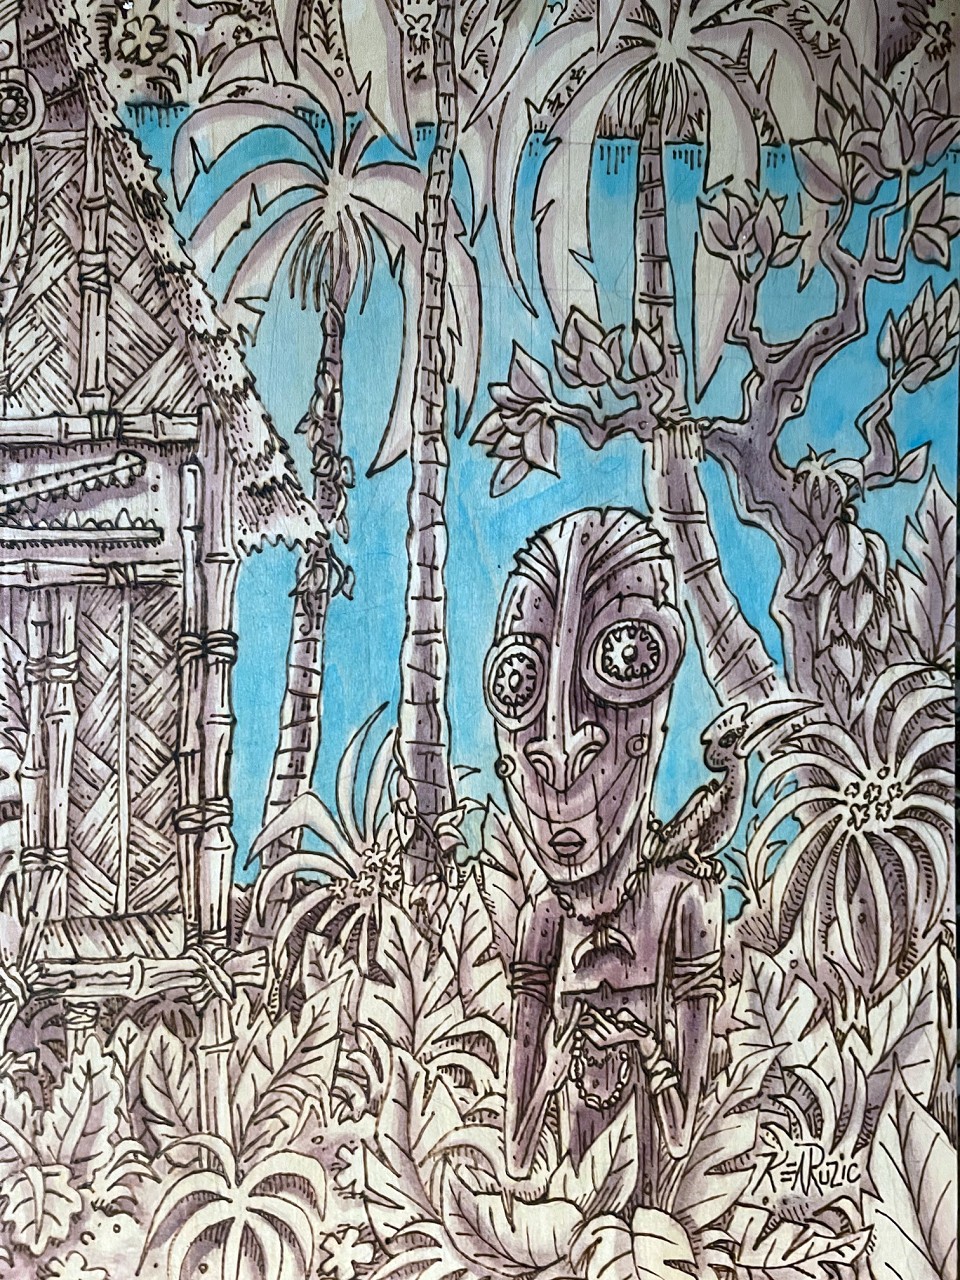 Started on the palms.....
Note that by using "washes" of color, it allows the maroon underpainting to show thru
which gives them more of a dimensional feel, like they're rustling in the wind!
Also, if you look near the waterfall, you'll see a few areas where the "water" blue color seeped into the palms...
like I said....it's hand-made!
:)
 Another advantage of washes ,is that you can overlap colors to create new ones,
or just to balance out the colors in the piece... I added some blue wash to the leaves to give them a more gradual "curl" when viewed....it also reinforces the cool of that area.... being in the shade and all...
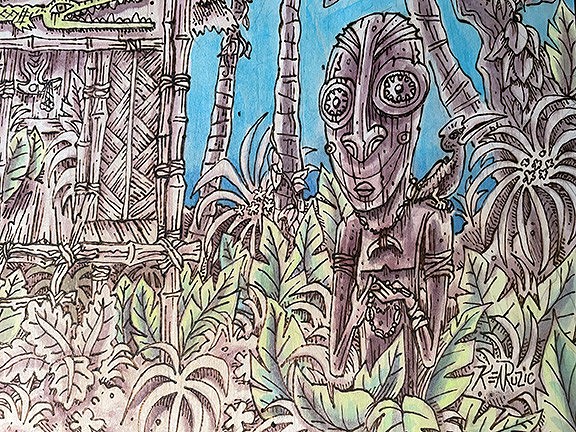 started on the wood parts and a bit of the bamboo...
 Here you can see where I added the wood color to the hut and bamboo areas to make them "related" , a cohesive unit.... Also on the tree, i have added washes of the brown to further enhance the maroon underpainting...
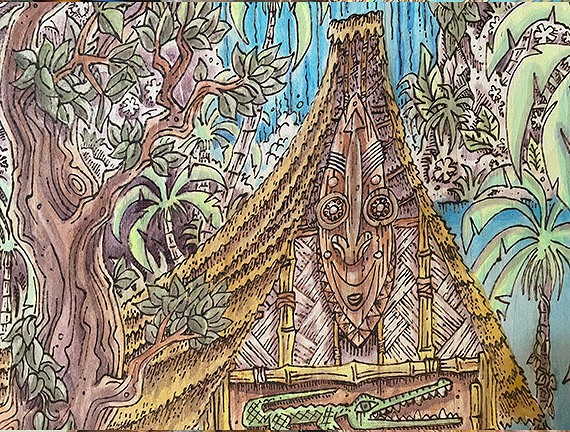
 Top O' the Hut to Ye!
 a little more work on the wonky interior....
 Slooooowly coming together....
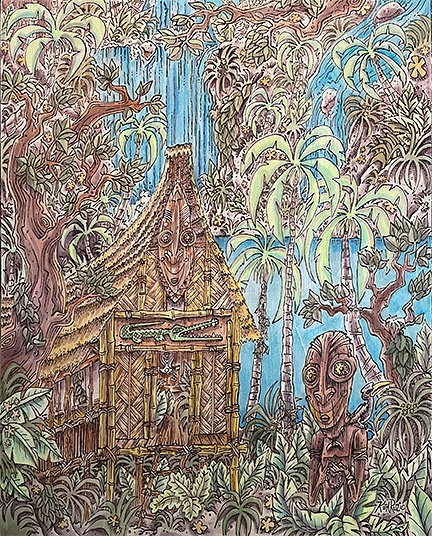 Began to color in other leaves, from the citron green to a light and dark olive...
also added a DASH of red orange, which looks more red than orange here....
for details on the tikis/the hornbill.and the yellow flowers...
Also started on the maroon ground, to tie the whole thing together with a bow!
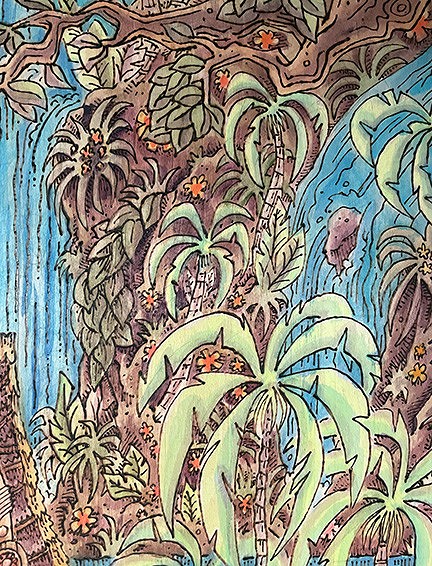
 some waterfall action....
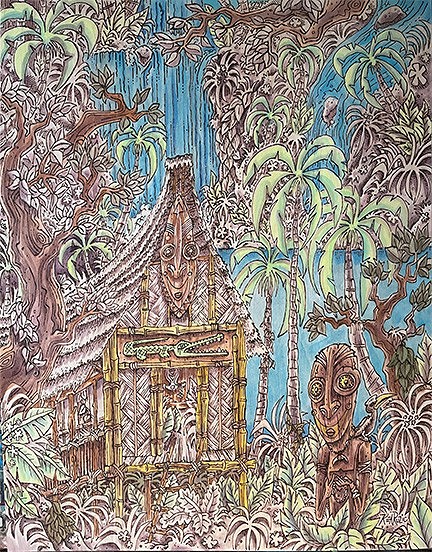
 And here it is....Pretty much done!
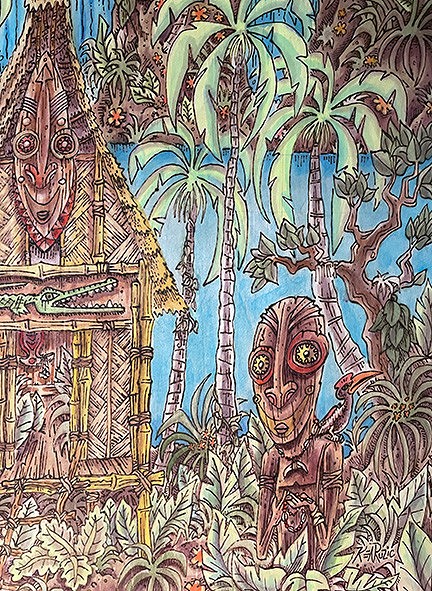
 the HUT!
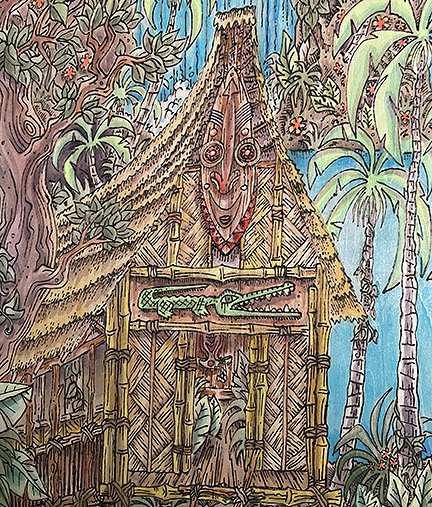 Here's the mask with his expression....
 And a close-up of the Faraway Thoughts Tiki!
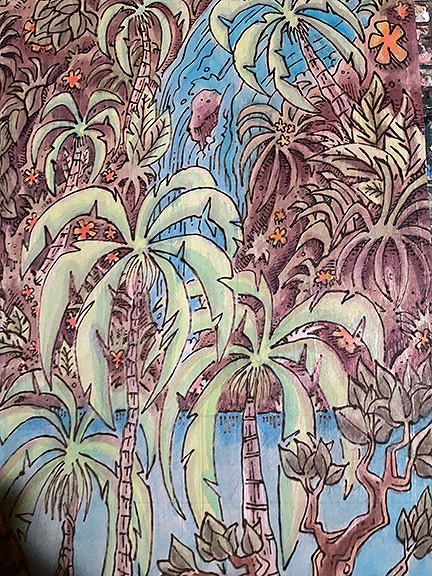
 And a final closeup of the source of their solace....
a Waterfall!
 Thanks so much for visiting ,and I hope this has inspired you to do some great things involving woodburning! Can't wait to see them!
Any questions or whatnot, please put them down here and I will answer to the best of my ability!
Hope you had as much fun as I had sharing this!
We shall Chat SOON!


 Aloha kiddies!
Time for another stoogetorial from yours truly....
this time we'll be working on a surface most are unfamiliar with....

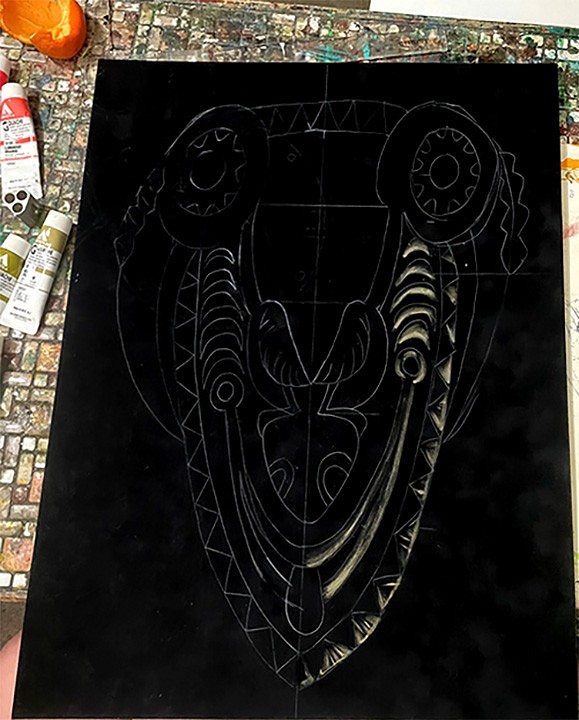 light pastel pencil can be brushed off lightly and will not affect the surface black
and here's the colors again to give you a refresher....
 and the original color way inspiration by Alex Steinweiss (Go buy his affordable, informative and inspiring TASCHEN book!)
NOW!
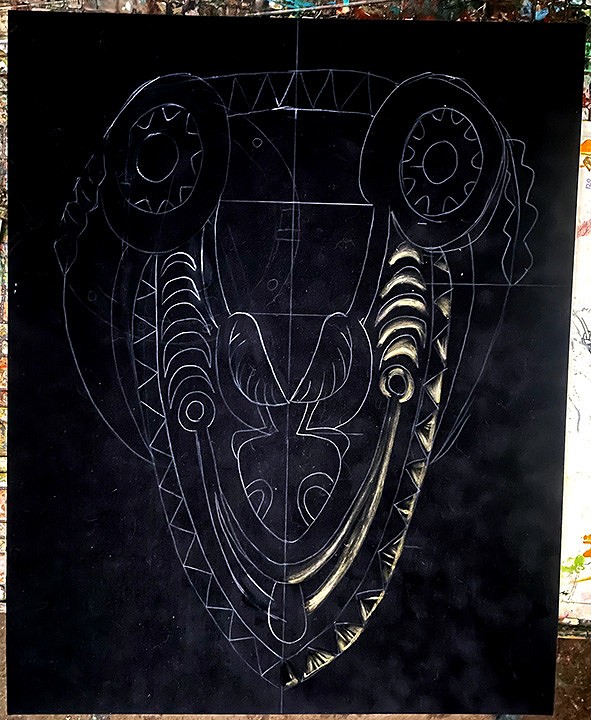
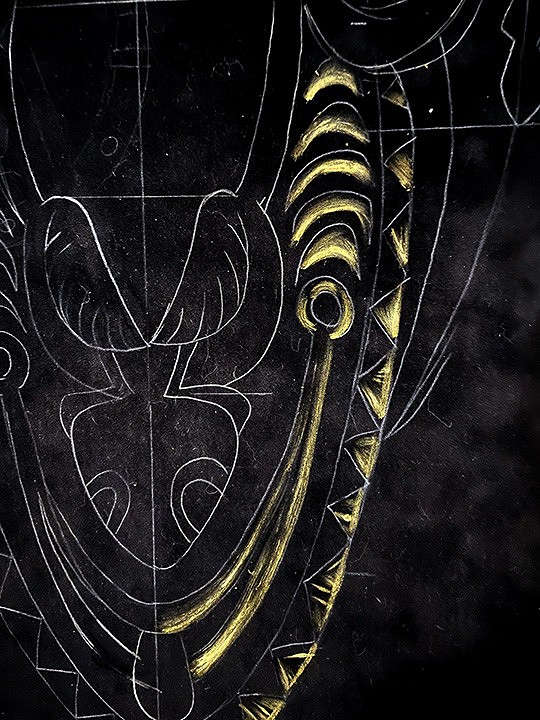
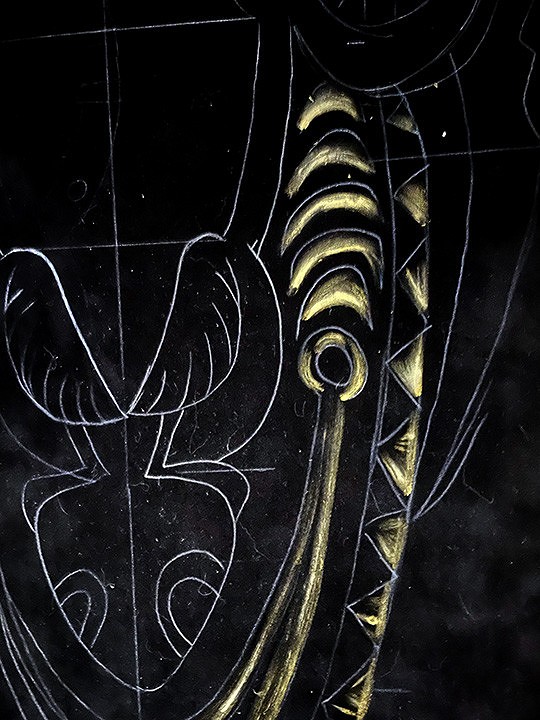
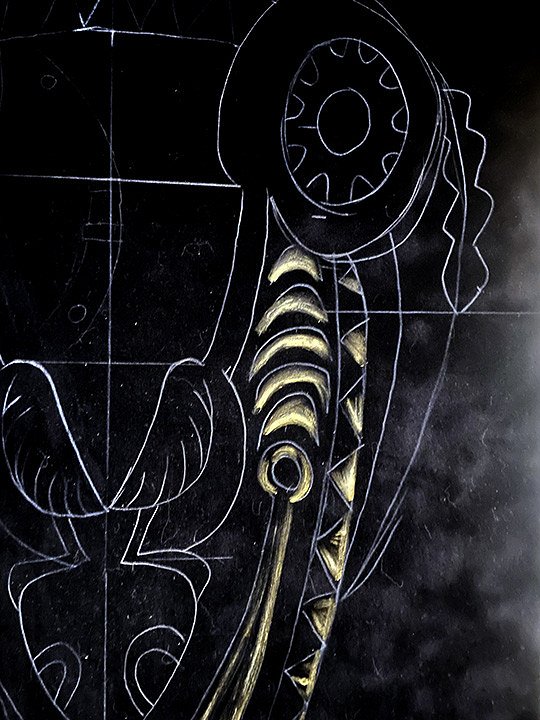
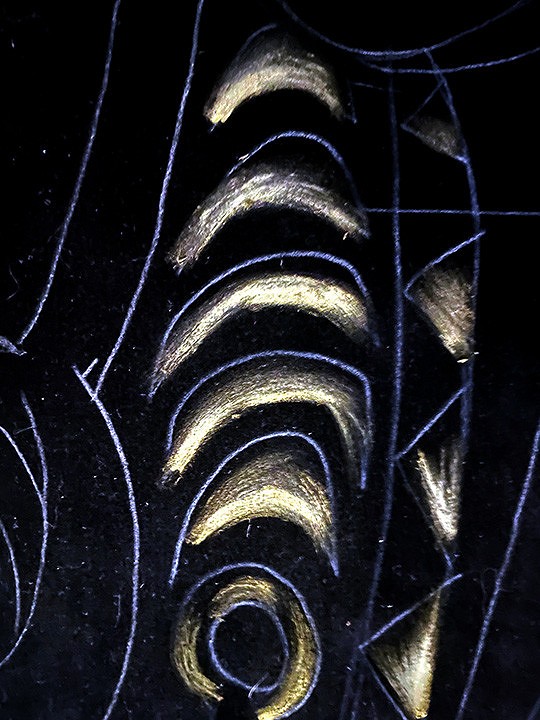 Here you can seethe rough building up of the colors
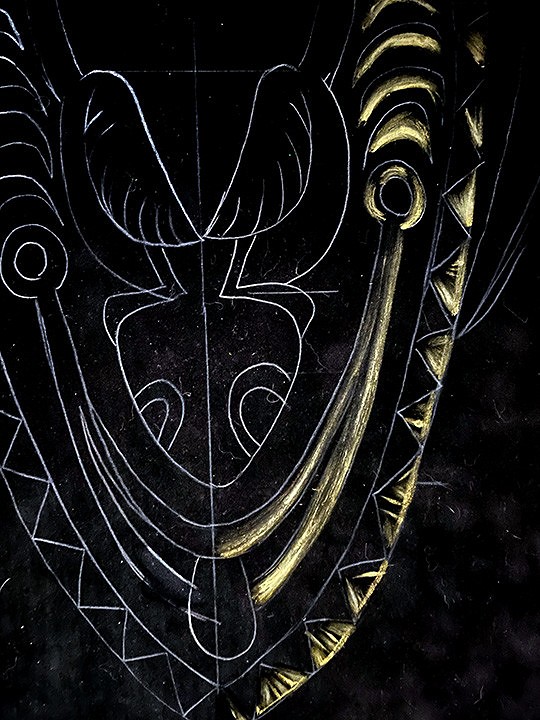
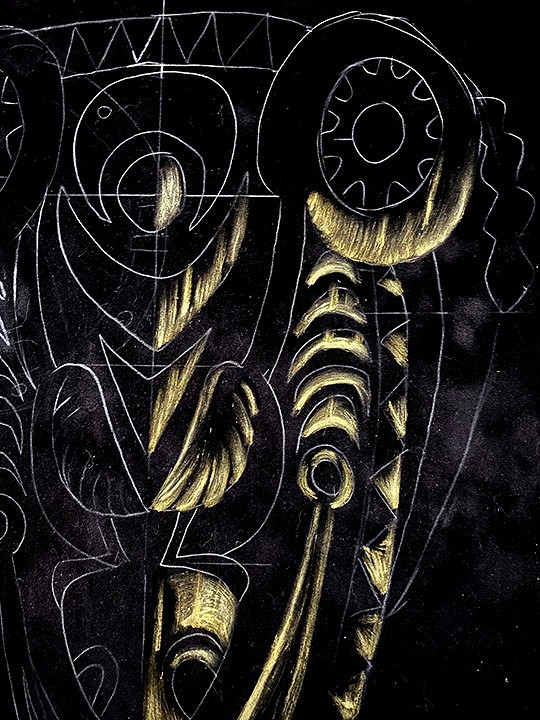
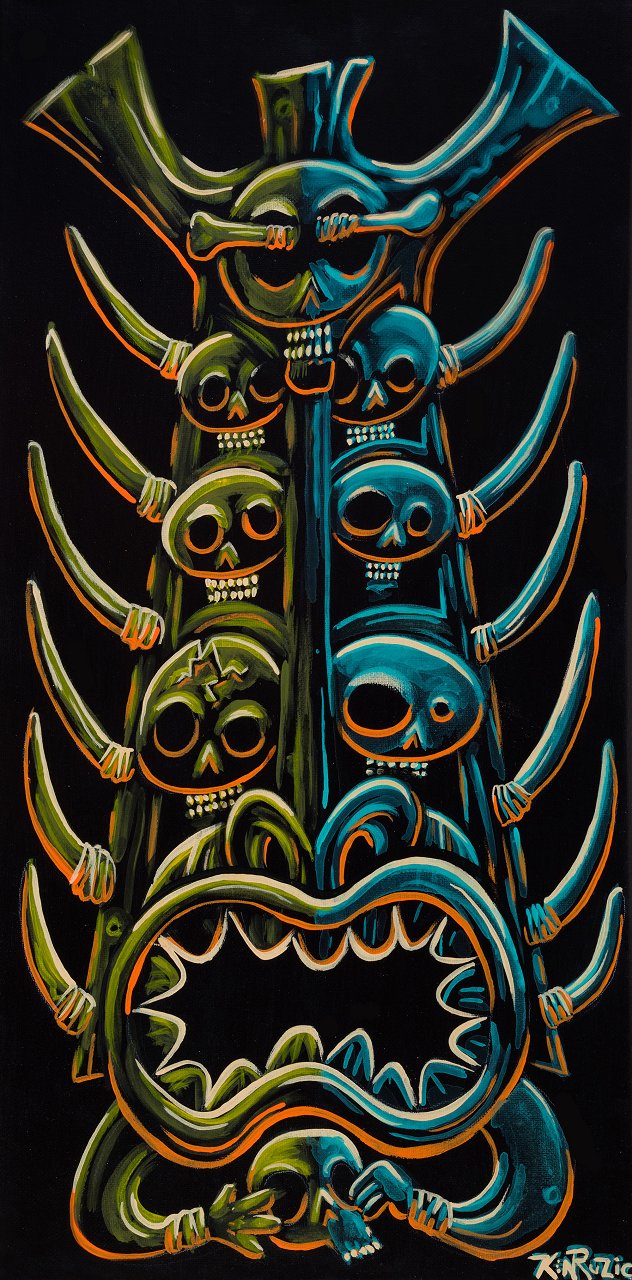
 Then I went and did something that

 There will also be a Preview/Extended mini-doc preview of a bigger documentary "Rum and Riot"
about our Tiki Revival Scene,and how a lot of us had Punk Rock/New Wave histories in common...
it's June 7th,so come on down and See these Freakin' Legends!

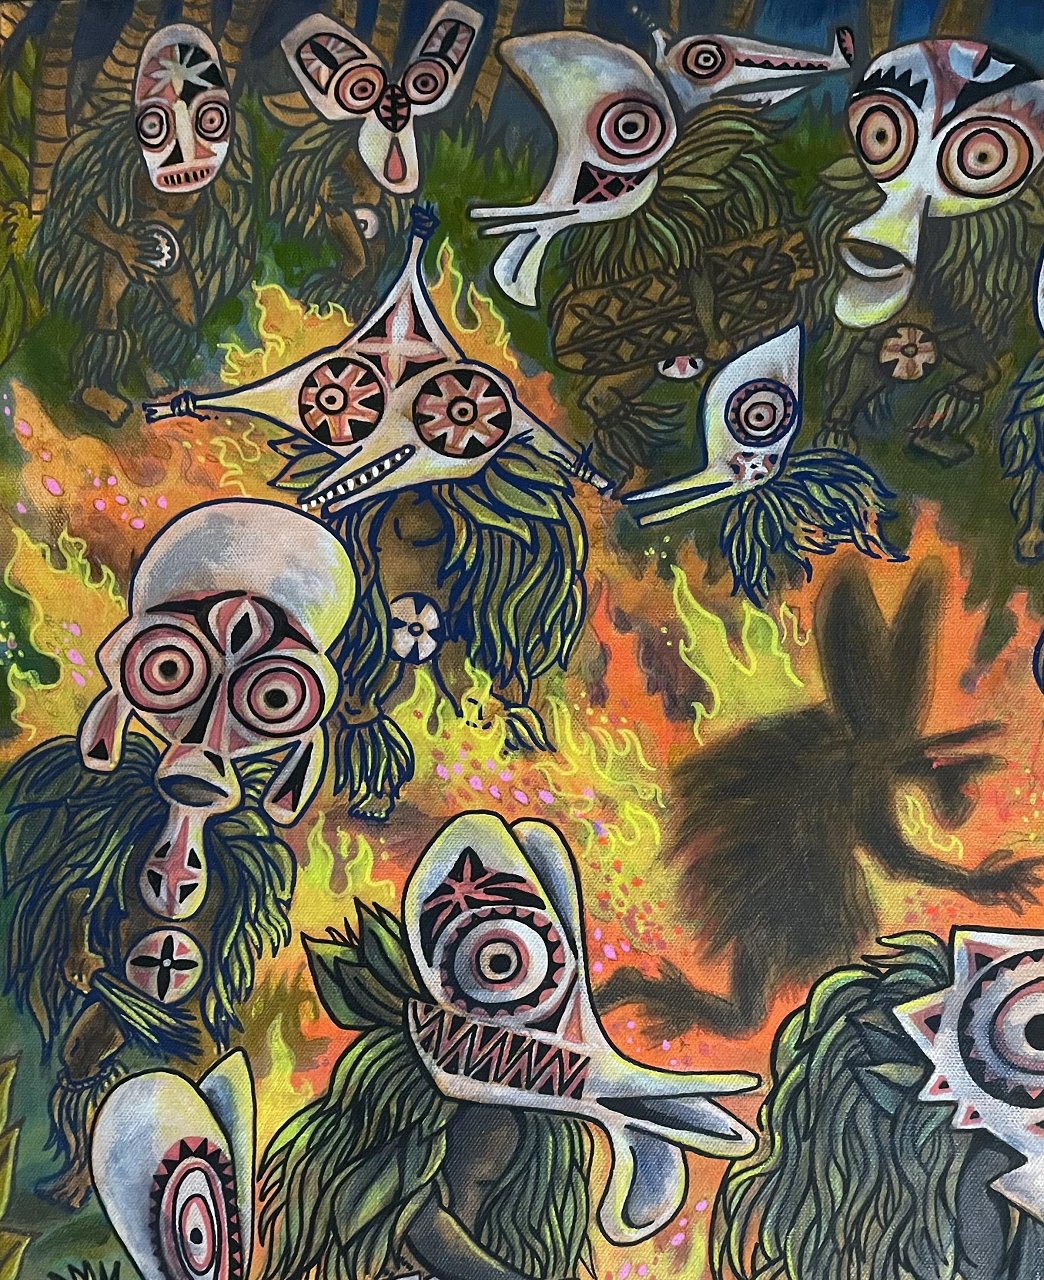
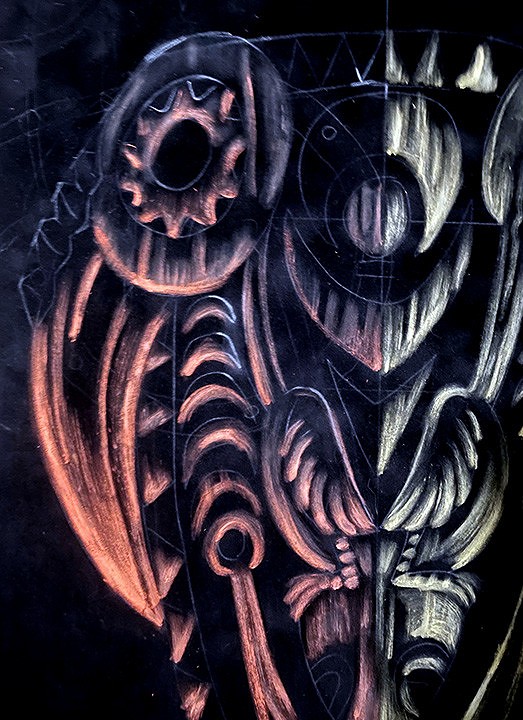
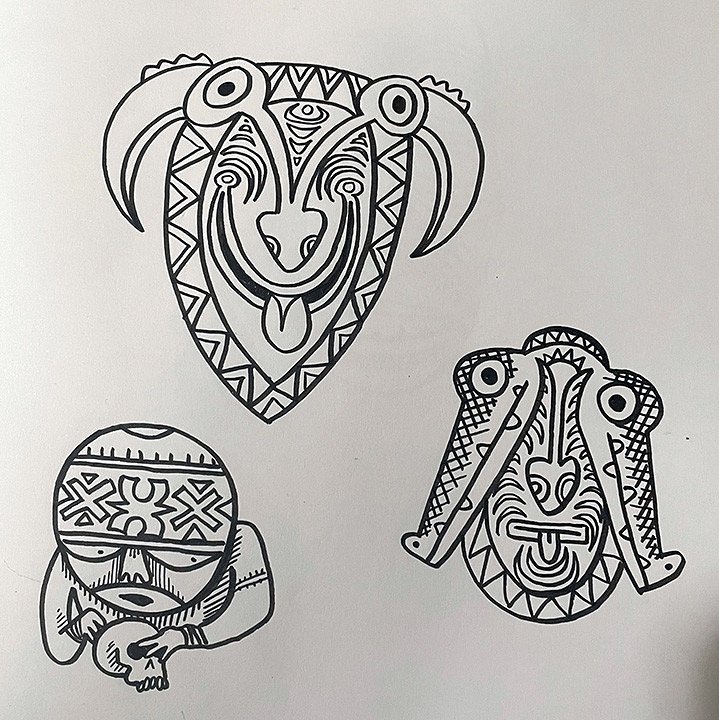
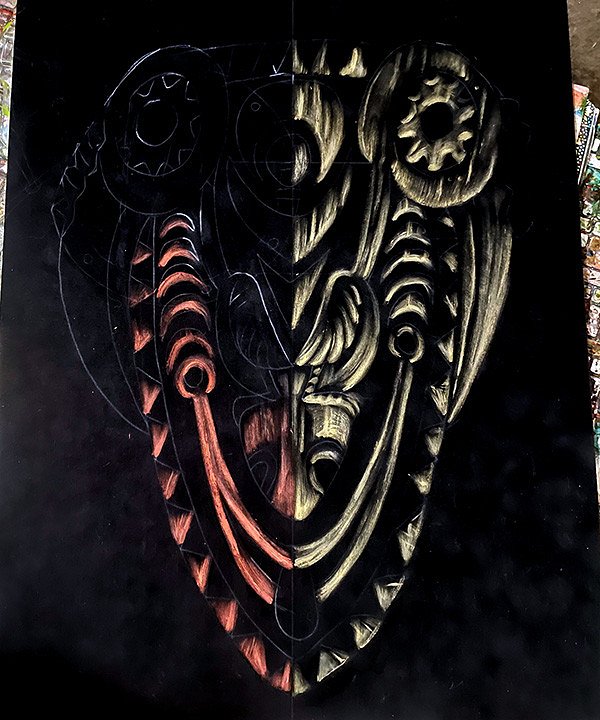
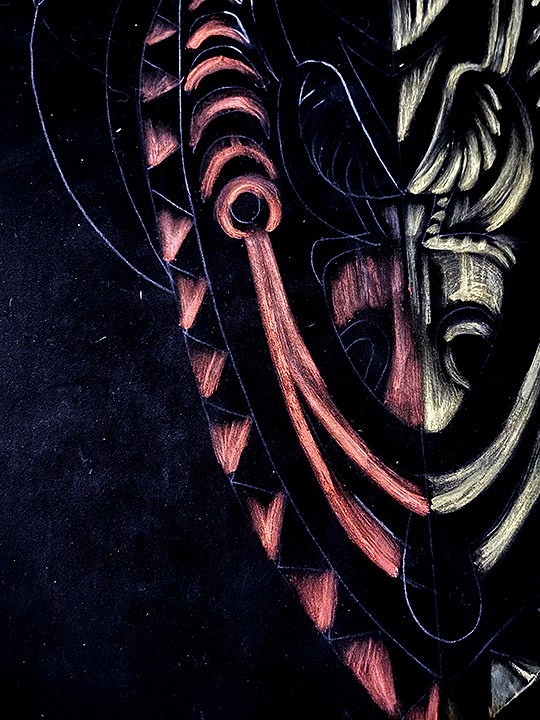
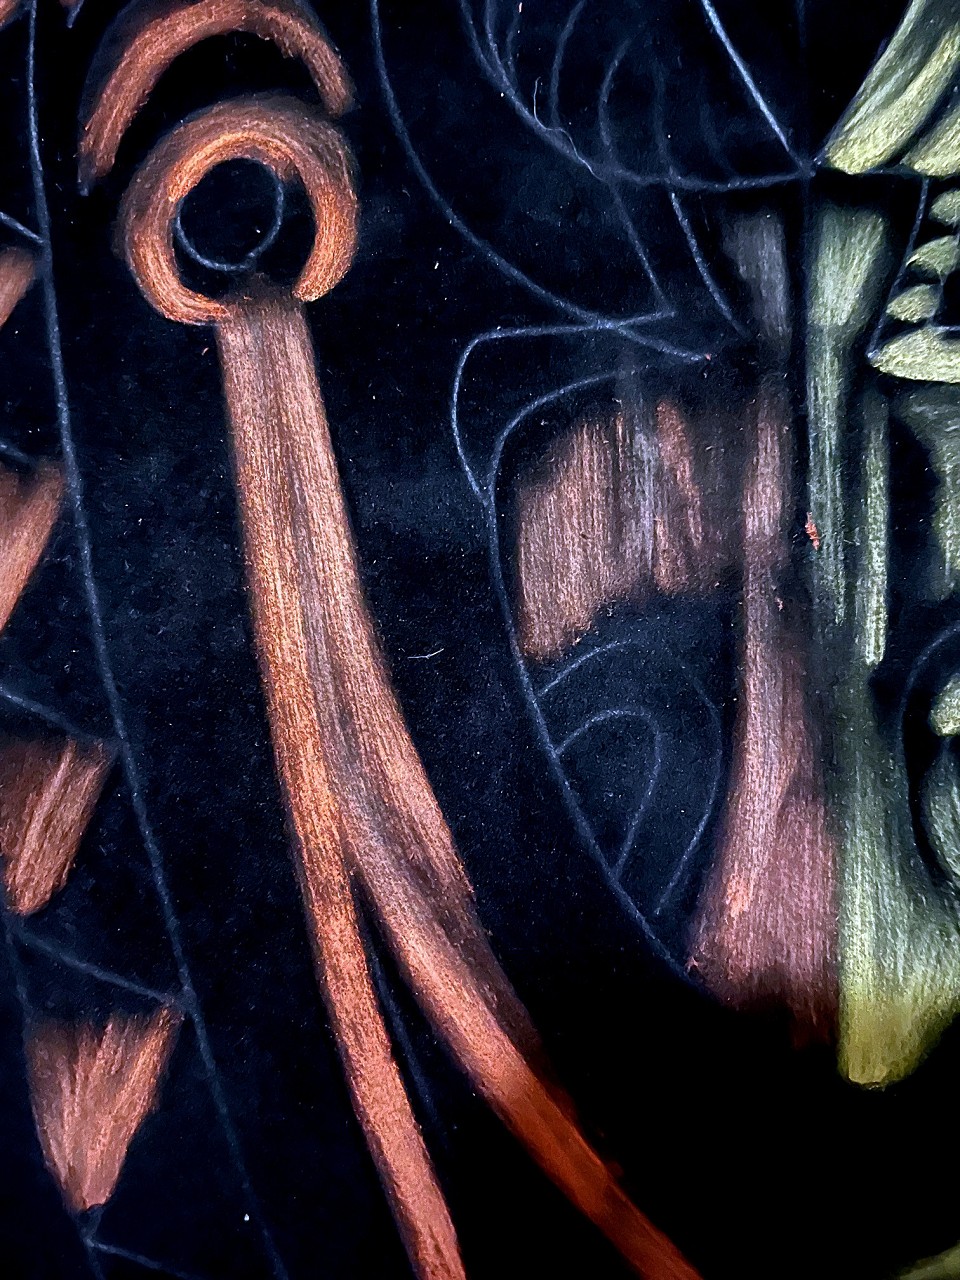
 OKay... Now that we're starting to share sneak peeks of our paintings for the 'SubCultural Appropriation" show at the PunkRockMuseum in Las Vegas June 7th, Here's a few details and Sketchbook Studies to help put this piece into Perspective.
The title is"Initiation (Circle of Men)" an the painting is 24 x 36".
Since the subject of the show centered around the Tiki and Punk subcultures,i thought i could unify them both into a composition that would unify two male Initiation rites ,the Baining Fire Dance (East New Britain,Papua New Guinea) and early 80's memories of Energy-filled Mosh Pits of LA and Southern California. Both, rites of passage for young men (and in the US,some women as well!)....
In the Baining ceremony, (usually held in Dec/Jan during celebrations of the shortest day of the year,marking the return of the Sun) young men wear "karat" masks of barkcloth, bamboo,and leaves . The masks symbolize Leaf,Tree,and Animal Spirits and are only used once. During this ritual,the men are believed to be possessed by the spirits of these masks, and the ceremony represents the Baining People'sconnection to nature,the Spirit World, and Societal traditions....
The Punk Rock Mosh Pit shares a few commonalities... a male Intitiation rite (Physical Exertion,Catharsis to the anxieties of youth ,and reaction to Humanities' Social Dangers and Ills. Reinforcement,Cameraderie,and Protest were just a few of the results of these Circle of Men.
I hope you enjoy this peek behind the scenes of this piece....
and hope to see you THERE!