Pages: 1 2 3 4 5 6 7 8 9 10 11 12 13 14 15 16 17 18 19 20 21 22 23 24 25 26 27 28 29 30 31 32 33 34 35 36 37 38 39 40 41 42 43 44 45 46 47 48 49 50 51 52 53 54 55 56 57 58 59 60 61 62 63 64 65 66 67 68 3,217 replies
|
M
MadDogMike
Posted
posted
on
Wed, Sep 18, 2024 12:09 PM
danlovestikis I didn't take any pics of the inside but will be making them again next week. I'll try to get a pic then Or Got Rum? thank you :D |
|
PP

Prikli Pear
Posted
posted
on
Fri, Sep 20, 2024 7:41 PM
I'm impressed to there and back again. The man-eating plants and jade jaguar are fantastic. As for not being tiki, I doubt Don Beach or Trader Vic would reject such decor from their establishments. I've got a few items of Mayan decor scattered about my tiki space, gifts from well-meaning friends. They blend well and add to the layers. |
|
H

hang10tiki
Posted
posted
on
Sat, Sep 21, 2024 11:24 AM
Outstanding Bruddah |
|
M
MadDogMike
Posted
posted
on
Sun, Sep 22, 2024 4:54 PM
Prikli Pear thank you! I'm not at all embarrassed by a Mayan wall in my "Tiki" bar LOL There are those who would argue that my bar is more of an Adventure/Explorer bar but I'm OK with that [ Edited by MadDogMike on 2024-09-22 16:54:26 ] |
|
M
MadDogMike
Posted
posted
on
Tue, Sep 24, 2024 10:44 AM
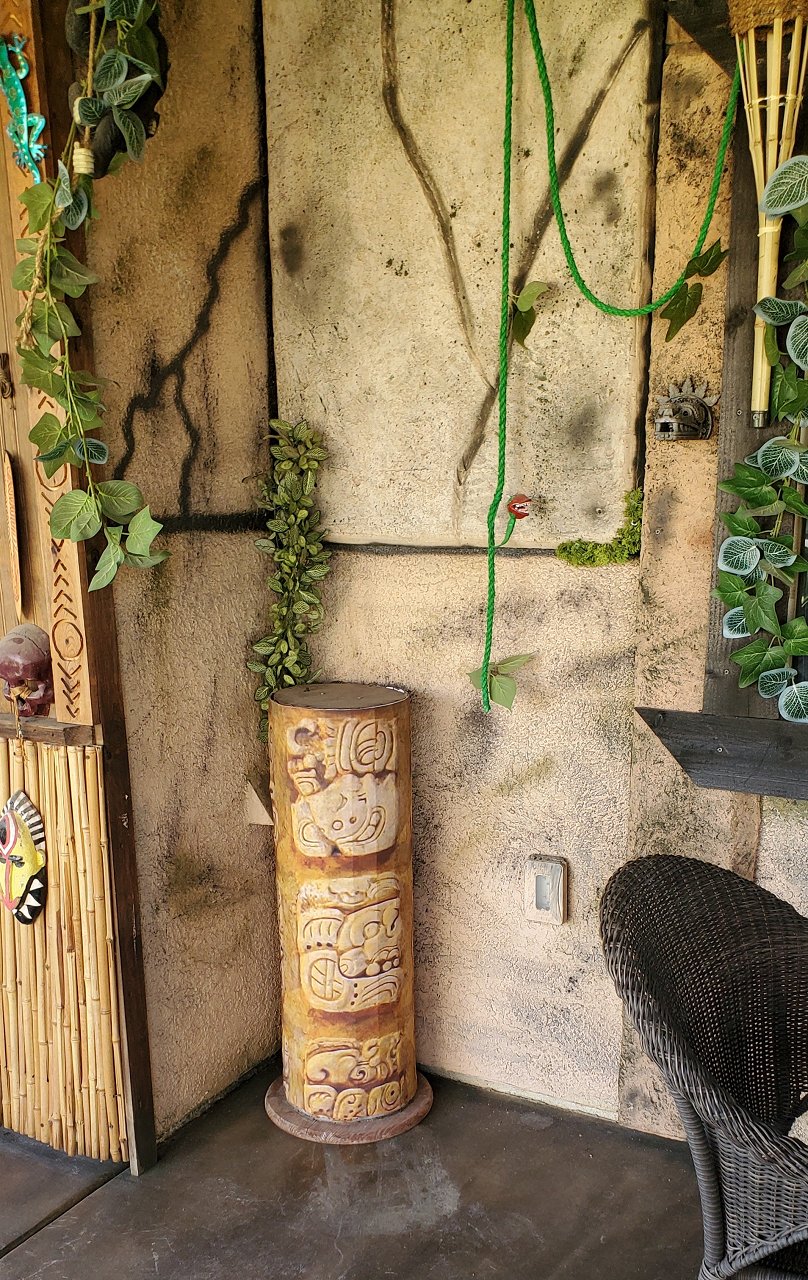
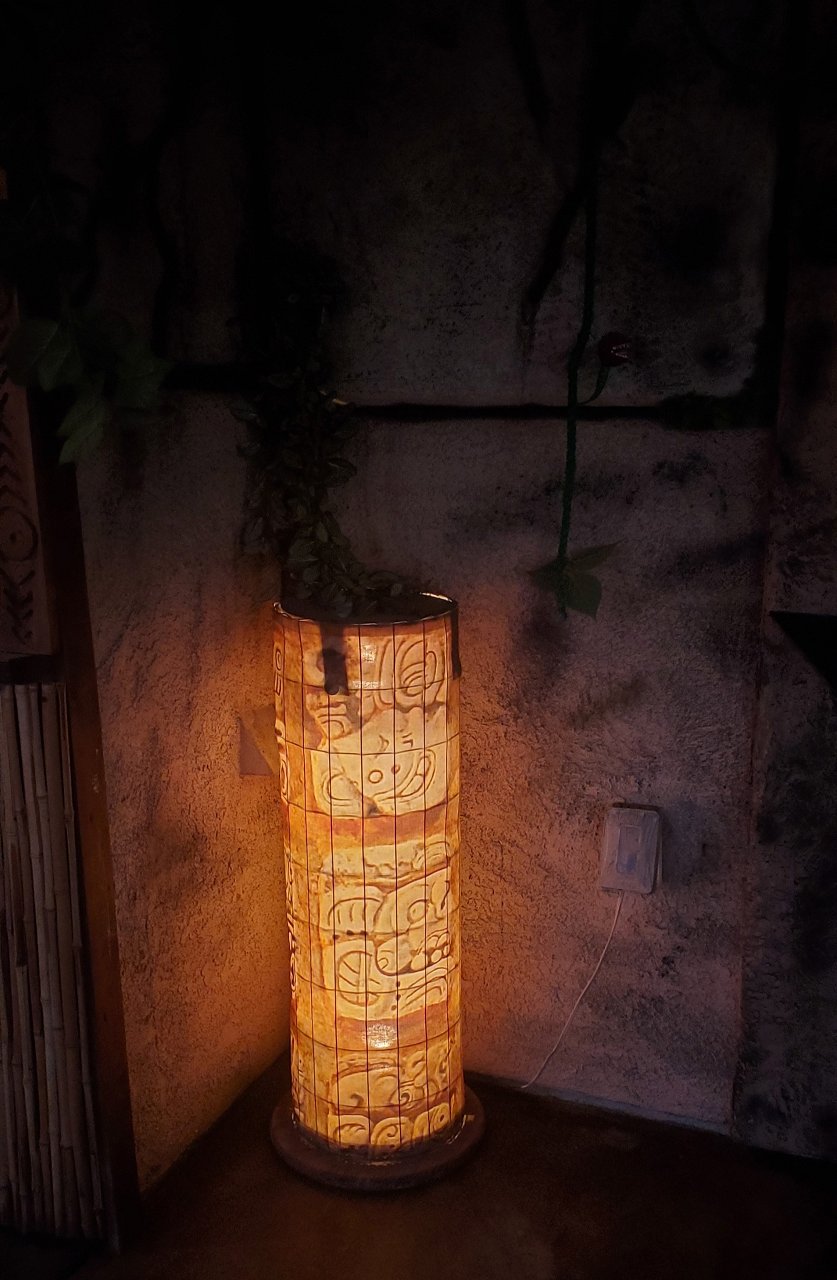
I designed this fabric covered fabric column lamp so that could easily change out the cover. With the Mayan glyph fabric I had printed at Spoonflower, it looks like a stone column. |
|
M
MadDogMike
Posted
posted
on
Tue, Sep 24, 2024 10:55 AM
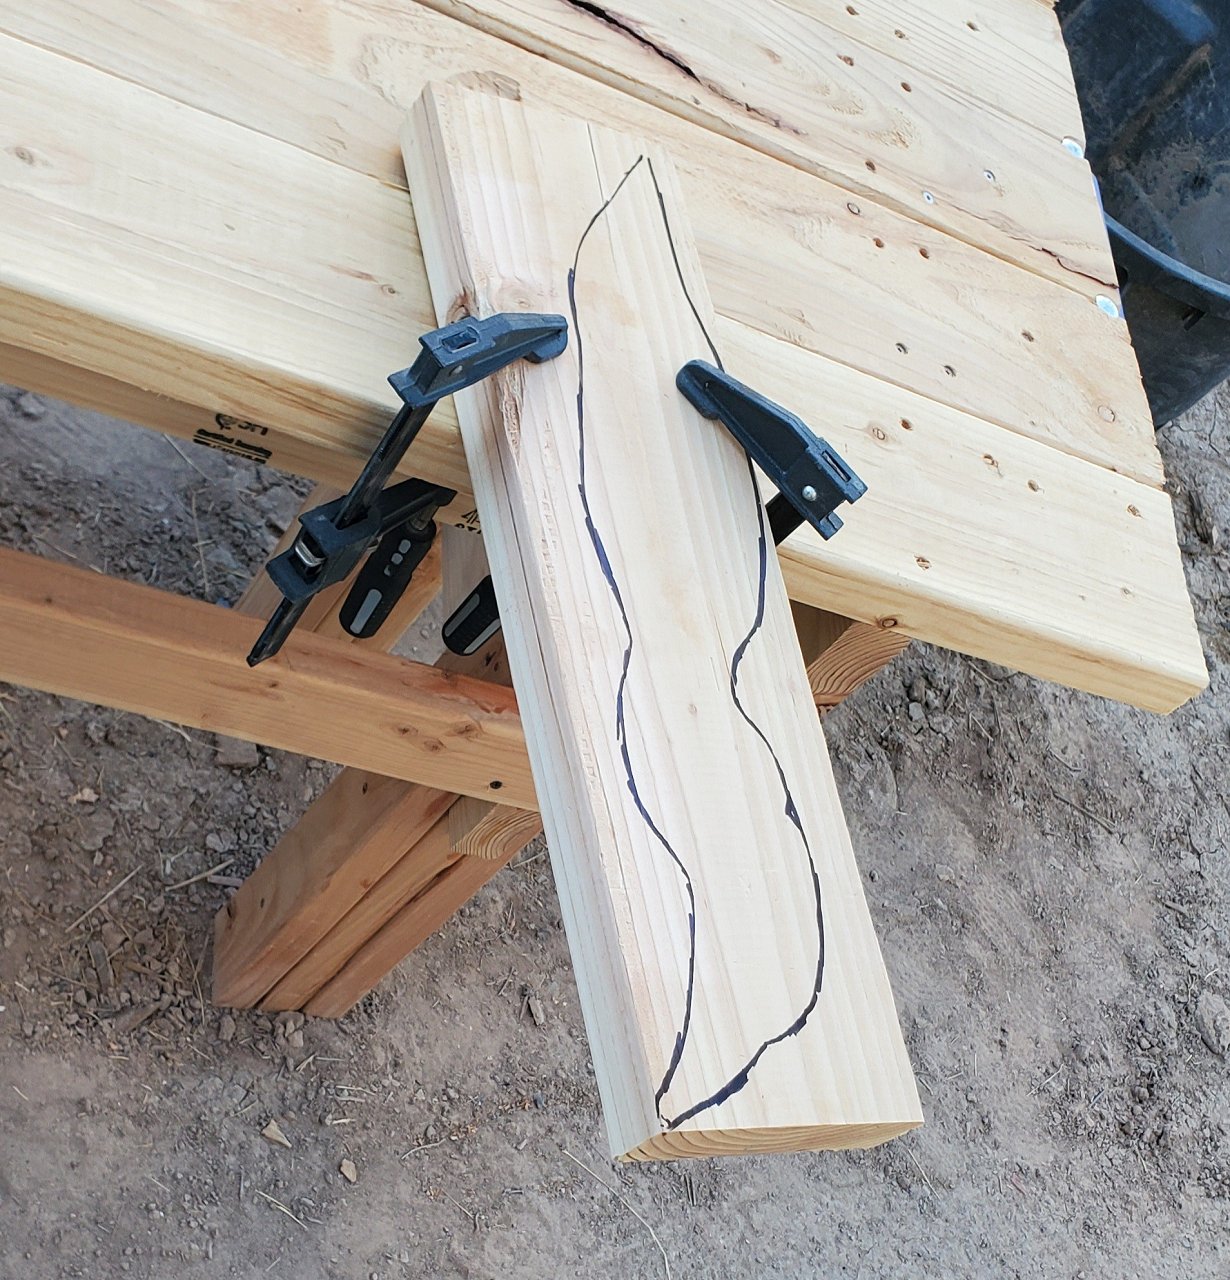
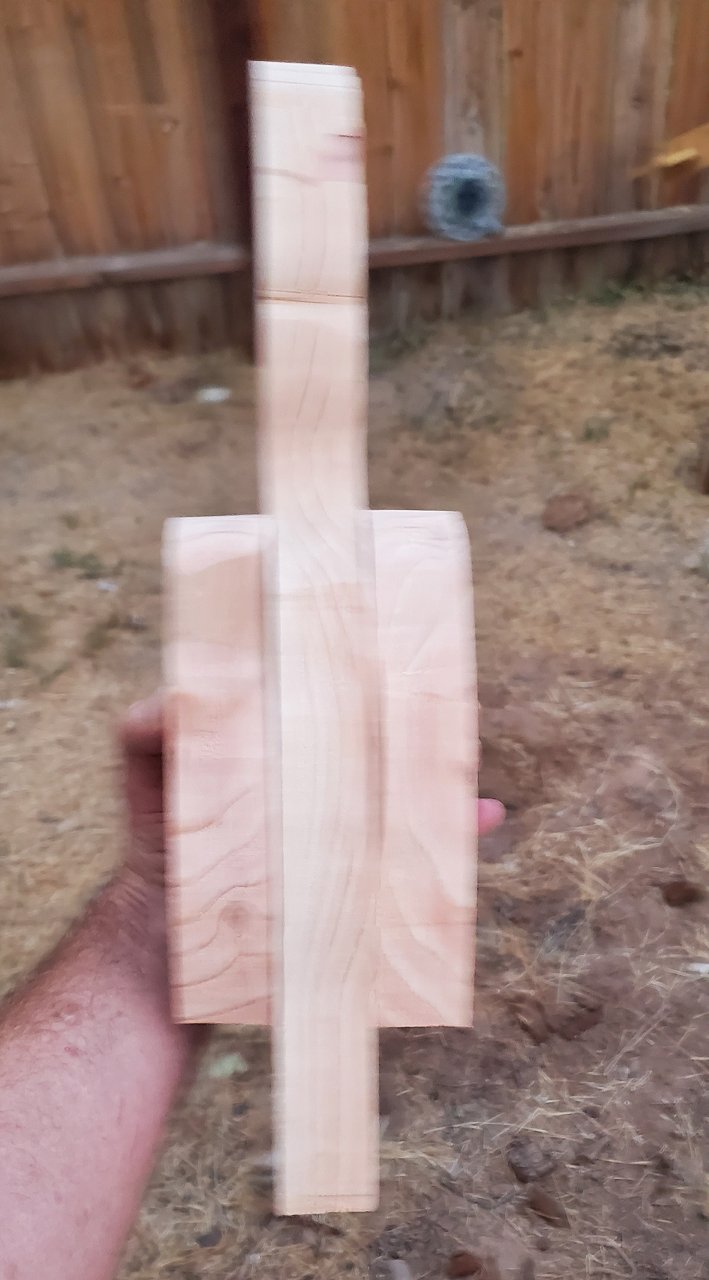
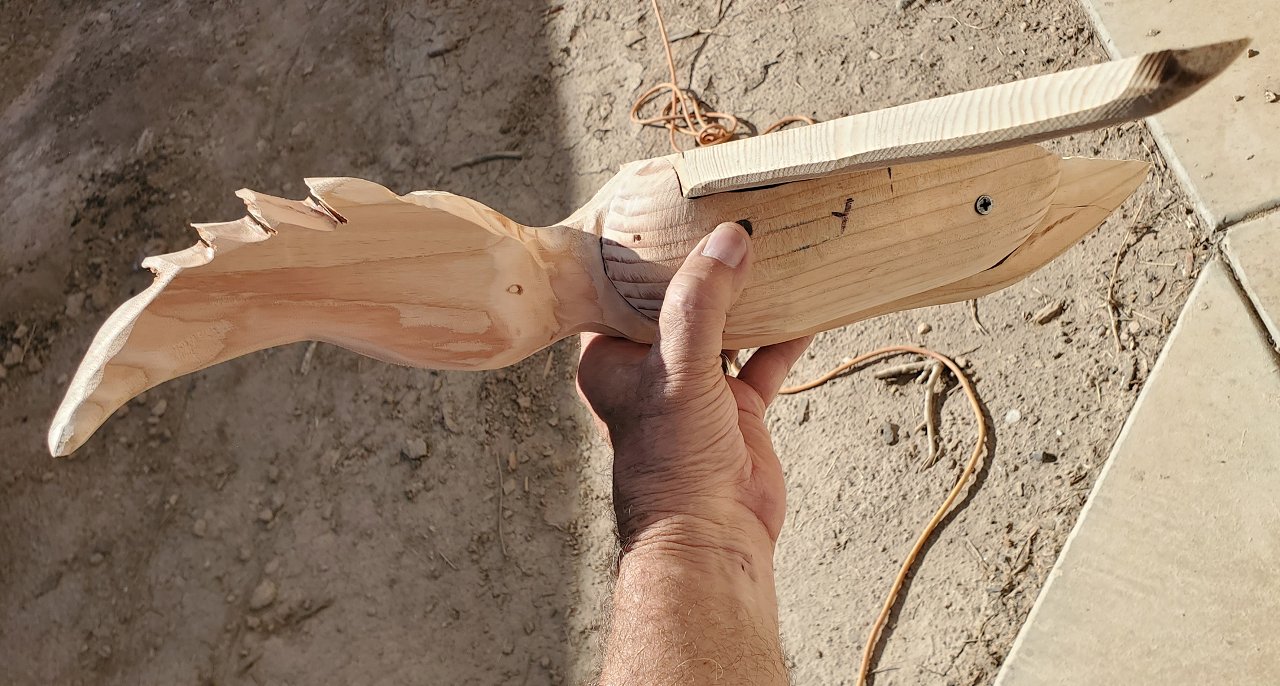
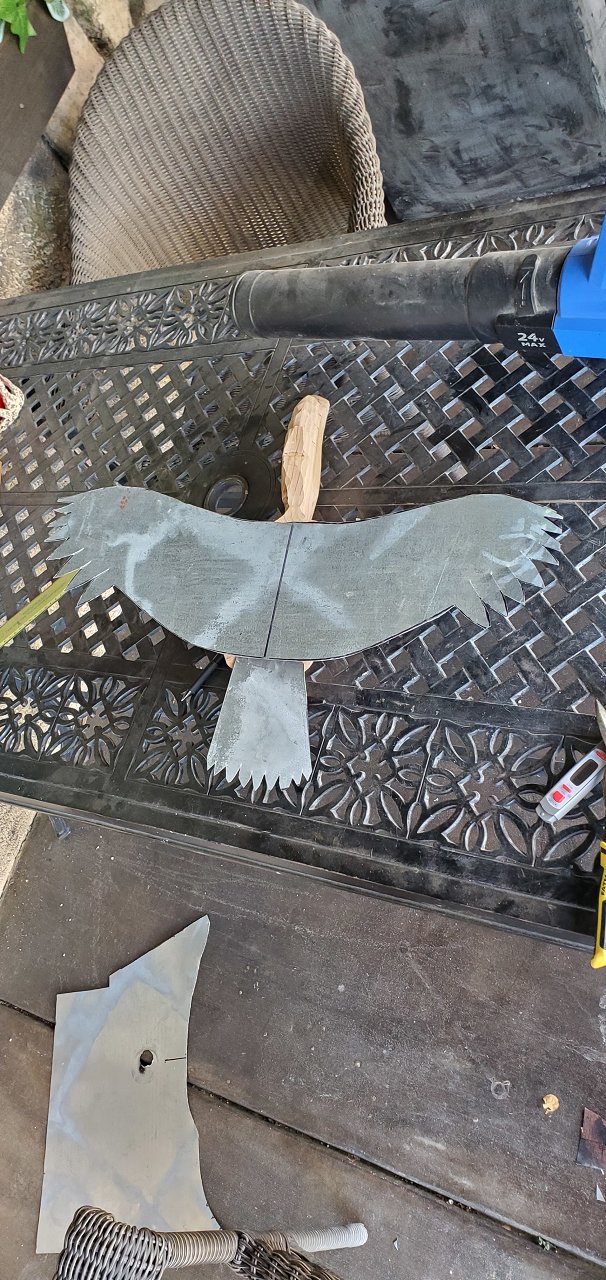
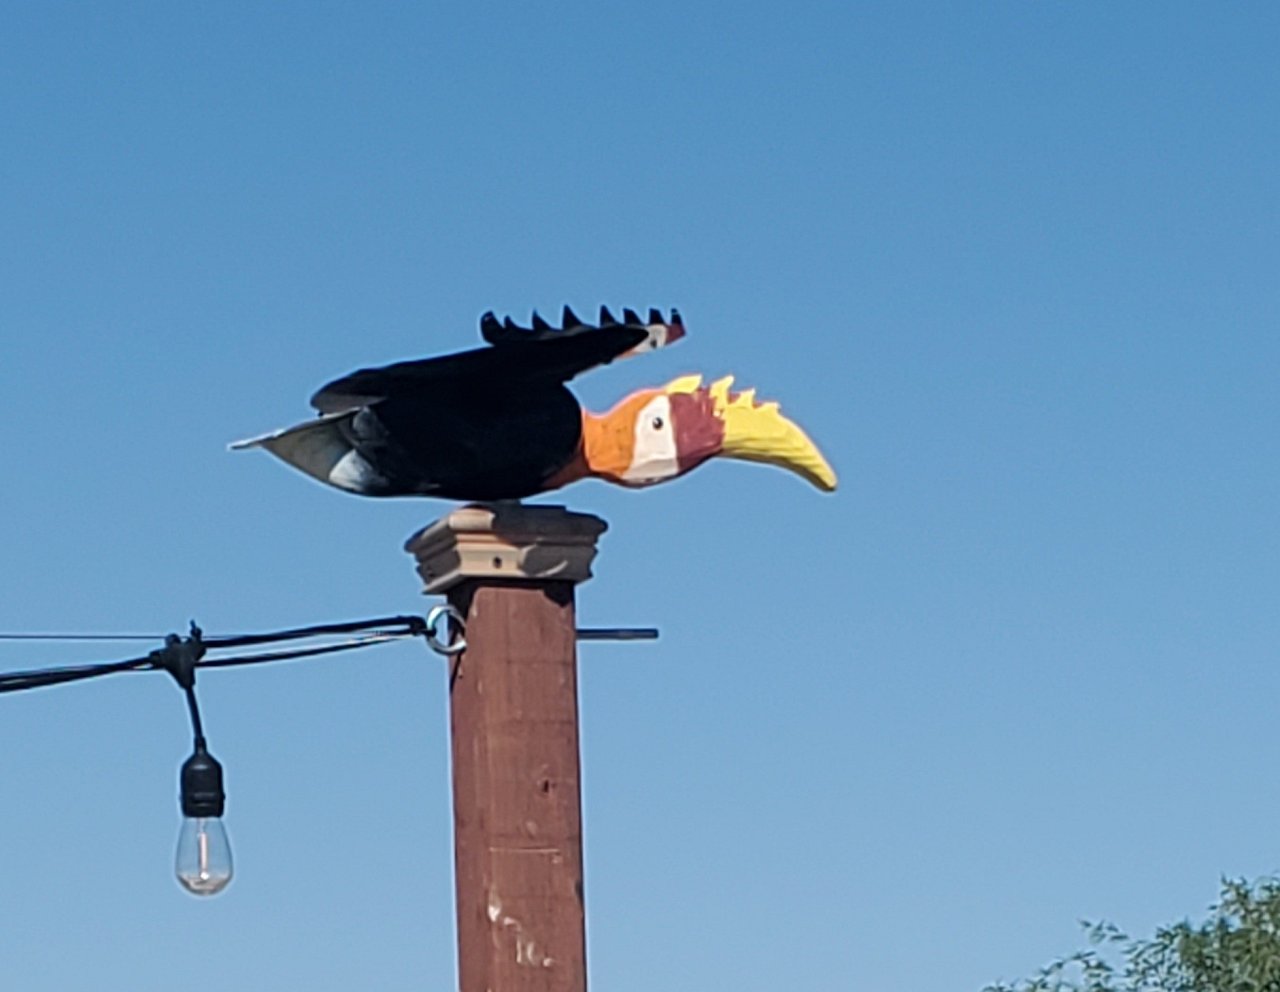
I put up some string lights in my Tiki back yard but the pole holding them looked kinda boring. So I carved a Papuan Hornbill to put up there. Cut the 3 pieces from 2x6 with a jigsaw. A little blurry but this is the basic form. Used an angle grinder and an abrasive flapwheel to sculpt it. Didn't worry too much about details, it will be mounted on top of an 8 foot pole and viewed from across the yard. Shaped. Wings and tail cut from sheet metal. Painted and mounted to the post. |
|
WC
Will carve
Posted
posted
on
Thu, Sep 26, 2024 4:25 AM
I like that but I wonder if he turns around with the wind like a wind vane ? just a thought. |
|
M
MadDogMike
Posted
posted
on
Thu, Sep 26, 2024 11:10 AM
in reply to Will carve
Will, I put nylon washers on the bottom to reduce friction and a double nut on top to keep it loose but secure, it spins very well. But I don't know what it will do in the wind. Typically a weather vane has flat side to catch the wind and turn it, this doesn't really. I'll be looking to see what it does next time the wind blows. Speaking of wind, I hope you are out of the path of Hurricane Helene Will. danlovestikis I made chocolate hearts again, here's what they look like on the inside |
|
D
danlovestikis
Posted
posted
on
Fri, Sep 27, 2024 8:32 PM
Love the bird. Spinning would be fun. That heart makes me hungry. We went to See's candy today. |
|
OGR

Or Got Rum?
Posted
posted
on
Wed, Oct 9, 2024 9:16 AM
That's one fab Bird...great job MDM |
|
M
MadDogMike
Posted
posted
on
Thu, Oct 10, 2024 9:25 AM
in reply to Or Got Rum?
Thank you ORG? |
|
M
MadDogMike
Posted
posted
on
Sat, Oct 26, 2024 8:42 PM
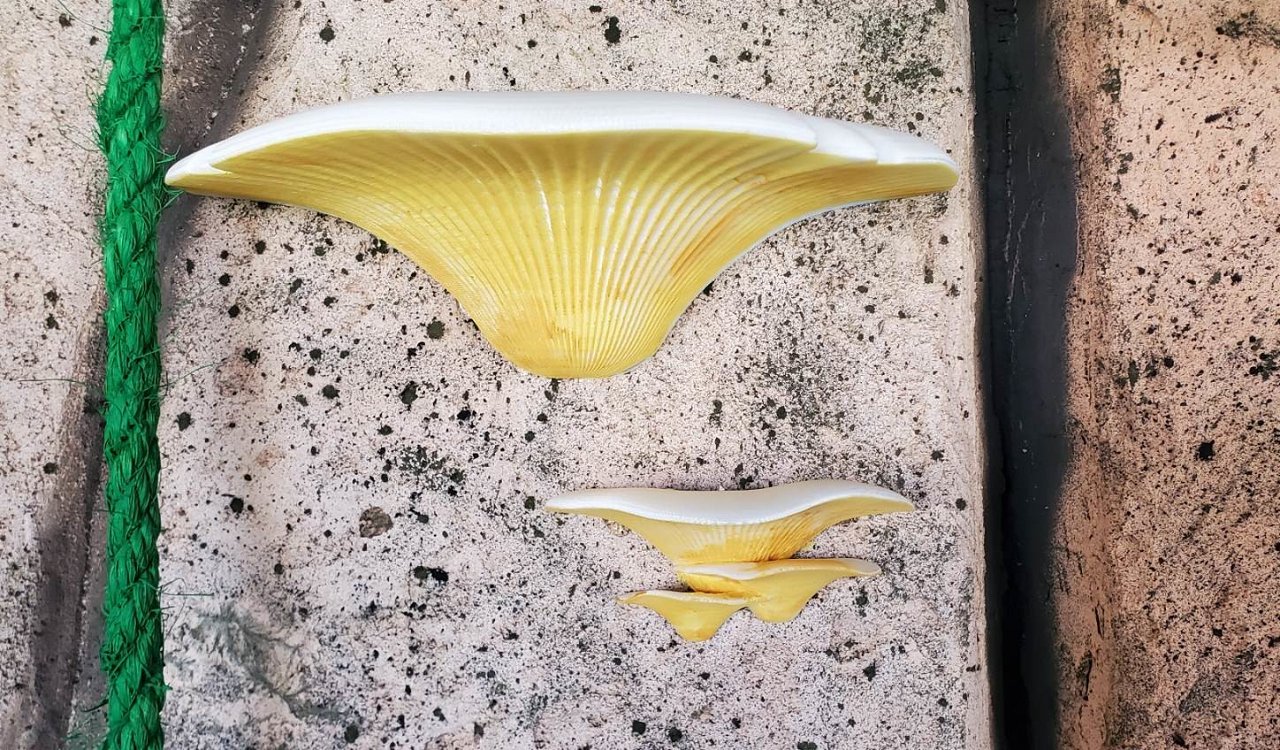
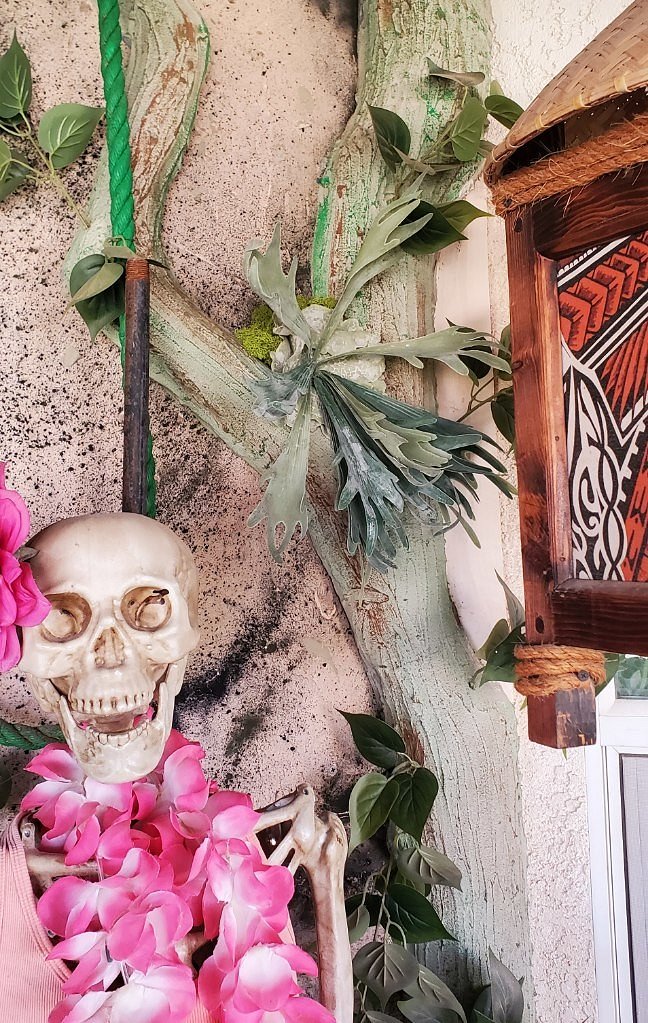
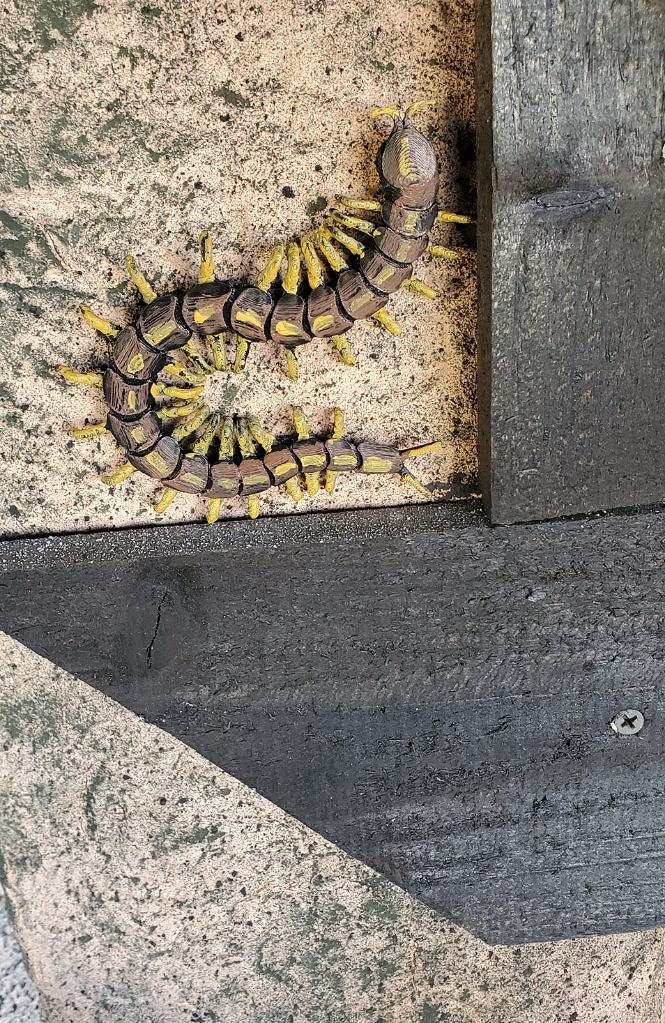
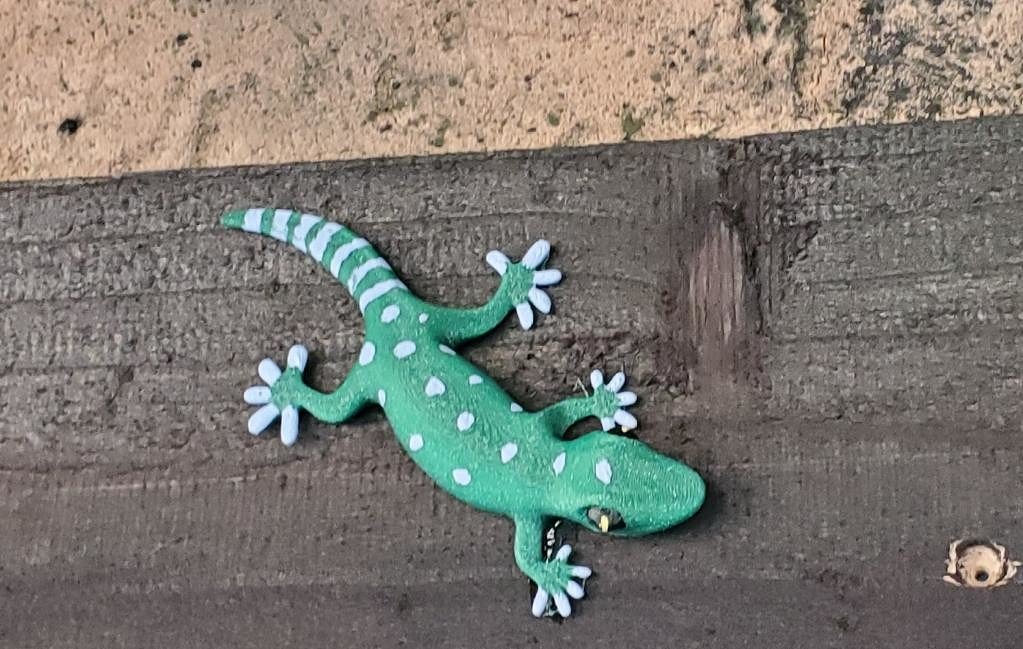
I've added a few more details to my temple wall, mostly 3D printed. 3D printed mushrooms (the largest is about 8 inches across) "One side makes you larger and one side makes you small..." "I went to the San Diego Botanic Gardens and bought this Staghorn fern" That statement is completely true but misleading, here's a more accurate statement "While in the San Diego Botanic Garden parking lot, I ordered this artificial Staghorn Fern using my Amazon app" LOL
Life sized 3D printed Cockatiel in a ceramic "mud" nest
|
|
OGR

Or Got Rum?
Posted
posted
on
Sun, Oct 27, 2024 9:23 AM
Nice..."...all in all, it's just a...another piece for your wall..." |
|
H

hang10tiki
Posted
posted
on
Mon, Nov 4, 2024 6:14 PM
Love it all |
|
M
MadDogMike
Posted
posted
on
Mon, Nov 4, 2024 6:31 PM
Or Got Rum? LOL [ Edited by MadDogMike on 2024-11-04 18:32:32 ] |
|
D
danlovestikis
Posted
posted
on
Tue, Nov 5, 2024 7:58 AM
Darling touches. |
|
M
MadDogMike
Posted
posted
on
Thu, Nov 7, 2024 8:40 PM
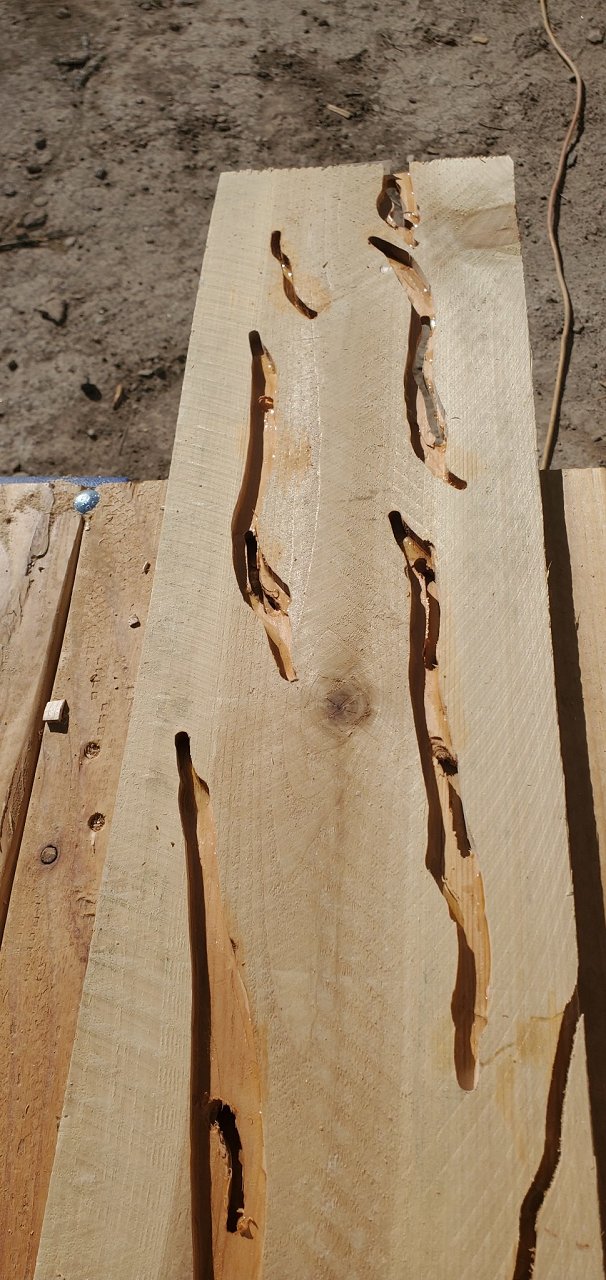
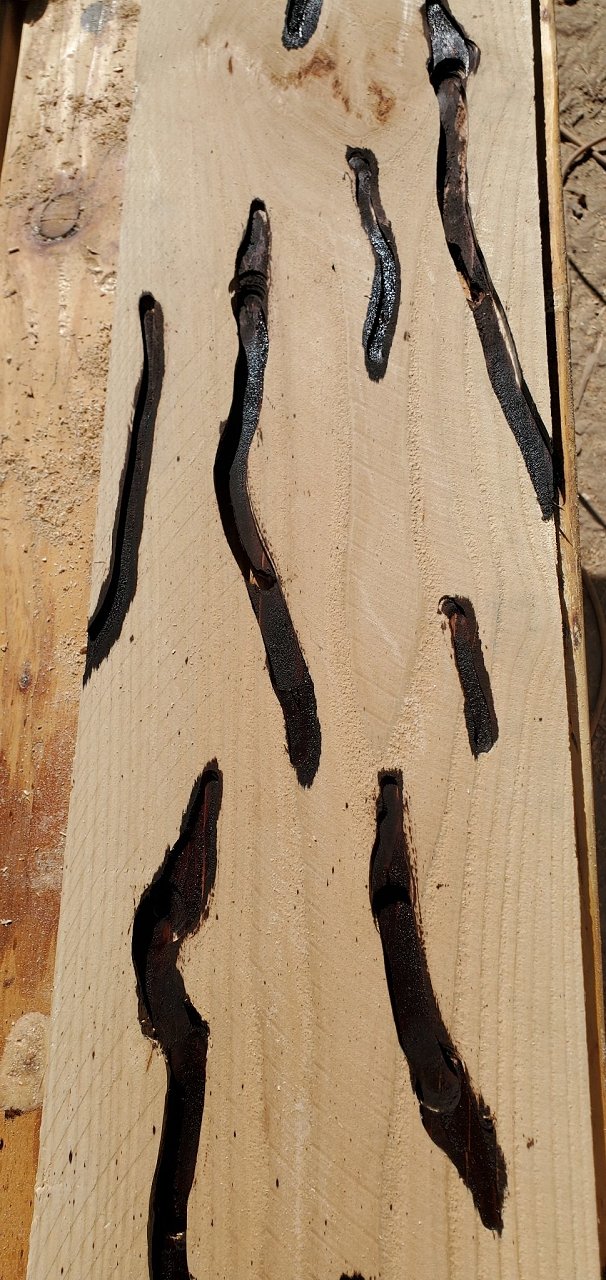
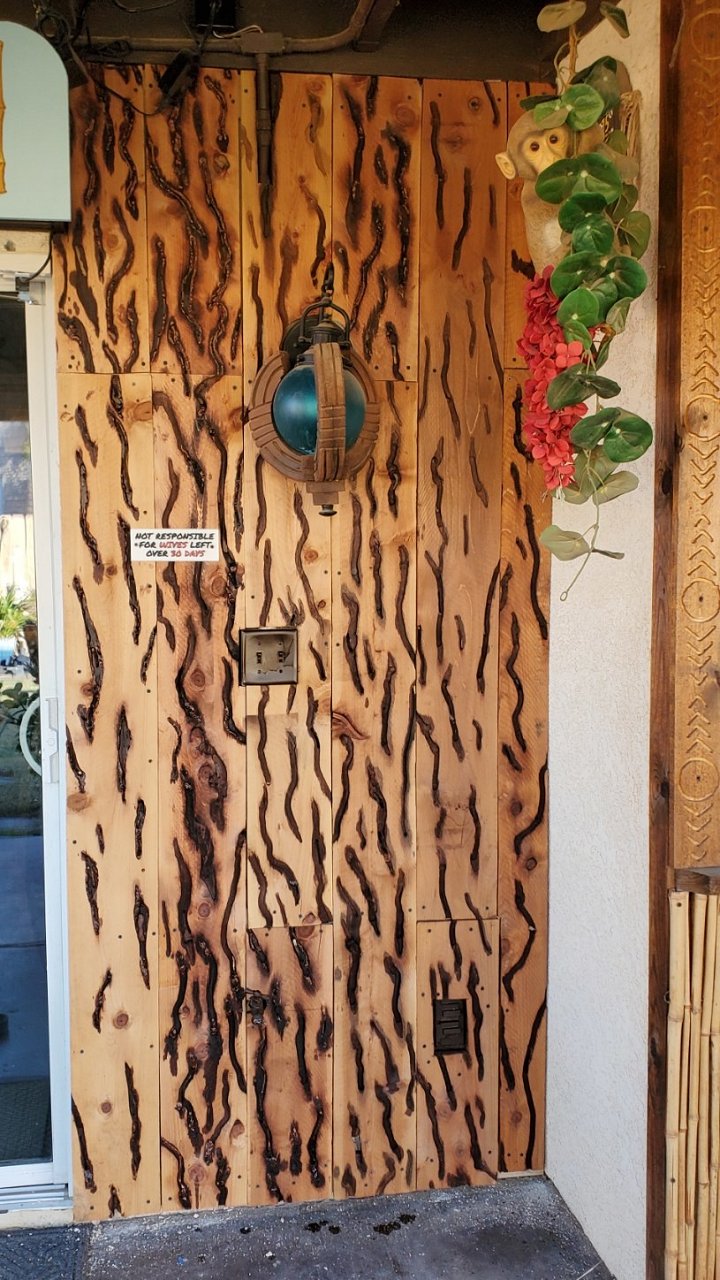
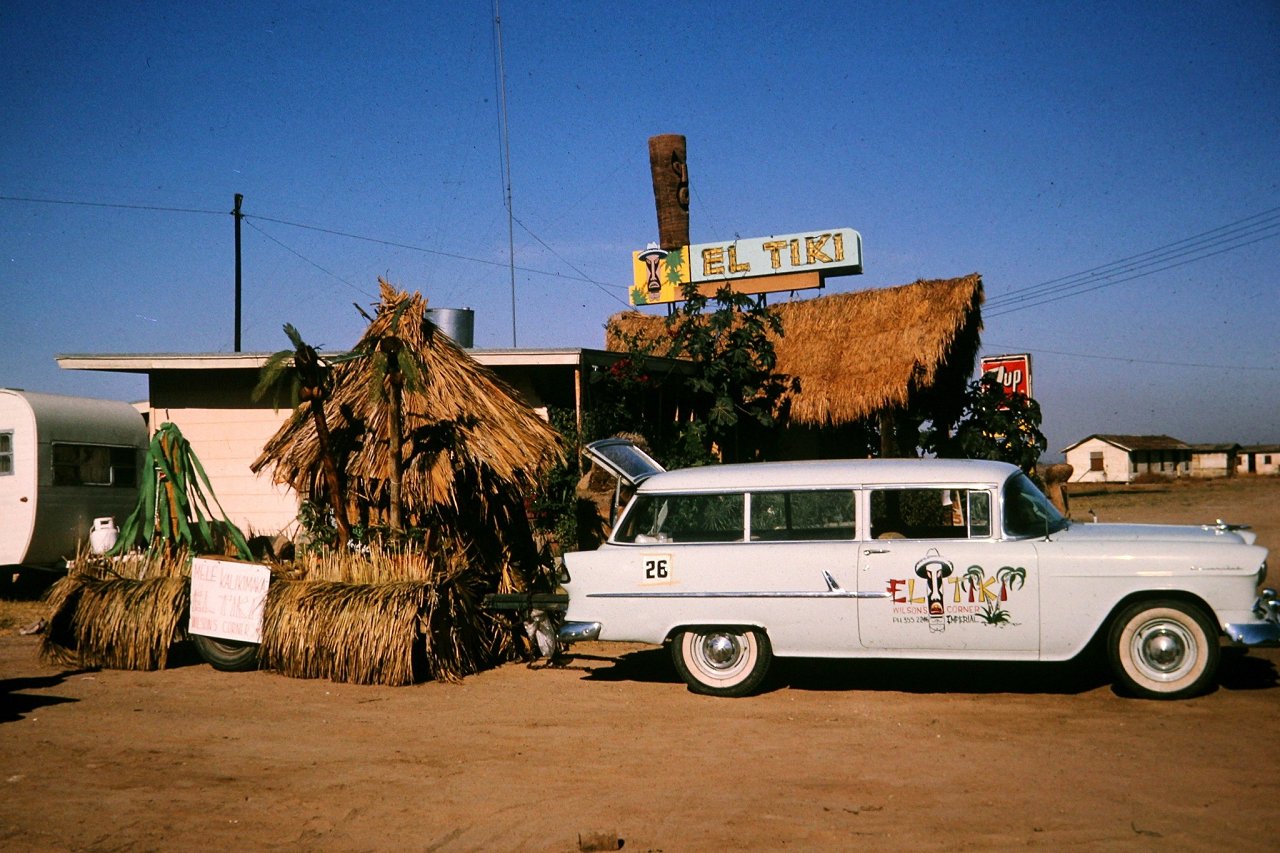
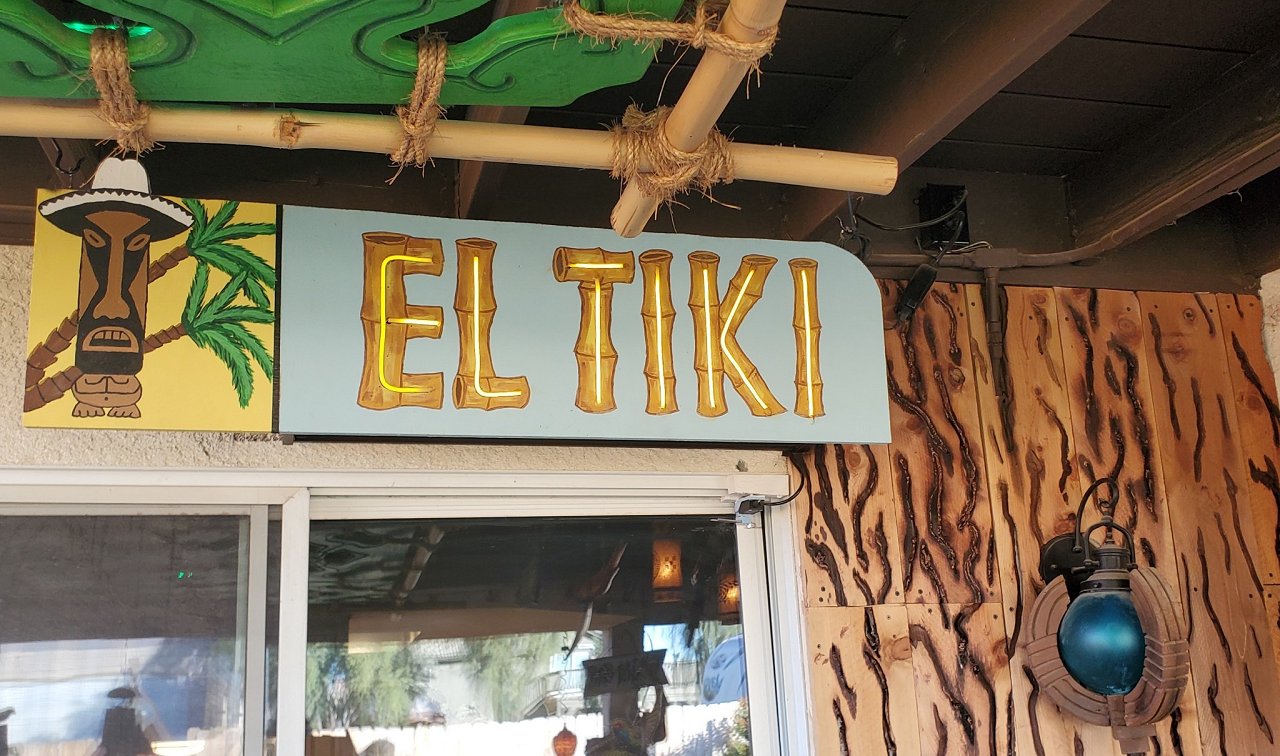
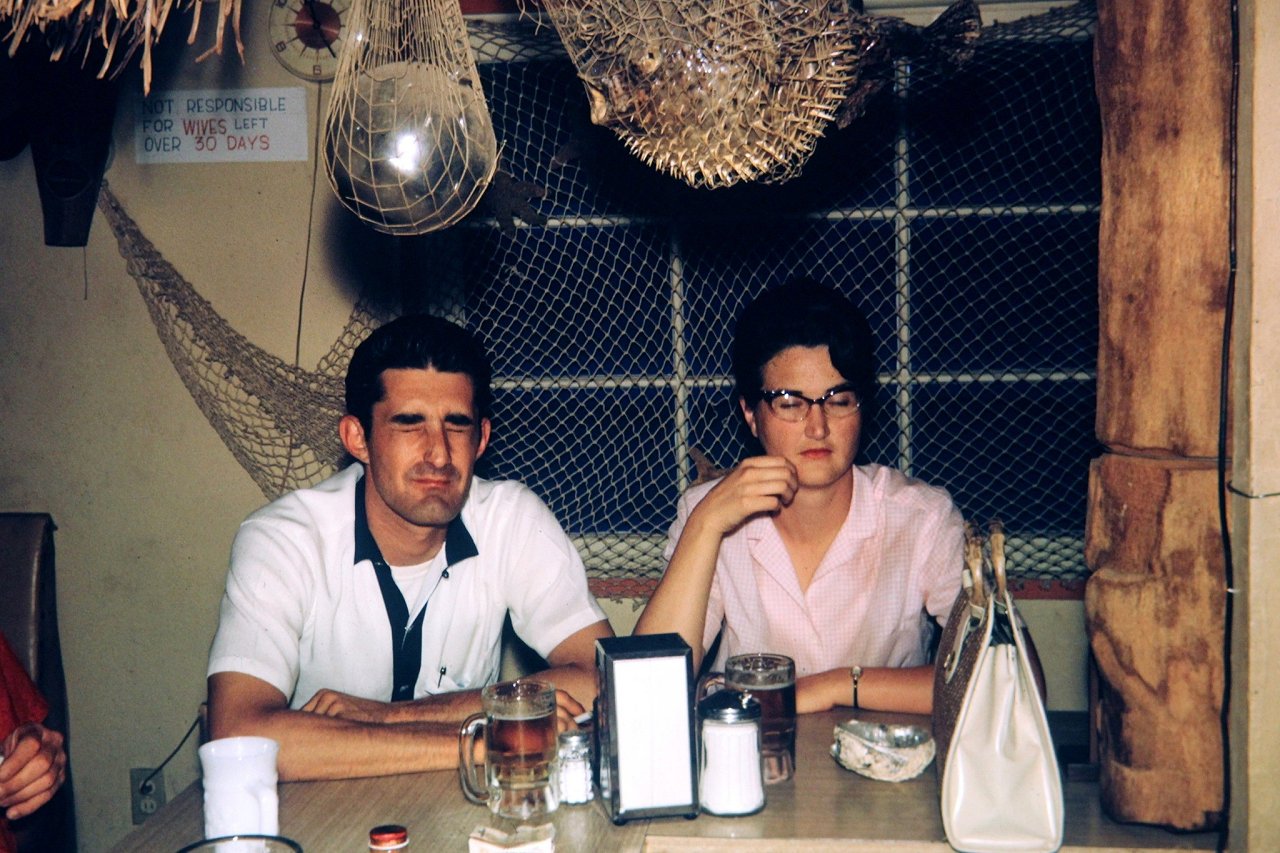
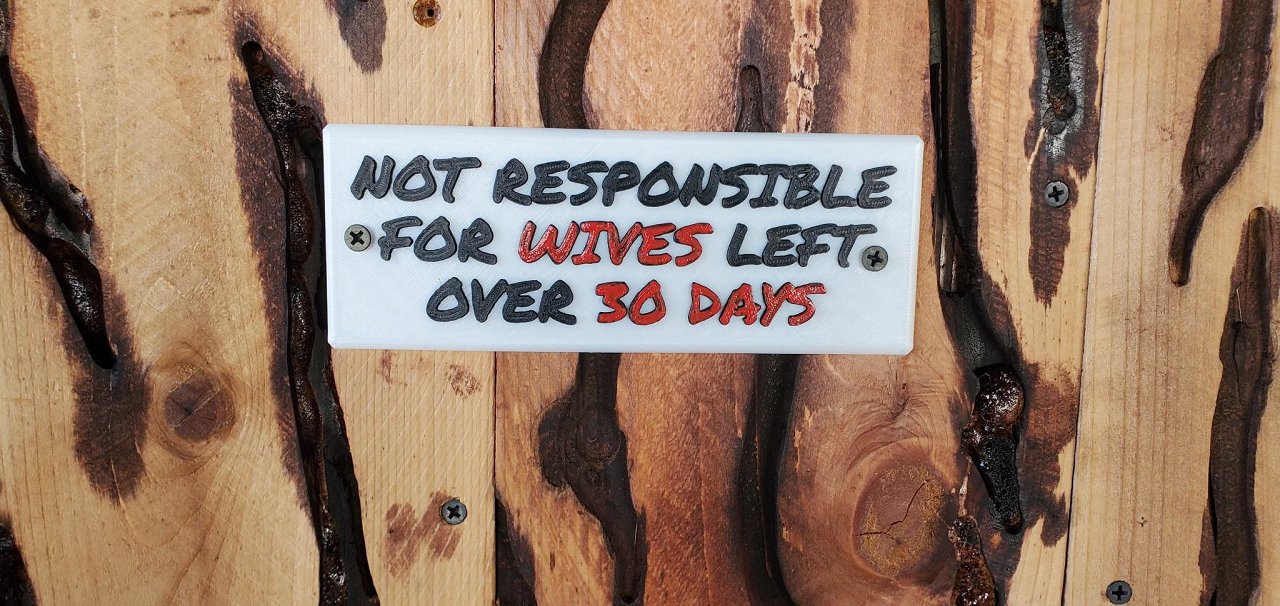
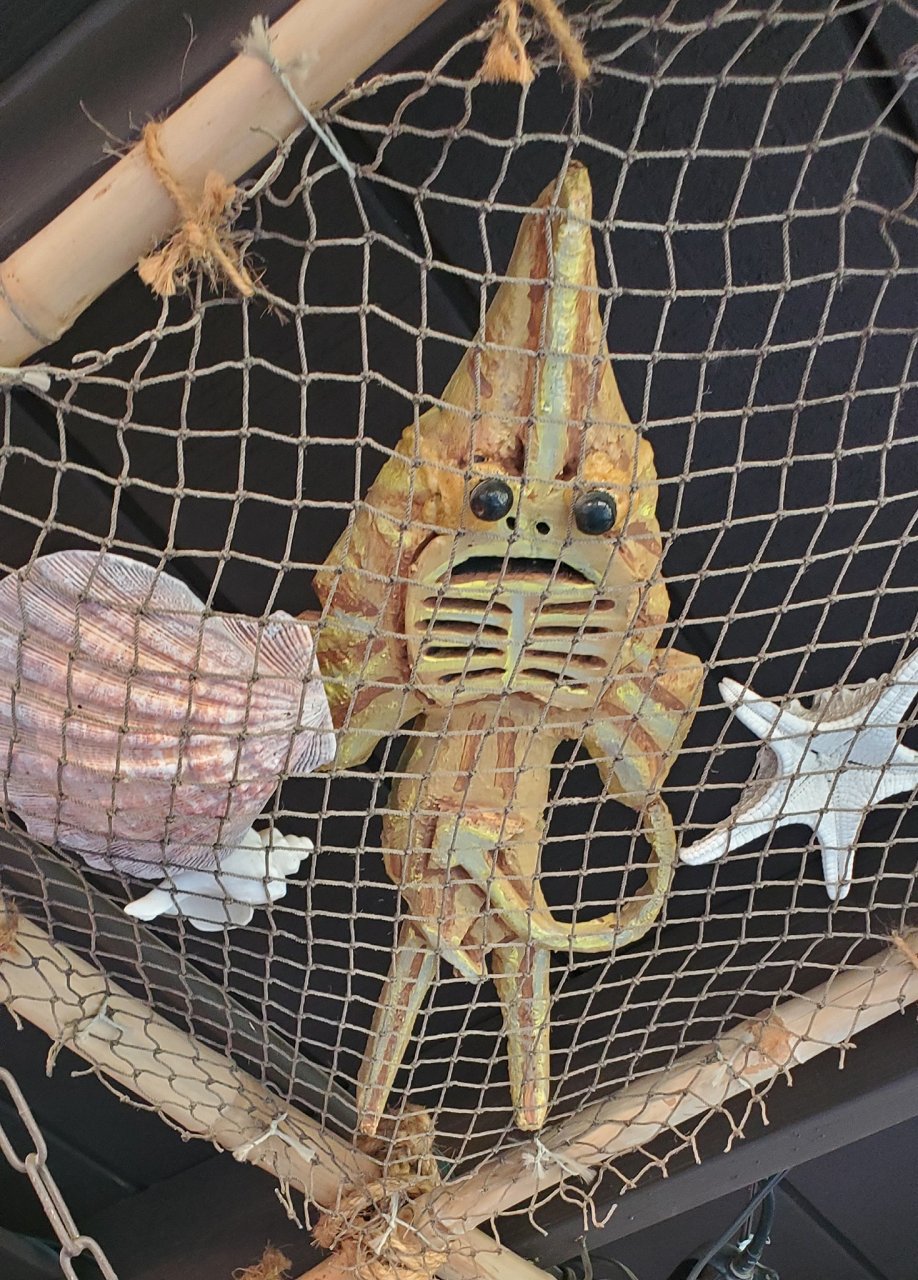
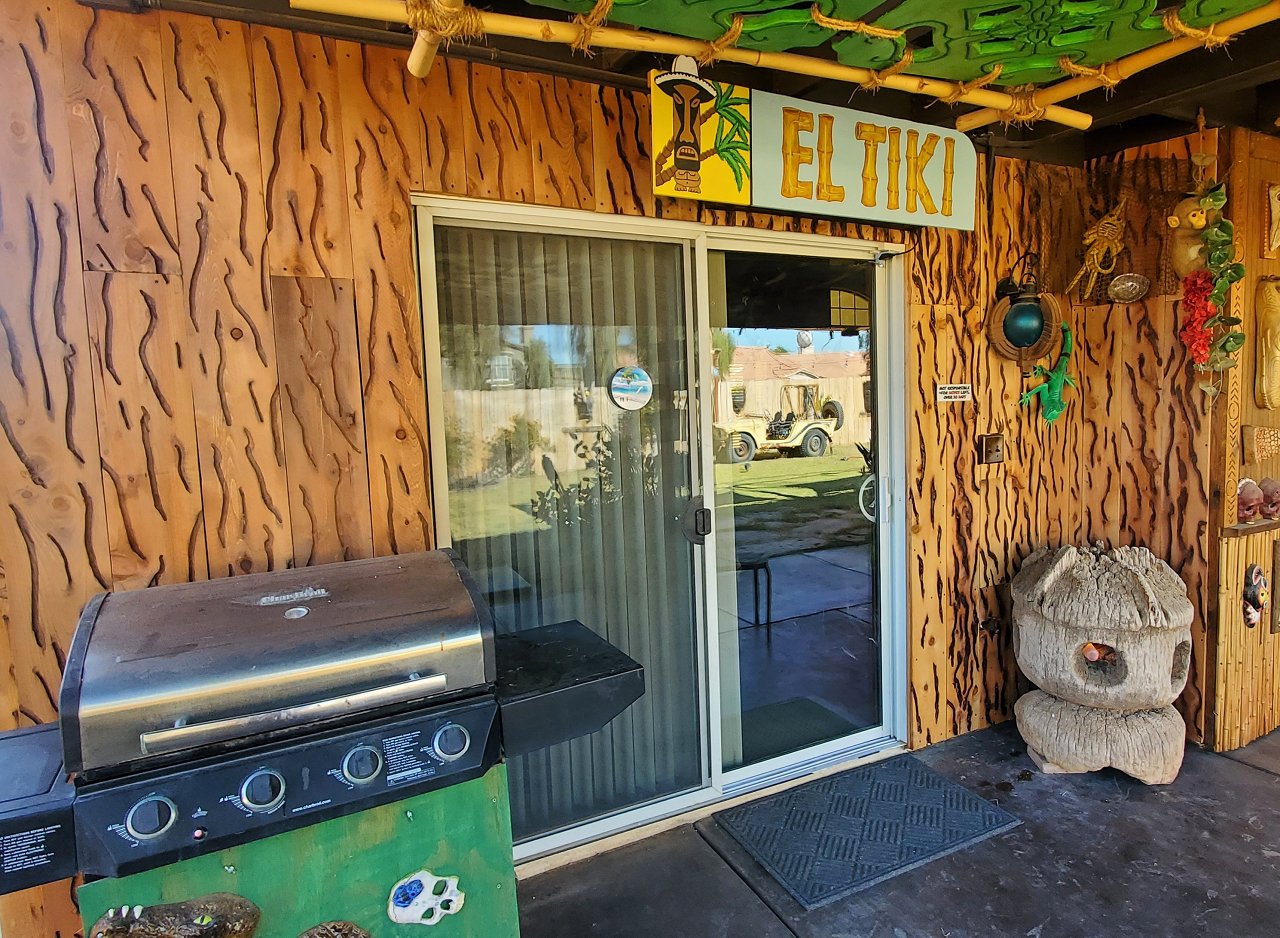
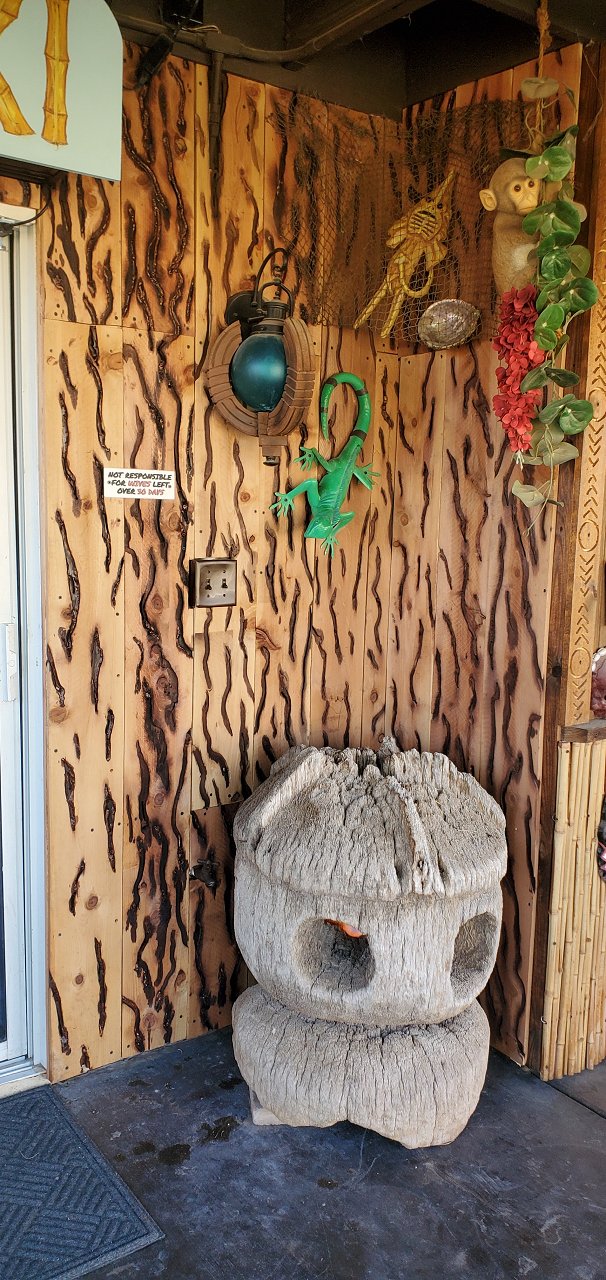
Thank you danlovestikis <3 My patio wall is naturally divided into 4 sections by features of the house that protrude into the patio, namely a bay window and the back of the fireplace. The first section I developed several years back has bamboo at the bottom and dark wood paneling on top and is used for hanging artwork. A second area (the back of the fireplace) is a wall of recreated Papua New Guinea artifacts. The third area was my recently developed Temple of the Jade Jaguar. And the last section I have reserved to dedicate to El Tiki. (El Tiki)[https://tikicentral.com/viewtopic.php?topic_id=28796&start=0] was a restaurant in the 60s and 70s created by my wife's father. I've told this story before but I worked there as a teen, my wife was a couple years younger than me (and cute!) and worked there as a waitress. We went to prom together then went our separate ways, only to marry 35 years later. El Tiki represents Teresa's love for her father, our common love for Tiki, and our love for each other. Surely, it deserves a section of the patio wall? The outside of El Tiki was covered with Pecky Cedar. This wood had "pecks" or holes in it caused by a fungal infection while the tree is living. The base for our wall will be Pecky Cedar but real Pecky Cedar is rare (and expensive). So I'm going to make Faux Pecky Cedar. Started with 1x4 furring to attach the cedar boards to the stucco wall. I took 1x8 dog ear cedar fence boards and cut the dog ears off. Then used a router to cut random slots with a router in varying depths. Stained inside the "pecks" with Minwax Red Oak. I would have prefered they were a little redder and a little lighter. But I'm thinking they will fade a bit over time and be just right Then Minwax Ipswich Pine stain over the rest of the boards. One section of the wall done. This early 1960s picture shows a neon sign on top of the restaurant. The original neon sign is long gone. So I did an LED neon recreation An old picture from the bar. Can you see the sign in the upper left hand corner on the wall? This sign fits Ben's personality perfectly LOL I made it with my 3D printer Ben had a guy who would bring by assorted oddities for sale, Nets, puffer fish and a "Jenny Haniver" that hung above the bar. I always called it a devil fish, it was an alien looking thing made from a shaped and dried stingray. This is one I made a few years back from styrofoam that will hang in a net on the wall with some abalone shells that were used on the bar as ashtrays. Another oddity was a real whale rib bone that sat in a planter box outside of the restaurant. As I remember it was about 10 feet long. This was prior to the Endangered Species Act of 1973, of course you cannot buy those anymore. I would like to create a replica whale rib and vertebrae about 6-8 feet tall. Either carved from palm wood (which has a similar texture to weathered bone) and painted white. Or carved from a block of styrofoam and coated with white textured polymer modified mortar mix. Pictured is a 3D printed model that will help me shape the one I want to make |
|
M
MadDogMike
Posted
posted
on
Sat, Nov 9, 2024 1:08 PM
Wall covered with "faux pecky cypress"
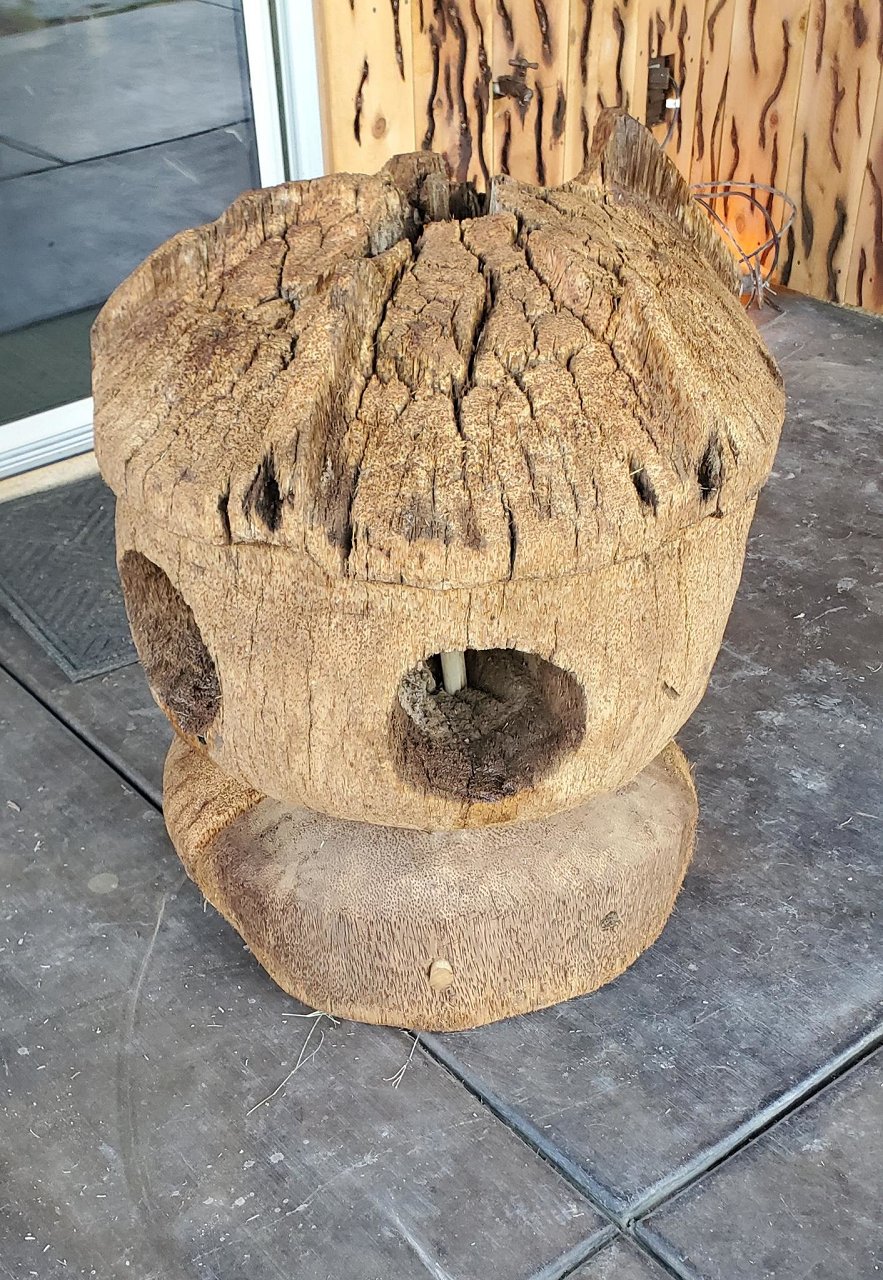
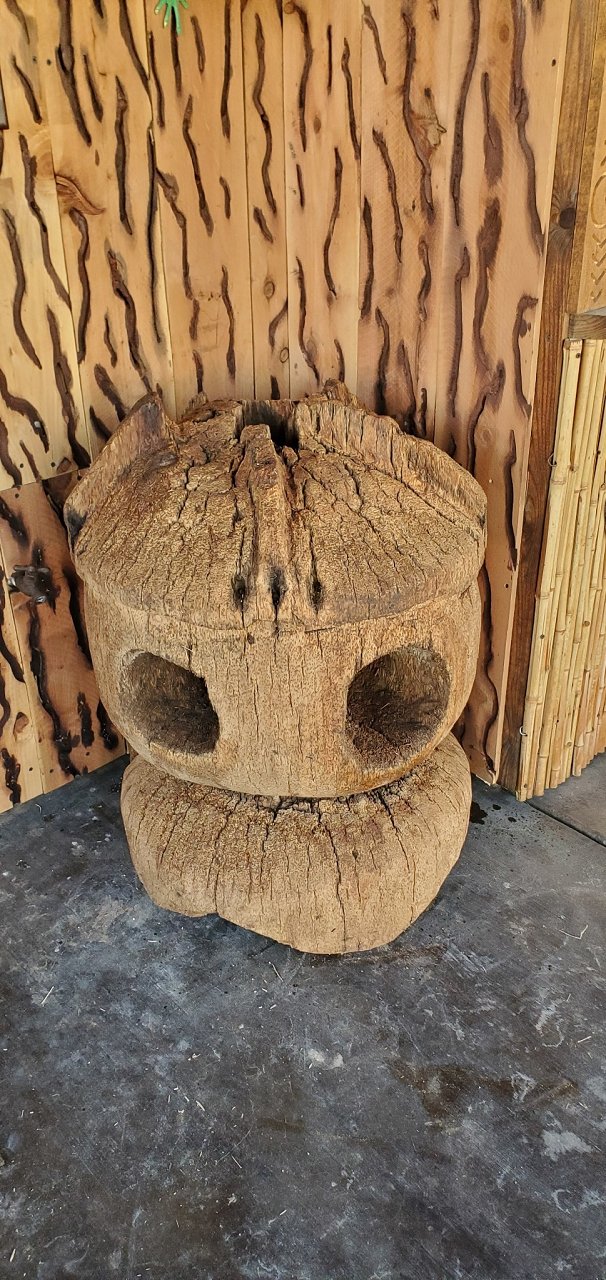
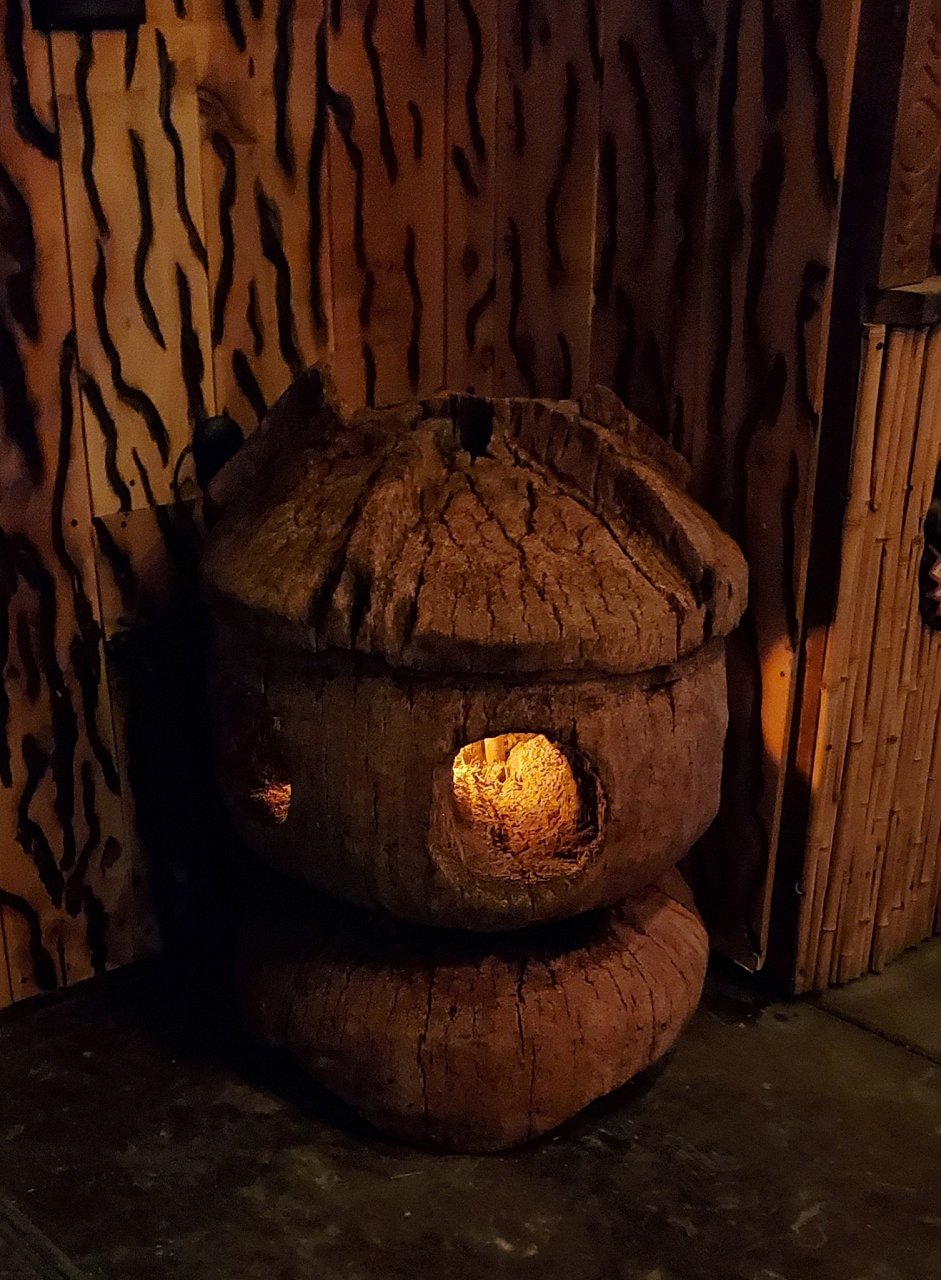
Now to start decorating. So far I have the neon sign, nets, the Jenny Haniver, an abalone ash tray, the iguana represents a taxidermied iguana that lived on the bar. The big palm Japanese Lantern is one of the few true artifacts from El Tiki . Carved by Ben, 60 years old and a bit worse for wear. I may experiment on the back to see if some sort of sealer or oil will breath some life into it. [ Edited by MadDogMike on 2024-11-09 13:11:03 ] |
|
M
MadDogMike
Posted
posted
on
Sun, Nov 10, 2024 4:41 PM
Well, not one to mess around, I started working on restoring the Japanese Lantern. The bottom was badly rotted. So I cut out the necrotic tissue. New tissue ready to graft Lot of wood glue and big wooden dowels [ Edited by MadDogMike on 2024-11-10 16:44:30 ] |
|
M
MadDogMike
Posted
posted
on
Mon, Nov 11, 2024 9:09 PM
The repaired base Done. In addition to the base repair, I took an abrasive flap wheel lightly to the whole thing to expose fresh wood and gave it a good soaking in linseed oil |
|
PP

Prikli Pear
Posted
posted
on
Tue, Nov 12, 2024 8:29 AM
Nice restoration on the vintage palm lantern. Do you plan to install some sort of lighting element in it? |
|
D
danlovestikis
Posted
posted
on
Tue, Nov 12, 2024 8:08 PM
It is such a joy to watch you work. You have such a special place for you and Teresa to reminisce. One day it will be time to do a video for fb. Well done my friend. |
|
M
MadDogMike
Posted
posted
on
Wed, Nov 13, 2024 2:13 PM
Thanks Prikli Pear I have a flame bulb inside danlovestikis, I think our story should be a Hallmark movie LOL [ Edited by MadDogMike on 2024-11-13 14:14:04 ] |
|
M
MadDogMike
Posted
posted
on
Thu, Nov 14, 2024 10:02 AM
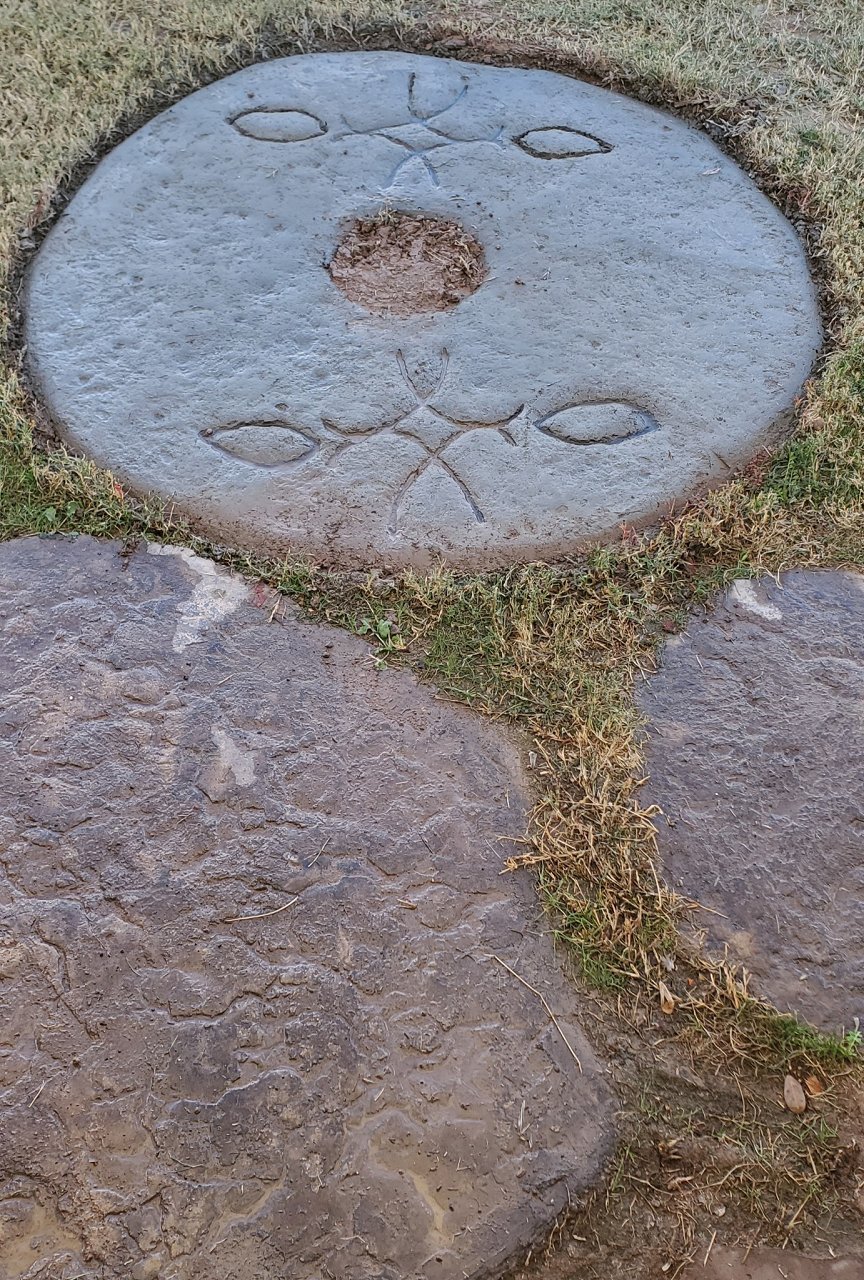
Nerd Alert - deep dive into obscure Polynesian history I like to include obscure items in my Tiki space. I have long been fascinated with the Rai Stones of the Micronesian island of Yap. Large, round, carved stones with a hole in the center used as a form of currency on the island, mostly for ceremonial purposes. The tradition began 500-600 years ago, there are about 6,000 of these stones on the island the largest is 12 feet across and weighs 4 tons. The owner doesn't necessarily take physical possession of the stone. Because of the size and possibility of damage, the stones stay where they are. But everyone on the island knows who it belongs to. (Besides, how do you steal a 4 ton rock and where do you hide it?) The value of each stone depends on several factors, including size and finish (smoothness) Most of the stones were quarried on the island of Palua, 300 miles away. The journey and quarrying were dangerous. Any loss of life increased the value of the stone. After European contact, the islanders obtained iron tools and transported the stones on European ships, but these stones have less value. I made a 4 foot diameter stone (8 bags of concrete) to serve as a stepping stone. The design inscription does not seem to be authentic but is shown in the 1954 movie His Majesty O'Keefe which is good enough for me
|
|
H

hang10tiki
Posted
posted
on
Sat, Nov 16, 2024 10:27 AM
Your gona need a bigger boat Amazing as usual Bruddah |
|
M
MadDogMike
Posted
posted
on
Sat, Nov 16, 2024 2:29 PM
in reply to hang10tiki
Thank you hang10tiki but haven't run out of space yet LOL I think I'm about done with my Ben Wilson/El Tiki tribute wall. Covered in faux Pecky Cypress, neon sign over the patio door
The repaired and reconditioned palm Japanese Lantern carved by Ben in the 60s. Ben had a taxidermied iguana on the bar. It was old and faded so I painted this one to match. We have a menu from El Tiki. I scanned front and back, had them printed on UV protected vinyl and framed them. 3D printed a couple pufferfish and netted them together to make a lamp. Some netting, a Jenny Haniver, and an abalone shell Several years ago I made some El Tiki tribute mugs (there were no mugs made for the restaurant originally). I though some of them would go good in a rack on this wall. That about wraps it up. May add a framed photo of Ben and maybe a few netted fish floats. |
|
OGR

Or Got Rum?
Posted
posted
on
Thu, Nov 21, 2024 7:54 AM
Fantastic and obviously heartfelt work MIKE! |
|
M
MadDogMike
Posted
posted
on
Thu, Nov 21, 2024 11:50 AM
in reply to Or Got Rum?
Definitely heartfelt. Thank you OGR? |
|
M
MadDogMike
Posted
posted
on
Sat, Nov 23, 2024 1:11 PM
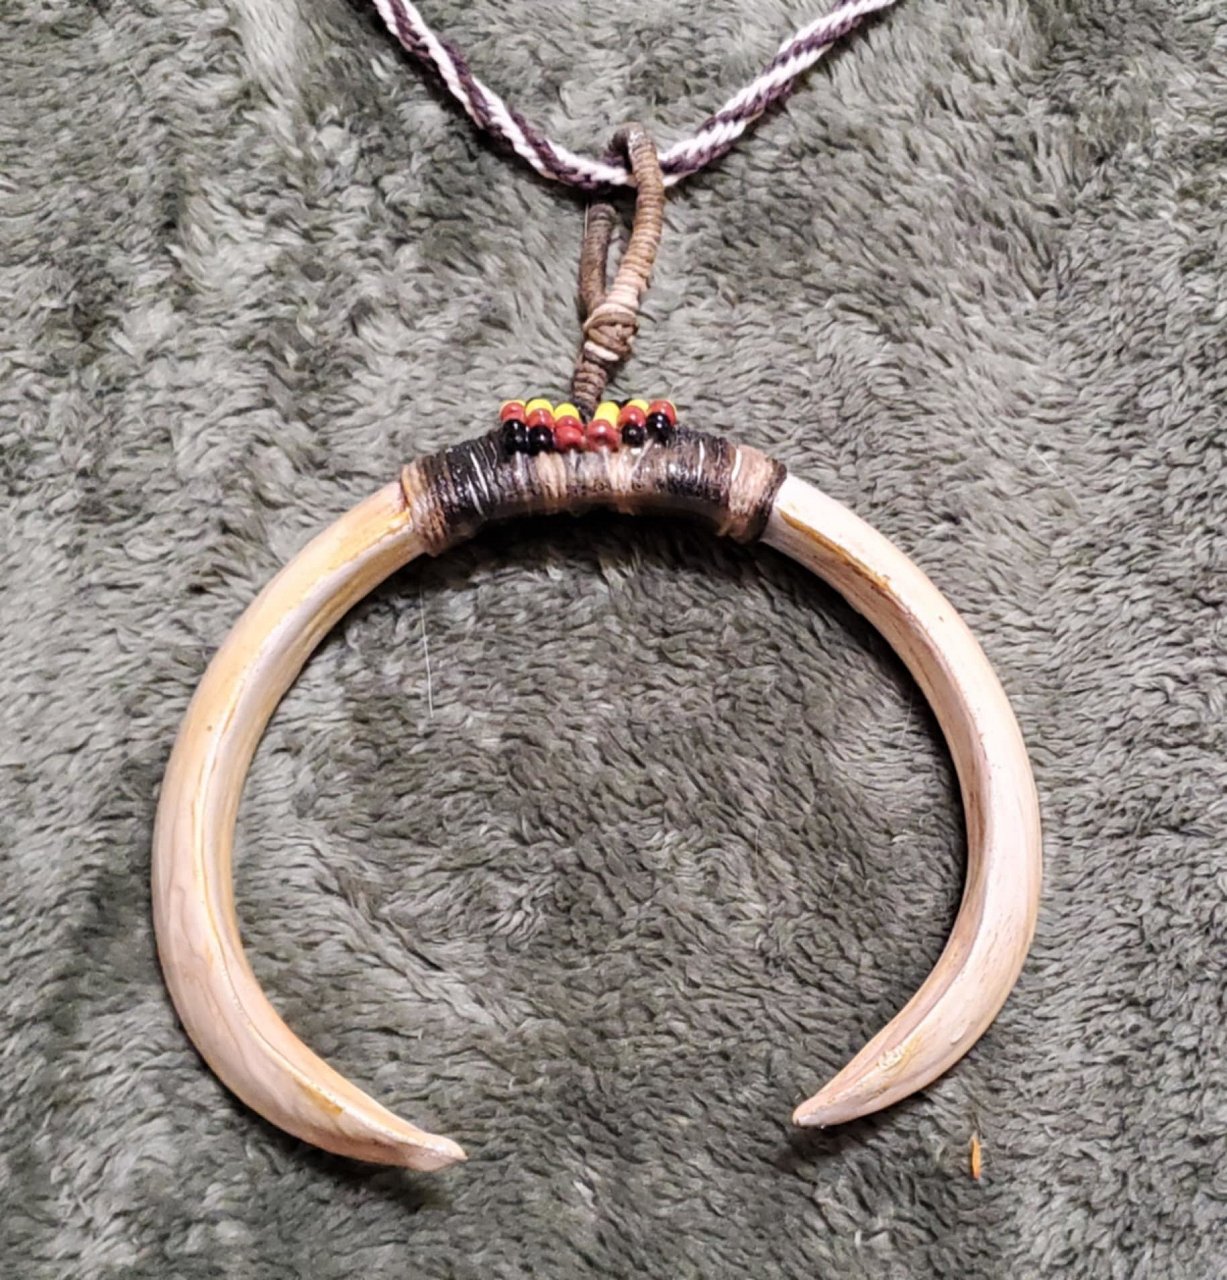
Boar Tusk Pendant. 3D printed, painted, corded and beaded, coated in clear epoxy resin.
|
|
D
danlovestikis
Posted
posted
on
Tue, Dec 3, 2024 6:38 PM
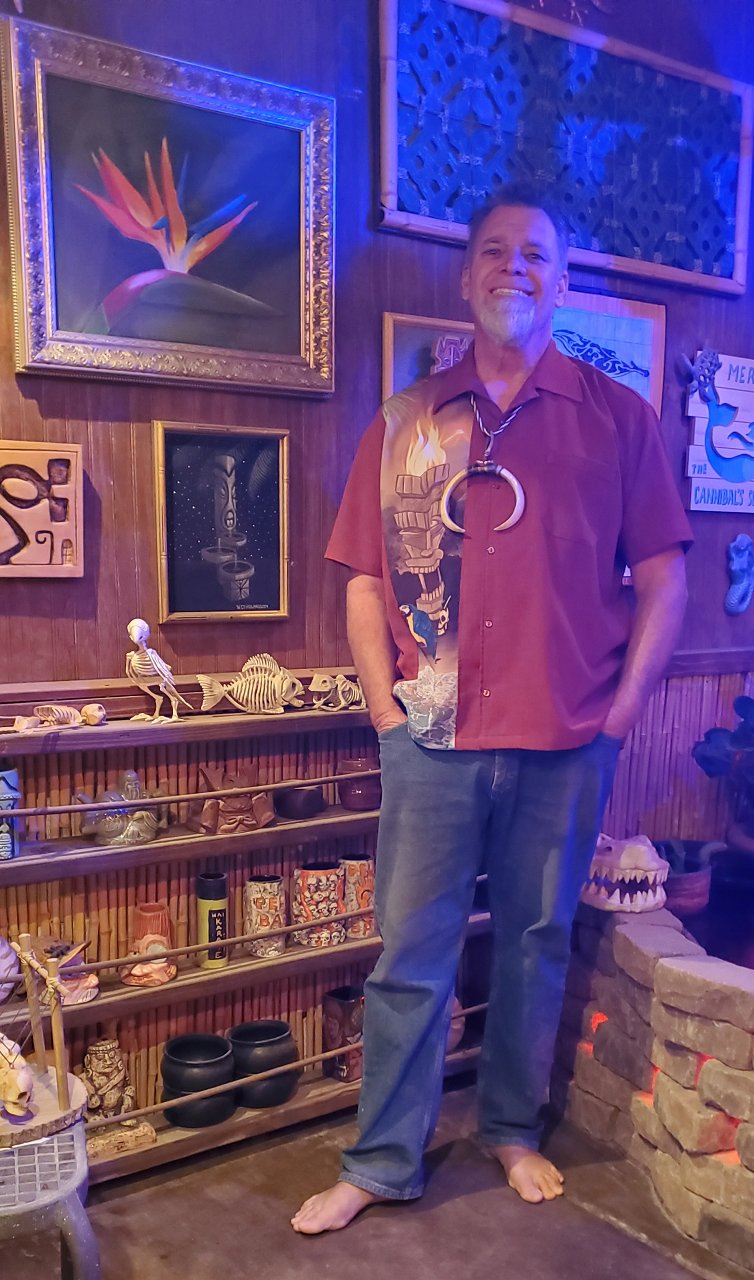
Love the El Tiki display. We love our mug. That's a wonderful necklace. I would love a photo of you wearing it in your tiki area. |
|
M
MadDogMike
Posted
posted
on
Wed, Dec 4, 2024 7:23 PM
in reply to danlovestikis
Here ya go Wendy LOL |
|
D
danlovestikis
Posted
posted
on
Thu, Dec 5, 2024 7:54 AM
Wow, you look wonderful right down to your toes. The necklace enhances your total appearance. Way to go tiki bro! |
|
M
MadDogMike
Posted
posted
on
Thu, Dec 5, 2024 8:14 AM
in reply to danlovestikis
❤️❤️❤️ |
|
D
danlovestikis
Posted
posted
on
Thu, Dec 5, 2024 8:16 AM
If I knew how to do those little hearts, I would add them here for your pose in front of the painting I did of the fountain. Thank you. I have saved this image because of you and my art!!! |
|
M
MadDogMike
Posted
posted
on
Thu, Dec 5, 2024 8:24 AM
in reply to danlovestikis
Wendy, it seems the only way to do emojis is from your phone instead of your computer :( |
|
M
MadDogMike
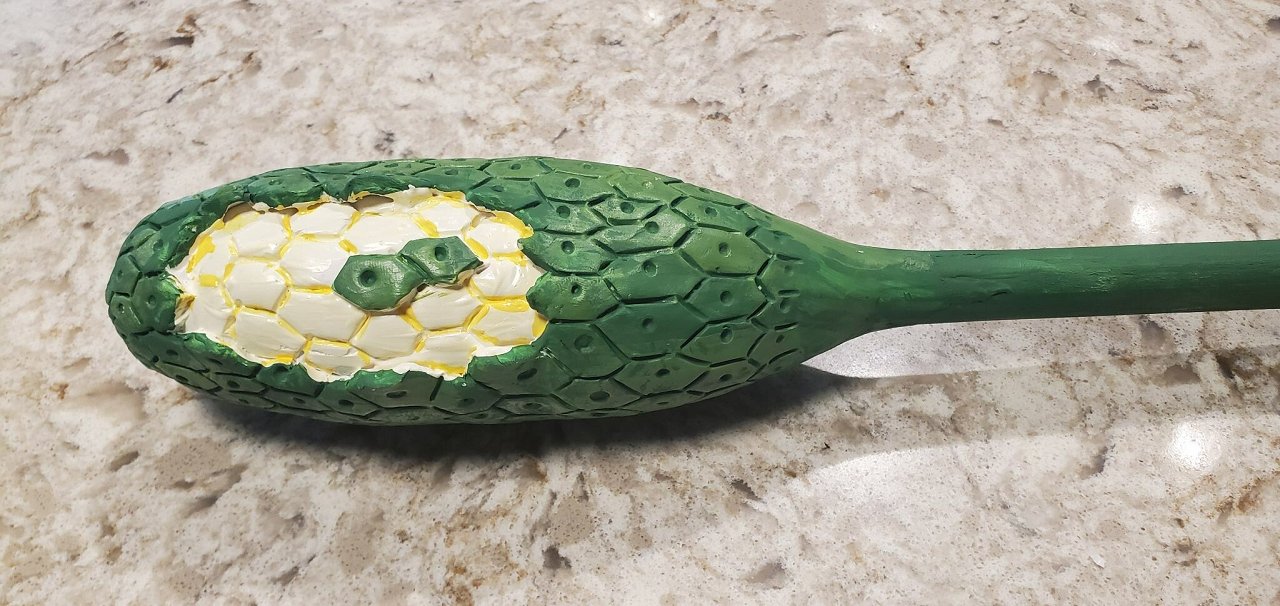
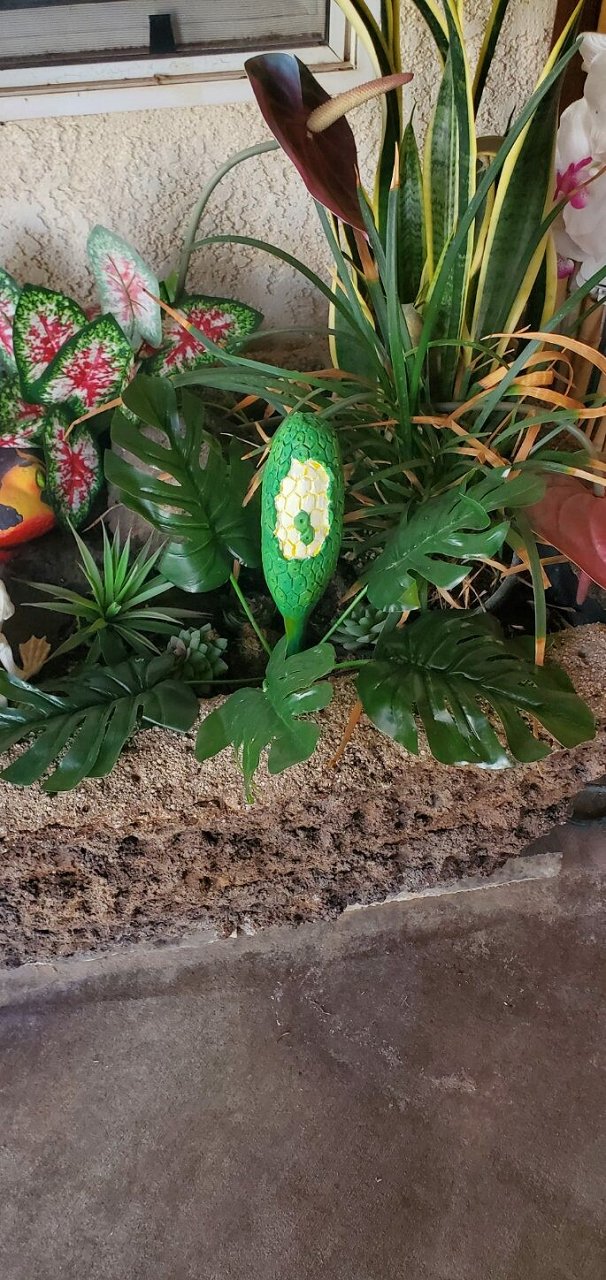
Posted
posted
on
Mon, Dec 23, 2024 10:47 AM
hang10tiki, our friend Chris hooked me up with a Monstera Deliciosa fruit. A rare and wonderful experience, taste like pineapple and banana. Since the chances of growing those fruit here on the Anvil of the Sun are pretty slim, it inspired me to make a fake one [ Edited by MadDogMike on 2024-12-23 10:50:37 ] |
|
D
danlovestikis
Posted
posted
on
Mon, Dec 23, 2024 7:29 PM
That is special. Does it grow in Hawaii? I like to have Dragon Fruit when we are there. They now have it in our grocery stores. |
|
M
MadDogMike
Posted
posted
on
Tue, Dec 31, 2024 6:39 PM
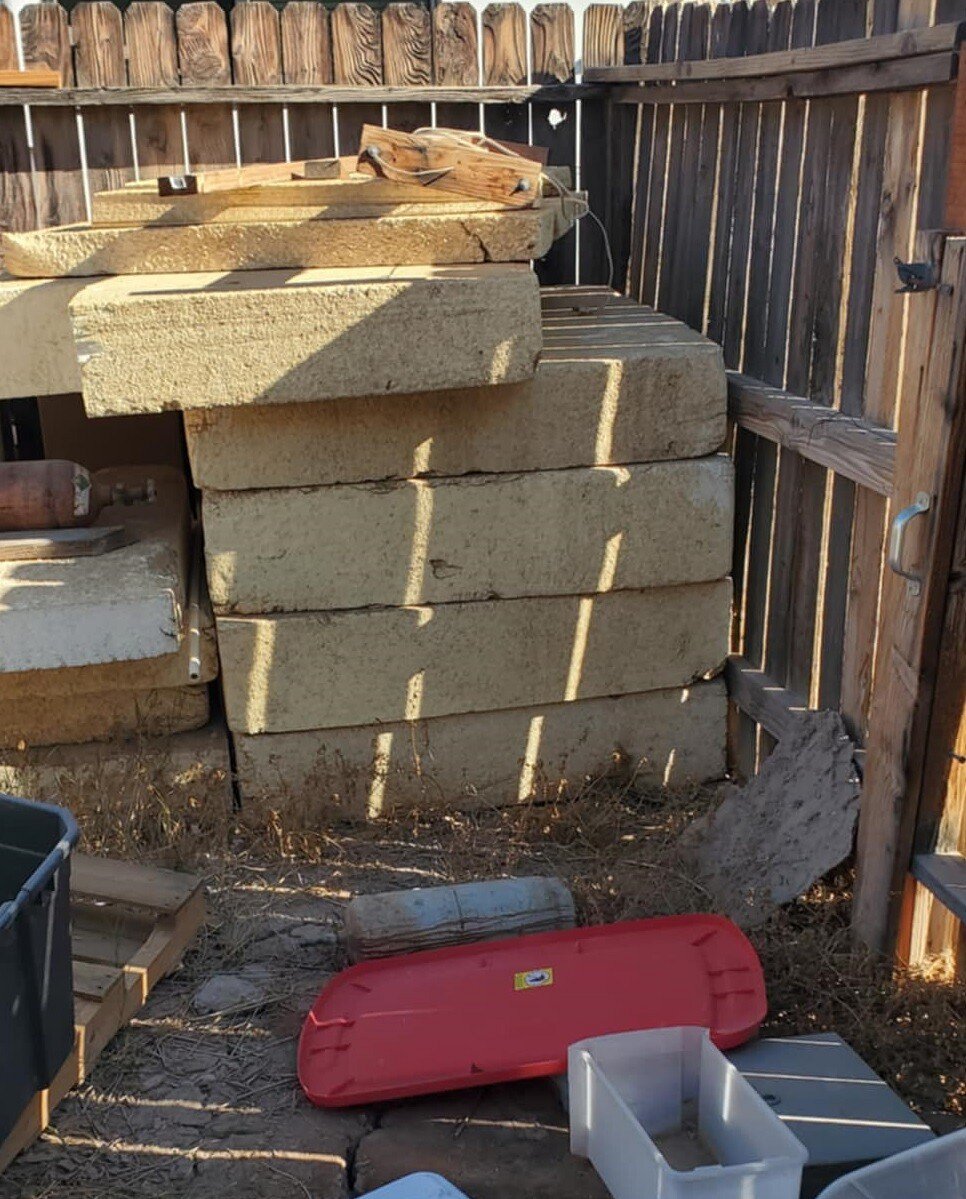
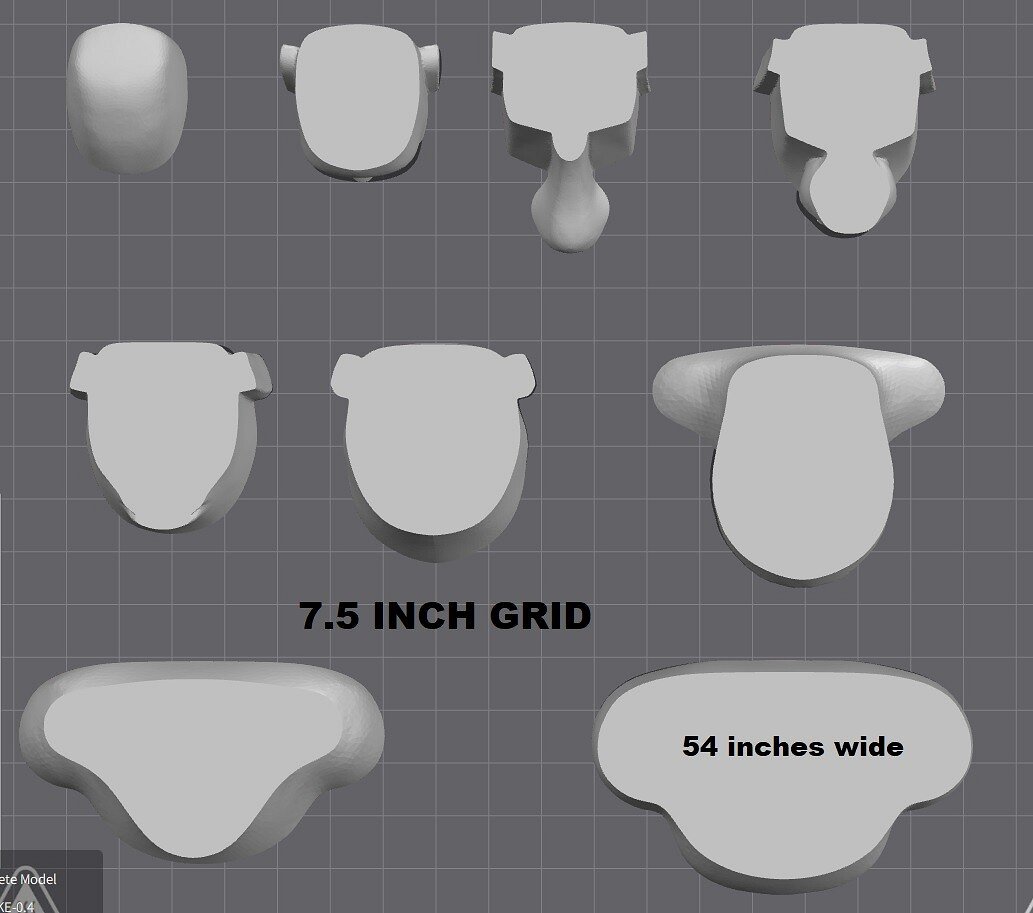
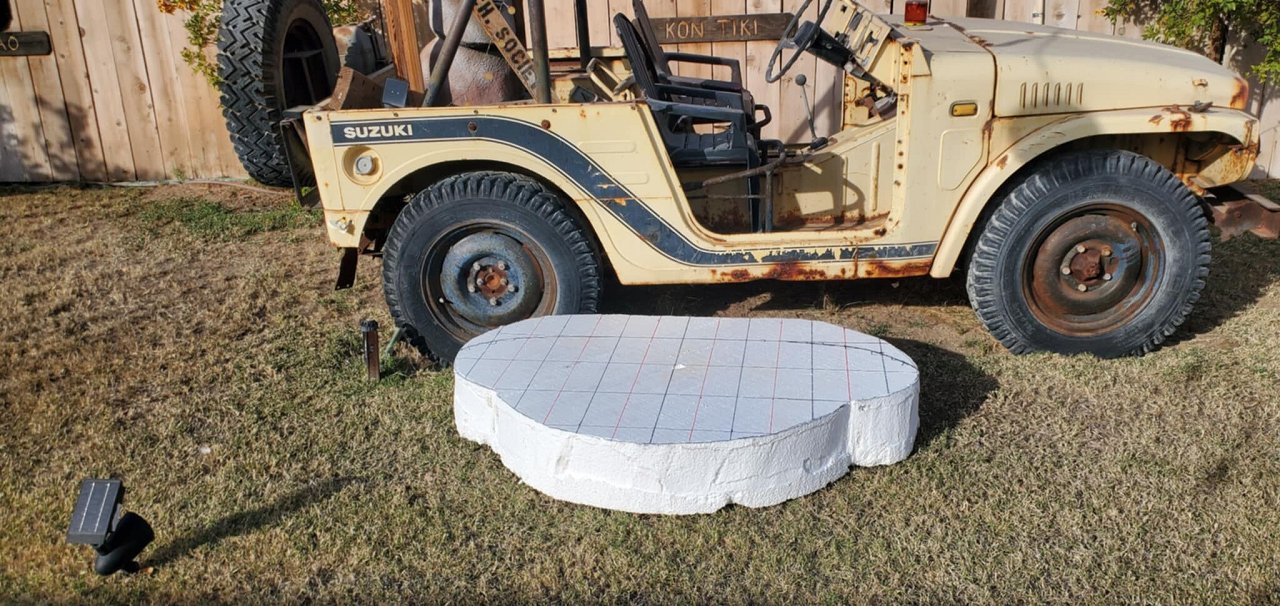
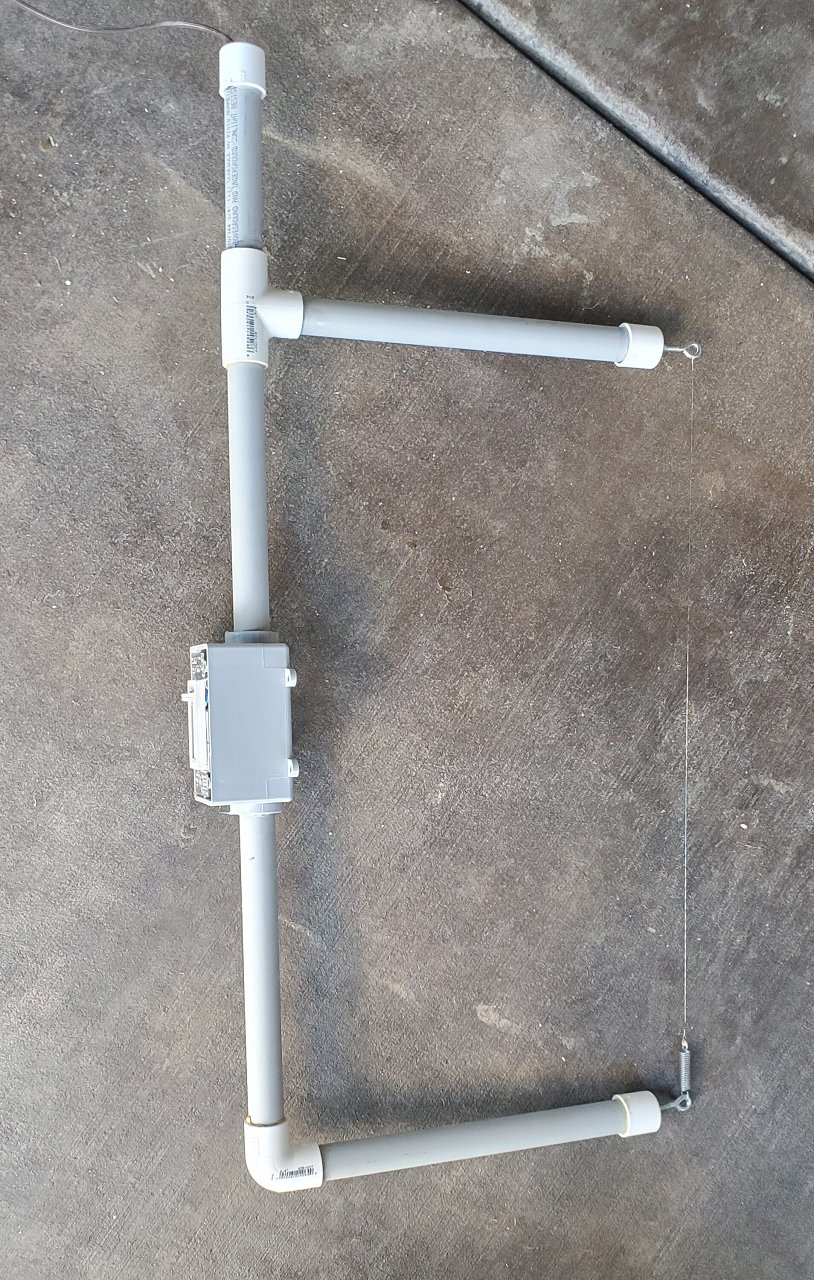
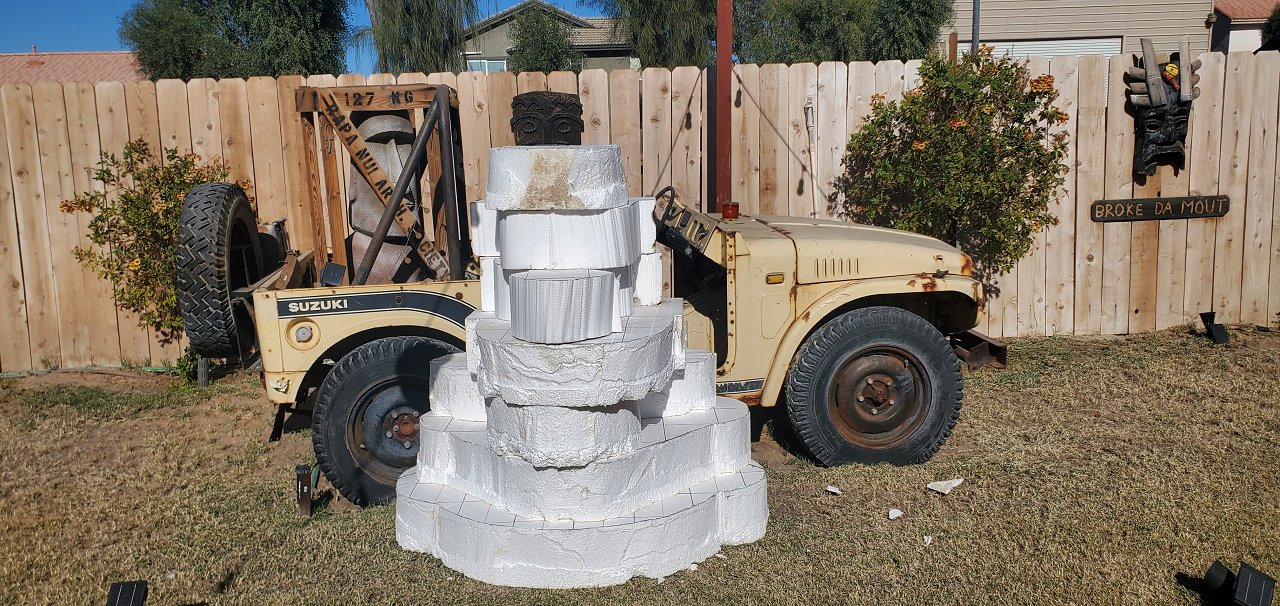
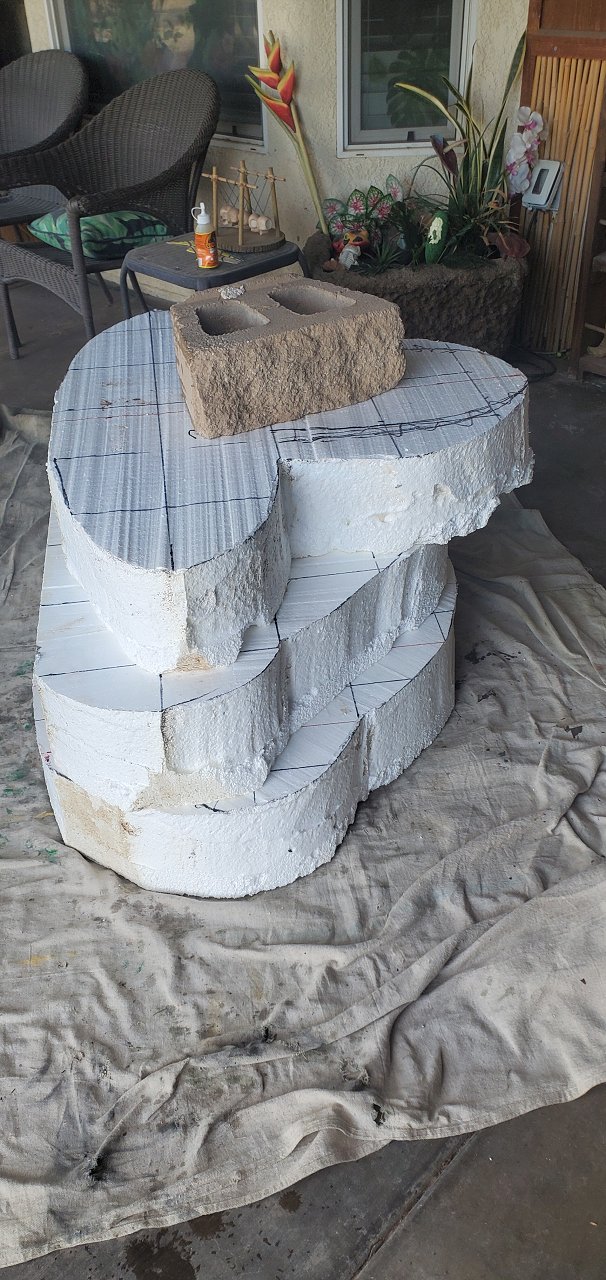
danlovestikis I'm sure they grow in Hawaii, EVERYTHING grows in Hawaii!!! LOL New major project starting. For several years I have wanted a large Moai. I've done a lot of research on different materials and have decided on Polymer Fortified Mortar over chicken wire and Styrofoam. The Temple Wall I did a while back was basically research for the Moai so I'll be using many of the techniques I learned there. Normally, a 6 foot Moai out of solid Styrofoam would be cost prohibitive (like several hundred dollars!) but I salvaged a truck load of 4x4x1 foot blocks 20 years ago and have been slowly using it up. I still have enough for a Moai. The blocks run from 8 inches thick to about 16 inches thick. But they are slightly wedge shaped, a couple inches thicker on one end than the other. So I built a horizontal heated wire cutter to slice them into even 8 inch thick slabs. Made from 2x4s, nichrome wire, and a dimmer switch. It clamps to my work bench and comes off for storage when I don't need it. I don't have the advantage (or disadvantage) of an art school education so I make things up as I go. I downloaded a 3D model I liked and digitally sliced him into 9 pieces (x 8 inches = 6 ft) then captured an image of the tops of them. If my logic is right, I can cut out these 9 pieces, stack and glue them together, and it should give me a good starting place to carve my Moai. I drew out a 7.5 x 7.5 inch grid and drew the first piece A heated knife cuts much cleaner than a saw. Unfortunately, my knife is only about 6 inches long so I had to finish it with a messy saw. Piece #1 of 9 cut. #2 of 9 #3 of 9. Starting to look like a Moai yet? [ Edited by MadDogMike on 2024-12-31 18:39:40 ] |
|
H

hang10tiki
Posted
posted
on
Tue, Dec 31, 2024 6:46 PM
Ya had me at 6 foot MOAI 🗿 |
|
D
danlovestikis
Posted
posted
on
Wed, Jan 1, 2025 9:45 AM
I've thought about doing this too but with wood wire and concrete. This is so much better and lighter. You are actually going to get it done!!! |
|
D
danlovestikis
Posted
posted
on
Wed, Jan 1, 2025 9:45 AM
I've thought about doing this too but with wood wire and concrete. This is so much better and lighter. You are actually going to get it done!!! |
|
M
MadDogMike
Posted
posted
on
Thu, Jan 2, 2025 12:39 PM
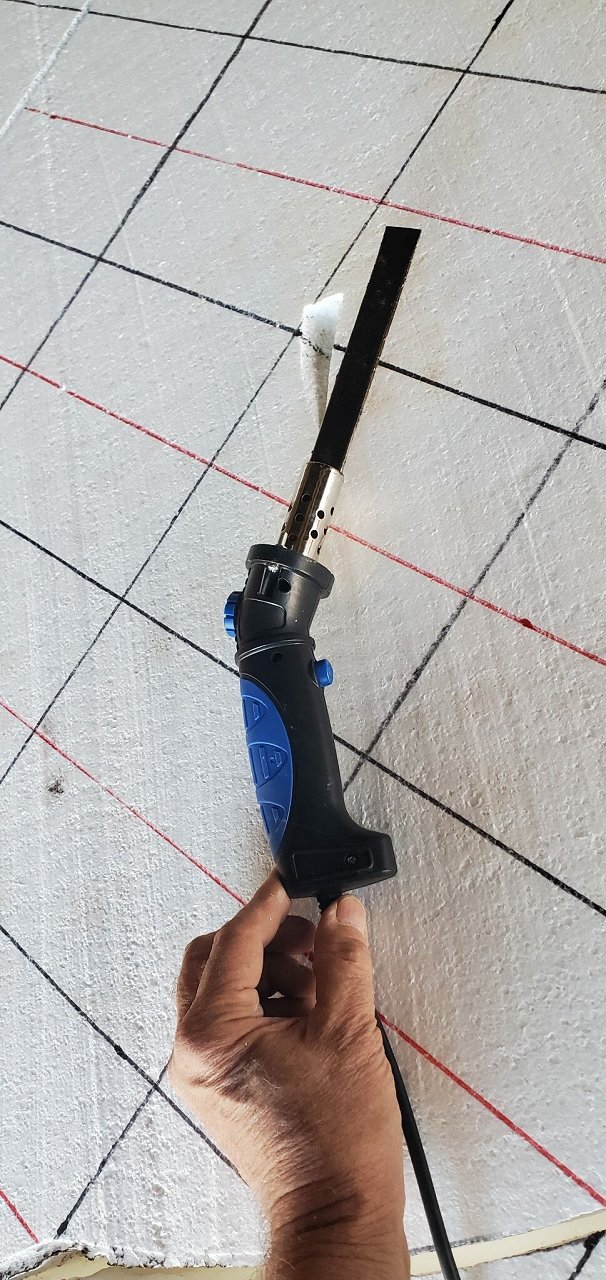
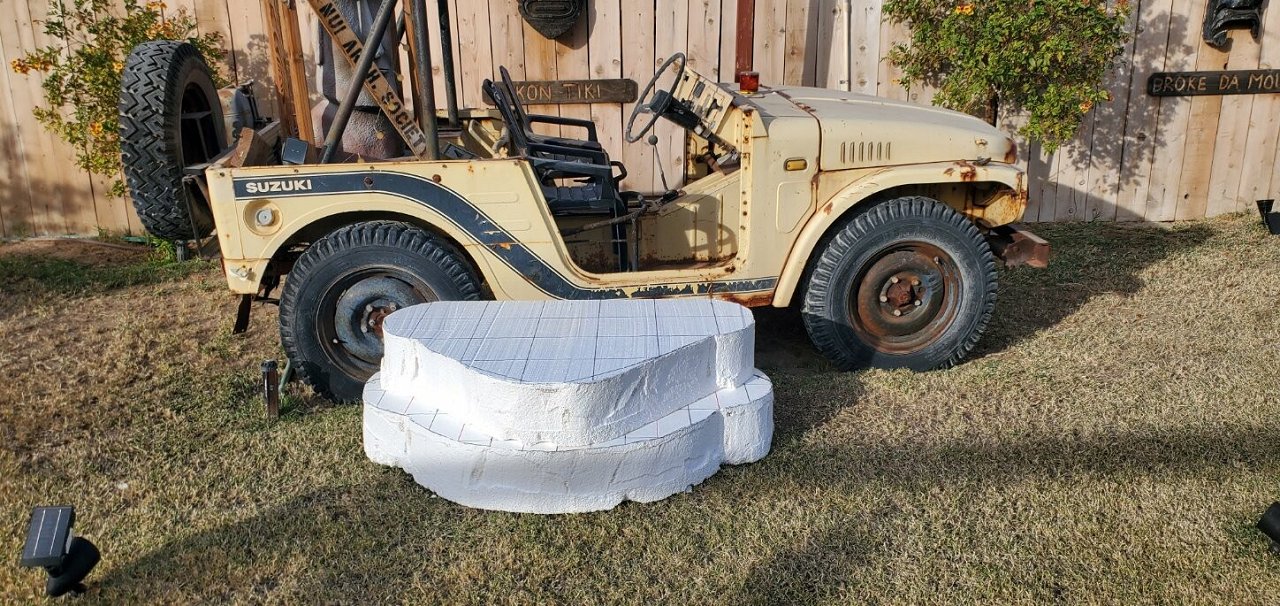
Well hang10tiki and danlovestikis, in my head it looks quite impressive! The kind of thing people come to a dead stop and their mouths drop open. Let's see how it goes in real life LOL. Temporary setback. My heated knife died and Harbor Freight is out of stock. So I made one. It actually works better that the old one. Pieces 1-4 and 7-9 done, just 5 & 6 to go. But other tasks to complete for now |
|
M
MadDogMike
Posted
posted
on
Thu, Jan 2, 2025 6:39 PM
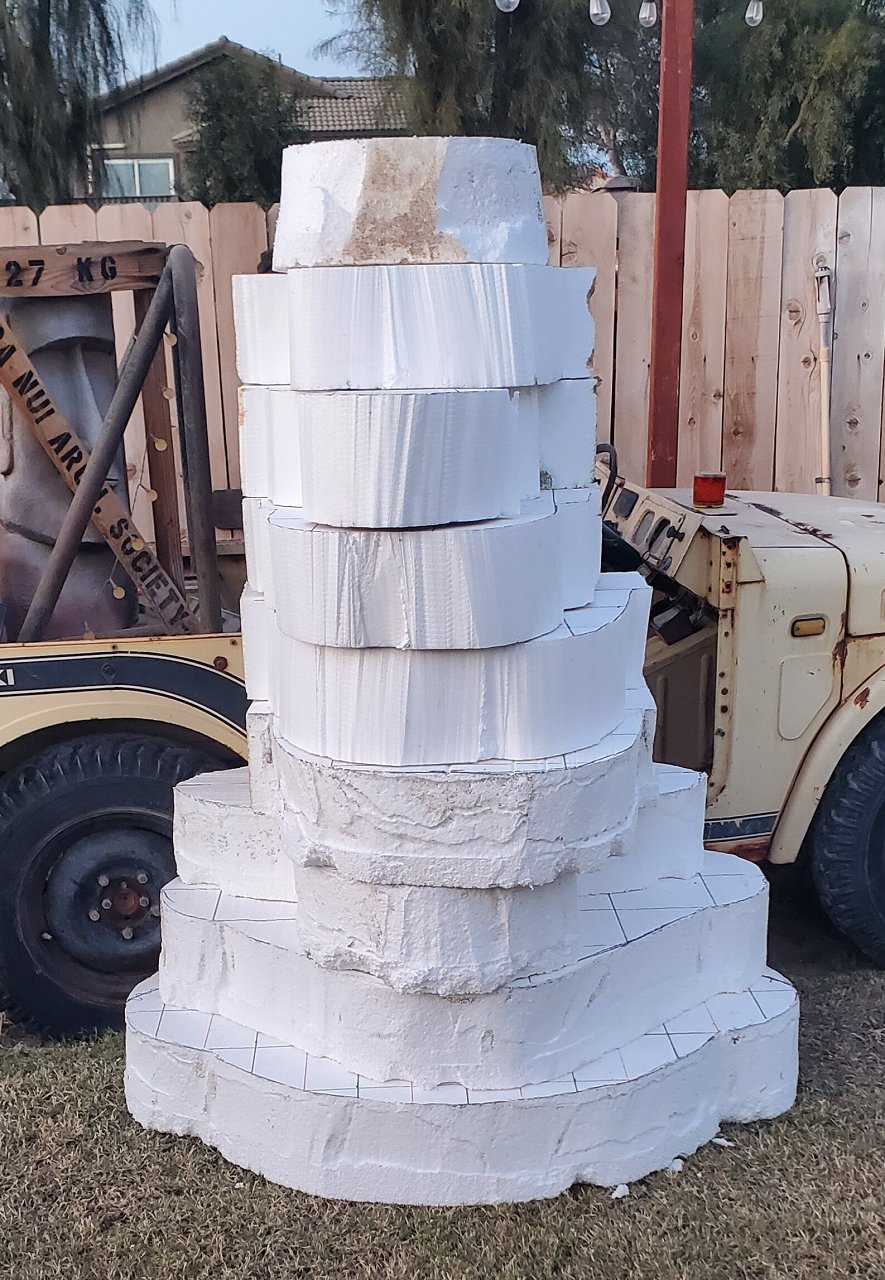
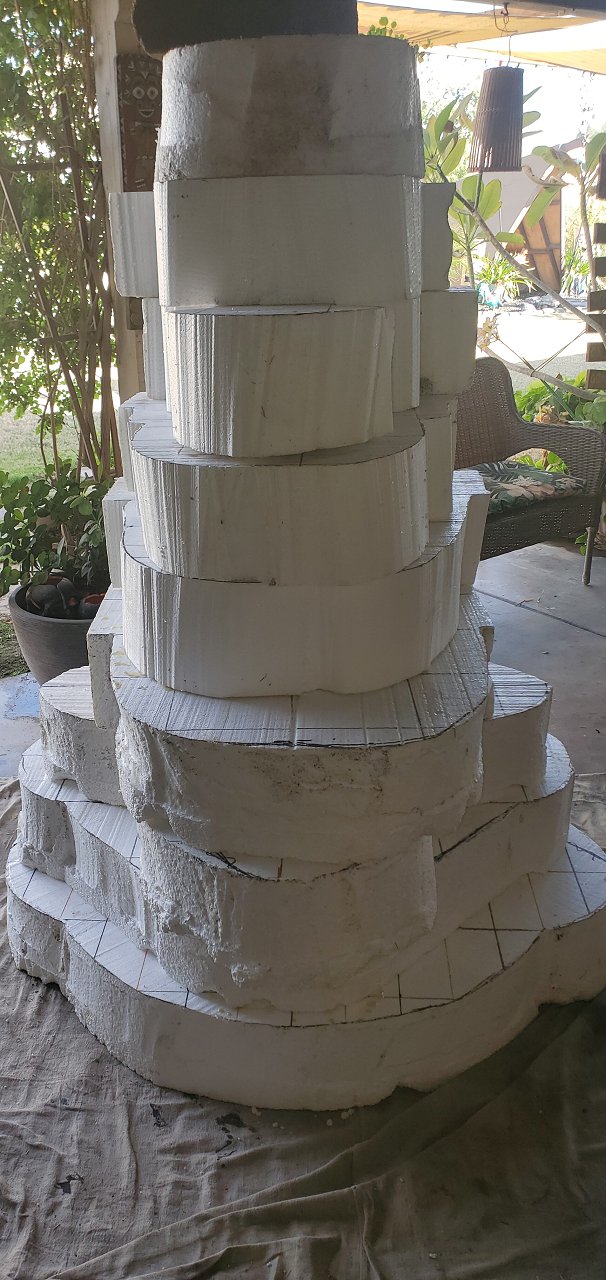
OK, all 9 pieces cut and stacked. Next to glue them all together and start carving. |
|
G
GROG
Posted
posted
on
Thu, Jan 2, 2025 8:55 PM
Be sure and show progress pics. Looking forward to seeing you do this. Good luck. |
|
D
danlovestikis
Posted
posted
on
Fri, Jan 3, 2025 8:25 AM
Wow you are getting to the fun parts. Keeping young through art. |
|
M
MadDogMike
Posted
posted
on
Fri, Jan 3, 2025 10:56 AM
GROG thanks, will do. The foam has accumulated oxidation, grime, and in this case, concrete residue. So I hosed it down with a spray nozzle. Gorilla Glue is a polyurethane that is activated by water and works very well on foam. Their mantra is "damp it and clamp it". So while it was wet, I put Gorilla glue on the pieces, aligned them, and weighted it with a big brick. Here's all 9 pieces glued together. Should be dry tomorrow and I can start carving. [ Edited by MadDogMike on 2025-01-03 10:58:37 ] |
|
M
MadDogMike
Posted
posted
on
Fri, Jan 3, 2025 1:56 PM
Glue dried sooner than I thought so I was able to get a little carving in today |
|
G
GROG
Posted
posted
on
Fri, Jan 3, 2025 9:57 PM
Looks like your homemade heated knife is working good. Keep it up Maddoggy! |
Pages: 1 2 3 4 5 6 7 8 9 10 11 12 13 14 15 16 17 18 19 20 21 22 23 24 25 26 27 28 29 30 31 32 33 34 35 36 37 38 39 40 41 42 43 44 45 46 47 48 49 50 51 52 53 54 55 56 57 58 59 60 61 62 63 64 65 66 67 68 3217 replies

