Pages: 1 2 3 4 5 6 7 8 9 10 11 12 13 14 15 16 17 18 19 20 21 22 23 24 25 26 27 28 29 30 31 32 33 34 35 36 37 38 39 40 41 42 43 44 45 46 47 48 49 50 51 52 53 54 55 56 57 58 59 60 61 62 63 64 65 66 67 68 3,217 replies
|
M
MadDogMike
Posted
posted
on
Tue, Nov 1, 2022 8:56 AM
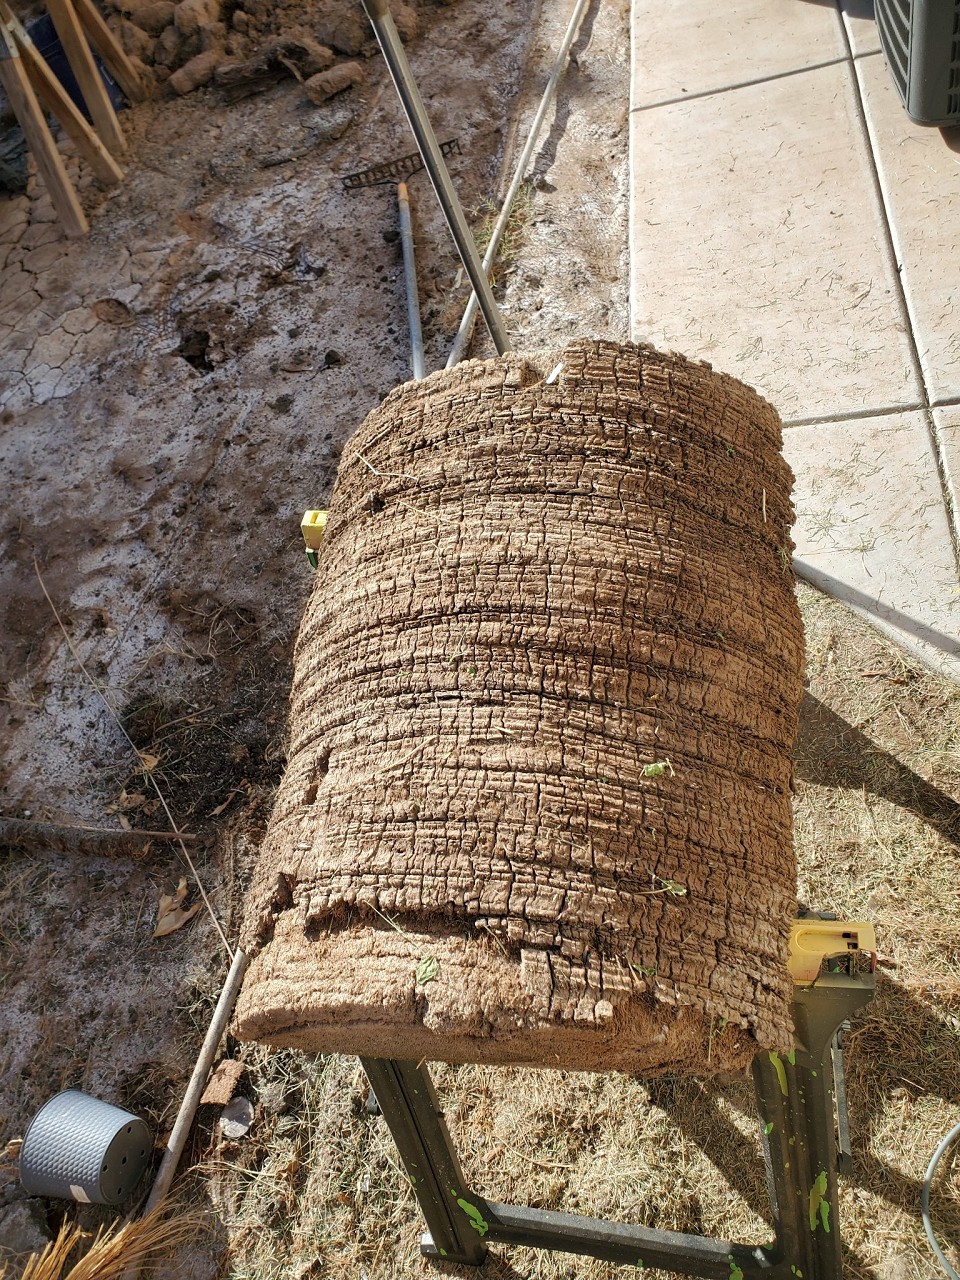
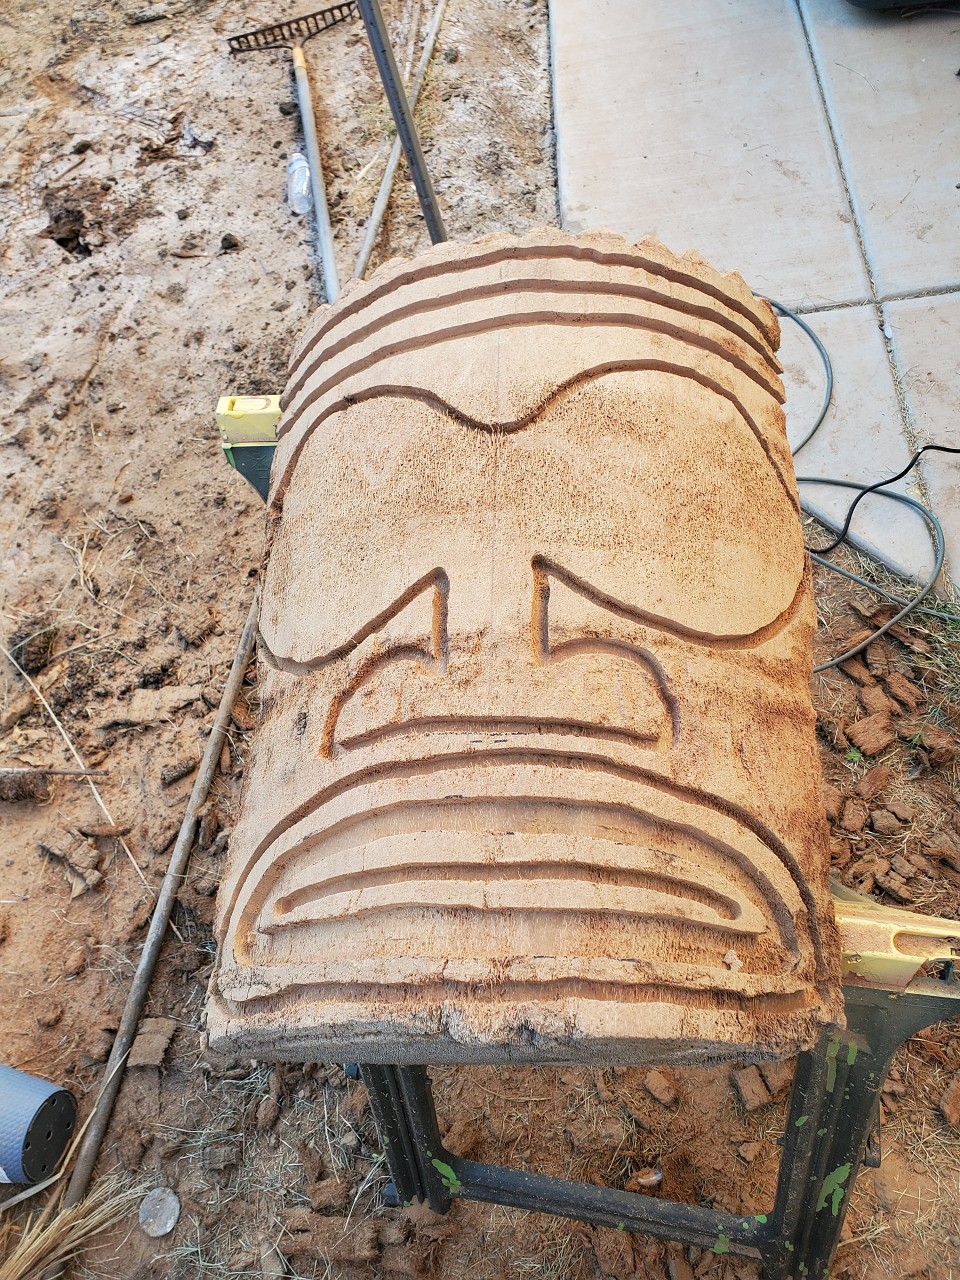
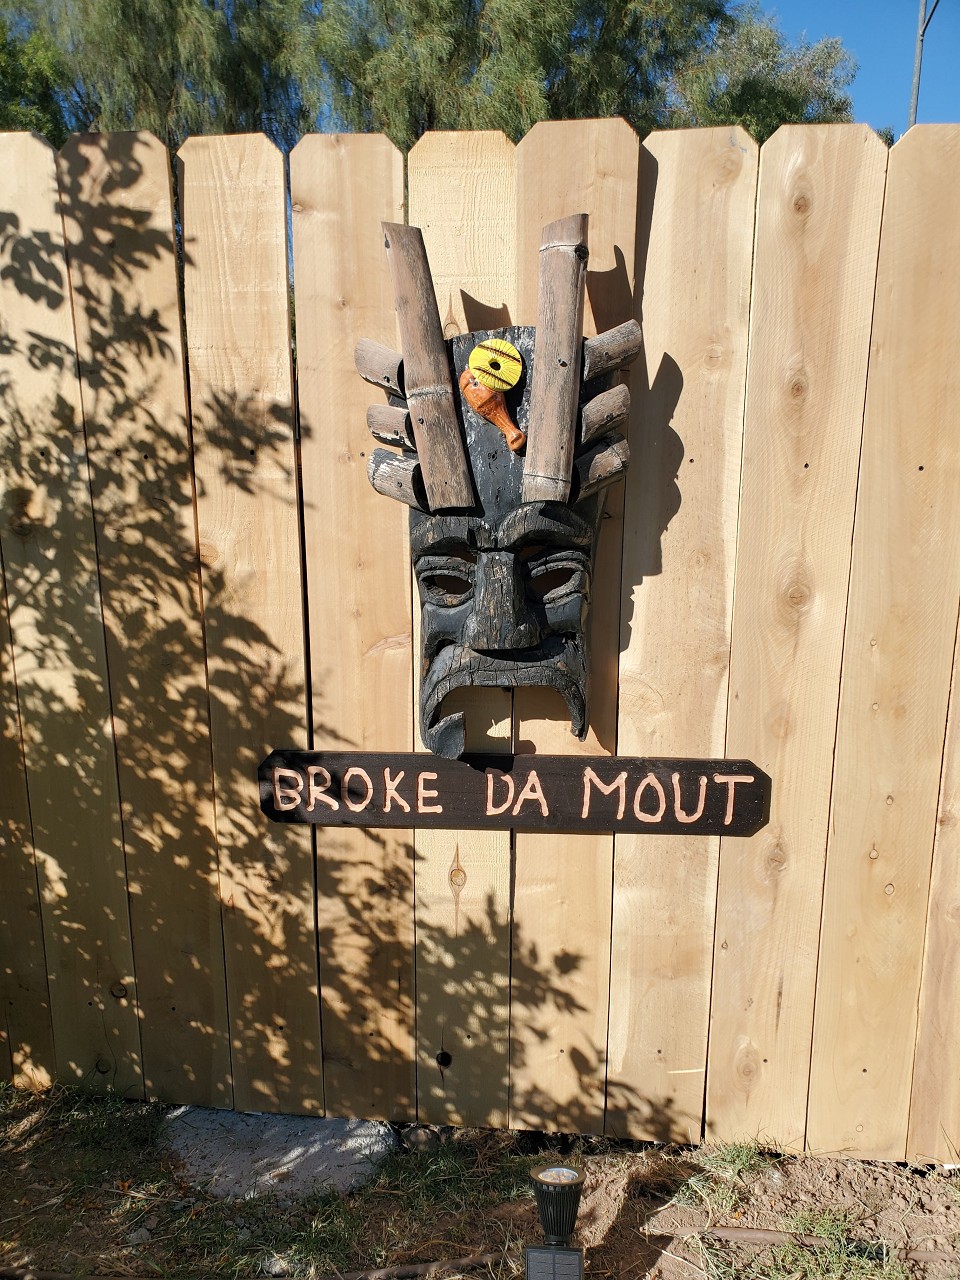
One of the things I like about Tiki Central is that I have my own little corner here, I can post whatever I want without bothering anyone. I like to post progress shots. If anyone is interested they can check it out, if they are not interested they can skip it. I hung my Broke da Mout mask on the fence and I have a blank spot on the fence that could take another similar sized mask. I've had this piece of palm laying around for some time, thought I'd give it a shot. About 28x24x6 inches.
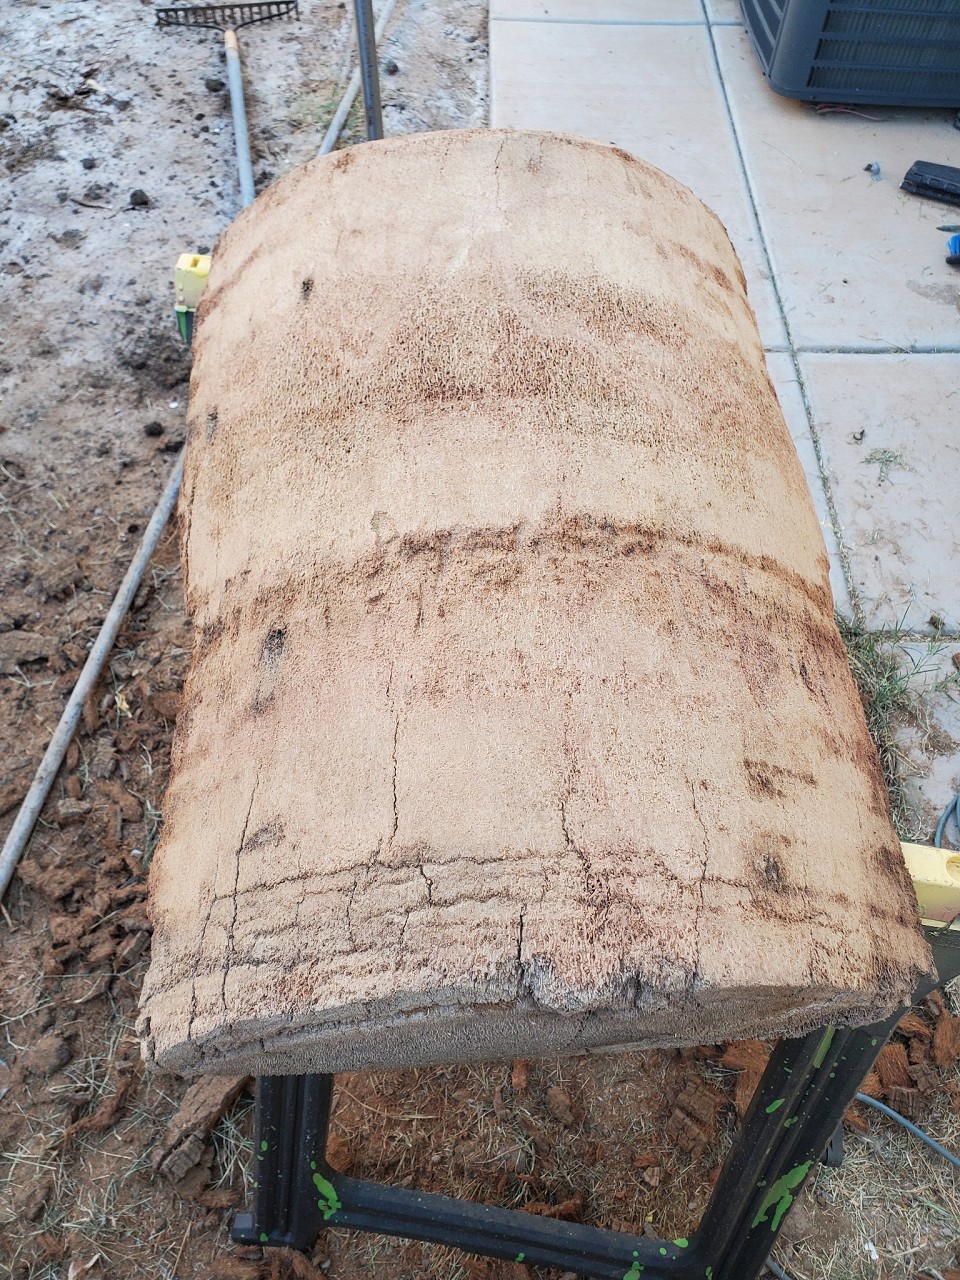
I cleaned off the bark with the back of a claw hammer and a handheld electric planer
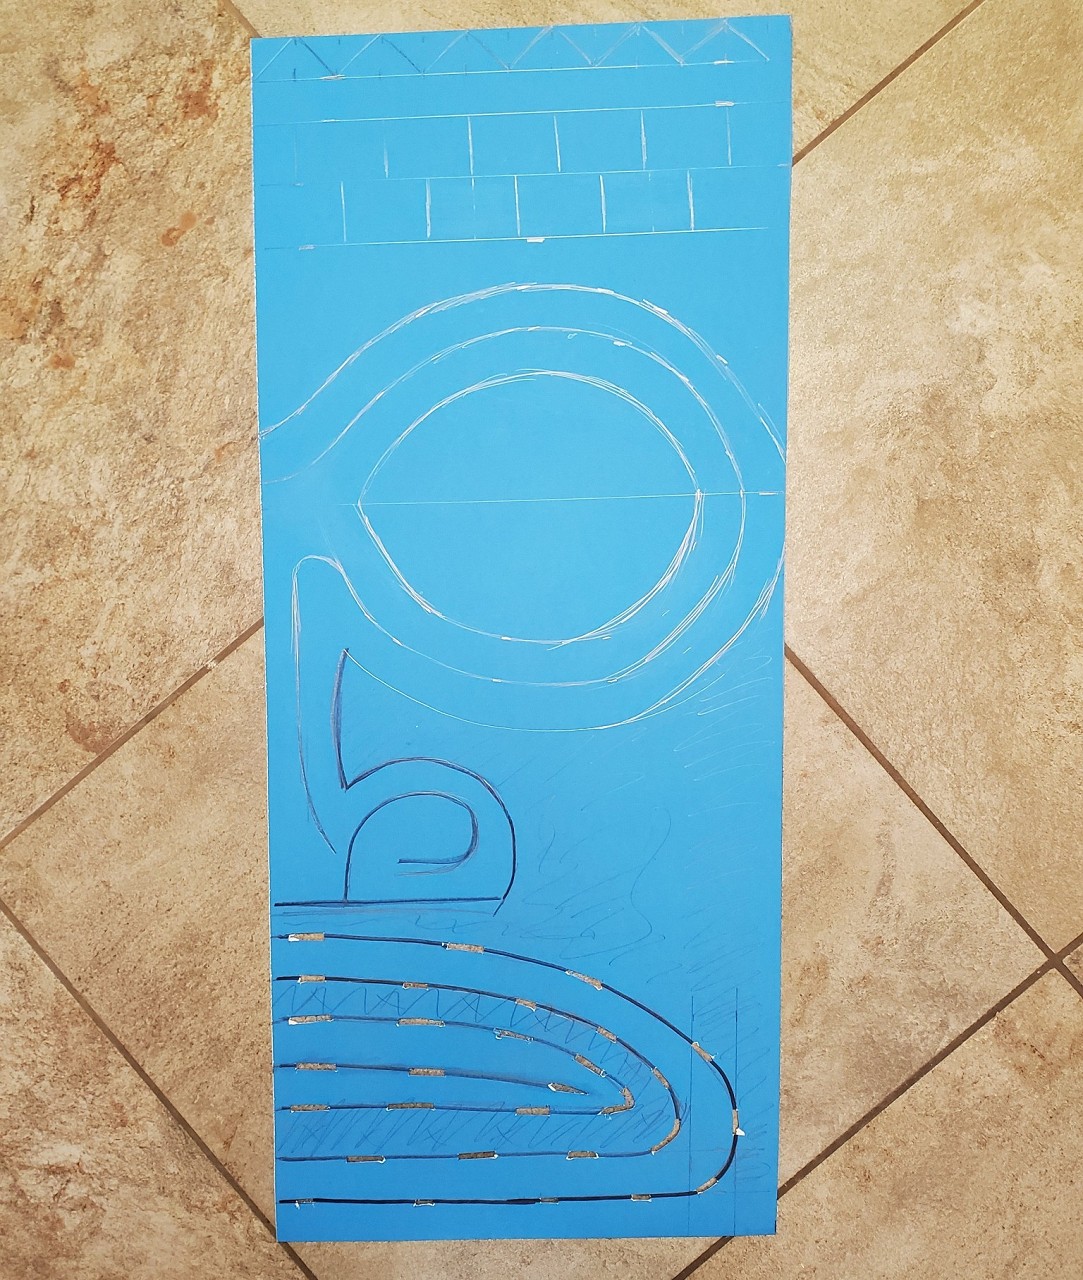
I'm working on a Marquesan inspired template so I can trace both sides and get it symmetrical
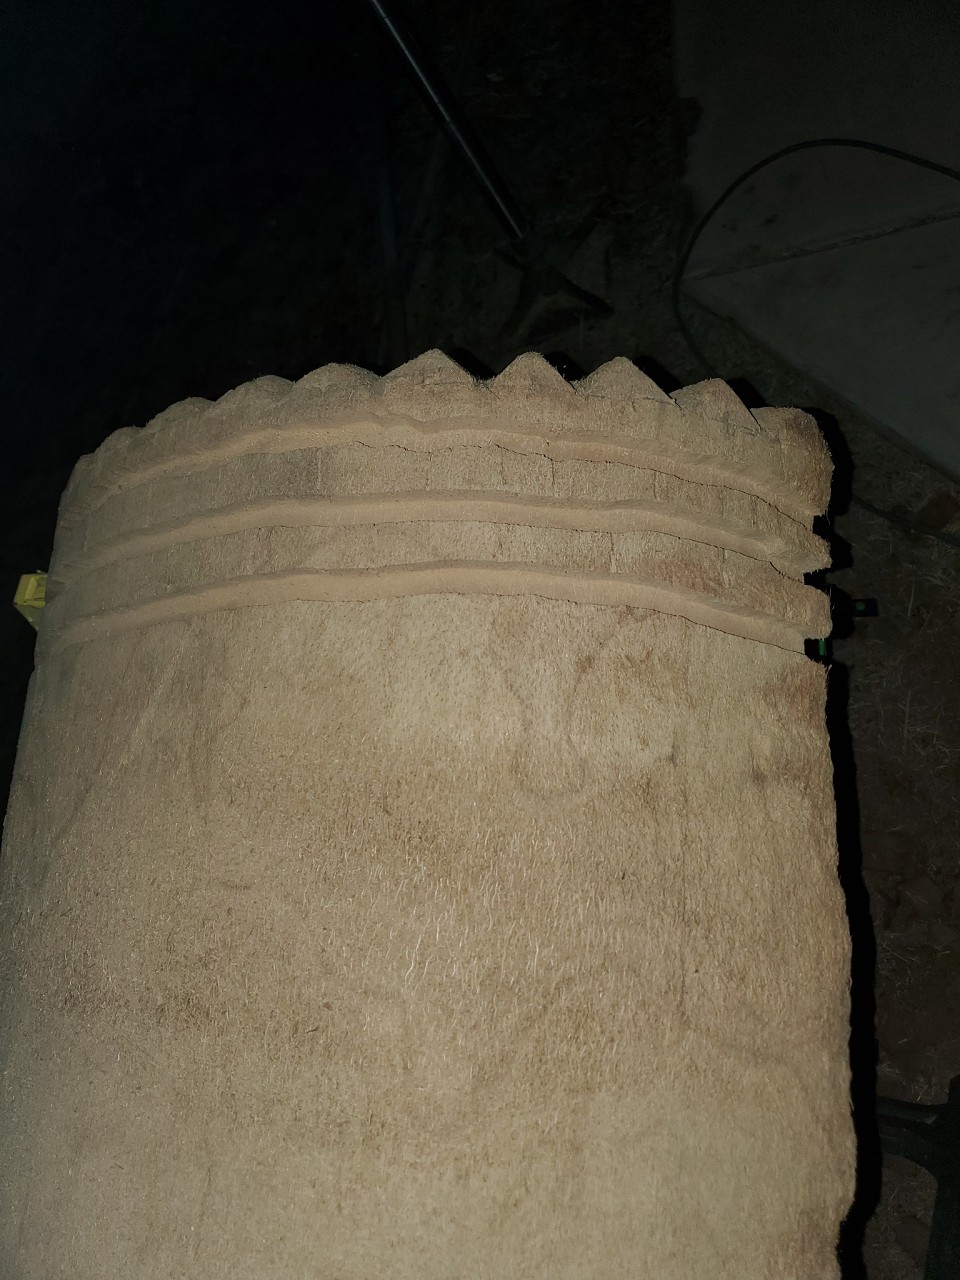
Then started at it with a saw and a handheld mini router
We'll see how it goes [ Edited by MadDogMike on 2022-11-01 08:58:13 ] |
|
H

hang10tiki
Posted
posted
on
Tue, Nov 1, 2022 9:13 PM
Wait no clay, paint, paper, or rope? Wood!!!! GO MIKE GO |
|
M
MadDogMike
Posted
posted
on
Wed, Nov 2, 2022 9:11 AM
in reply to hang10tiki
LOL Well Jon it's KINDA wood. It's pretty soft. A little work this morning but the rest of the day is committed to other things :(
|
|
WC
Will carve
Posted
posted
on
Wed, Nov 2, 2022 11:26 AM
I started from the bottom up. I said to myself, (since no one else is here). "That's palm". Well I come to see even MDM is going Marcrazean. Is there a vax for that. But good idea, a template. I use them all the time. That's a monster palm, BTW. An angle grinder cleans them off good too. Will |
|
M
MadDogMike
Posted
posted
on
Thu, Nov 3, 2022 1:10 PM
in reply to Will carve
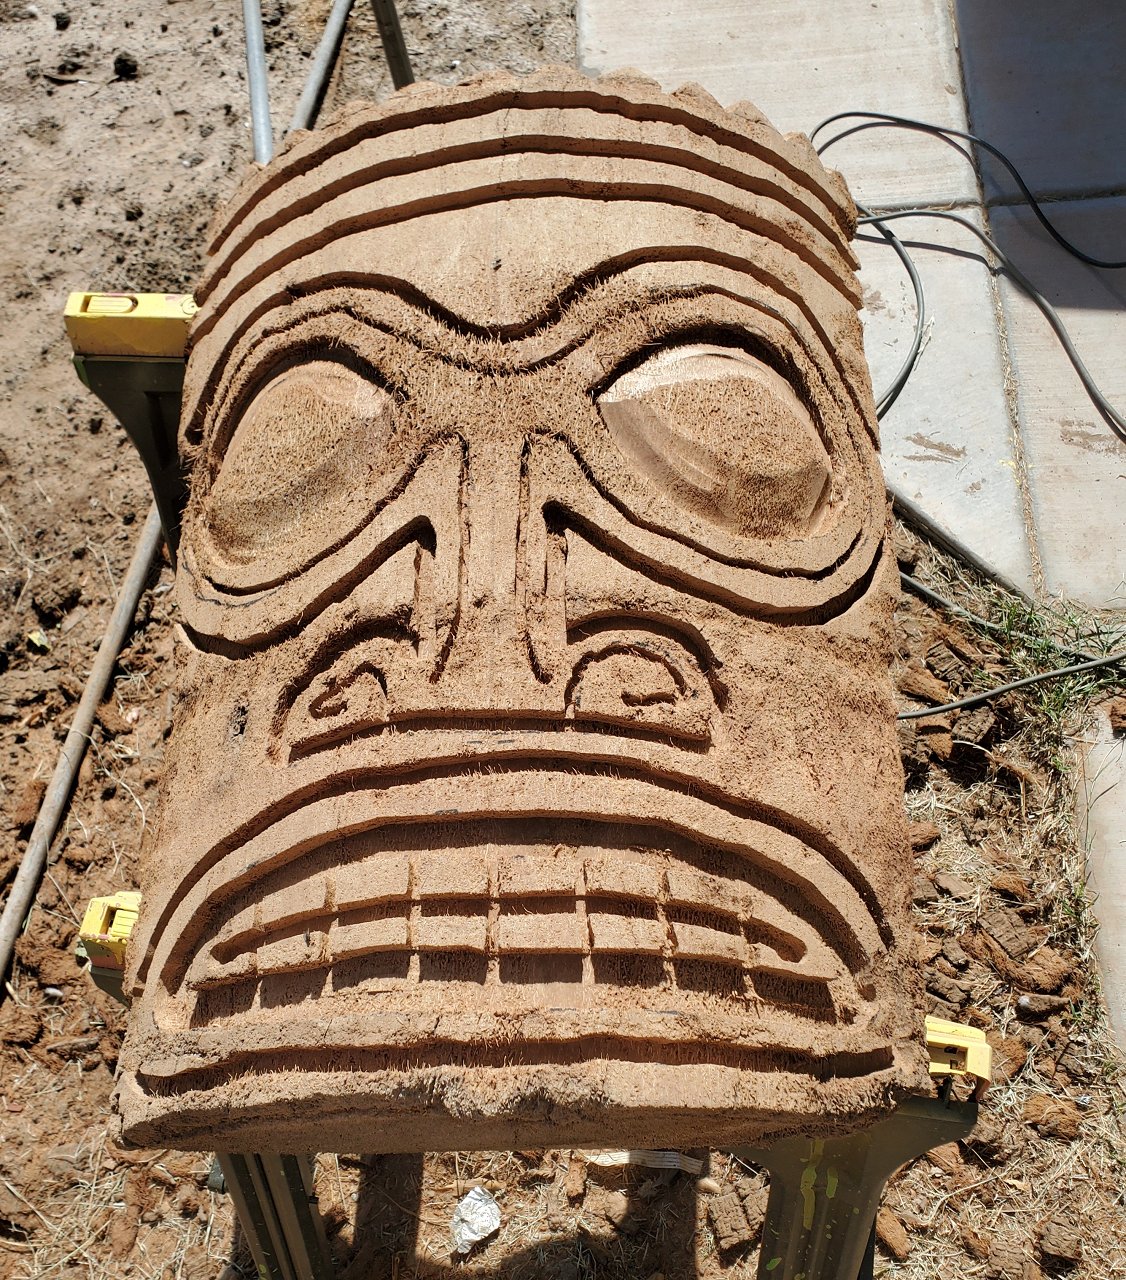
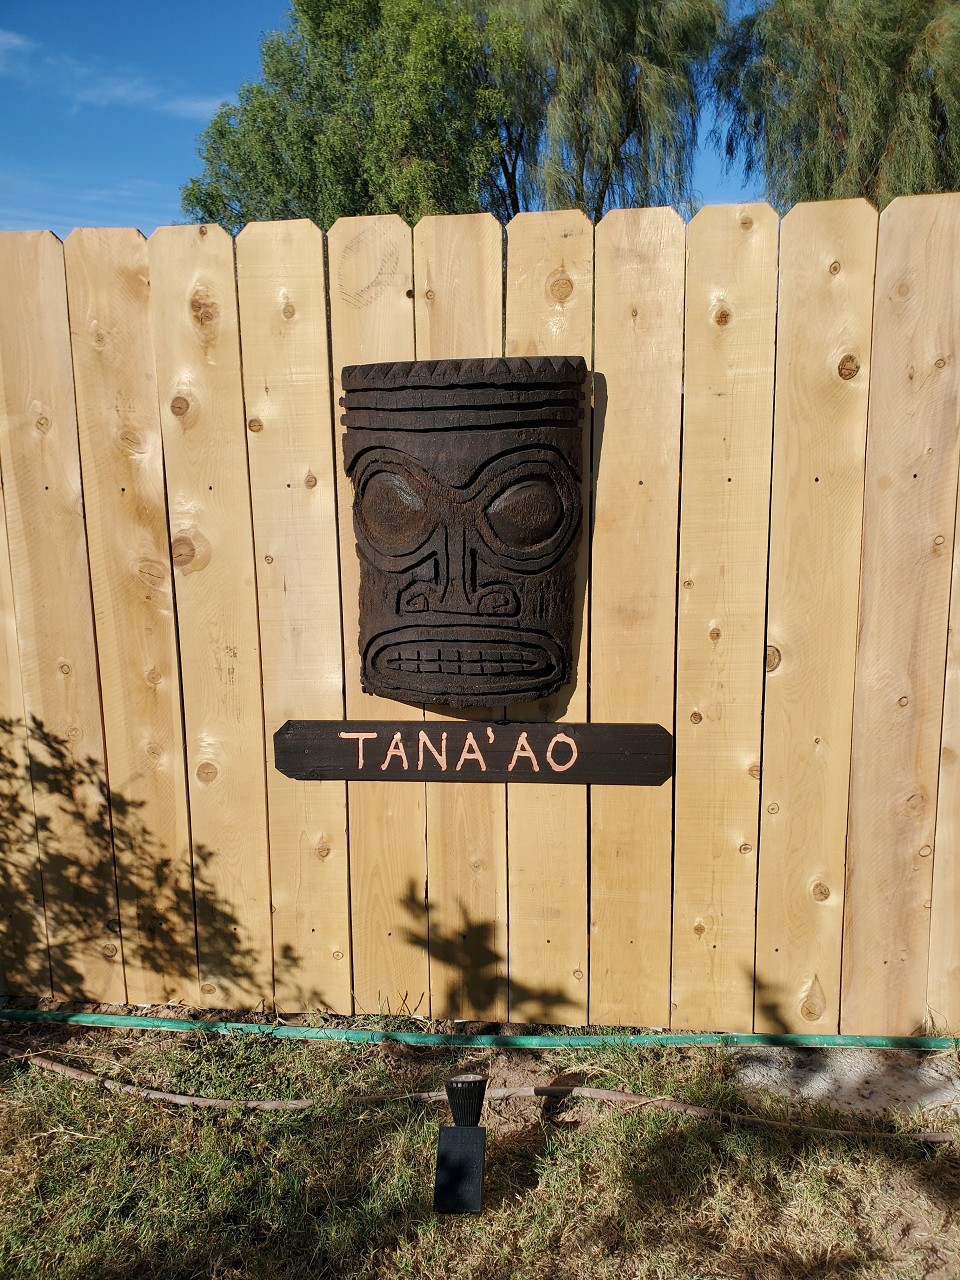
Will good to know about the angle grinder, I tried it on the eyes and it worked well. I'm glad you use templates too, I was afraid that was a rookie move LOL Yes that is a decent sized piece of wood, it cam off af a 24 inch daimeter log. Carving done. A bit fibrous in a few places but I don't think I can fix that?
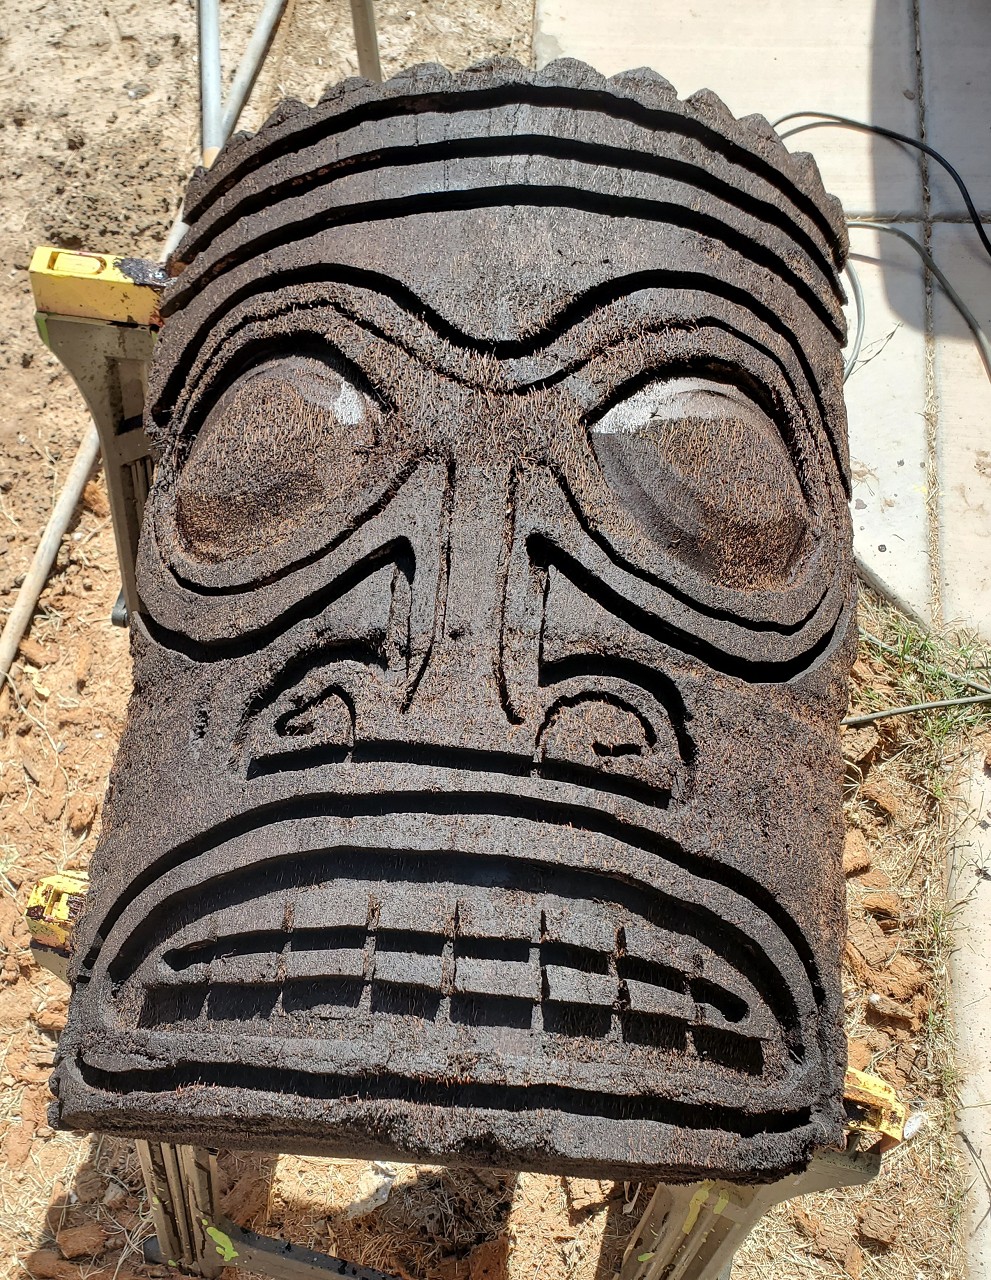
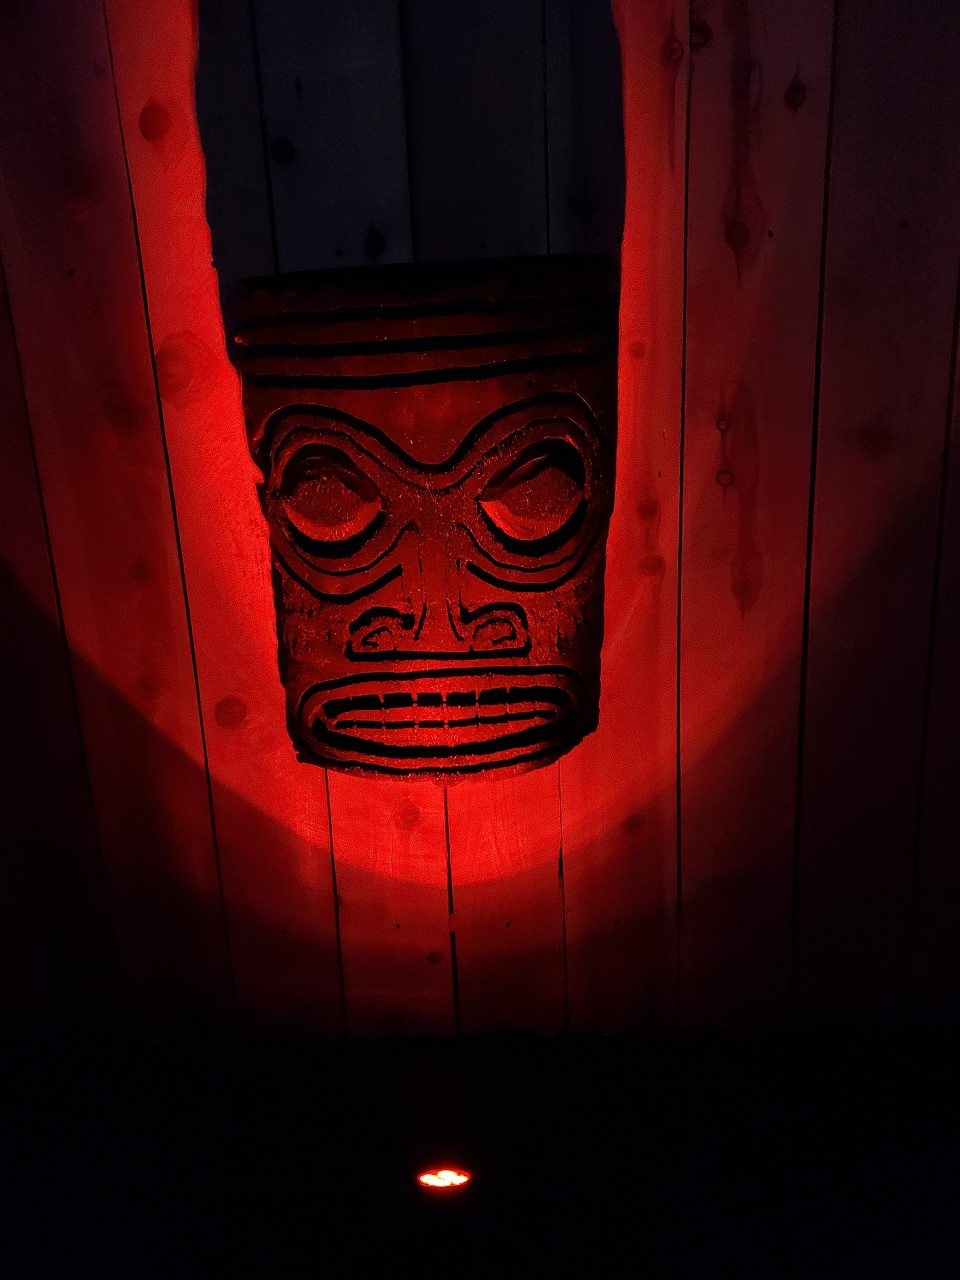
Stained dark brown to go against a light colored fence. Now to figure out how to hang it on that fence
|
|
H

Hamo
Posted
posted
on
Thu, Nov 3, 2022 9:05 PM
I like checking out your little corner here, Mike. Very nice. |
|
M
MadDogMike
Posted
posted
on
Thu, Nov 3, 2022 9:40 PM
in reply to Hamo
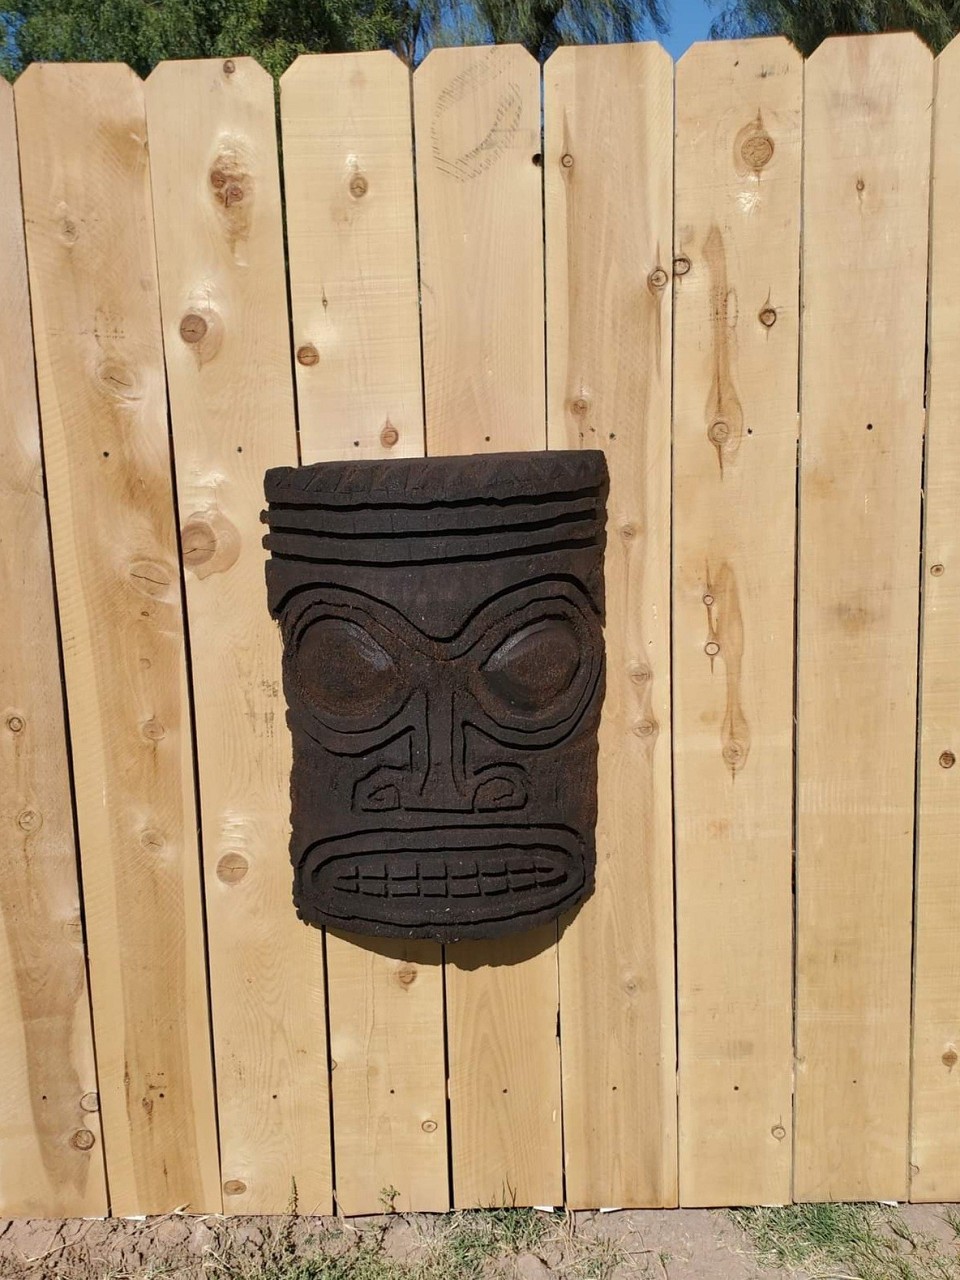
Thank you Hamo Done and dusted, hung up on the fence
|
|
M
MaukaHale
Posted
posted
on
Thu, Nov 3, 2022 11:54 PM
I like the lighting and the mask. |
|
M

maulrat
Posted
posted
on
Sat, Nov 5, 2022 7:31 PM
in reply to MadDogMike
Beautiful work!! |
|
D
danlovestikis
Posted
posted
on
Sat, Nov 5, 2022 9:12 PM
Ohhhhhhh the light really is fun. Great carving MDM! |
|
M
MadDogMike
Posted
posted
on
Sun, Nov 6, 2022 7:20 PM
MaukaHale, MaulRay, and Wendy thank you very much. Quick and easy project, I may have to do another one! |
|
M
MadDogMike
Posted
posted
on
Wed, Nov 9, 2022 8:04 AM
Done with masks, signs, and new fence
|
|
D
danlovestikis
Posted
posted
on
Wed, Nov 9, 2022 8:34 AM
Did he break da mouth on a chicken bone? Pour Guy. |
|
M
MadDogMike
Posted
posted
on
Thu, Nov 10, 2022 3:33 PM
in reply to danlovestikis
Probably broke his mouth on that ceramic chicken leg and pineapple LOL He was broken when I picked him up at an estate sale. I named him after the Hawaiian slang "Broke da mout" meaning something taste so good that you couldn't even speak when you took a bite LOL |
|
H

hang10tiki
Posted
posted
on
Thu, Nov 10, 2022 8:17 PM
Lookin good Mike |
|
M
MadDogMike
Posted
posted
on
Sun, Nov 13, 2022 9:19 AM
in reply to hang10tiki
Thank you sir :D |
|
OGR

Or Got Rum?
Posted
posted
on
Mon, Nov 14, 2022 9:12 AM
Nice work MDM...We know he didn't break it on Lobster. |
|
M
MadDogMike
Posted
posted
on
Mon, Nov 14, 2022 1:48 PM
in reply to Or Got Rum?
Got that right LOL |
|
M
MadDogMike
Posted
posted
on
Thu, Nov 17, 2022 10:53 PM
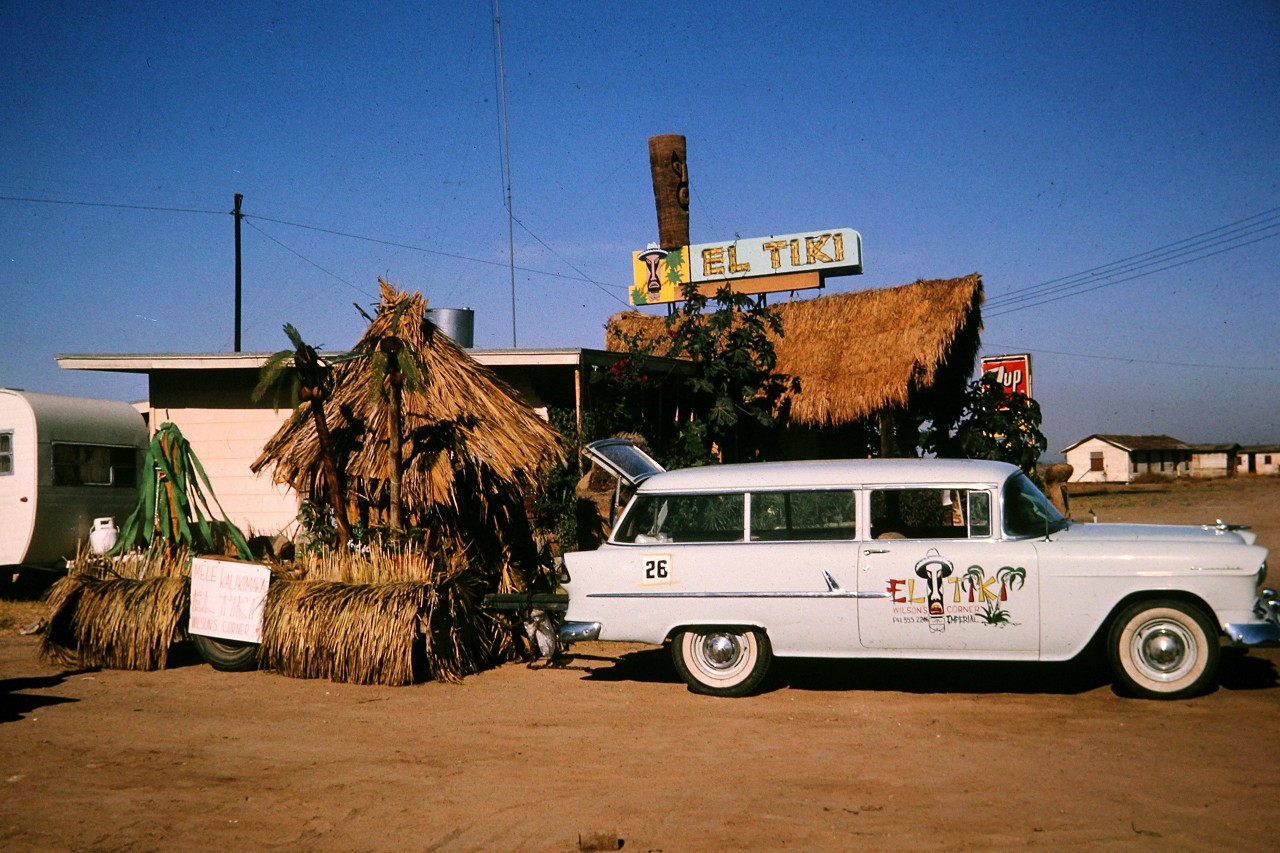
New Project. WestADad did a faux neon sign a few years back using Electroluminescent Wire (EL Wire) and I've wanted to give that a try. My wife's dad owned a Mexican/Tiki restaurant called El Tiki in the 1960s and 70s. Here is an early pic of the restaurant, I like that neon sign on top
The design has some weird edges, maybe that was to hide the supports or the electrical transformer inside? So I cleaned it up a bit while keeping the same general elements
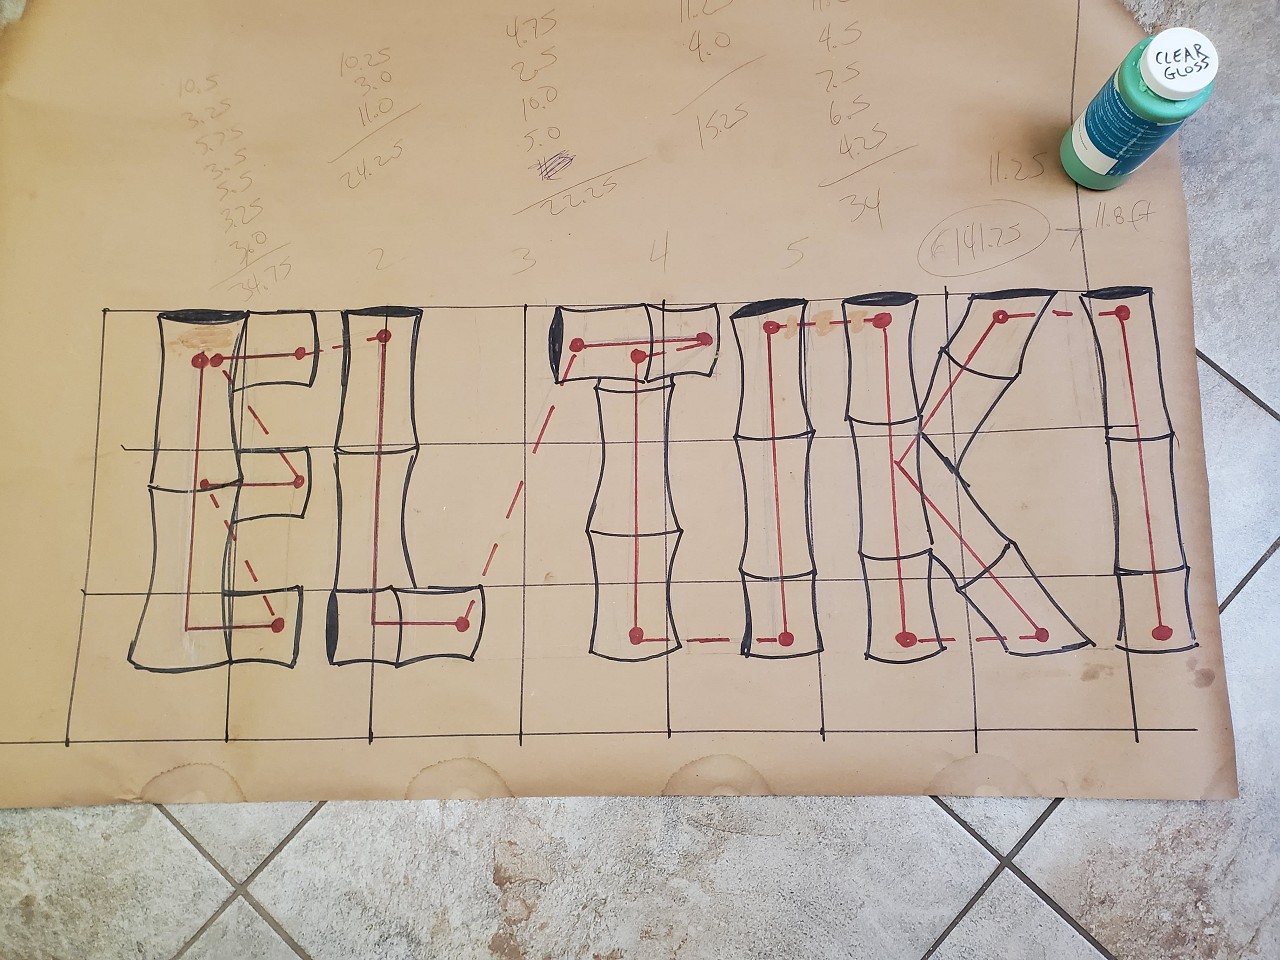
The plan is to cut the board, drill some holes, paint it, and run the EL Wire. Here is the lettering plan, will need about 11 feet of yellow EL Wire which I have ordered from Amazon
I'll keep you posted on progress [ Edited by MadDogMike on 2022-11-17 22:53:43 ] |
|
M
MrBaliHai
Posted
posted
on
Fri, Nov 18, 2022 7:07 AM
in reply to MadDogMike
Nice! Whatever happened to the original sign? I read through your earlier thread on the El Tiki, but it doesn't mention the sign's fate. |
|
M
MadDogMike
Posted
posted
on
Fri, Nov 18, 2022 7:22 AM
in reply to MrBaliHai
MrBaliHai, I don't know! In fact I don't remember that sign. I grew up half a mile from the restaurant, it opened when I was about 4. My wife lived next to the restaurant and doesn't remember the sign either. I suspect it didn't last long. Top heavy with that Tiki, I'm thinking it blew over. |
|
M
MrBaliHai
Posted
posted
on
Fri, Nov 18, 2022 7:38 AM
Might be time for a midnight trip to the Imperial landfill with a front loader...;-) |
|
OGR

Or Got Rum?
Posted
posted
on
Fri, Nov 18, 2022 8:12 AM
Yes, find the Sweet Neon relic and that sweet 1955 Chevy Wagon...wowzer. |
|
M
MadDogMike
Posted
posted
on
Fri, Nov 18, 2022 8:24 AM
MrBaliHai - LOL The family still owns the property and my father in law Ben was a pack rat who never threw ANYTHING away :) That sign may still be out there someplace. My brother in law may know what happened to it, I'll ask him. Unfortunately even if I found it, restoring it would be cost prohibitive :( OGR - That is a sweet ride! Funny thing is that wagon was probably less than 10 years old when that picture was taken. Of course my wife has a nostalgic sweet-spot for anything related to the restaurant. Maybe I can convince her to let me buy a Chevy wagon and paint it like that? :D |
|
T
tikiskip
Posted
posted
on
Fri, Nov 18, 2022 4:04 PM
Ok Mike I don't know why nobody has said this before BUT that pelican that is on what you called the gift shop that never was a gift shop, well it looks a lot like the pelican that was on the front roof of the Kahiki. And who the heck puts a Pelican on the roof anyway let alone two places with a Pelican in the same spot? Kinda makes you think. Now Bill said, "we went to Mexico to get a lot of the decor for the Kahiki" AND the two places opened up right around the same time. They could have also drove by this guy making tikis. Did he carve that Pelican on the gift shop? Where is that Pelican now? The one from the Kahiki is I guess in the pile of tiki that Greg and Mellissa bought. Damn I wish I had taken a photo of Lees desk when I had the chance. Wow it would be so cool to find out if there was any link to the two places. |
|
M
MadDogMike
Posted
posted
on
Fri, Nov 18, 2022 8:12 PM
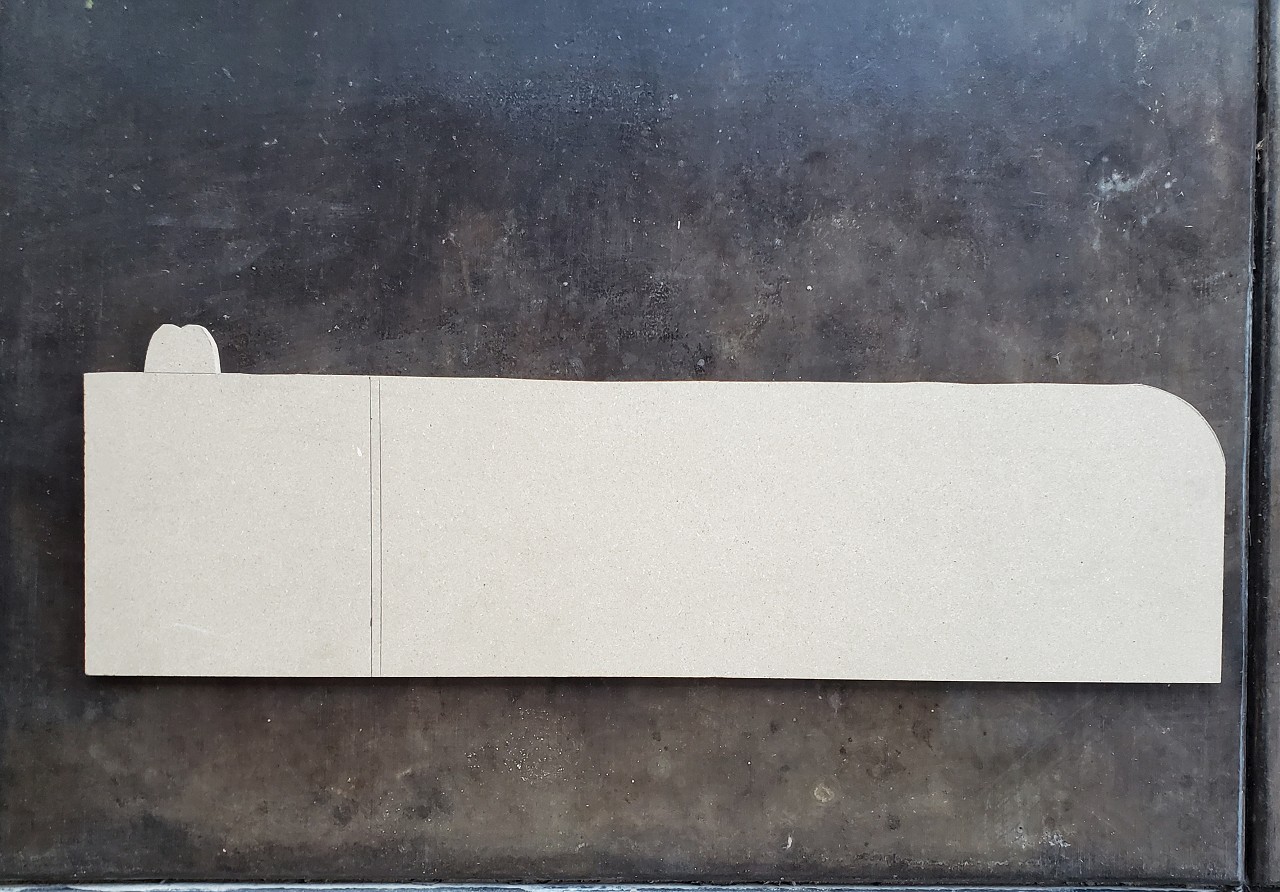
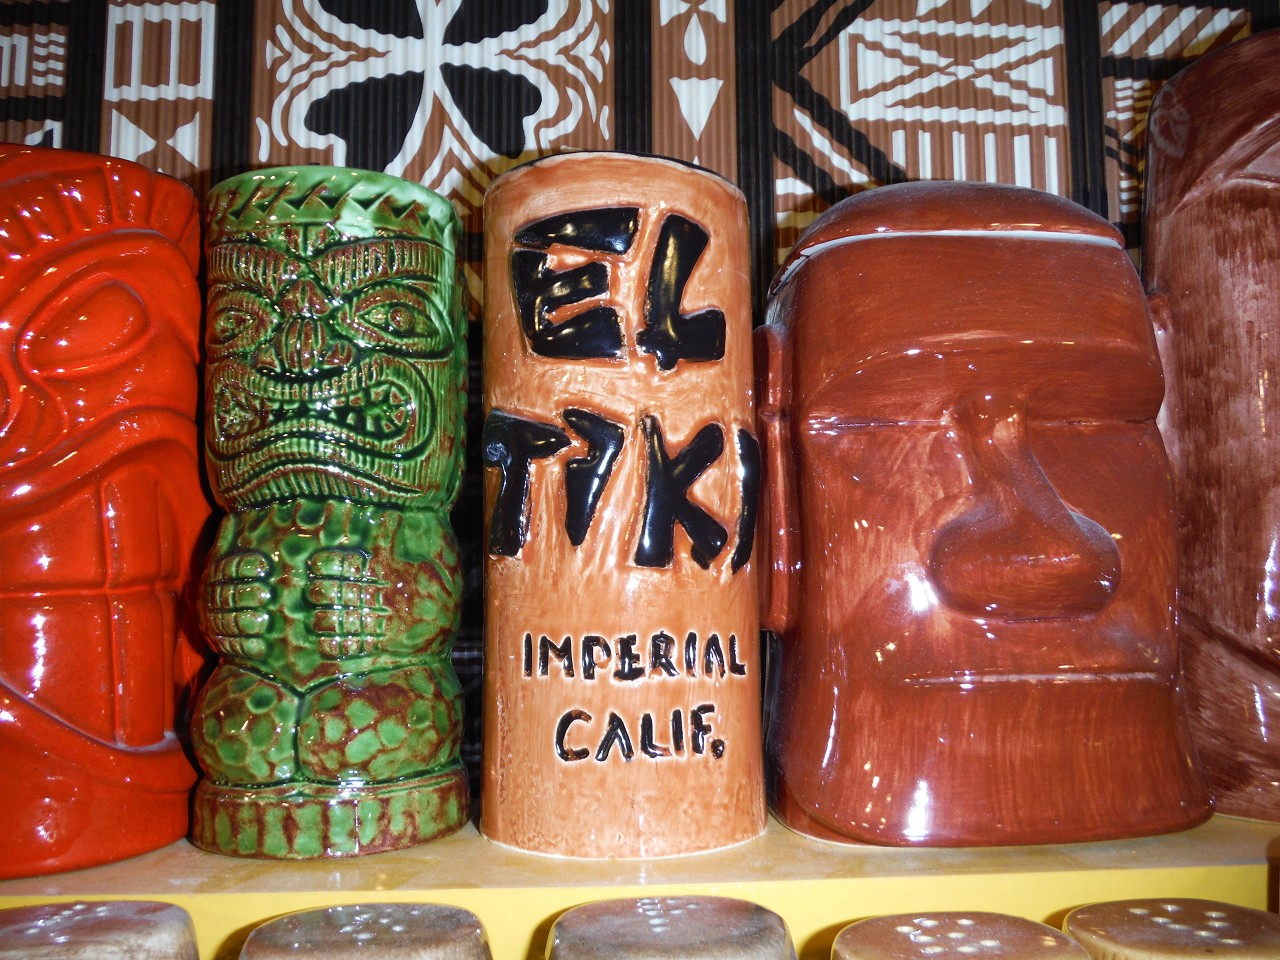
MrBaliHai I checked with my brother in law about the sign. He has lived on the property off and on for all of his life (55 years) and has never seen that sign. It is long gone. TikiSkip, that gift shop that never became a gift shop wasn't built until the 90s so there probably isnt a tie between the 2 birds. My father in law has been gone for a couple years so there is no way to ask. But my brother-in-law says that his dad came up with the idea but the inspiration is unknown. That hut has been turned into an apartment and someone lives there. The bird is still flying high in the same place. As far as a shared Mexico connection, I think it's unlikely. We are above the Sea of Cortez side of Baja. Pretty sparcely populated and pretty far from Ohio. Sign progress - I got the base cut out but realized I drew the letters out too big. Off to the copy shop in the morning to shrink my layout
|
|
M
MadDogMike
Posted
posted
on
Sat, Nov 19, 2022 9:44 PM
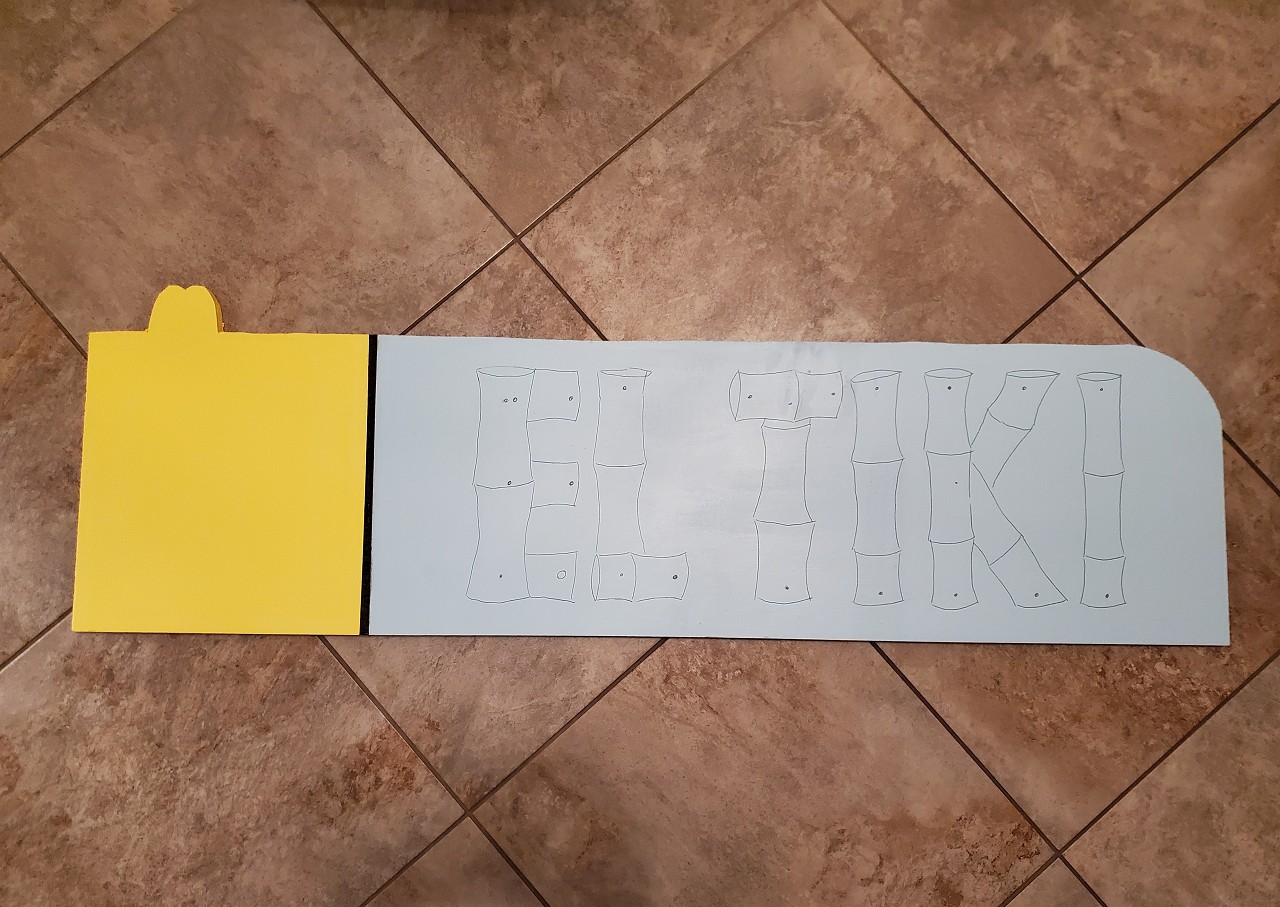
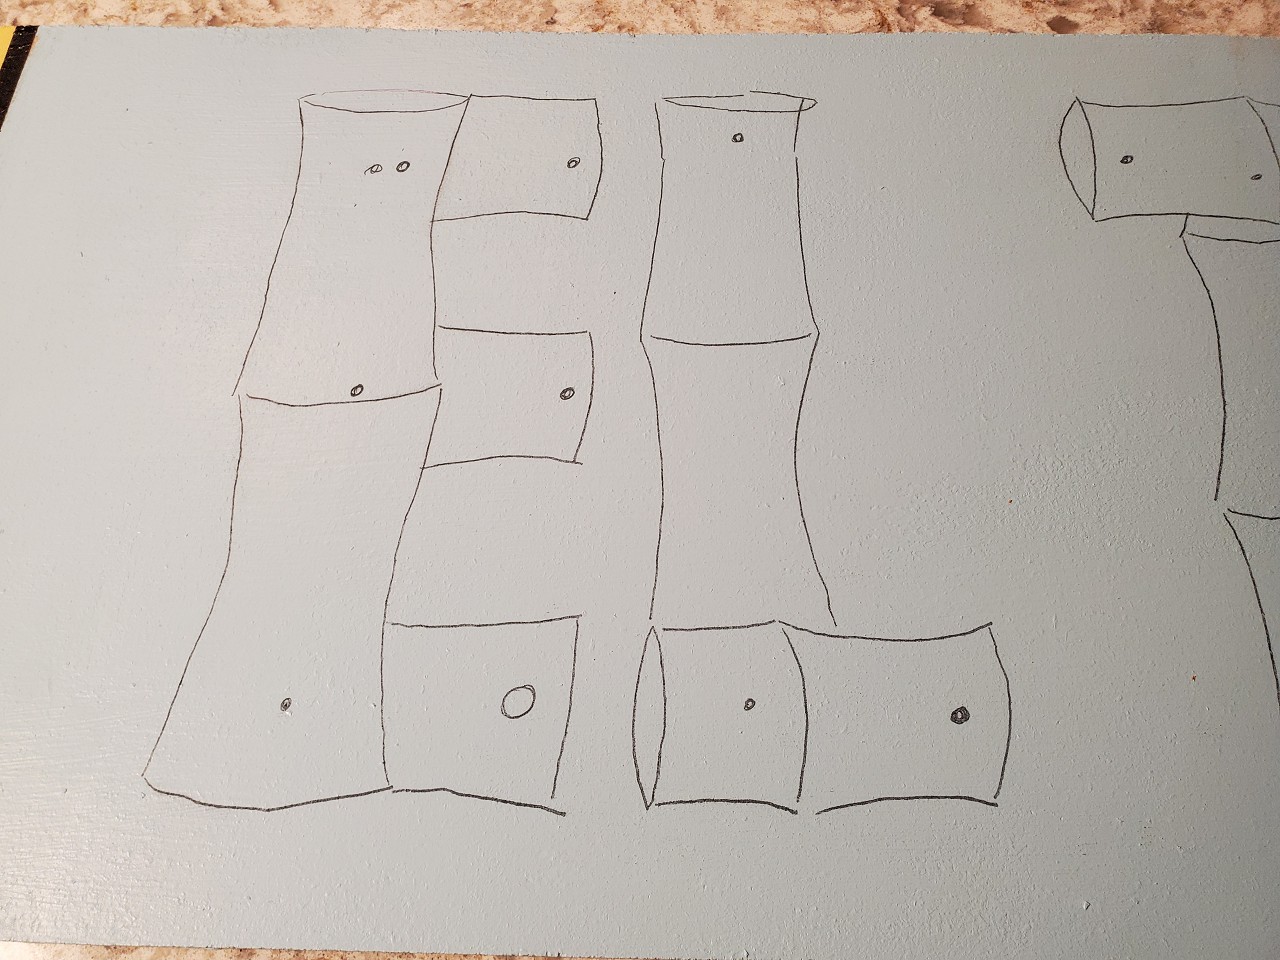
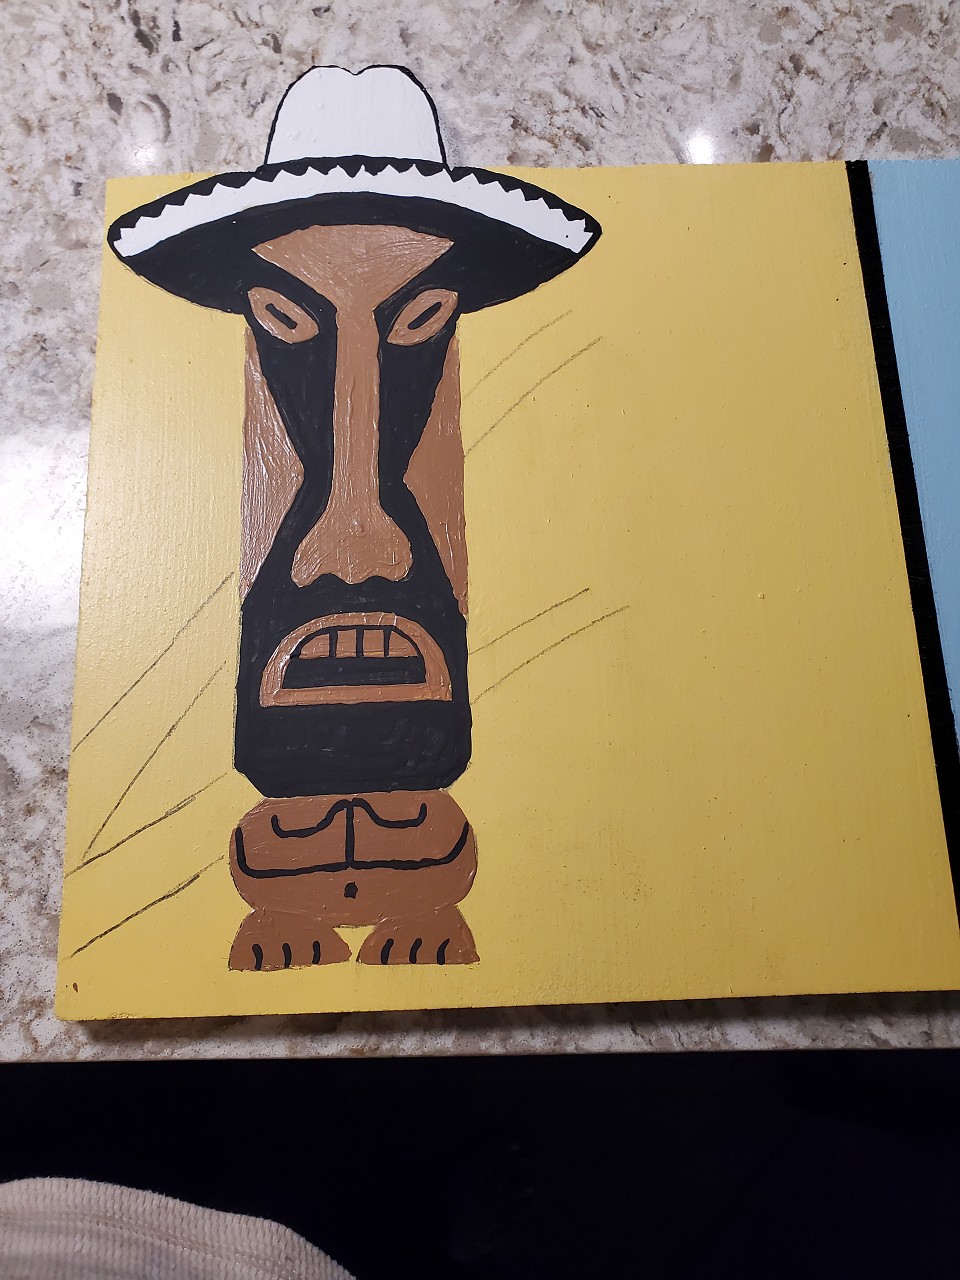
Today's progress - painted my sign background, traced out the letters, marked out placent for the tubing holes. Now I have to wait for my EL Wire to arrive Tuesday
[ Edited by MadDogMike on 2022-11-19 21:46:36 ] |
|
M
MadDogMike
Posted
posted
on
Sun, Nov 20, 2022 2:05 PM
|
|
OGR

Or Got Rum?
Posted
posted
on
Sun, Nov 20, 2022 4:36 PM
Great so Far Mike! |
|
M
MadDogMike
Posted
posted
on
Sun, Nov 20, 2022 7:44 PM
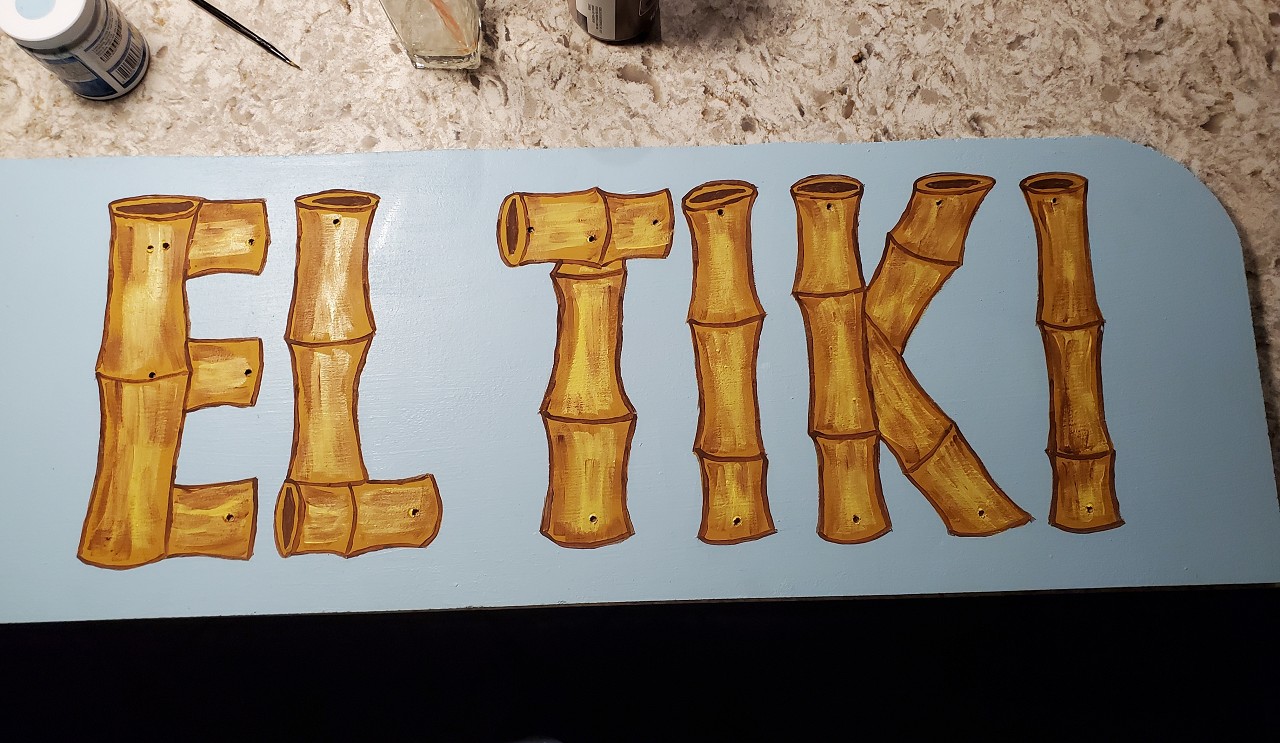
I'm not much of a painter but I'm happy with the way these letters turned out.
|
|
M
MadDogMike
Posted
posted
on
Sun, Nov 20, 2022 7:51 PM
in reply to Or Got Rum?
Thank you OGR! |
|
M
MadDogMike
Posted
posted
on
Mon, Nov 21, 2022 8:02 AM
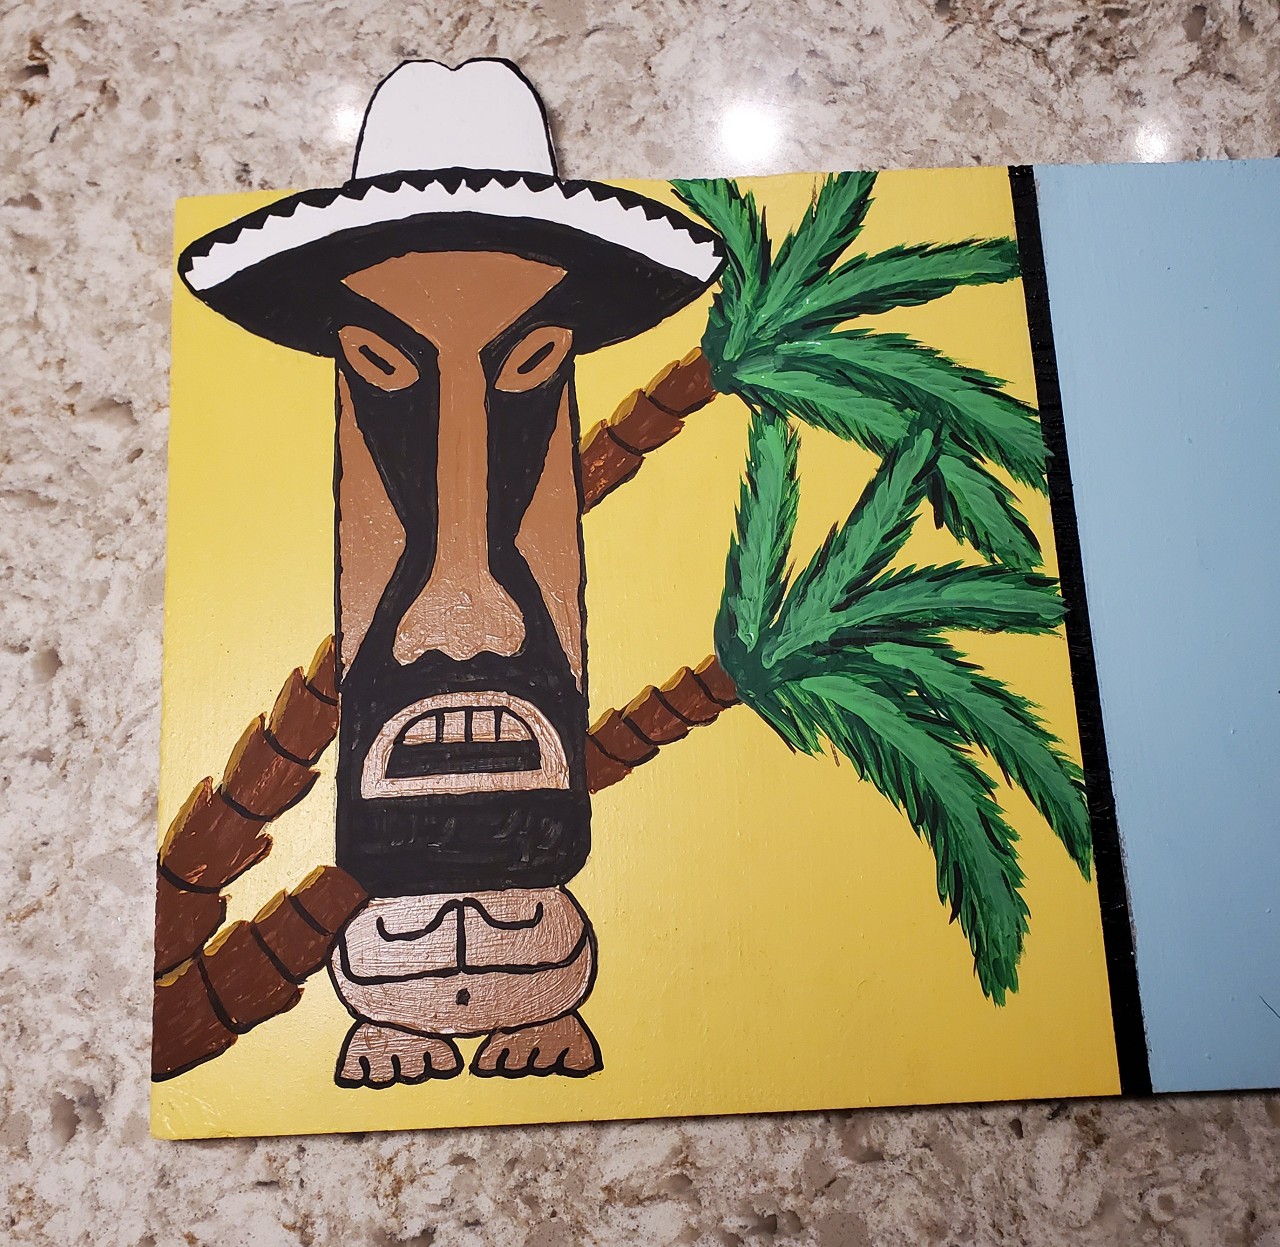
Not as thrilled with the palm trees but they will do. Will work on getting it hung up, EL Wire comes tomorrow!
|
|
M
MadDogMike
Posted
posted
on
Mon, Nov 21, 2022 1:05 PM
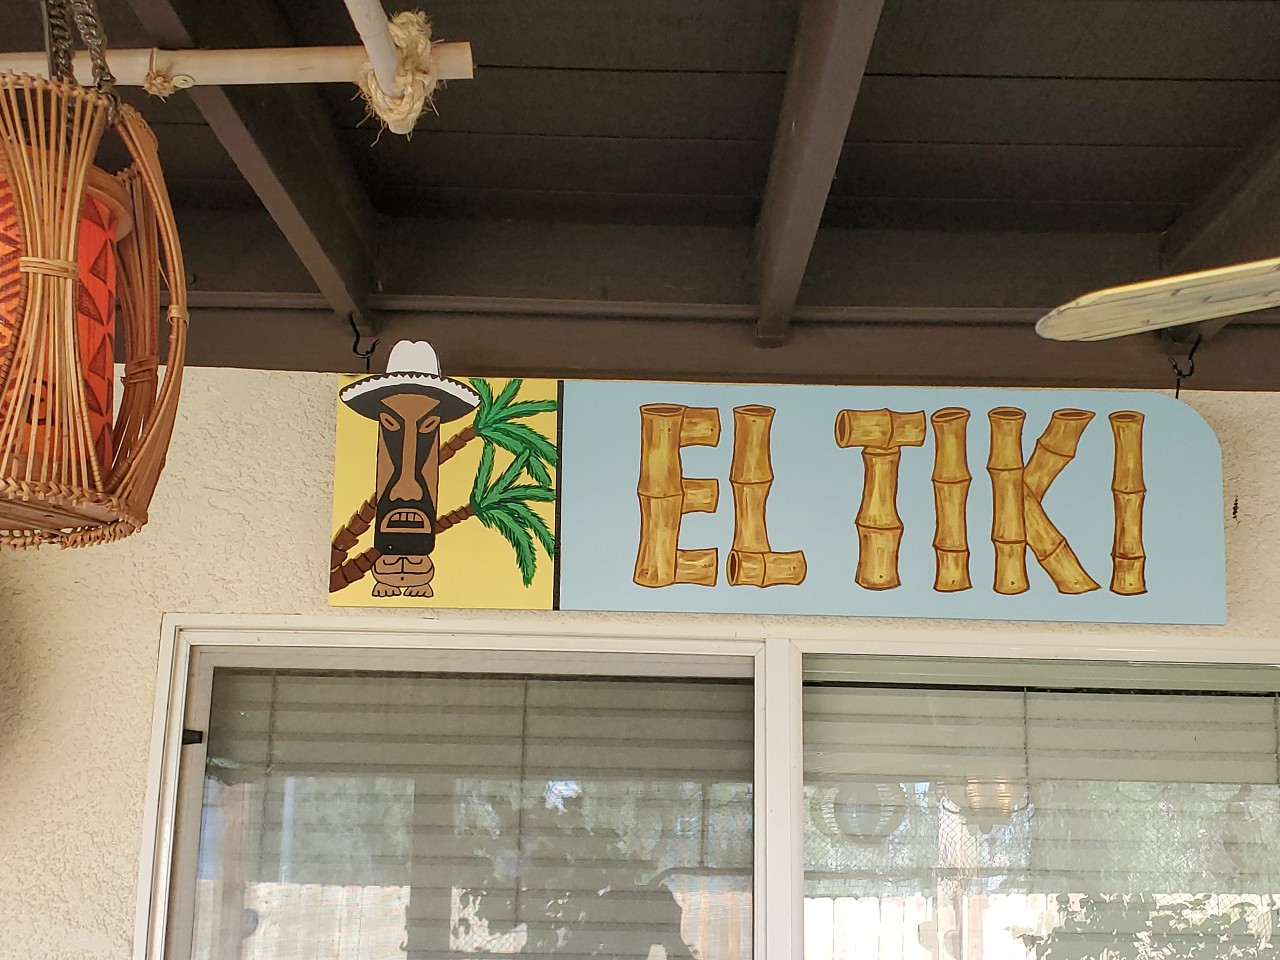
I'm happy with the direction it's going
|
|
M
MrBaliHai
Posted
posted
on
Mon, Nov 21, 2022 2:23 PM
in reply to MadDogMike
Really looking forward to seeing this lit up! |
|
M
MadDogMike
Posted
posted
on
Mon, Nov 21, 2022 5:44 PM
in reply to MrBaliHai
Me too, I hope it works LOL |
|
M
MadDogMike
Posted
posted
on
Thu, Nov 24, 2022 12:40 PM
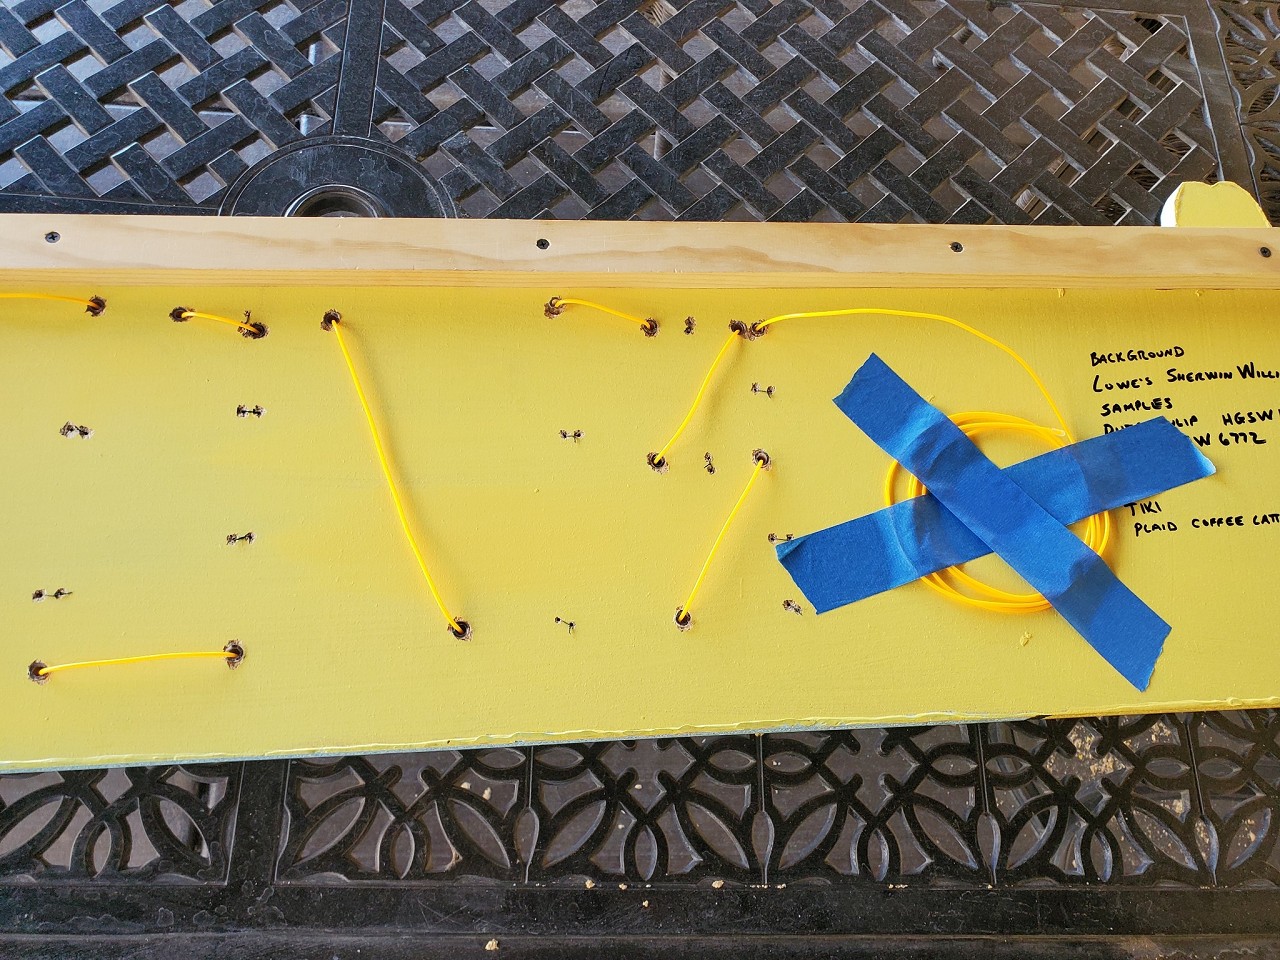
Getting close! This was my letting plan. Holes at the big red dots, EL wire on top of the solid lines and under the board for the dotted lines
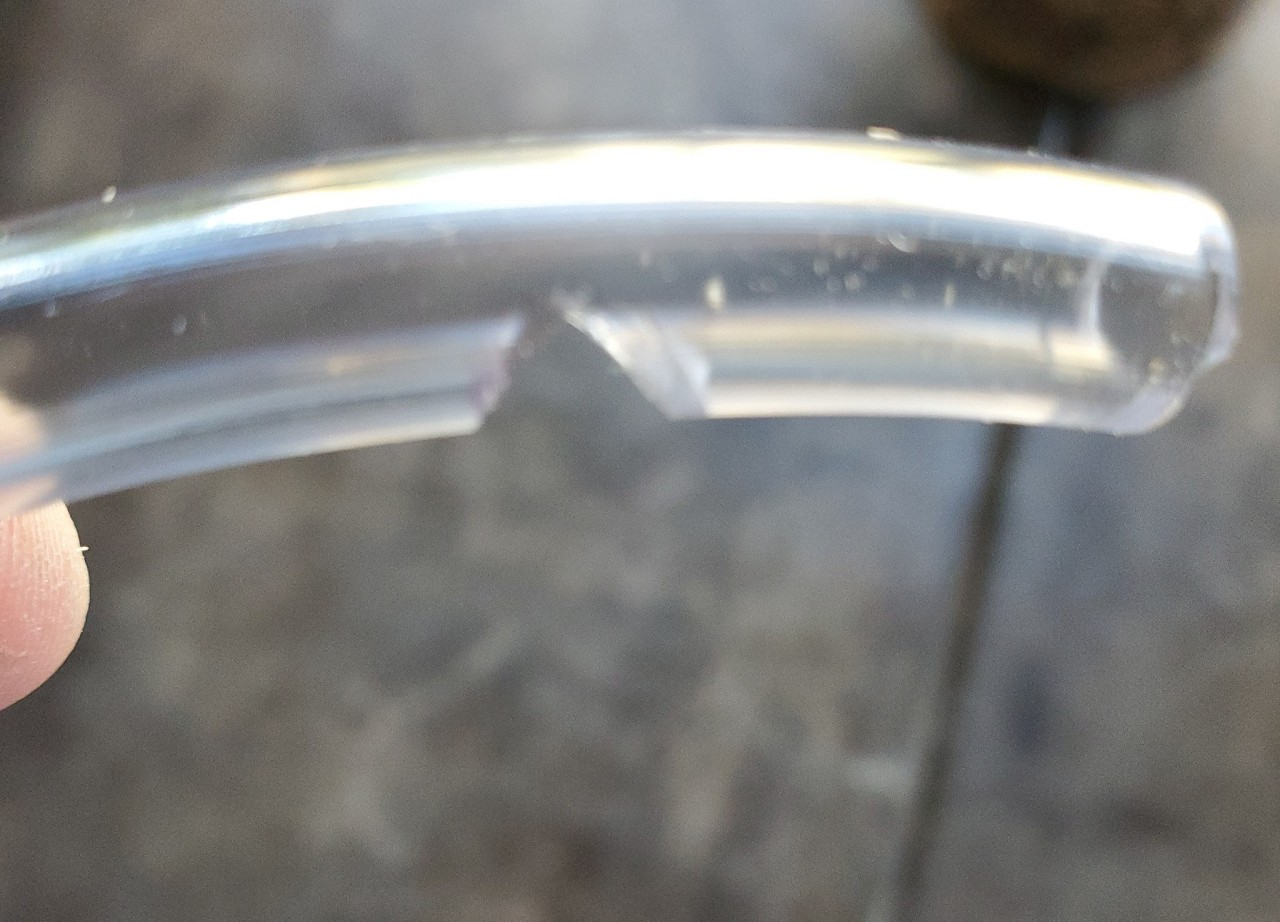
I am using 3/8 vinyl tubing so I drilled all the holes 3/8. Cut a piece of tubing a few inches longer that I needed for each piece of a letter. Cut a V shaped notch about 3/4-1 inch from one end, measured and cut another notch at the other end and trimmed the tubing 3/4-1 inch past the notch.
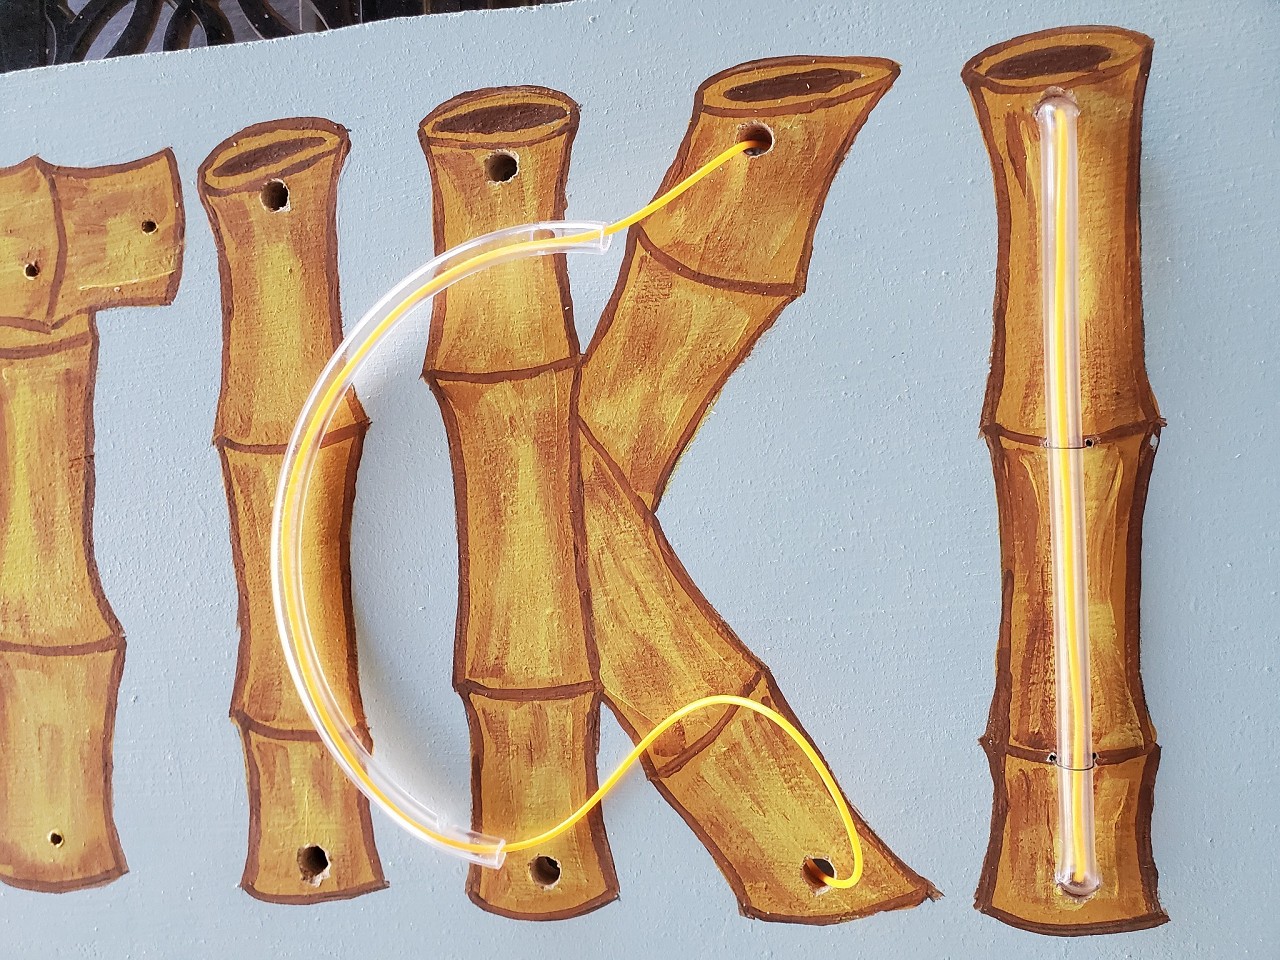
The EL wire comes up from the back, through the hole, through the tubing, and back through the hole to the back of the board
Then the tubing and wire get tucked into the holes to the notches
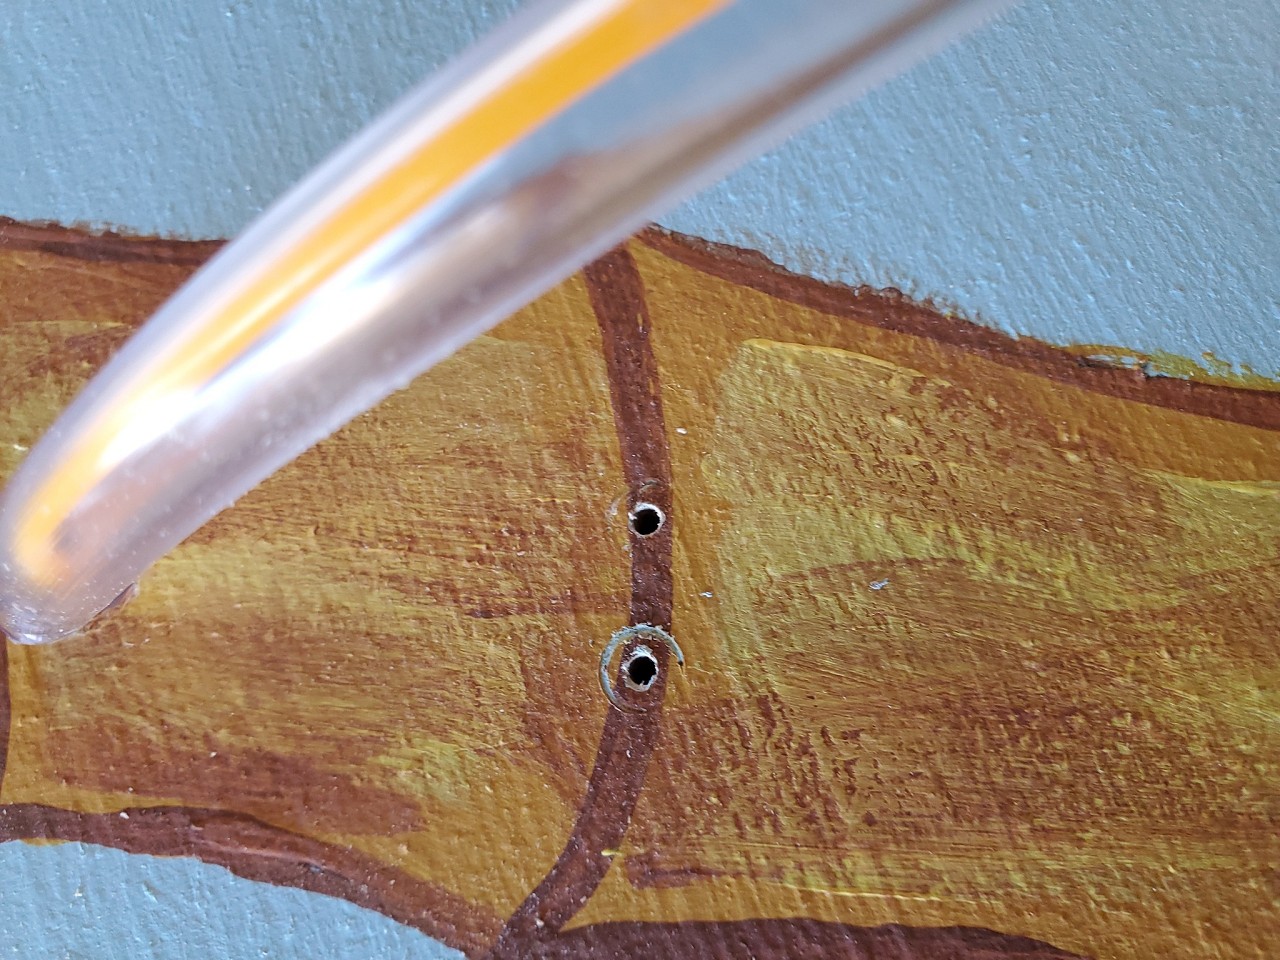
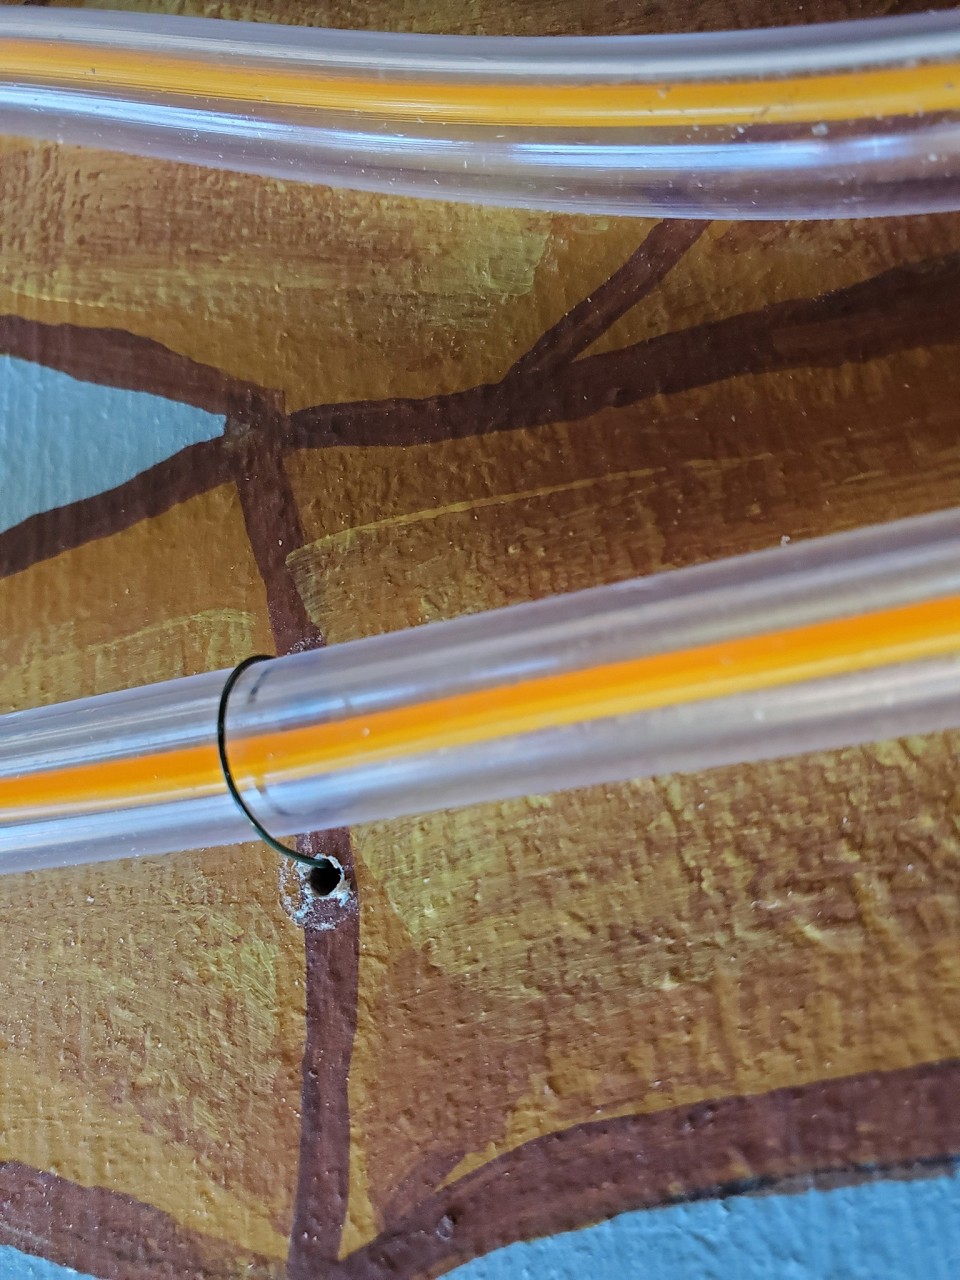
Next I drilled 2 little holes next to the tubing in a couple places to secure the tubing to the board
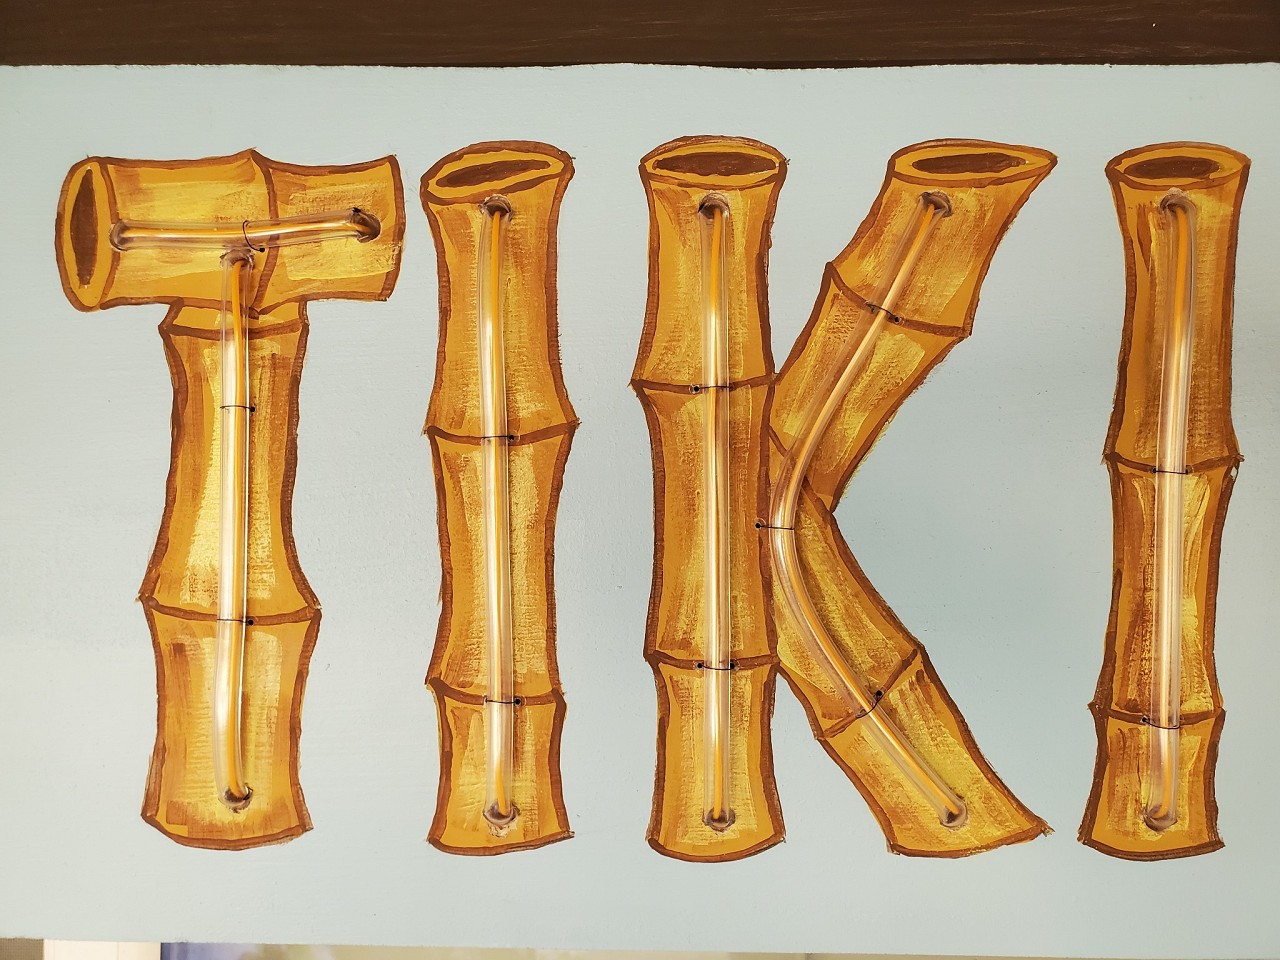
I used 26 gauge floral wire to secure the tubing to the board. It's small enough that it doesn't really show
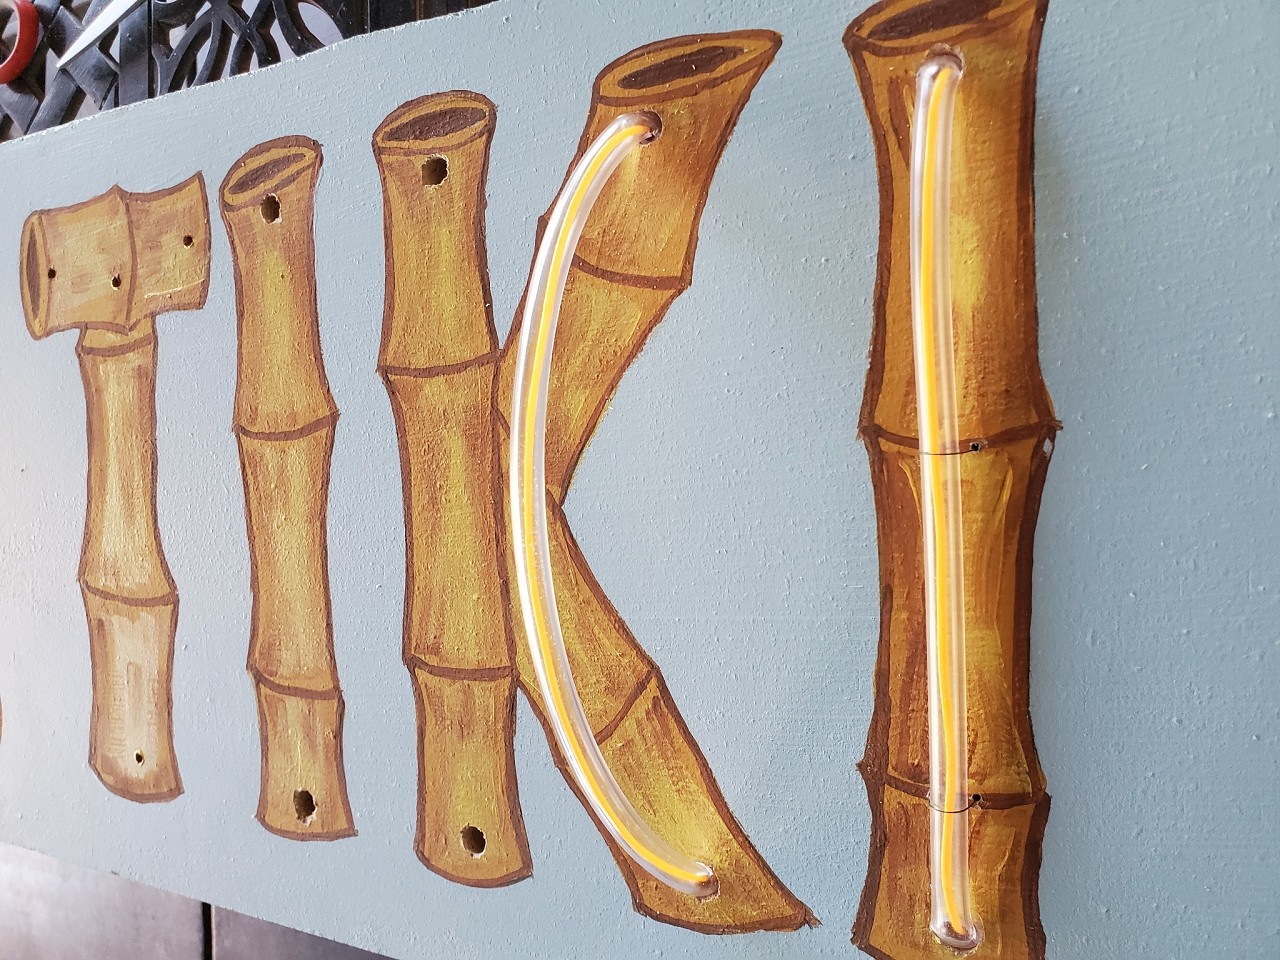
Some of the letters finished
This evening I will get a picture in the dark Now to clean up the back. The EL wire in the back will light up too. If it creates a nice backlighting effect I'll distribute the excess wire around the back edges of the sign and secure it. If the backlighting is distracting I can cut off the extra and cover the EL wire between the letters.
|
|
M
MadDogMike
Posted
posted
on
Thu, Nov 24, 2022 7:36 PM
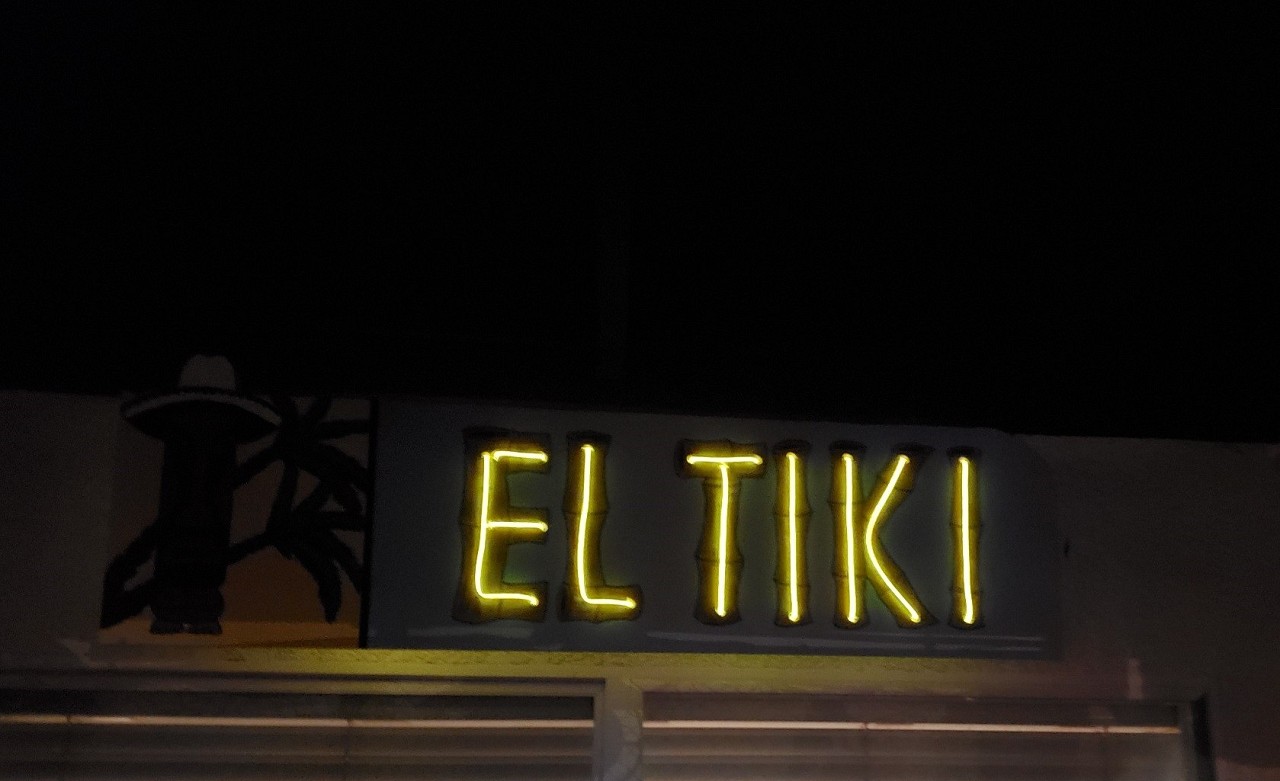
Night shot in minimum ambient light. The pic shows brighter than it actually is.
The EL Wire controller had a continuous modes, a slow flash mode, and a fast flash mode. The slow flash mode looks best so I'll leave it there. Here is a bit of video https://youtu.be/QqqbhX6Mp0U I think I'll clean up the back a bit and replace the battery pack with a plug in transformer. Then call it done. [ Edited by MadDogMike on 2022-11-24 19:39:35 ] |
|
C

coldwarspacemonkey
Posted
posted
on
Fri, Nov 25, 2022 3:10 AM
Great job! What a wonderful tribute as well. Thanks for enlightening me about EL wire, I hadn't heard about it. Looks great! |
|
M
MrBaliHai
Posted
posted
on
Fri, Nov 25, 2022 4:58 AM
Looks terrific, and much cheaper and easier to work with than neon. If I could make one suggestion: how about mounting a mini-spot on the left to better illuminate the Tiki Bandido? |
|
M
MadDogMike
Posted
posted
on
Fri, Nov 25, 2022 8:12 AM
coldwarspacemonkey Thanks. That EL wire is easy to work with and fairly cheap - 16 feet was only $12 MrBaliHai Thank you sir. The picture with just the letters showing is with all other lights out (which I never do) The link to the video show it in a more normal nighttime situation, you can see the "Tiki bandito" well with the rest of the lights on. PS - I love "Tiki Bandito"! LOL |
|
D
danlovestikis
Posted
posted
on
Fri, Nov 25, 2022 9:58 AM
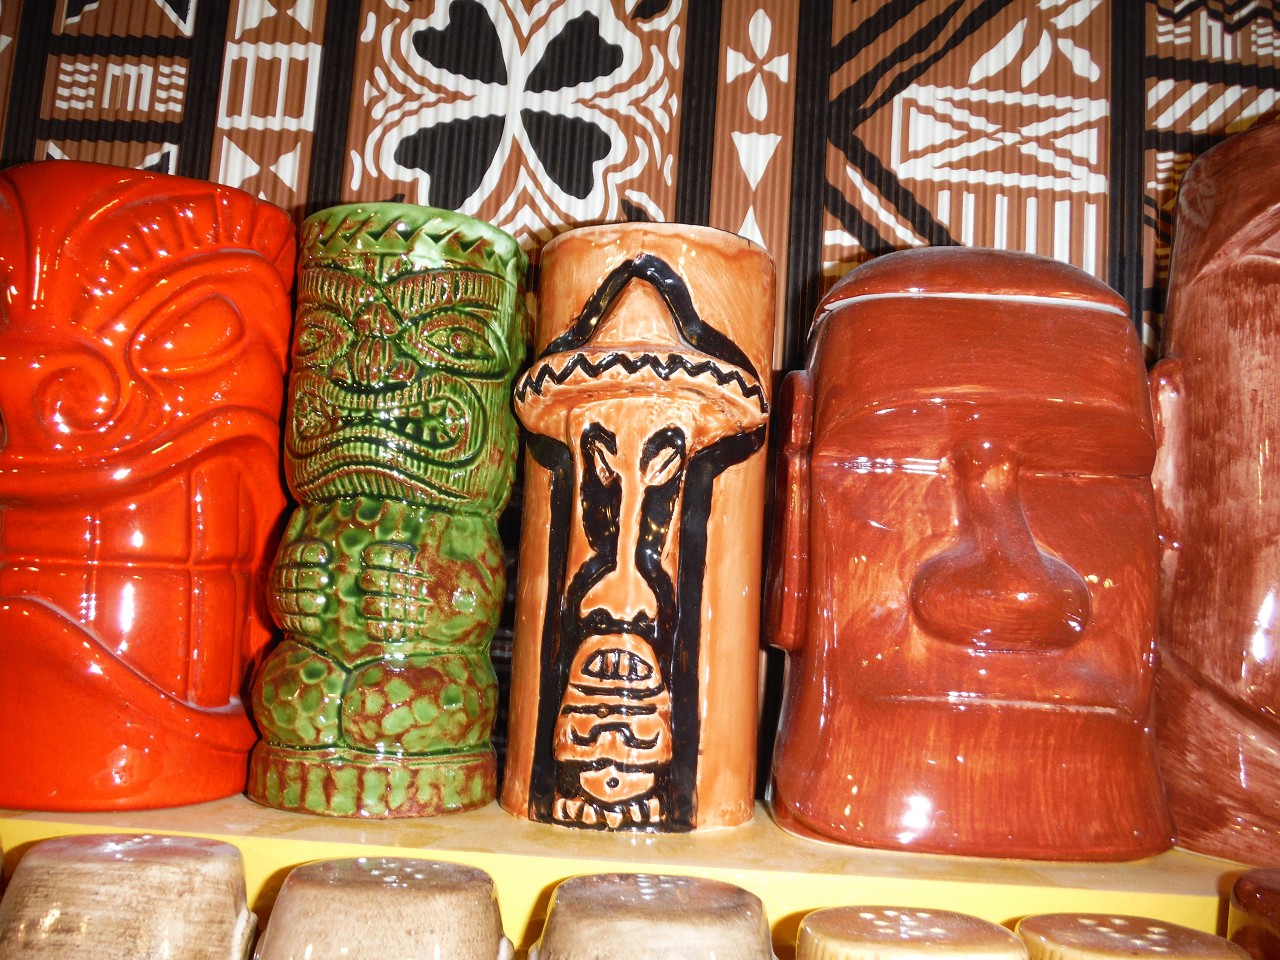
We may have sold 99% of our collection but we still have our El Tiki mug that you made for us. Did you keep a pair too? Love the sign, that was so well thought out and accomplished. Love it.
|
|
M
MaukaHale
Posted
posted
on
Fri, Nov 25, 2022 1:51 PM
Your creative ability continues to amaze me! Mauka |
|
T

TIKIGIKI
Posted
posted
on
Fri, Nov 25, 2022 5:03 PM
That EL wire is great stuff to work with. I have used it for lighting scale model flying saucers I constructed for a friend. I also sewed some around the borders of a Tiki Shirt I wore to a New Year party that looked very effective and added a new touch. Very much enjoy your constructions! |
|
M
MadDogMike
Posted
posted
on
Fri, Nov 25, 2022 8:09 PM
danlovestikis Awwwww, you kept one of mine <3 Yes I still have about a half dozen of those that we use sometimes. I think I have the mold someplace so I could make more if I break the ones I have LOL MaukaHale Thank you TIKIGIKI It was a fun project. That EL wire would be perfect for clothing - lightweight, battery operated, available in multiple colors, and fairly inexpensive |
|
M
MadDogMike
Posted
posted
on
Fri, Nov 25, 2022 8:41 PM
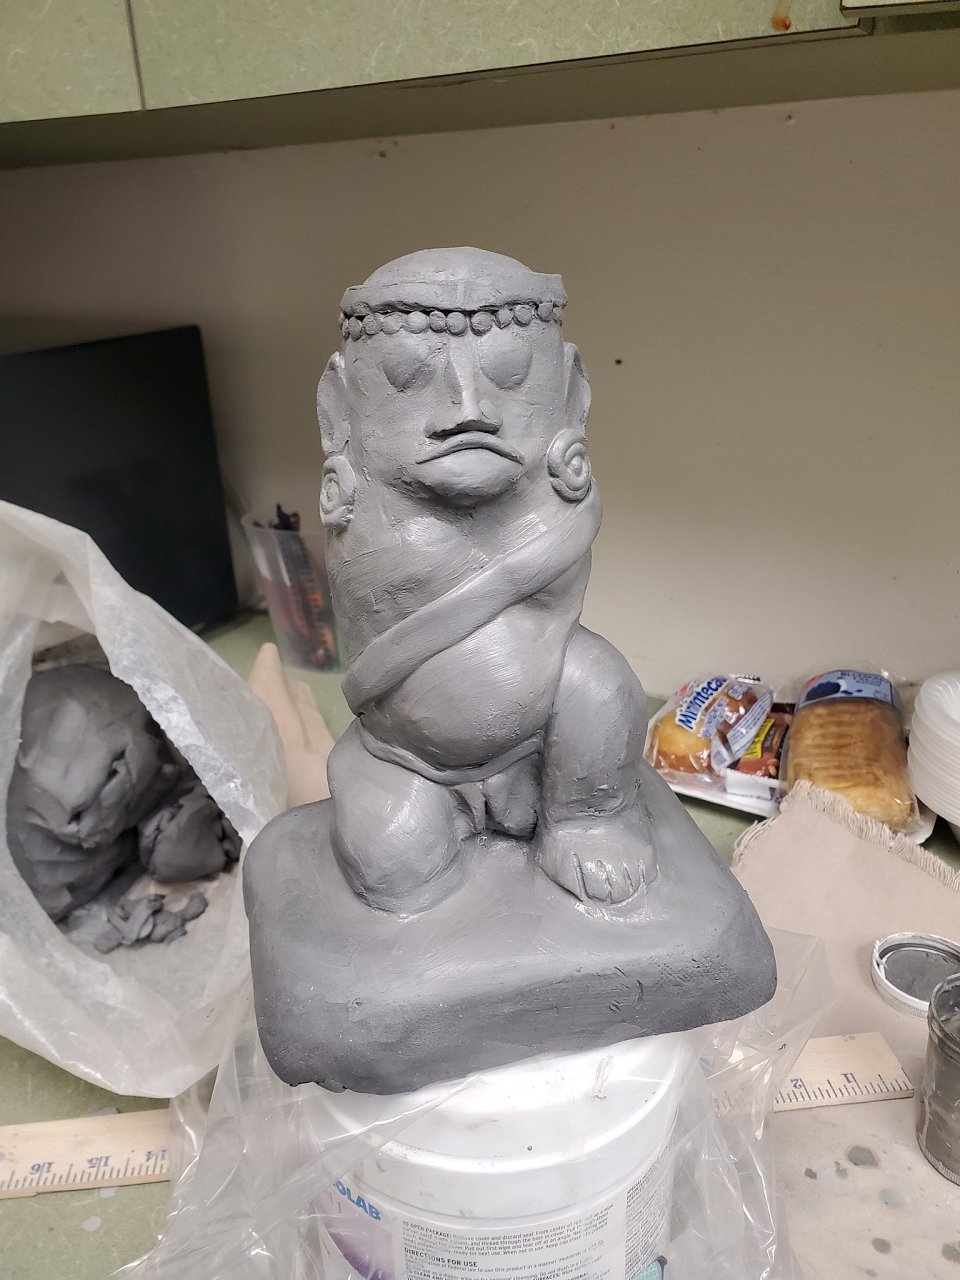
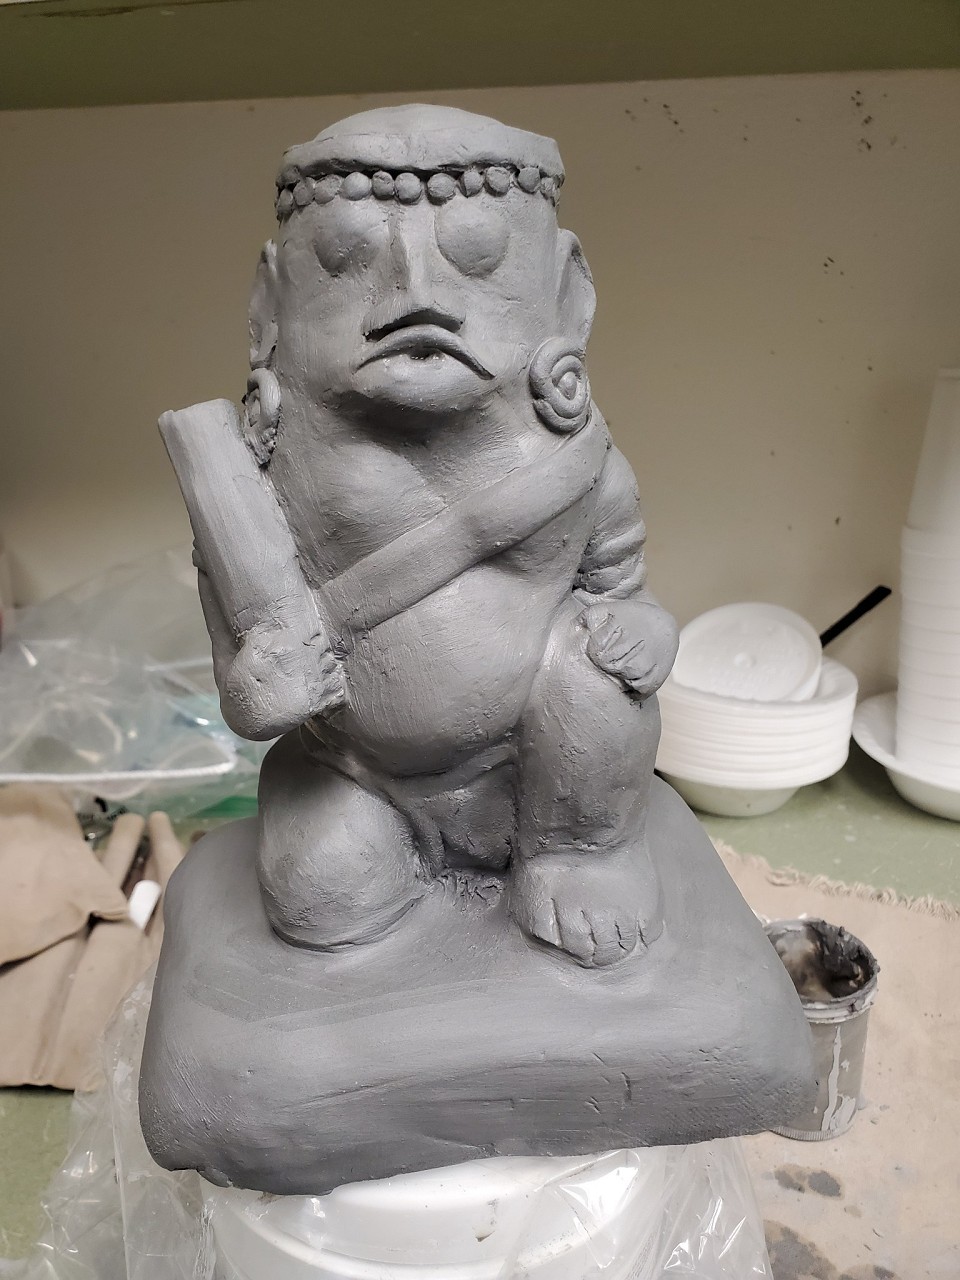
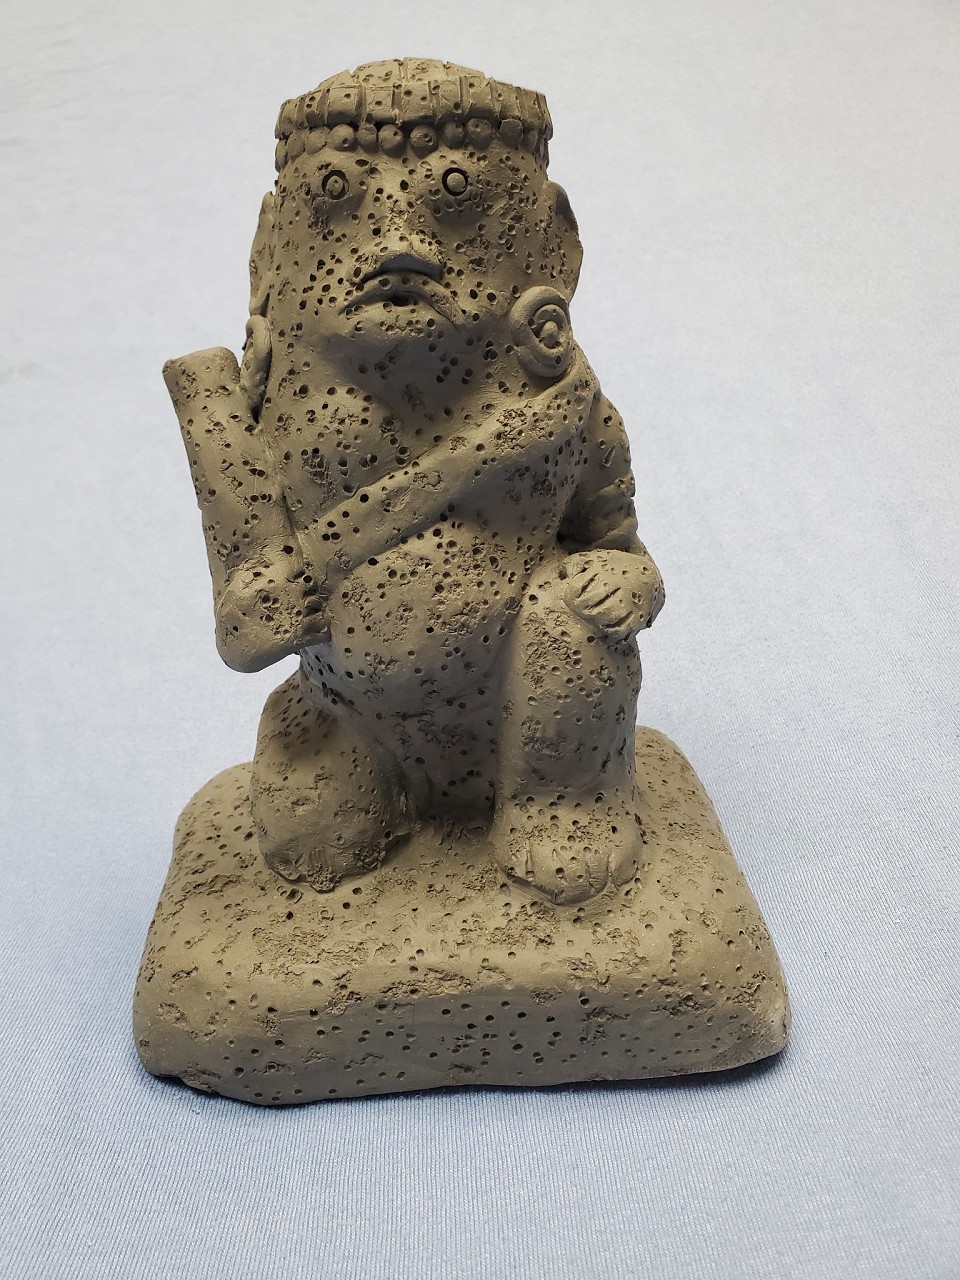
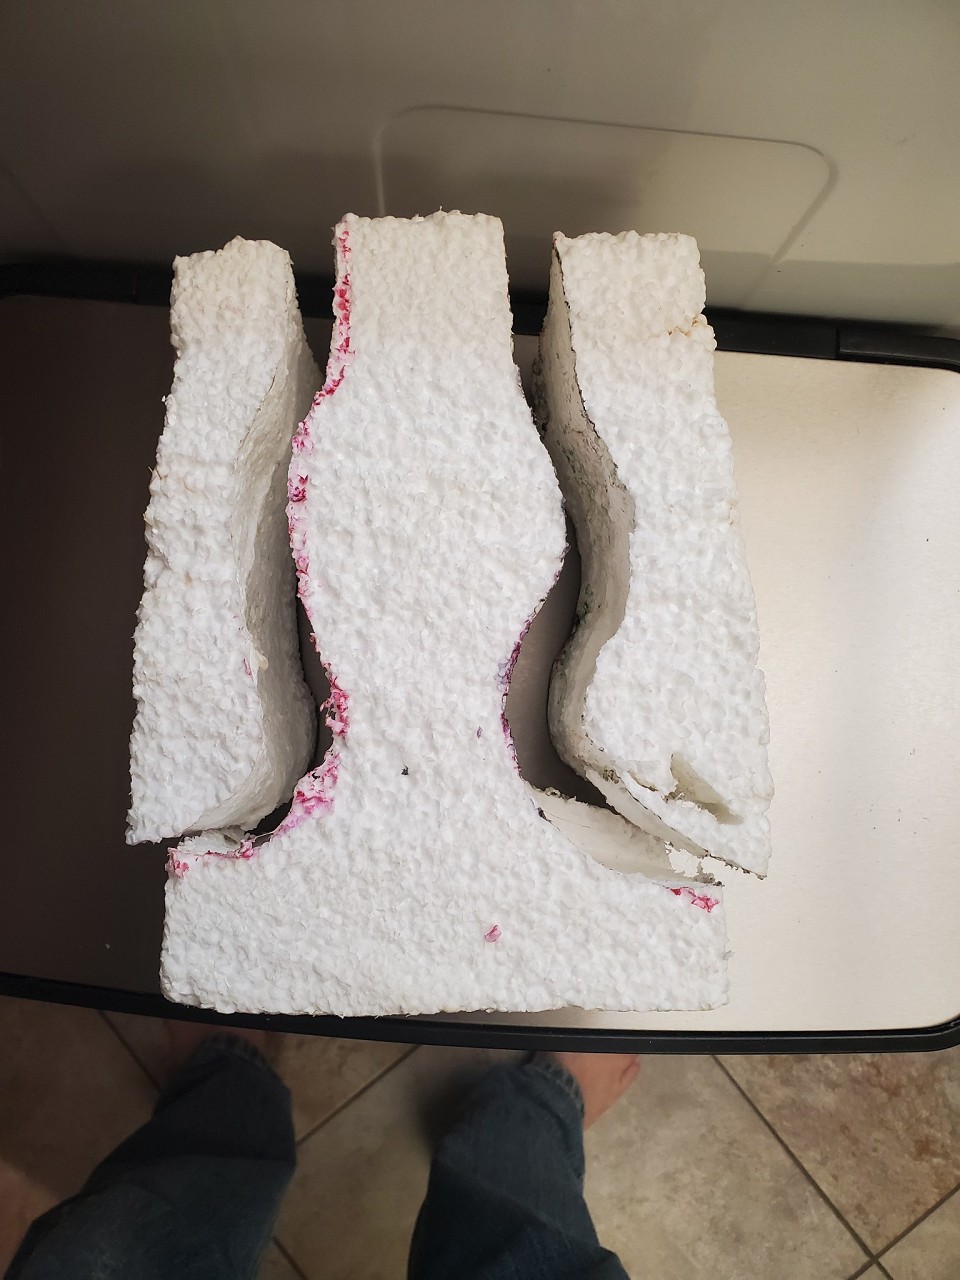
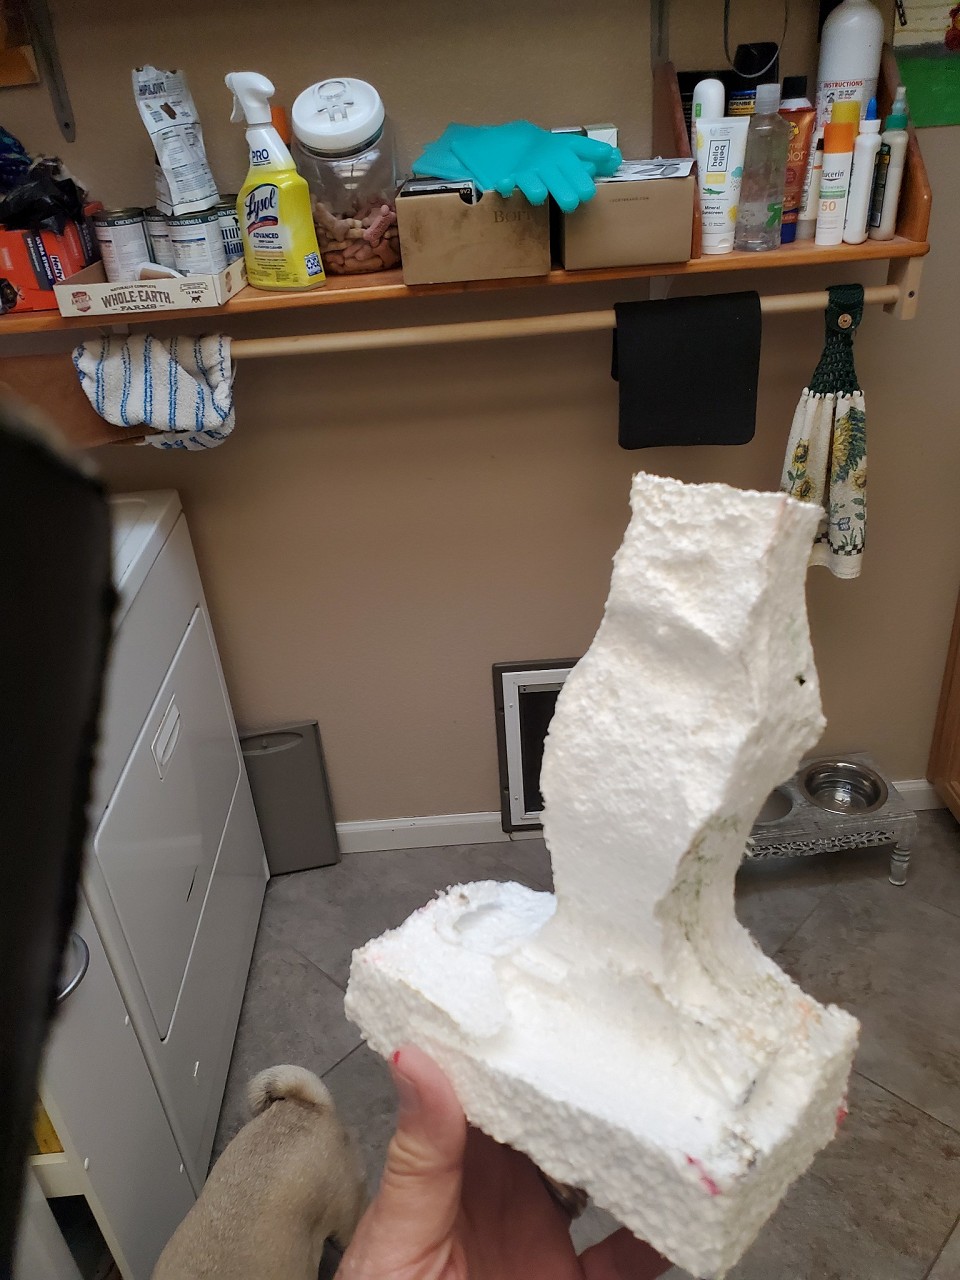
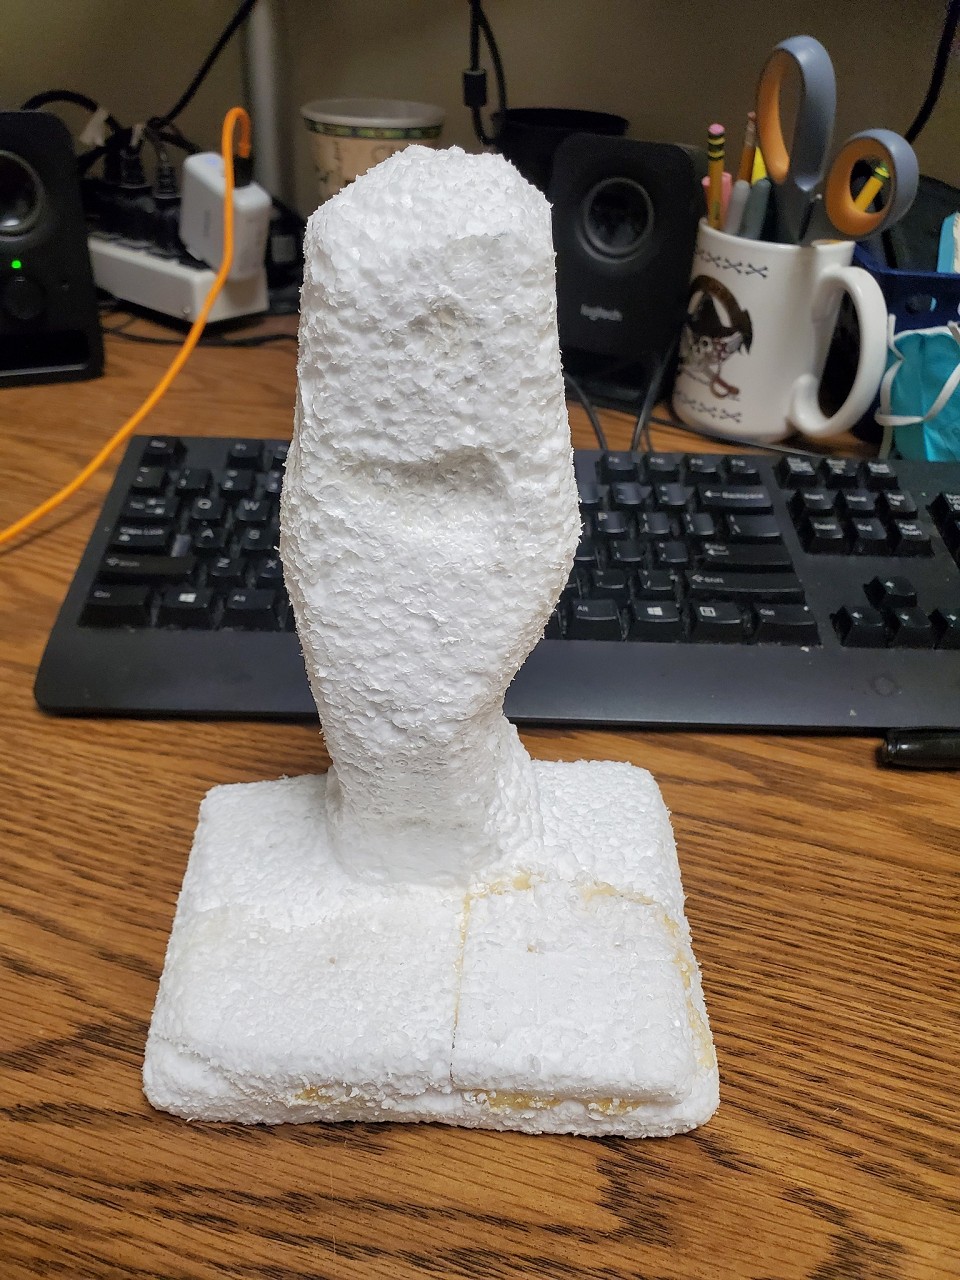
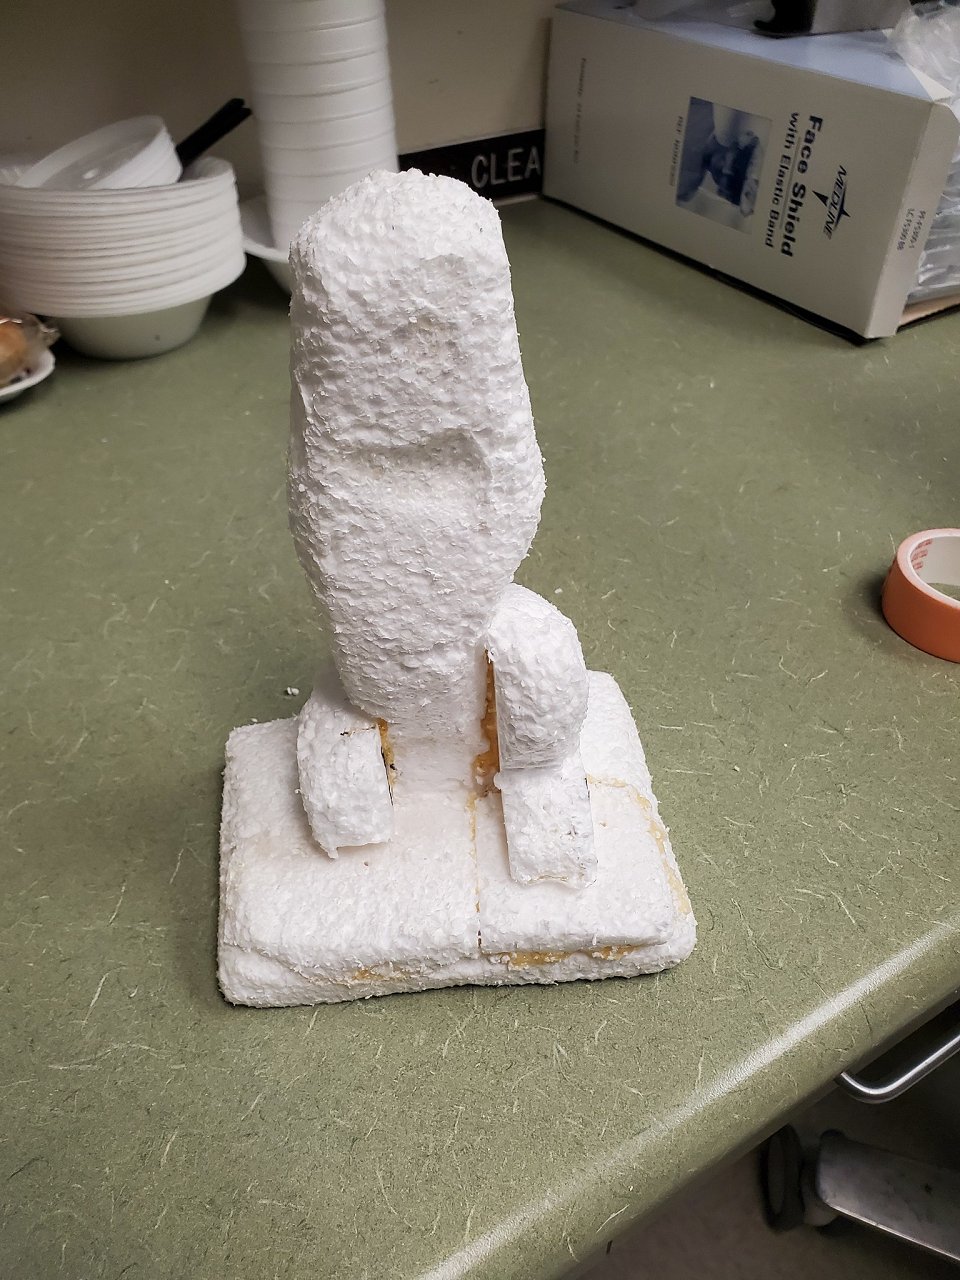
Journey into the mind of a madman LOL I made stuff for my enjoyment, I usually only do one-offs. I don't have the patience for mold making and I detest glazing the same thing over and over. I sometimes use a lost styrofoam armature technique where I make a form out of Styrofoam, cover it with clay, then dissolve the clay out with acetone. 2 minute video https://www.youtube.com/watch?v=nwgTsb6gB98 I don't know if I invented the technique but I have never seen anyone else do it. Working on a new project, I'll show you the steps but I won't tell you what it is yet. Can you guess? Exotic and tropical, but not Tiki. Origins in Hinduism and Buddhism, found in South East Asia and India Hot knife used to rough carve from a piece of foam
More Carving
Smoothed with a rasp
Some more foam glued in and shaped
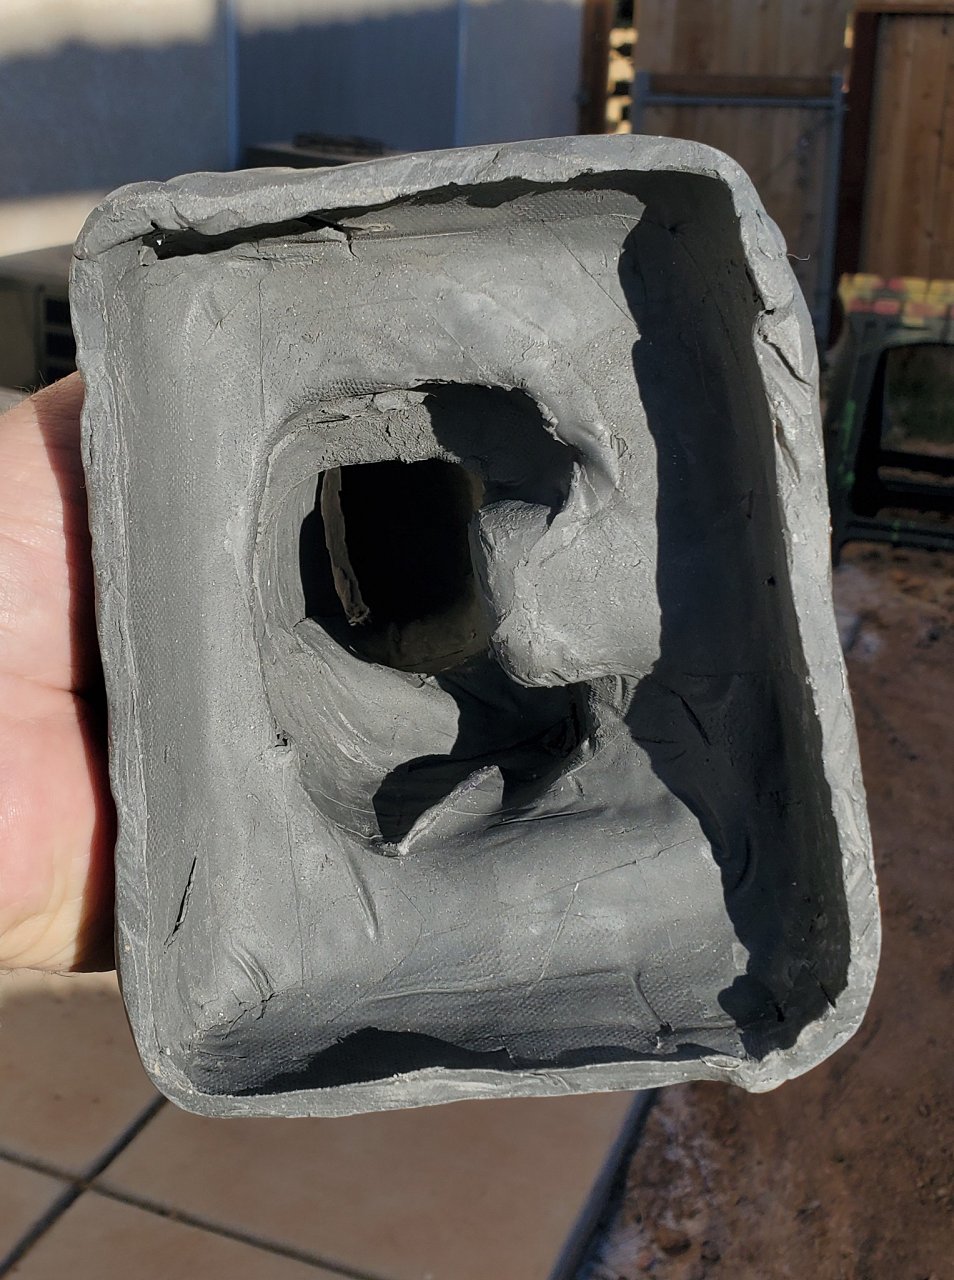
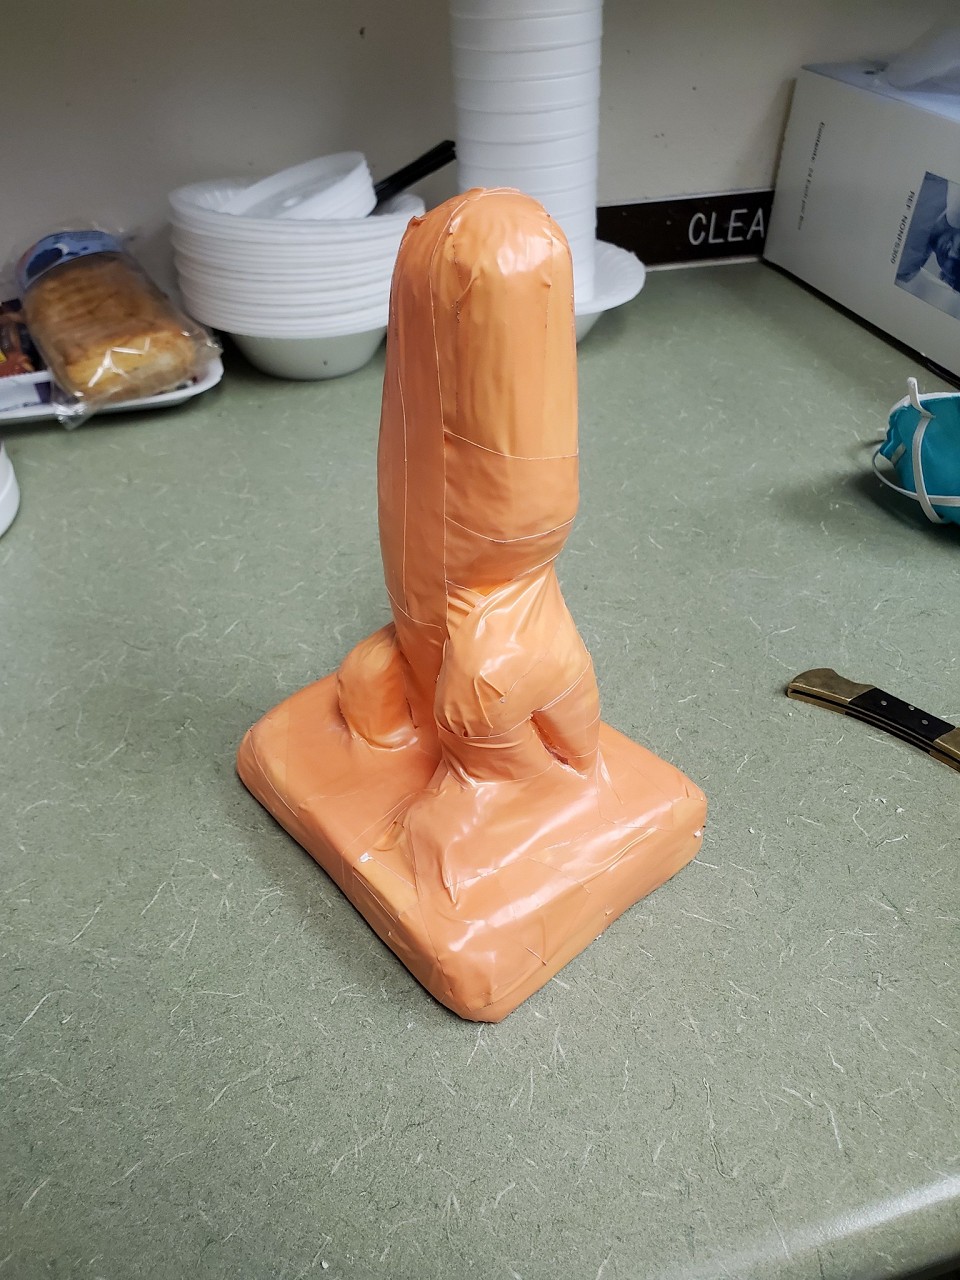
Because the outside of the foam is rough and textured, the inside of the mug would be rough - not a good thing. New technique, I wrapped the foam with a flexible plastic tape to smooth it more. Hopefully after dissolving the foam I can grab hold of the tape and pull it out. Any adhesive reside left will burn out at 2000 degrees in the kiln. Yes, I'm aware it looks a bit phallic at this point LOL
|
|
M
MadDogMike
Posted
posted
on
Fri, Nov 25, 2022 10:13 PM
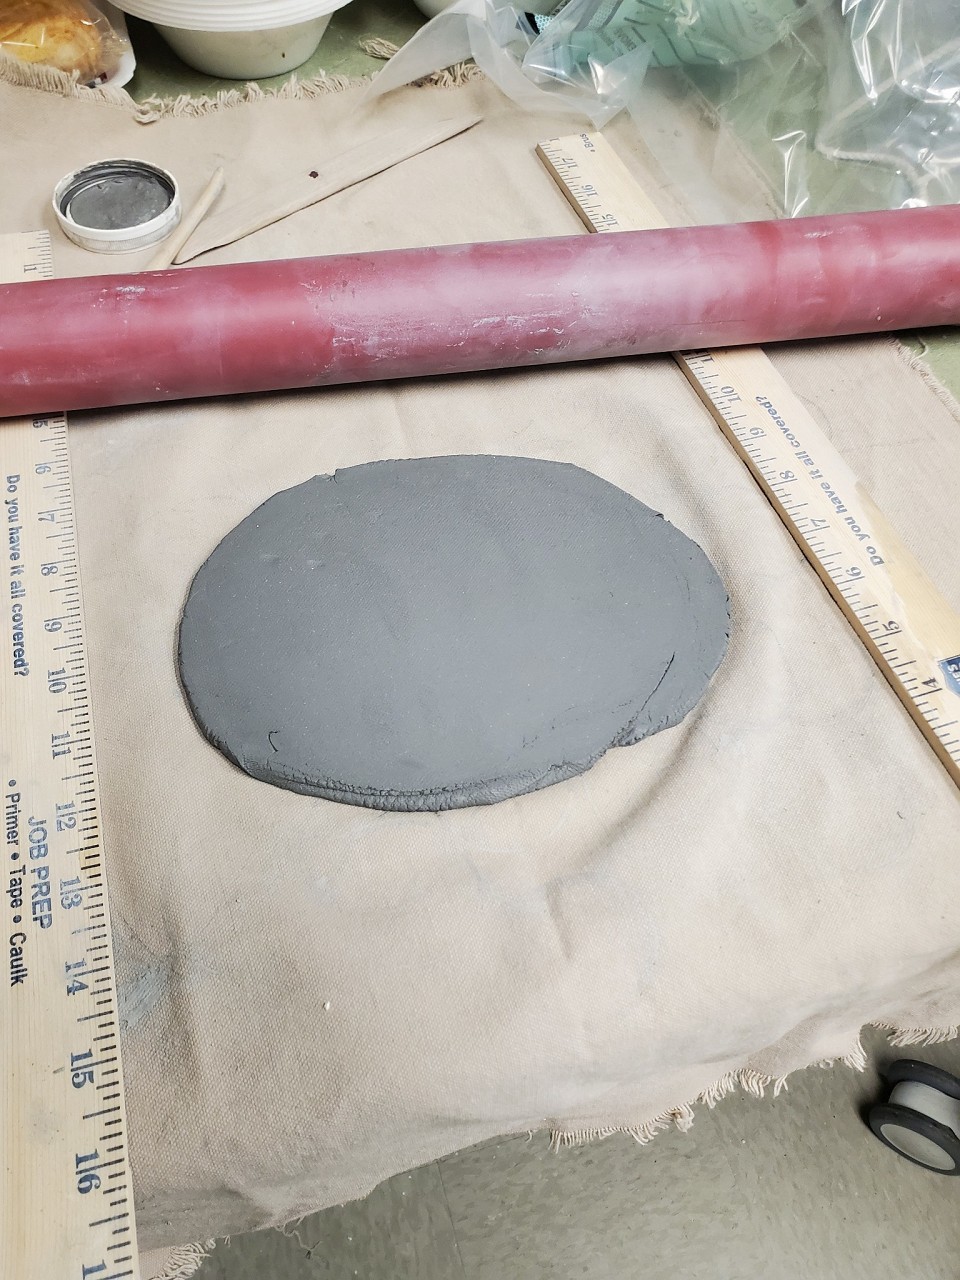
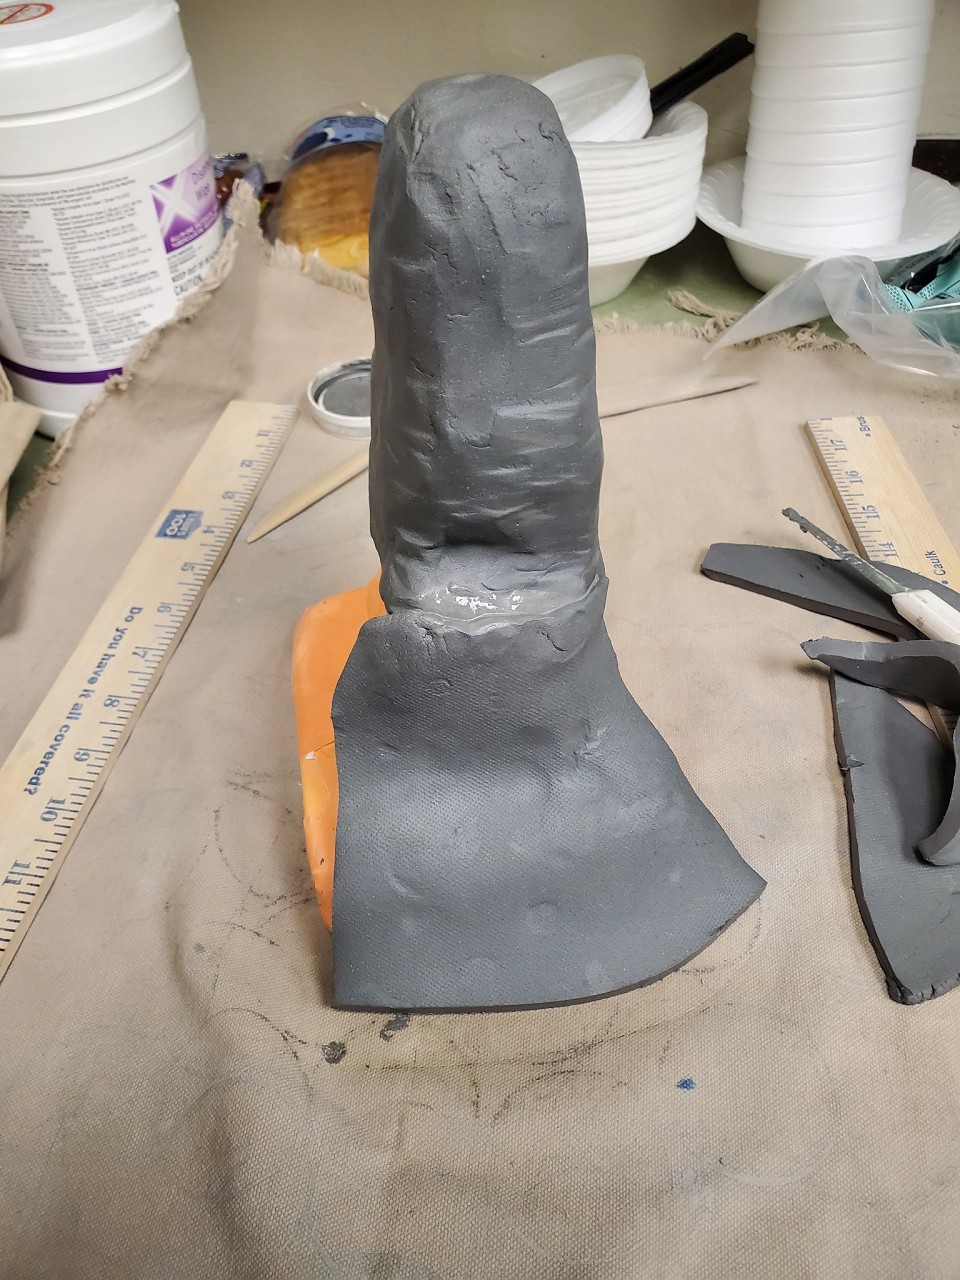
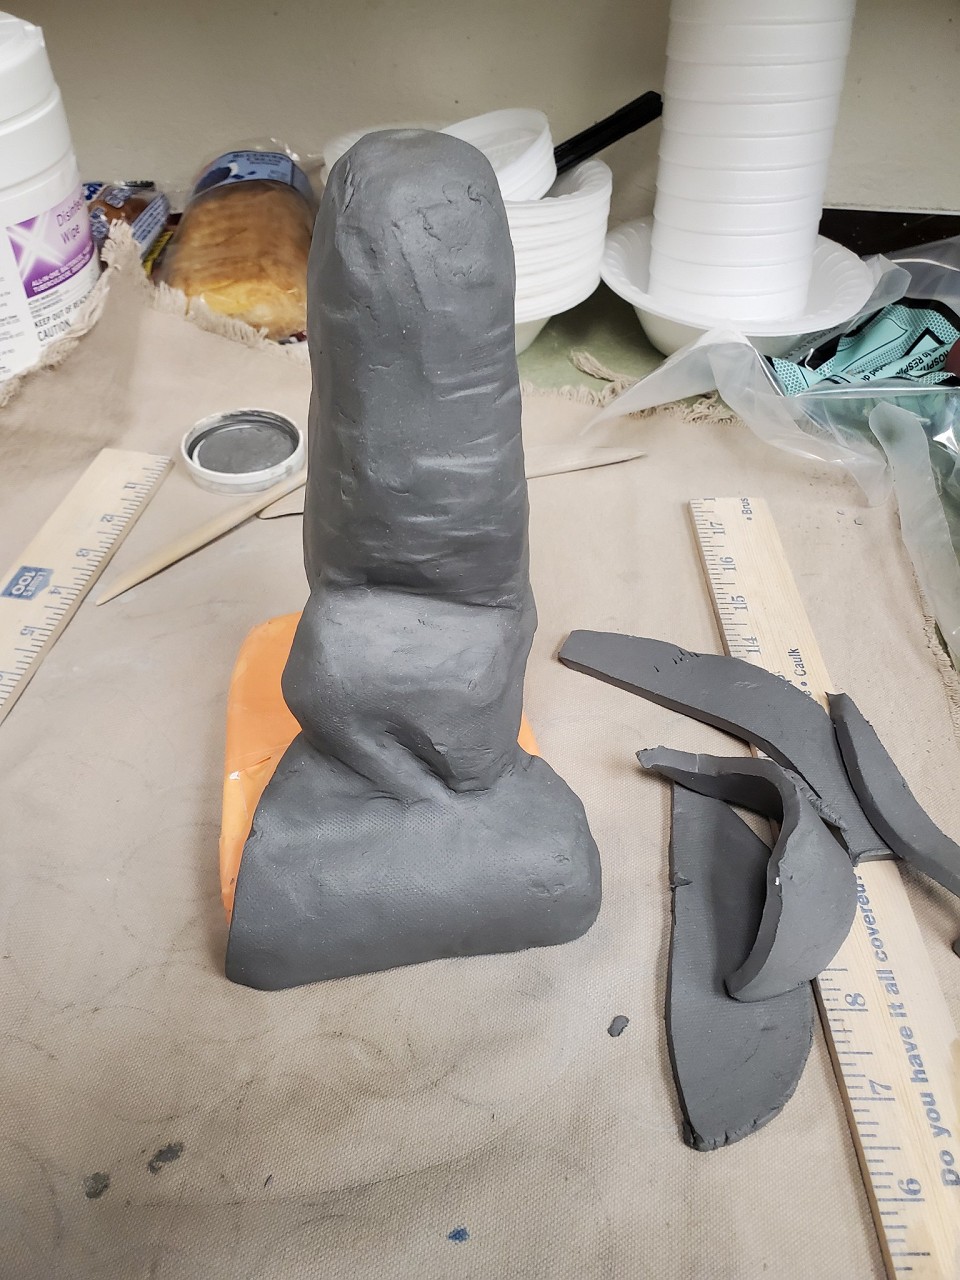
Rolled out some clay and carefully layered it over the form. Making sure the clay conforms to the armature, that all the pieces of clay stick together, and that the thickness stays relatively constant.
Now I have a basic form that I can build on and will be hollow when the Styrofoam is dissolved |
|
M
MadDogMike
Posted
posted
on
Mon, Nov 28, 2022 10:38 AM
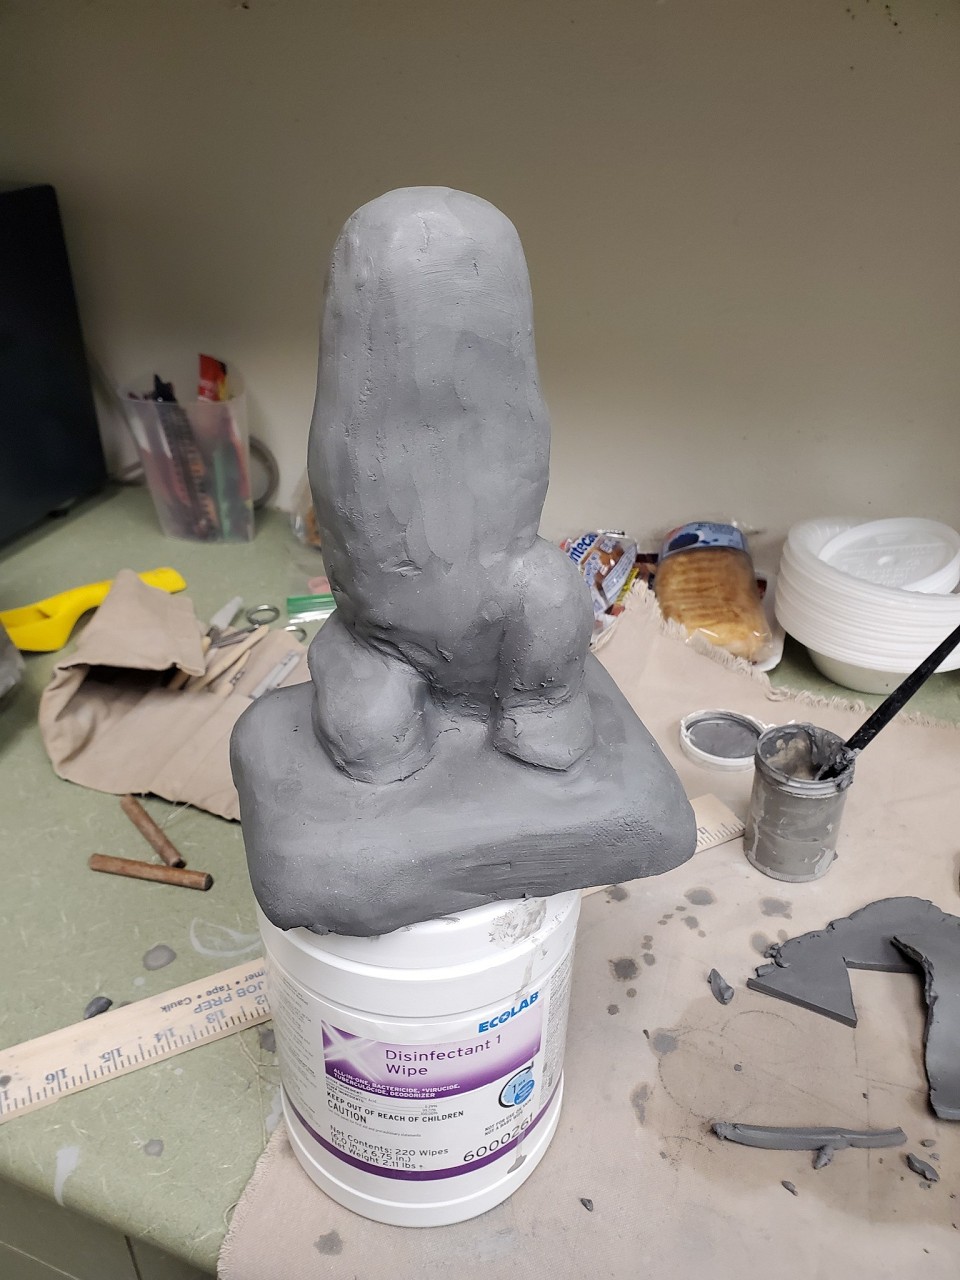
Some details added
Arms and more detail
Some pock marks to make it look like stone, still some clean up and detailing to do
Dissolved the foam with acetone to hollow it out
[ Edited by MadDogMike on 2022-11-28 10:38:53 ] |
|
D
danlovestikis
Posted
posted
on
Tue, Nov 29, 2022 7:00 PM
I loved all those steps. You are so creative. I hope he does well in the kiln. |
Pages: 1 2 3 4 5 6 7 8 9 10 11 12 13 14 15 16 17 18 19 20 21 22 23 24 25 26 27 28 29 30 31 32 33 34 35 36 37 38 39 40 41 42 43 44 45 46 47 48 49 50 51 52 53 54 55 56 57 58 59 60 61 62 63 64 65 66 67 68 3217 replies



 .
.