Pages: 1 2 3 4 5 6 7 8 9 10 11 12 13 14 15 16 17 18 19 20 21 22 23 24 25 26 27 28 29 30 31 32 33 34 35 36 37 38 39 40 41 42 43 44 45 46 47 48 49 50 51 52 53 54 55 56 57 58 59 60 61 62 63 64 65 66 67 68 69 70 71 72 73 74 75 76 77 78 79 80 81 82 83 84 85 86 87 88 89 90 91 92 93 94 95 96 97 98 99 100 101 102 103 104 105 106 107 108 109 110 111 112 113 114 115 116 117 118 119 120 121 122 123 124 125 126 127 128 129 130 131 132 133 134 135 136 137 138 139 140 141 142 143 144 145 146 147 148 149 150 151 152 153 154 155 156 157 158 159 160 161 162 163 164 165 166 167 168 169 170 171 172 173 174 175 176 177 178 179 180 181 182 183 184 185 186 187 188 189 190 191 192 193 194 195 196 197 198 199 200 201 202 203 204 205 206 207 208 209 210 211 212 213 214 215 216 217 218 219 220 221 222 223 224 225 226 227 228 229 230 231 232 233 11,161 replies
|
H

hang10tiki
Posted
posted
on
Wed, Jun 3, 2015 9:29 AM
Wow |
|
D
danlovestikis
Posted
posted
on
Wed, Jun 3, 2015 11:49 AM
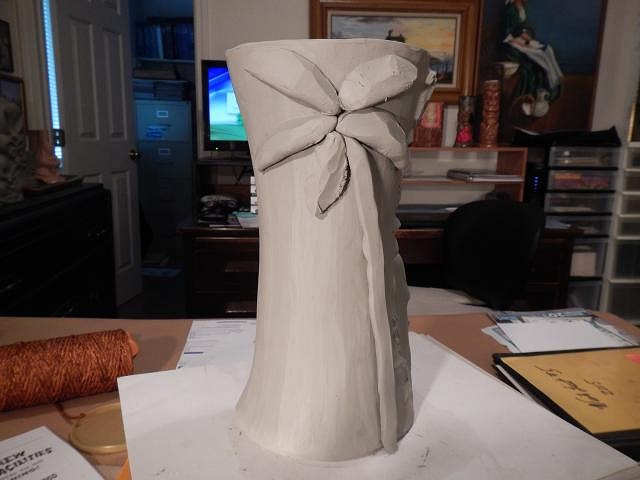
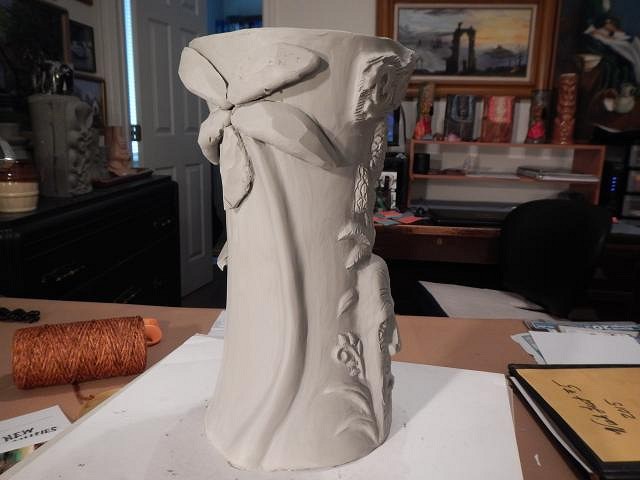
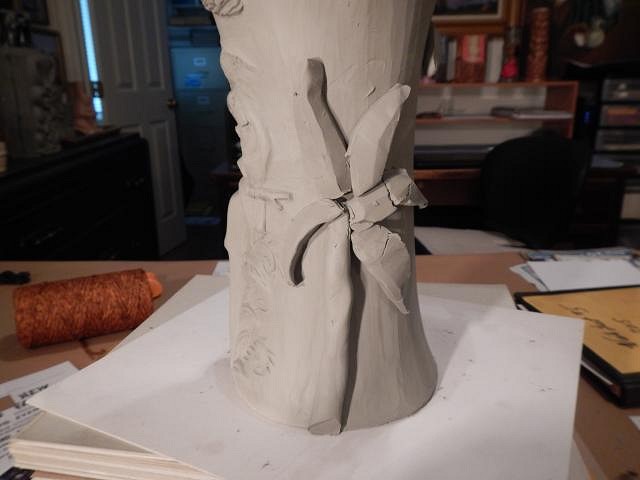
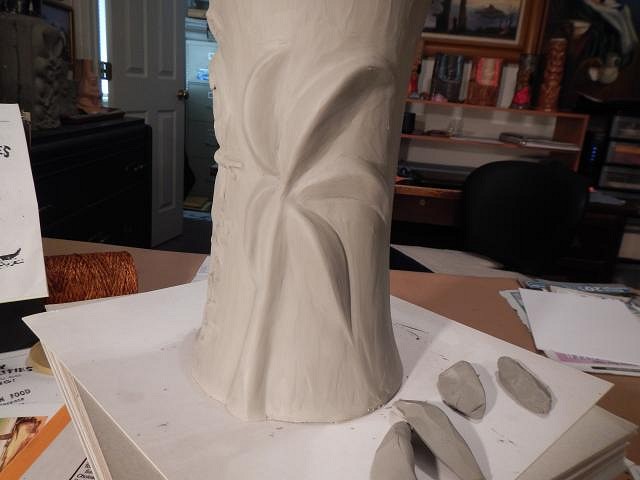
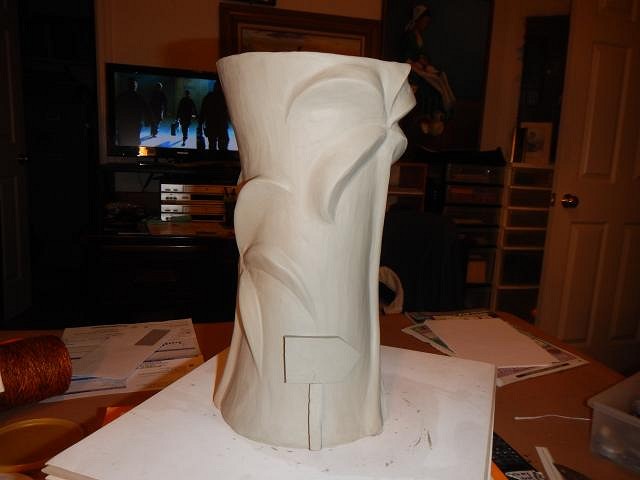
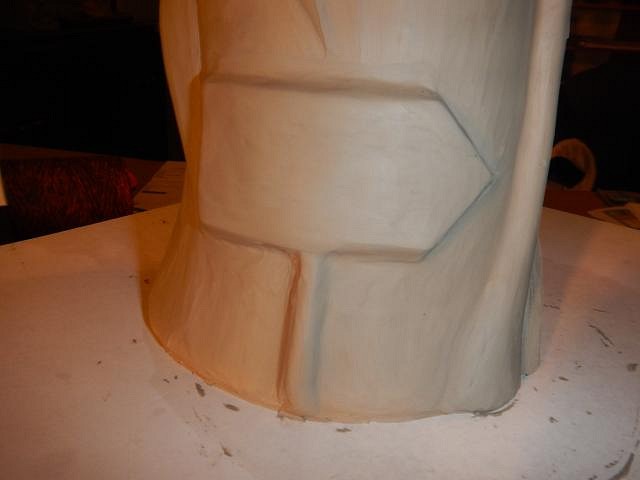
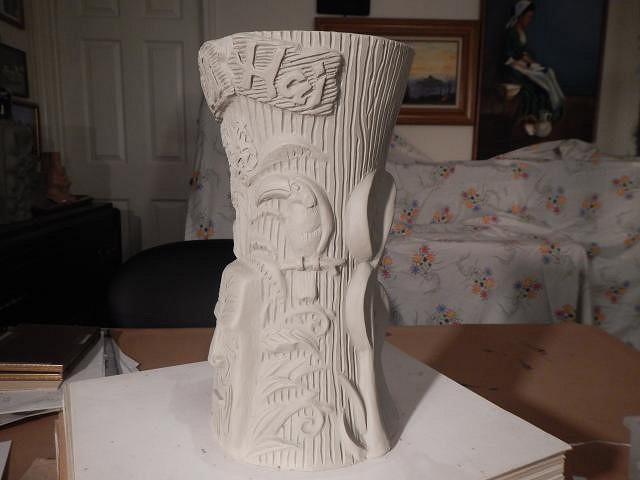
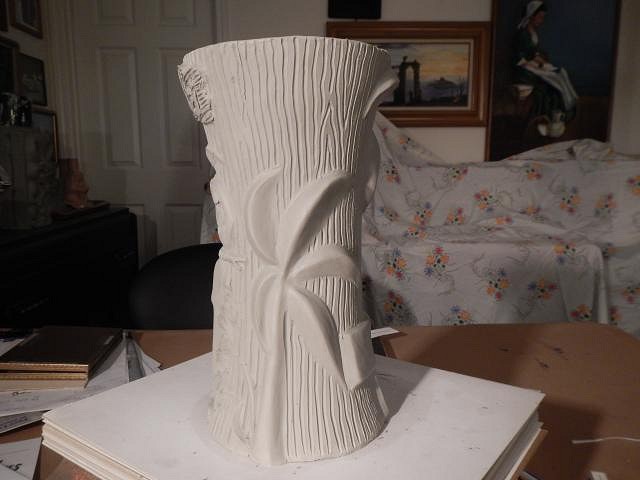
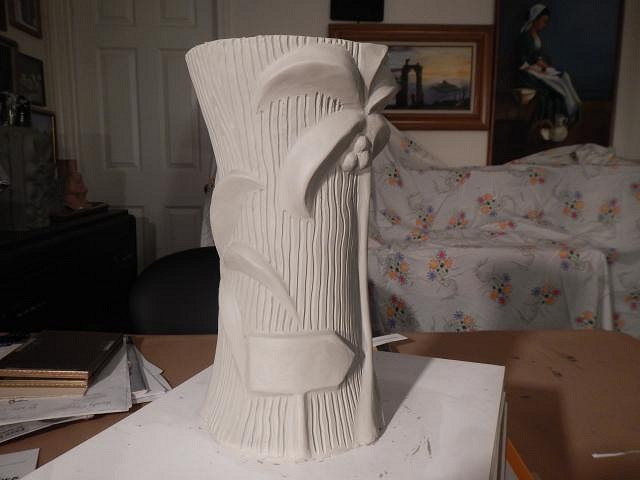
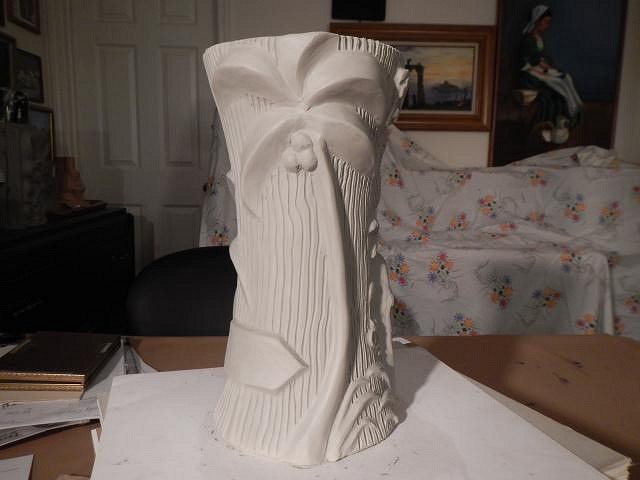
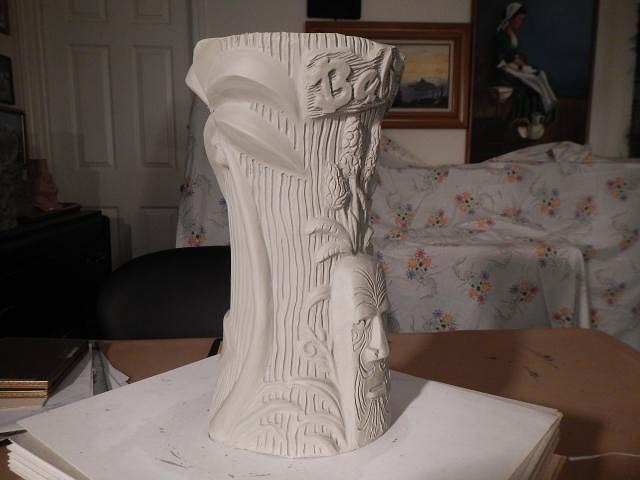
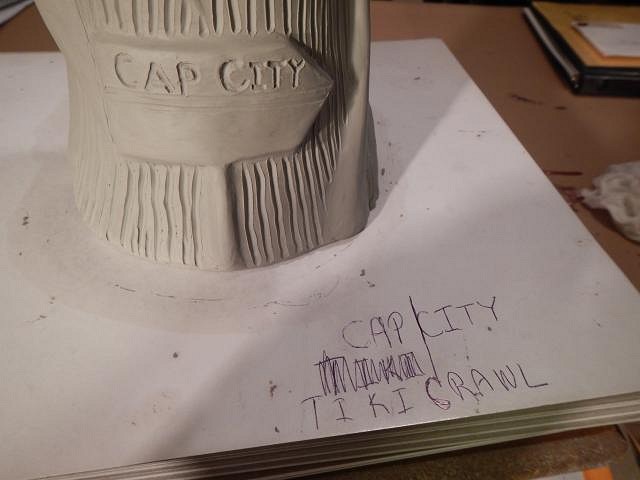
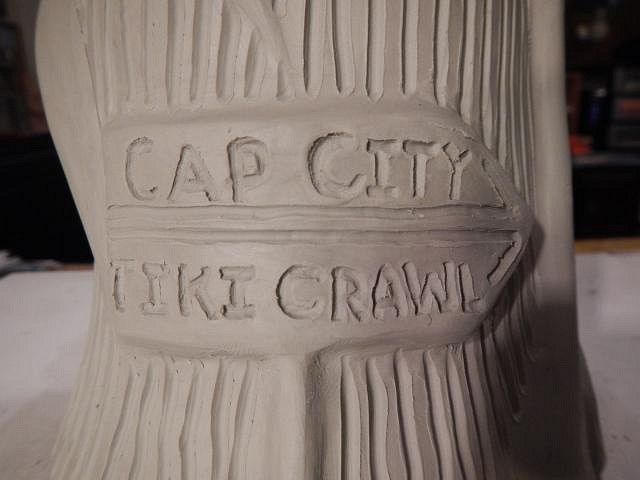
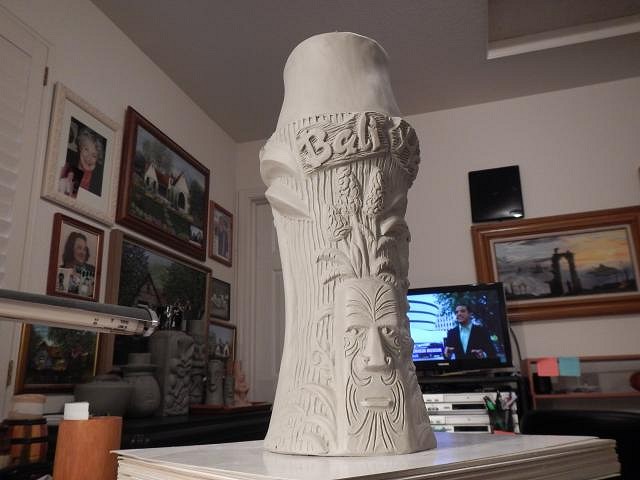
RVICTOR thank you, those photos are coming up soon. I'm enjoying your swap goblet in progress. VampiressRN there's more to show on the sculpt coming up. I'm so happy you like it. hang10tiki I'm working hard to be worthy of that remark! ============================ Sacramento Crawl mug is actually named Cap City Crawl since we are the Capital of California. Here's the next four days of work. Now I've skipped to the back of the mug to add Palm Trees. This photo shows the foliage added to the left side of the tiki. Next a smaller palm tree. I smoothed out the small palm and then I smoothed out the tall palm and added pieces to make a sign. Now the sign is smoothed out. Let's see how it's looking now. I changed the foliage on the right side of the tiki too. I've carved lines down the entire mug.
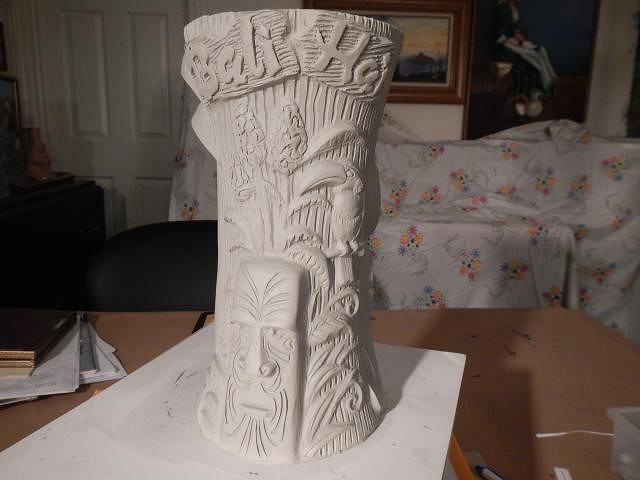
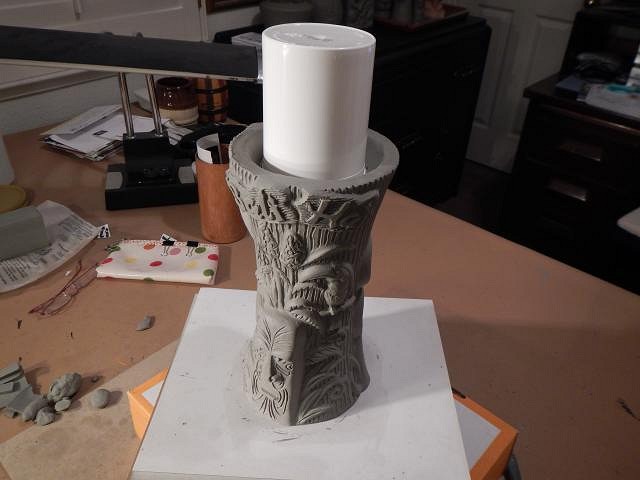
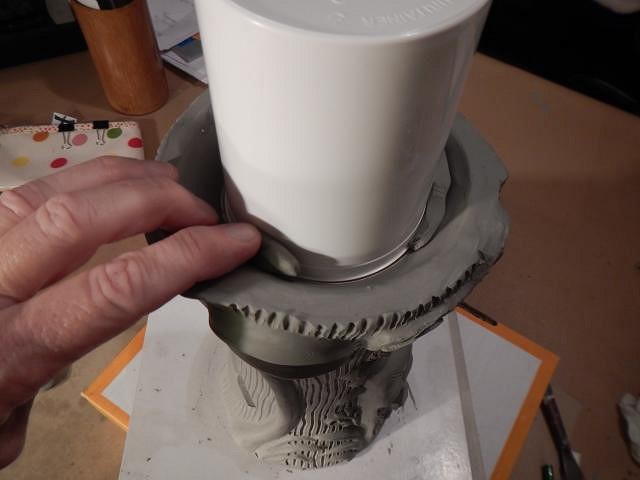
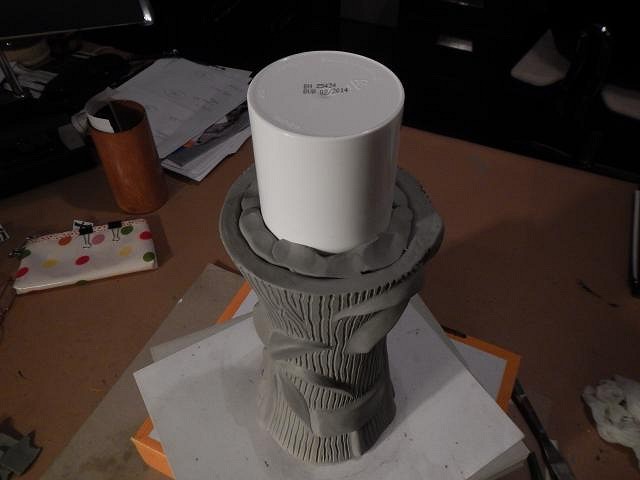
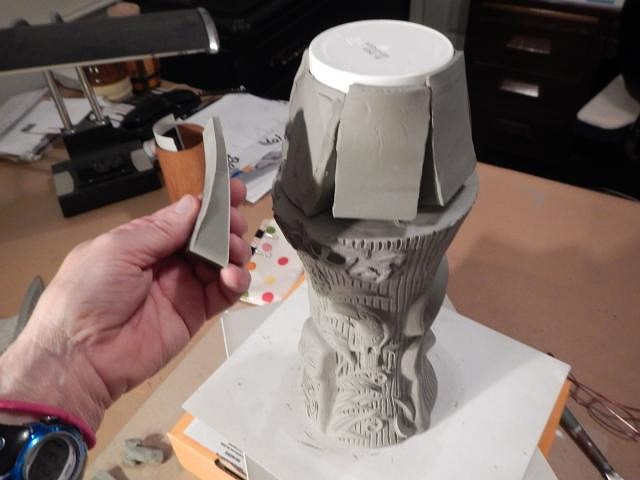
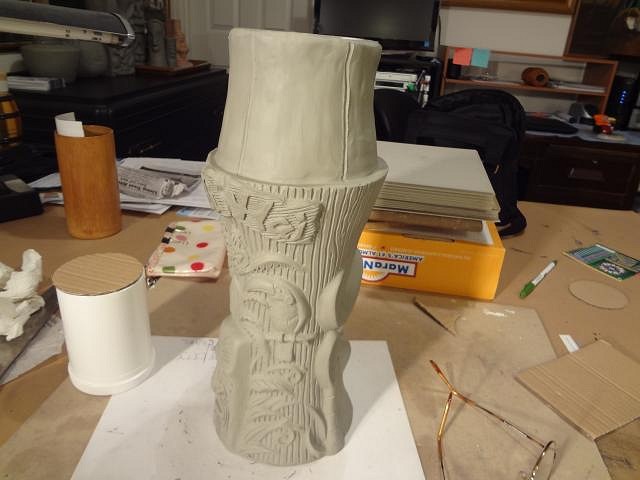
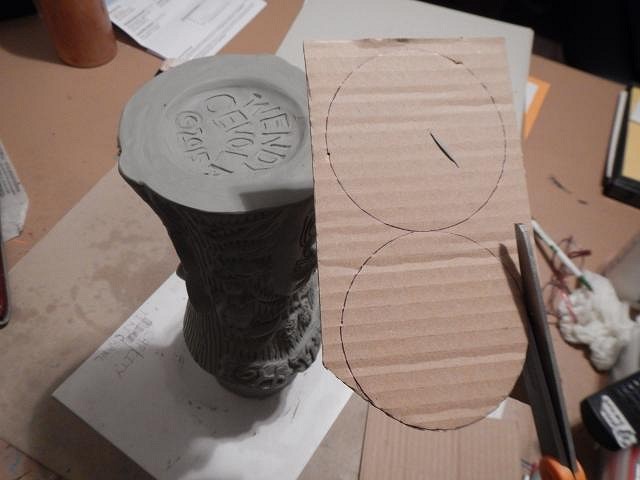
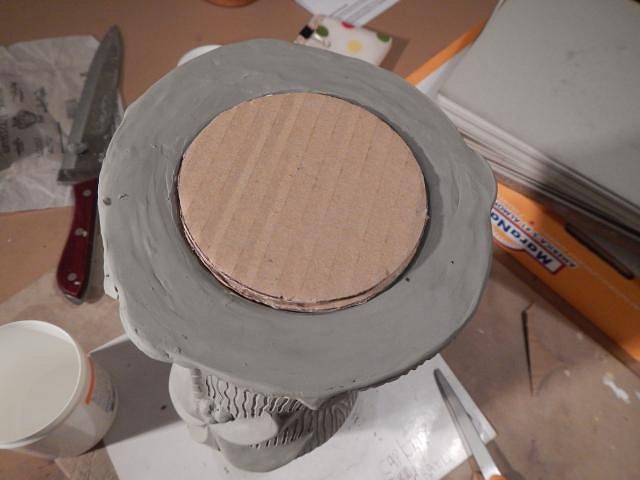
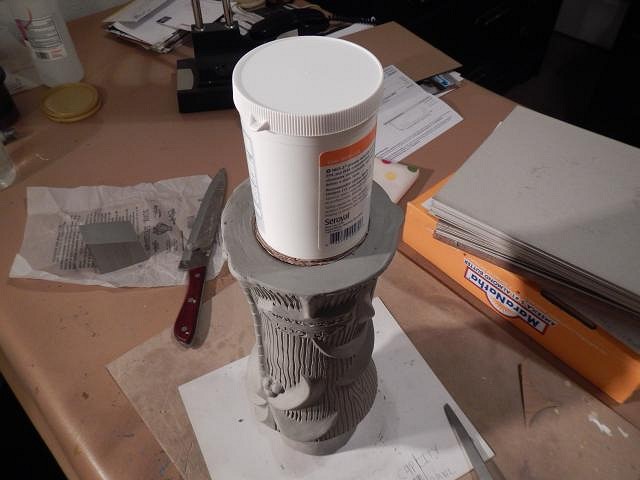
After confirming with VampiressRN that the name of the crawl is officially Cap City Crawl I added that to the sign. Now the sculpture is finished. It's time to prepare the sculpture for molding. Often I have made mold where after the slip has sat in the mold for awhile I need to top it off with more slip. If I don't the top of the mug will not be as thick as the rest of the mug and this can cause cracking when fired. So now I make the top hole into the mug very deep. I found a plastic container that was just right for the job. I added clay to seal it in place.
Then I covered it with clay. All done. Now I studied my sculpture to decide where the mold pieces would be made. These pieces must pull off without hurting the cast mug. I drew lines in the clay top that will guide me once this sculpt it put into the mold box. Next I devised a way to protect the bottom of the mug until I'm ready to pour that piece. Perfect fit. Oh what the heck, I'll just make the bottom using the same kind of plastic container. It will make this mold very heavy. Poor Dan. Tomorrow the mold photos begin. Page 1 of this thread has those who has signed up for a mug. If you want one let me know and I'll add you to the list. Cheers, Wendy |
|
TBK
The Blue Kahuna
Posted
posted
on
Wed, Jun 3, 2015 12:36 PM
This may very well be the best one yet! I say that every year! |
|
T
Tikiwahini
Posted
posted
on
Wed, Jun 3, 2015 5:26 PM
|

